CYCLING for RUNNERS – Girl What Cycles (3)

©iancorless.com_CarrMill-7280

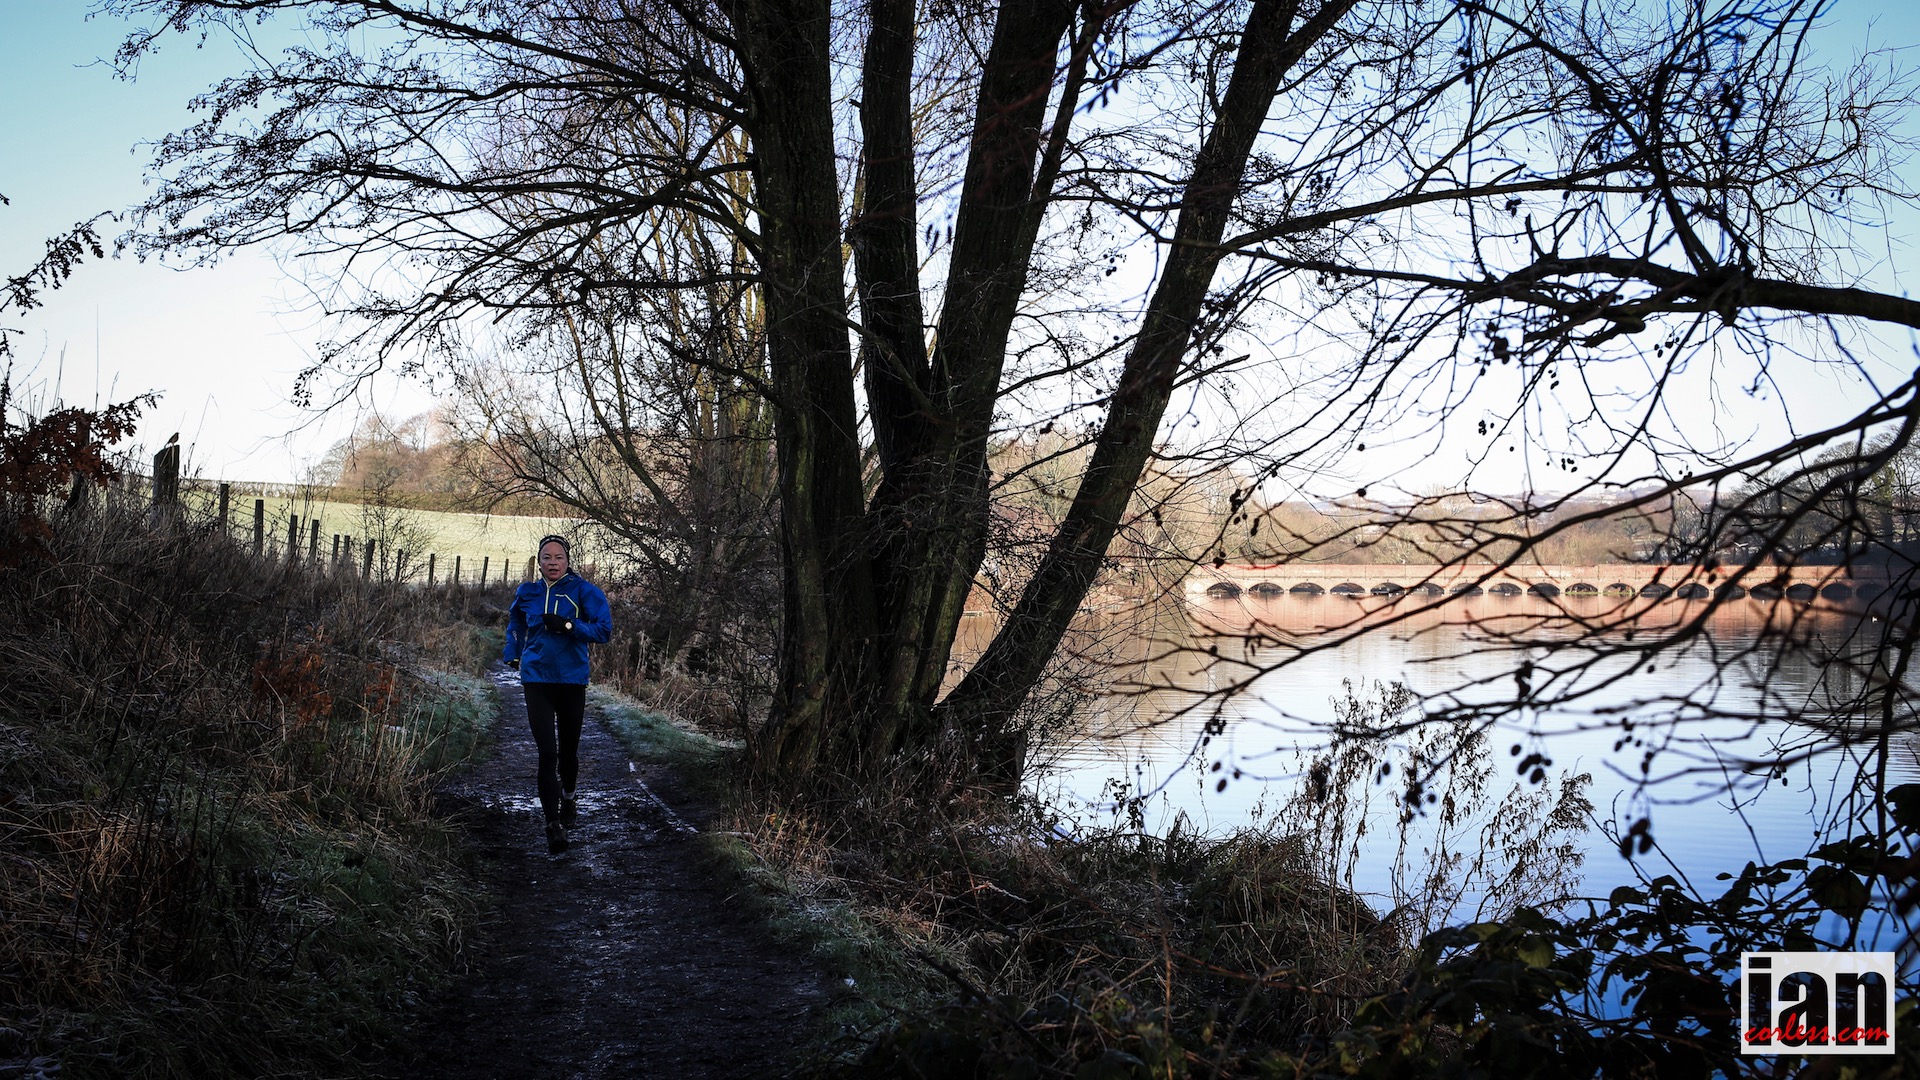
“I love running cross country….

On a track, I feel like a hamster.”- Robin Williams

I’ve always felt the same as Robin Williams about the indoor trainer. To me, training indoors on a bicycle is just like running on a track or treadmill. Yet, like track and the treadmill, cycling indoors can provide a huge advantage to your training if used in a structured way.

©iancorless.com©iancorless.com_cyclingforrunners-4115

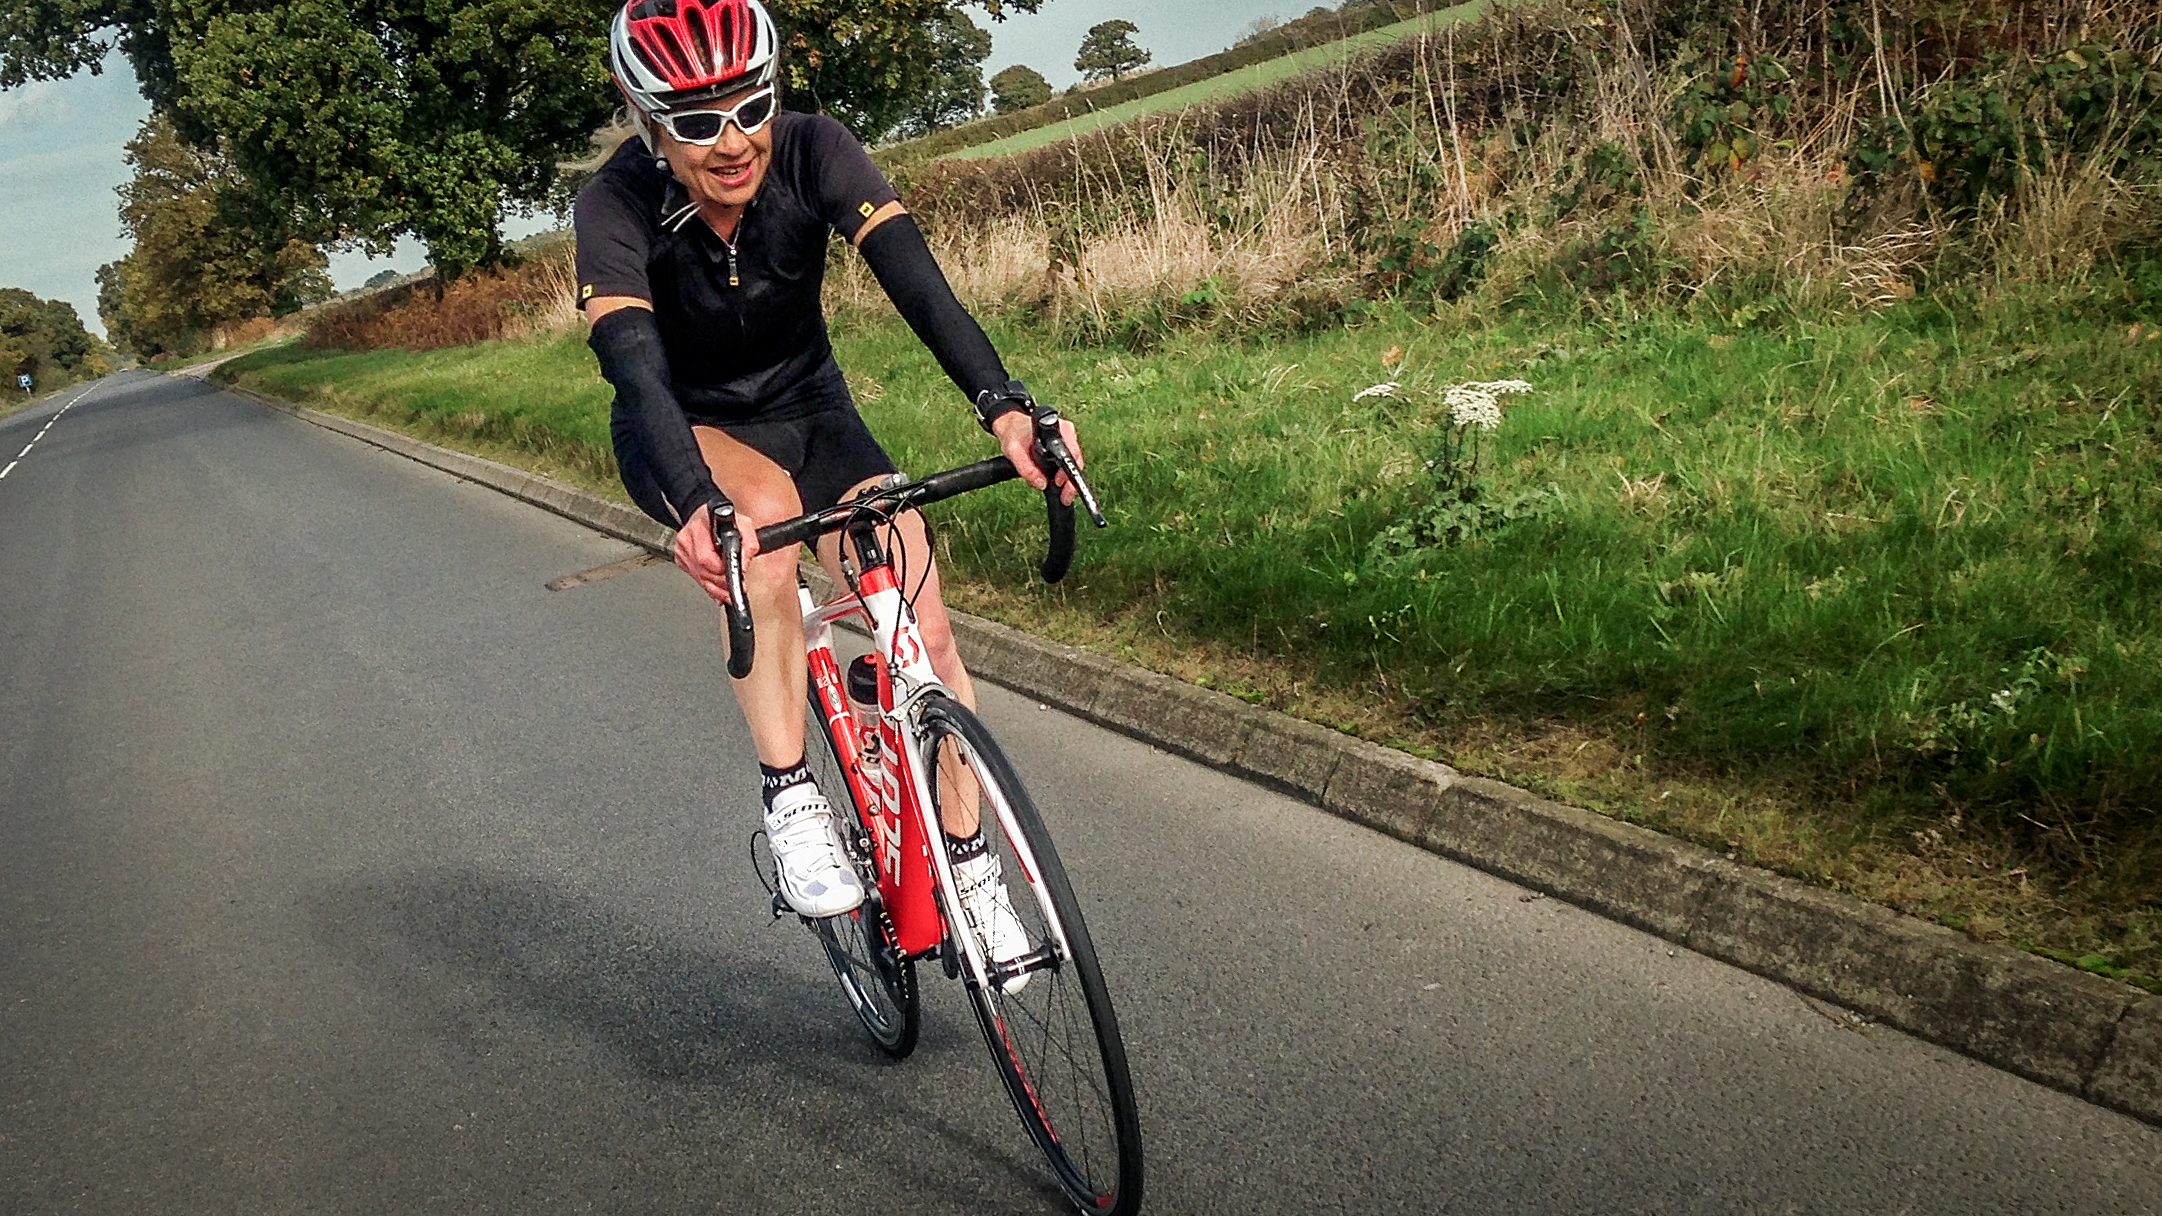
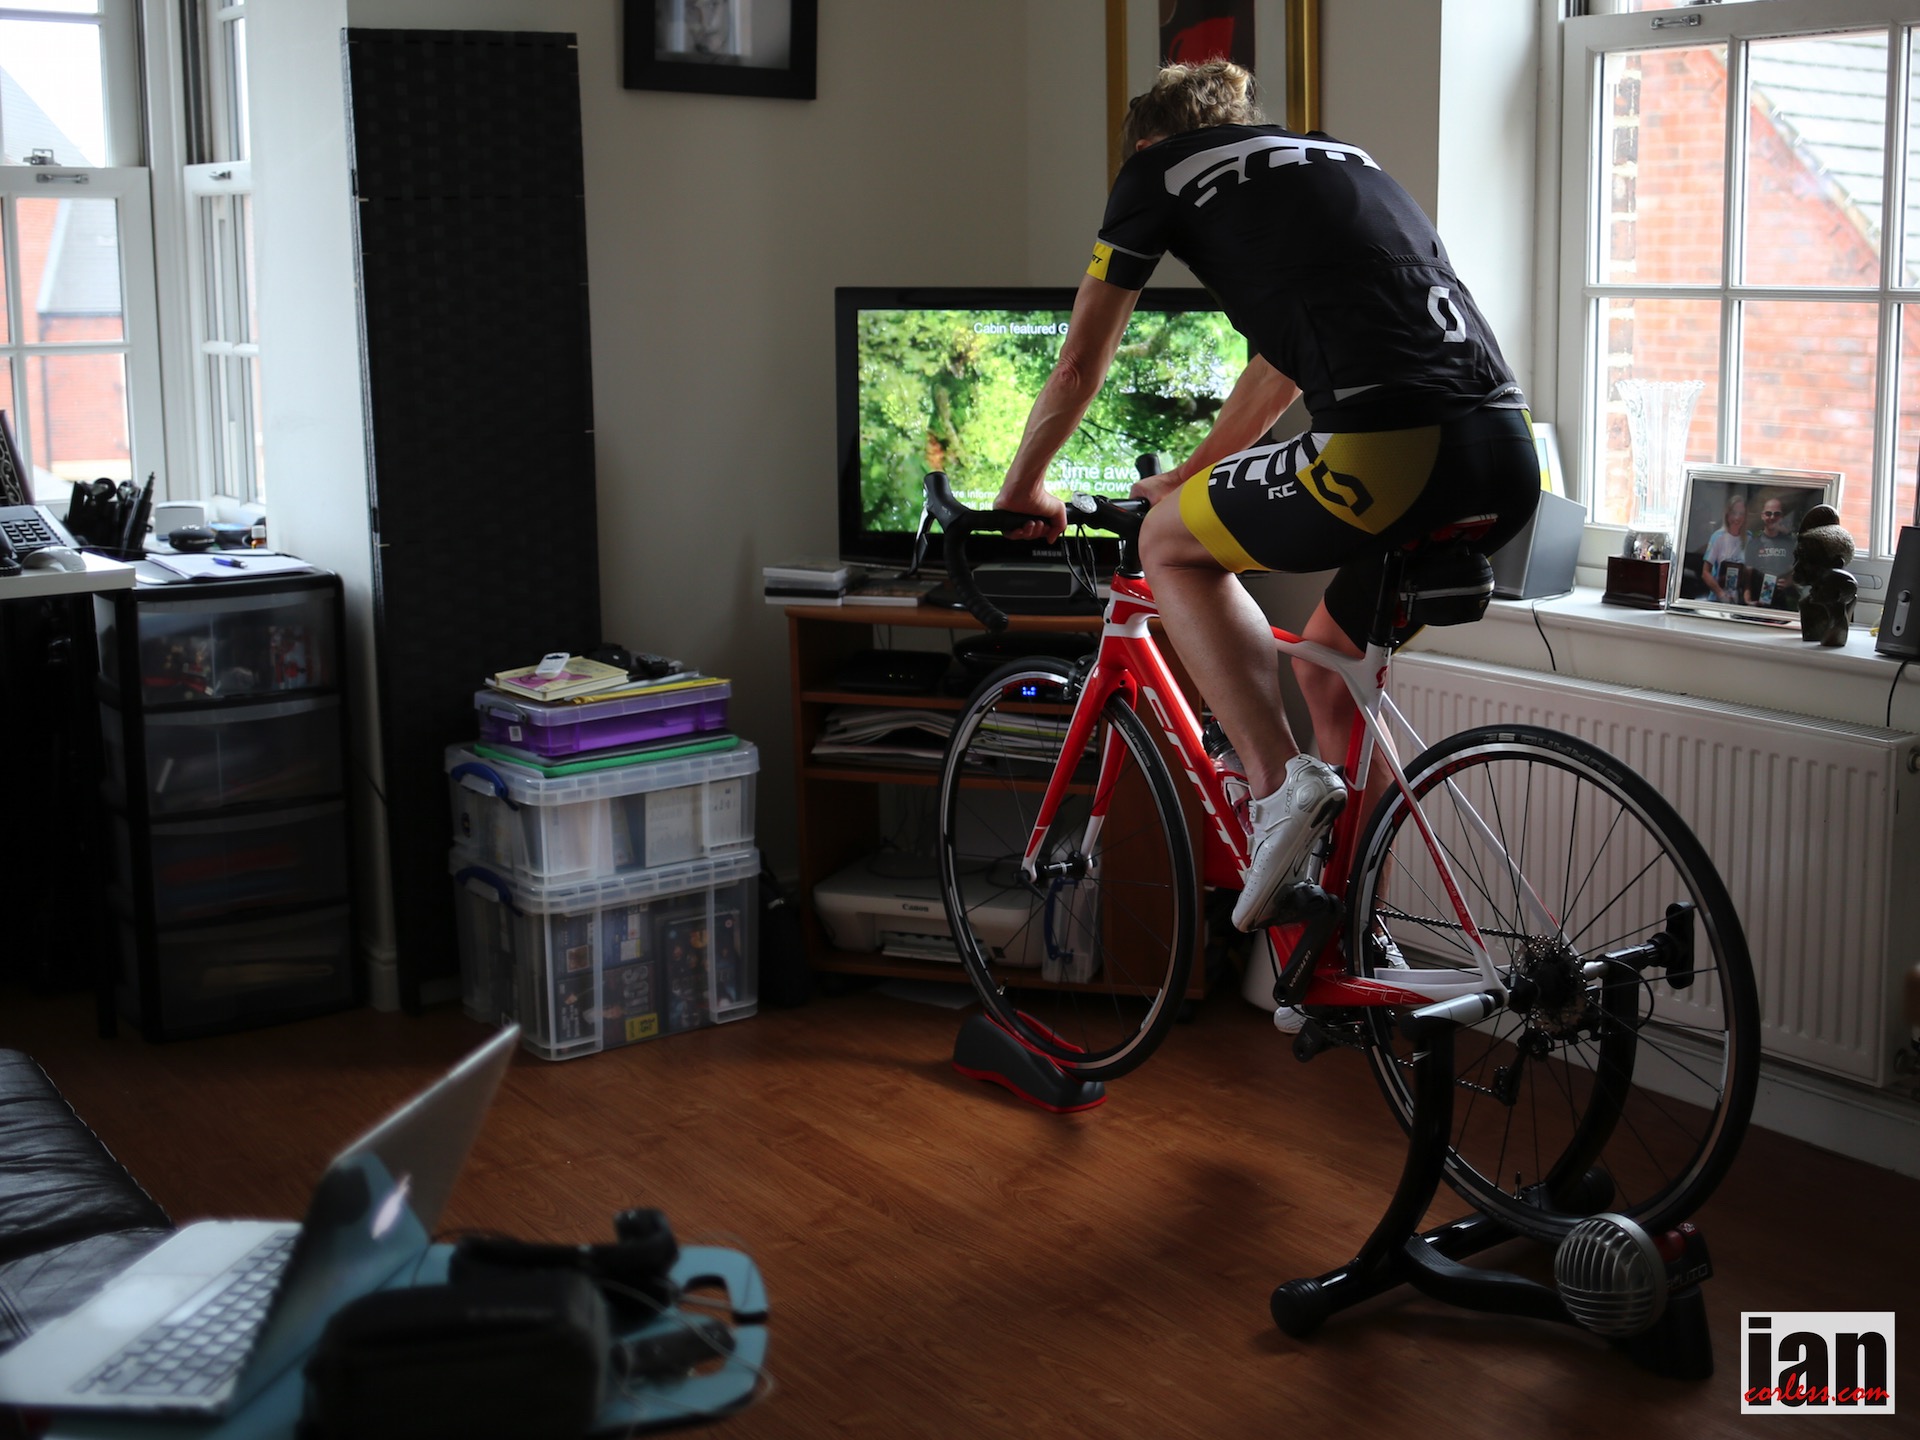
First and foremost when the weather is horrendous (like it is in the UK at the moment) you can get a good workout indoors in a warm, safe and controlled environment. I am new to cycling and although not inexperienced, braving winter conditions on a bike would be a step too far for me at the moment. This is where the home trainer becomes a useful piece of equipment.

©iancorless.com_Scott-7365

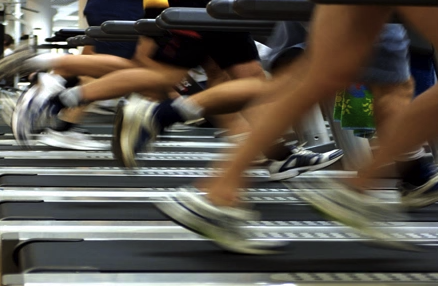
I can still get my fix for the outdoors with my running… to be honest, I love running in cold temperatures but I also incorporate one treadmill session which allows for faster running (hills or intervals) with some fast-paced loud music which is difficult to do outside.

screenshot_160

In a research project at John Moores University, researchers found that when participants exercised to faster-paced music they “chose to accept, and even prefer, a greater degree of effort”. As well as enhancing performance, music lowers the perception of effort. It dulls or masks some of the pain associated with training. We know from scanning the brain that when athletes are played loud upbeat music there is an increase in activity in the ascending reticular activating system.

For all these reasons I have also been using the home trainer to get in some recovery training after racing or long run sessions. At the beginning of December I completed a 72km trail race at night in sub-zero temperatures. Conditions were very muddy, icy in some parts, with a head-on wind to contend with and as it was at night with poor visibility, the going was tough. Also I forgot to mention I flew out to Lyon on the Saturday, picked up my number, took a shuttle to the start in St Etienne, started the race at midnight, ran to Lyon through the night and flew back to London on Sunday, took a coach, another train ….All a bit crazy and exhausting to say the least. Over the next 2 days following the race, I suffered DOMS (delayed onset of muscle soreness). This meant no running for a few days. I had a fun run planned in Paris the following weekend so I decided to use cycling as “active” recovery. Like running on the treadmill you can quickly get hot very quickly on an indoor trainer. I set myself up near an open window to allow for some ventilation. If you were doing a hard session, an indoor fan would also be a good idea.

Recovery is all about spinning my legs, easing away muscle soreness, getting the blood flowing and I suppose not having too much structure. However, I find indoor training easier if I have a plan to follow and music!

©iancorless.com_Scott-7329

Hints ‘n’ Tips

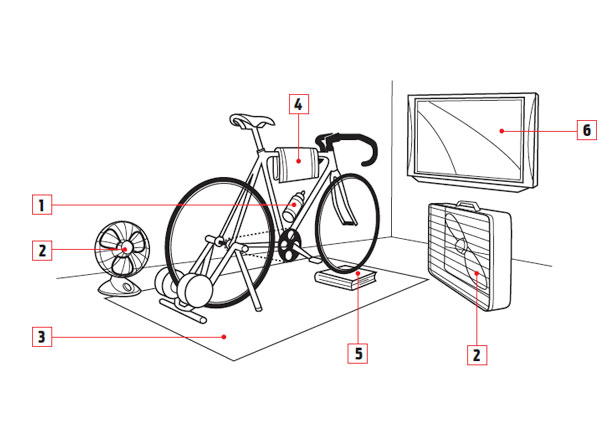
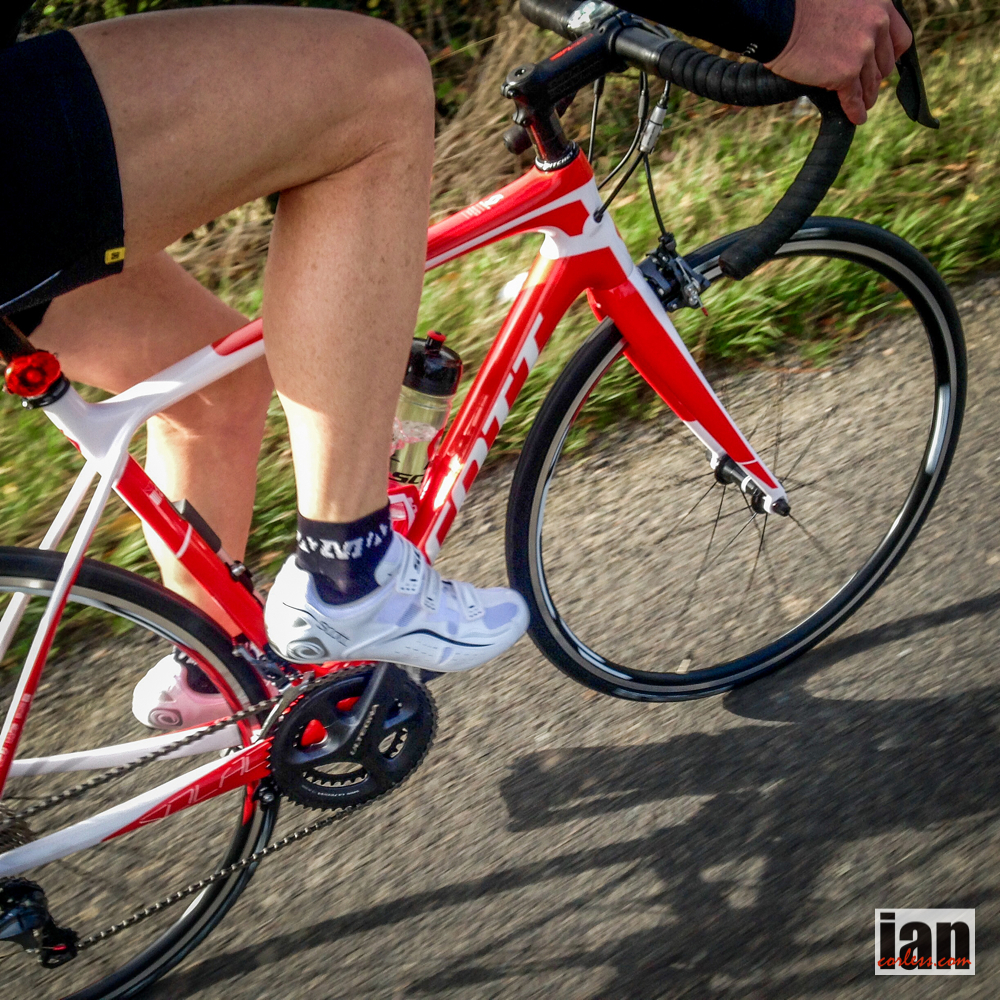
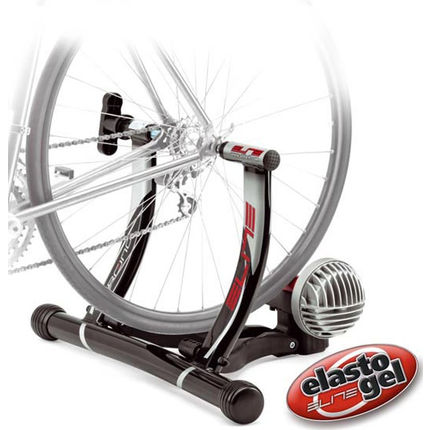
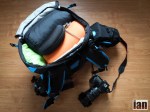
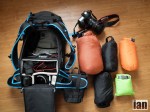
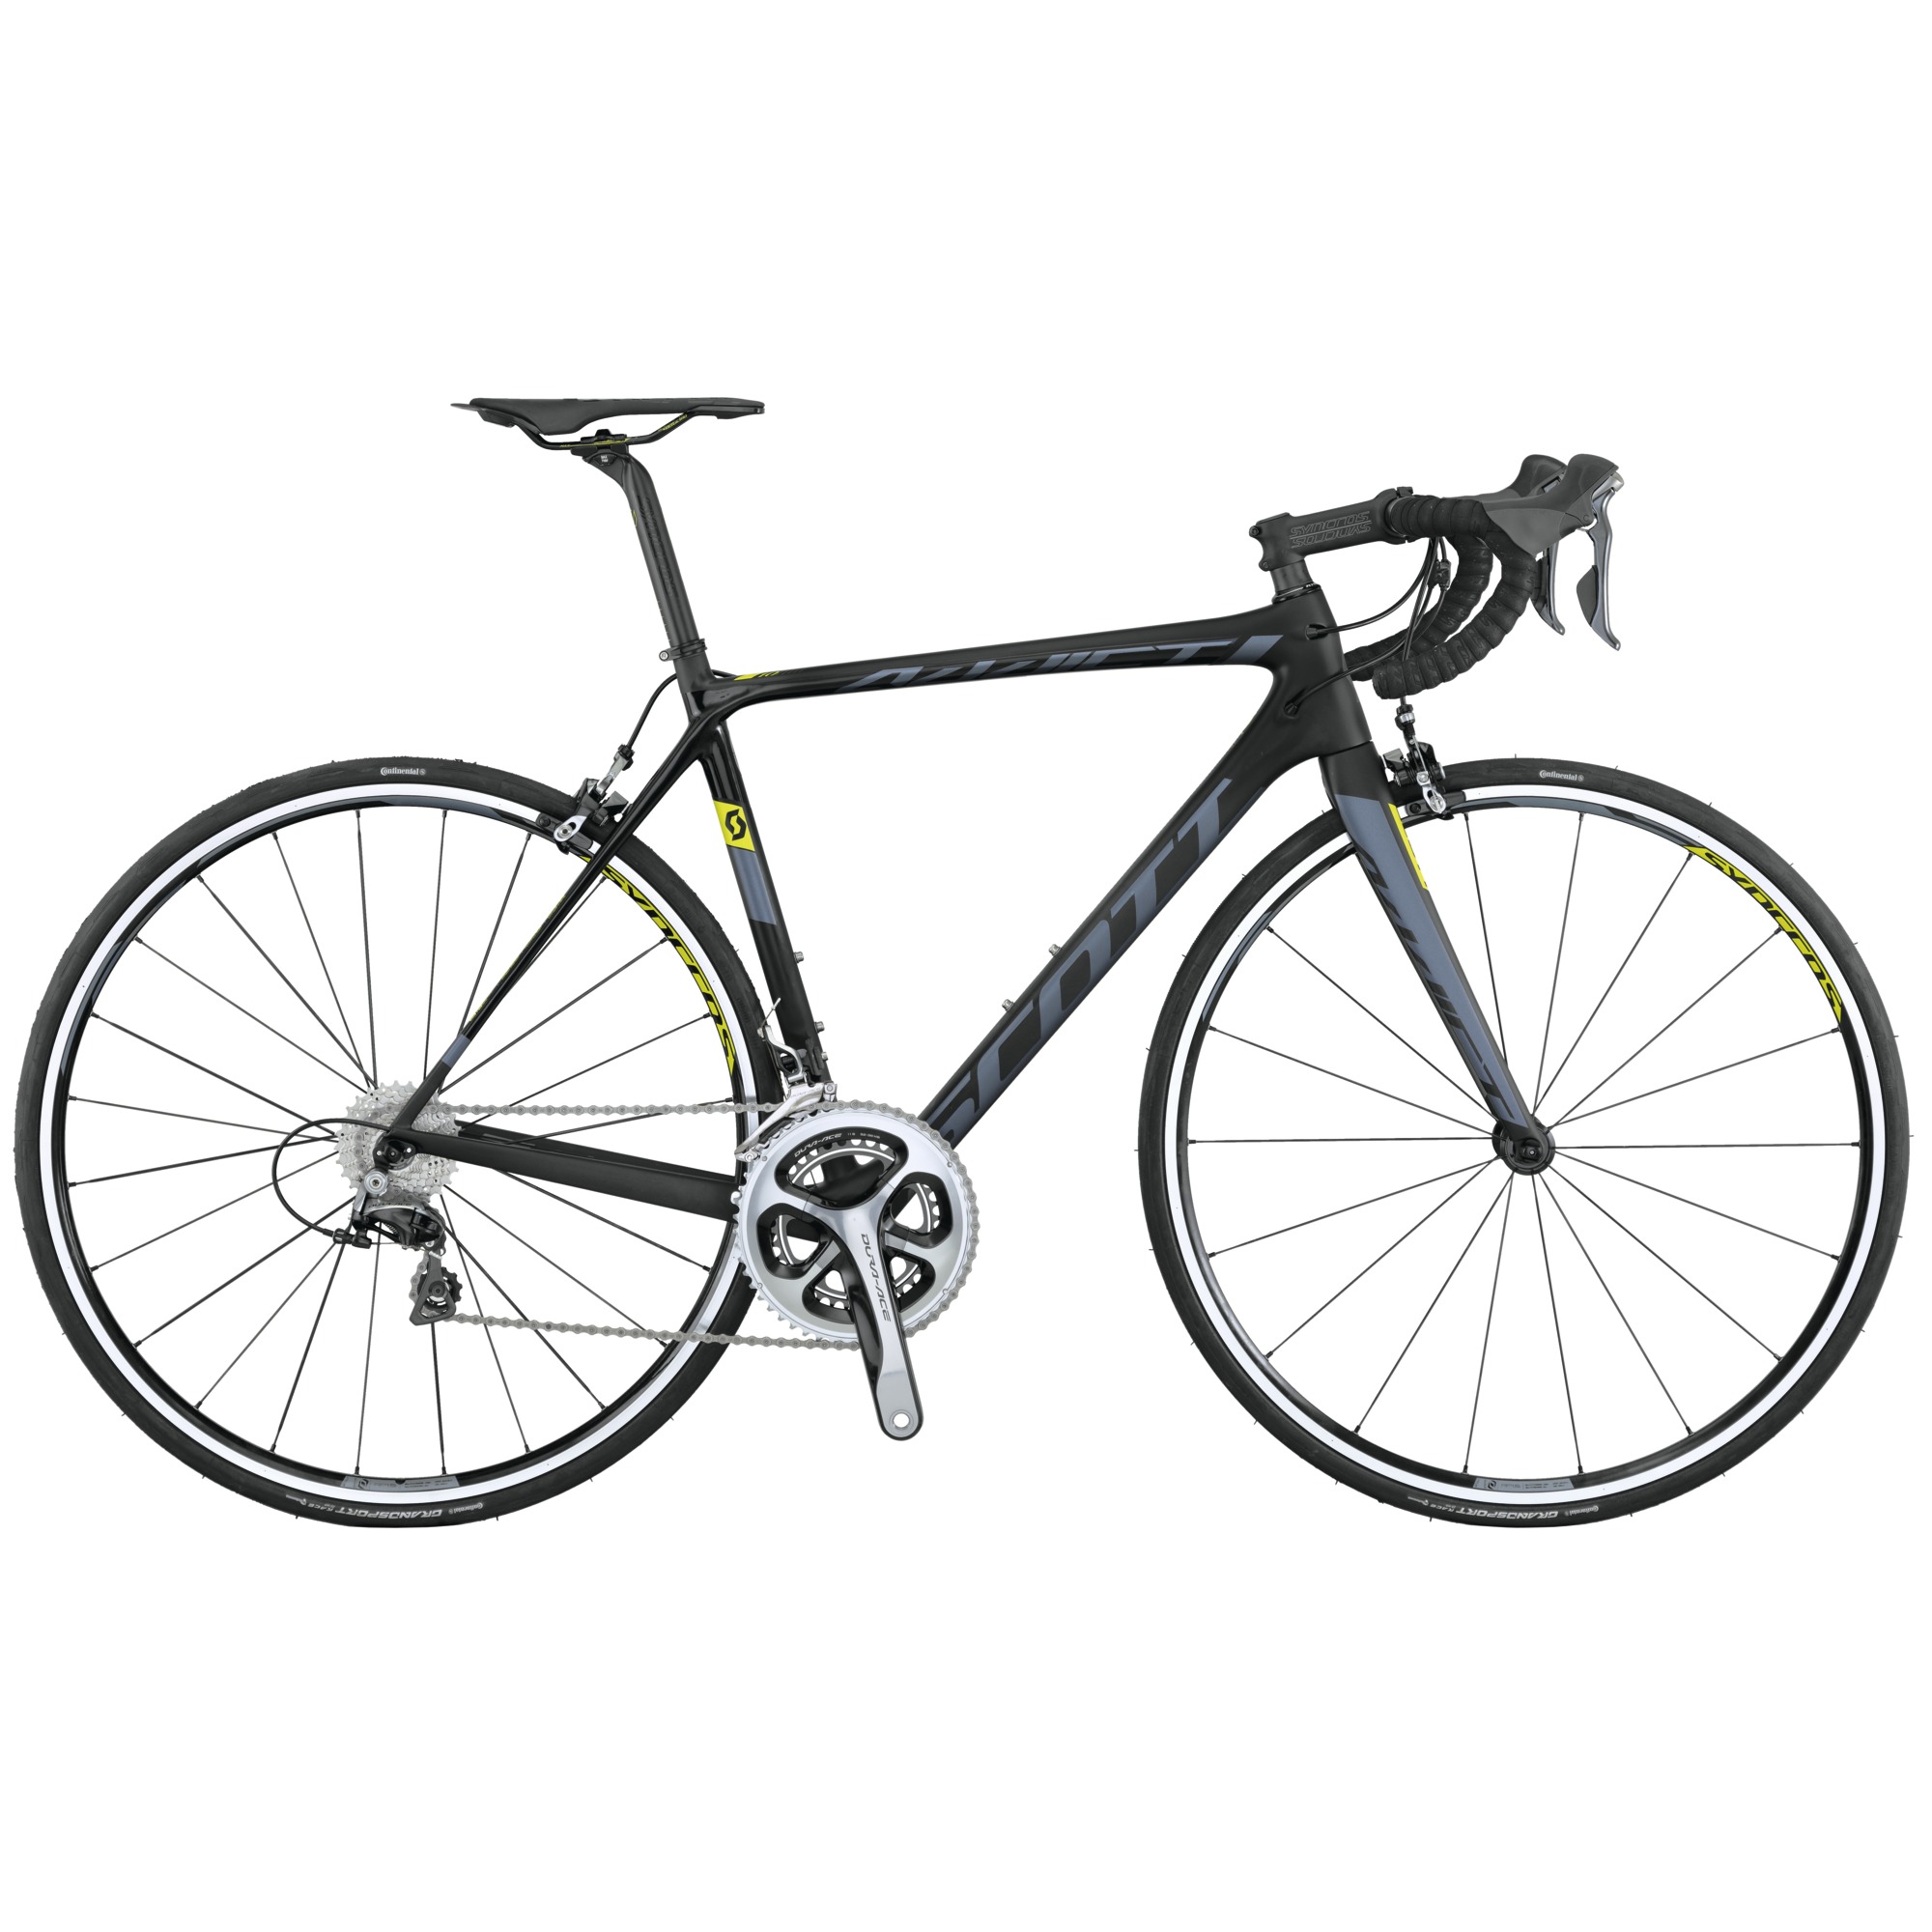
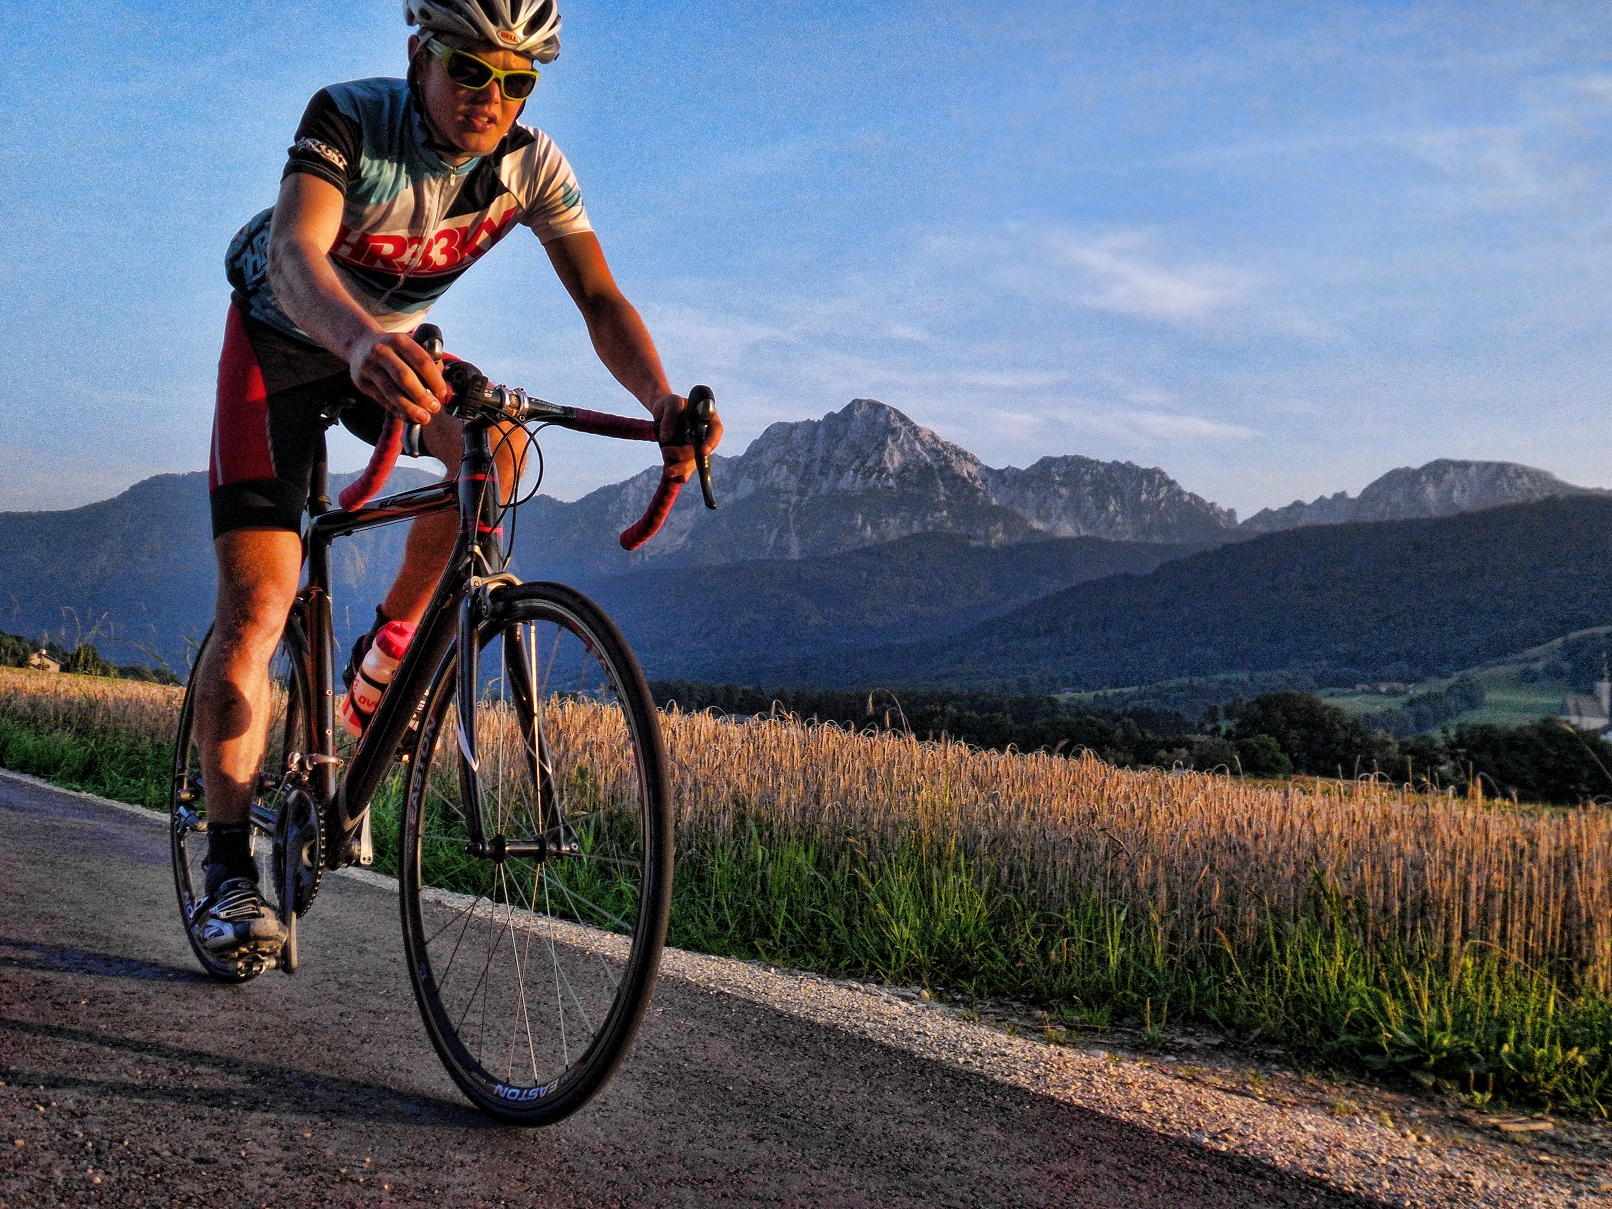
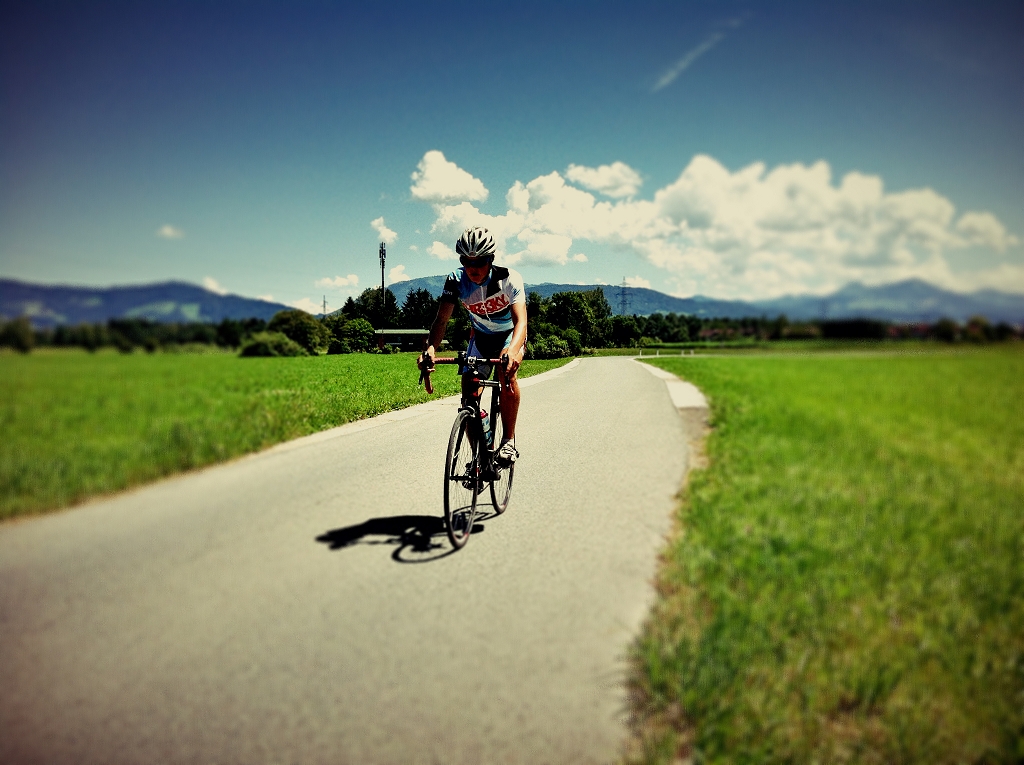
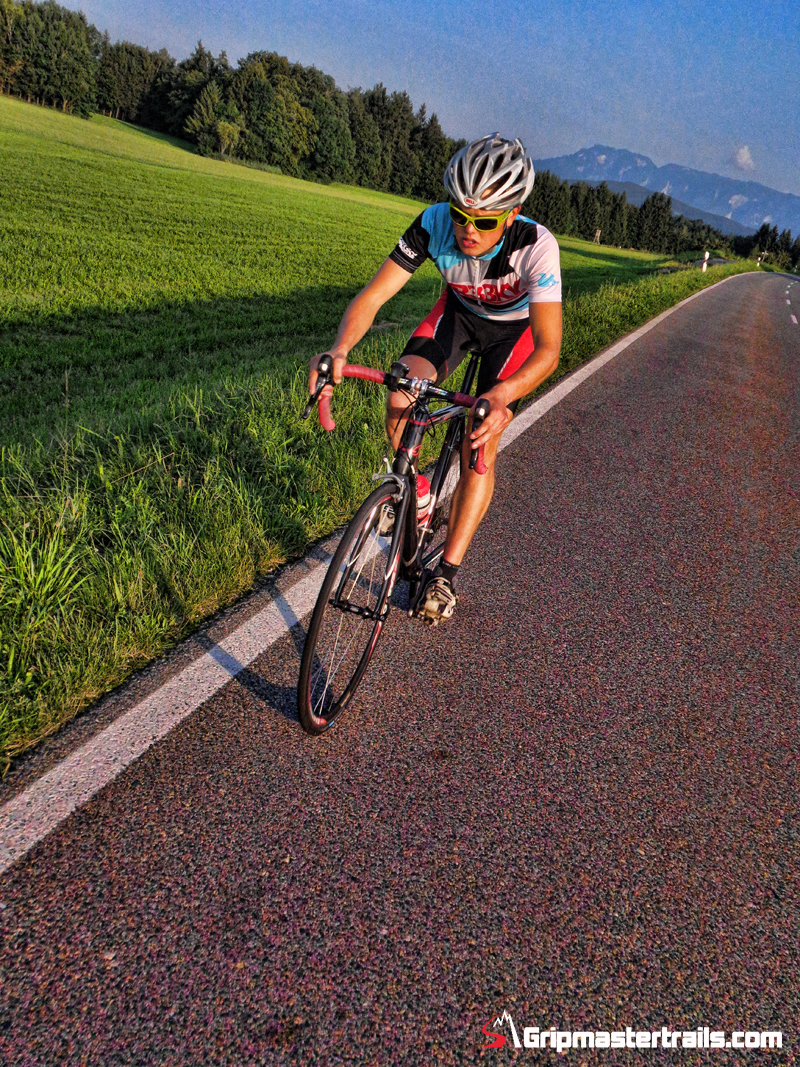
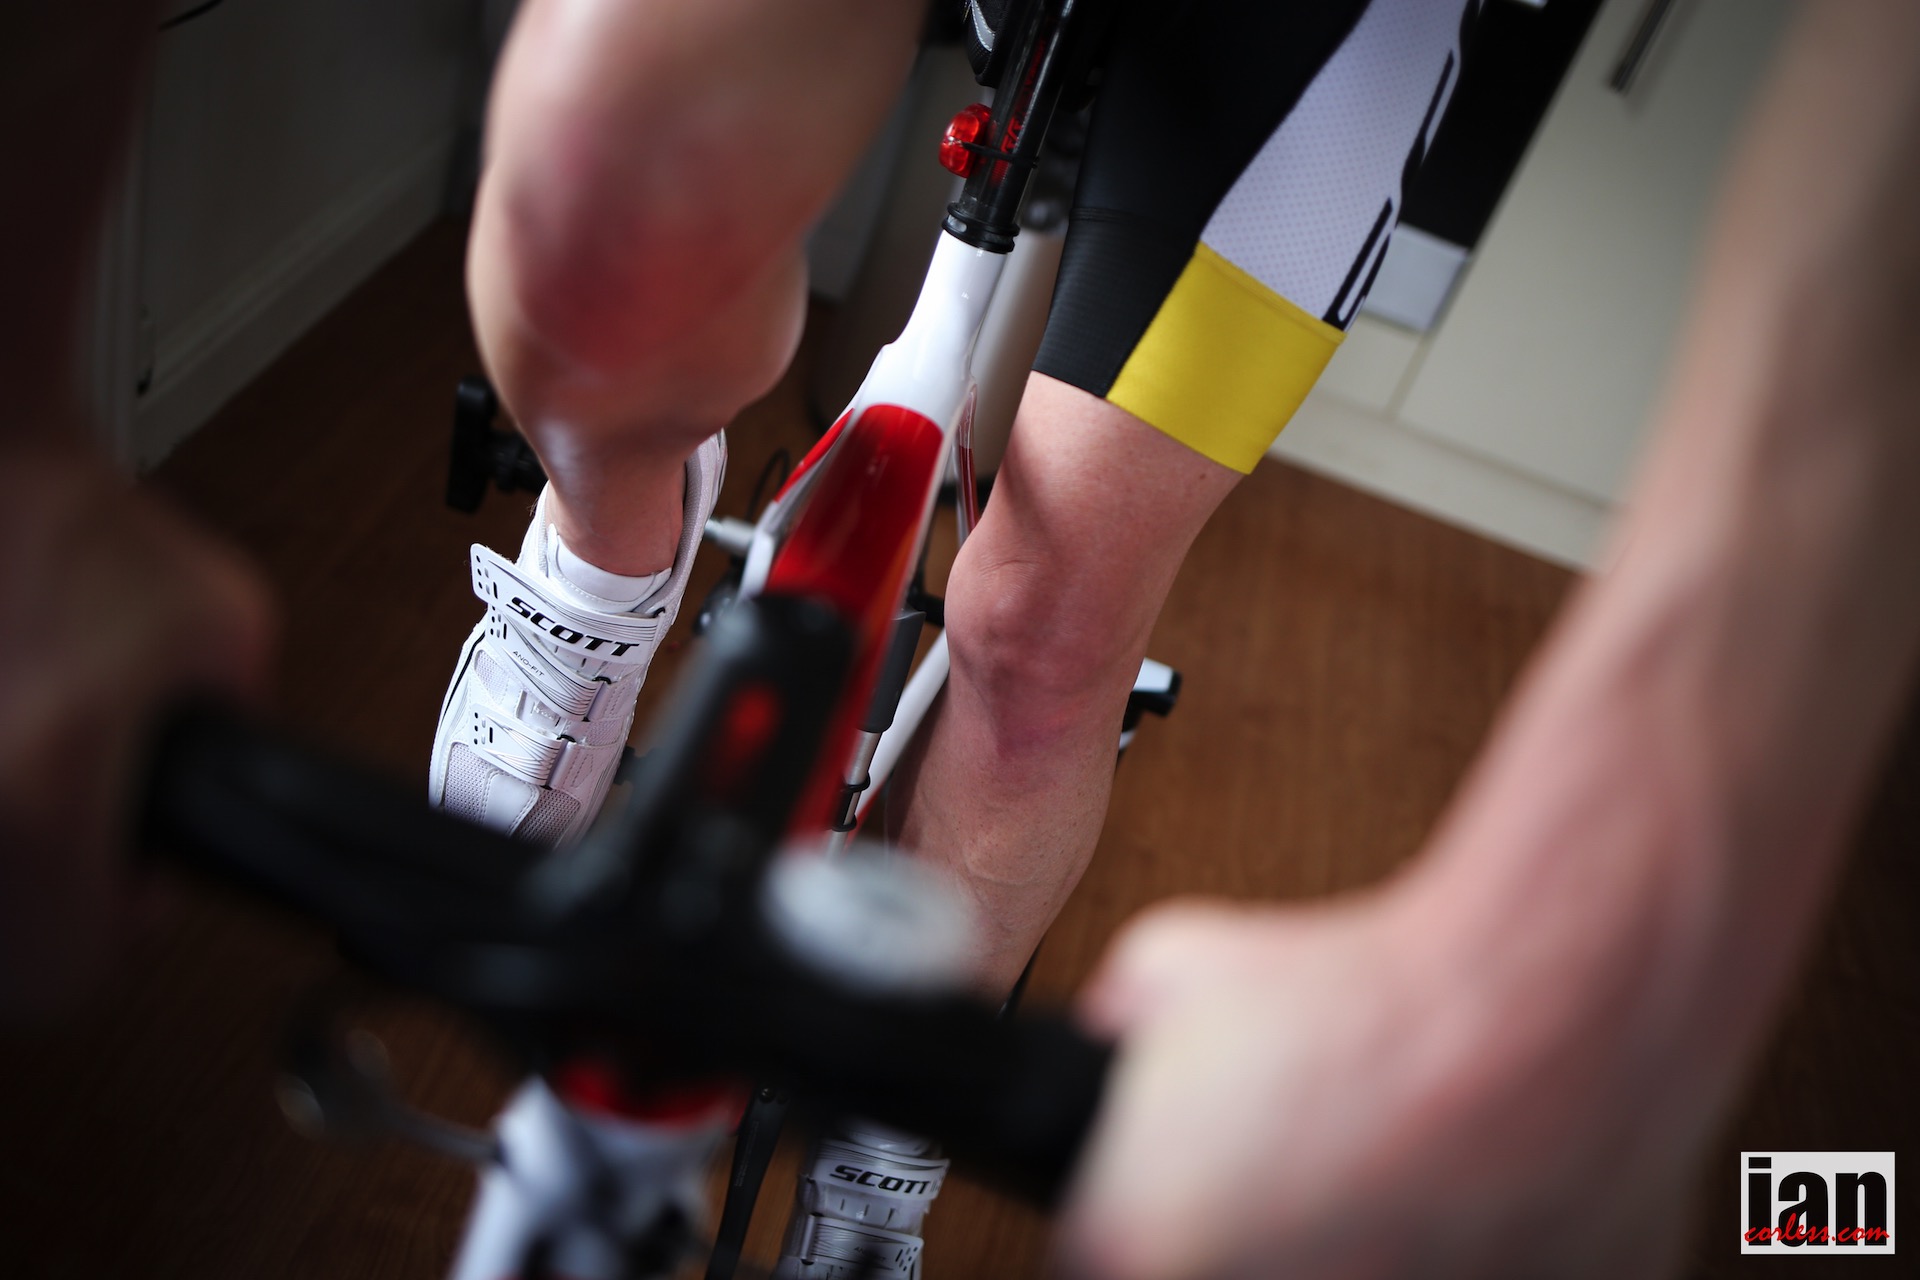
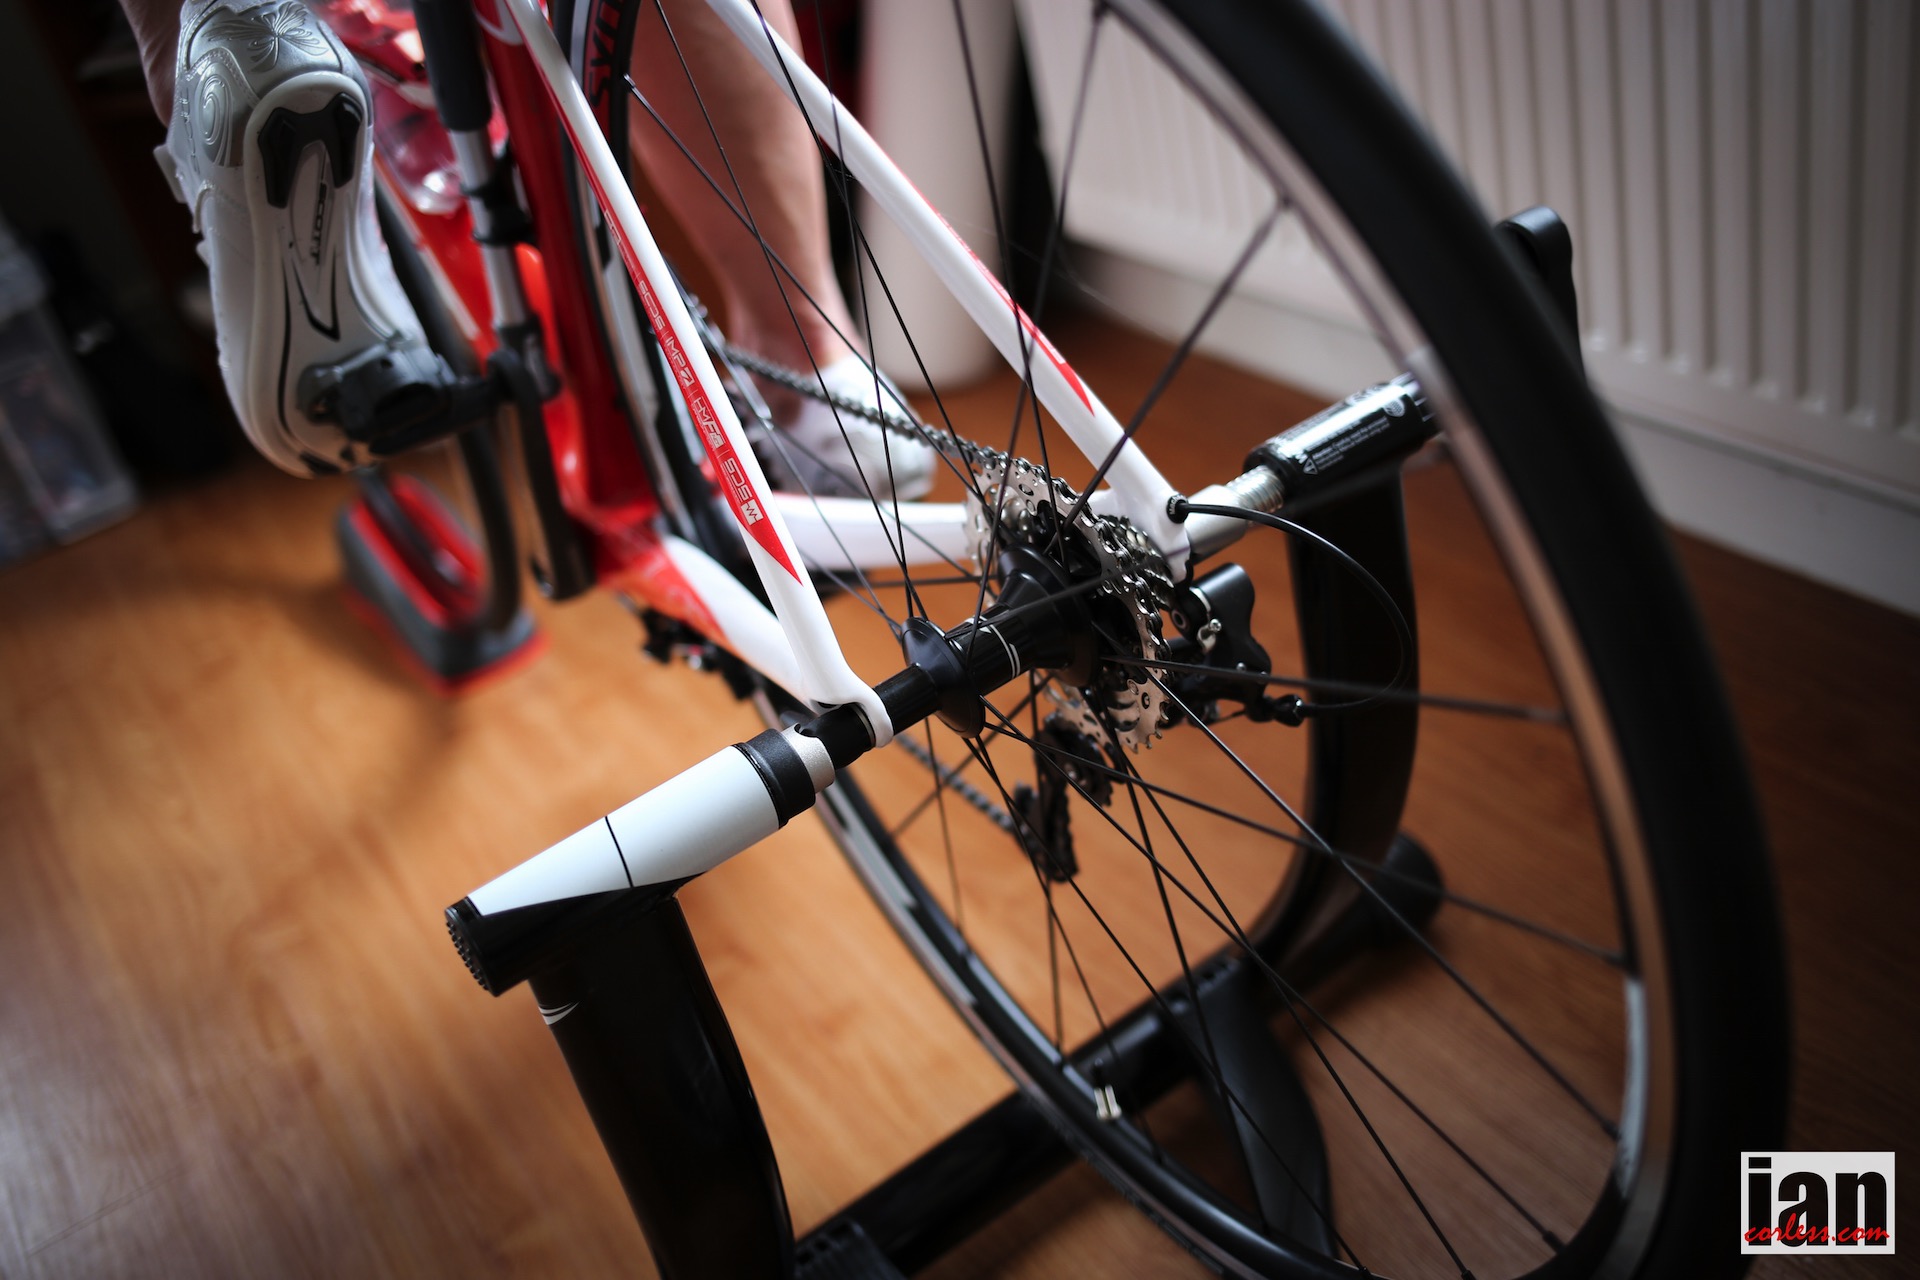
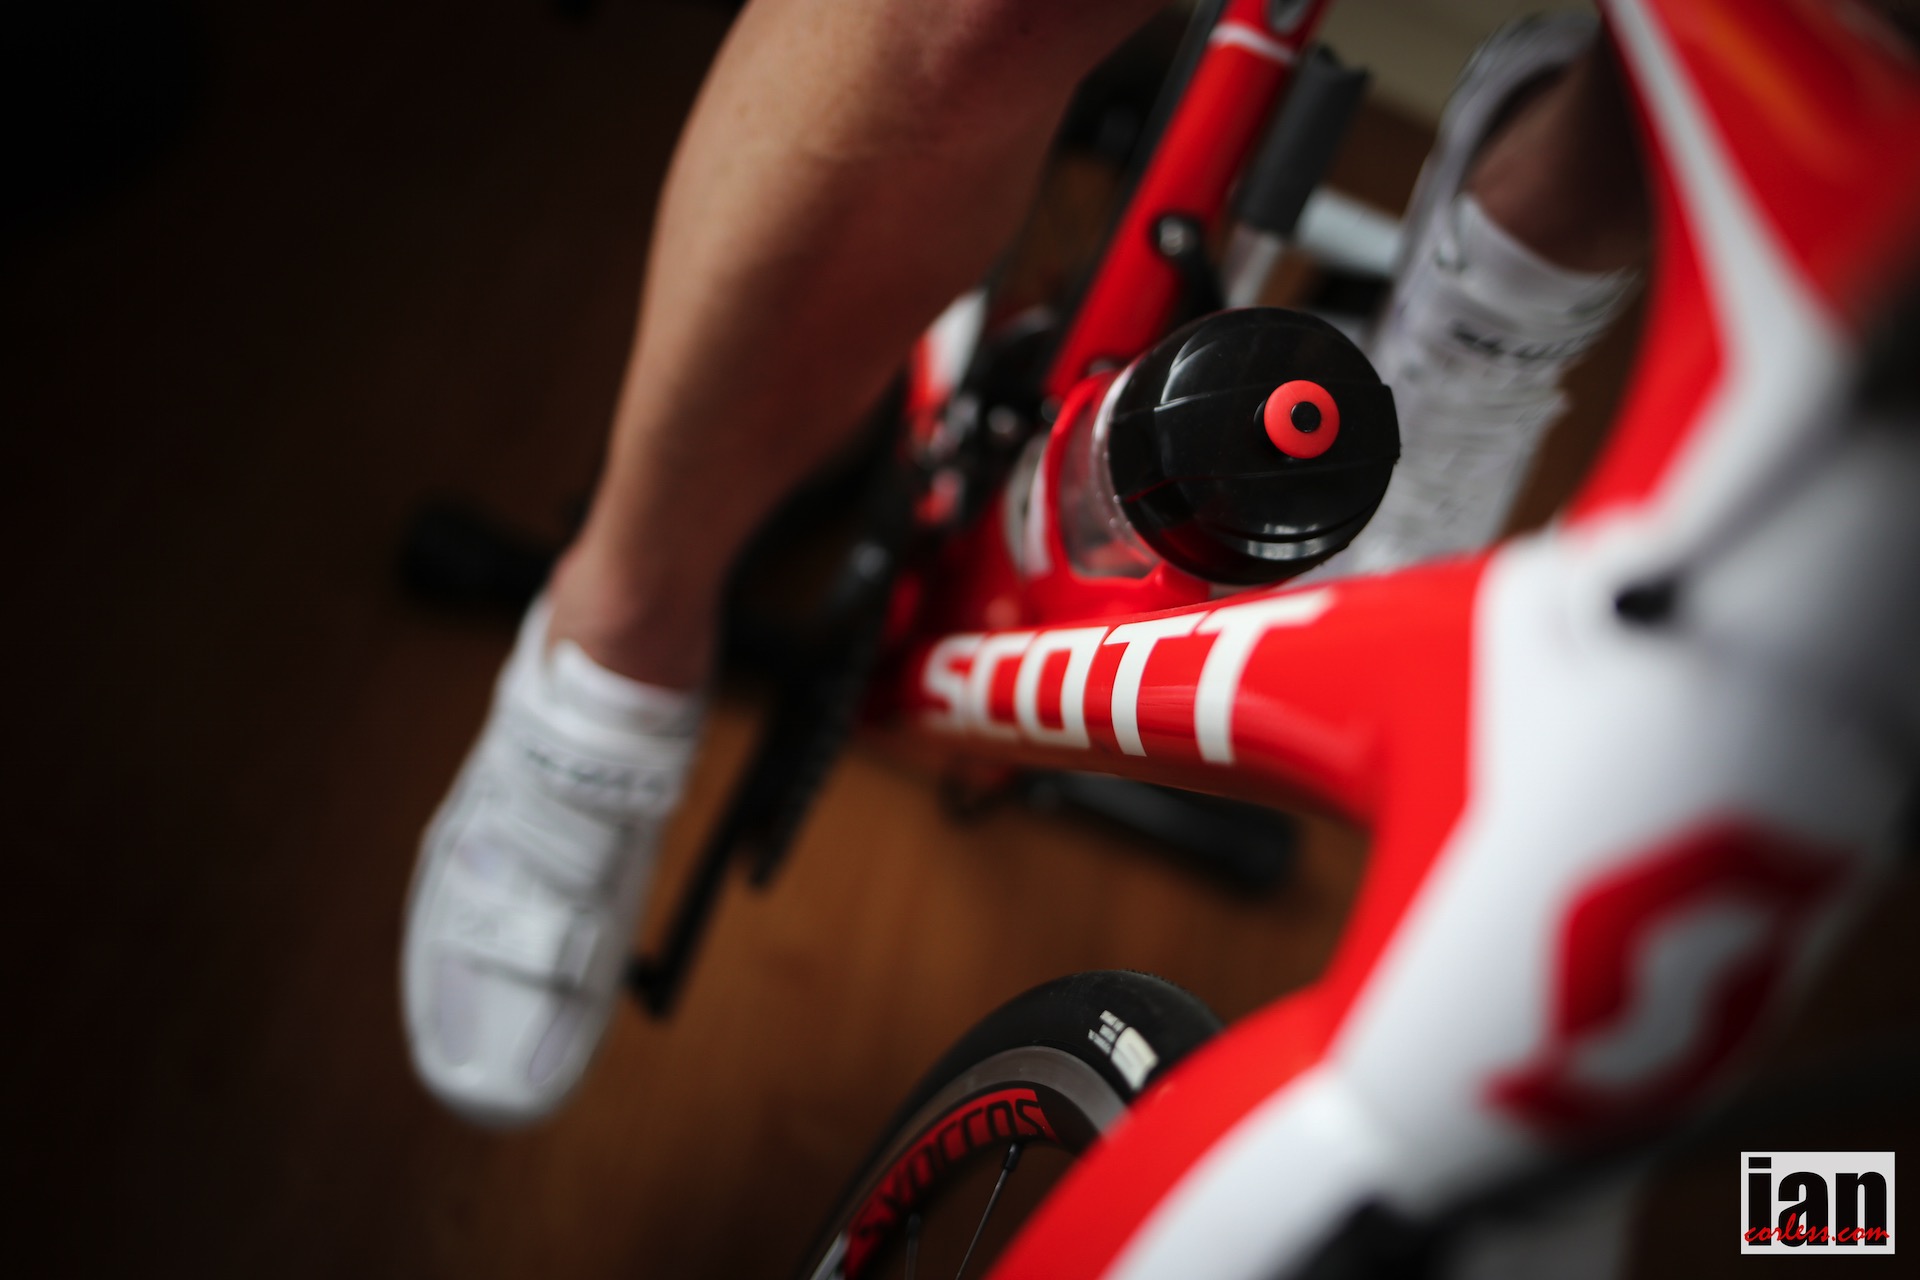
  • Use your own bicycle. I am using my SCOTT bike fixed to my indoor trainer via the rear wheel. This is perfect as I do not compromise on my cycling position which I have worked hard to make perfect.

©iancorless.com_Scott-7360

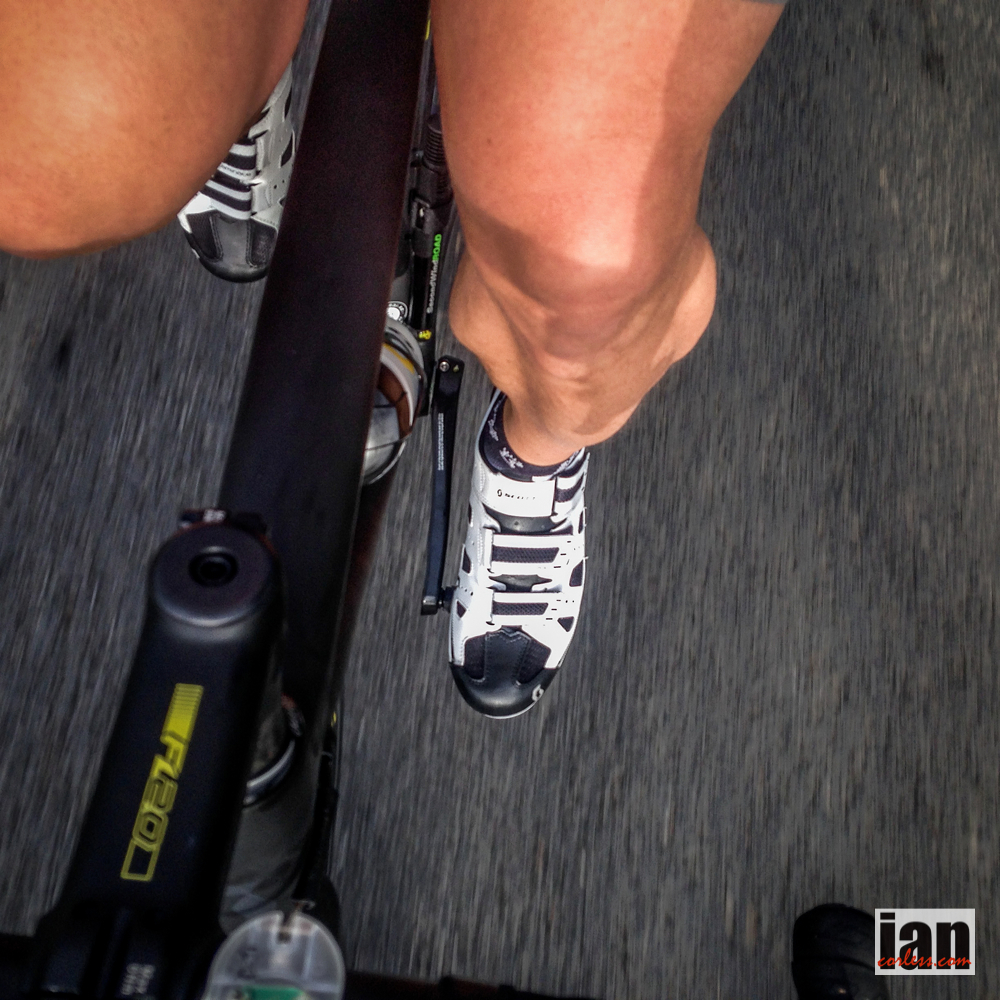
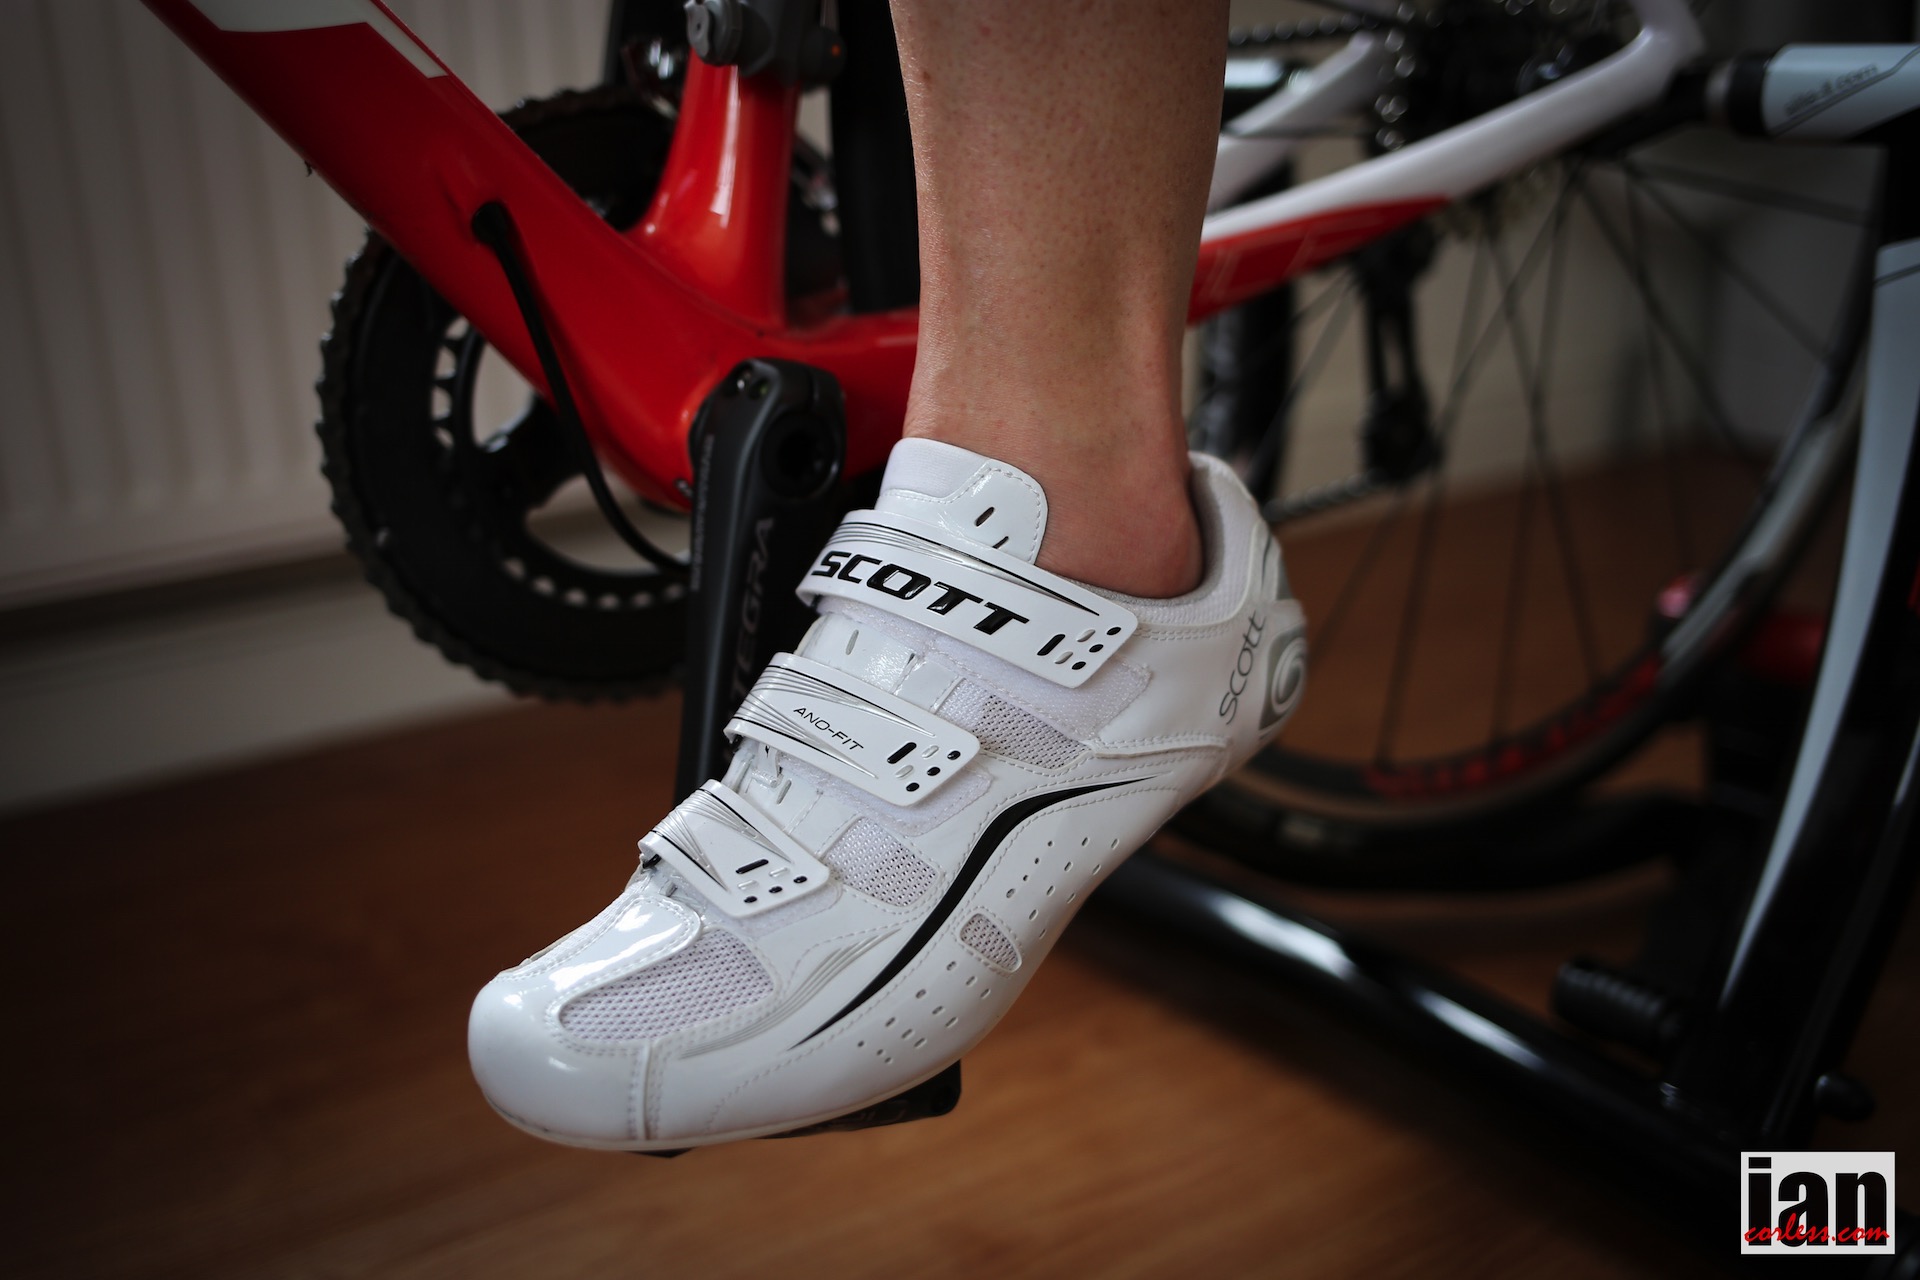
  • Use your normal cycling shoes and pedals
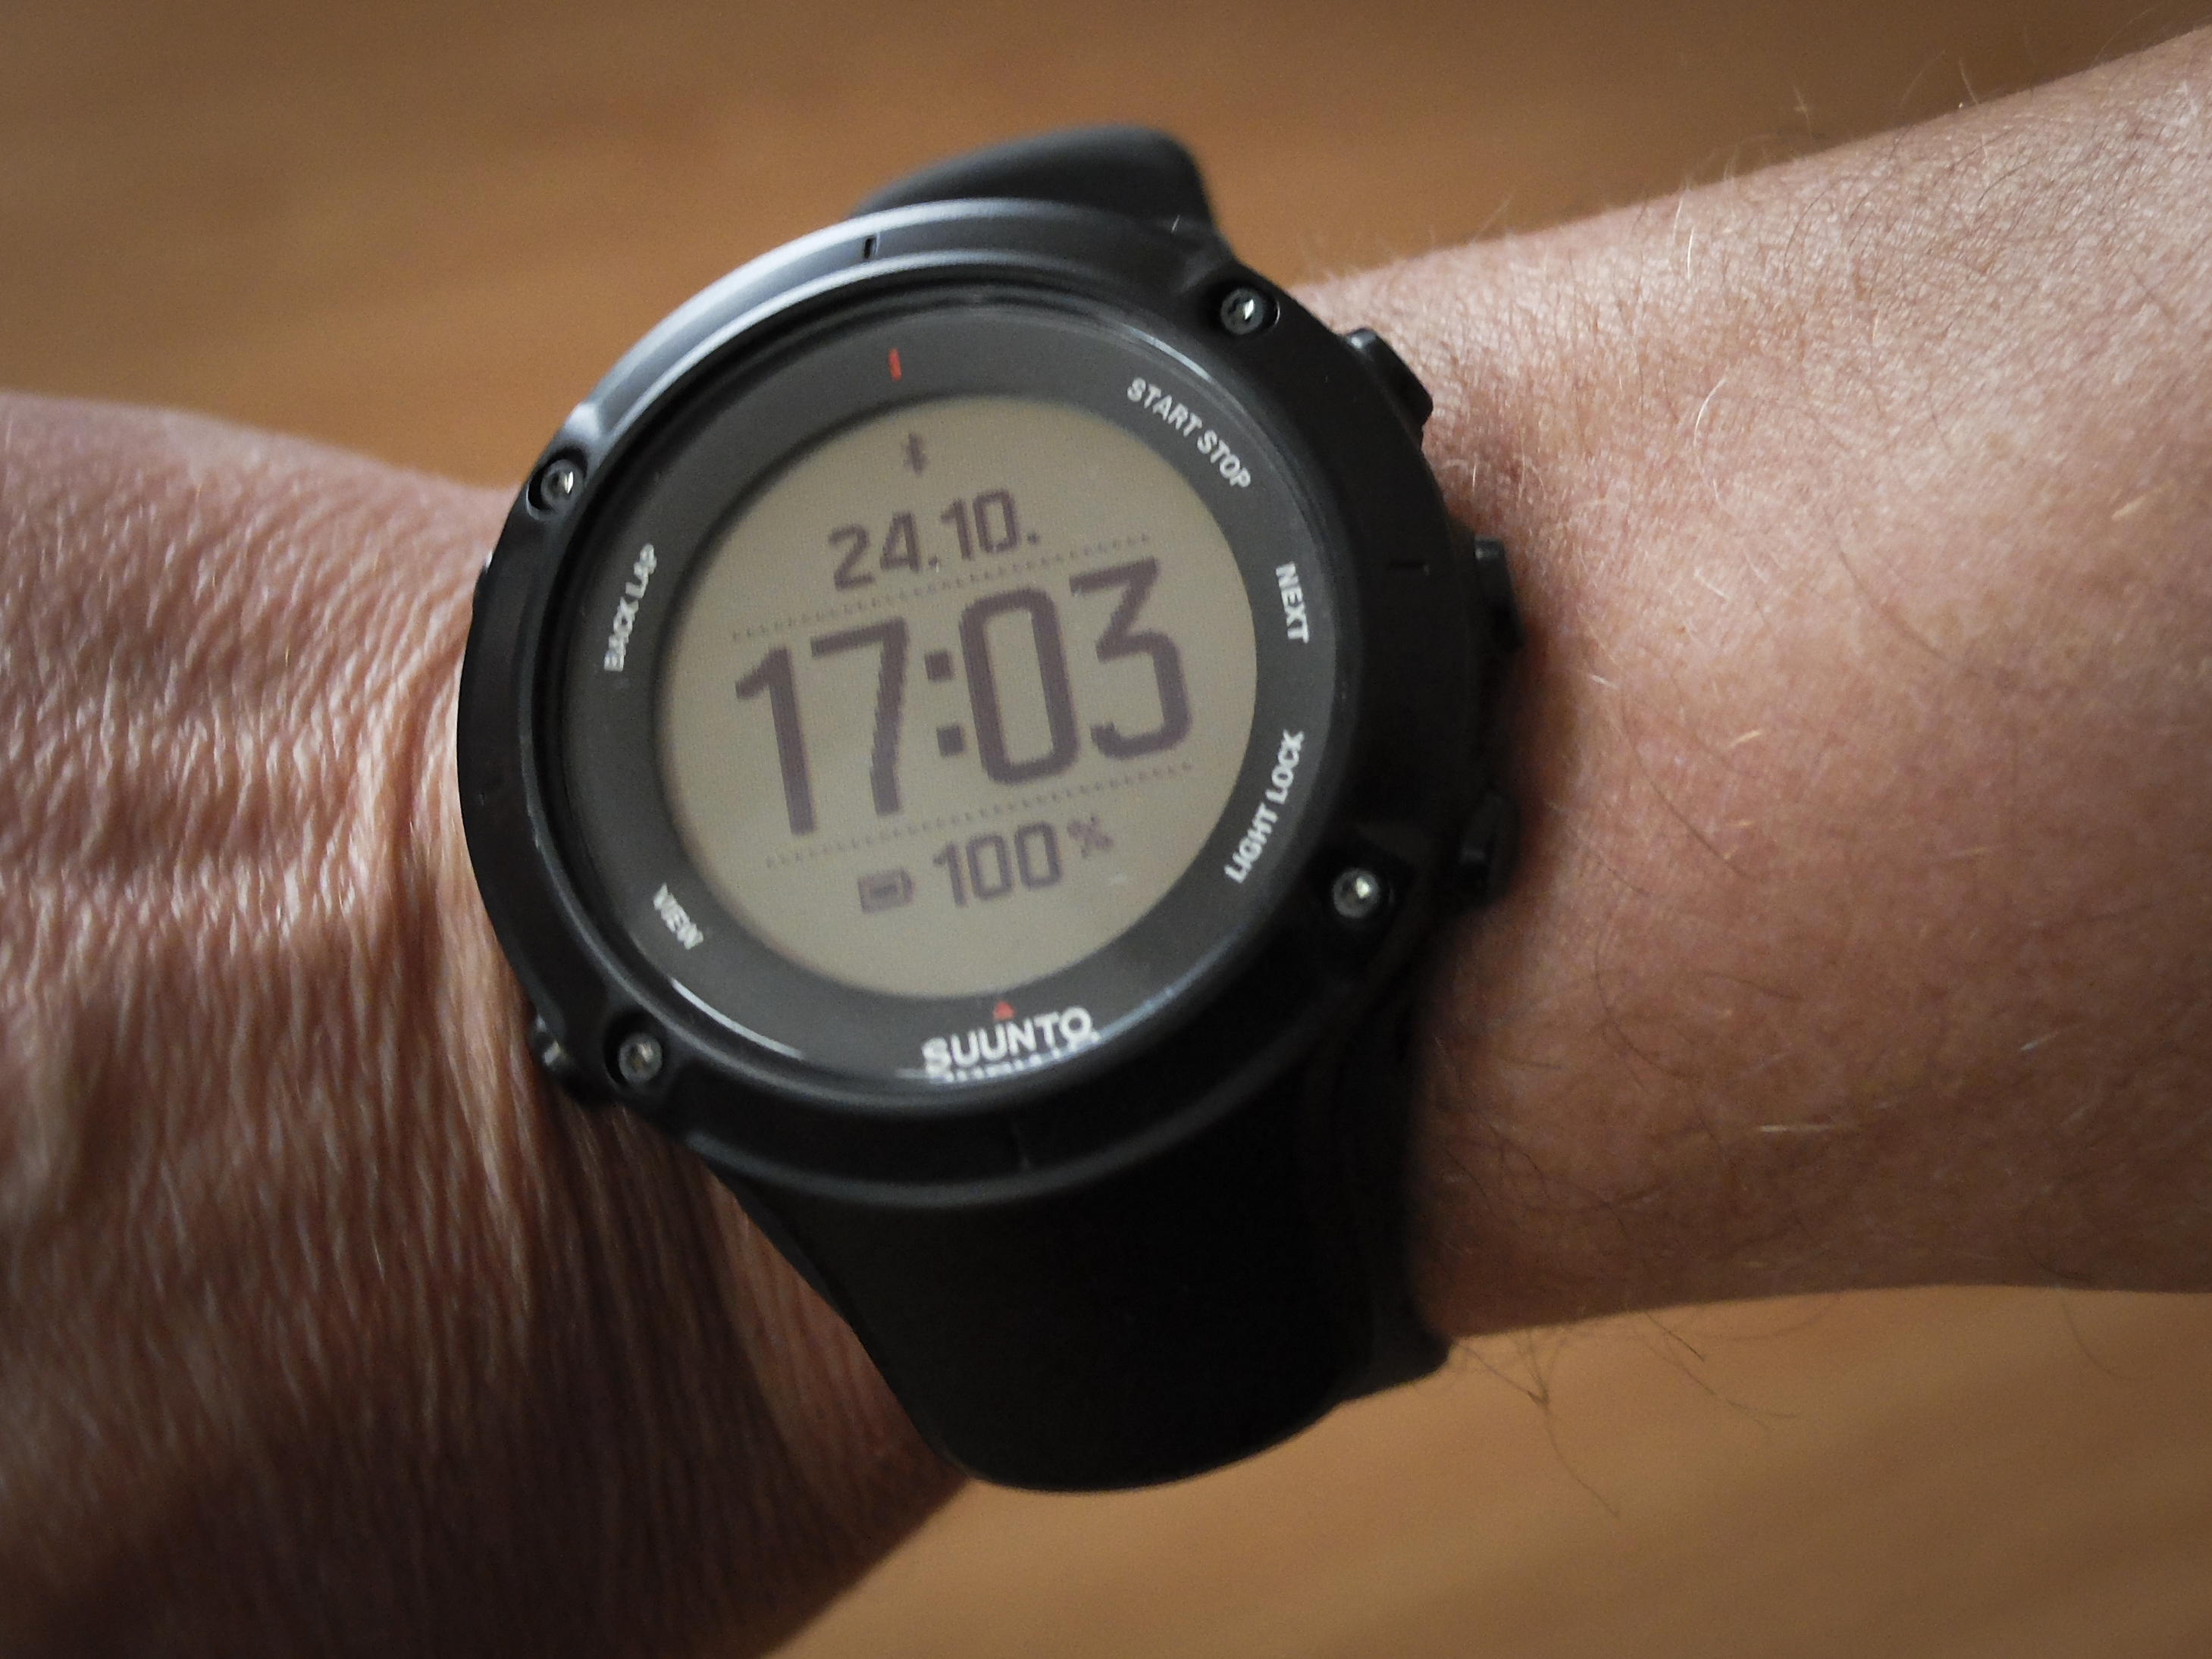
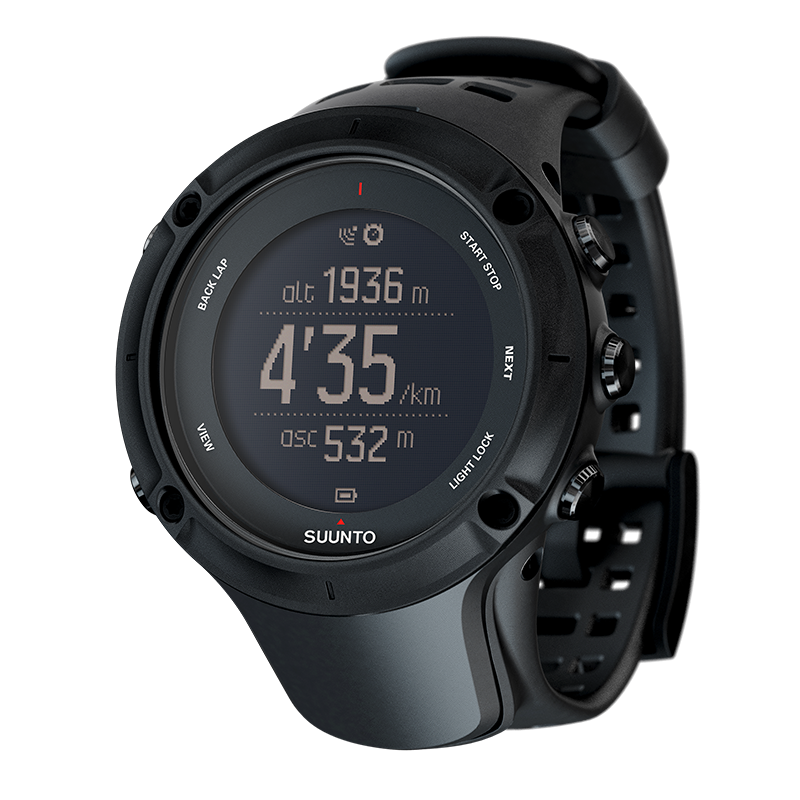
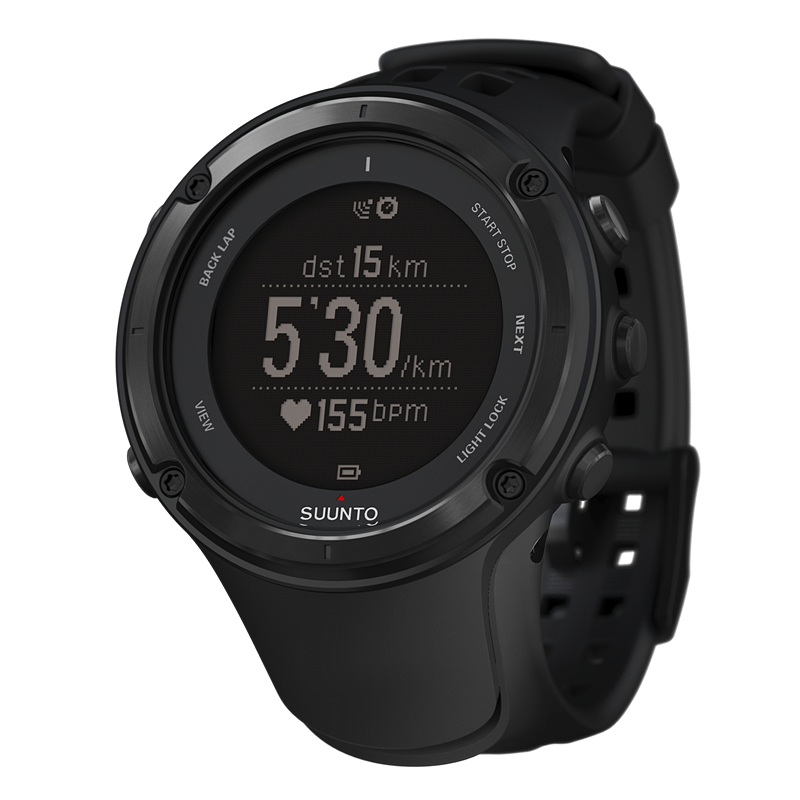
©iancorless.com_Scott-7316

Suunto Ambit 2

  • Have water available
  • Use a fan or train near an open window
  • Have a towel handy – you will sweat
  • Use music or a TV for stimulus

Need some free music to help you with your indoor session? Try HERE for 50minutes of audio. I personally recommend that you make your own playlist that is specific for your session. Using something like iTunes makes this really easy. Alternatively, a company like Audiofuel provides specific music mixes with or without coaching.

Session 1:

Length : 44 min        

  • Warm-Up : 10min in a very easy gear allowing me to ‘spin’ at a cadence of 90
  • Main Set: 24min alternating 3min at 90 cadence and 3min at 110 cadence. Gearing should be easy and light to allow your legs to spin around. The faster cadence session of 110 allows me to concentrate on cycling technique using the up and down of the pedal stroke and adds souplesse to my legs.
  • Cool Down: 10min easy gear at a cadence of 90

Session 2:

Length: 35min

  • Warm-up: 10min in a very easy gear spinning at 90 cadence
  • Main set: 15min broken down into 30sec at 90 cadence and 30sec at 120 cadence
  • Cool Down: 10min very easy gear at 90 cadence

©iancorless.com_Scott-7351

Initially you will find your legs struggling to get used to using different muscle groups in this recovery work-out. The aim is not to PUSH the gears or have resistance. We don’t want to stress sore muscles. These two sessions are all about spinning legs with an easy gear on the bike and allowing the muscles to recover. This is what is so great about cycling… you can exercise in a non weight bearing way. However, the increased cadence sessions of 110 and 120 will allow you to raise your heart rate.

I shall be doing a turbo session at least once a week as active recovery in my build up to my next long distance run, Paris Mantes 50km towards the end of January. This will be followed by a week off running but 2 turbo sessions before a trip to Costa Rica and the opportunity to run The Coastal Challenge stage race.

Happy New Year and remember, cycling is great for running if used sensibly.

Join us on STRAVA

TIS-Strava-Logo-big-square-600x340-e1354741369637

Thanks to SCOTT SPORTS and SUUNTO for the support and backing

Print

Check out SCOTT HERE

Suunto_logo [ConveWHITE_rted]

Check out SUUNTO HERE


CYCLING for RUNNERS – Article 5 Spice Up Sessions

Cycling for Runners HEADER2

December is here. The days are shorter and many of you will be feeling like hibernating! Nothing wrong with that, training should have peaks and troughs and if you don’t have them, in our opinion you just end up with a series of flat performances.

For the last few months you will have hopefully been incorporating cycling as part of your weekly routine; primarily to replace one or two of your ‘recovery’ runs. Or maybe you have been injured and you are using cycling as rehabilitation? Either way your body will be thanking you for the new stimulus, the lack of impact and the opportunity to try something new.

An article 4 we outlined winter cycling and provided some hints ‘n’ tips to allow you to cycle safely on cold and short days and we also introduced you to indoor training.

In article 5 we are going to spice up your training with two sessions – one for the road and one for indoor training.

Please remember, these sessions are in addition to your recovery cycles and are a replacement for one of your faster, more intensive run sessions.

Worried that cycling will not benefit you as a runner?

Hopping on a road bike or indoor bike provides non-impact cross training that will build your engine, maintain fitness and keep off the pounds! If you are running or cycling you will need strong lungs, a great capillary network and a strong heart. So don’t worry…

First of all, let us have a refresh.

  • Maintain your long run either mid-week or at the weekend
  • Maintain one quality run work out – speed, hills, tempo, fartlek or so on.
  • Incorporate strength and conditioning
  • Stretch post sessions, particularly hamstrings, ITB and calf’s after cycling
  • Have a rest day
  • Cadence – think and concentrate on 90 ‘rpm’ when cycling
  • Use a heart rate monitor and/ or Gps to monitor training

Road ‘V’ Indoor

©goskyride.com

©goskyride.com

Cycling is cycling; yes? Well, yes it is BUT cycling outside in contrast to indoors provides a very different experience. It’s just like running outside in comparison to running on a treadmill.

Many of us would always choose a session outside in comparison to an indoor session, however, indoor sessions are great training sessions that allow us to ‘almost’ completely control the training situation and therefore be very specific. We embrace indoor sessions of 45-90 minutes when we are particularly working on a particular aspect of fitness. For example, you can control your heart rate, monitor your cadence, you have no traffic lights, bad weather or more importantly, danger! You can remain warm, listen to music and embrace a quality workout.

We discussed indoor bike set up in article 4; if you need a refresher, take a look HERE.

Keeping in mind this is our first ‘session’ on the bike it will be an introduction session and one that we recommend you incorporate once a week for the coming four weeks. *We do however recommend you add repetitions with each week for 4-weeks.

The Indoor Session

Image copyright - highergearchicago.com

Image copyright – highergearchicago.com

What you need:

  • Bike
  • Indoor trainer
  • HRM
  • Water
  • Fan
  • Music
  • Towel

Hints ‘n’ Tips

  • Make sure you have your rear tyre at 100 psi (at least) and ensure that you always inflate to the exact same pressure for every session, that way you have consistency and you can monitor progress.
  • You will apply pressure to the rear tyre by adding resistance from the drum on the indoor trainer. Perform a ‘roll-down’ test each time so that you have a controlled environment. A roll down test works as follows: inflate to 100psi and then apply pressure to the back wheel using the turbo trainer. Cycle and build to a particular speed (say 15mph) and then stop pedalling. Time how long it takes the wheel to stop moving. For example, 4 seconds. Every time you train you should ideally have the same roll down time for consistency and monitoring. If it takes 5 seconds, add more resistance and vice versa.
  • Use a fan to regulate temperature.
  • Drink during the session – you will sweat a great deal!
  • Use music and compile a play list that suits the session – no point listening to classical music if AC/DC are what you need to ramp the session up!
  • A HRM is essential to control your effort and monitor progress
  • Aim for 90 cadence

©iancorless.com©iancorless.com_cyclingforrunners-2

Warm up for 10-minutes ‘spinning’ your legs in an ‘easy’ gear. This is all about getting blood flowing, loosening stiff and/ or tight muscles and preparing for the session ahead.

Session: Perform 2 minutes at 80% of maximum heart rate (keeping cadence on or around 90) – You will need to use your cycling gears to add resistance and provide the necessary difficulty level for you elevate your heart rate. Monitor your HRM with a quality item – We use Suunto Ambit 3 Peak and Ambit 2 units

©iancorless.com_Suunto-0253205

Recover for 2-minute ‘spinning’ your legs as in the warm up

Repeat the 2-minute session with 2-minute recovery for an additional 5-times (making a total of 6 in week-1). *In week 2 do 7-repetitions, in week 3 do 8-repetitions and in week 4 do 10-repetitions.

Tip – you can set your HRM/ GPS to time these intervals for you. That way you can just concentrate on the effort!

Warm down for 10-minutes spinning and then stretch

This session is a quality workout that maximises your time training and provides the necessary stimulus to make you a better, faster and more efficient runner.

The Outdoor Session

Indoor training may just not be your thing? Road riding, particularly in winter is more stressful, less predictable and carries increased risks of accident. The risks are very real, so please be sensible! Our hot tip for cycling in winter is ideally cycle between the hours of midday and 3pm – you have more light, potentially less traffic and the weather should be more predictable. For example, any early morning frosts will have disappeared providing ambient temperatures have increased.

©iancorless.com©iancorless.com_cyclingforrunners-

Lets face it. A beautiful winters day, blue skies, glowing sun and a nip in the air makes you feel great to be alive.

In contrast to an indoor session, road cycling is less controllable due to many of the points already raised, so think about your ride and what you want to achieve. For our first session, we are going to work on ‘structured *fartlek’ and therefore we recommend riding out of any built up areas (use this as a warm up) and then use quiet roads for the session. Ideally the road should be flat or slightly undulating – hill sessions come later in the training!

* Fartlek, which means “speed play” in Swedish, is a training method that blends continuous training with interval training. The variable intensity and continuous nature of the exercise places stress on both the aerobic and anaerobic systems.

Warm up for at least 15-minutes, in reality though your warm up may be longer due to your location and how far away quiet roads are.

Once on quite roads build pace using progressively harder gears but still maintain 90-cadence.

Session: 1-min, 2-min, 3-min and 5-min intervals at 80-85% of max HR. Be ‘random’ with how you do these intervals and the session should last 30 to 40-minutes including recovery. Ideally you will do at least 11-minutes of fartlek and build to 22-minutes of fartlek over a 4-week period.

Recovery is based on feel and unstructured, Use heart rate as a guide here. For example, when your heart rate drops back down to 70-75% of max HR – perform another repeat/ interval.

Warm down is as warm up – use cycling home in an easy gear and make sure you stretch post ride.

Incorporate one or both of the above sessions in over a 4-week period and you will start to feel the benefits not only physically and mentally.

In the New Year we will take our sessions up a notch to provide you with a great kick-start for another successful year in sport.

Have a great Christmas break and a great New Year!

*****

Join us on STRAVA

TIS-Strava-Logo-big-square-600x340-e1354741369637

Thanks to SCOTT SPORTS and SUUNTO for the support and backing

Print

Check out SCOTT HERE

Suunto_logo [ConveWHITE_rted]

Check out SUUNTO HERE

CYCLING for RUNNERS – Article 4 Winter Cycling

Cycling for Runners HEADER2

If you are living in Europe we won’t need to tell you that winter has arrived. Temperatures are dropping, the days are shorter, road conditions are unpredictable at times and the urge to get out and do anything (particularly cycling) can be diminished.

Don’t be disheartened though. Remember we are using cycling as a way to enhance our running and at this stage we are very much using cycling as active recovery or a method of maintain fitness while injured.

We all get injured at some point in our running. Salomon athlete, Jorge Maravilla posted this just the other day:

“I’m guilty of constantly thriving for the runners high, but lately my body has denied me. Despite an unwelcomed setback, today I found joy on two wheels.”

Jorge Maravilla

We keep saying this, but cycling is just great all around exercise. Jorge is lucky… he seems to have some nice weather in San Francisco. If we Europeans wish to continue cycling in winter we have two options:

  • Purchase some great all-weather clothing.
  • Go indoors.

Both options above are valid and we combine both in our training.

Cycling outdoors in winter

The old saying, ‘there is no such thing as bad weather; just bad clothing’ really is applicable for cycling outdoors in winter. However, let’s get one thing straight, no all singing and all dancing Gore-Tex this or Gore-Tex that will protect you from ice on the road and dangerous conditions. Our first tip is assess conditions and be sensible… if in doubt, stay indoors.

Essential kit for winter cycling:

  • Hat ideally with ear covers that will fit under your helmet
  • Buff or seamless neckwear product for around your neck
  • Glasses
  • Merino base layer
  • Long-sleeve jacket with a windproof chest panel
  • Gloves – depending on conditions you may well need options. For example: a Merino liner glove with thicker warmer/ windproof glove for cold and icy winds. Alternatively you may well need a glove that performs in wet conditions.
  • Long tights – we recommend those with in-built braces as they provide added protection around the kidneys. Also consider tights with foot loops. These loops will stop them riding up. Tights are available with or without at seat pad. We purchase without seat pad so we can wear our normal cycling shots underneath.
  • Merino socks or similar
  • Shoe covers to help block out the wind, rain and colder temperatures
  • Waterproof jacket that can fold up

If you have all of the above you are set for winter cycling. Remember, cycling in winter is much colder than running primarily due to the wind chill. Don’t skimp on layers. In particular, your hands and feet are the most vulnerable areas.

We recommend cycling at all times (even in the day) with a flashing small led light at the front of your bike and a flashing red at the rear. It just adds a little more presence on the road and makes you more visible. It goes without saying that if you are heading out at night, use the best front and rear lights you can afford.

Eye contact is a key element of cycling, especially in winter. When approaching junctions or any areas where cars can impede and impact on your travel, look for eye contact. Lock in on them. Stare at them and acknowledge that they have seen you.

As we mentioned in article 3, when cycling use light gears and aim for 90-cadence. Remember, we are using cycling to either extend aerobic activity or as an alternative to a recovery run at this stage. As we progress with our articles we will discuss how to adapt your cycling sessions so that they can become specific in extended your fitness and/ or building strength.


Cycling indoors in winter

Lets face it, heading outdoors in the cold and potentially wet conditions on a bicycle is not something that you may not wish to do. It’s understandable. It’s not for all of us, especially if your runs are wet, muddy and cold. Step in indoor cycling.

We love indoor cycling…

We know; it’s the equivalent of running on a treadmill. However, just like a treadmill, indoor cycling can provide you with a very controlled and specific environment.

  • Focused and quality sessions
  • Improved cycling technique
  • Time efficiency
  • Accurate testing

Our first hot tip is don’t use the bikes at your local gym unless you have no other option… why?

Well, gym bikes are just so far removed from your ‘own’ bike. Remember in our first couple of articles how we emphasized how important it is to get the correct bike, the correct fit, the correct saddle and so on… why would you then go the gym, get on a generic bike and then disregard everything you have strived to get right.

The way forward is to purchase a ‘Turbo Trainer.’

elite crono fluid

Many styles of turbo trainer exist and you can pay as little or as much as your budget allows. We would recommend a middle of the road trainer costing in the region of £100-150 to be the best of both worlds. We also recommend a ‘fluid-resistance’ trainer as you use your bicycle gears to create more or less resistance. For clarification, ‘magnet-resistance’ units often work by adding a lever to the handlebars and you then add/ reduce resistance by moving the lever. We not keen on these though as the resistance seems to be linear and the feel is nothing like riding on the road.

One more feature that we think is worth mentioning is a spring- loaded resistance unit. Indoor trainers can really impact on the longevity of a tyre; a spring-loaded unit will provide a longer life.

How do they work?

A turbo trainer usually consists of an ‘A’ frame and a metal drum. Quite simply, you attach the rear of your bicycle to the frame and place the rear wheel on the drum. This drum provides resistance to the rear wheel and creates a similar sensation to riding on the road. You can add more or less resistance to make sessions as hard or as easy as you require. Tip: The front of your bicycle will feel as though it’s pointing downhill due to the added height of the turbo trainer. Therefore raise your front wheel to make your bicycle level. You can use anything to do this but many companies now sell specific products to do the job for you.

Hints ‘n’ tips

Image copyright - highergearchicago.com

Image copyright – highergearchicago.com

  • Use a piece of old carpet or purchase a turbo training matt so that you provide some protection between you, your bicycle and the floor. This is really important if you are using a room in your home. (3)
  • Have some towels handy to protect your bike and to use to mop sweat from your face (4)
  • Use a fan to cool you down (2)
  • Have water available (1)
  • Raise the front wheel (5)
  • Always use the same tyre pressure and resistance on the rear wheel. This will make sessions controllable and comparable.
  • Use a HRM such as a Suunto Ambit and/ or rear wheel cadence counter
  • Use music or a dvd to provide stimulus. We personally create music playlists based on the session we are doing… rocking out on your indoor trainer to AC/DC makes speed and interval work easy! (6)

Indoor cycling generates plenty of heat and even when cycling easy, you will still sweat. Be prepared.

For the first month of indoor cycling you can apply the principles as laid out in Article 3 of Cycling for Runners – keep gearing light and easy, aim for a 90-cadence and use a HRM to ensure that you are not working harder than you should be. Double what would have been your run time; so, if you were doing a 30-minute easy run, do a 60-min easy cycle.

 *****

In article 5 of CYCLING for RUNNERS we will discuss spicing up your outdoor and indoor cycling sessions with one session for outdoors and one session for indoors and how to combine this with your recovery sessions.

Enjoy the seasons, enjoy the change in the weather and importantly use cycling to enhance your running.

Be safe…!

Join us on STRAVA

TIS-Strava-Logo-big-square-600x340-e1354741369637

Thanks to SCOTT SPORTS and SUUNTO for the support and backing

PrintSuunto_logo [ConveWHITE_rted]

Check out SCOTT HERE

Check out SUUNTO HERE

CYCLING for RUNNERS PAGE HERE

Cycling for Runners Logo

Packing for Nepal and Everest Trail Race

©iancorless.com_Nepal2014-0463238

Packing for Nepal…

If you are like me, packing and deciding on kit is harder than doing an event sometimes. This is magnified in an event like the Everest Trail Race when I need to cover the same ground as participants, be self sufficient AND carry all my camera equipment.

It has taken me a long time to tweak and get this right. I am still not sure I am 100% but I am close.

I have been asked many times what do I take, how do I do it and what are my hints ‘n’ tips are? So as I pack for Nepal it seemed to make sense to document this and provide a little insight.

From the start I want to express many thanks to The North Face, Montane and Suunto for the support on making these trips possible. I couldn’t do it without help.

MONTANE-2

To start with I use a F-Stop camera rucksack. F-Stop are without doubt the ‘dogs bolx’ when it comes to combining cameras and equipment for tough long days on any terrain. Unlike other camera bags, these packs work just as well as any top quality hiking or run pack but with the addition of providing a safe and functional home for my gear. They use ICU‘s that are possible to purchase in different sizes so you can have exactly the camera storage you need allowing you to customise ‘free’ space for essential kit. I usa the LOKA UL which is a lighter version of the classic LOKA.

©iancorless.com_Nepal2014-0393231

The above picture shows my LOKA UL with a small pro ICU. Inside the ICU I have the following:

  • Canon 6D with 70-200mm F4
  • Canon 50mm F1.8
  • Canon 17-40mm F4
  • Flash
  • Remote flash triggers

On the waist belt I have a camera holder that will take my 2nd Canon 6D with a 24-105mm F4 lens.

The above set up allows me to have immediate access and quick access to another camera and accessories as required.

A huge plus of the F-Stop is the storage and comfort capacity.

The above photo asol shows a selection EXPED dry bags with all my equipment for a week on the trail. These bags are great as you can colour code, they come in different sizes and of course they keep everything dry!

Here it is in the pack:

©iancorless.com_Nepal2014-0373229

So what am I taking? Take a breath….

  • Montane Direct Ascent 800 down sleeping bag – see HERE
  • PHD Minimus Down pants – see HERE
  • PHD Minimus Down Socks – see HERE
  • TNF Victory hooded jacket – see HERE
  • TNF Thermoball gilet – see HERE
  • TNF – GTD tights – see HERE
  • TNF GTD shirt – see HERE
  • TNF GTD shorts – see HERE
  • Ice Breaker Merino wool base layer
  • Smartwool Merino socks
  • TNF Ultra Trail shoes (not shown) HERE

Essentials:

  • TNF Gloves Red Point HERE and eTip HERE
  • TNF Neckwear HERE and Hat HERE
  • TNF Balaclava HERE
  • Leki ‘Stick’ walking poles (not shown) HERE
  • Suunto Ambit 3 Peak HERE

©iancorless.com_Nepal2014-0413233

I am not sure on the overall weight. To be honest, if it was just the clothing and sleeping bag I would be travelling very very light indeed. The cameras add some serious weight but once in or on the pack the whole package is very workable and comfortable.

©iancorless.com_Nepal2014-0443236


I will be posting daily from Nepal as and when connections allow. Everything will be posted on this website, Facebook and Twitter.

CYCLING for RUNNERS – Girl What Cycles (2)

WOBBLES WOBBLES WOBBLES

At first I was afraid

I was petrified

And I grew strong

And I learned how to get along

and so you’re back

Did you think I’d crumble

Did you think I’d lay down and die

Oh no, not I

I will survive

But now I hold my head up high

and you see me

somebody new

– Gloria Gaynor

 ©iancorless.com_cyclingforrunners-4115

Well …….THAT was epic! Back on the bike. I must say the once yearly training sessions in Lanzarote are maybe not sufficient to make me feel at home on a bike.

Now, a couple of vital tips for the novice cyclist or not so novice cyclist who is going to use cycling as cross training.

First and foremost if you are lucky enough to go out on your initial cycling rides with an ex-elite cyclist:

  • Use the opportunity to benefit from his experience to take in all the useful tips about how to handle your gears (of course you need to first find out where they are). This means you will maximize your energy and hopefully be sticking to an ideal cadence of 90 rpm.
  • Draft as much as you can behind him so you can concentrate on mastering the technical aspects of your bike and less on maintaining speed.
  • IGNORE and pretend not to notice that he can take his hands off the handlebars and put on his wind-stopper jacket or hold the iphone and take snaps of you pedaling like a mad woman all without losing his balance. This requires decades of training where the bike eventually becomes an extension of the cyclist’s body. You will NOT get to this level but the objective is to benefit from what cycling offers in terms of cross-training – i.e. a weight-bearing cardio-vascular work-out and not all these impressive balancing acts.

The first ride is all about getting to know your bike and cycling kit better and not catering any ambitions with regards to average speed. This means:

  • Playing around with the gears – knowing when to get on the “big ring” and the “small ring”. You need to maintain a regular cadence and so be attentive to the course – the up-hills and down-hills as well as the direction of the wind.
  • Being aware of the dangers of traffic. Obviously you should ideally be cycling on country roads with reduced traffic but for most of us this means cycling through urban traffic before we can access these roads. Initially this is a little daunting especially since you’re trying to master your new bike.
  • Learning how to maintain balance and being able to grab hold of your water bottle or wipe a snotty nose without wobbling.
  • Learning to use clip-less pedals effectively. These might take a little getting used to but it is important to practice clipping and unclipping. At the beginning novice riders tend to unclip too much as the idea of suddenly having to break at a junction, traffic lights, cross-roads, circle, accident or congestion and losing your balance and falling still clipped to the bicycle is something we wish to avoid at all costs. Yet here again it is all about anticipating the aforementioned and using the gears effectively to get into an easier gear so you just need to slow down without unclipping.
  • Working on pedaling technique so you don’t acquire bad habits from the beginning. Use the “wiping dog shit” technique. Literally imagine you are wiping dog-shit from your shoes by dropping your heel at the bottom of the pedal stroke.
  • Enjoying the experience and not being traumatized by it so you can’t wait for your next ride! This is a hard one – after my third ride I was beating myself up because I was flying on long flat stretches of uncongested road and riding at a pathetic snail’s pace on the smallest gear up short little steep hills, spinning but not covering distance. Again this is all about experience – the more you go out, the more energy-efficient you will become. Believe in yourself and remind yourself that being perched on top of a bike is for most people a totally unnatural thing and that you will get there ………eventually. Positive thinking also helps!

My personal tip to make your first rides easier:

  • Keep all your cycling kit in one place. Don’t mix it with your run kit. There is sooooo much more to take with you, the list is endless and before you know it you are out the door and you’ve forgotten something.

Remember:

  • Helmet (don’t laugh – this is the last item I almost forgot)
  • Energy bars – yep, when you spend all that nervous energy these are a welcome treat and booster.
  • Proper wind-proof gloves as from now – remember there’s the wind-chill factor to contend with in cycling.
  • A filled water bottle.
  • Your sports watch if you use one on the “cycling” settings – I use a Suunto Ambit 2.
  • Proper sun-glasses for cycling NOT running – Cycling glasses cover the eyes more and protect.
  • Spare cash – when you cycle you cover more distance than when you run and you never know if you need it.
  • A proper wind-proof jacket
  • All the kit to fix a puncture – we’ll come to the nitty-gritty of this later.
  • Two pairs of socks if haven’t invested in shoe covers yet.

And last of all:

  • LOTS of positive energy and a smile

follow me on Twitter @girwhatcycles

riding_a_bicycle_311140


Join us on STRAVA

TIS-Strava-Logo-big-square-600x340-e1354741369637

Thanks to SCOTT SPORTS and SUUNTO for the support and backing

Print

Check out SCOTT HERE

Suunto_logo [ConveWHITE_rted]

Check out SUUNTO HERE

CYCLING for RUNNERS – Girl What Cycles – 1

Niandi PHOTO

Bicycle races are coming your way
So forget all your duties oh yeah!
Fat bottomed girls they’ll be riding today
So look out for those beauties oh yeah!

©Queen

Check out ALL the CYCLING for RUNNER articles HERE

So where do I start? Not quite sure but I am sure that cycling will firm up those weak “runner glutes” and make me a stronger ultra-runner!

But first let me put my story into perspective. I am NOT an ex-elite cyclist like a certain Mr. Talk Ultra. More like a false beginner – I’ve certainly dabbled in road biking and have recently decided to take it a little further and invest myself more seriously in cycling as a cross-training alternative.

What motivated this decision? Cycling is a weight-bearing form of cardio-vascular exercise which is perfect for:

  • Training during certain running-related injuries and maintaining cardiovascular fitness. I feel directly impacted by this as I have for the past 3 years had to cut down on my mileage and participation in long-distance events due to a foot injury. I heel strike on the right foot and after 2 decades of road and trail running my arch has collapsed and the spring ligament which is distended. The human foot has an arch much like the ones in some bridges and other architectural structures. And much like these man-made structures it is a useful engineering phenomenon with the tendons and spring ligament working together to provide “lift off”. A collapsing arch can be caused by injury or ageing. I don’t want to go down the road of orthotics and strengthening my foot muscles requires a reduction in mileage and as I hate aqua jogging cycling seemed like a good option!
  • Cross-training to prevent over-training and a sudden increase in mileage. If you are not already injured as I am cycling is an effective means of preventing running-related injuries or at least reducing the risk. I wish I had taken up cycling before to prevent all those running-related injuries the damage of which is irreversible.

This will not be the first time I use cycling to maintain fitness. A few years ago I was training for a 100-miler and felt excruciating pain when I went out for a run. My suspicions were confirmed by the radiologist. I had multiple stress fractures of the metatarsals caused by a sudden increase in mileage combined with calcium deficiency. This is not uncommon for female ultra-runners. I was told ‘RICE’ (rest, ice, compress, elevate) was what was required. Only problem – I had invested financially and time-wise my 100-miler in South Africa was just 5 weeks away. So I laid off running for 5 weeks and cycled intensely (psychologically I didn’t want to feel undertrained and it was far too early to taper). The 5-week rest from running did me the world of good and by the time I got to the start line the bones in my foot had healed and very little fitness had been lost due to my cycling. In addition to this although I didn’t get my “runner’s high”, I did get a fix from cycling and I didn’t gain any weight.

©iancorless.com©iancorless.com_cyclingforrunners-4115

You only have to look at female athletes like Nathalie Mauclair, Emilie Forsberg and Emilie Lecomte to realize that cross-training can be beneficial and help you stay injury-free, add variety and spice to your running by stimulating other group muscles and ultimately increase the longevity of your run career whether you are a professional or not.

Well now that I’ve sold the benefits of cycling for runners let me tell you about my dabbling with the sport:

I grew up in the Netherlands where kids are born on bikes so I started cycling relatively long distances when I was 5 – at weekends it wasn’t uncommon for us kids to cycle 20km to the pancake restaurant, eat up a massive Dutch pancake and cycle 20km back home. Then as I grew up into a lazy teenager I put away my bike and only took up cycling again when I was injured as a runner.

Niandi PHOTO

The revelation really came when I attended a triathlon camp in Lanzarote run by my partner Ian Corless who was an ex elite cyclist very keen on triathlon and IM training. Lanzarote is a cyclists’ paradise and here I learnt to use clipless pedals and more importantly experience the thrill of cycling through endless stretches of volcanic landscapes, against strong head-on winds and down scary descents…! I loved it but I didn’t have my own bike and so cycling was limited.

OLYMPUS DIGITAL CAMERA

I am now more than motivated to progress, mix things up and not only provide some spice to my training but also I know, cycling will make me a better runner. I hope that my input as a “novice” or “false beginner” who can provide a female perspective will help all of you, especially female ultra-runners out there who want to improve as runners.

So let the fun begin…

©iancorless.com©iancorless.com_cyclingforrunners-

Life is like a bicycle. To keep your balance you must keep moving – Albert Einstein


Ladies, I would love to hear from you… tell me your stories, tell me how you are using cycling for running and importantly, have you got any cycling gossip?

Follow me on Twitter @girlwhatcycles

#CyclingforRunners

Go back

Your message has been sent

Warning
Warning
Warning

Warning.


Join us on STRAVA

TIS-Strava-Logo-big-square-600x340-e1354741369637

Thanks to SCOTT SPORTS and SUUNTO for the support and backing

Print

Check out SCOTT HERE

Suunto_logo [ConveWHITE_rted]

Check out SUUNTO HERE

CYCLING for RUNNERS – Article 3 Lets Get Started!


HEADER_Suunto_Scott

In article 2 of CYCLING for RUNNERS we gave you several bullet points in why cycling can benefit your running: RECOVERY, CADENCE, LONG SESSIONS and STRENGTH. As we move through our articles we will address these issues in more depth and we will provide sessions and plans to help you maximize your time whilst training.

It’s time to start cycling!

Before you hop on board lets first just tick off some key issues.

  • You have the correct size bike.
  • You have fitted yourself to your bike taking a good look at saddle height, saddle fore and aft and your reach to the handlebars.
  • You have attached cleats to your cycle shoes and you have carefully adjusted them so that you cycle with a natural motion.

If we have a tick to all of the above, we need to quickly look at cycling apparel and what you will need.

Short Sleeve Cycle Jersey with either half-zip or full-length zip to help control your temperature whilst cycling. The jersey should have 2/3 pockets on the rear to hold essentials such as food, inner tube, tools, and jacket.

Scott RC Mens Short Sleeve - Cycling for Runners

Cycling Shorts with pad for that all needed comfort. Many different varieties exist and it all comes down to personal taste. Ladies, female specific products do exist.

Scott RC Mens Shorts - Cycling for RunnersCycling Socks – get short ones. It may sound vain but cycling with long socks looks ridiculous! (Unless you use compression)

Scott RC Tech sock - Cycling for RunnersCycling shoes

Scott Shoes - Cycling for RunnersCycling Mitts/ Gloves – these are really important. They work in two ways, they add some additional padding when holding the bars and help avoid numb hands but more importantly, if you come off your bike, the first thing you do is put your hands out… yes, you have guessed it! No skin on your hand and gravel stuck in your palm is not fun! Believe us.

Scott Liner Glove - Cycling for Runners

Helmet – essential! Don’t even contemplate going outside without one. Make sure it fits properly.

Scott Helmet - Cycling for RunnersGlasses – debris is all around us, on a bike you are moving fast so don’t take risks. Get some protection.

Scott Glasses - Cycling for Runners Wind/ Waterproof Jacket

Scott Waterproof Jacket - Cycling for RunnersArm Warmers – these are a great addition to a s/s top and allow you to control your temperature whilst out on a ride.

Scott AS Arm Warmer - Cycling for RunnersLeg Warmers – as above, they convert your shorts into full length tights and therefore provide two easy options.

  • Scott Legwarmer - Cycling for Runners Spare inner tubes (2)
  • Tyre levers (these remove the tyre so you can replace an inner tube should you get a puncture.
  • Small essential tool kit
  •  Pump
  •  Water bottles

Okay, so the above list provides an immediate kit list that will get you on the road and training. The above is based around milder temperatures. Just like running, as temperatures drop, the need for more specific and warmer apparel will be required. We will address some of the options in article 5.


YOUR FIRST TRAINING SESSION (Session-1)

We are assuming here that you are new to cycling. You may have cycled in the past but it has been a while or maybe you have never cycled whilst running?

The good news is that cycling has relatively no impact. Hey, that is one of the reasons why we are incorporating it into our run training right? Like anything new, we start slow and we build up. At first, we recommend that you replace one or two run sessions per week with bike sessions. Initially, we will not be looking at speed, strength or endurance. Cycling will be used as recovery or an alternative to an easy run. From our perspective, it makes sense to us that your cycling days are Monday, Wednesday or Saturday.

Why?

  • On Sunday, most people do a long run, so, spinning out your legs on Monday is a great way to recover and use cycling.
  • Tuesday’s and Thursday’s often include speed or strength running, so, splitting those sessions up with a spin on Wednesday is an ideal recovery tool but if required will still allow you to work on your endurance.
  • Saturday is the day before your long run (typically); so, at this stage a spin out on your bike will feed those endorphins, loosen your legs off and prepare you for Sunday without adding too much stress or soreness.

Adding cycling at this stage in your training, we recommend you keep a few pointers in mind:

  1. Maintain your long run.
  2. Maintain one run session that involves speed, fartlek or hill work.
  3. Work on a cycling cadence of 90 rpm
  4. Keep cycle gearing light so that you can ‘spin’ your legs
  5. Be road savvy – roads are far more dangerous for cyclists than runners

So, in SESSION-1 we are going to replace a ‘recovery run’ or two easy/ recovery runs with cycling. Typically, a recovery run or easy run will be anything between 20-50 minutes or 3-5 miles. Of course, we are all different and as we mentioned in our introduction, we see runners falling into 4-groups, so, you will need to tweak and adjust your training for your level.

As a general rule, we double our run minute mile pace to gain a similar effect on the bike. So, if you are running 7-minute miles, we would say 14-minutes on the bike.

Quite simply, SESSION-1 is about replacing those 3-5 mile runs with a bike ride of double time.

Scenario 1

I run 3 recovery miles in 30 minutes – replace your ‘easy’ run with 60-minutes of cycling keeping gearing light and aiming for a cadence of 90-rpm. Keep the roads flat and hills to a minimum.

Scenario 2

My recovery 3-mile recovery runs take 21minutes – replace your run with a 40-45 minute easy cycle. Again, keep the gearing light, cadence around 90-rpm and road conditions easy.

What do we mean by ‘light gearing?’

Your bicycle comes with gears. Typically two chain rings at the front and ten at the rear. Gears allow you to make pedalling easier or harder. In simple terms, if you can turn a ‘hard’ gear with 90-rpm you will go considerably faster than turning an ‘easy’ gear with 90-rpm. However, terrain, weather and so many other factors come into play. So, when you ride up hill you need an easier gear to enable you to get up the hill. The steeper the hill, the easier the gear required. By contrast, going down a step hill you will be able to be in the hardest gear possible and still spin your legs at 90+ rpm.

For the purposes of replacing recovery/easy runs with cycling, we want to ensure that the gearing used is light so that you can ‘spin your legs.’ This will mean being on the ‘smaller’ chain ring at the front and one of the ‘larger’ chain rings at the rear. Play around with gears and work on that optimum cadence of 90 rpm. Pedal in circles! As you progress with cycling, you will be able to develop your pedalling technique by pedalling at a slow cadence in a higher gear, but this is for later!

TIP: Cycling is not just pushing with the pedal but also about pulling. You push down and as you reach the bottom of the pedal stroke you need to drop your heal, pull back and then lift. By doing this, you will not only generate more power with each revolution of the pedal but you will also fire muscles that get neglected when running. If you are struggling to grasp the technique, we recommend to clients that they should pretend they are wiping dog dirt off the bottom of the shoe… can you imagine it? Remember, pedal in circles, use all 360 degrees of the pedal stroke.

See this You Tube clip by the ©GlobalCyclingNetwork

HEART RATE or RPE

Heart rate and monitoring heart rate while exercising has been used for years as a way of keeping training honest. It’s important at this stage that your ‘cycle effort’ should feel no harder than your ‘run effort.’ If in doubt, use a HRM to monitor your easy run HRM and cycling HRM. Please be aware that you can expect a slightly different HR on a bike in relation to running. A drift of 5bpm =/- is normal, but you will need to keep an eye on this. We are all unique. We use Suunto Ambit with HR monitors.

Suunto Ambit 3 Peak HR side view

If a HRM intimidates you, use RPE (Rate of Perceived Exertion). RPE is a great way to monitor your effort based on your own personal experiences as an athlete. I use a scale of 1-10. 1 being asleep, 10 being passed out on the finish line exhausted. For the purposes of a recovery run or cycle, I would be looking at an RPE of 4 or 5.

NOTE

There is no magic formula to doing a great bike ride and at this stage of CYCLING for RUNNERS; you should embrace the bike as a break. Something new. An adventure that may well lead to something new and as we keep saying; it will definitely make you a better runner!

We recommend you apply SESSION-1 for 1-month cycling once or twice a week to allow adaptation to take place.

In Article 4 we will discuss cycling indoors and using either a Spin Bike at the gym or using a Turbo Trainer in your home.

Article 5 will provide you with SESSION-2 and we will discuss winter apparel.

Join us on STRAVA

TIS-Strava-Logo-big-square-600x340-e1354741369637

Thanks to SCOTT SPORTS and SUUNTO for the support and backing

PrintSuunto_logo [ConveWHITE_rted]

Check out SCOTT HERE

Check out SUUNTO HERE

CYCLING for RUNNERS PAGE HERE

Cycling for Runners Logo

CYCLING for RUNNERS – Article 2 Recovery, Cadence, Long Sessions and Strength

Cycling for Runners HEADER2

In article 1 of CYCLING for RUNNERS we discussed finding the correct sized bike and then how to fit the bike. Niandi and myself ride the same size bike (52cm) however, our experience on a bike are different. I have been riding and racing bikes for years whereas Niandi is new and very much on a learning curve in using cycling to improve her running. Also, our morphology is different. Niandi has a slightly longer leg whereas my torso is longer.

My bike is a SCOTT Addict 10. It’s a stiff bike, made of carbon and it’s all about speed. The geometry is classic race geometry with a 74deg seat angle. It’s fast, sometimes a little twitchy but really grips the road.

Scott Addict 10

Niandi’s bike by comparison is a SCOTT Solace 20. It’s a new breed of bike from SCOTT that provides comfort and performance with relaxed geometry. It’s still a super light bike but for long days in the saddle or for the novice cyclist, this bike will certainly help ease the transition. Also, importantly the ‘reach’ of the Solace is less than the Addict. As we mentioned in bike fit, we can tweak saddle, height, handlebars and stem to ensure that our bikes work for us.

Solace 20

So, how is your bike? Do you have it set up properly and do you feel comfortable? Before progressing with some specific cycling sessions on how to improve, we wanted to provide you with several key bullet points why cycling can benefit you as a runner.

You may well have turned to cycling in the past because YOU HAD TO! Yes, we all get injured and as an injured runner we are usually desperate to get an endorphin kick, maintain fitness and reduce impact. Step in cycling…

Although cycling is great as that ‘alternative’ to running, why not think ahead and plan cycling into your weekly schedule to avoid that injury that is almost certainly waiting to happen. 

RECOVERY

Injured or recovering from hard run training, cycling provides great ‘active’ exercise with no impact. We have often heard the phrase, recovery run! But does a recovery run really exist? 20/30 or 40mins of easy running is still creating impact through all your joints and muscles, even if you do not elevate your heart rate. So, why not replace some of these sessions with cycling? Cycling provides all of us with an opportunity to move our legs, increase blood flow, ease joint stiffness, ease tired muscles and we will flush out lactate acid from tired or stiff legs. This is nothing new. Runners have been using cycling as a means of active recovery or injury rehabilitation for years. The addition of a Turbo Trainer (indoor device that attaches to your bike) will also allow you to spin away indoors while keeping warm, dry and you can even watch some TV or listen to music if that is your thing.

Tips: Keep your gearing very light and ‘spin’ your legs. You do not want to be pushing big and heavy gears. Remember, this is about recovery and injury maintenance.

CADENCE

Cadence is something we will have all heard of. Cadence in cycling refers to how many revolutions our legs make per minute. If has often been stated that 90 rpm (revs per minute) is an optimum cadence. We agree! Spinning your legs for 90 rpm (180 for both legs) provides ‘souplesse.’ This souplesse (flexibility) is key to becoming an efficient cyclist. Look at this objectively and the next time you go out for a run, count your foot strike. Maintaining 90 rpm or 90 foot (180 both legs) strikes per minute will make you not only efficient but will also help with technique. Bike and run cadence are two transferable skills. When coaching cyclists, we often use 90 rpm as a benchmark; this also provides a great indicator as to when to change up and down gears. In time, as you become a stronger cyclist you will find that you are able to push a harder gear for the same cadence. In simple terms, you are getting stronger and this means you will go faster.

Tips: You can use a cycle computer and magnet to provide information ‘live’ while cycling. This can be extremely useful when looking to maintain optimum cadence. When running, you can use a foot pod or similar device to relay cadence back to a wrist unit. Both are great tools for improve bike to run cadence.

LONG SESSIONS

Long run sessions and back-to-back run sessions are an essential part of a good runners training plan. However, these sessions can damage the body and in time, potentially injure the body. A long bike ride in isolation or a ‘brick’ session is a fantastic way to gain added fitness time without impacting on your body. Long bikes allow you maximal aerobic time with minimal impact; the only downside will be that you need to be out longer for a similar gain to running. However, this is not the point… a long bike session is about adding variety, providing a new stimulus and increasing or maintaining fitness without impact. A brick session is when bike and run sessions are combined to make one session. Anyone coming from a duathlon or triathlon background will be well aware of this. Running on bike legs is quite a unique experience, the term ‘jelly legs’ is often used. This is because the legs and muscles are used in two very different ways. However, this transition process provides great stimulus and if done gradually, is a great addition to a training plan.

Tips: If you want to translate long runs to bike time, we often use 15min per mile, so, if you did a 20-mile run we would recommend a 5-hour bike ride as starting point. Of course many variables come in to play so be careful. Brick sessions are challenging, start by adding just 10-15 minutes of running to a bike session. In time you can build this but be gradual.

STRENGTH

Running builds a certain set of muscles, fine tunes them and makes them extremely efficient for the job that you ask them to do; run! However, we have many other muscles that feel a little bit neglected with our run habit. Cycling provides a stimulus to these neglected areas. Running and just running makes us all plateau, adding cycling will not only compliment our run muscles but also so many other areas of our body will become stronger (such as our core, arms, shoulders, hips and so on). Add all this together and what we have is a faster and stronger runner.

Tips: Like anything, if you haven’t cycled before, start easy and progress slowly. No need to rush. After a bike ride, make sure you stretch, particularly hamstrings! Cycling turns your legs over in a smaller circle than running.

We caught up with Salomon International athlete, Philipp Reiter on his thoughts on why CYCLING is good for RUNNERS.

Philipp Reiter, Salomon ©iancorless.com

Philipp Reiter, Salomon ©iancorless.com

Philipp on RECOVERY

Spinning out the legs” on a bike is definitely one of the things I personally look forward too after a hard and/or long run. Spinning makes the blood go through my body faster and takes all the acids and by-products away. Shaking the legs out on a bike makes my muscles ache less and speeds up recovery.

20140806_195030_11-2

Philipp on STRENGTH

Even if you just hike or walk around (instead of running on a rest day) your leg muscles always have to push to move the body. Have you ever recognized that you never pull and use the complementary muscles? Using cycling and specific bike shoes/pedals allow you to pull the pedals as well as to push them more intense than you would do without. But what is the advantage to build up the “other” muscles? After many years of running, muscle can become imbalanced and this increases the risk of injuries or other problems with tendons. Cycling will work these unused areas.

IMG_1013

Philipp on IMPACT

Running impacts on bones, hips, tendons… no doubt! Cycling is relatively impact resistant, especially road cycling! However, you must ensure you have correct bike set up and fit. Don’t try to save time or money by cutting corners here. A bike that is too small or too large or one that does not have the correct fit will just impact on your power output and after a while you may get problems in your back or knees!

Philipp on LONG SESSIONS

Philipp Reiter Cycling

Philipp Reiter Cycling

A long bike ride is a great way to have a long endurance session. I usually double my run time, so, if I wanted to do a 2-hour run I would replace with a 4-hour bike. You still get tired, you still get just as hungry and you definitely get the fitness benefits. What you don’t get is the damage and impact. However, you still need to run long… cycling is great is a great alternative to mix things up and provide stimulus but would never replace long runs. You just need to work them into your schedule.

In our next article we will talk about the right kit for cycling and provide you with some guidelines on how to include cycling in your current training plan.

Join us on STRAVA

TIS-Strava-Logo-big-square-600x340-e1354741369637

Thanks to SCOTT SPORTS for the support and backing

Print

Check out SCOTT HERE

CYCLING for RUNNERS PAGE HERE

Cycling for Runners Logo

Suunto Ambit2 S

screenshot_243

29th April 2013

Suunto launches Ambit 2 S – a multisport GPS watch for athletes

Suunto App Zone and Movescount.com are also upgraded

The new Ambit2 S is a light and sleek GPS watch for multisport athletes that packs all the features needed for cycling, running, swimming and multisport training. The GPS provides accurate pace, route navigation and tracking, while the heart rate monitor lets you train within your ideal zone.

  • Cycling: The new Suunto Ambit2 S will support power meters (ANT+) and offers various power measurement values and numerous options for in-depth analysis.
  • Swimming: The Ambit2 S also offers comprehensive swimming functionality, including pace and distance, automatic intervals, stroke rate and swimming time related to different pool lengths. The Ambit2 S will also learn to recognize your swimming style, which makes performance analysis easier.
  • Running: Runners benefit from highly accurate pace and distance thanks to FusedSpeed™, the Ambit’s accelerometer integrated GPS, as well as interval timer and autolaps for training.
  • Multisport Training: Users can switch between sports, making the Suunto Ambit2 S ideal for recording your multisport training or race.

Available from May 2013.  Ambit2 S £275/Ambit2 S with HR £325.

App Zone and Movescount.com are also upgraded

Suunto is also upgrading the Suunto App Zone, the community forum where users can find and create free Apps for the Ambit GPS watches. Since it launched in November 2012, the App Zone  has proved popular with users, who have created over 5,000 Apps so far. The upgrade gives Ambit owners the chance to create and share more advanced Apps. Suunto’s online sports community Movescount.com which hosts the App Zone, will also be updated to provide new  tools for in-depth analysis, enhanced navigation and improved opportunities for sharing.

For more product details and full specs, visit www.suunto.com


Garmin Fenix GPS

Garmin® fēnix™ Outdoor Watch Lets Adventurers Go Even Further Off-Trail

garmin-presents-fēnix-the-game-changing-outdoor-gps-watch-for-mountaineers.html

Garmin International Inc., a unit of Garmin Ltd. (NASDAQ: GRMN), the global leader in satellite navigation, today announced fēnix, its first GPS wrist watch for outdoorsmen, such as mountaineers, hikers, cyclists, hunters and backpackers. fēnix provides comprehensive navigation and tracking functionalities as well as trip information to guide adventurers during their challenging activities off the beaten track. Its built-in sensors provide information on heading, elevation and weather changes. Utilizing Garmin’s leading GPS technology, fēnix can guide adventurers off the trail and back to the safety of a vehicle, trailhead or campsite. Sporting a classic round watch design in a high-strength housing with a scratch-resisting display, it is built to endure the toughest outdoor conditions and also makes a stylish day-to-day timepiece.

“fēnix packs Garmin’s leading and trusted outdoor technology into a robust, wrist-worn GPS watch that outdoorsmen can rely on,” said Dan Bartel, Garmin’s vice president of worldwide sales. “Being able to go hands free while still having access to Garmin’s precise and accurate information on weather, elevation and position provides adventurers the confidence and peace of mind to take their outdoor activities even further off-trail.”

Plan, Navigate and Track

fēnix includes a comprehensive navigational toolset that allows users to plan trips and create routes, record waypoints, such as campsites or points of interest, and record GPS bread crumb trails on the move (tracklogs). Adventurers can navigate to coordinates, along a track or route, towards waypoints, geocaches or along any other selected bearing. A navigation arrow provides clear directional guidance and the TracBack® function can guide one back along a previously recorded tracklog. This provides adventurers peace of mind knowing they’re never “lost” and can easily find their way back in case of an emergency or bad weather conditions. Also included is a worldwide basemap displaying cities nearby. Using the BaseCampTM desktop application, fēnix users will be able to easily plan trips and share their adventures with friends and family. fēnix is equipped with both ANT capabilities and Bluetooth® to wirelessly share tracks, waypoints, routes and geocaches with other compatible Garmin devices. A Basecamp mobile app allows users to transfer waypoints and tracklogs to view them on a more detailed map and larger screen of select smartphones.

Altimeter, Barometer and Compass

fēnix is equipped with ABC sensors (altimeter, barometer and compass) to provide explorers relevant real-time information. The built-in altimeter provides elevation data to accurately monitor ascent and descent, the barometer can be used to predict weather changes by showing short-term trends in air pressure and a 3-axis electronic compass keeps the user’s bearing whether he’s moving or not. Utilizing its GPS receiver, fēnix can auto-calibrate its ABC sensors and also auto sets the time based on location. For an extremely accurate temperature reading, fēnix can be paired with tempeTM, Garmin’s new external temperature sensor.

Measure Performance

Similar to Garmin’s running watches, fēnix provides real-time performance data, such as distance, pace time and calories, helping outdoorsmen keep track of their progress during and after their adventures. This is especially useful to keep track of fitness activities off the beaten track, such as adventure or trail running. fēnix is also compatible with Garmin’s premium heart rate monitor for heart rate info and with a speed/cadence sensor for distance, speed and cadence while on a bike. The displayed data fields are fully customizable right from the watch.

Built to Endure the Roughest Conditions

fēnix is built to endure the toughest outdoor conditions, combining a high-strength housing to survive shocks with a mineral glass lens to resist scratching. It boasts a large LCD display with LED backlight and a robust polyurethane wristbands. Garmin’s outdoor watch is waterproof to 50 meters and has a battery life of up to 50 hours in GPS mode (depends on settings) and up to 6 weeks in watch mode. Basic watch functions include alarms, tones, vibration alerts, timer, stopwatch and world clock with the ability to display several times zones at once.

Read on Garmin site HERE

Garmin fēnix is expected to be available in fall 2012 and will have a suggested retail price of $399.99. tempe is an optional accessory and has a suggested retail price of $29.99. The polyurethane wristband will be available in olive or orange and an optional leather wristband can be added.

fēnix is the latest solution from Garmin’s growing outdoor segment, which focuses on developing technologies and innovations to enhance users’ outdoor experiences. Whether it’s Golfing, Hiking, Hunting or Geocaching, Garmin outdoor devices are becoming essential tools for outdoor enthusiast of all levels. For more information about Garmin’s other outdoor products and services.

http://www.garmin.com/us/products/onthetrail/

http://www.garmin.blogs.com and http://twitter.com/garmin.