Winter Running and Adventure Essentials – What Goes In The Pack?

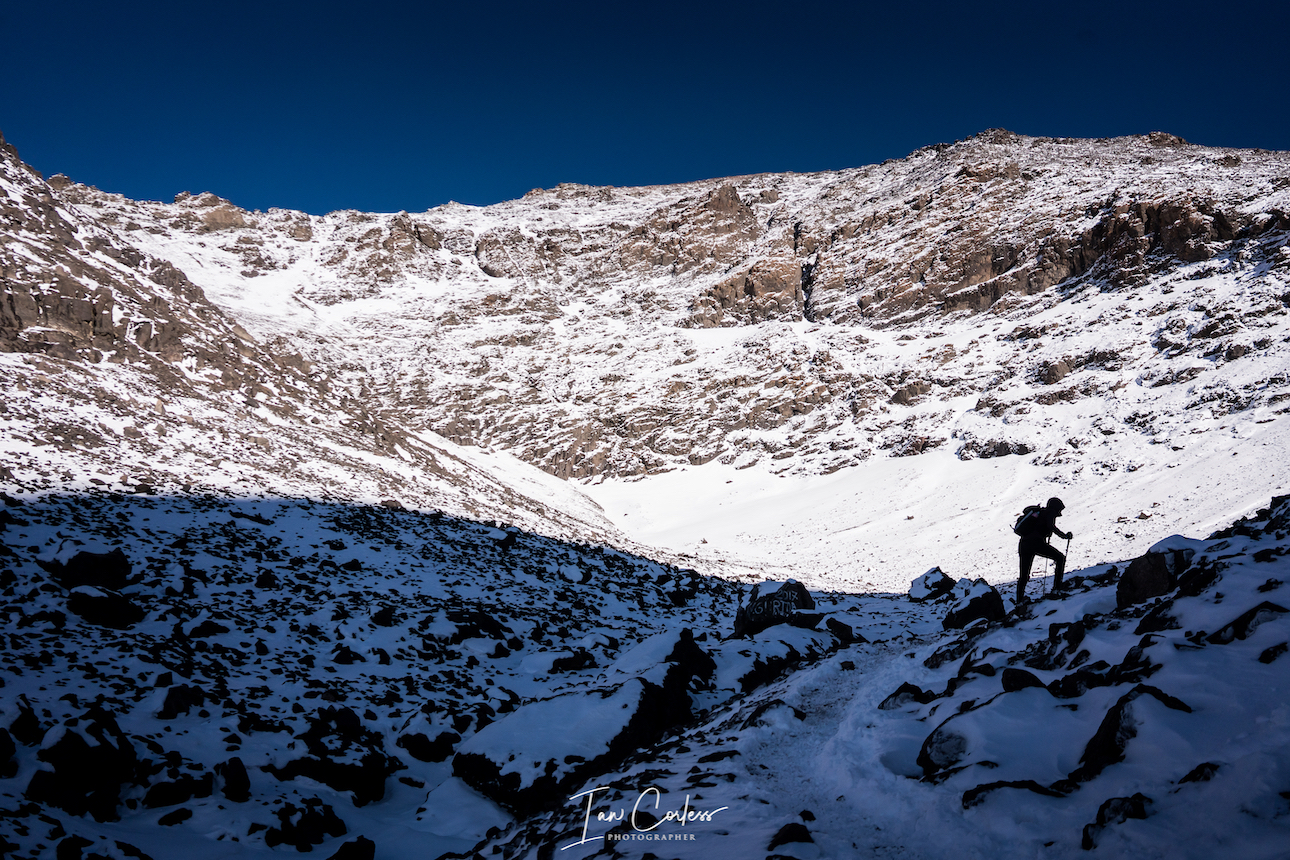
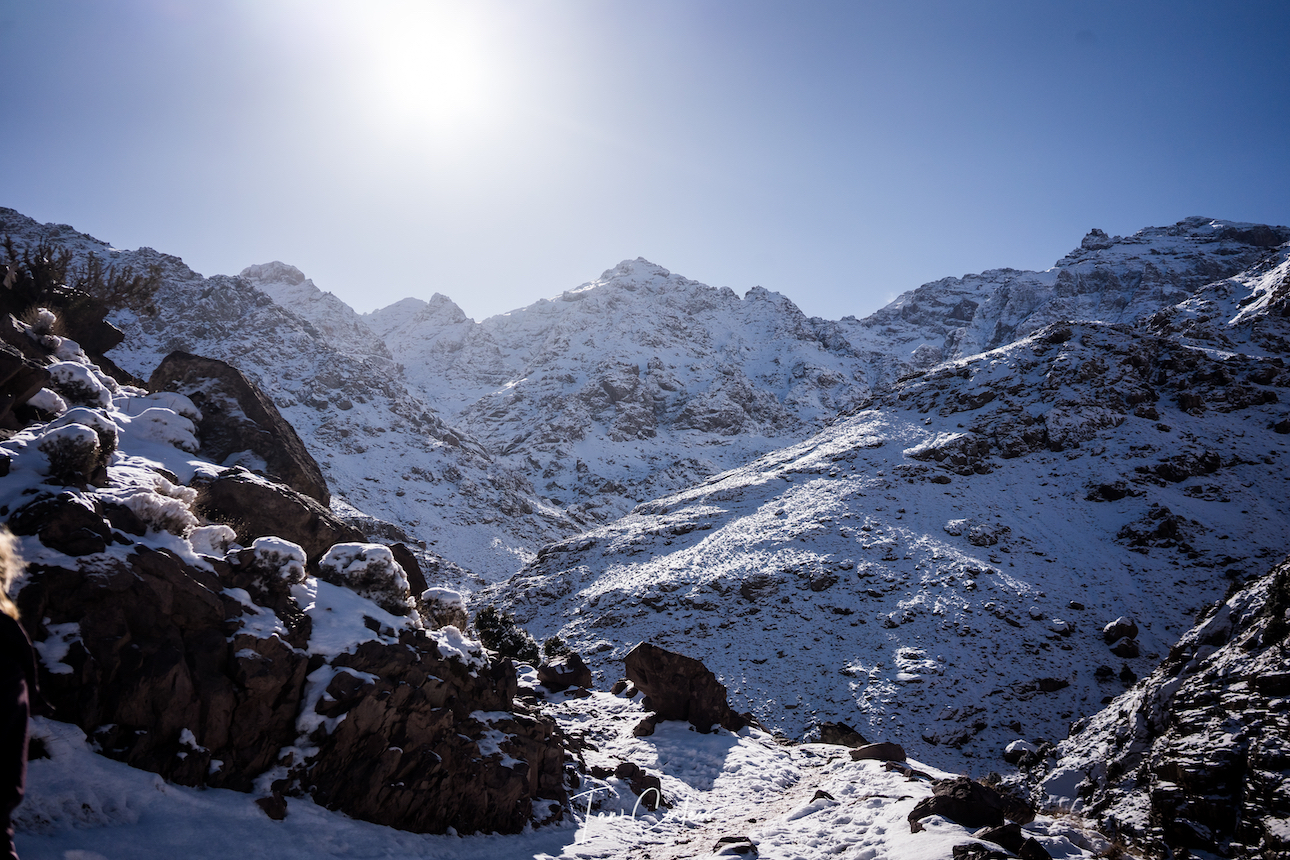
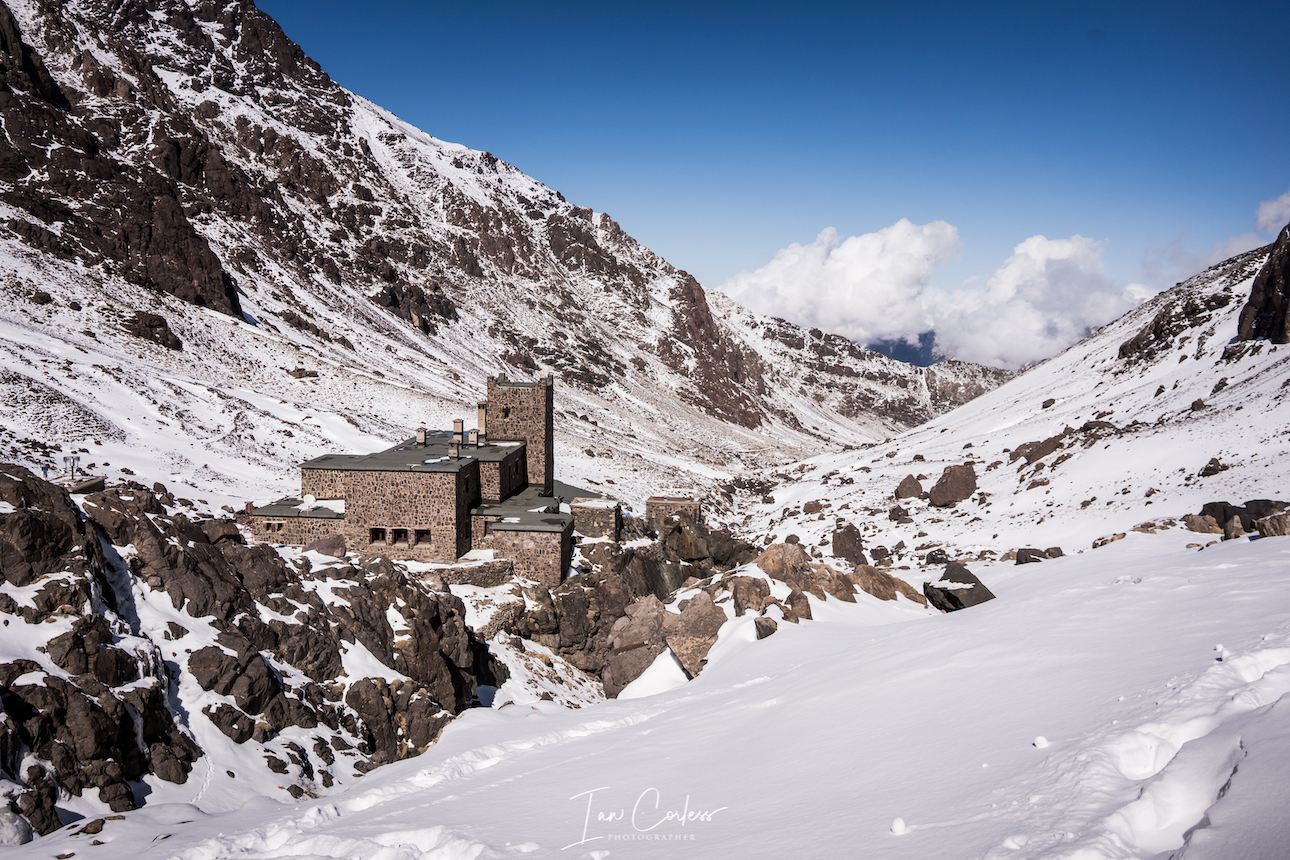
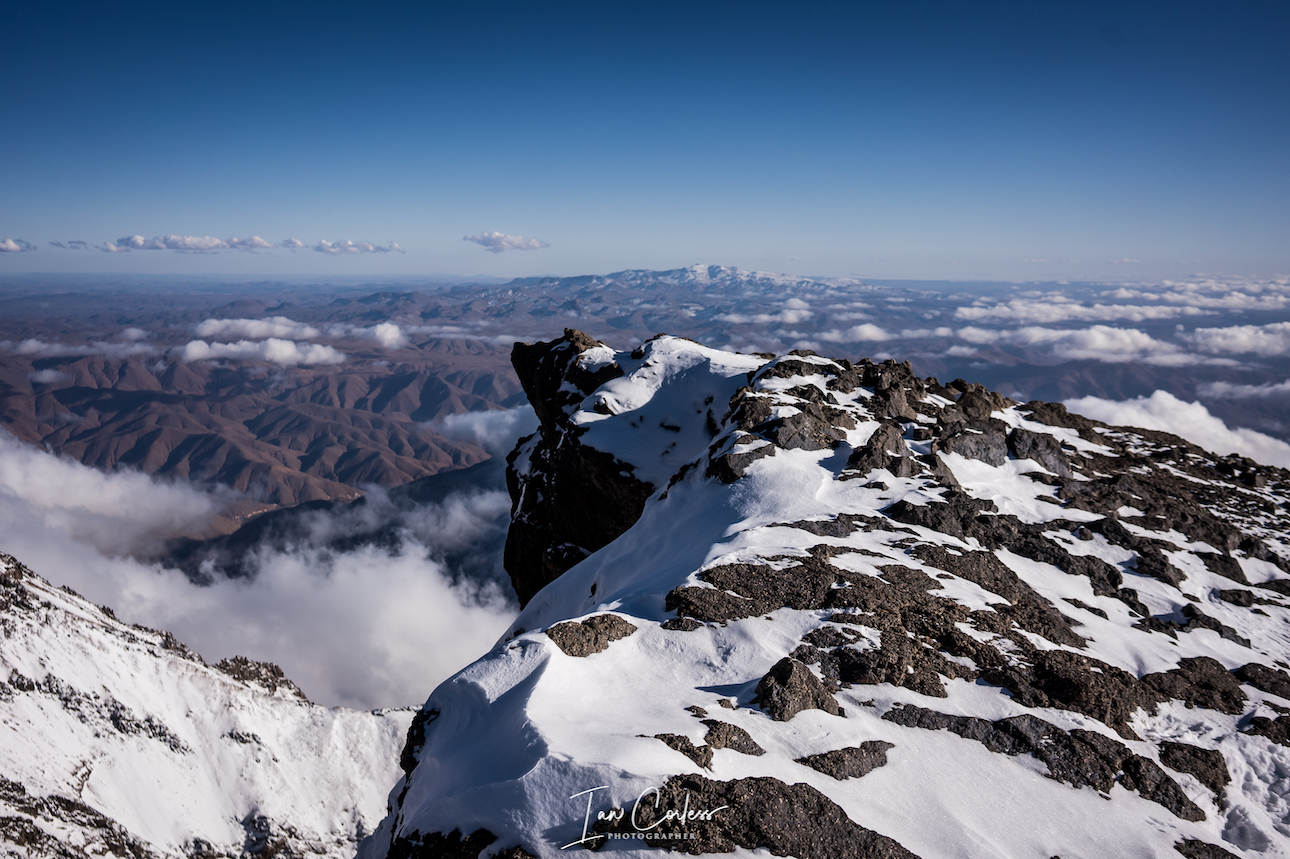
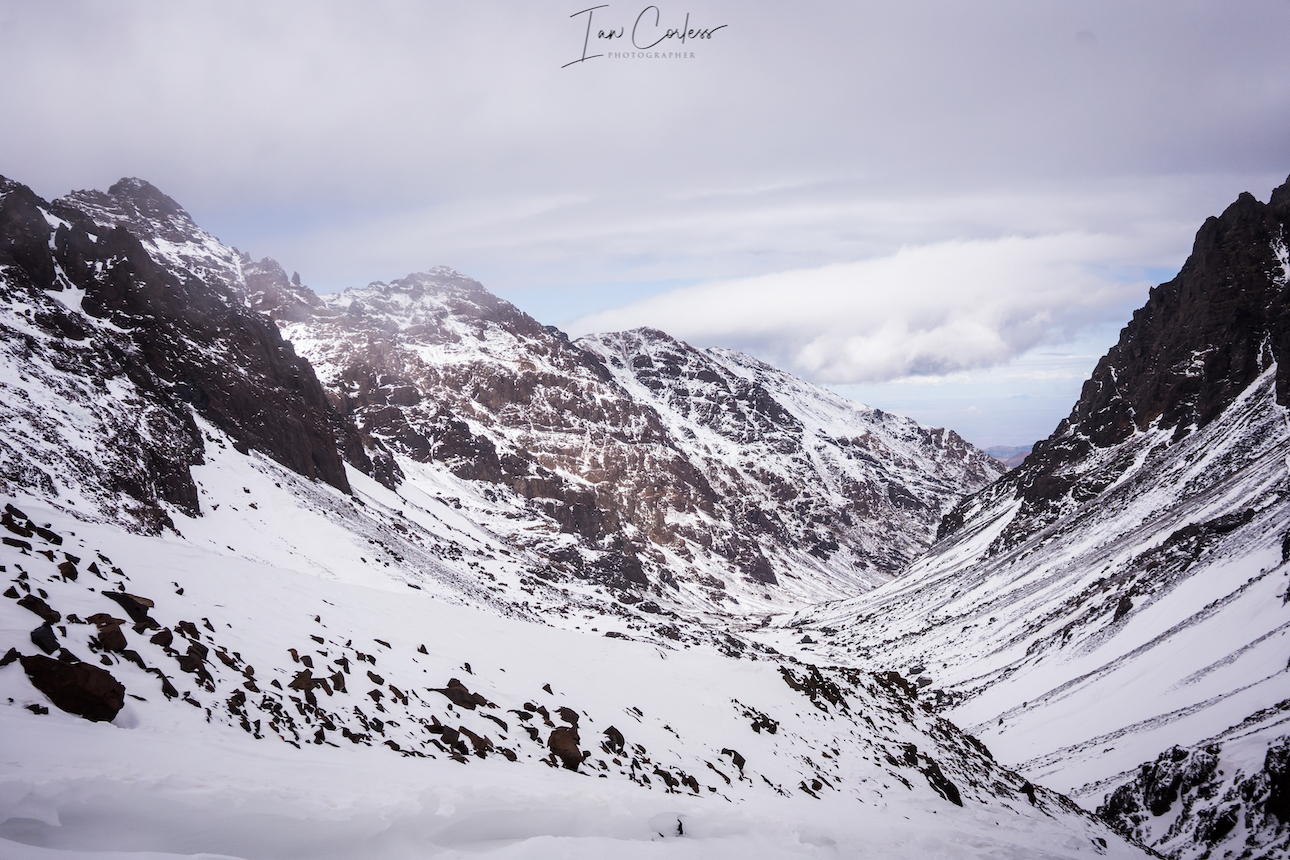
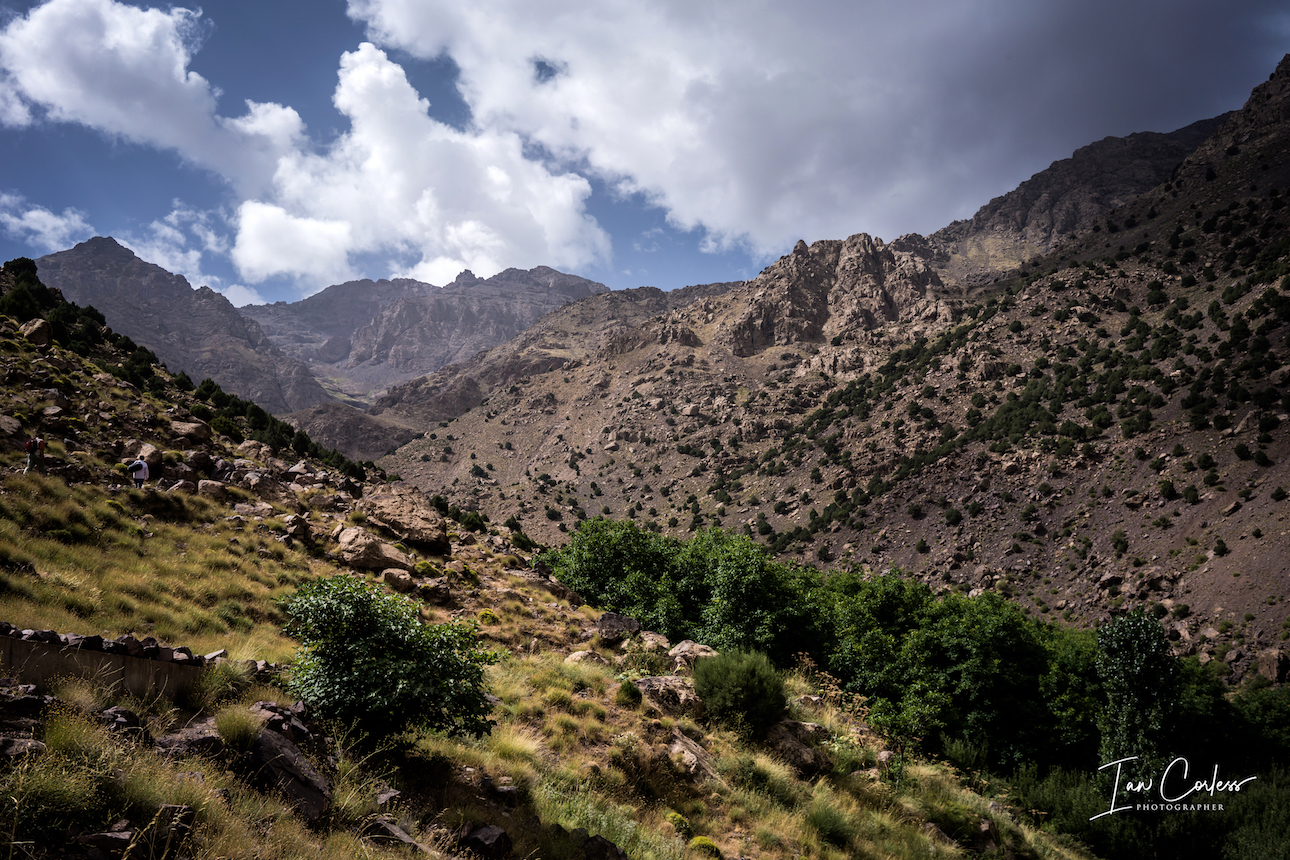
All running, particularly in the mountains, remote areas and particularly if going ‘solo’ brings an element of danger that must be managed. Winter and extreme conditions do increase risks and I discussed this in an in-depth article on Winter Running HERE

Following on from the article, I have had many questions to elaborate on the pack and the equipment I would use for day-to-day adventures and then how I would expand that equipment list for more adventurous and specific trips.

Firstly, understand yourself and your level of experience. I write about this in the article above, but it is worth emphasizing that no two people are the same. The ethos of ‘fast and light’ is great if you can go fast… BUT and this is a big BUT, what happens if you can’t go fast? What happens if you fall, are immobilized, waiting for help or a rescue?

Imagine a scene, stuck on a mountain side, you have broken your leg. You were moving fast and so were warm. But now you are still, the temperature is dropping well below zero and you are unable to move or generate heat. It’s a disaster waiting to happen, and THIS is the scenario you MUST think off when packing for an adventure.

I have a simple attitude of it’s better to carry it and not needed it.

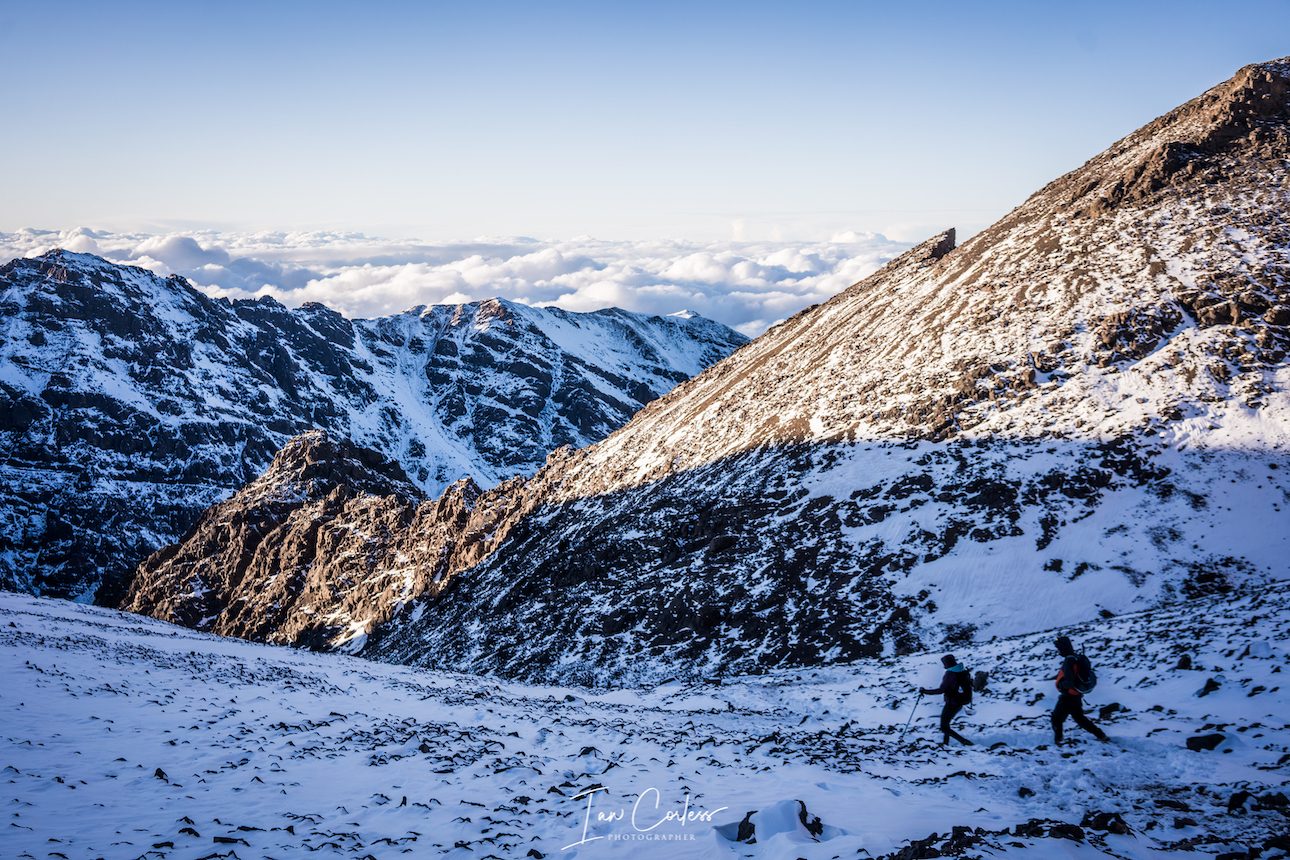
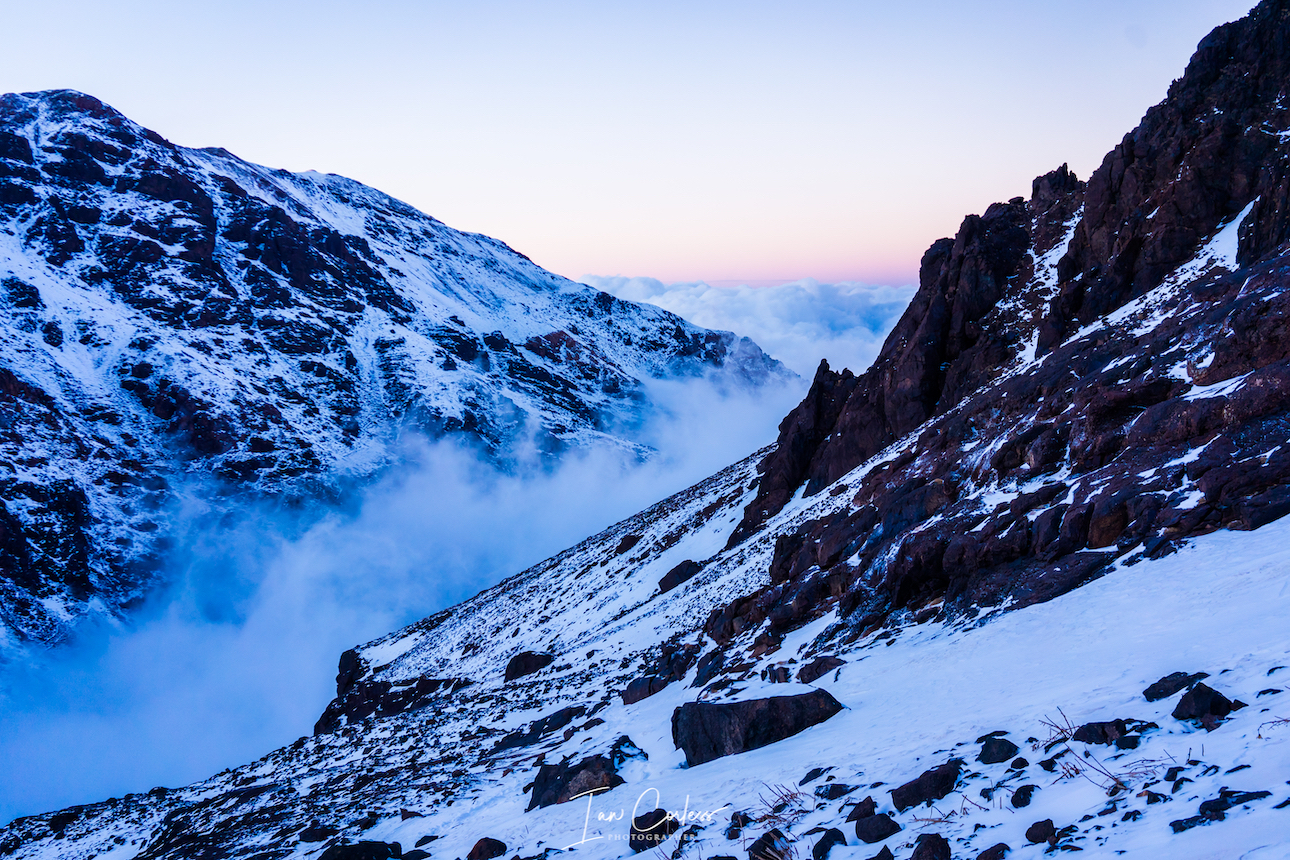
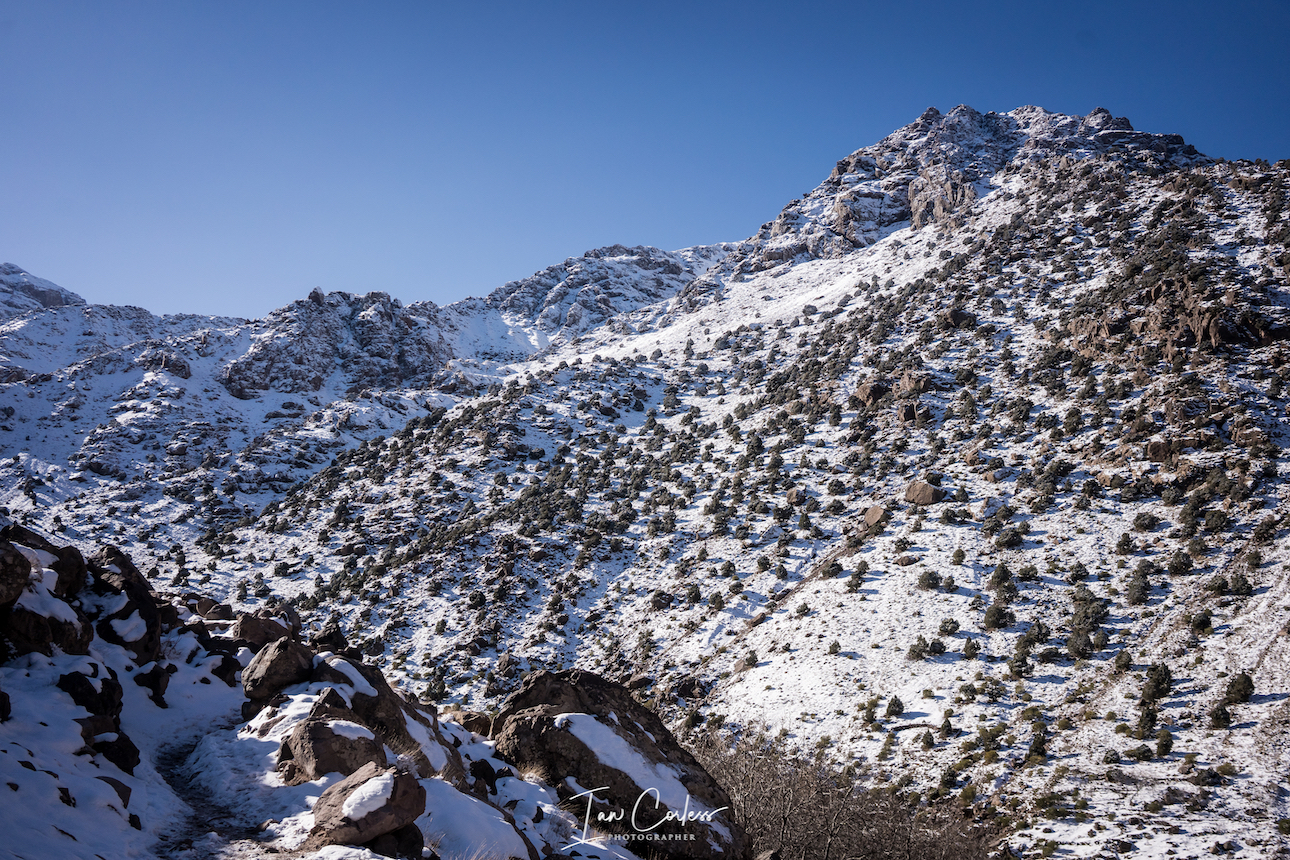
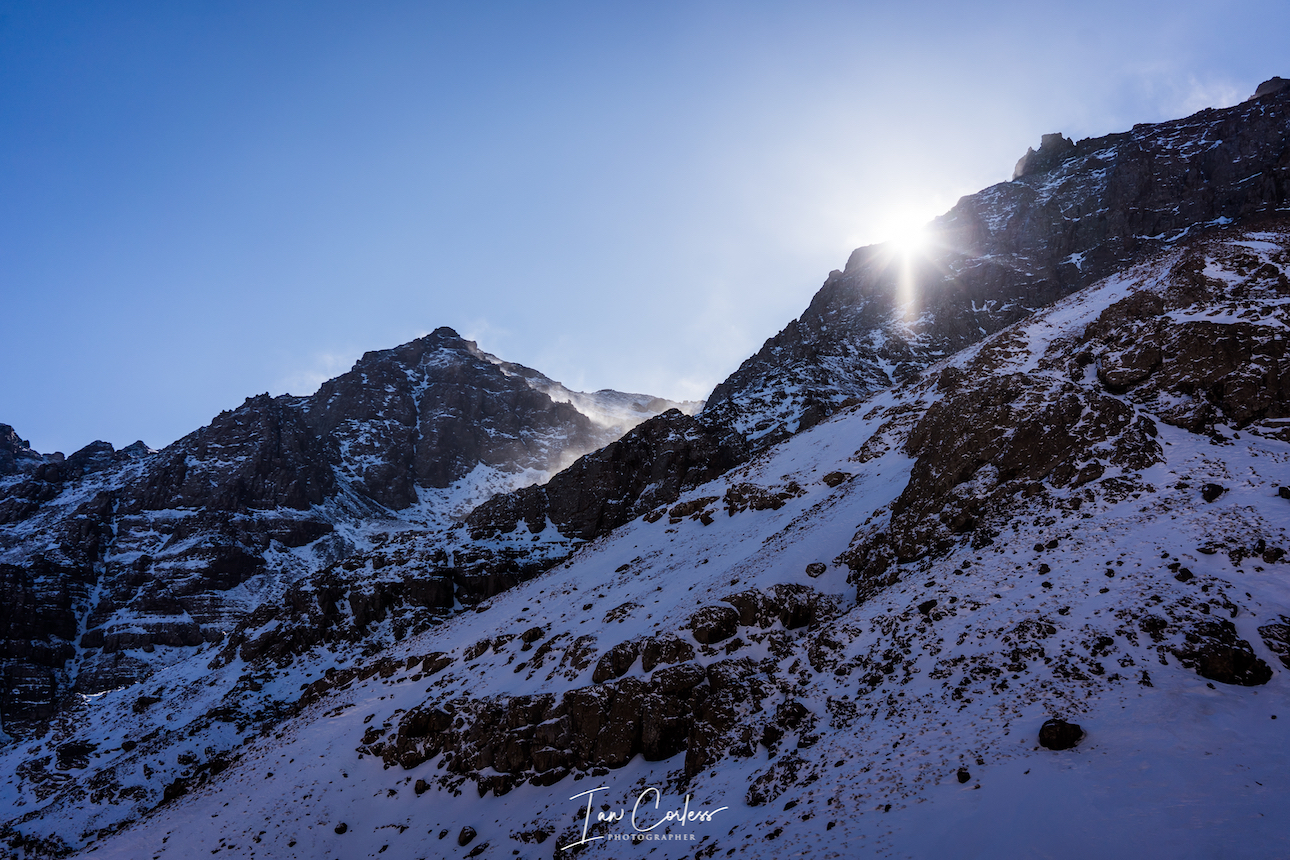
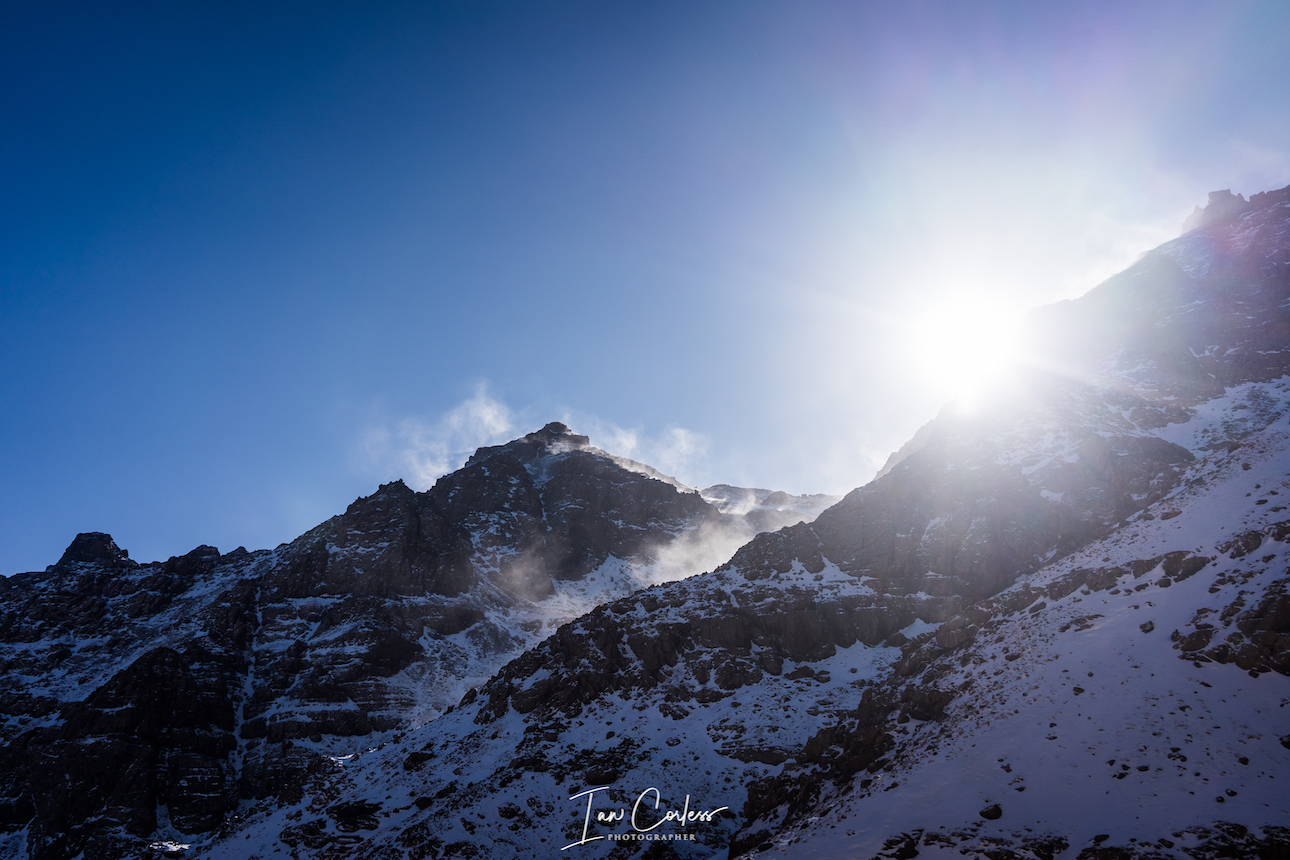
Weather can change in minutes at any time of the year, especially in a mountain environment. However, in winter the changes are often far more extreme, Hypothermia can hit in minutes and it is deadly.

Preparation is key and assessing what ‘may’ happen on any adventure or run is crucially important to make sure that a day or multiple day’s activity remains safe.

The equipment list below are my personal choices, and I must stress here that I have tested many variables and brands to come up with the list below. Importantly, there is most definitely multiple ways and solutions to any problem, so, while my list below could be seen a perfect shopping list, it’s also fun to find out what works for you.

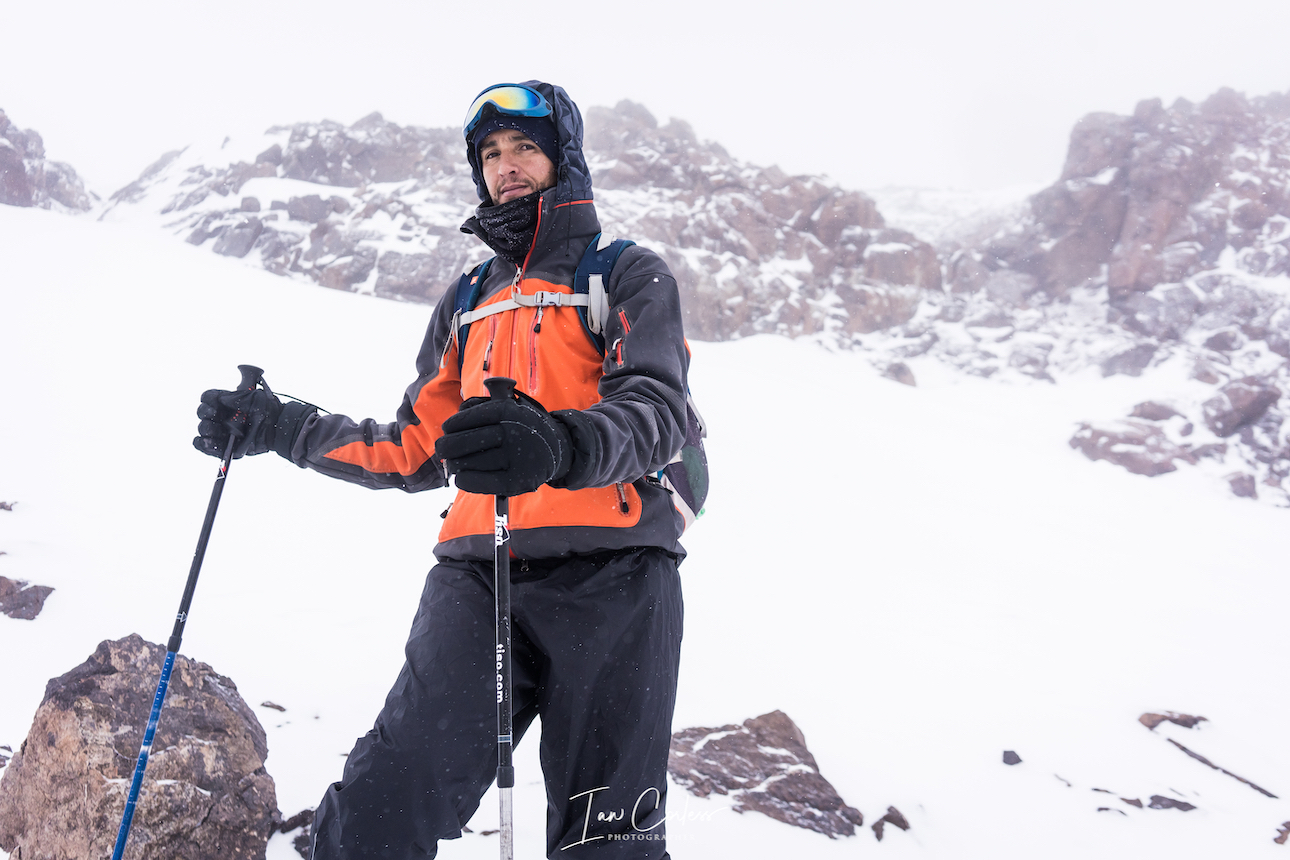
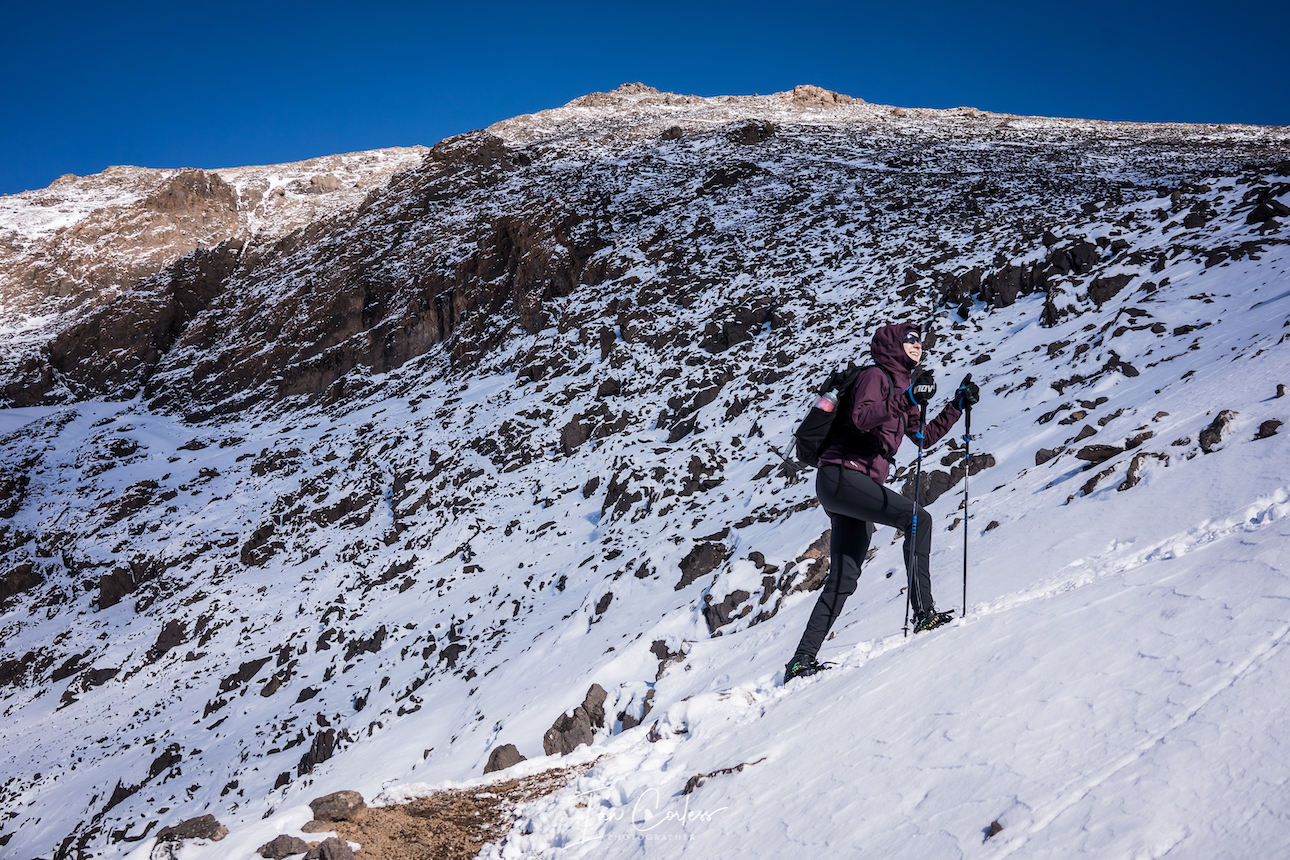
YOU AND WHAT YOU WEAR

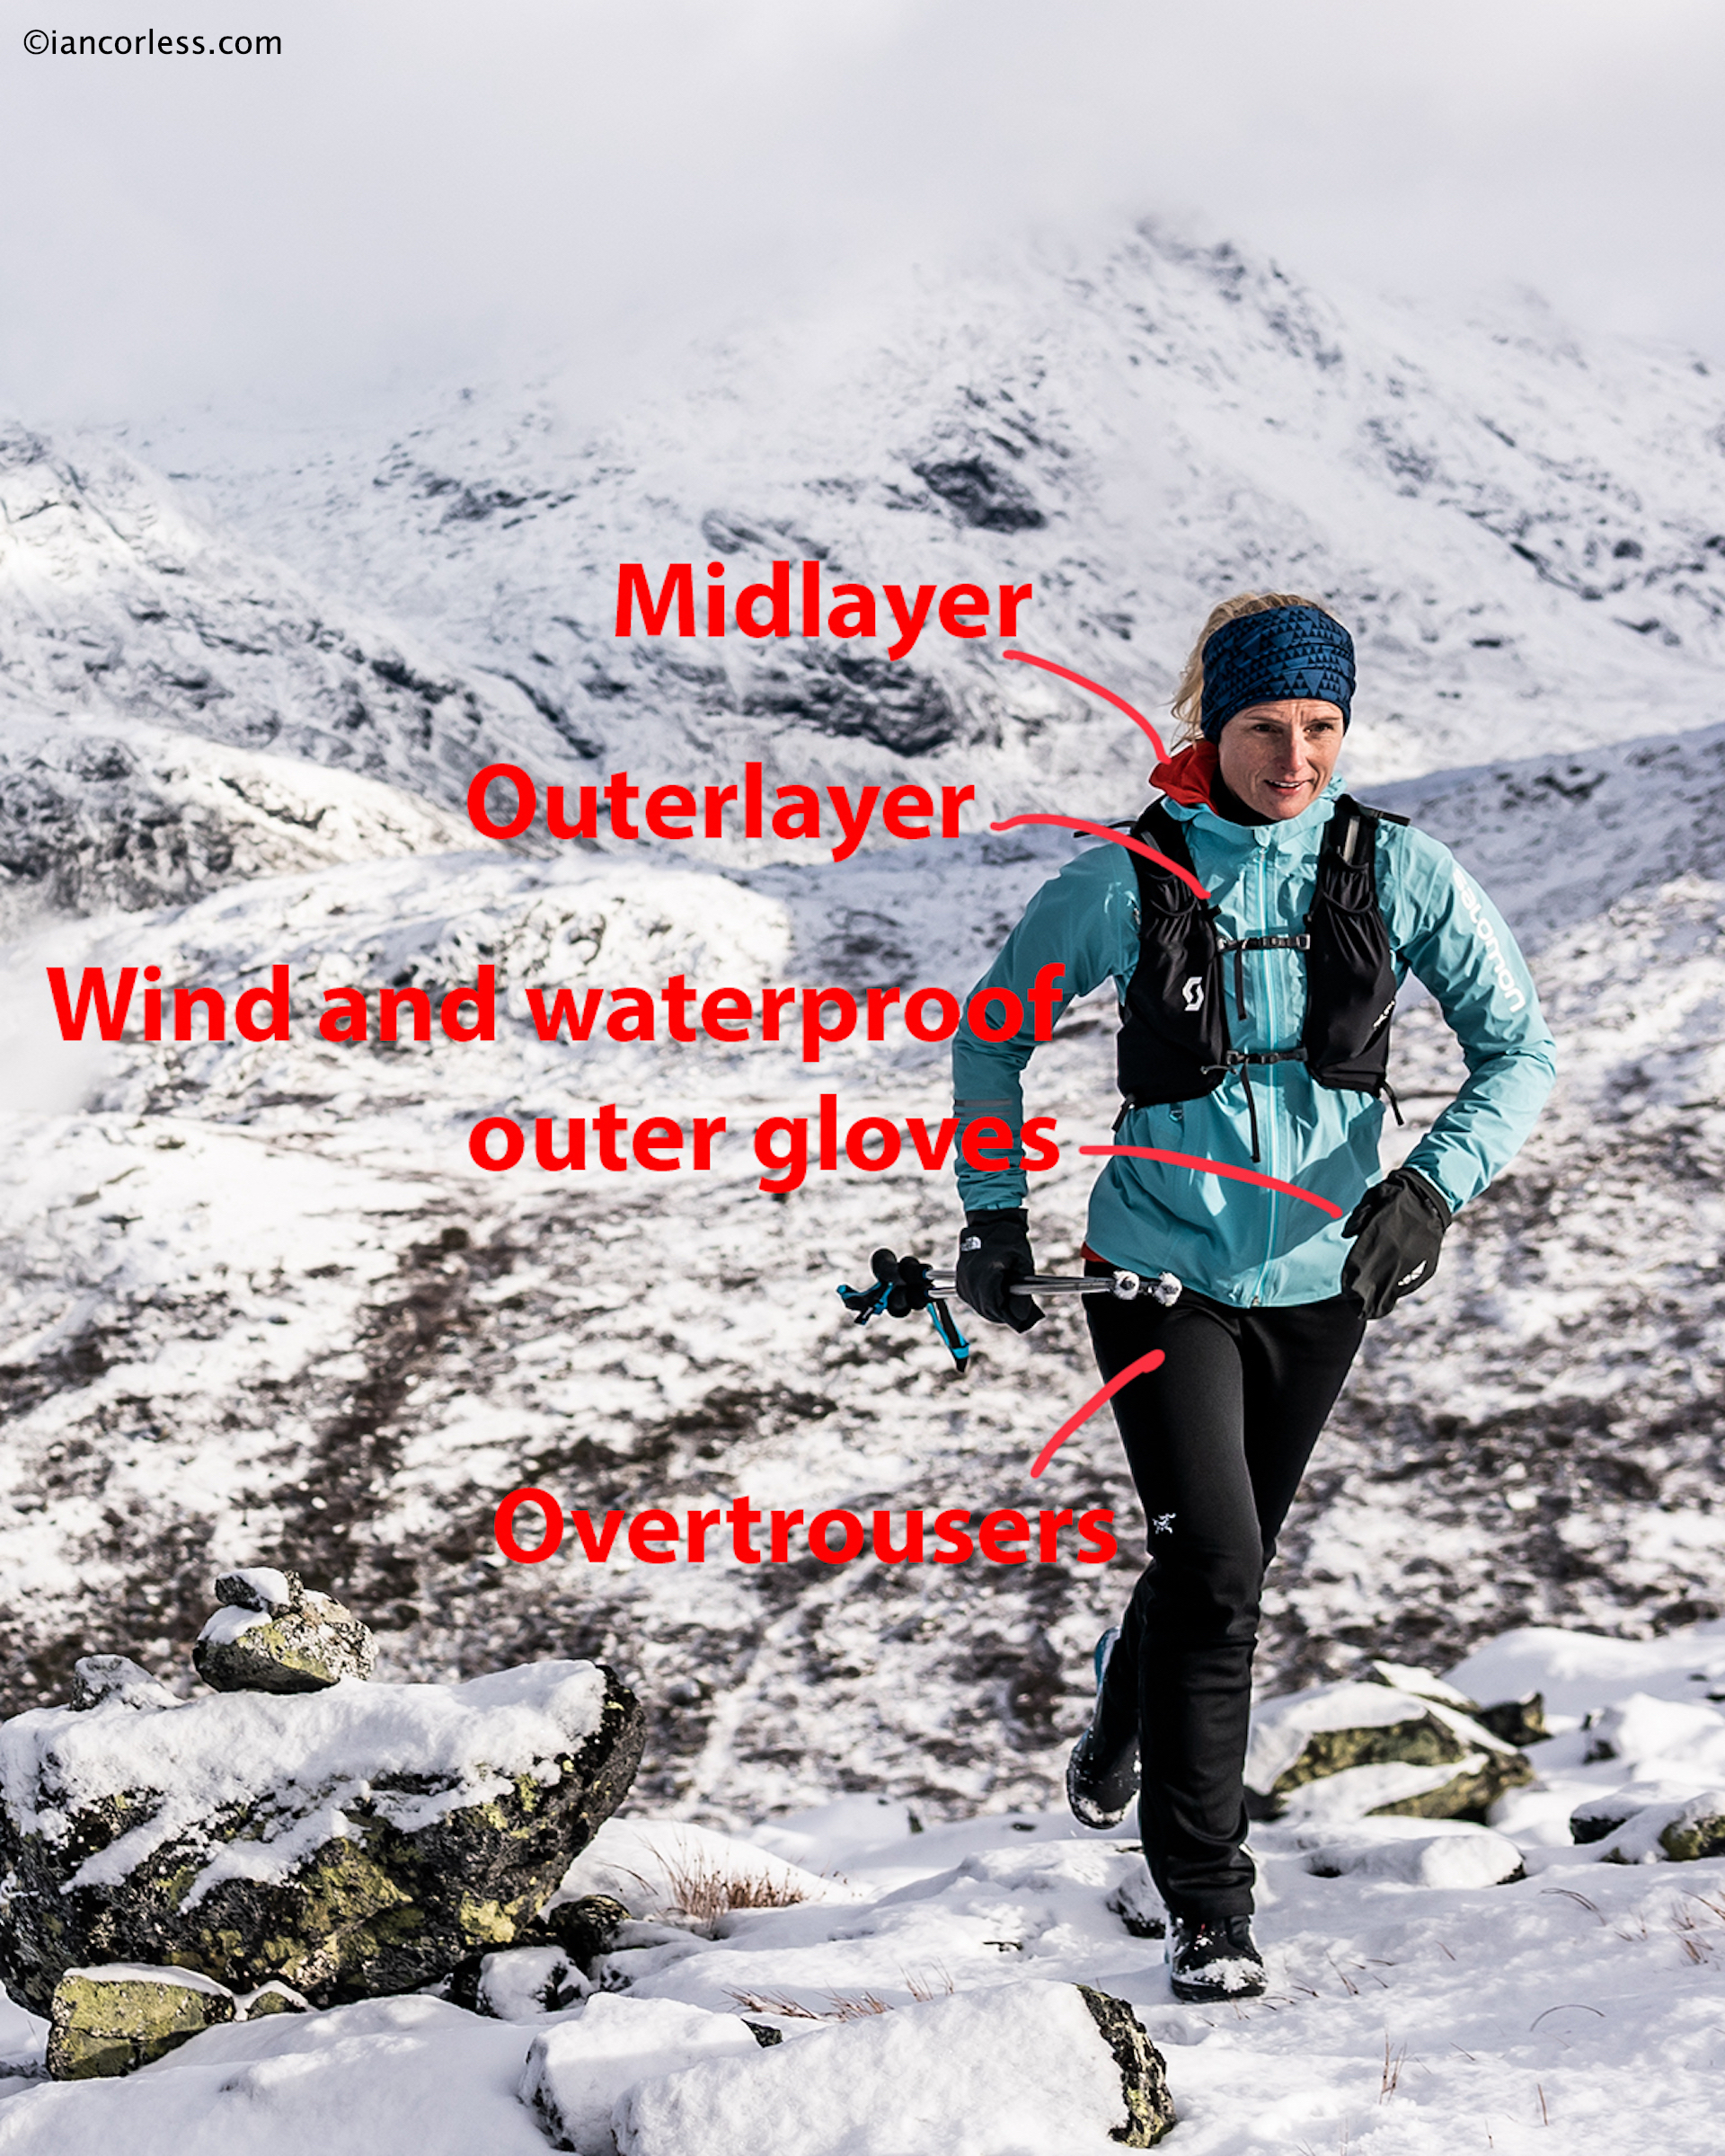
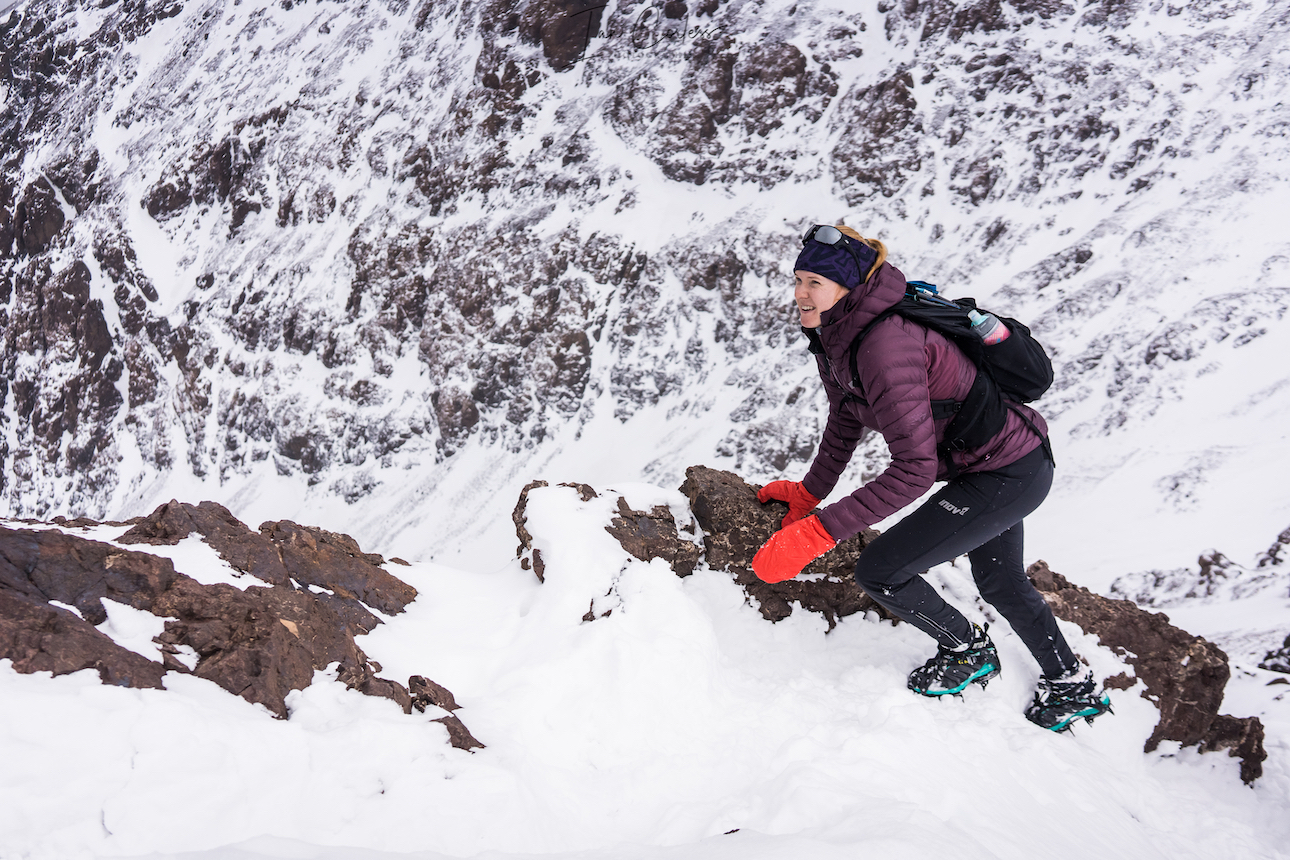
What you wear for a run/ adventure should come as second nature, but it can often be a real dilemma understanding how to balance the layers so that you don’t overheat or equally, get too cold.

Read about GETTING LAYERED HERE

Personally, I find the most difficult temperatures around 0 to +5 degrees C (32-49 Fahrenheit.) It’s cold enough to make you feel chilled (often will feel damp too) but within 15-minutes of running you feel warm.

inov-8 ambassador, Abelone Lyng

The starting point for me is a merino wool base layer, it naturally helps regulate body temperature, remains warm when wet, transports sweat away from the body, and is very good in regard to odors. Icebreaker is my product of choice and they have a simple system of 150/175/200 and 260 products, the higher the number, the thicker and warmer the product. I personally find 150 ideal, especially for running and active sports.

My jacket will balance warmth, breathability and protection from the wind, Haglöfs L.I.M Hybrid Hood manages to balance all these elements in a really lightweight package. It can even be worn directly against the skin. The inov-8 Technical Mid Hoodie is also a good choice.

Leg wear will depend on the weather and arguably I would potentially look at 3 scenarios. On milder winter days hovering around 0C I would use my standard inov-8 run tights. 0 to -10C I would use a thicker winter tight, potentially with wind block panels on the front by Swix. Below -10 and I would use Icebreaker 150 merino underneath the thicker Swix tights.

Keeping feet warm is essential in winter and again, based on weather, temperature and conditions. I will go with one of three scenarios: Merino woolneoprene socks or Sealskinz. My default is neoprene as it works well in most conditions. It’s not unusual to wear two pairs of socks in winter, say a merino liner and thicker over sock or a merino liner inside Sealskinz, keep this in mind when getting winter run shoes, you may need a half-size larger shoe?

Hands, like feet, need to be warm. I use Icebreaker liners, with either inov-8 Extreme Thermo Mitt which is incredibly warm.

I wear a Buff or similar product around my neck, and I use a Haglöfs Fanatic hat which manages to be always warm, but not too warm!

Vj Sport Xero 5 here

Shoes will depend on conditions but for me, once winter arrives, I usually require a winter shoe with studs to provide grip, particularly in ice. The VJ Xero 5 works exceptionally well. Of course, in most scenarios you could use your favourite trail shoes and carry micro crampons which you can add and remove as required. However, if you know you will be in snow/ ice all day, a specific winter shoe provides a much more enjoyable experience.

Finally glasses with a specific winter lens are often essential to protect from cold air, snow and reflected brightness from snow. I use Oakley Radar.
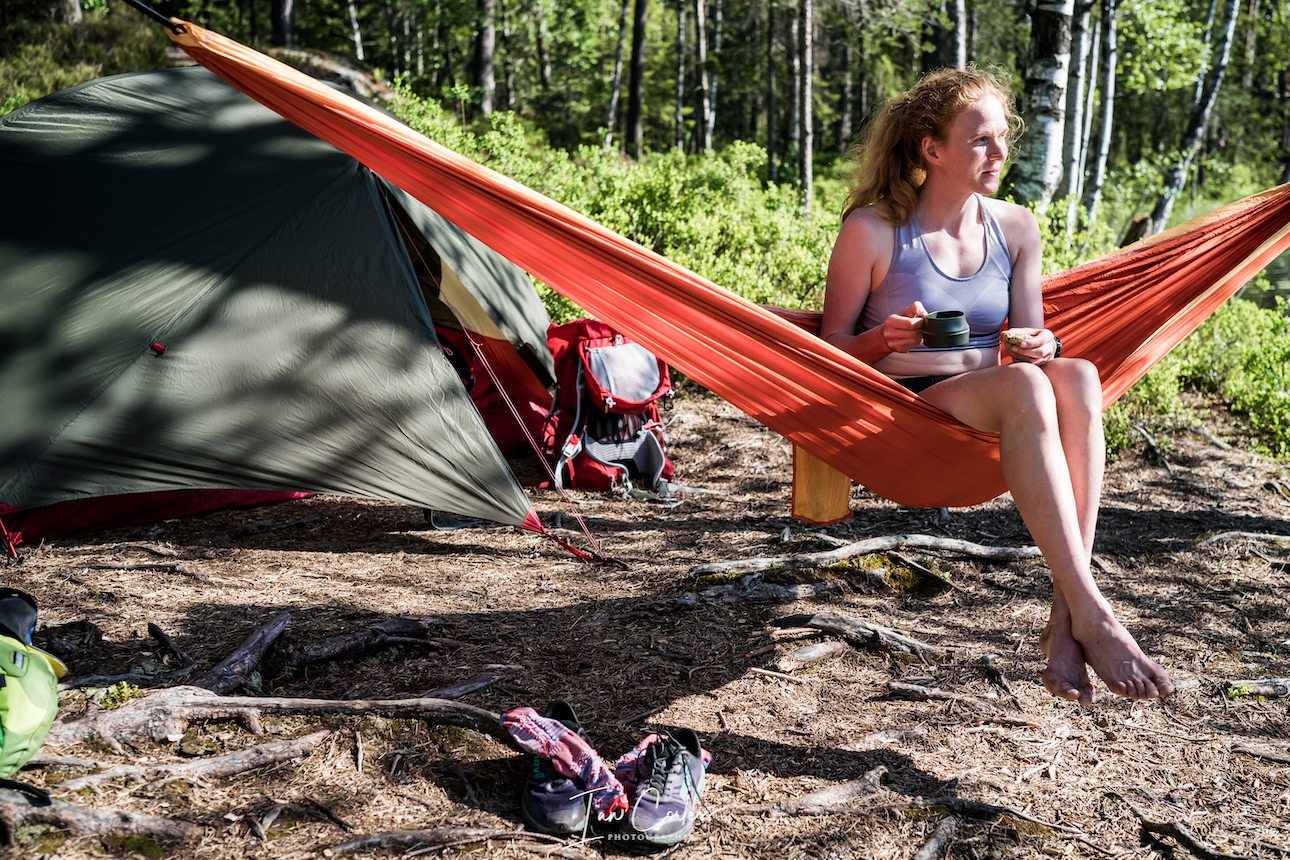
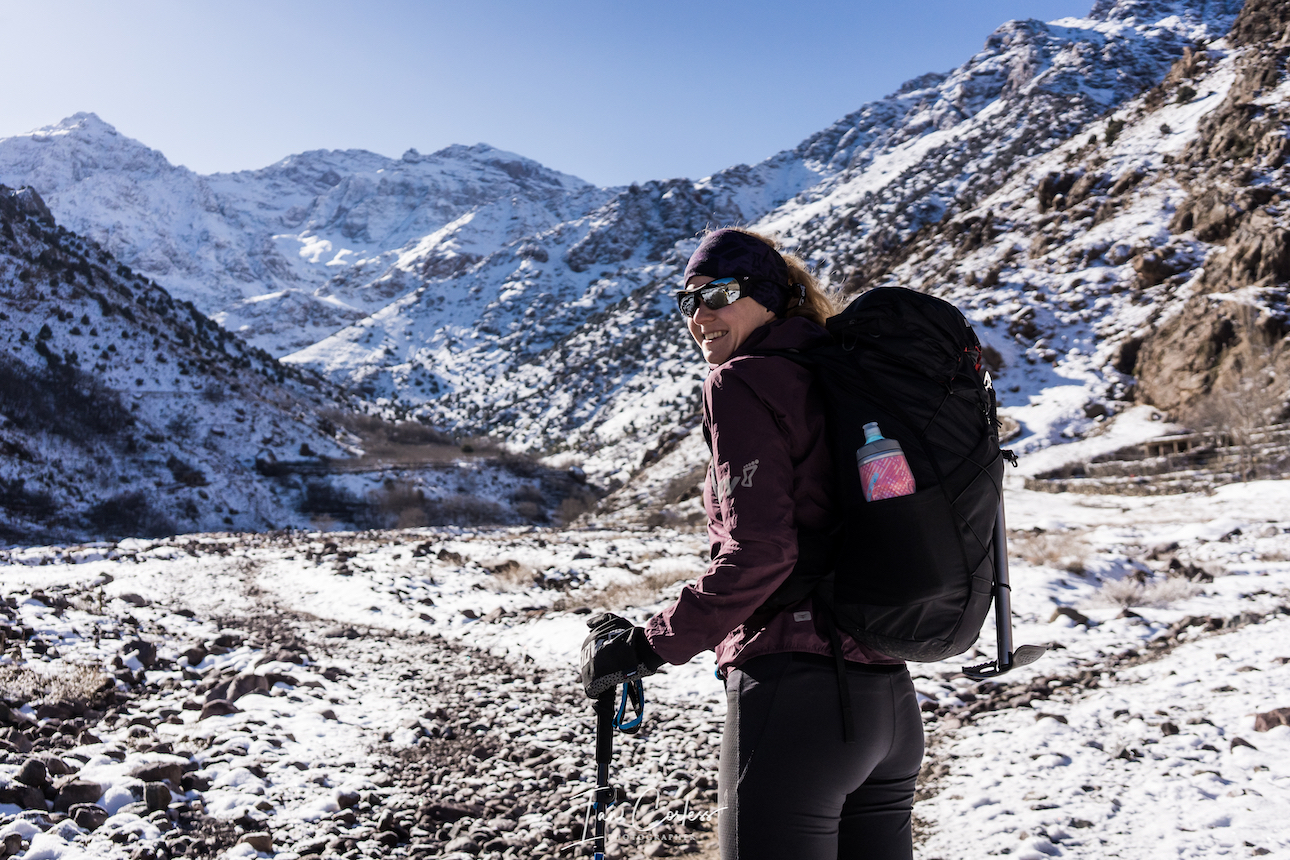
THE PACK

Black Diamond Distance 15 is a somewhat unique pack that manages to appeal to trail runners and alpinist/ climbers who have discovered that all important link-up of sports coming together for unique adventures and/or fastpacking. These adventures tend to entail a bit of easy climbing, some scrambling, some fell running and some walking – or just about whatever you can string together.

Black Diamond Distance 15 balances running and alpinism perfectly.

A hybrid between running and climbing pack, the Distance 15 fits snug to your body and is stable with minimal bounce. The main compartment of the pack includes a quick draw-string main opening which Black Diamond say is waterproof – it is not! Please use a waterproof bag inside like those provided by Sea to Summit. A zippered security pocket inside is ideal for a wallet and there is a stretch mesh divider that will hold a bladder, or it can be used for storing nylon or dyneema.

Elasticated compression straps either side of the main bag are ideal for reducing the volume of the pack and keeping everything tight together and they can be used to secure a pair of ice axes that also have specific storage at the bottom of the back and security buckles that pass through the ice axe head. Integrated into the main compartment (on each side) are ‘Quiver Sleeves’ for Black Diamond Z-folding walking poles. The front of the pack has a vest fit with two adjustable straps and two 4-way stretch zippered pockets and four front stretch pockets that will hold soft flasks, snacks or any other essential ‘on-the-go’ items.

IN THE PACK

Icebreaker 150 top and bottom

Spare base layer, top and bottom – These would be duplicates of the Icebreaker 150 as worn.

Spare socks – Merino run sock.

Jacket

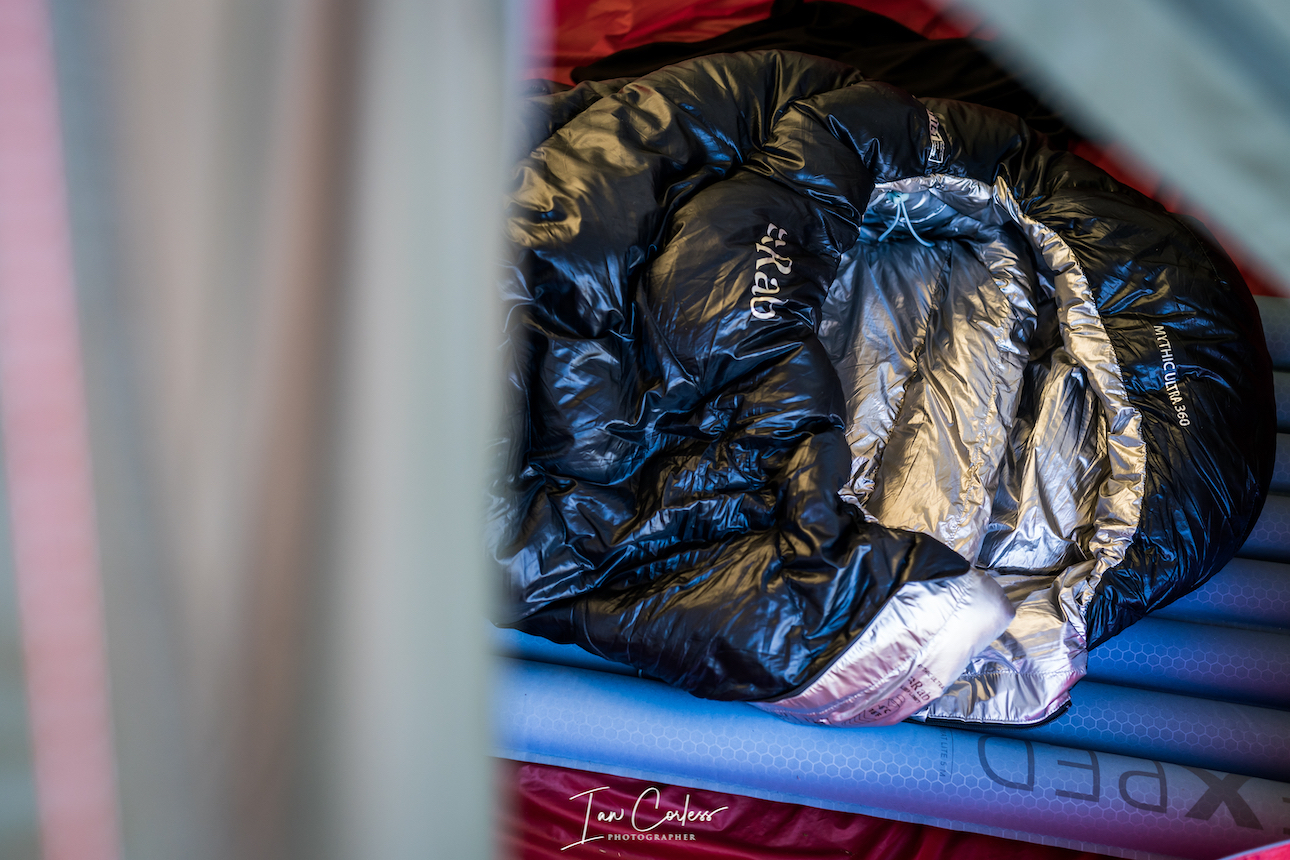
Mid layer/ insulation – In winter, I will already be wearing a mid-layer, either the Haglöfs or inov-8 as mentioned above. My additional insulation would be down and the Haglöfs Essens is an incredible all season product. It has warmth, very low weight and first-class goose down with 800 CUIN filling that it is DWR treated – the filling stays dry for up to 10,000 minutes with exposure to wet conditions.

Barrier shorts

*Barrier Shorts – Haglöfs make an excellent, light and packable barrier short for the extreme cold.

Haglöfs Gore-Tex Paclite

Waterproof jacket – The inov-8 Ultrashell Pro is an excellent very lightweight waterproof jacket but in winter I will usually take a heavier duty Gore-Tex Paclite L.I.M jacket by Haglöfs.

inov-8 Trailpant

Waterproof pants – inov-8 Trailpant waterproof and breathable designed for really cold, wet conditions.

Icebreaker liner gloves

Liner gloves – I would carry an additional pair of Icebreaker merino as mention above.

Sentinel by Mountain Equipment
Black Diamond waterproof over mitt

Outer gloves – I would typically carry two outer gloves as I suffer with cold hands, a warm Sentinel mitt by Mountain Equipment and a waterproof over mitt by Black Diamond.

Hat – Spare hat as above.

Buff – Spare as above.

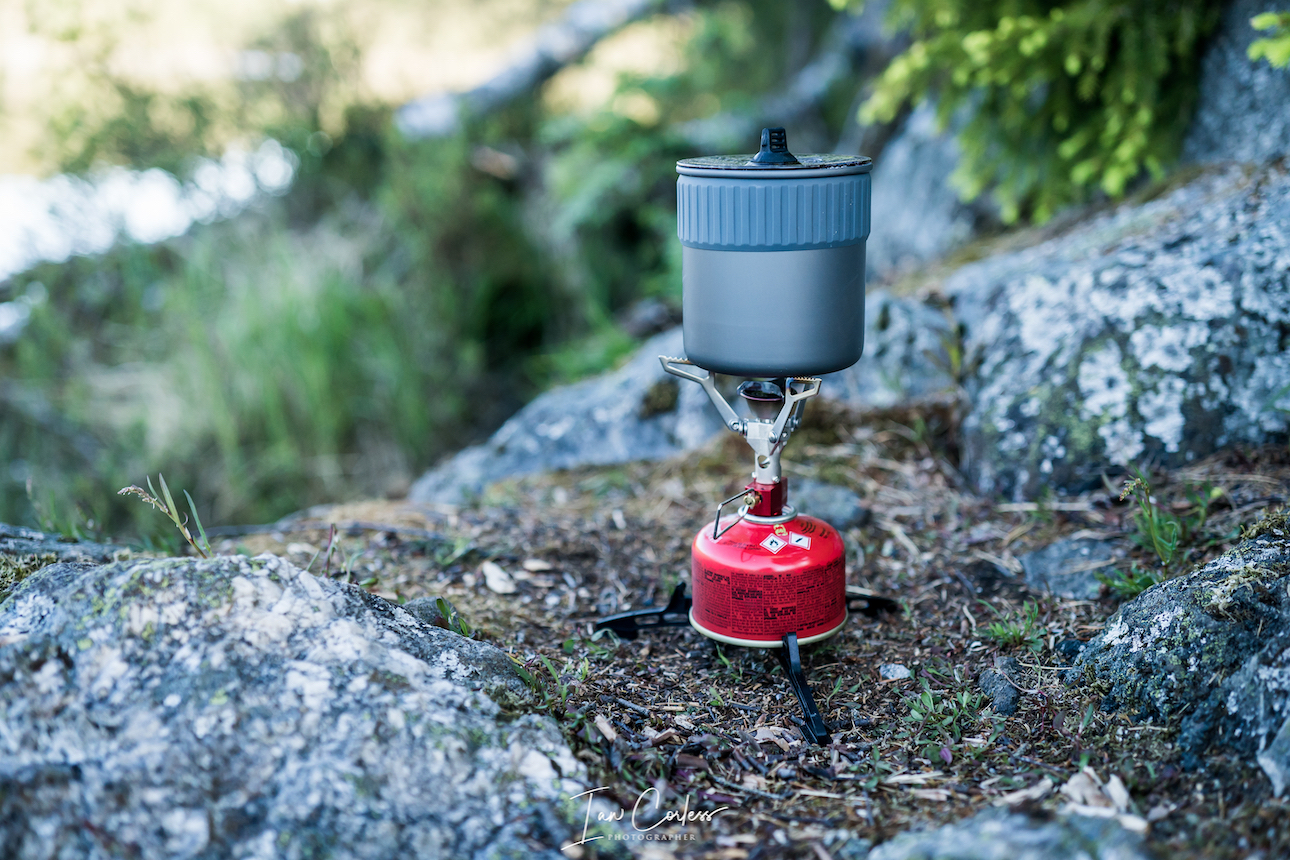
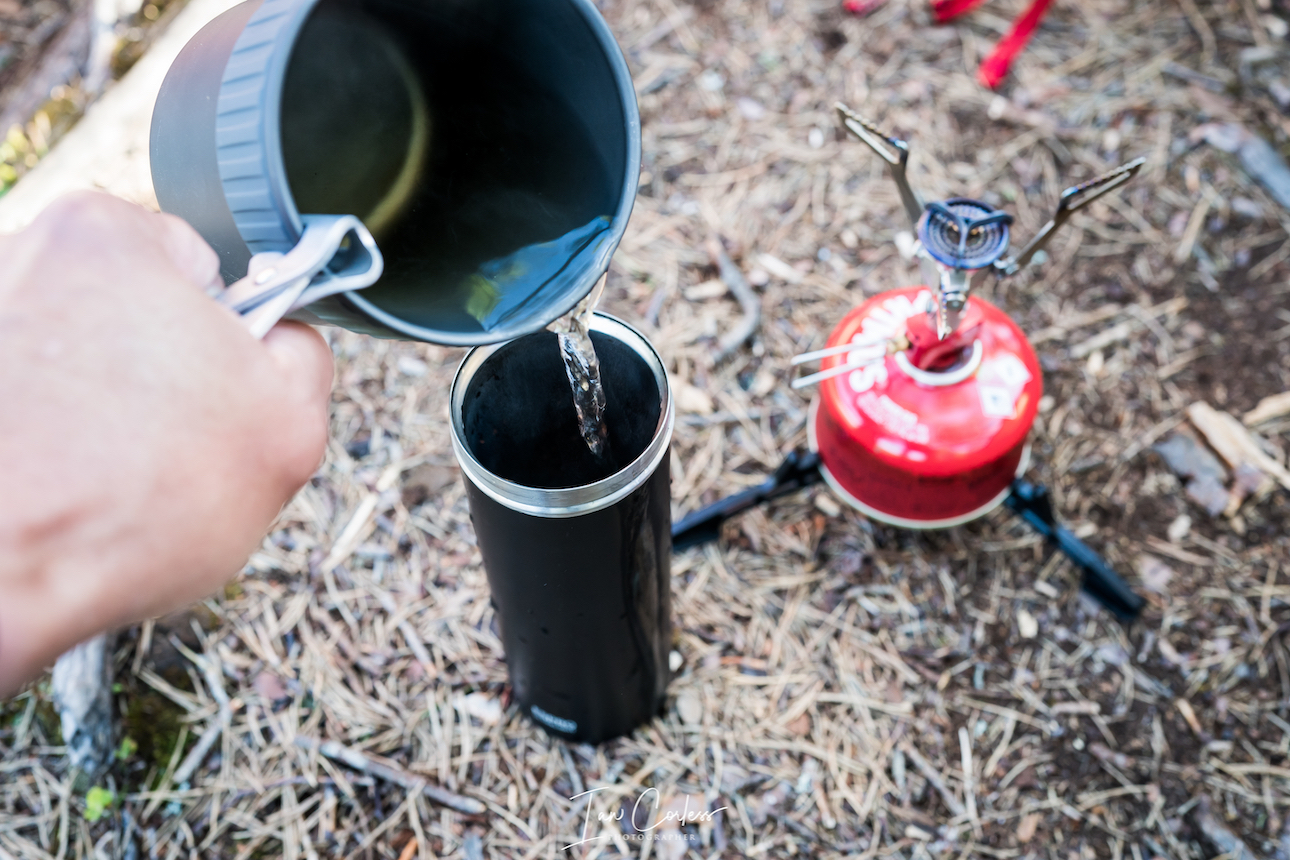
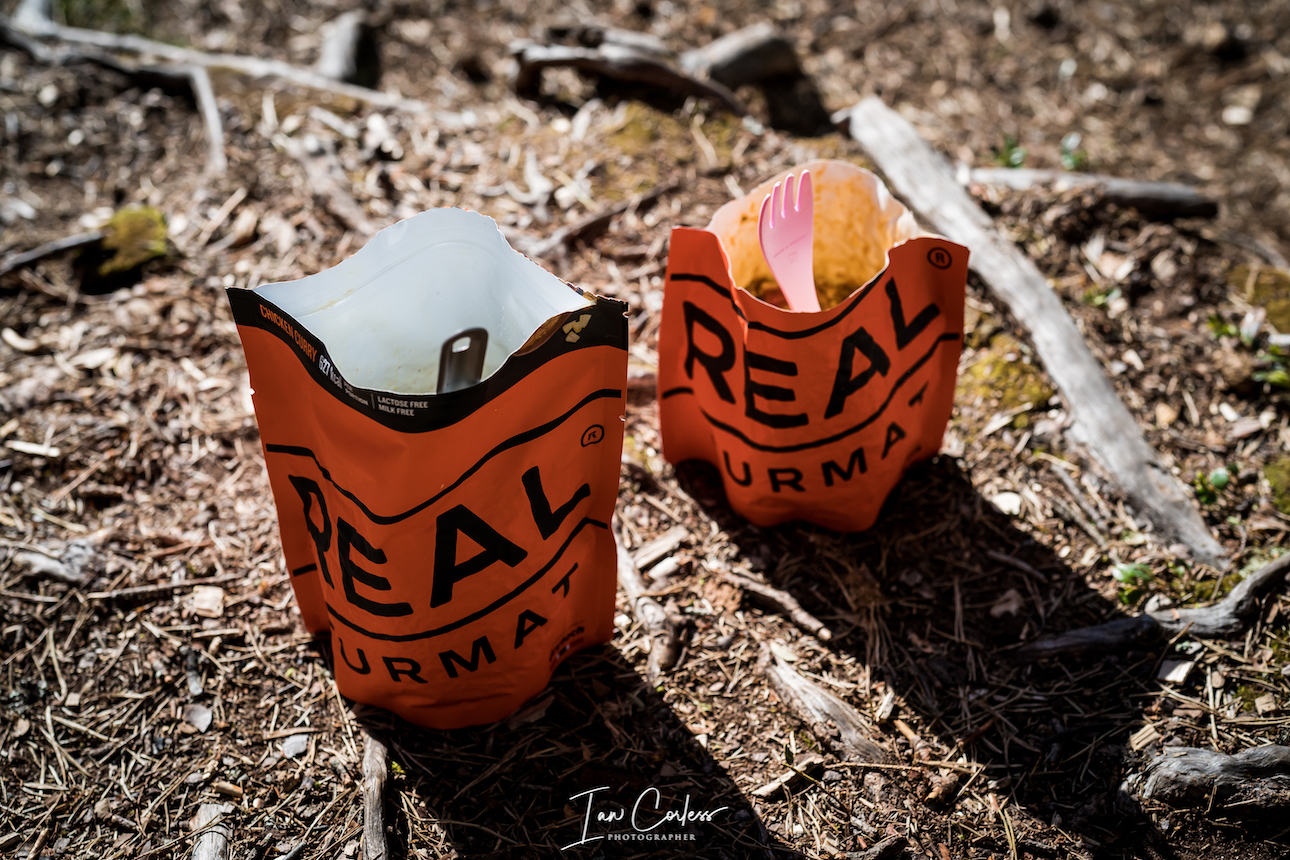
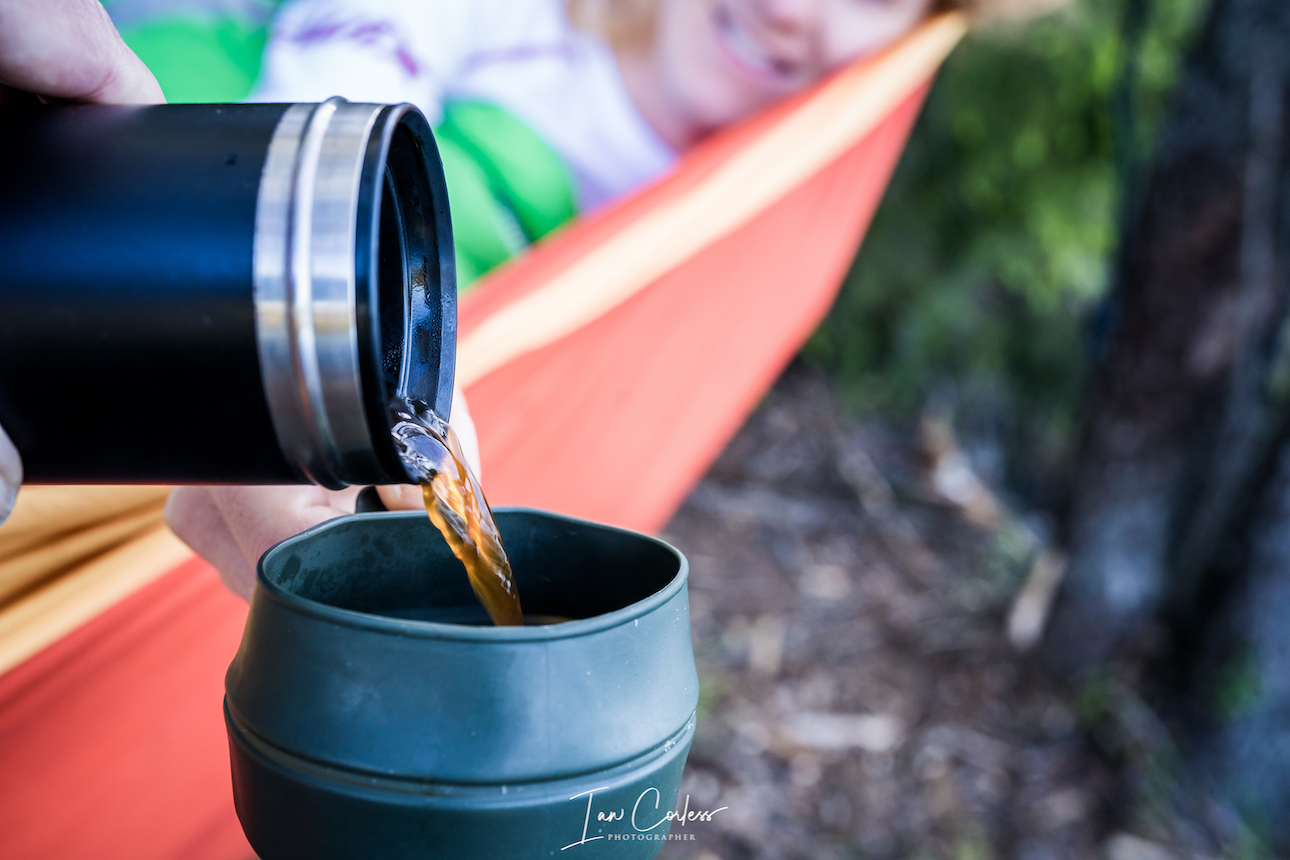
Food and hydration – In winter, a main issue can be frozen bottles, so I carry one or two small Thermos flasks with coffee, sweet tea or hot chocolate. It can make a big difference to have this option. For snacks I will use energy bars, Kvikk Lunsj or similar. Always a good idea to plan a cafe stop on longer runs too!

Phone – I use an iPhone and I make sure I have mapping software such as Footpath and what3words for emergency use.

Petzl e-lite
Silva Trail Runner Free

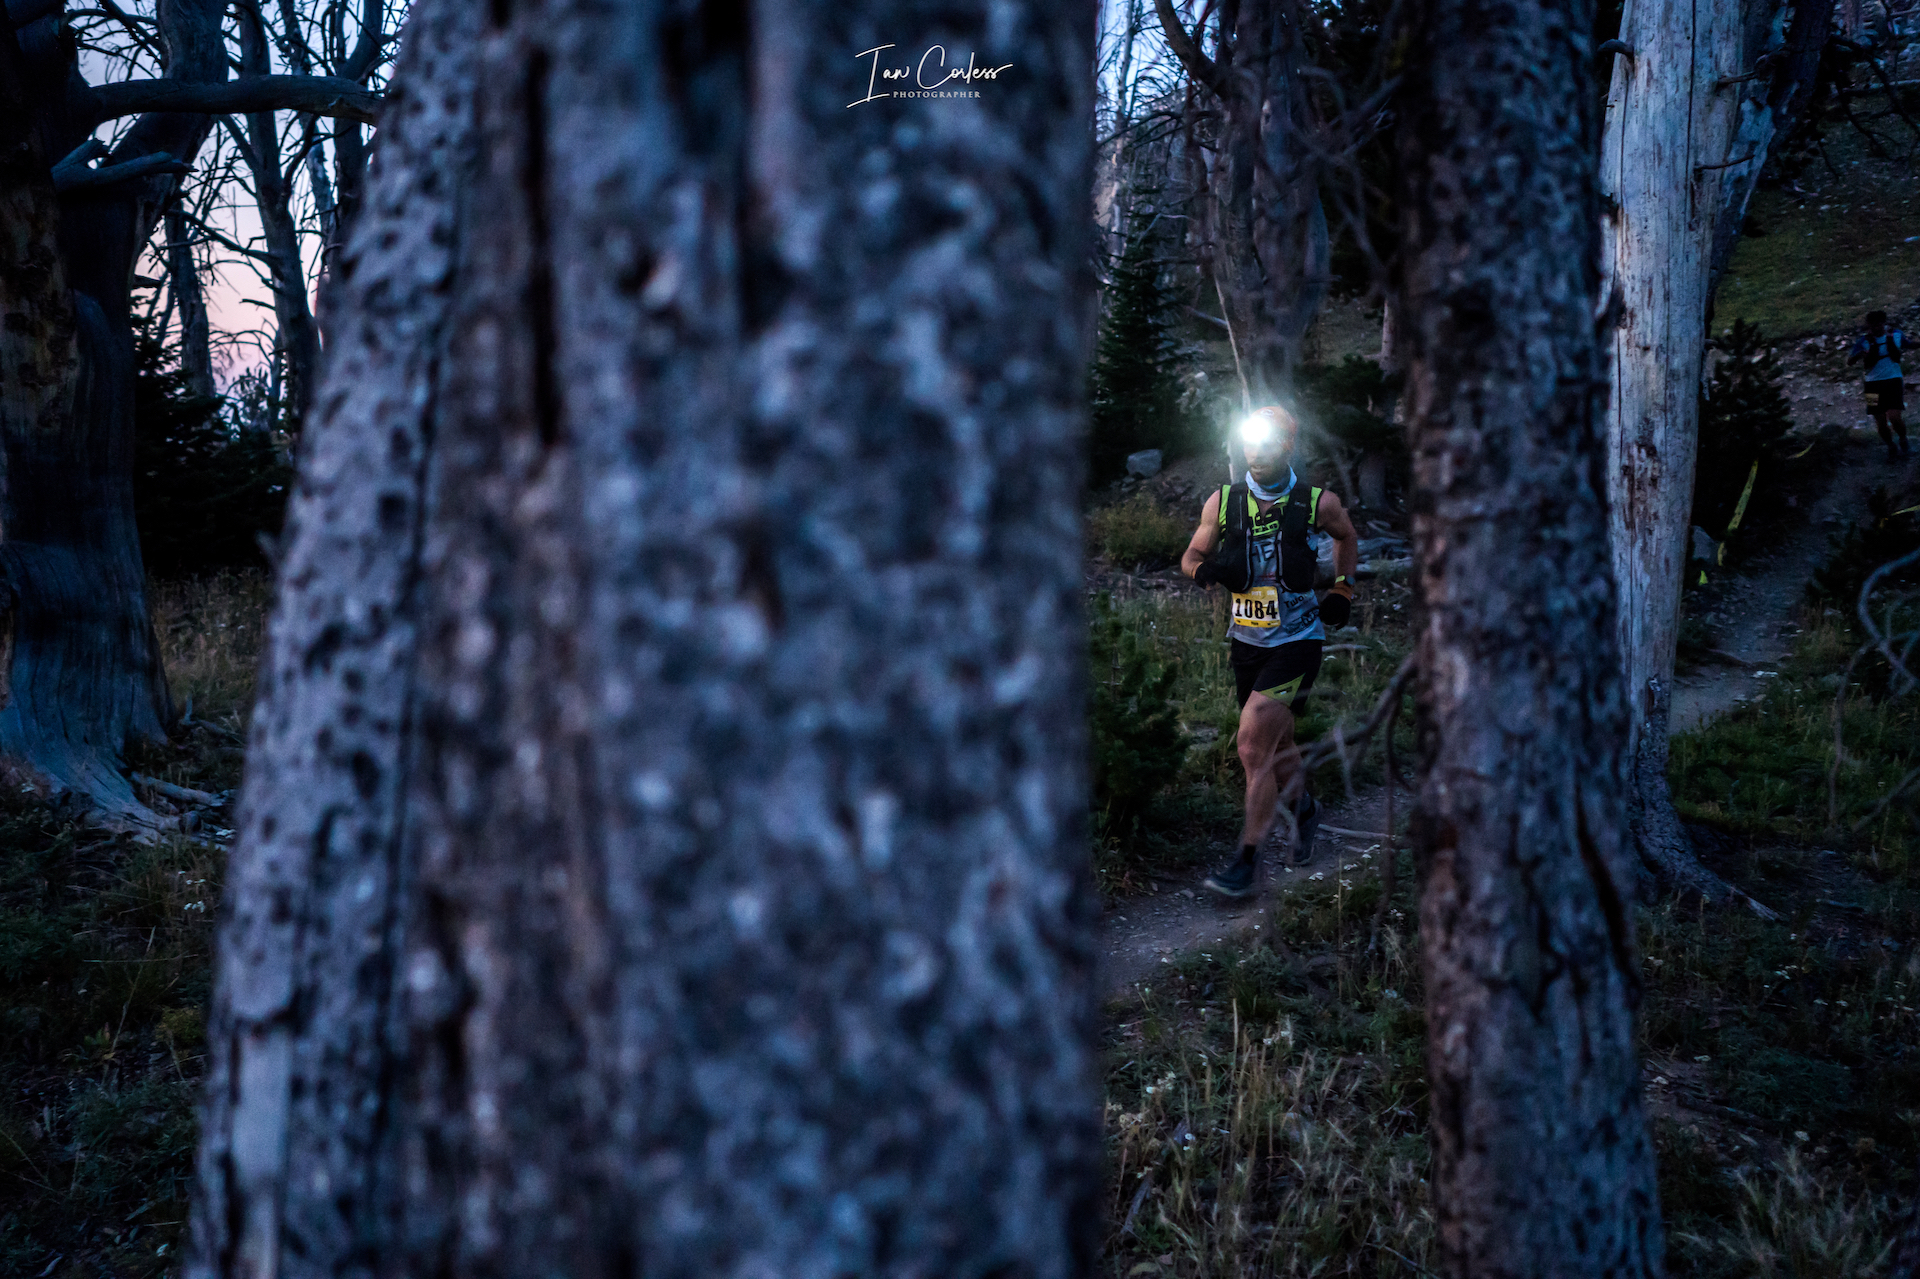
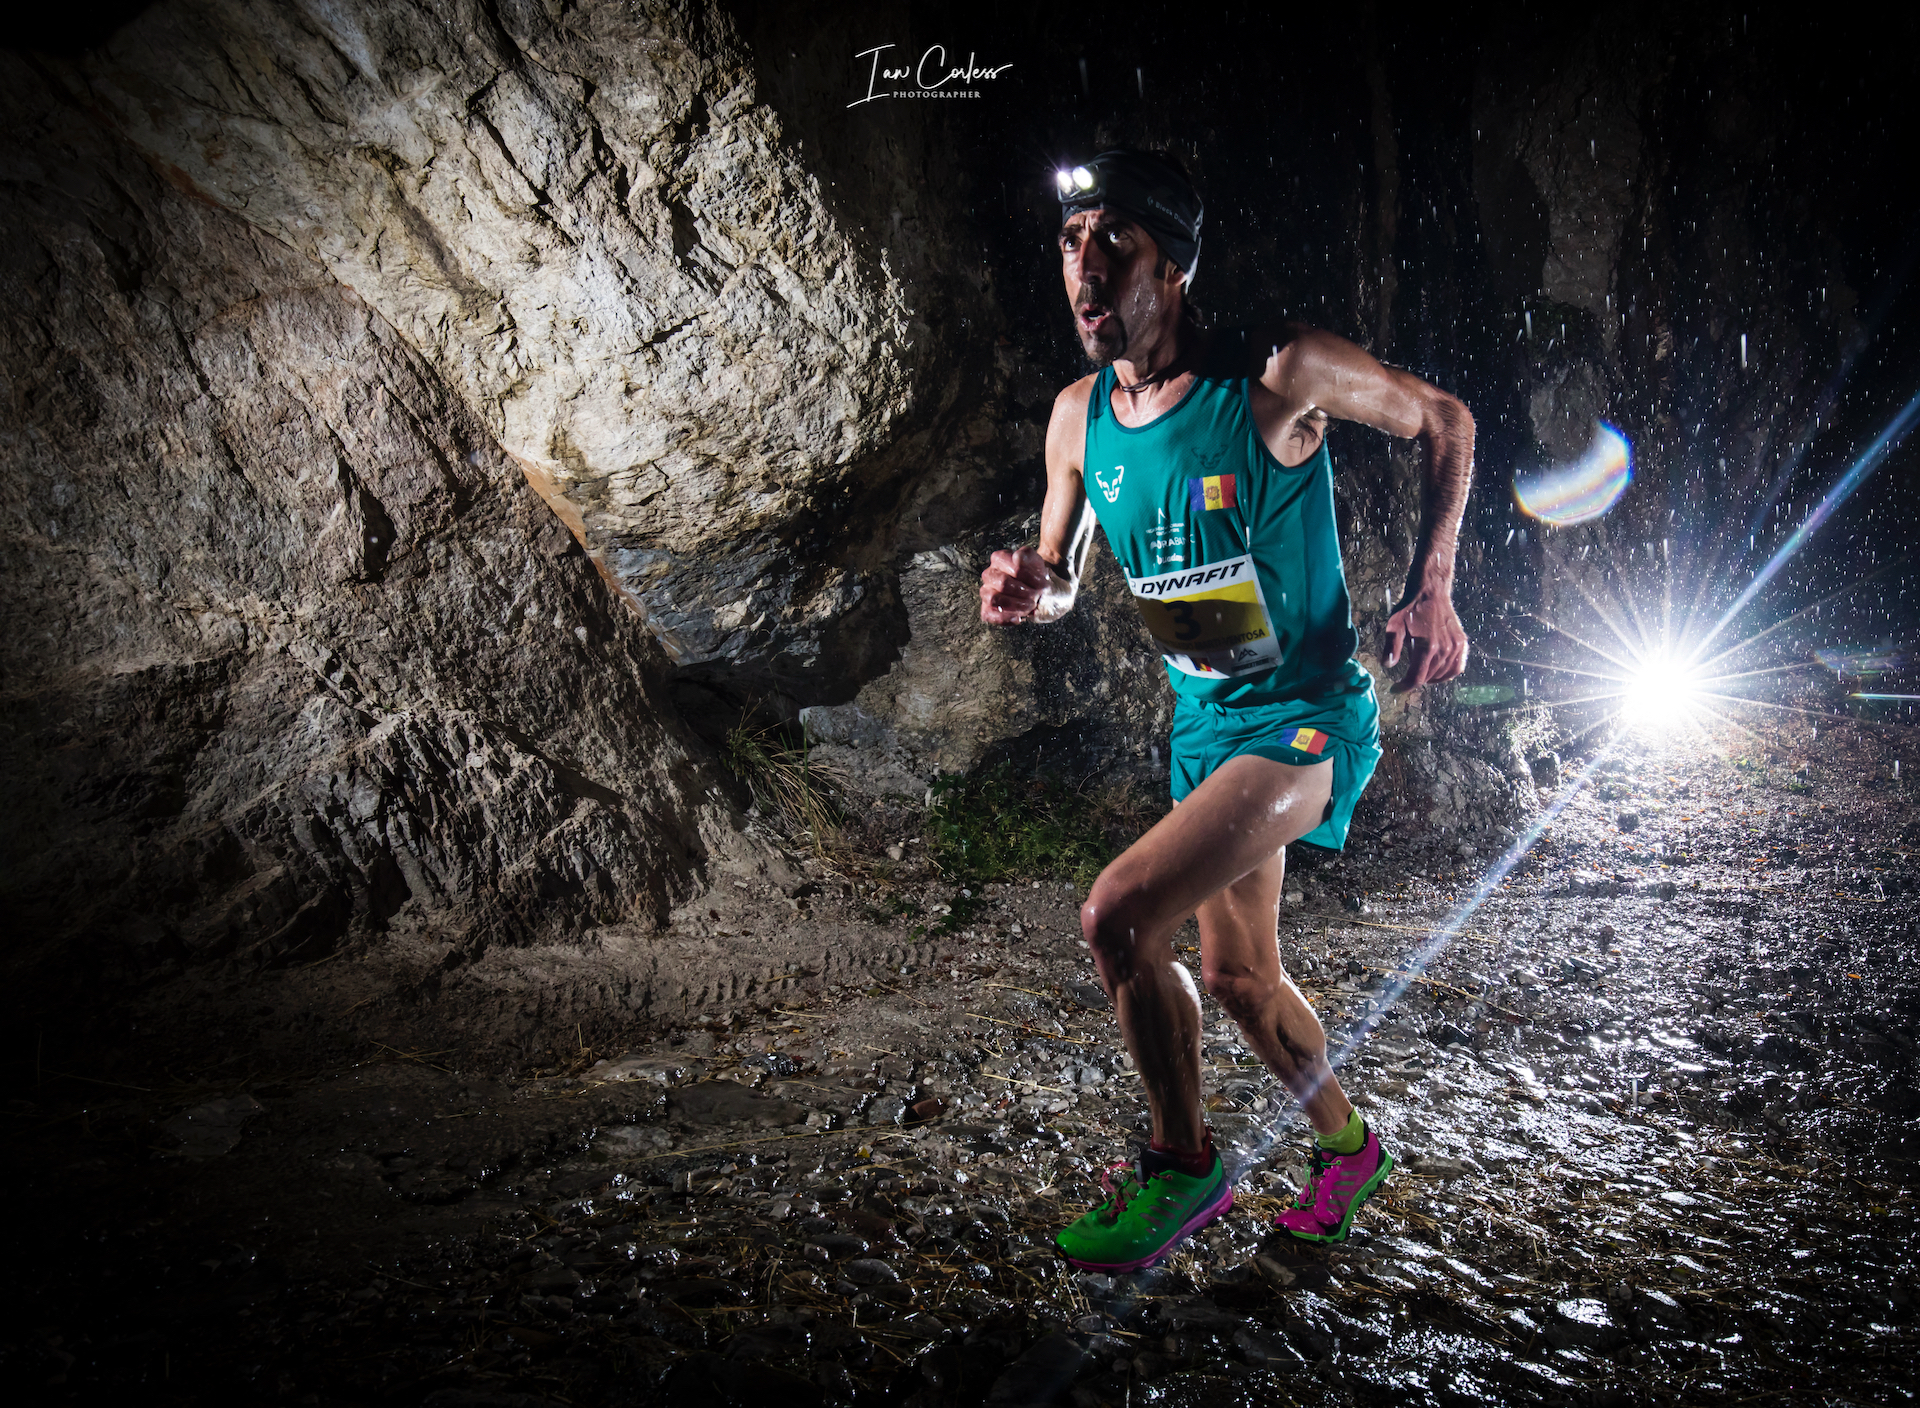
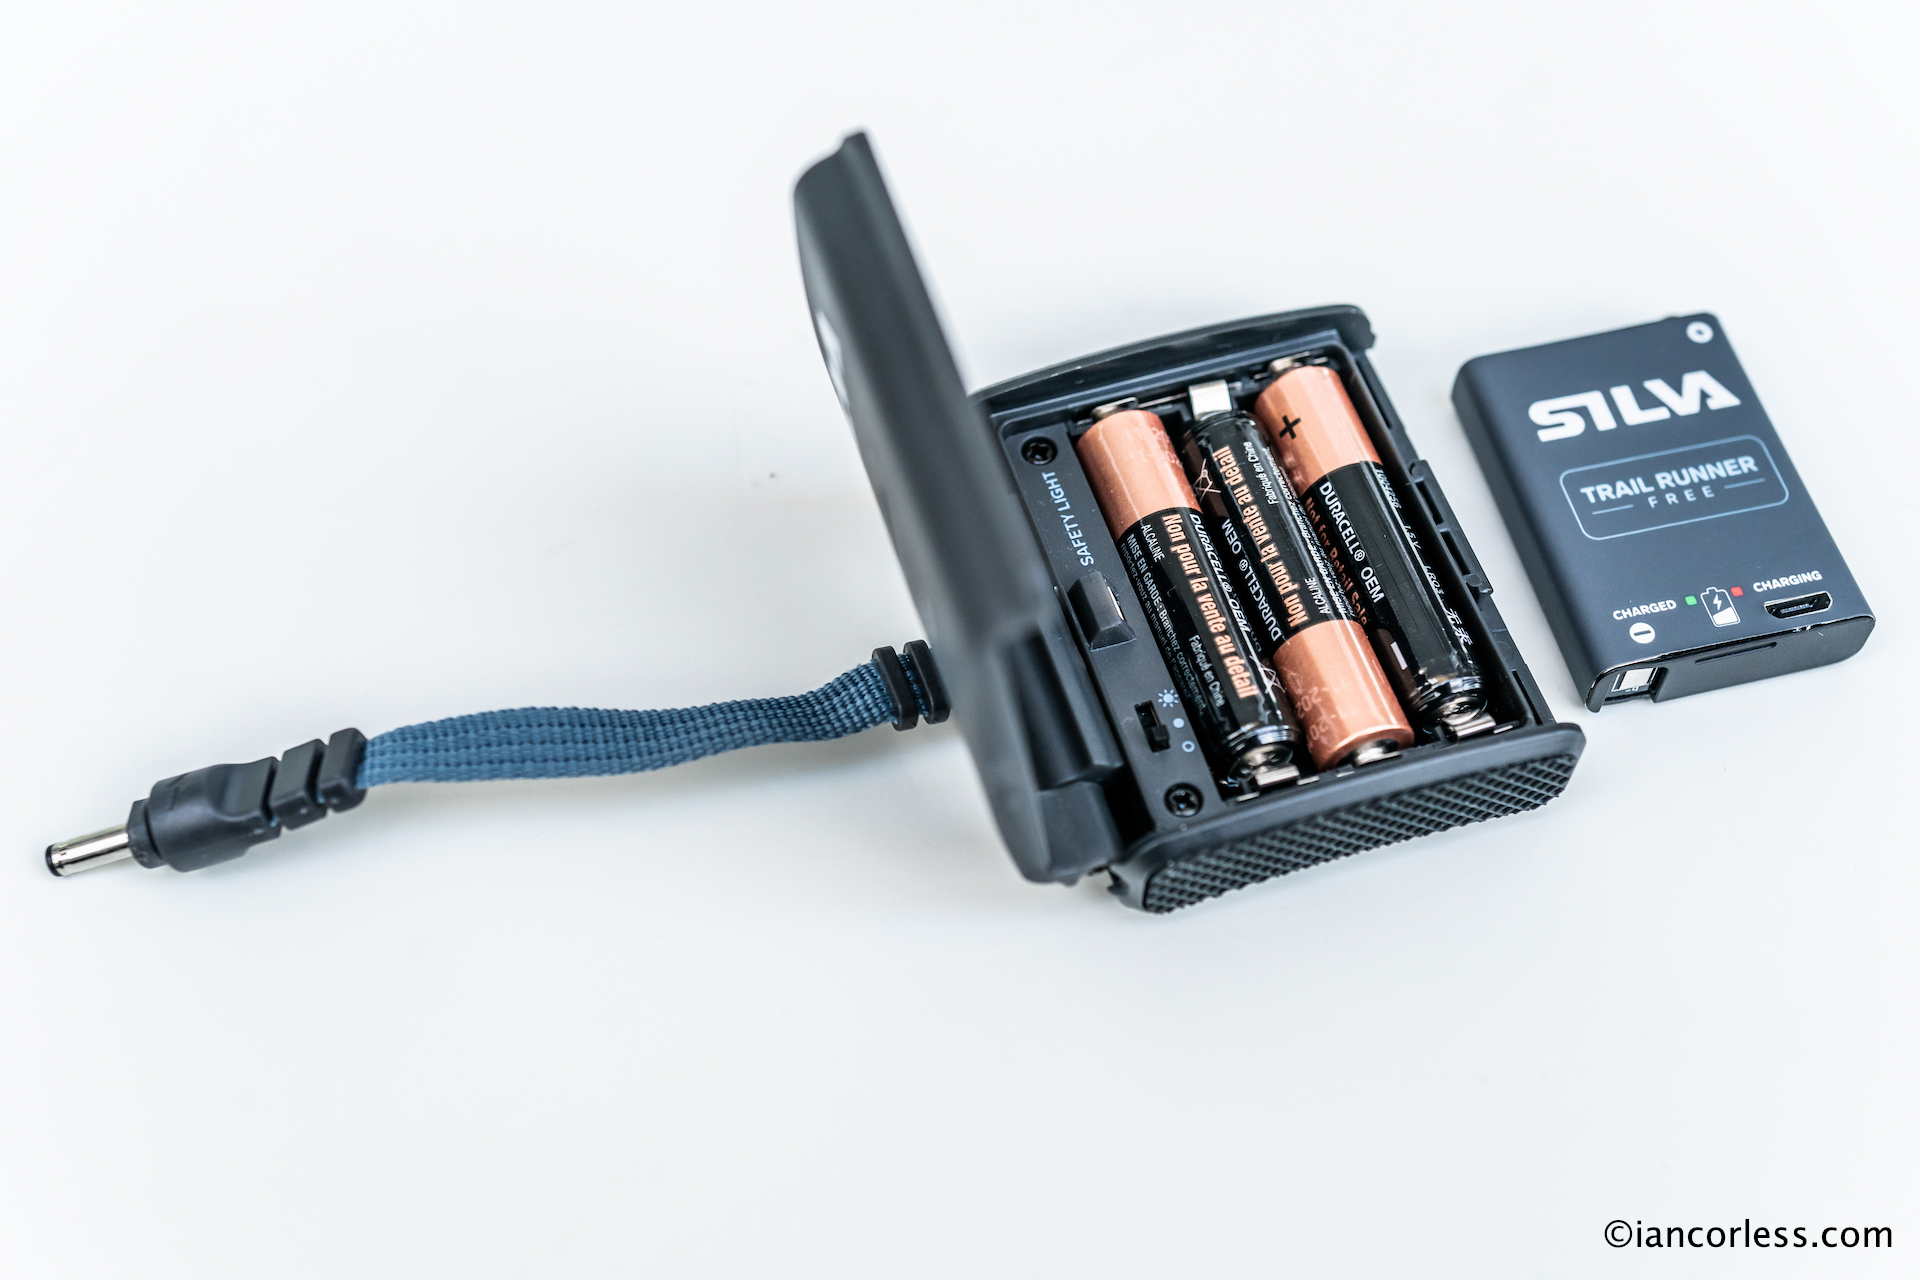
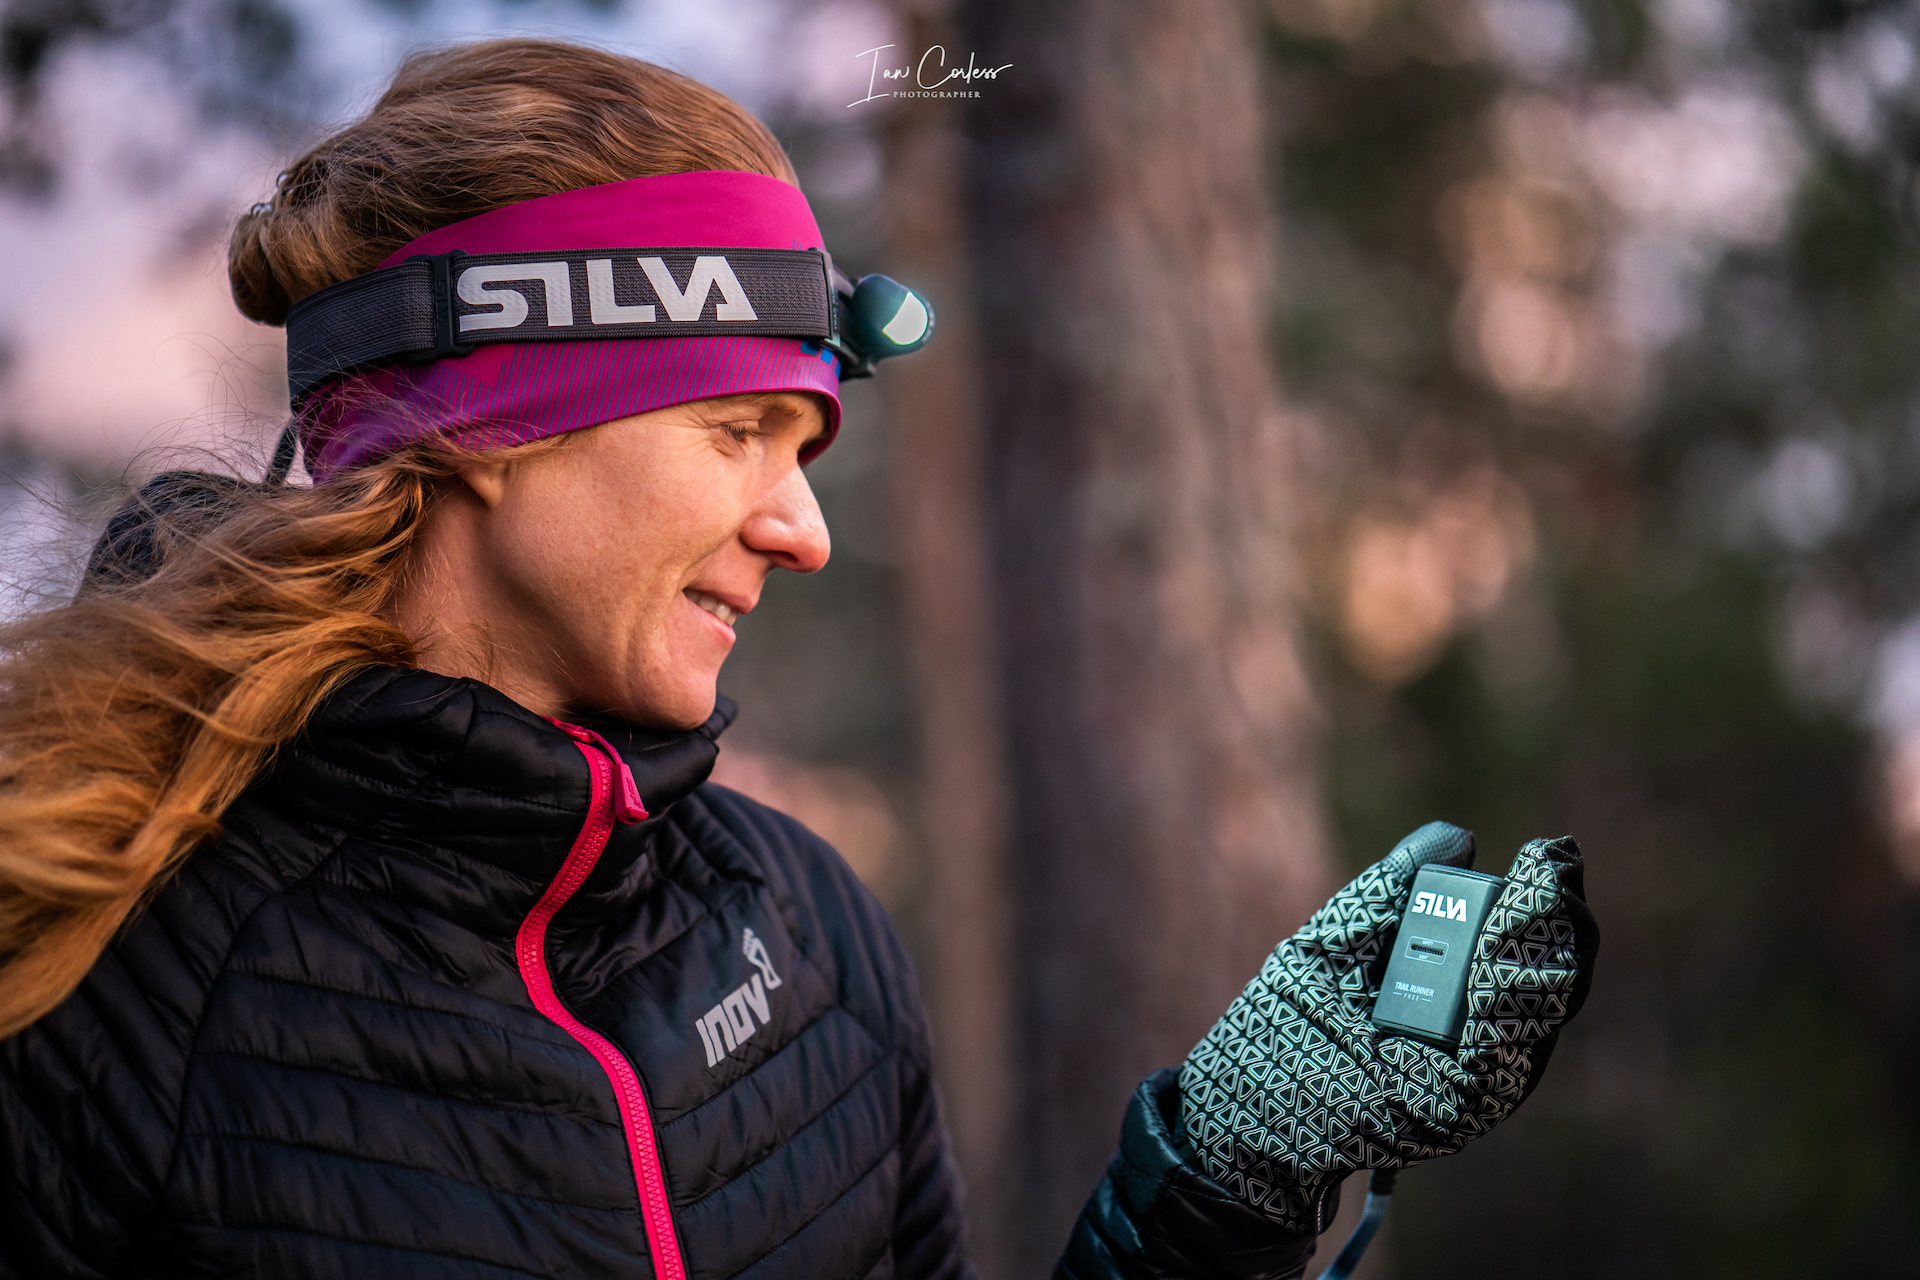
Headtorch – A simple Petzl e-lite as a ‘just-in-case’ for all runs but if running at night I use a Silva.

Small knife

Knife – Victorinox.

Mountain wipes

Wipes – Wipes.

Waterproof liner bag

Waterproof liner bag – (maybe 2 depending on needs) – Sea to Summit make excellent lightweight bags to make sure all spare clothes etc remain dry.

Survival bivi

Bivvi – Terra Nova Survival bivi that is fully waterproof, breathable and has a simple drawcord closure. It packs away into a small stuff sack.

Hand and feet heat pads

Heat pads – An essential back-up for hands and feet by Nevercold or similar.

First aid – Lifesystems small emergency kit in waterproof protection.

Additional power.

Batteries/ Battery pack – Modern tech doesn’t last long in extreme cold so carrying a back-up battery can be a good idea, Goal Zero make good products.

Map and Compass – As applicable.

Garmin inReach

*InReach tracker – Garmin.

Folding Z Poles

*Poles – Black Diamond Z-Pole Carbon.

Micro crampons

*Crampons – You need to be very specific with crampons and the shoes you use them with, however, a pair of Snowline are a good back-up.

Camp Corsa

*Ice Axe – Camp Corsa – lightest ice axe out there for low angle glacier travel, ski mountaineering and adventure racing.

Atlas Race 22

*Snowshoes – Atlas Race 22.

*Hand Ice Studs – Isvidda Isdubb If you are running on the ice, it is important that you use ice hand studs both for your own and others’ safety. (These are often sold for those ice fishing.)

All items with * are only applicable based on the adventure, the type of terrain, weather conditions and personal experience. The inReach is a wonderful security blanket that is arguably ideal for any run/ adventure but if you have a phone (with power) at least you have one emergency back-up. However, phones don’t always have reception.

Running across a frozen lake, Norway.

LIGHTERPACK is a great online tool that helps you manage equipment and keep track of pack weight and contents, HERE is an example of what is listed above.

SUMMARY

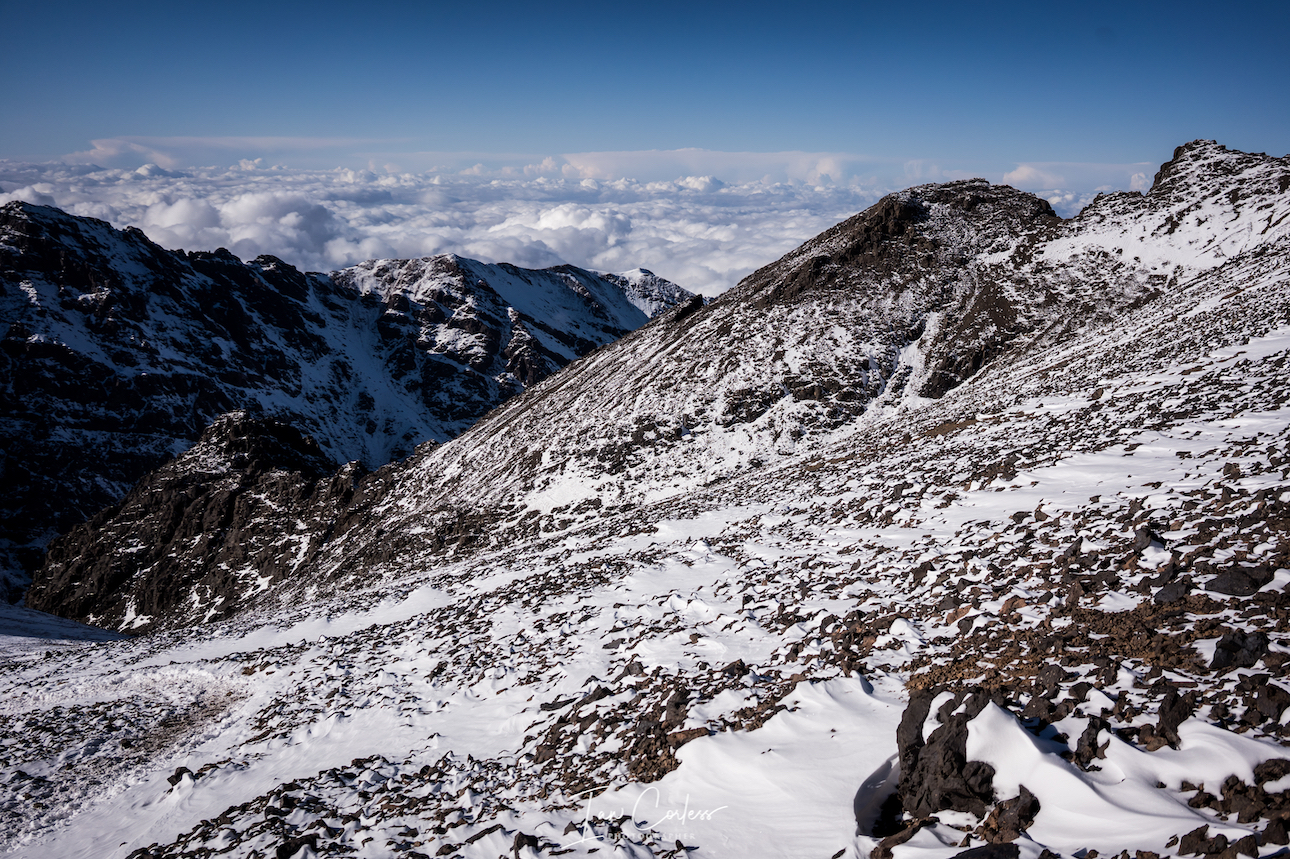
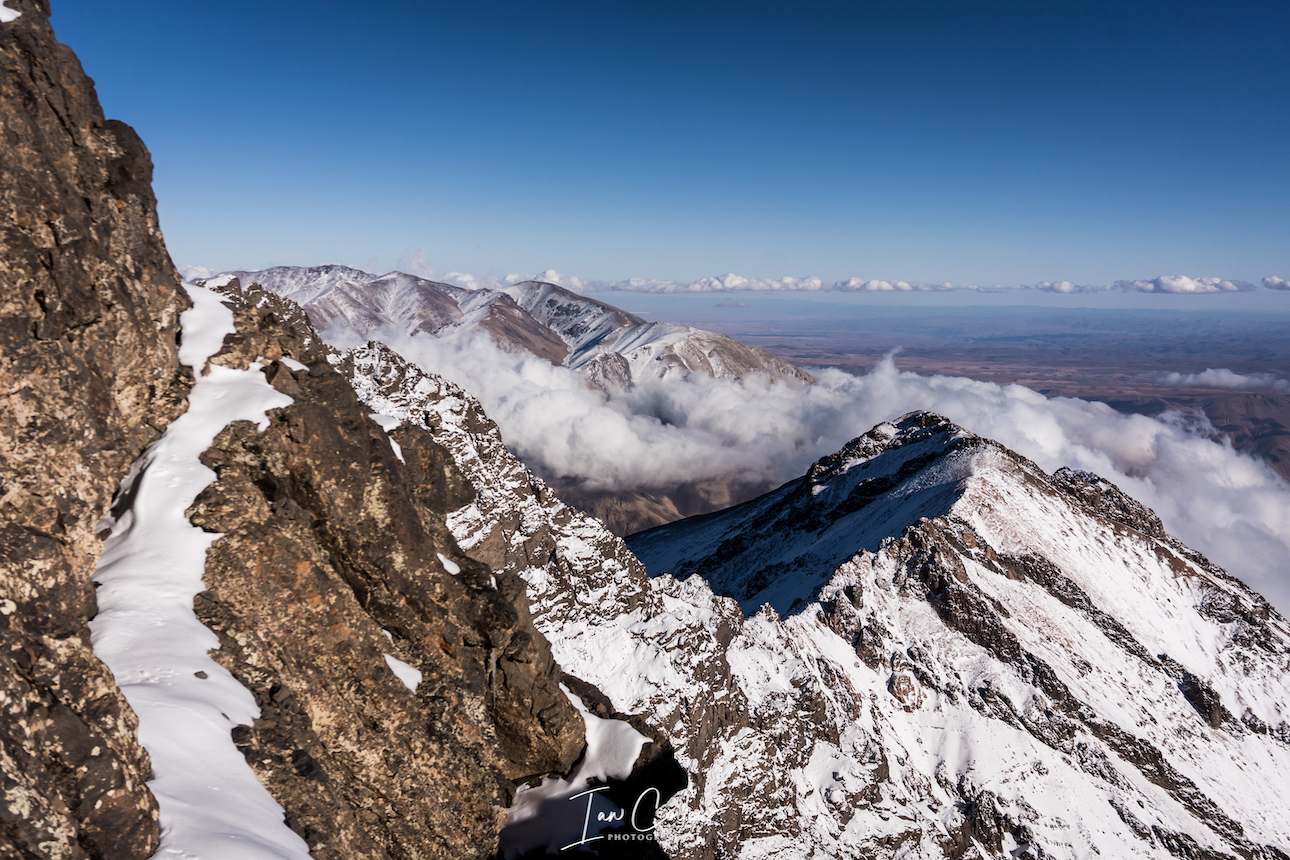
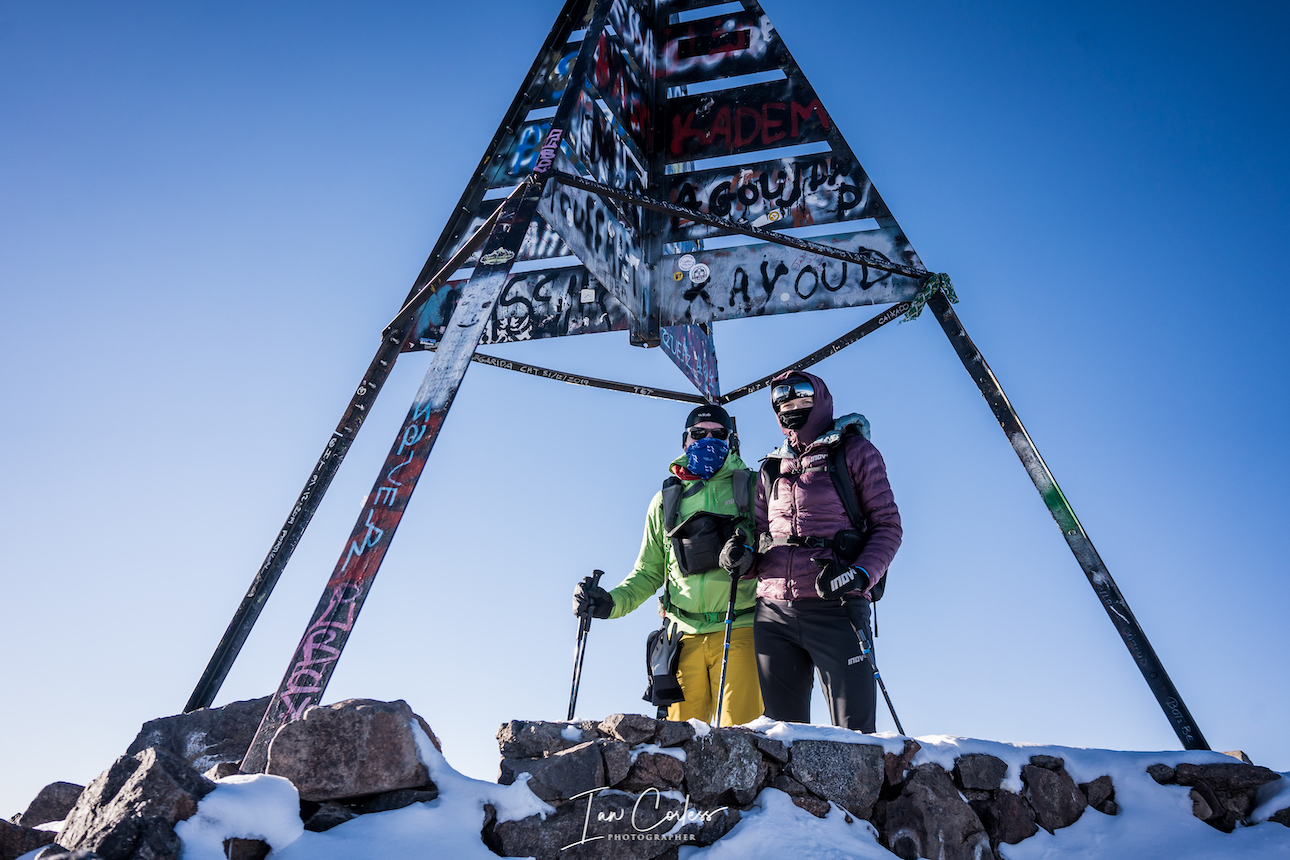
Winter adventures are incredible and exhilarating. On a personal level, I find them more challenging and exciting than many Spring/ Summer trips due to the added complexity. However, that complexity can prove to be fatal.

Don’t compromise in winter. Be prepared.

The above list of equipment is designed to show you what is possible and how to make weight as minimal as possible without losing efficacy of the items. You could go away and purchase this list of items and you’d have all you need for winter running.

However, if you are like me, looking around, testing items and comparing is part of the fun… It’s actually what I have been doing for years, that is how this list came about.

So, do the research, make sure you not only have what you need for an adventure but make sure you have all the extras needed should a situation arise leaving you vulnerable.

Further Reading:

Ice Running HERE

Winter Running HERE

Embrace Winter HERE

Winter Camping & Fastpacking HERE

Please support this website. I believe everyone deserves to read quality, independent and factual articles – that’s why this website is open to all. Free press has never been so vital. I hope I can keep providing independent articles with your help. Any contribution, however big or small, is so valuable to help finance regular content. Please support me on Patreon HERE.

Follow on:

Instagram – @iancorlessphotography

Twitter – @talkultra

facebook.com/iancorlessphotography

Web – www.iancorless.com

Web – www.iancorlessphotography.com

Image sales –www.iancorless.photoshelter.com

Shining Some Light On Headlamps For Running

Winter is looming. It’s dark in the morning and darkness arrives earlier and earlier in the evening. The lure of a treadmill or training in a gym is just not an option for some and therefore the need to be outdoors getting in some fresh air is essential for day-to-day function. So, if you are going to keep running during the winter months a headlamp is going to be essential. Here is a guide to help you make the correct choice.

Headlamps are an important piece of kit and arguably one that is ‘mandatory’ when heading to the trails, particularly during winter months or when racing. It may be light when you leave home, but have you noticed how suddenly the light switch is flicked off and how quickly light disappears. If you are on the road (with streetlights) this is not too much of an issue but if you are off-road, you are going to need a light that illuminates the trail, has durability and good battery life.

BEAM 

One thing I hate about running at night is that I eventually fall into the beam and I feel that I am in a tunnel. It affects my mind, my vision and my concentration. Many head torches have ‘beam options’ that usually are ‘narrow’ or ‘wide’. This option is an essential item to allow you to adapt to the environment and your vision needs.

Morning arrives in a trail race in the USA.

NARROW will focus the beam. For example, you may be running single-track and need vision in a very specific area. You need to see roots, rocks or any other obstacles. The narrow beam will facilitate your vision and allow you to make on-the–go decisions without losing speed.

WIDE as it suggests provides a softer more widespread light that provides a much more general field of view. This tends to work well with clearer skies or on open trail when obstacles are reduced.

Some head torches have two lamps, one wide and one narrow that provides the best of both worlds. some headlamps allow ‘variations’ between wide and narrow.

BRIGHTNESS

Brightness is measured in lumens and while many think more lumens are better, this is not always the case. Brightness is a key consideration for faster sports such as skiing and Mountain Biking when the need to react at speed is paramount. But for running, the pace is lower and therefore the need for a really bright light is not essential. Many headlamps have several settings, for example, a 400-lumen product may have a 50, 200 and 400 setting. This is useful when using a headlamp in mixed lighting/ darkness scenarios. If running on roads with streetlights, you may only need to be visible and then 50 lumens is ideal. However, if you are on dark forest trails with no ambient light, 400 lumens will be required.

In addition, some products have a ‘flash’ option that can be used for safety.  

Manually adjusting brightness with 1, 2 or 3 clicks is for me preferable to some of the new head torches that ‘auto-adjust’ to conditions. I have issues with these when in fog, mist, rain and so on as the sensor becomes confused. It over engineers a simple problem that a button click resolves.

Racing a VK during the night in a rainstorm. A double bean headlamp providing wide and narrow light.

Be careful of ‘boost’ modes, they are designed to produce brighter light for shorter periods, they will eat through battery life.

Understand your needs and be specific when purchasing. A light that provides too much power can be turned down BUT a light with not enough lumen cannot be turned up.

Also, when looking at power and brightness, this goes hand-in-hand with the beam. A narrow beam may well require less power because the beam is so concentrated, however, when on wide, you may wish to up the power as the light provided is softer.

BATTERY LIFE

Battery life, lumen power and weight are a delicate balancing act. Quite simply, autonomy comes from a larger battery and that will always mean more weight. If you are using a bright headlamp on a full power setting, then you need to balance this combination and understand your needs.

If you use a headlamp occasionally, using conventional batteries such as AAA or AA may be an option. However, regular headlamp use will almost certainly require rechargeable batteries which are better on cost and the environment.

Top tip: Choose a headlamp that can switch between conventional batteries and rechargeable seamlessly. Not only does this provide the best of both worlds but it will also allow you the opportunity to always have conventional batteries as a backup.

Silva Trail Runner Free can change from AAA to rechargeable.

Another key consideration is the option to use the batteries on and off the headband. The reasons for this are twofold:

The more power/ autonomy you need, the heavier the battery will be. The option to store in a pack or pocket is considerably more comfortable.

In colder weather, batteries last longer if warm. Storing off the head and in a pocket close to your torso will provide more autonomy.

Silva Trail Runner Free has a Hybrid case that takes AAA and rechargeable and can be used off the head.

Be specific. If you run typically 1-2 hours on dark trails, a 400-lumen light will be ideal, and the batteries will last for the duration of the run.

If you are running and you know you will have 8-hours or more under darkness, you will almost certainly need one spare set of batteries and maybe even two! So, the option to change rechargeable batteries and/or use conventional batteries can be a deal breaker. The Silva Trail Runner Free balances this perfectly with multiple options available.

On a final note, batteries can either fit in the lamp unit at the front (typically 2 x AA or 3 x AAA) or at the rear in a battery box that is sealed from the weather. The latter option usually means that you will have more power and the light will have more autonomy, but you will need to check! Is one better than the other? It all depends on your preference; I have found that a lamp at the front and batteries at the back balances the light well when in use. However, I do like the simplicity of everything in the head unit as it does allow you to use the light in other scenarios.

ADJUSTMENTS

Headlamps will tilt and some swivel. The tilt function is most important and will allow you to adjust the angle of the light based on your running style. This is important as we all have different run styles. You want the beam to be in a natural position taking into account your head angle whilst running and what field of vision you require. Usually, 2-3 meters ahead is ideal as this allows a natural run pace without slowing due to vision problems. If the trail is gnarly, you may need to adjust the angle, power and beam so that you are able to see obstacles.

Fog and mist can cause issues for any headlamp. Instinctively you try to increase the light to improve visibility only to find the light bounces back and makes visibility worse. In this scenario, using a light on your chest or waist can make improvements – just like they way fog lights on a car work. Simply removing the torch from your head and holding in your hand will improve matters considerably. Some actually prefer chest or waist mounted lights all the time. Personally I do not. I think they are a good addition to a headlamp but not a replacement.

Adjusting beam power is useful when reading maps.

Nearly all head torches use an elastic system to stretch around the head and hold the light in place. One or two also include a strap that goes over the top of the head too. This adds extra stability but often is a problem when wearing hats and so on. Ultimately you just want something that is comfortable.

SUMMARY

Night running is awesome. If you haven’t tried it, head out with friends at first, you will feel more secure as It can take some getting used to as you may feel disorientated.

But once you have the feel for it, it will be something you embrace and of course it adds some spice to your running.

If snow falls, embrace the opportunity of dark skies, white snow and the glow of a light!

Recommendations:

Moonlight Mountain Gear provide very powerful lights beyond 2000 lumens HERE

Silva Trail Runner Free specifically for running that takes AAA and rechargeable HERE

Please support this website. I believe everyone deserves to read quality, independent and factual articles – that’s why this website is open to all. Free press has never been so vital. I hope I can keep providing independent articles with your help. Any contribution, however big or small, is so valuable to help finance regular content. Please support me on Patreon HERE.

Follow on:

Instagram – @iancorlessphotography

Twitter – @talkultra

facebook.com/iancorlessphotography

Web – www.iancorless.com

Web – www.iancorlessphotography.com

Image sales –www.iancorless.photoshelter.com

FASTPACKING – A Guide.

Runner’s and particularly ultra-runners have this wonderful ability to cover distance under their own power with very little needs or requirements. Some water, some food, a warm jacket and waterproofs and adventure awaits.

However, you can only go so far without the eventual need to return home.

Fastpacking manages to encompass the world of backpacking and running to create a different adventure, fast and light! Backpackers tend to carry a plethora of equipment and move at a slower pace, happy to adventure for days and weeks at a leisurely pace.

Fastpackers, arguably are runners or hikers looking for the need to travel for multiple day’s but still cover good distances and not be excessively slowed down by weight and excess equipment. The crux though is often the balance of weight and one’s ability to still run/ fast hike.

“Fastpacking isn’t for every outing though. Sometimes you want to take it easy, set up camp, and enjoy a particular area. That’s when backpacking shines. Sometimes you just want to crush through a workout. That’s when you want to go for a really fast run.” Says Simoni, adding that he opts for Fastpacking, “when I want to tag multiple mountain summits in an area at one time, without needing to take multiple trips. If you’re squeezed for time, Fastpacking can really help maximize an adventure. I find it very rewarding to cover so much distance with minimal gear.” – Justin Simioni via La Sportiva

One could arguably say that races like Marathon des Sables, which is 35-years old in 2020, have paved the way for Fastpacking bringing a ‘fast and light’ scenario to a race format allowing participants to cover 250km’s in a self-sufficient manner.

However, Fastpacking has been around for many, many years. Long before MDS, and long before the term Fastpacking. But in recent years, the sport has developed into something else, no doubt boosted by the growth and popularities of FKT’s and lighter, more functional equipment.

It’s important to clarify, that Fastpacking is what you make it. Personally, I enjoy a lighter pack, moving fast (but not running) and being self-sufficient. This allows me to carry a little more weight, travel for longer, enjoy the process and still cover over a marathon per day. You though may prefer to be more minimalist, look at micro/ mini adventures of 2-4 days and aim to run for much of the way. There are no rules to the speed or distance you go.

It’s also important to consider many other factors that come into place:

  • Location and environment – There is a big difference to Fastpacking in Nepal to say the Alps.
  • Time of year – Winter conditions require more equipment and more specific equipment.
  • Weather conditions – Check weather and be prepared.
  • Access to water – Streams, rivers and lakes
  • Access to external help – If you are going remote, be responsible and plan accordingly.

It’s easy to see from the above, there is no one definitive kit list, but there are crossovers that apply to both.

Route Plan

Plan the route in advance, understand the terrain and understand what possibilities exist to obtain water. Importantly, carry a system that will ensure that you can drink water that is available from any source.  Work out how long a planned route will take and then plan for contingency should something go wrong. Note that vertical ascent, descent and technical terrain will require moving slower. It’s not unusual to sometimes only cover 2km’s in 1-hour. Make sure you inform family or a friend of your planned trip, start day and end day. That way you have a backup and someone checking out for you. It may sound alarmist, but should something happen, you may well not be able to call for help. Contact and research with local authorities and ascertain current conditions on the trails and be aware of any restrictions.

Do you need a 12-week and/ or 24-week Multi-Day Training Plan perfect for a multi-day adventure or a race like Marathon des Sables? They are designed to provide you with a structured weekly plan culminating in a target event.

View a sample week HERE from the 12-week planPurchase HERE. (£14.50 pw)

View a sample week HERE from the 24-week planPurchase HERE. (£12 pw)

The Pack

Typically, a Fastpacker will look for something between 20 and 40 liters. For summer and short adventures, it is possible to go lighter and smaller. In winter, one will need more equipment that is often heavier and bulkier. Quite simply, the heavier the pack, the harder it is to run. So, if the plan is to run as much as possible, you need to go as minimal as possible whilst keeping safe. Make sure when testing and trying a pack that you add weight and understand how it feels when moving. Many brands are now producing packs specifically for Fastpacking. Personally, I like my pack to have a waist belt as this helps distribute the load and make the pack more secure. I would say that a minimum pack weight will be 6.5kg (14.3lbs) with water. Where possible, you would not want a pack to exceed 10kg (22lbs).

Packs with considering:

  • Montane Trailblazer 30ltr HERE
  • Ultimate Direction Fastpack 25 HERE
  • OMM Phantom 25 HERE
  • Six Moon Designs Flight 30 HERE
  • UltrAspire Epic XT HERE (this is a smaller pack)

Tent / Tarp/ Hammock

On a personal level, I would always go with a tent as I personally feel that it will offer more flexibility, especially if one shops in a clever way. My go to tent is an MSR Hubba Hubba NX (1/ 2 and 3 person versions available).

Things to look for in a tent:

  • Weight
  • Flexibility
  • How many season use?
  • Space

For example, the above MSR is a free-standing tent, so, it can be pitched inner only. If you know you are Fastpacking in ‘guaranteed’ good warm weather, you could travel without the fly sheet and basically sleep in a lightweight and bug proof shelter. Equally, if you know that you are fast packing in a bug free (mosquito) environment, you could leave the inner at home and just travel with the flysheet. This then provides a secure waterproof shelter, and, in this scenario, it acts just like a tarp but with more protection.

Tents to consider (2 person):

  • Big Agnes Fly Creek HV2 here
  • MSR Carbon Reflex 2 here
  • Nemo Hornet here
  • Nordisk Lofoten 2 ULW here
  • Terra Nova Solar Photon here
  • Marmot superalloy 2P here

Tarps offer a light solution that can be used with trekking poles and if one is going very minimal and fast, they provide a very simple answer for overnight protection. It all comes down to comfort and what one is prepared to accept as ‘comfort’ whilst Fastpacking. Big Agnes make the Onyx which comes in at under 200g. A Tarp is a compromise if you will have bugs such as mosquitos whilst on your adventure.

Hammocks are also an option providing one has trees to secure against. But if you add a bug net and tarp, in my opinion, a tent is a much better option. But a hammock can be a great addition to any Fastpacking kit, I use an Amazonas (here)

Sleeping Bag

A sleeping bag is essential for any adventure but firstly you need to ask some very specific questions before purchasing. I would say that ideally, one potentially could need several sleeping bags based on time of year and weather conditions. Remember, that any sleeping bag can be made warmer with layers. Add a hat, gloves and down jacket, suddenly the sleeping bag is considerably warmer.

Read an in-depth article HERE.

Down is by far the lightest and smallest packing size, however, down cannot get wet! So, if you think you will encounter damp and wet conditions, you should consider a bag with a synthetic filling. Weight and pack size are important and with sleeping bags, the more you pay, usually, the lighter and smaller it will be.

Be careful on the ‘comfort’ rating of the sleeping bag.

  • Upper limit – the highest temperature the average male can expect to have a comfortable night’s sleep at without too much sweating.
  • *Comfort – the temperature at which the average adult woman can expect to have a comfortable sleep. *This is the ideal for most people choosing
  • Lower limit – the temperature at which the average adult male can expect to have a good night’s sleep in a curled position.
  • Extreme – the lowest temperature at which the average adult woman can survive. This rating comes with caution and additional consideration should be given if you plan to sleep in temperatures this low.

Recommendations:

  • PHD – Make sleeping bags and jackets to order, I am a long time fan here
  • Yeti – Passion One and Passion Three are a good start point here
  • Rab – The new Mythic Ultra is a personal favourite, available in 180 and 360 here
  • OMM -The Mountain Raid 160 is a great bag if you need synthetic filling here
  • Sea to Summit – The ‘Spark’ range have been getting rave reviews here
  • Western Mountaineering – here

Sleeping Matt

The minimalist Fastpacker will go with no matt or a very simple and small pad that provides just enough coverage for one’s hip if sleeping on one’s side. Personally, a good night’s sleep is essential, and a good/ light matt is an essential element to a fast and light kit.

Also, one should consider that in winter/ snow conditions, a matt will be essential for insulation.

Another consideration is potential problems from a puncture. Many inflatable matts become super light by using extremely light material. Be careful when using and make sure any potential sharp objects are removed before sitting or sleeping!

Matts very considerably but a personal favourite is the Klymit V Ultralite slim which offers full length body comfort all for 316g. It also packs very small. There are lighter matts and I list them below:

  • Thermarest NeoAir Uberlite 158g
  • Klymit Inertia X 258g
  • Nemo Insulated Short 278g
  • Sea to Summit Ultralight 294g
  • Exped AirMat HL 304g

Ultimately, the matt you choose may come down to a tradeoff between price/ packing size and weight. Be careful, some matts can be noisy when you move. Ok of going solo but really irritating if you are in close proximity of someone else.

Cooking System

For me, the MSR PocketRocket Deluxe (here) or 2 (here) kit is perfect. It has all one needs in a very small pack size and weight. I use the PocketRocket 2 kit that allows me to place a gas canister inside the 278g kit + a 4oz canister.

Another consideration would be JETBOIL Micromo Cooking System (here) which is the lightest system they do and if you just need to boil water, this is perfect!

Food

Dehydrated food is probably the most obvious option here and there are many varieties on the market. They are a one-stop option that requires water to hydrate and if you wish to be extremely minimal, some options exist that do not require hot or boiling water. A personal favourite is Lyo (here) and Real Turmat (here) – It may sound crazy but they both make foods that I would consider eating when not fast packing. They also do Vegan and Vegetarian options.

Check out Chicken Tikka Masala, Nettle Curry, Penne alla Bolognese and if Vegan, Organic Chilli and Barley Risotto. Breakfasts such as Mexican Scrambled Eggs and Organic Millet Porridge.

For any adventure, I work on a breakfast and a dinner and then carry snacks for during the day, this can be energy bars or if on a long Fastpack, I will even consider carrying another main dehydrated meal. Typical weights are 132g with approx 600 cals.

Other options to look at for dehydrated food are:

Coffee

For me, Fastpacking is fun and adventure. I am not looking for FKT’s and therefore I do allow myself one or two luxuries. Coffee for me is an essential part of any trip and I mean good coffee. I could just take some coffee sachets and have a combined weight of grams.

No! For me, I take fresh ground coffee in a sealed tub and I use one of two coffee presses.

Aeropress here or Espro here

The Espro is my favourite as it acts as a flask/ drinking canister too. But it does come at a weight and size cost.

I fully appreciate that if going fast and light, the above is a complete no, no! But for me, that smell of fresh coffee each morning is worth it.

Water

You are going to be self-sufficient for multiple days, so, you need to find water and plan to obtain water from the route you will take. You can use purification tablets, I take the MSR TrailShot pocket sized filter (here) which meets U.S. EPA drinking water standards* and NSF protocol P231 for removal of bacteria (99.9999%), protozoa (99.9%), and particulates.

Clothing

Clothing requirements depend on the time of the year, the weather you will encounter and the duration of the Fastpack. Needless to say, one has to accept that changing clothes, taking a shower and feeling wonderfully fresh daily is not what Fastpacking is about. Layering clothing is essential to allow for fluctuations in temperature. Do your research, check weather forecasts and plan accordingly. The above photo is my equipment for a Fastpack in Nepal. Make sure you have a ‘Drybag’ to make sure all contents of the pack are protected from the weather, Sea to Summit (here) for example.

A good start point is as follows:

  • Short sleeve T
  • Long sleeve shirt
  • Shorts
  • Underwear x2?
  • Socks x2?
  • Hat with peak
  • Warm hat
  • Gloves
  • Merino base layer, top and bottom – I use Icebreaker here
  • Lightweight waterproof jacket – I use RAB Charge here
  • Lightweight down/ Primaloft jacket – I use RAB Kaon here
  • Buff
  • Bivvy bag

The above, for most, would be a start point and based on where and when Fastpacking, you could maybe add or takeaway certain items.

If going to more extreme and cold environments, the demand on clothing and what one takes will increase. I wrote an article on Fastpacking in Nepal (here) and this is a worthwhile read. Please note in Nepal, one can use tea rooms, so, one saves on tent/ tarp weight immediately if required.

Tracker/ Beacon

I use a Garmin InReach Mini (here) and it is superb. Small, light, has SOS button and allows for 2-way messaging anywhere in the world. I do not go on any adventure without it now. In conjunction with a mobile phone and associated App, functions become easier to use. Subscription services can be changed monthly and therefore one can add or takeaway facilities as required.

Another option to consider is a SPOT device.

Essential Extras:

  • Water purification
  • Toilet paper/ wet wipes
  • Hand sanitizer
  • First-aid kit
  • Sunscreen
  • Bug repellent
  • Headlamp and batteries
  • Lighter/ matches
  • Whistle
  • Map
  • Compass
  • Earphones

Optional Extras:

Trekking poles – to be honest, for most of my Fastpacks, poles are an essential and especially if one is using a Tarp or similar.

Battery pack for recharging.

Conclusion

Fastpacking for me, is one of the most pleasurable ways to travel by foot. The ability to cover distance, usually in a point-to-point way under ones own power and being self-sufficient is extremely rewarding. You can move as fast or as slow as you like, take as long as you wish and fully immerse yourself in the surroundings and environment.

Please support this website. I believe everyone deserves to read quality, independent and factual articles – that’s why this website is open to all. Free press has never been so vital. I hope I can keep providing independent articles with your help. Any contribution, however big or small, is so valuable to help finance regular content. Please support me on Patreon HERE.

Follow on:

Instagram – @iancorlessphotography

Twitter – @talkultra

facebook.com/iancorlessphotography

Web – www.iancorless.com

Web – www.iancorlessphotography.com

Image sales –www.iancorless.photoshelter.com

Mount Toubkal and the Atlas Mountains in Winter

Located just 75-minutes’ drive from Marrakech (approximately 40-miles) the Toubkal National Park and Jebel Toubkal(4167m) is the highest peak in the Atlas Mountains. It is also, the highest peak in North Africa and the Arab World.

 Toubkal has two-seasons, Winter and Summer. In winter, summiting the peak brings new challenges as it is completely covered in snow. Winter mountain skills are required, and the use of crampons is essential.

I wrote an in-depth article about visiting Toubkal in summer months HERE and some of the information from that article is repeated below.

PRACTICALITIES

The gateway to Toubkal is Marrakech which is less than a 90-minute journey away from Imlil via taxi or private car. Imlil is the starting point for any adventure in the Atlas Mountains with a small village of restaurants, shops and hotels.

Flights to Marrakech are abundant and many budget airlines offer great prices, particularly if one can travel on a weekday.

If you have not been to Morocco before, I strongly recommend staying in Marrakech for several days before and after any trip to the Atlas. Even now, after multiple trips to the region, I still enjoy a pre/post stay in a Riad (local traditional hotel) to help provide some luxury and RnR either side of a strenuous hiking/ climbing period. There are many Riads in Marrakech all offering something unique and prices vary considerably, my favourite is the Dixneuf La Ksour which has only 6 rooms.

If you have been to the region before and want to maximize time, it is of course possible to land in Marrakech, get a taxi at the airport and be in Imlil within 2-hours. Riads in Imlil are very inexpensive and I have stayed at the ‘Riad Atlas Prestige’ on all my trips – it is inexpensive and offers great food.

A taxi to Imlil will be approximately 40 euro and a private car, usually arranged by your Riad will be 80 euro. 

TOUBKAL and the ATLAS MOUNTAINS

If you have not been to the region before, it would make sense that you visit the area in the non-winter months when hiking/ climbing is much easier and very predictable.

Please note! You now MUST have a guide for any treks/ climbs in the region. This was a rule imposed in late 2018. There are currently three passport checkpoints on the way to the refuge. This in time will change with one new police checkpoint that is currently being constructed just before the entrance to the National Park.

Our guide, Mustafa

The refuge at Toubkal is a great place to plan a booking as you are able to arrange a guide and a bed at the refuge all in one email. Hamid is my contact who is always helpful.

refugetoubkal@gmail.com – Liaise with Hamid.

Refuge Tariffs (Jan 2020):

  • 34.5 euro per person per night full board (Dinner, breakfast and lunch)
  • 29.5 euro per person per night half board (Dinner and breakfast)
  • 19.5 euros per person per night (without meals) 

The refuge can also arrange the following for you:

  • Transport from and back to Marrakech
  • Accommodation in Imlil
  • Mountain Guide 

A guide will be approximately 50-80 euro per day and is payable in Euro (cash only).

CLIMBING and TREKKING

Toubkal is considered an entry level 4000m peak and as such it is a great place for training and gaining experience, particularly in summer.

In winter, it is still considered an entry level 4000m peak, however, far more equipment is required and some exposure to harsh winter environments would be strongly recommended.

In summer one can usually wear shorts and t-shirts during the day but it is essential to have trekking pants, a warm upper layer, waterproof jacket/ trousers, hat and gloves at a minimum for any summit treks. Poles are for many an essential item too!

Winter is completely different, and the environment can be very harsh and dangerous. One needs to be prepared for conditions that can be below -20 with very strong winds, thick snow and a great deal of ice.

At a minimum you will need:

  • Merino base layer, top and bottom.
  • Trekking pants.
  • Mid-layer thermal top.
  • Down or Primaloft upper insulation.
  • Gore-Tex or equivalent out layer, top and bottom.
  • Very warm gloves. Probably with inner Merino layer.
  • Very warm socks, usually two pairs made up from inner Merino and outer mountain sock.
  • Climbing boots suitable for harsh winter than can take a mountain crampon – La Sportiva G5 as an example.
  • Crampons.
  • Ice Axe.
  • Poles.
  • Pack.

Sleeping bag (the refuge is usually quite warm (in the sleeping dorm), so, with a merino base layer, a bag with comfort to -5 should be ok). 

ROUTE TO THE REFUGE

 Imlil to the refuge is designed to introduce you to the terrain and slowly adapt you to the altitude. Imlil is at 1800m and the ‘Les Mouflons’ refuge is at 3207m. Depending on experience and adaptation, Imlil to the refuge can take 3-6 hours.

Leaving Imlil, you have a narrow trail that rises quickly to a road and then the village of Aroumd. Here you will meet the first passport control and then you cross a floodplain before starting the climb to the refuge. The terrain is rocky and rough but not dangerous. Chamharouch is the next passport control and here you will see a large white rock that is a Muslim Shrine. Here it is possible to by water, food if required and soft drinks such as coke.

Depending on the time of year and how harsh the winter has been, snow may already be present on the trail. Usually, just wearing trekking shoes or boots is fine to the refuge, however, it can be possible to need to add crampons in a harsh year, so, make sure they are easily accessible from your pack when you leave Imlil.

Passport check point

The path now climbs steeply and gently reaches upwards, once again the terrain is rocky. You will arrive at two disused building that now sell drinks and here is the 3rd and final passport check. Before you know it, you will arrive at the refuge located at 3207m.

Depending on what you have arranged with your guide, you will have a meal at the refuge and then you will stay in a shared dorm with all the other climbers. These dorms are often unisex, so be prepared. You also need to be self-sufficient in terms of sleeping bag, additional clothes and warm layers. Everyone usually sleeps by 8/9pm. Bring wet wipes/ toilet roll as this is not provided at the Refuge.

Dinner is typically served at 1830 and offers soup, bread, a carb rich main meal with protein, fruit dessert and tea. A shop is available to purchase soft drinks, water, chocolate and other items.

Breakfast is bread, mixed jams/ honey, soft cheese and a selection of drinks. Depending on one’s plans, breakfast is often served from 0400 through to 0900.

Lunch is served on request.

ROUTE OPTIONS

TOUBKAL

The standard Toubkal summit day will typically start at 0400 with breakfast and the intention will be to start the climb asap. Sunrise is approximately 0810 (+/-) in winter, so, depending on your projected speed, the guide will advise on a departure time so you can climb from 3207m to 4167m and arrive at the correct time to experience sunrise.

Note – It is dark for pretty much all the climb and very, very cold. How cold depends on many factors but be prepared! Ambient temperature may be -10 but in the wind chill this can easily be beyond -20.

The trail goes straight up often zig-zagging to ease the gradient. The snow and ice can be unpredictable, and crampons are essential. The use of poles is highly recommended and the carrying an ice axe is in my opinion compulsory. You may very well not need it, but better to have one just in case.

 Once at the saddle, the trail goes left and right. Here you go left for a final push to the summit. On a clear day, the views are magnificent and if you time it correctly, the sunrise can be truly magical. The terrain here is not as steep but depending on route options, it can be a little more technical.

Most arrive at the summit between 0745 and 0900 to experience the winter sunrise. Depending on the day, hanging around is usually not an option; it is too cold. Of course, you may want to take a photo? Be careful! Removing gloves at the summit in -20 is not a good idea. Be sensible.

 Descending becomes easier from an altitude perspective, with every meter you go down, the easier it will become to breathe. Rely on your crampons on the descent, they provide great security and often, depending on conditions, it is possible to take a more direct line. Let the guide dictate, they know all the route options and will keep you safe.

Once back at the refuge, many take a break for lunch and they will look to descend back to Imlil in the afternoon via the exact same route they went up the previous day.

The above scenario is the classic Imlil-Toubkal-Imlil mini-trek that is ideal to do over a weekend, Friday to Sunday or as a mid-week adventure. If possible, I always recommend mid-week, far less people!

FAST OPTION:

If you are experienced or want a challenge. Imlil-Toubkal-Imlil can be done in one day. I have done this twice now, once in Winter and once in Summer. Depending on one’s speed and ability, it is possible to leave Marrakech at 0530, meet a guide at 0700 in Imlil, summit at midday/ early afternoon and then be back in Imlil before dark.

The above is not for everyone, but for me, it was an ideal opportunity to fit an action-packed day between holiday days, before and after in Marrakech.

ALTERNATIVE OPTION:

Once you have summited Toubkal it is possible to take another route down. This is a more challenging descent with some exposure, very lose scree and lots of technical rocks in summer. In winter, you would need an experienced guide who understands the route and weather conditions and you personally would need a greater level of skill. The route rejoins the main trekking path and you then have an option to go left and return to Les Mouflons refuge or go right and return to Imlil. 

OUANOUKRIM ROUTES

Located high above Les Mouflons refuge, Ouanoukrim offers the 2ndTIMZGUIDA’ and the 3rd, ‘RAS’ highest peaks of the Atlas range. These two peaks are often neglected due to Toubkal being the highest peak, but these two are just a fraction lower at 4089m and 4083m and they offer much more challenging and technical climbing.

Leaving Le Mouflons, one heads up the mountain, Toubkal is to the left and you take the valley leading to the peaks ahead. The out and back trek/ climb is longer than Toubkal and the early gradients are less severe. However, as one moves up the climb the terrain becomes increasingly challenging and steeper.

At the saddle, you can decide to go left for RAS or right to TIMZGUIDA. TIMZGUIDA is higher and a more challenging climb that in winter requires more advanced scrambling skills, the need for an ice axe and a level head. It’s a stunning route that is perfectly achievable, even for a novice climber, as long as you have a good guide and the correct equipment.

After several scrambling sections, the mountain opens up with one last scramble to the summit.

The return is via the way you arrived, so, constantly ask yourself on the way up, ‘Am I happy down climbing these sections?’ – It is always easier to climb up than climb down. Exposure to the elements is a factor that you must consider, especially in the final 100-200m where the mountain is exposed. On my most recent trip, we had thick snow which made trekking up and down hard, we had snow flurries, thick mist, fog and very, very cold temperatures.

Of course, it is possible to do RAS and TIMZGUIDA in one day.

OTHER ROUTE OPTIONS

AFELLA 4043m and AKIOUD 4035m are two other route options from the Toubkal refuge.

AFELLA is to the west of the refuge with more complex faces. The majority of the winter lines are on the south face and are accessed by a narrow ravine. The east face requires ice climbing.

AKIOUD is accessed from the south via the ‘Assif ait Maine.’ The climb can take 3 hours based on conditions and it is possible to ski down following a south east direction.

Other route options exist that can be made up of multiple days. 

EQUIPMENT:

As suggested previously, summer on Toubkal and you can get away with standard running apparel with the addition of a warm layer (PrimaLoft or down) and water/wind proof top and bottoms for the climb and summit. Gloves, beanie, buff and so on are also essential.

In winter, you need very specific equipment which I will list below with links. Climbing boots are large and heavy and I strongly suggest you use a much lighter approach shoe or run shoe for the trek from Imlil to refuge and back.

 Base layer:

RAB Forge leggings and top

Mid layer:

RAB Shadow hoody

Insulation:

RAB Xenon Jacket (Stratus insulation) 

Pants:

RAB Torque and Winter Torque

Gloves:

RAB Forge liner glove and RAB Xenon Mitt

Hat:

RAB Shadow Beanie 

Waterproof layer:

inov-8 Stormshell

Shoes:

La Sportiva Mutant (used for Imlil to refuge) 

Boots:

La Sportiva G5 mountaineering boot 

Crampons:

Petzl Irvis Hybrid

Ice axe and Poles:

Petzl Glacier and Black Diamond Distance Z Carbon

For extreme cold:

RAB Neutrino Pro Jacket

RAB Aragon Pants (down)

Sleeping Bag:

RAB Neutrino 600

Other:

Make sure you have good sunglasses and I found goggles essential in winter conditions.

Make sure you apply sun screen.

I recommend you have an emergency tracker, I use a Garmin InReach for all outings. 

TIME OF YEAR:

Summer:

August for me is perfect. Marrakech is hot but has less tourists. Expect 30-40 degrees during the day. Imlil to the refuge, temperatures will be somewhere between 15 degs at 0700 and 30 deg in the afternoon.

Winter:

January through to April provides excellent winter conditions and snow/ ice levels will vary depending the usual weather variations. I have climbed in January and April. January provided more extreme conditions with much colder temperatures. 

RETURNING TO IMLIL

The way to return to Imlil is via the trekking path used when coming out. There is no need or requirement to visit the control points and show your passport.

This January Toubkal and Atlas Mountain trip was undertaken in preparation for a 2020 expedition to Nepal for the ‘Three Summits Expedition‘ – read more HERE

Please support this website. I believe everyone deserves to read quality, independent and factual articles – that’s why this website is open to all. Free press has never been so vital. I hope I can keep providing independent articles with your help. Any contribution, however big or small, is so valuable to help finance regular content. Please support me on Patreon HERE.

Follow on:

Instagram – @iancorlessphotography

Twitter – @talkultra

facebook.com/iancorlessphotography

Web – www.iancorless.com

Web – www.iancorlessphotography.com

Image sales –www.iancorless.photoshelter.com