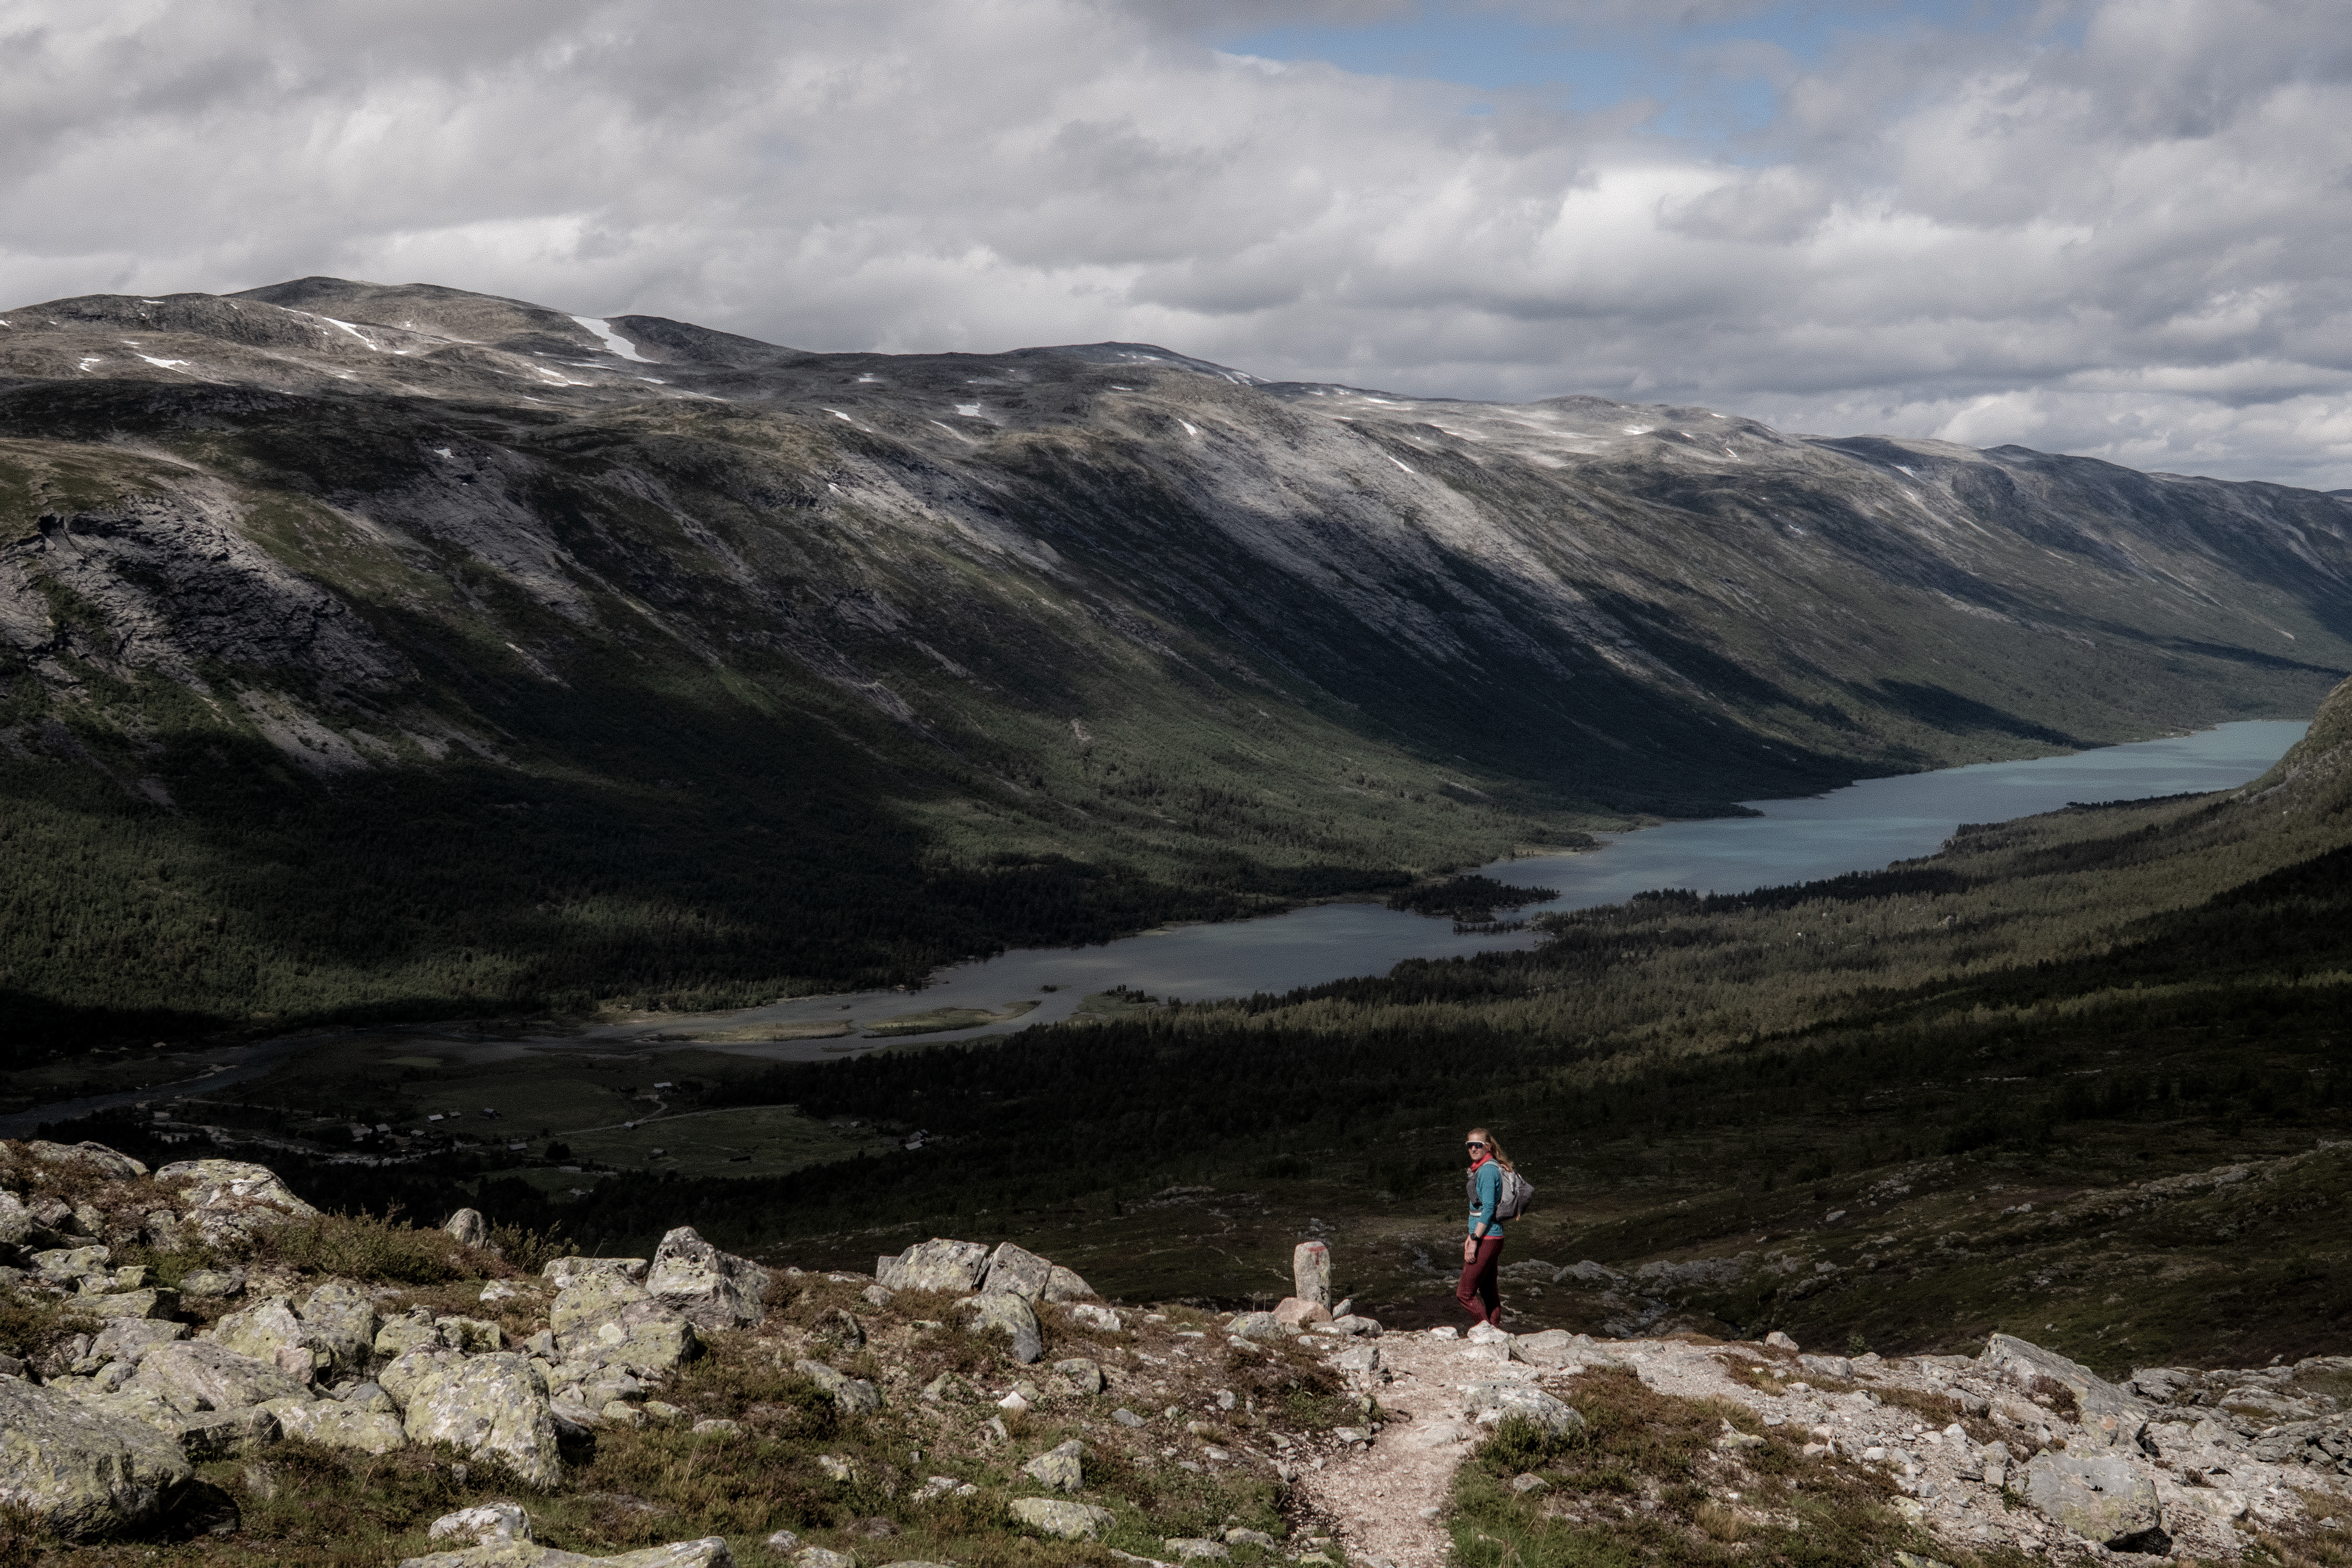
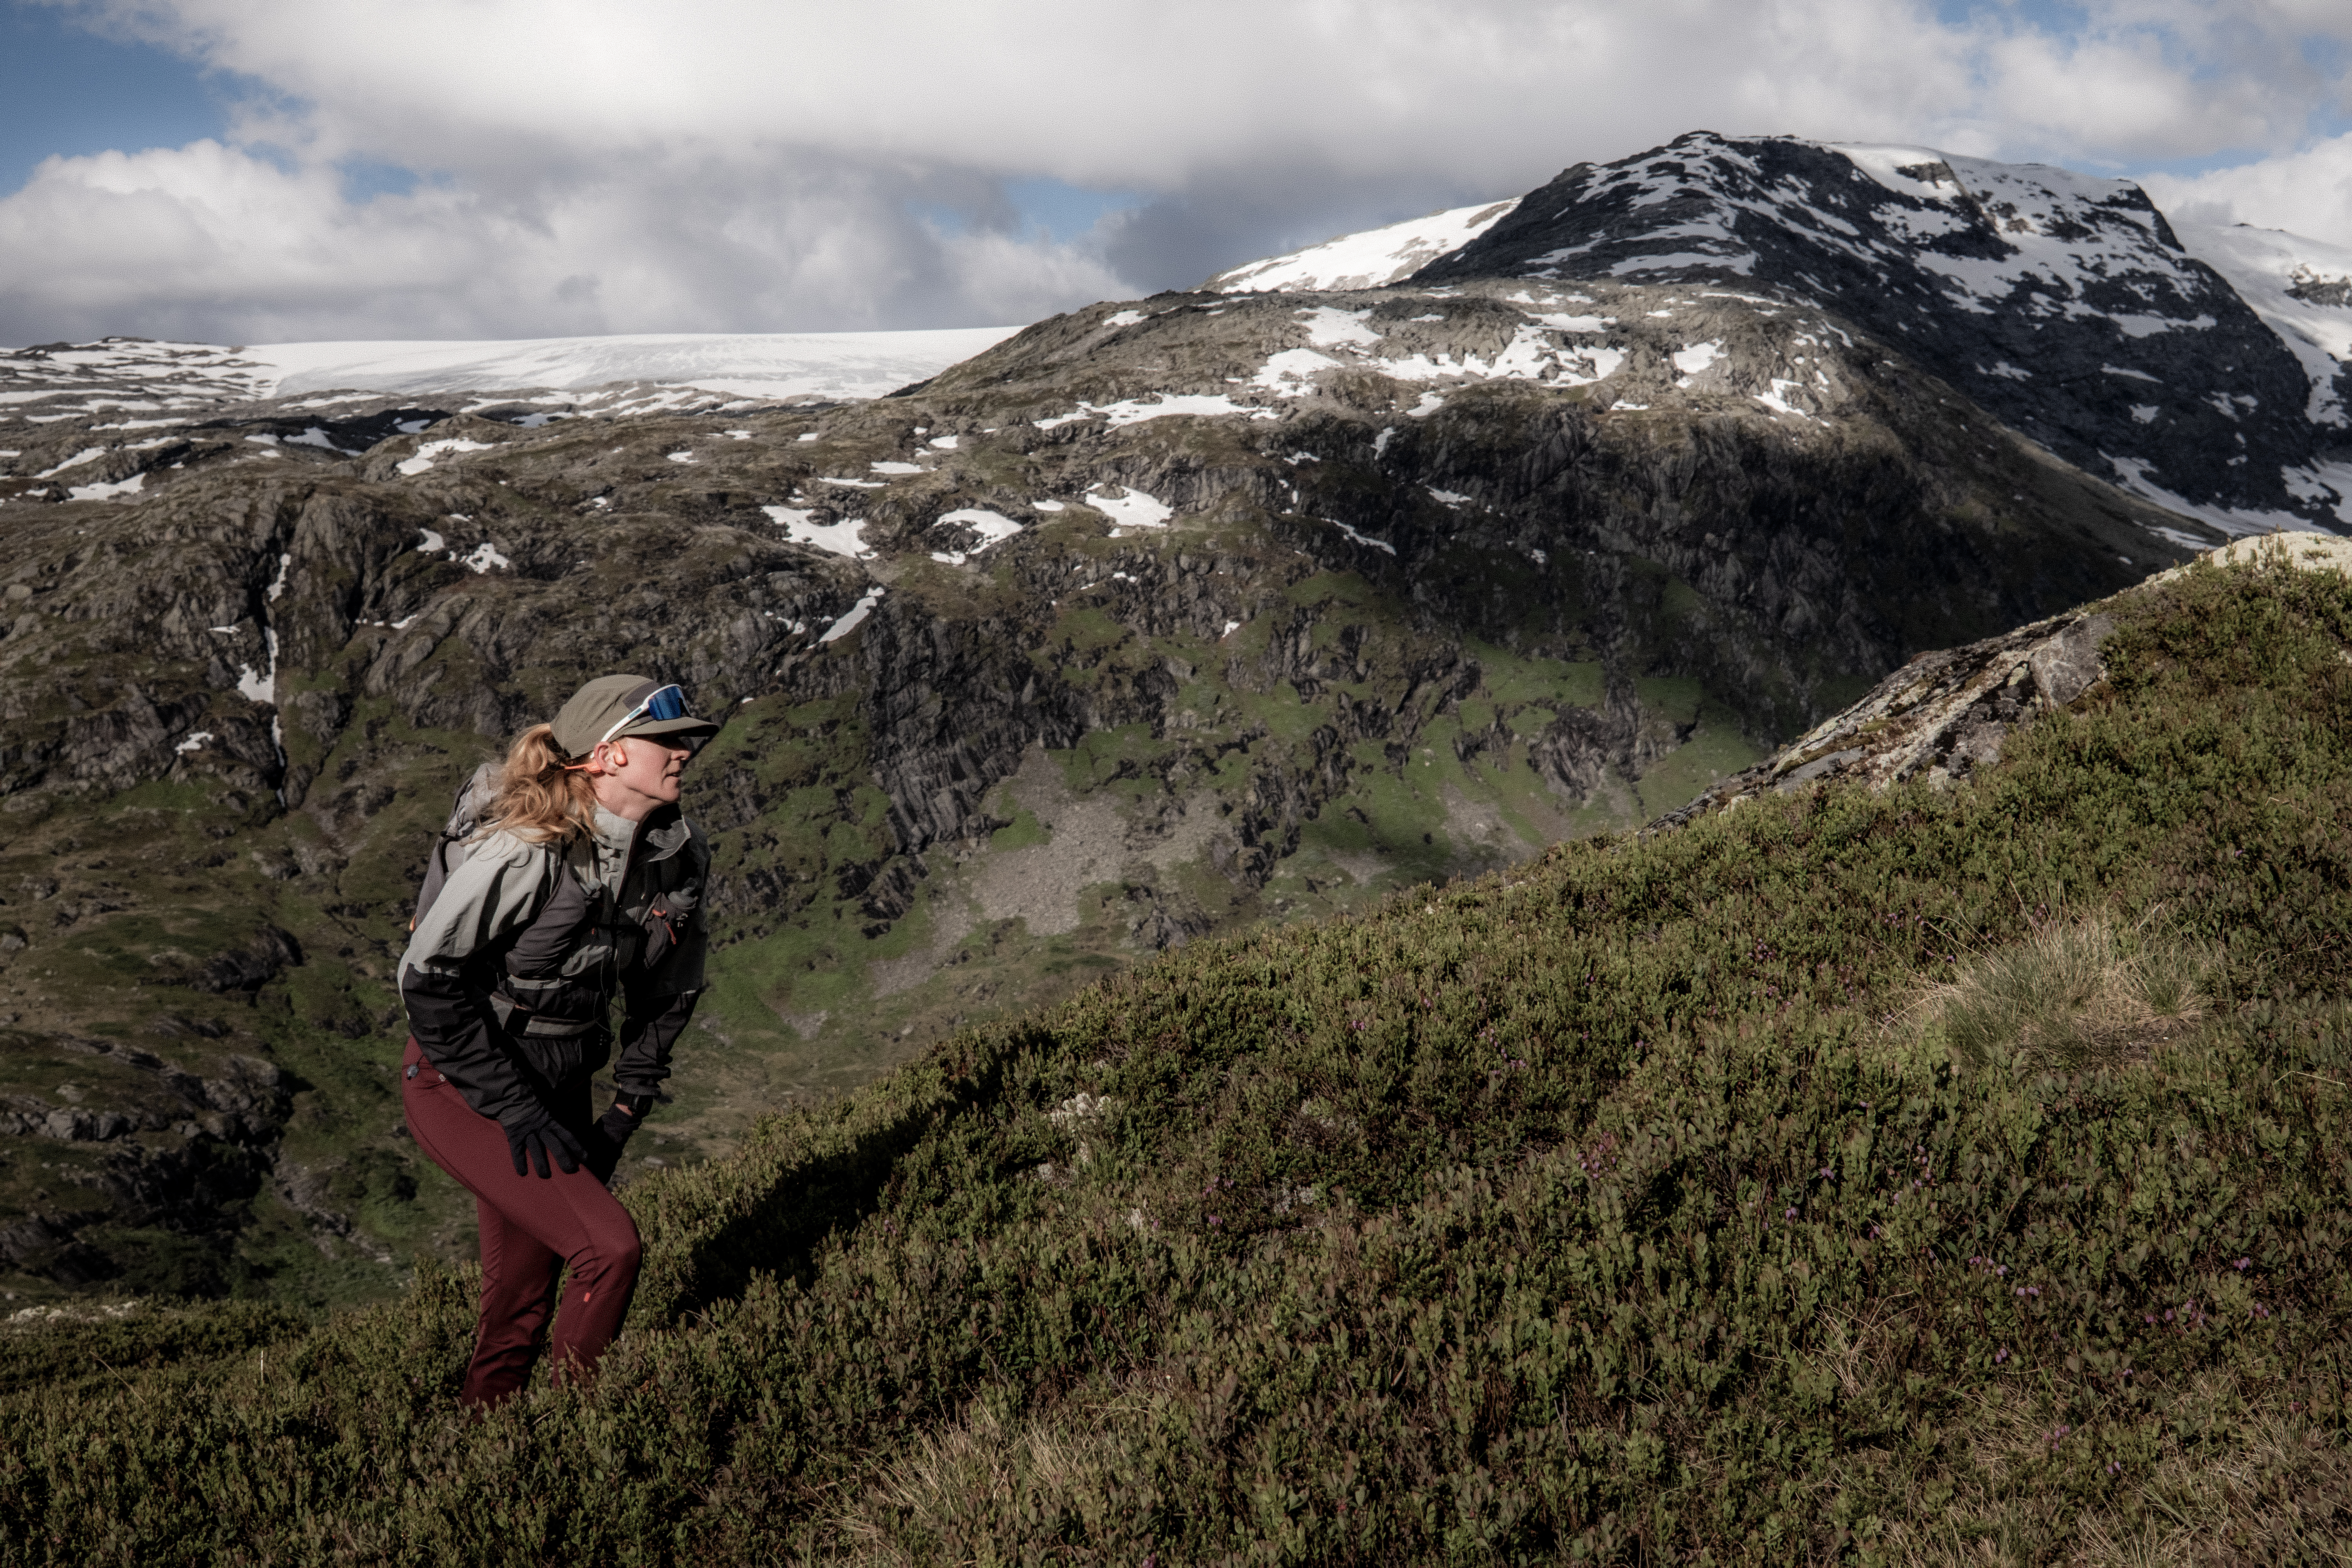
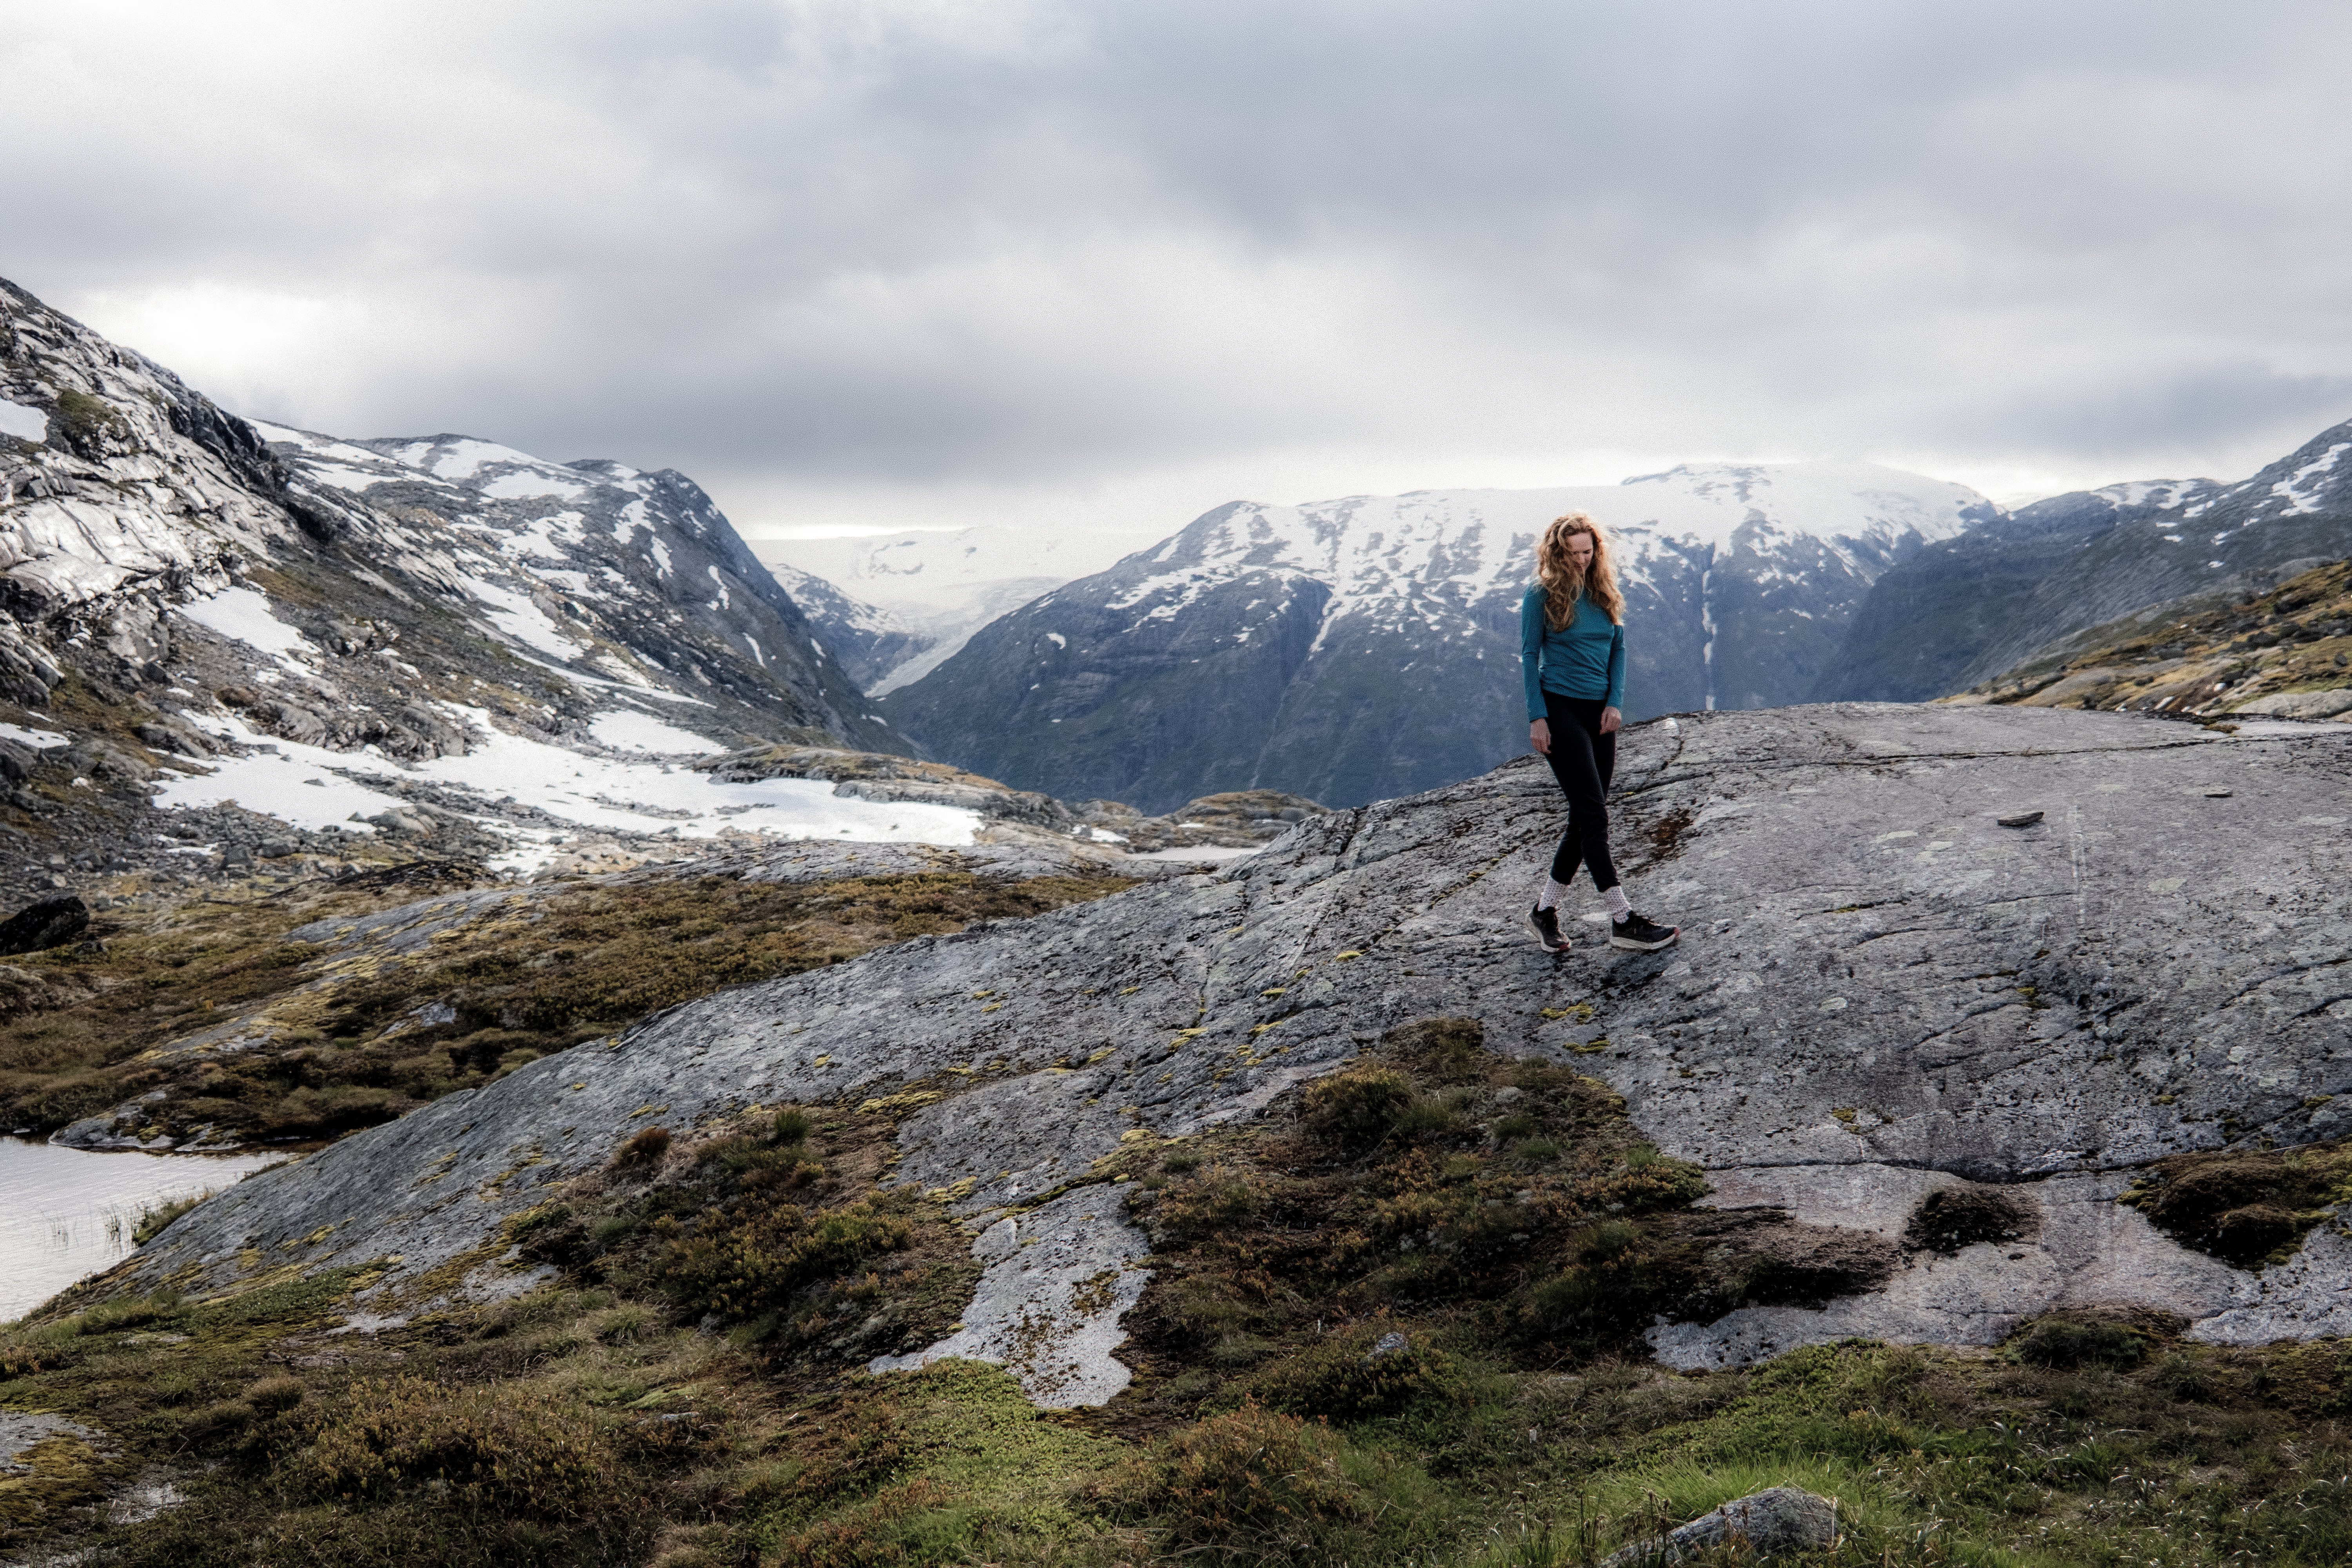
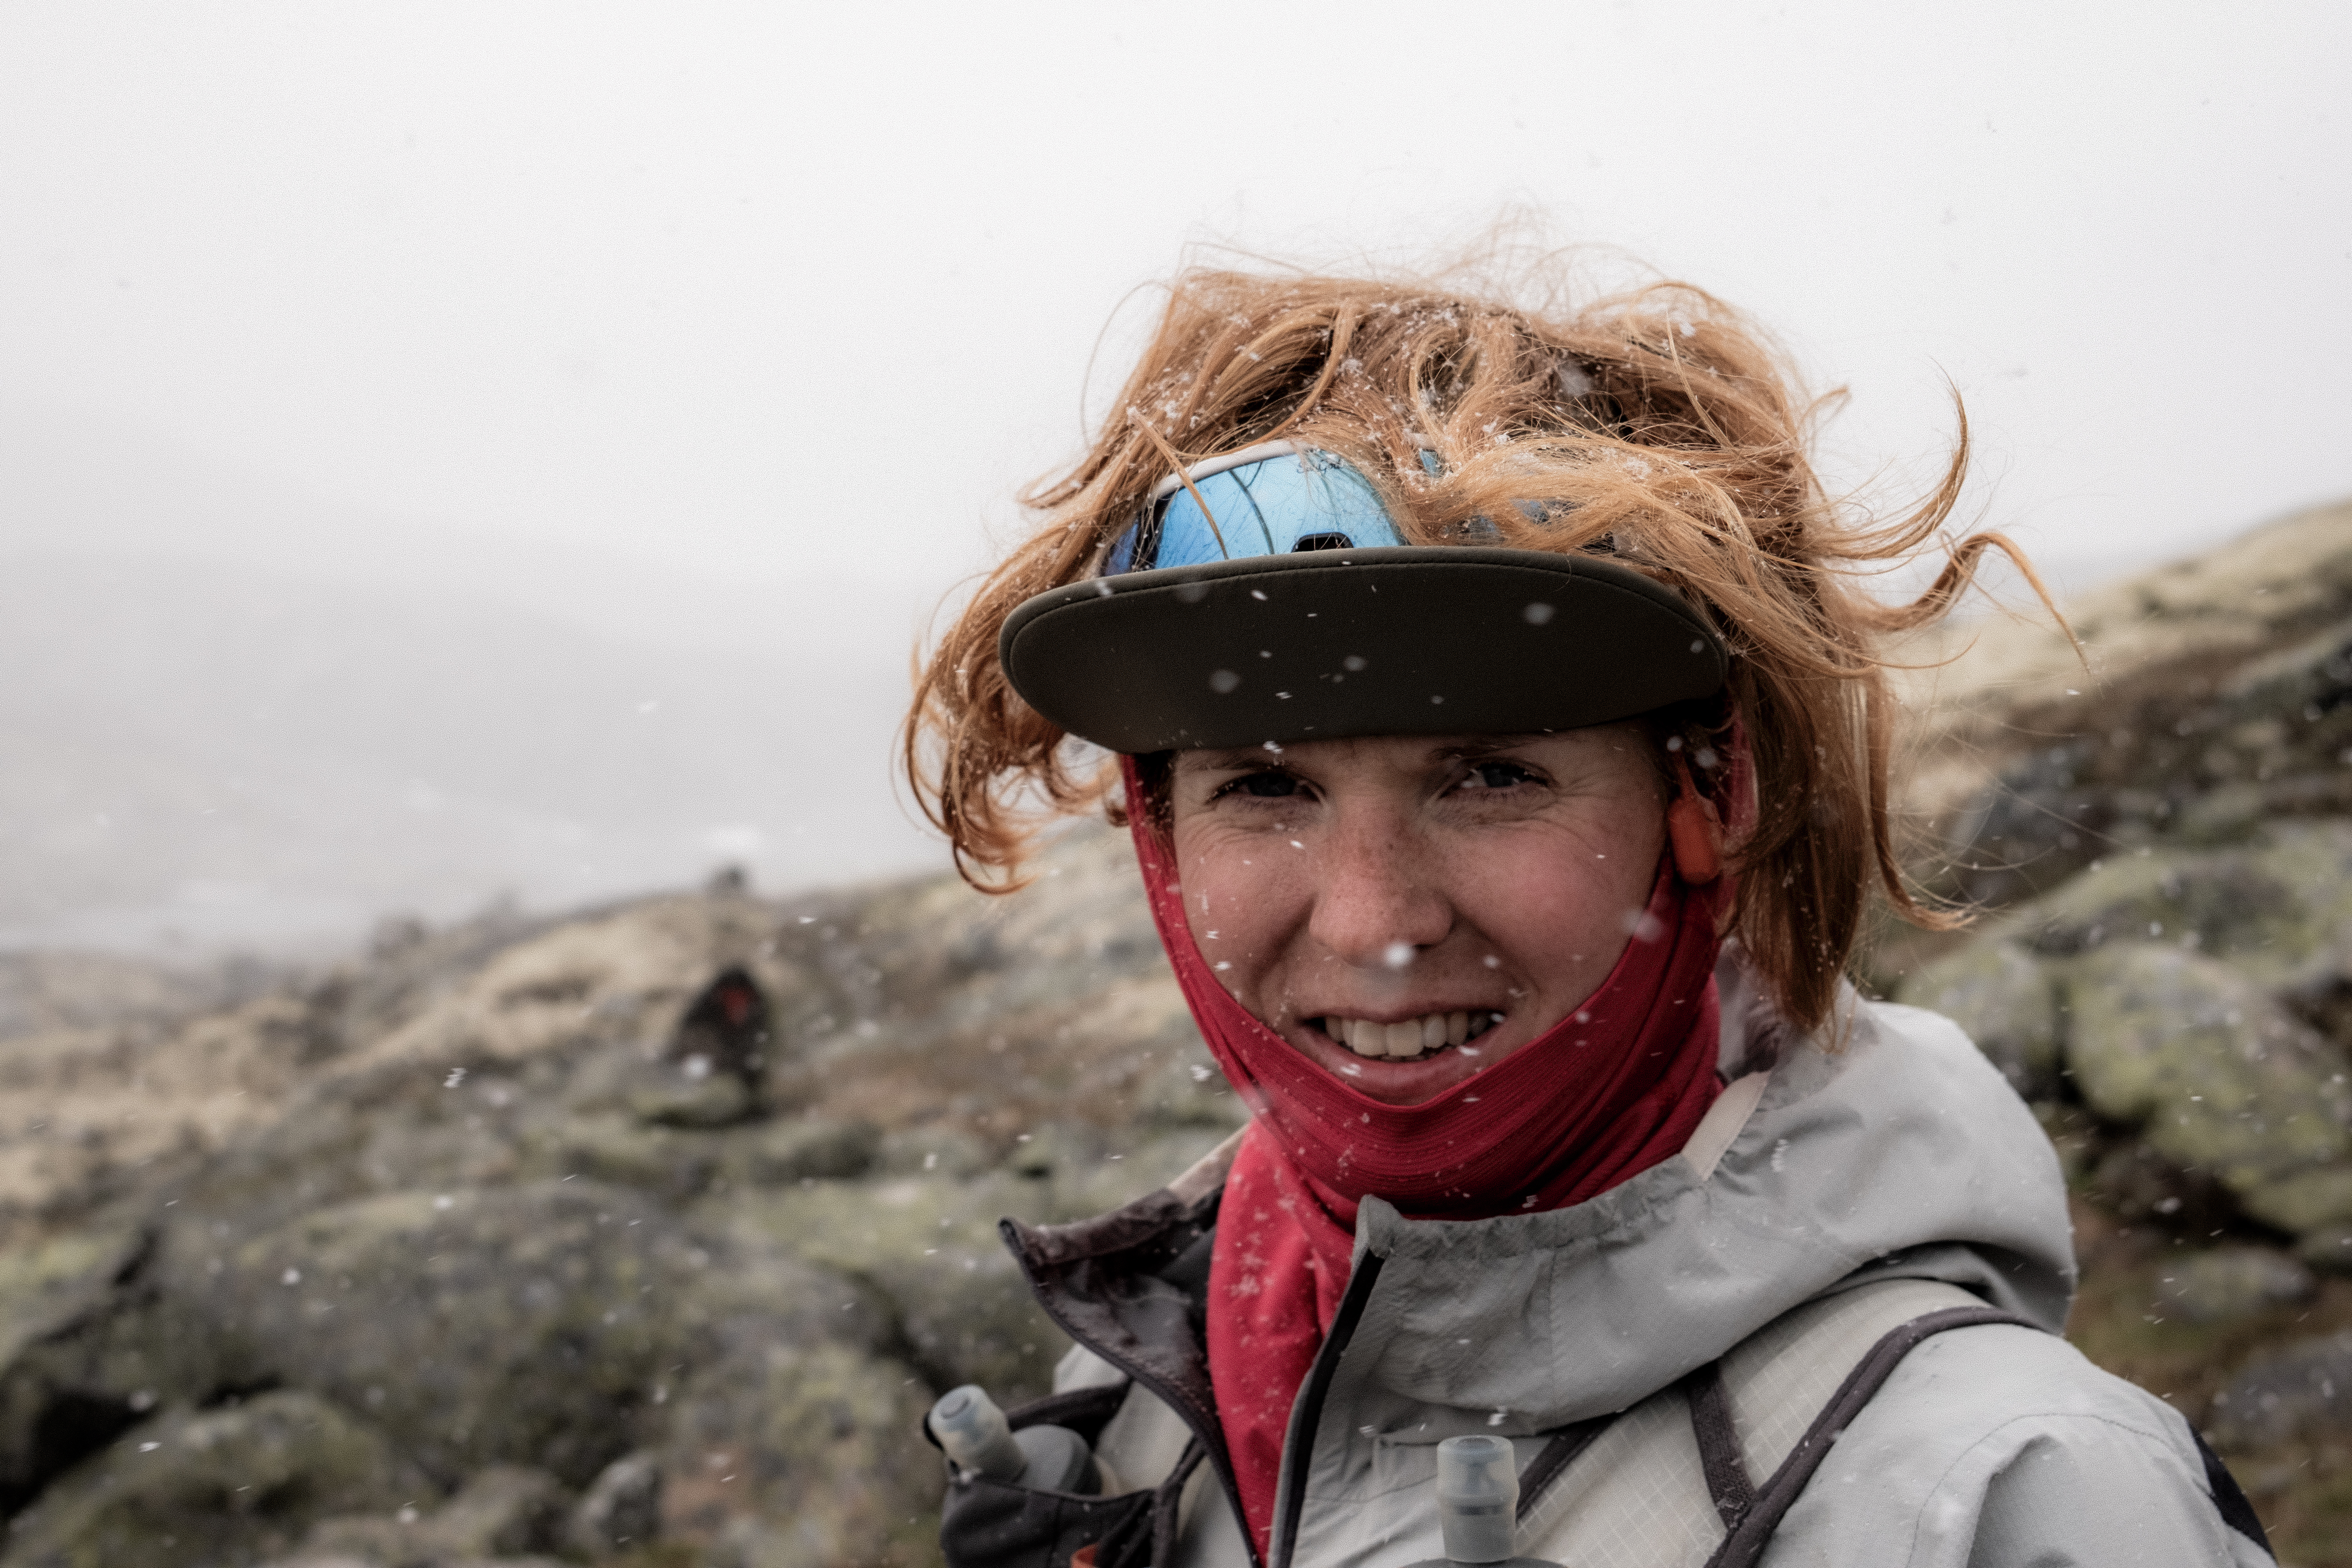
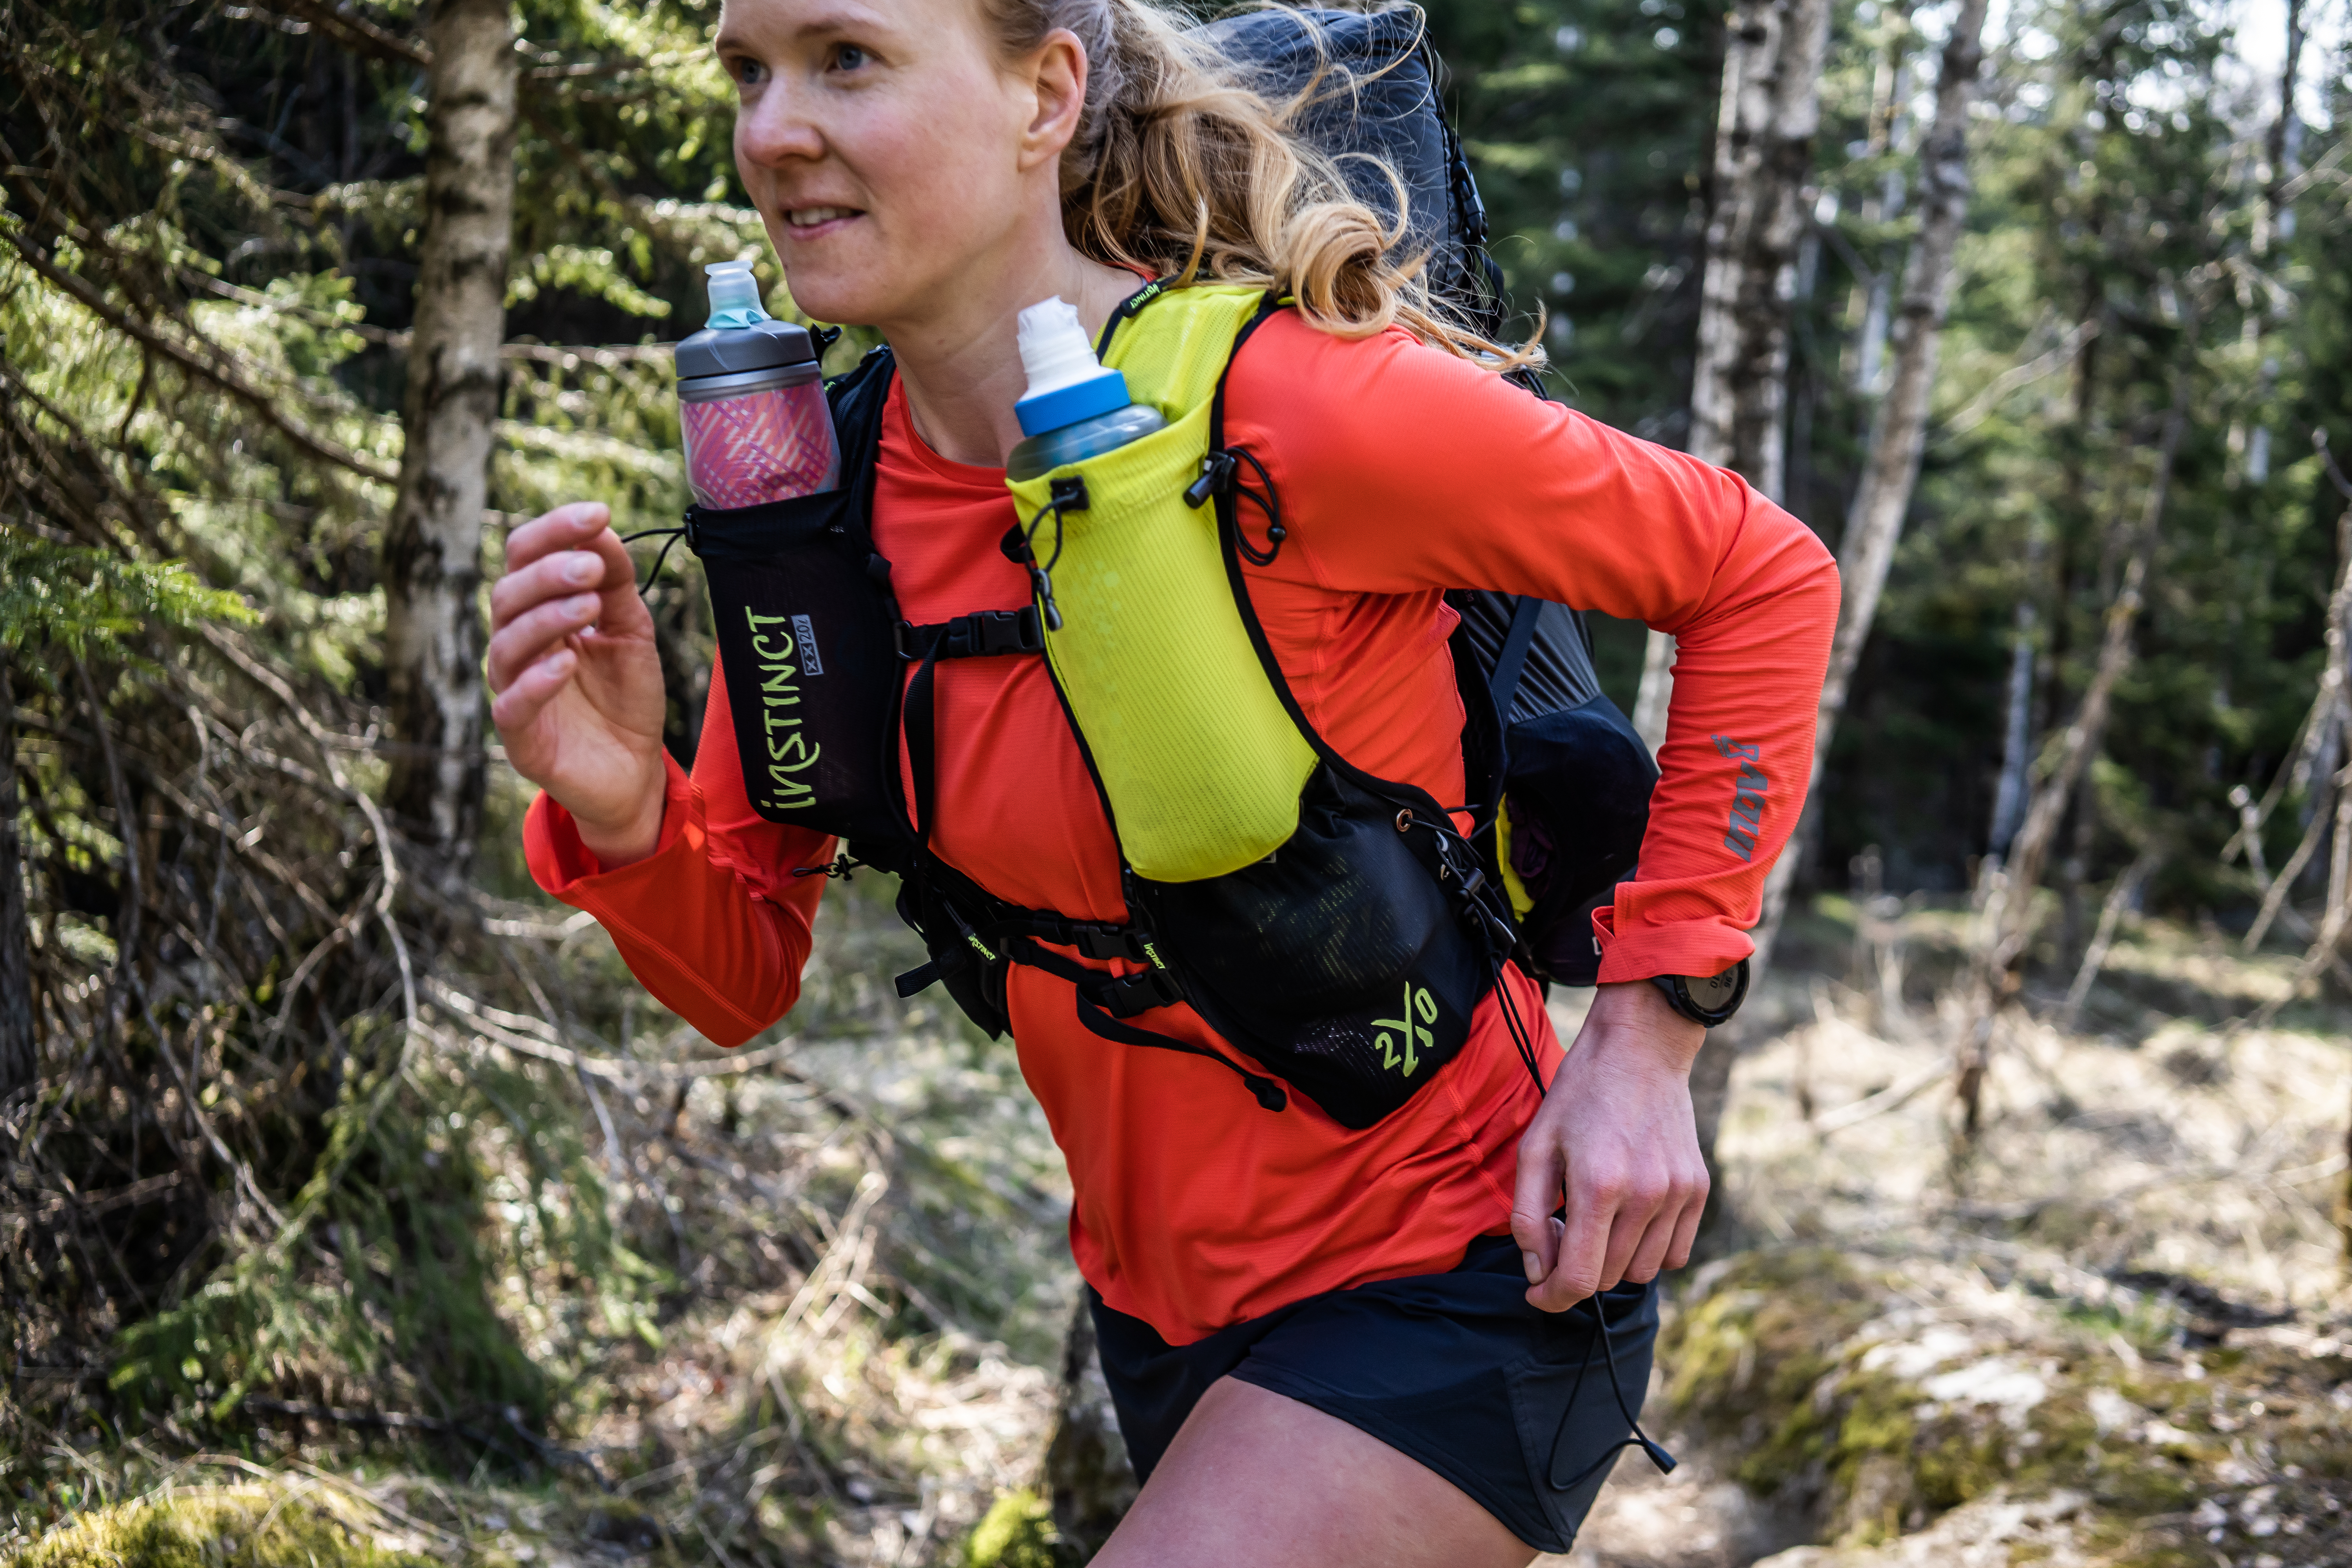
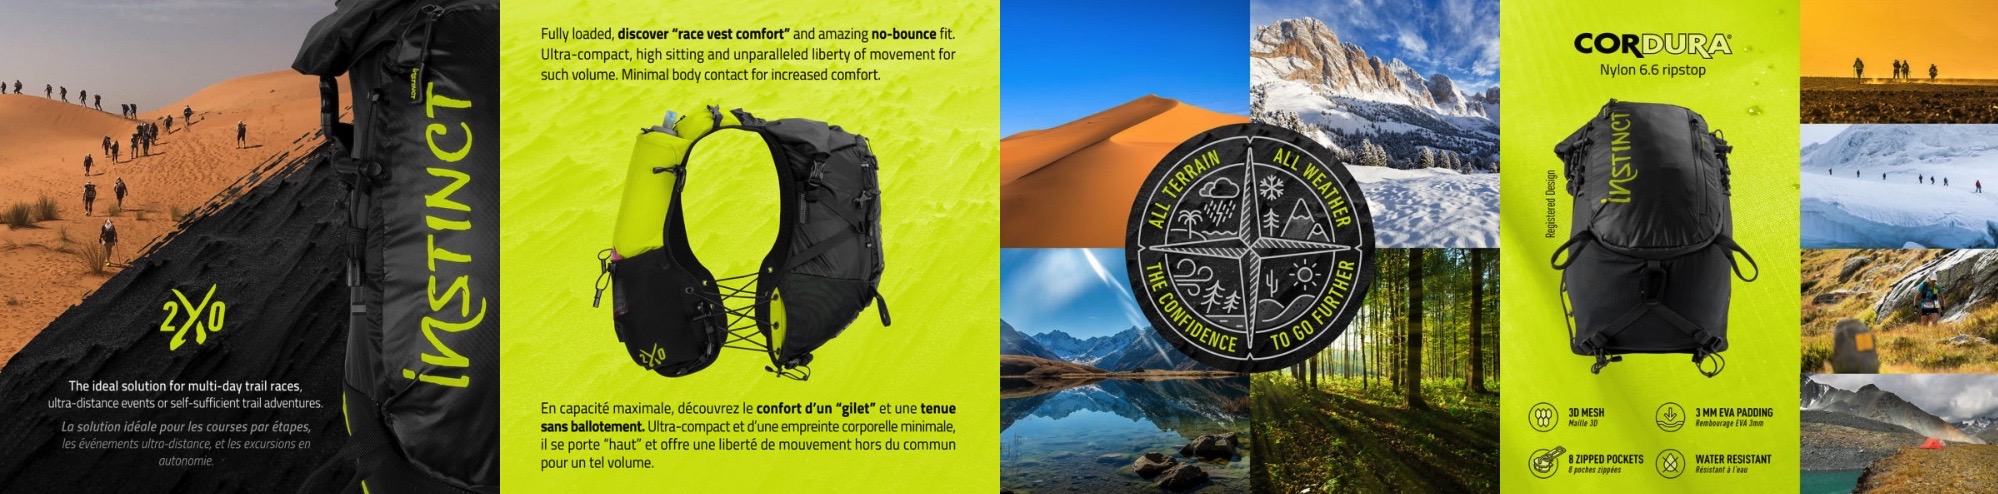
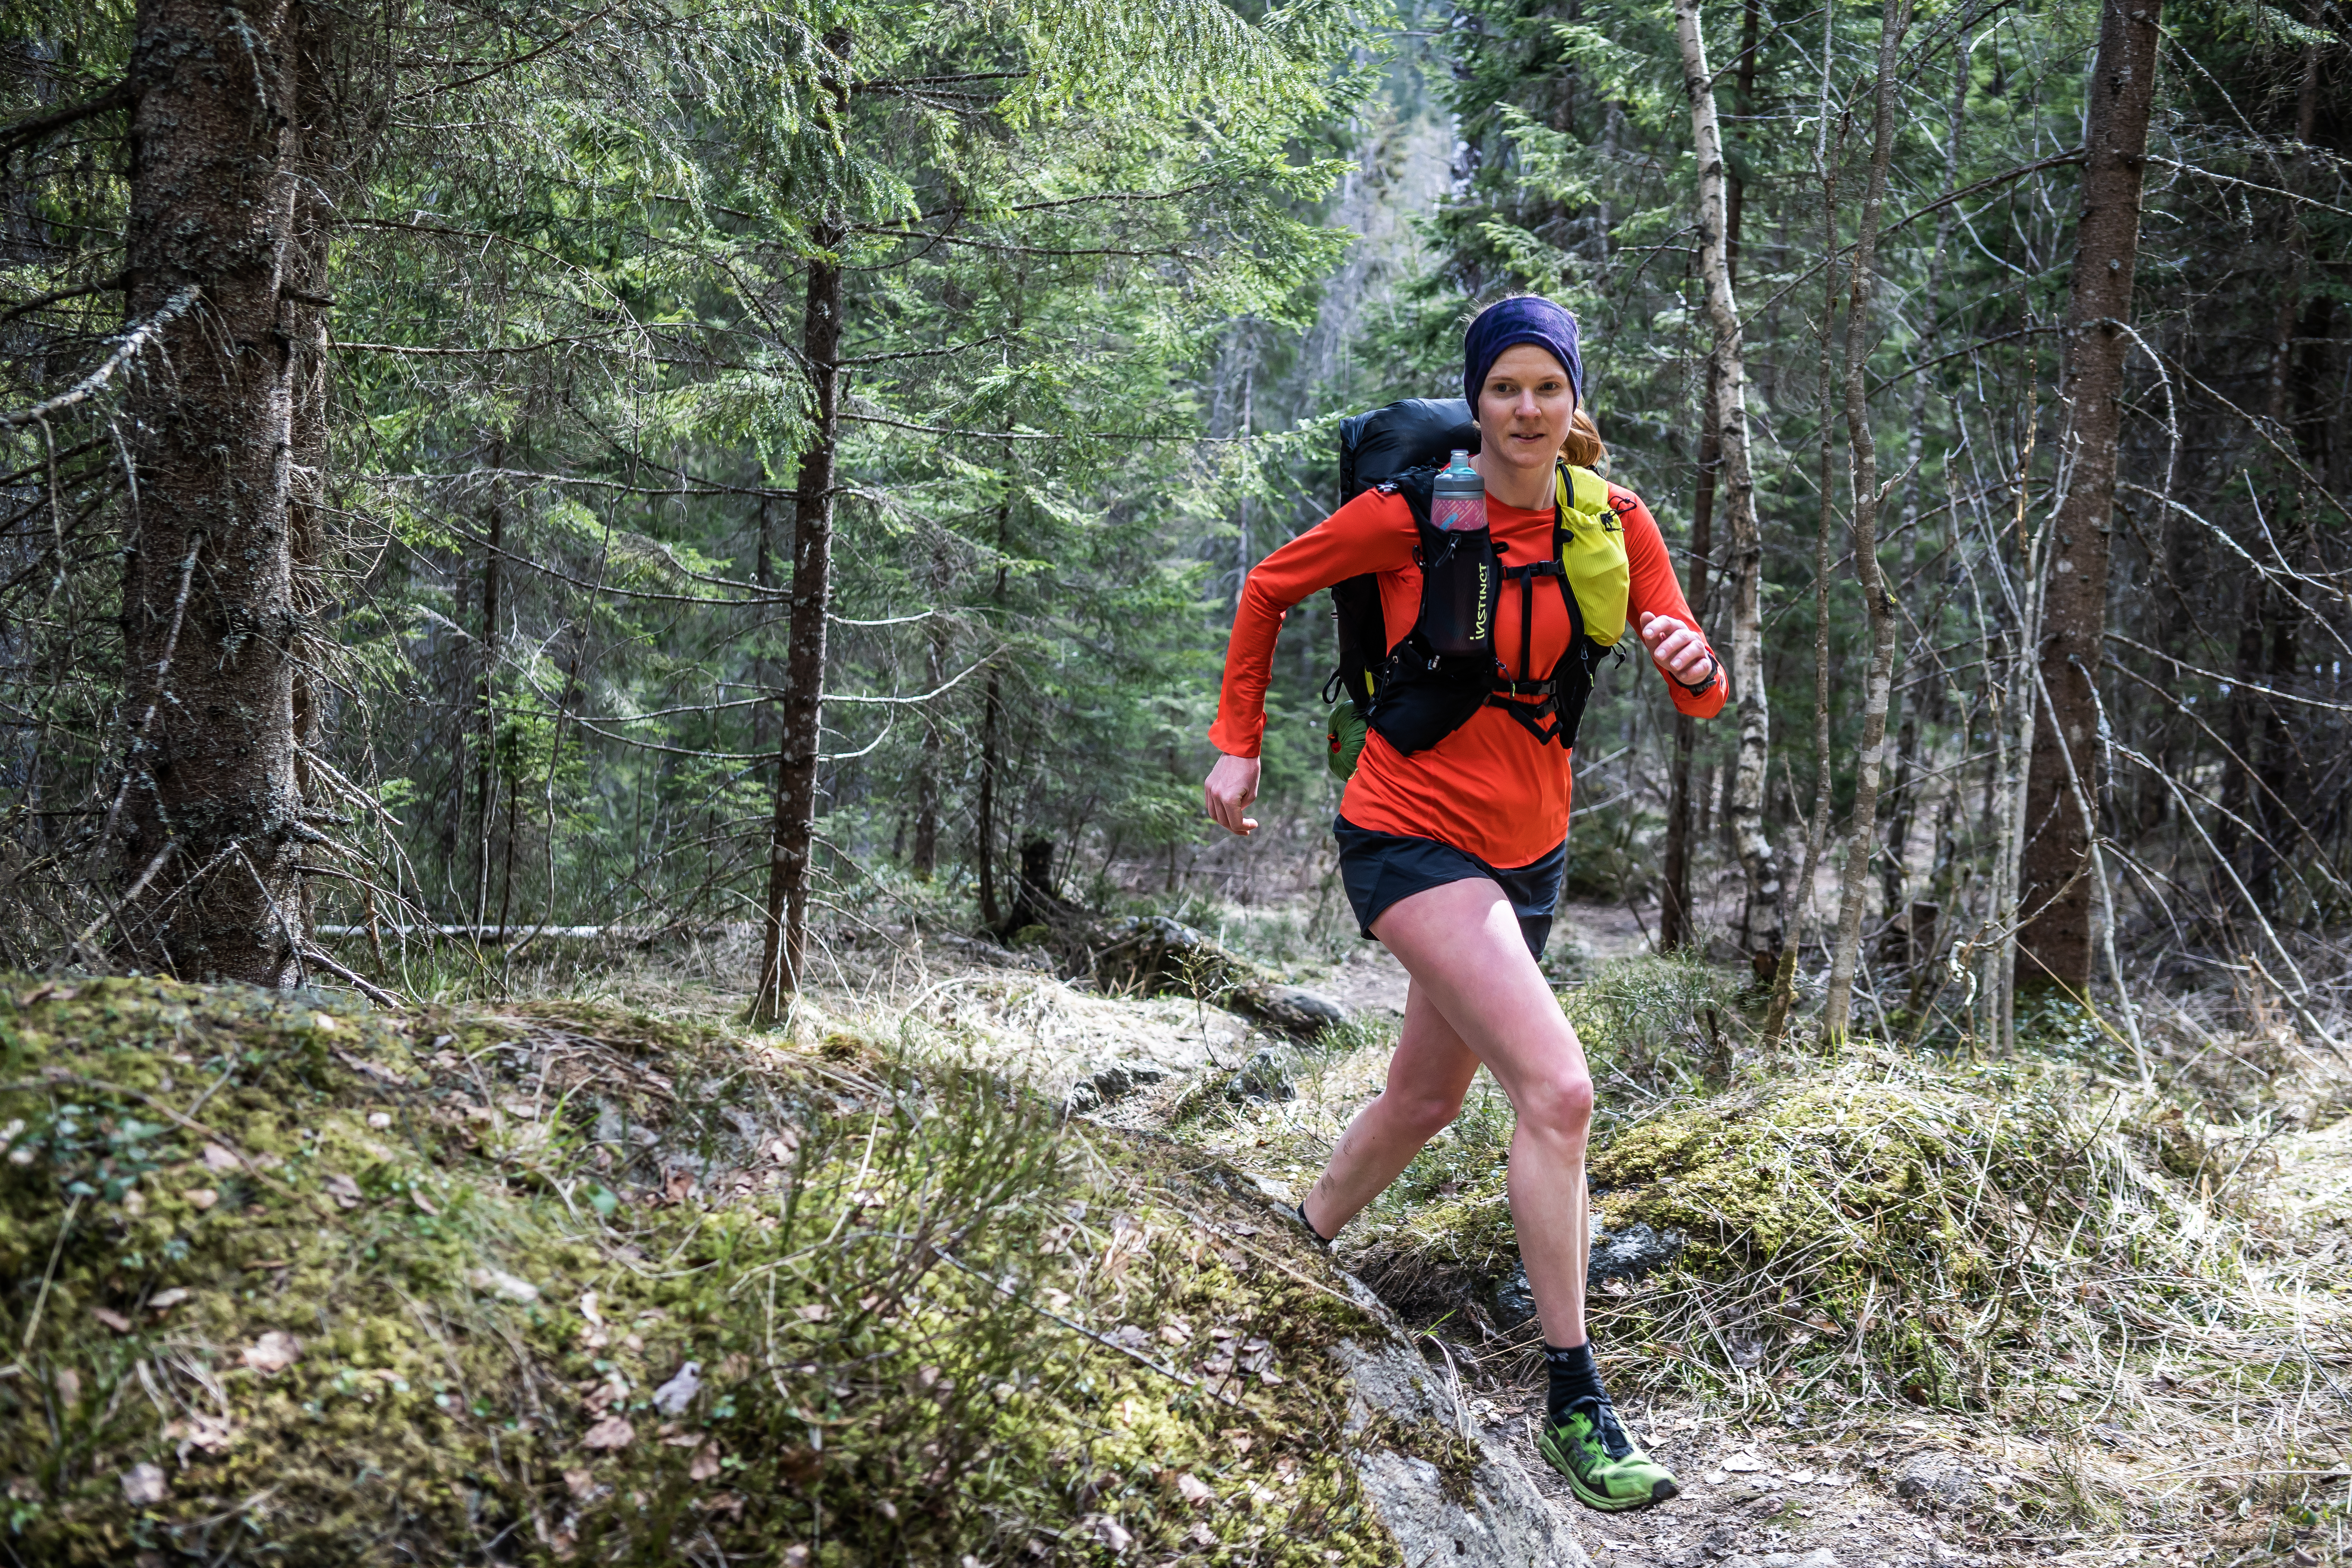
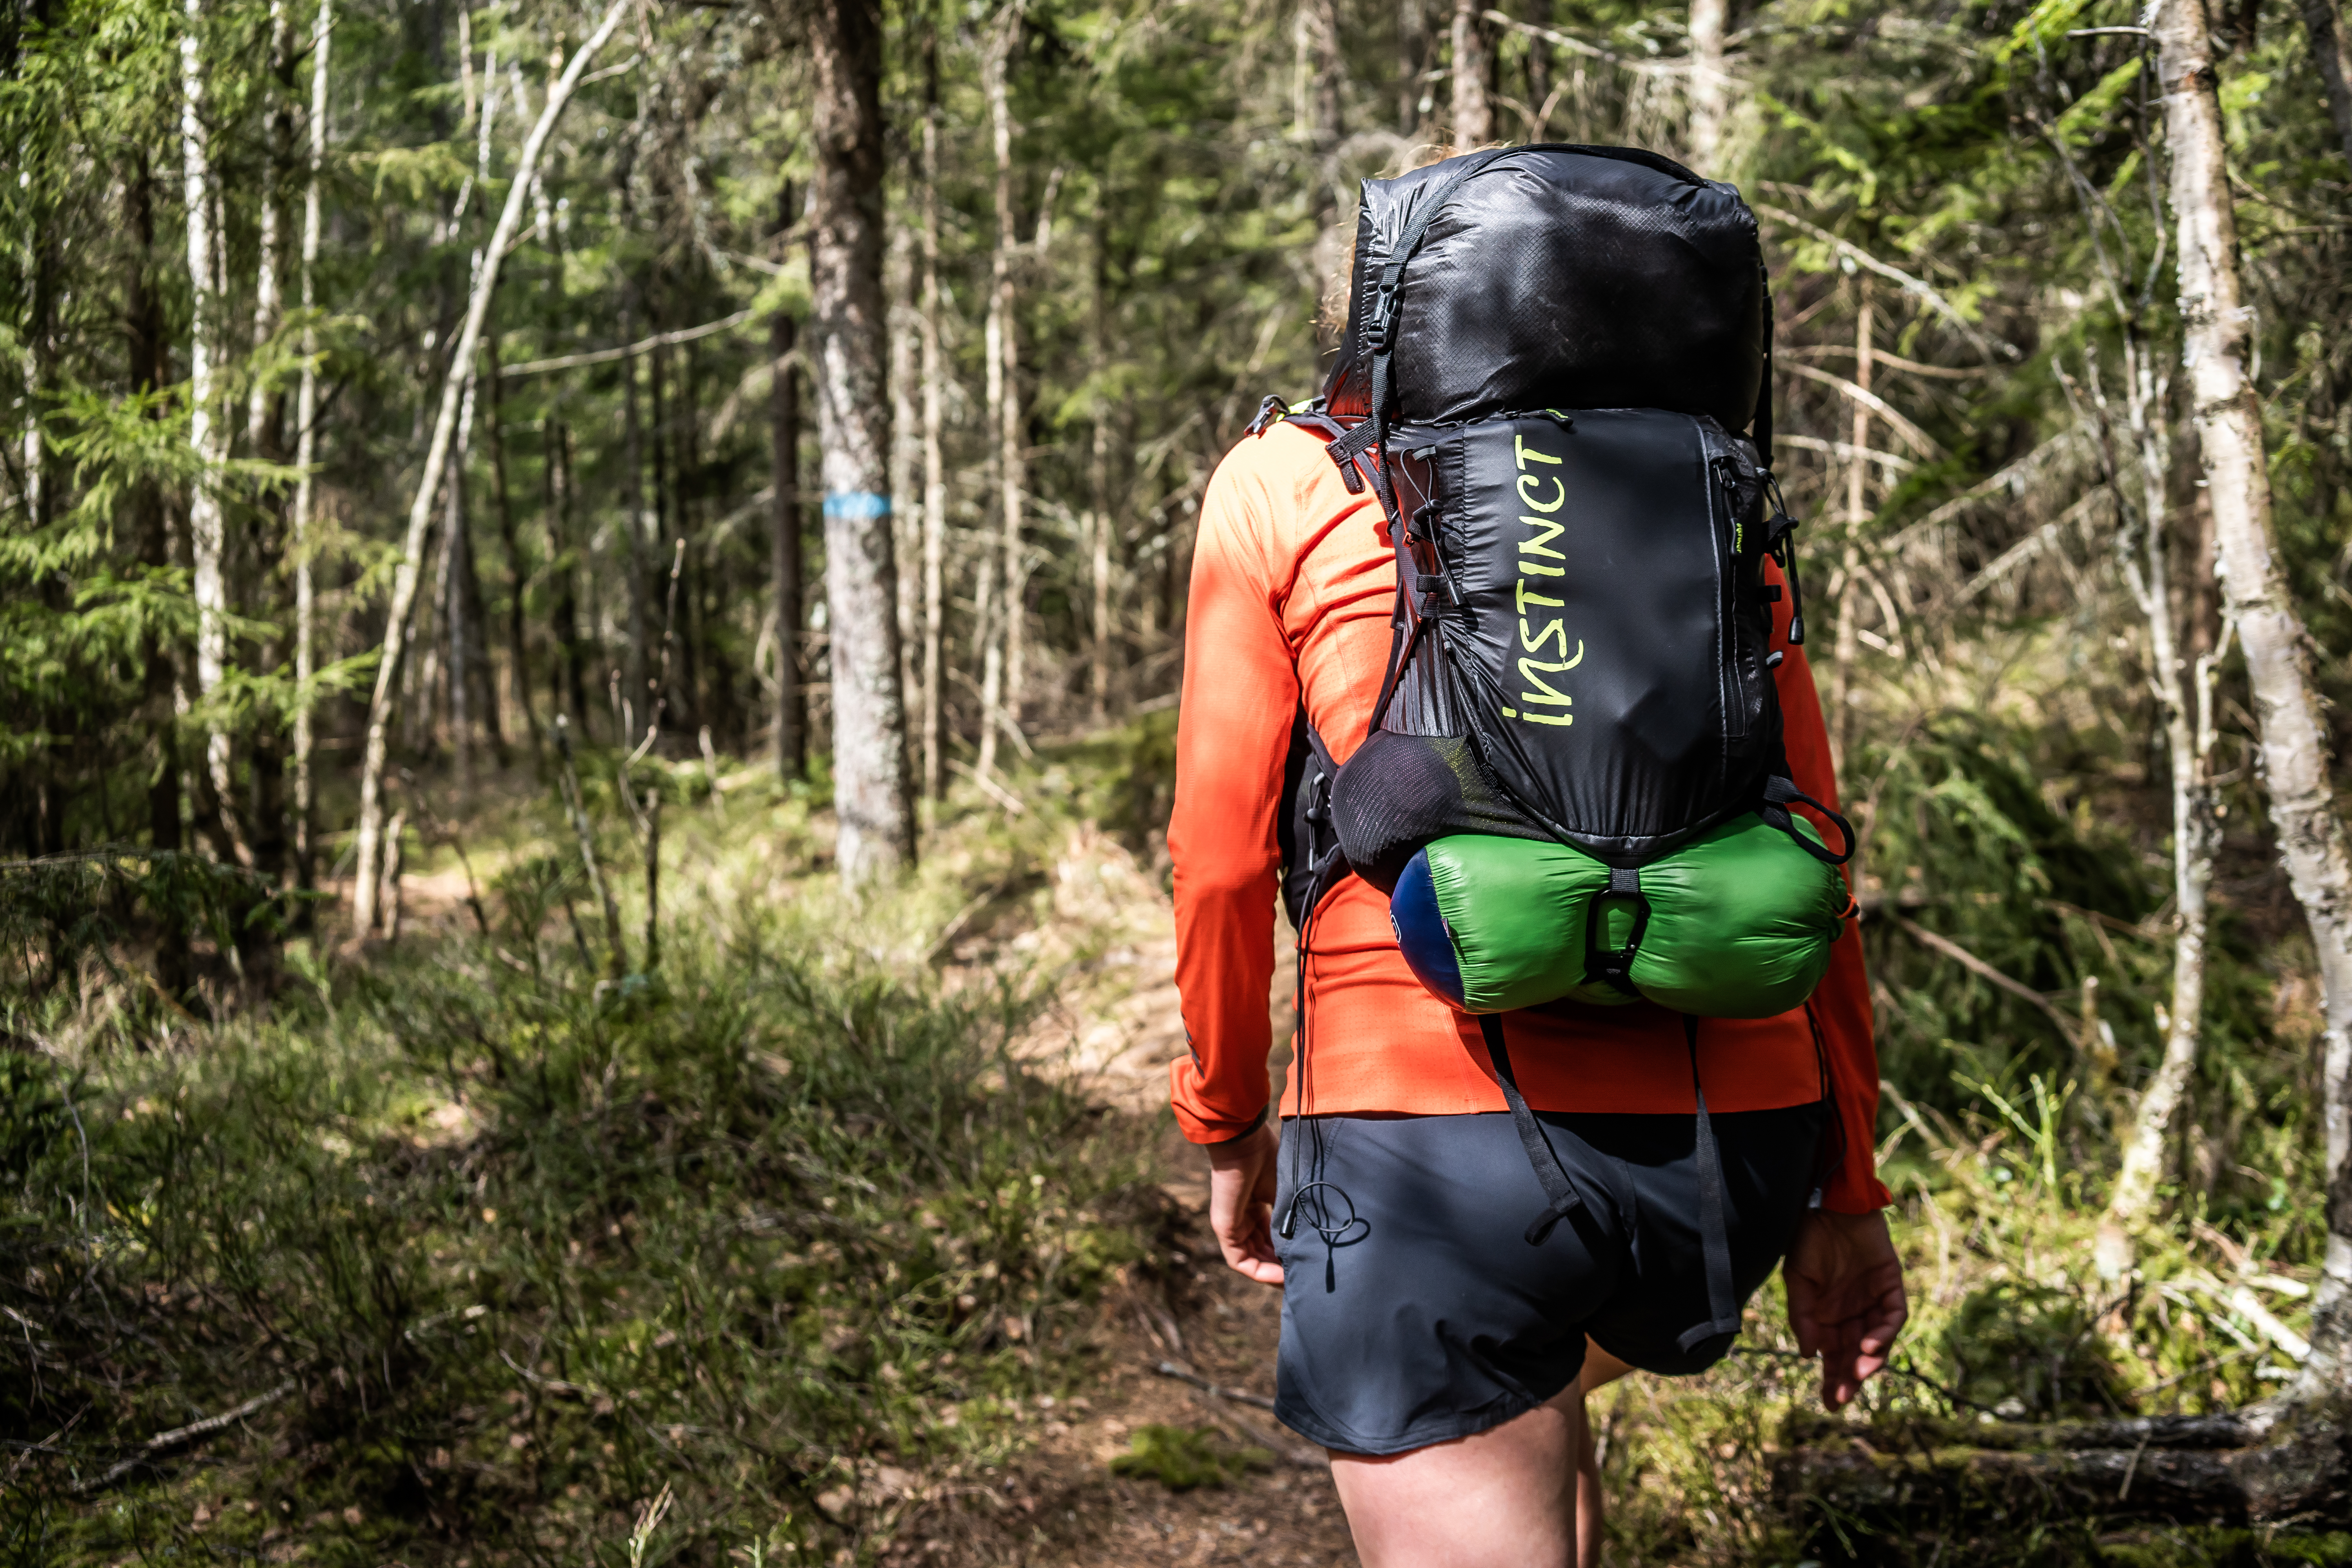
My recent trips ‘fastpacking’ in Norway have fuelled many questions about what is my kit list. So, here is an article the lists each item.
Firstly, what is fastpacking?
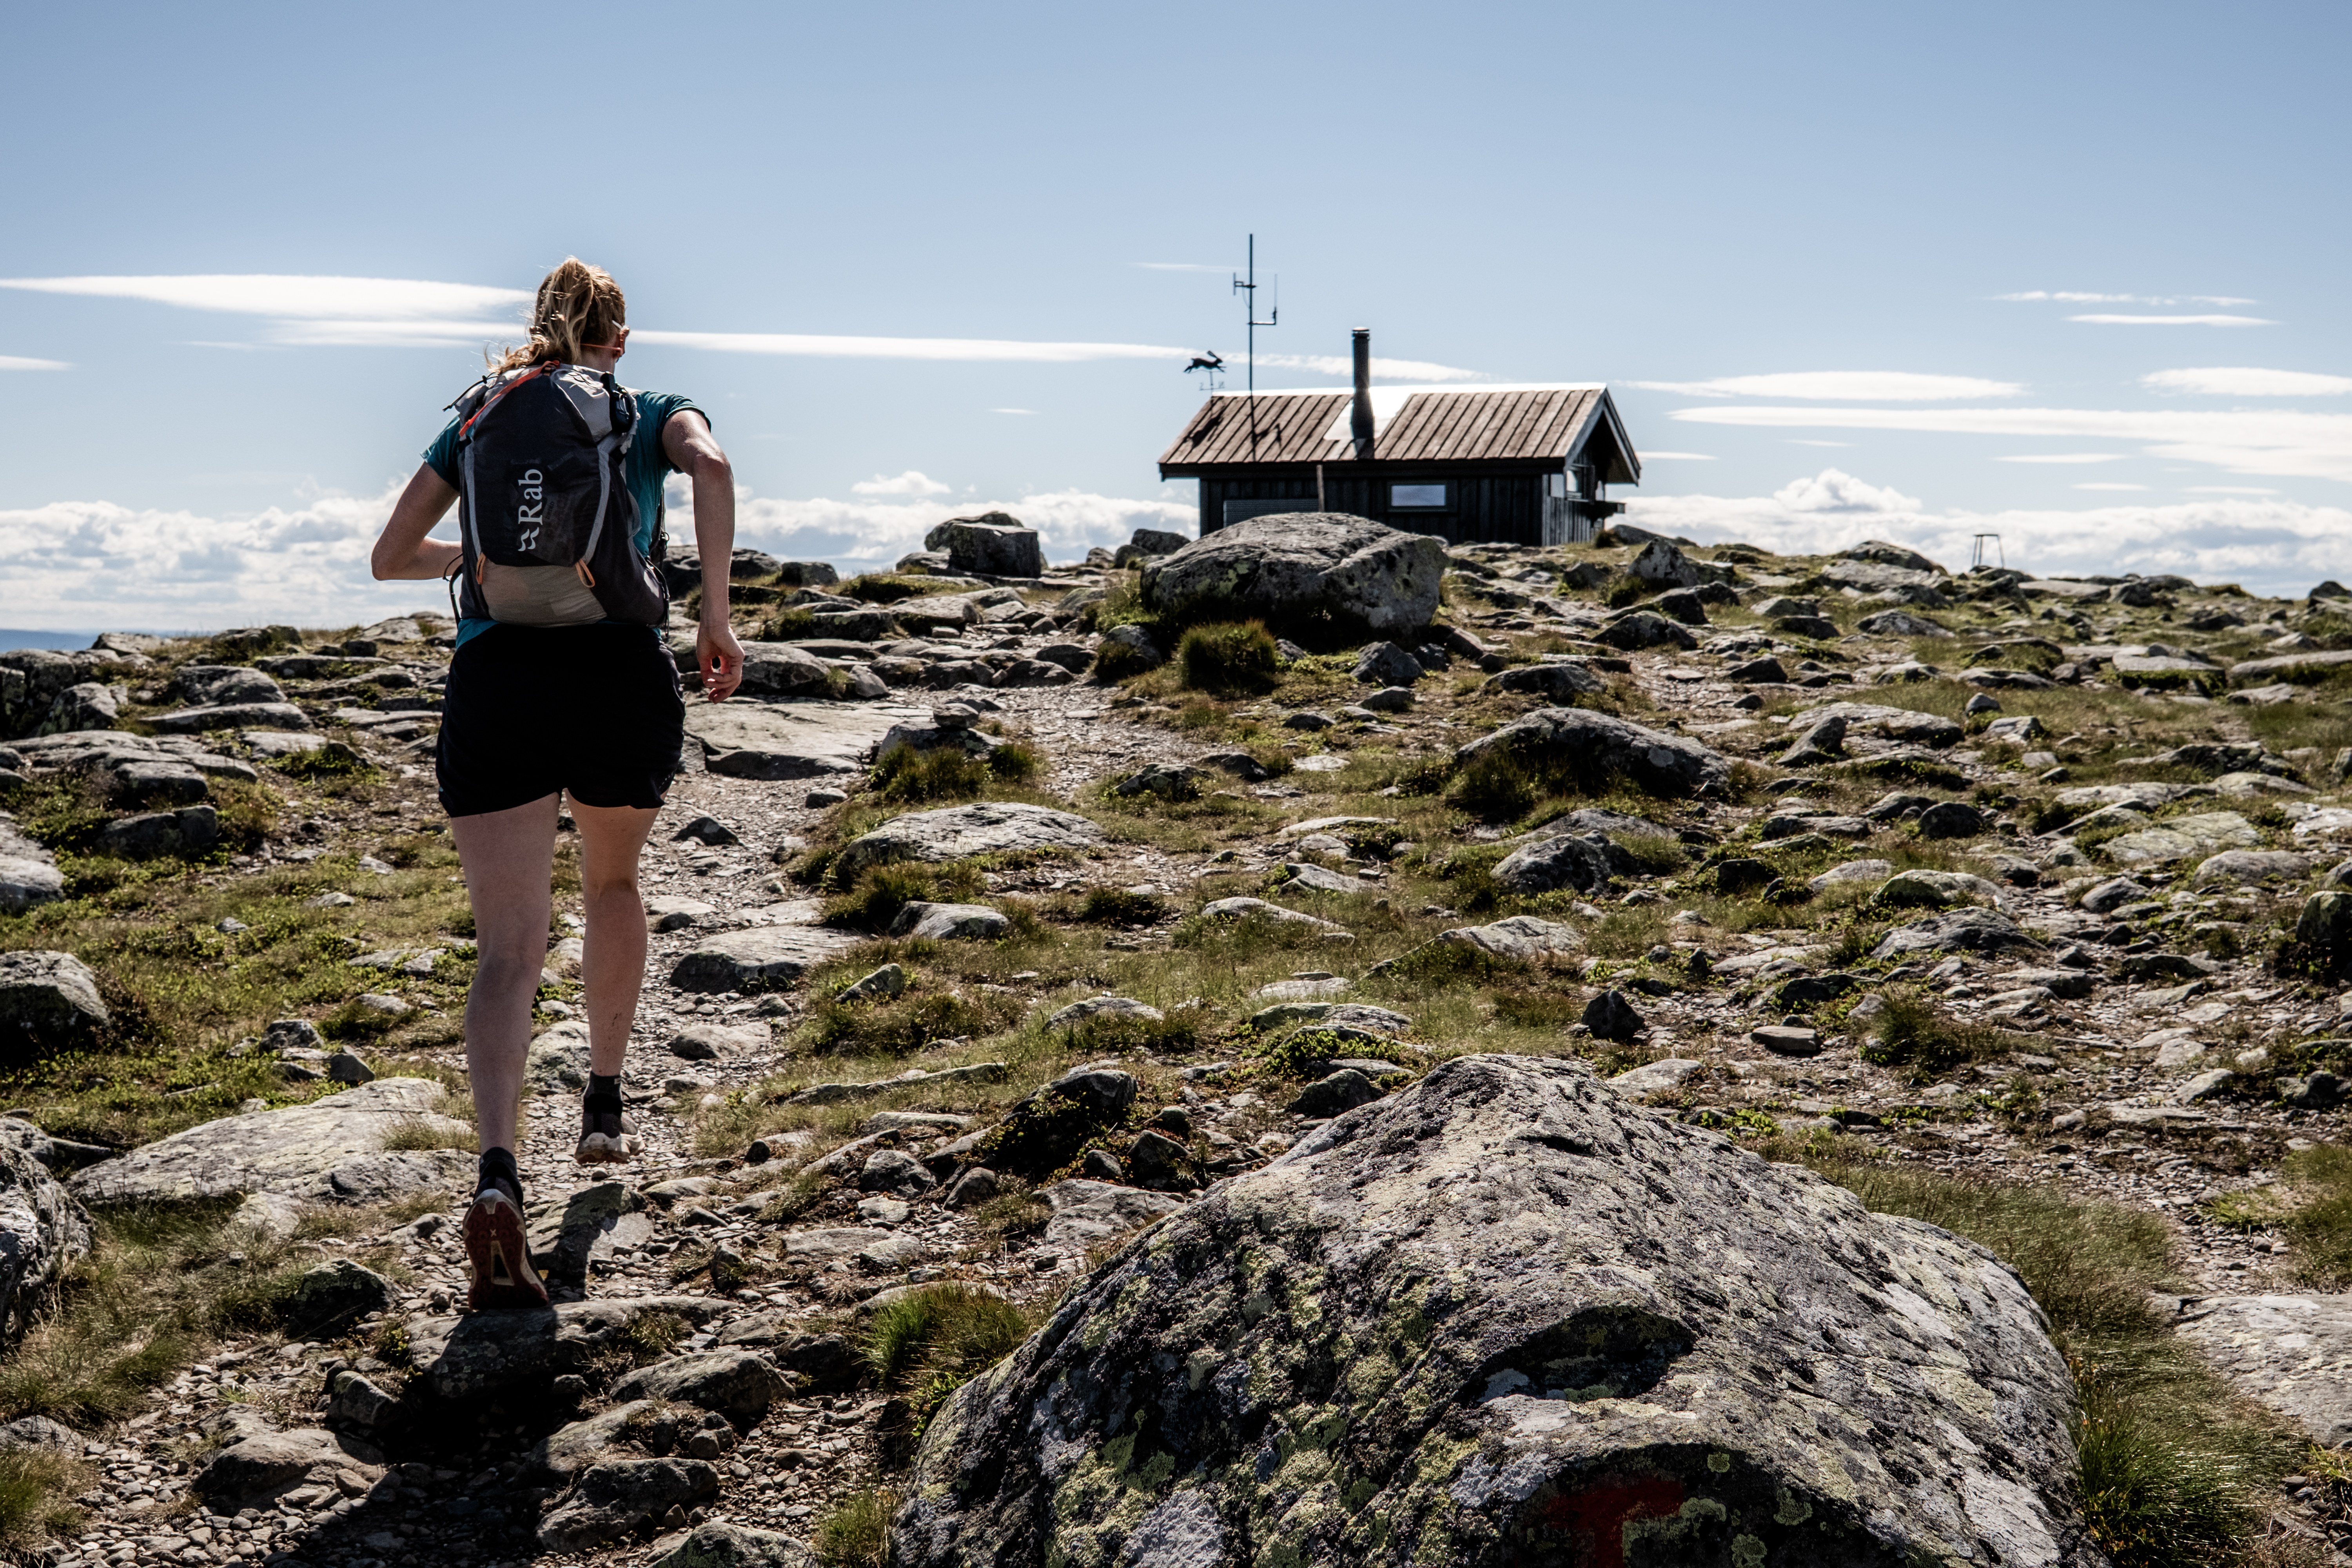
Essentially, in simple terms, fastpacking is the combination of hiking and running. Instead of running for just a few hours, or maybe for just one day, or hiking with a heavy pack for many days, fastpacking takes elements from the two disciplines – essentially moving FASTER and LIGHTER with all the items you need.
Fastpacking is distance trail running and ultralight backpacking rolled into one epic outdoor adventure. You’re moving fast – running, jogging, or power hiking – while covering long distances and carrying just enough essentials for a multiday journey. – REI
Now, to be clear, there are versions of fastpacking and which version you choose makes a big difference.
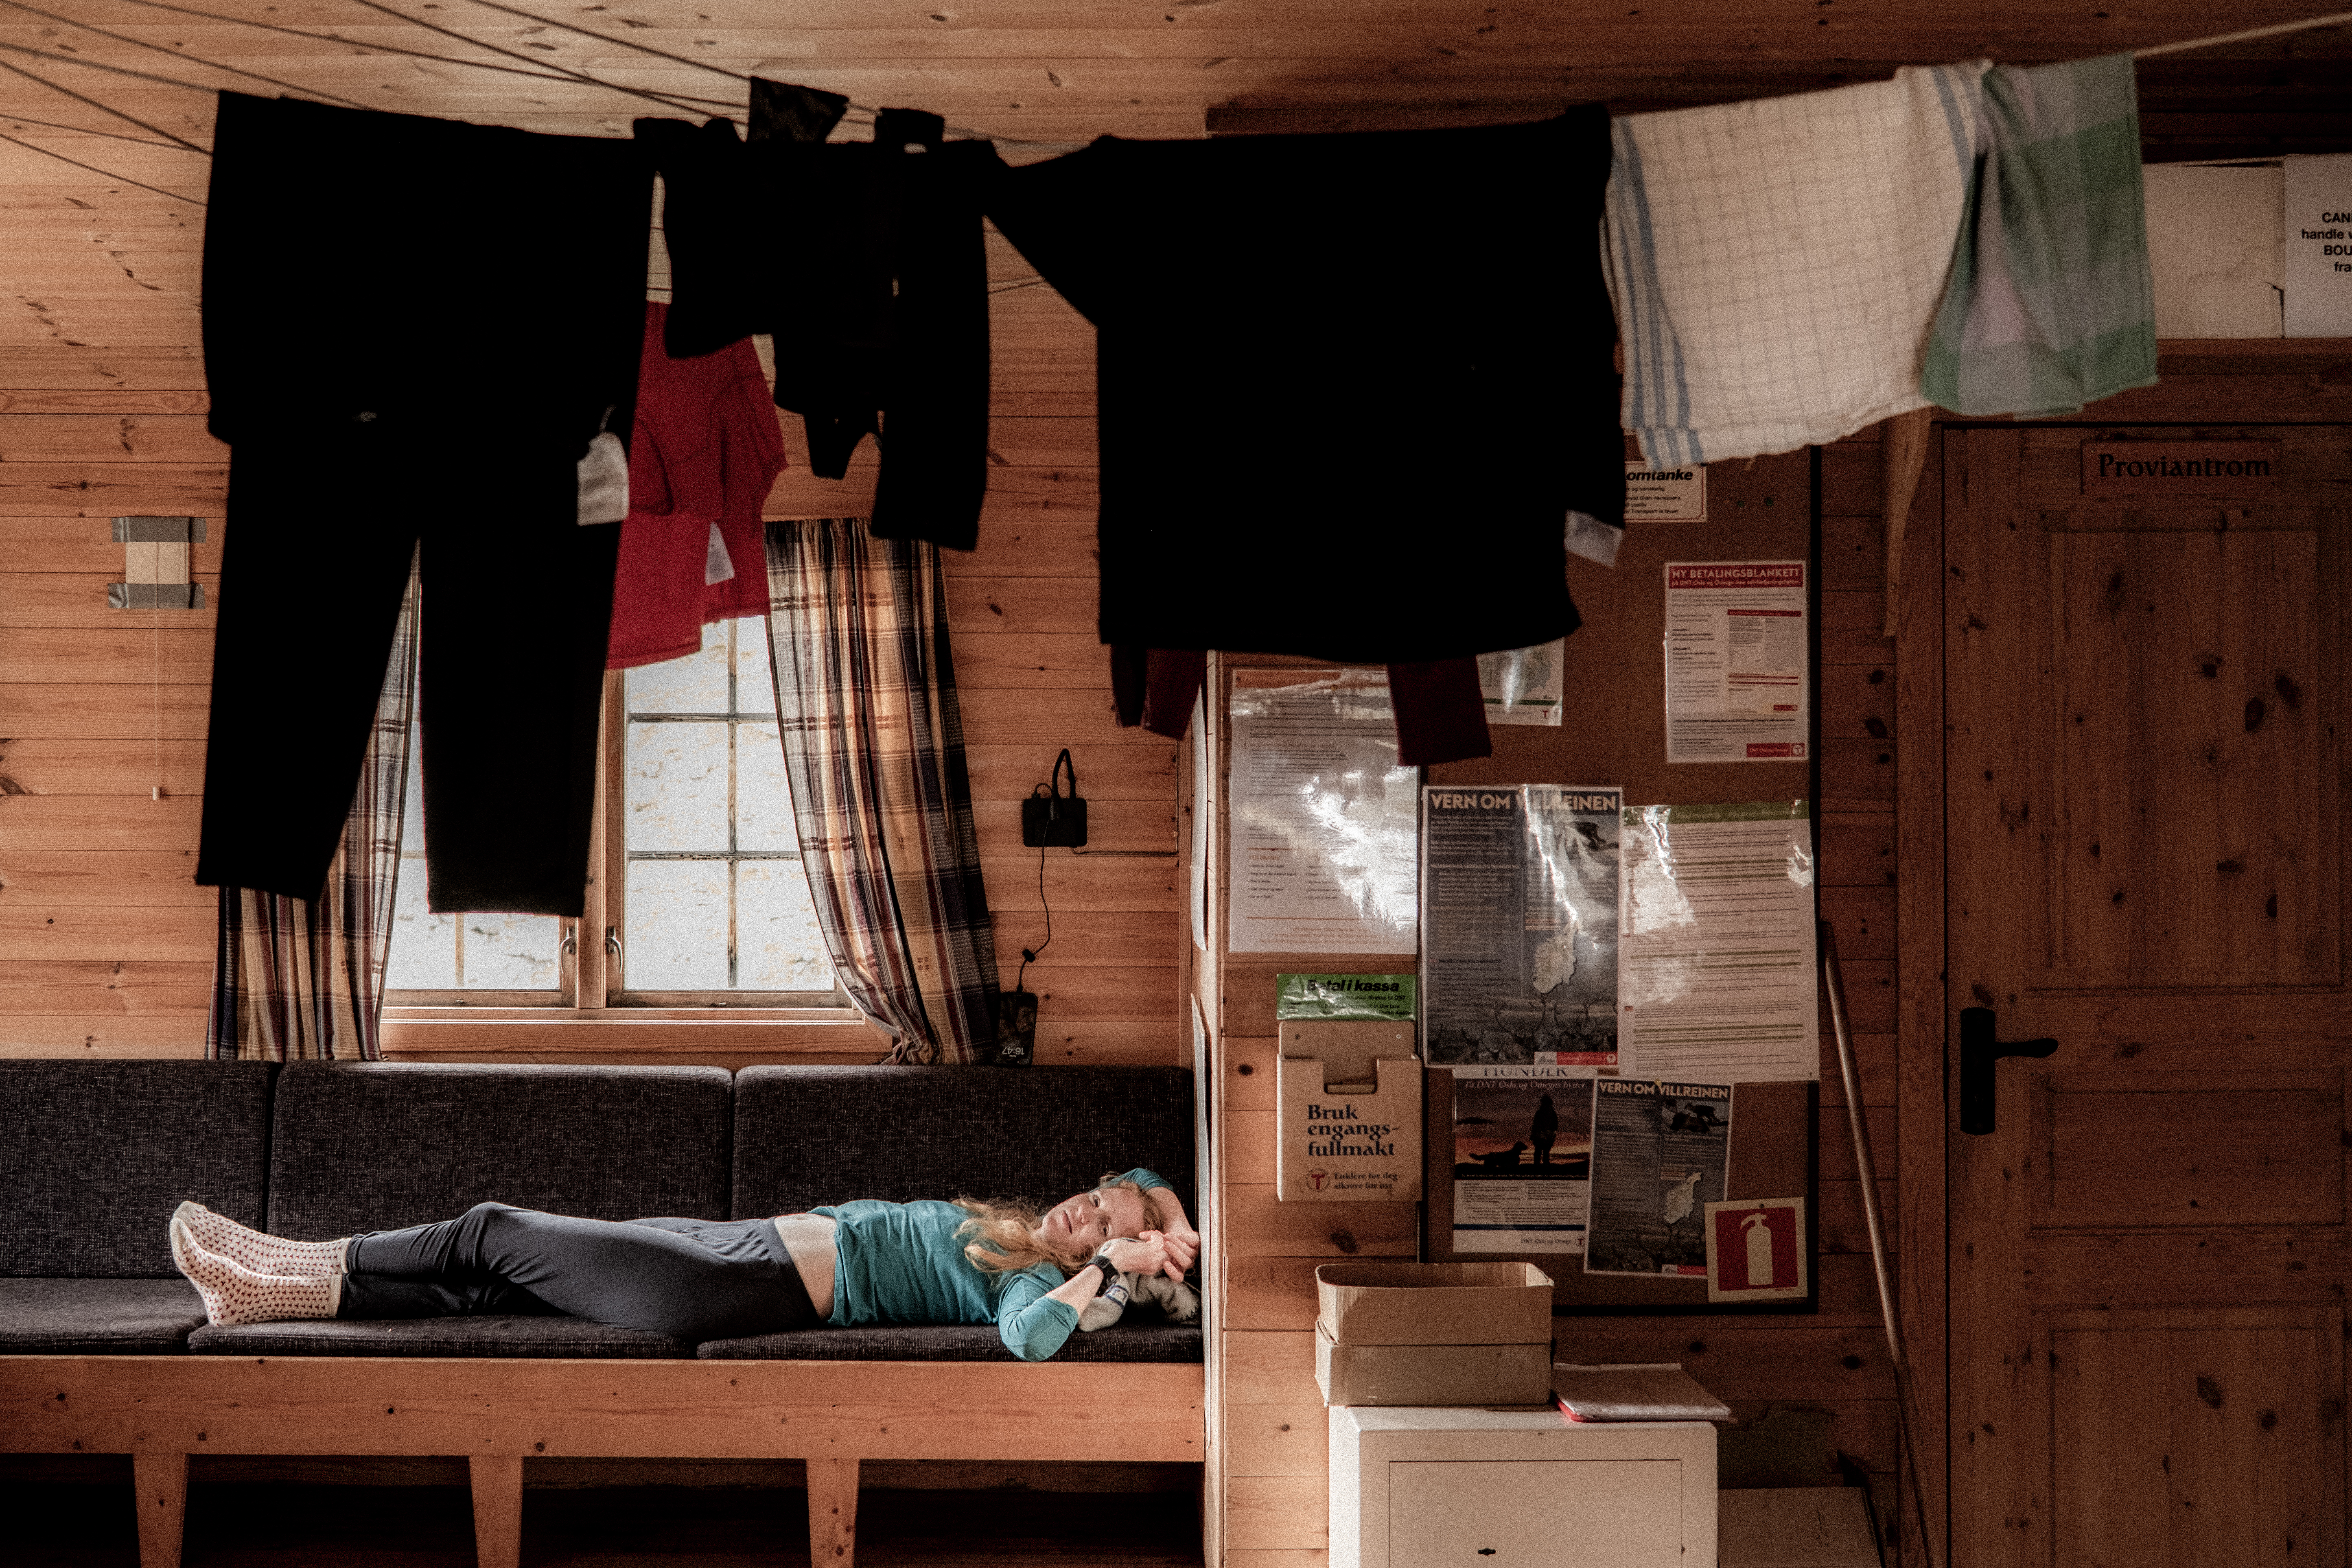
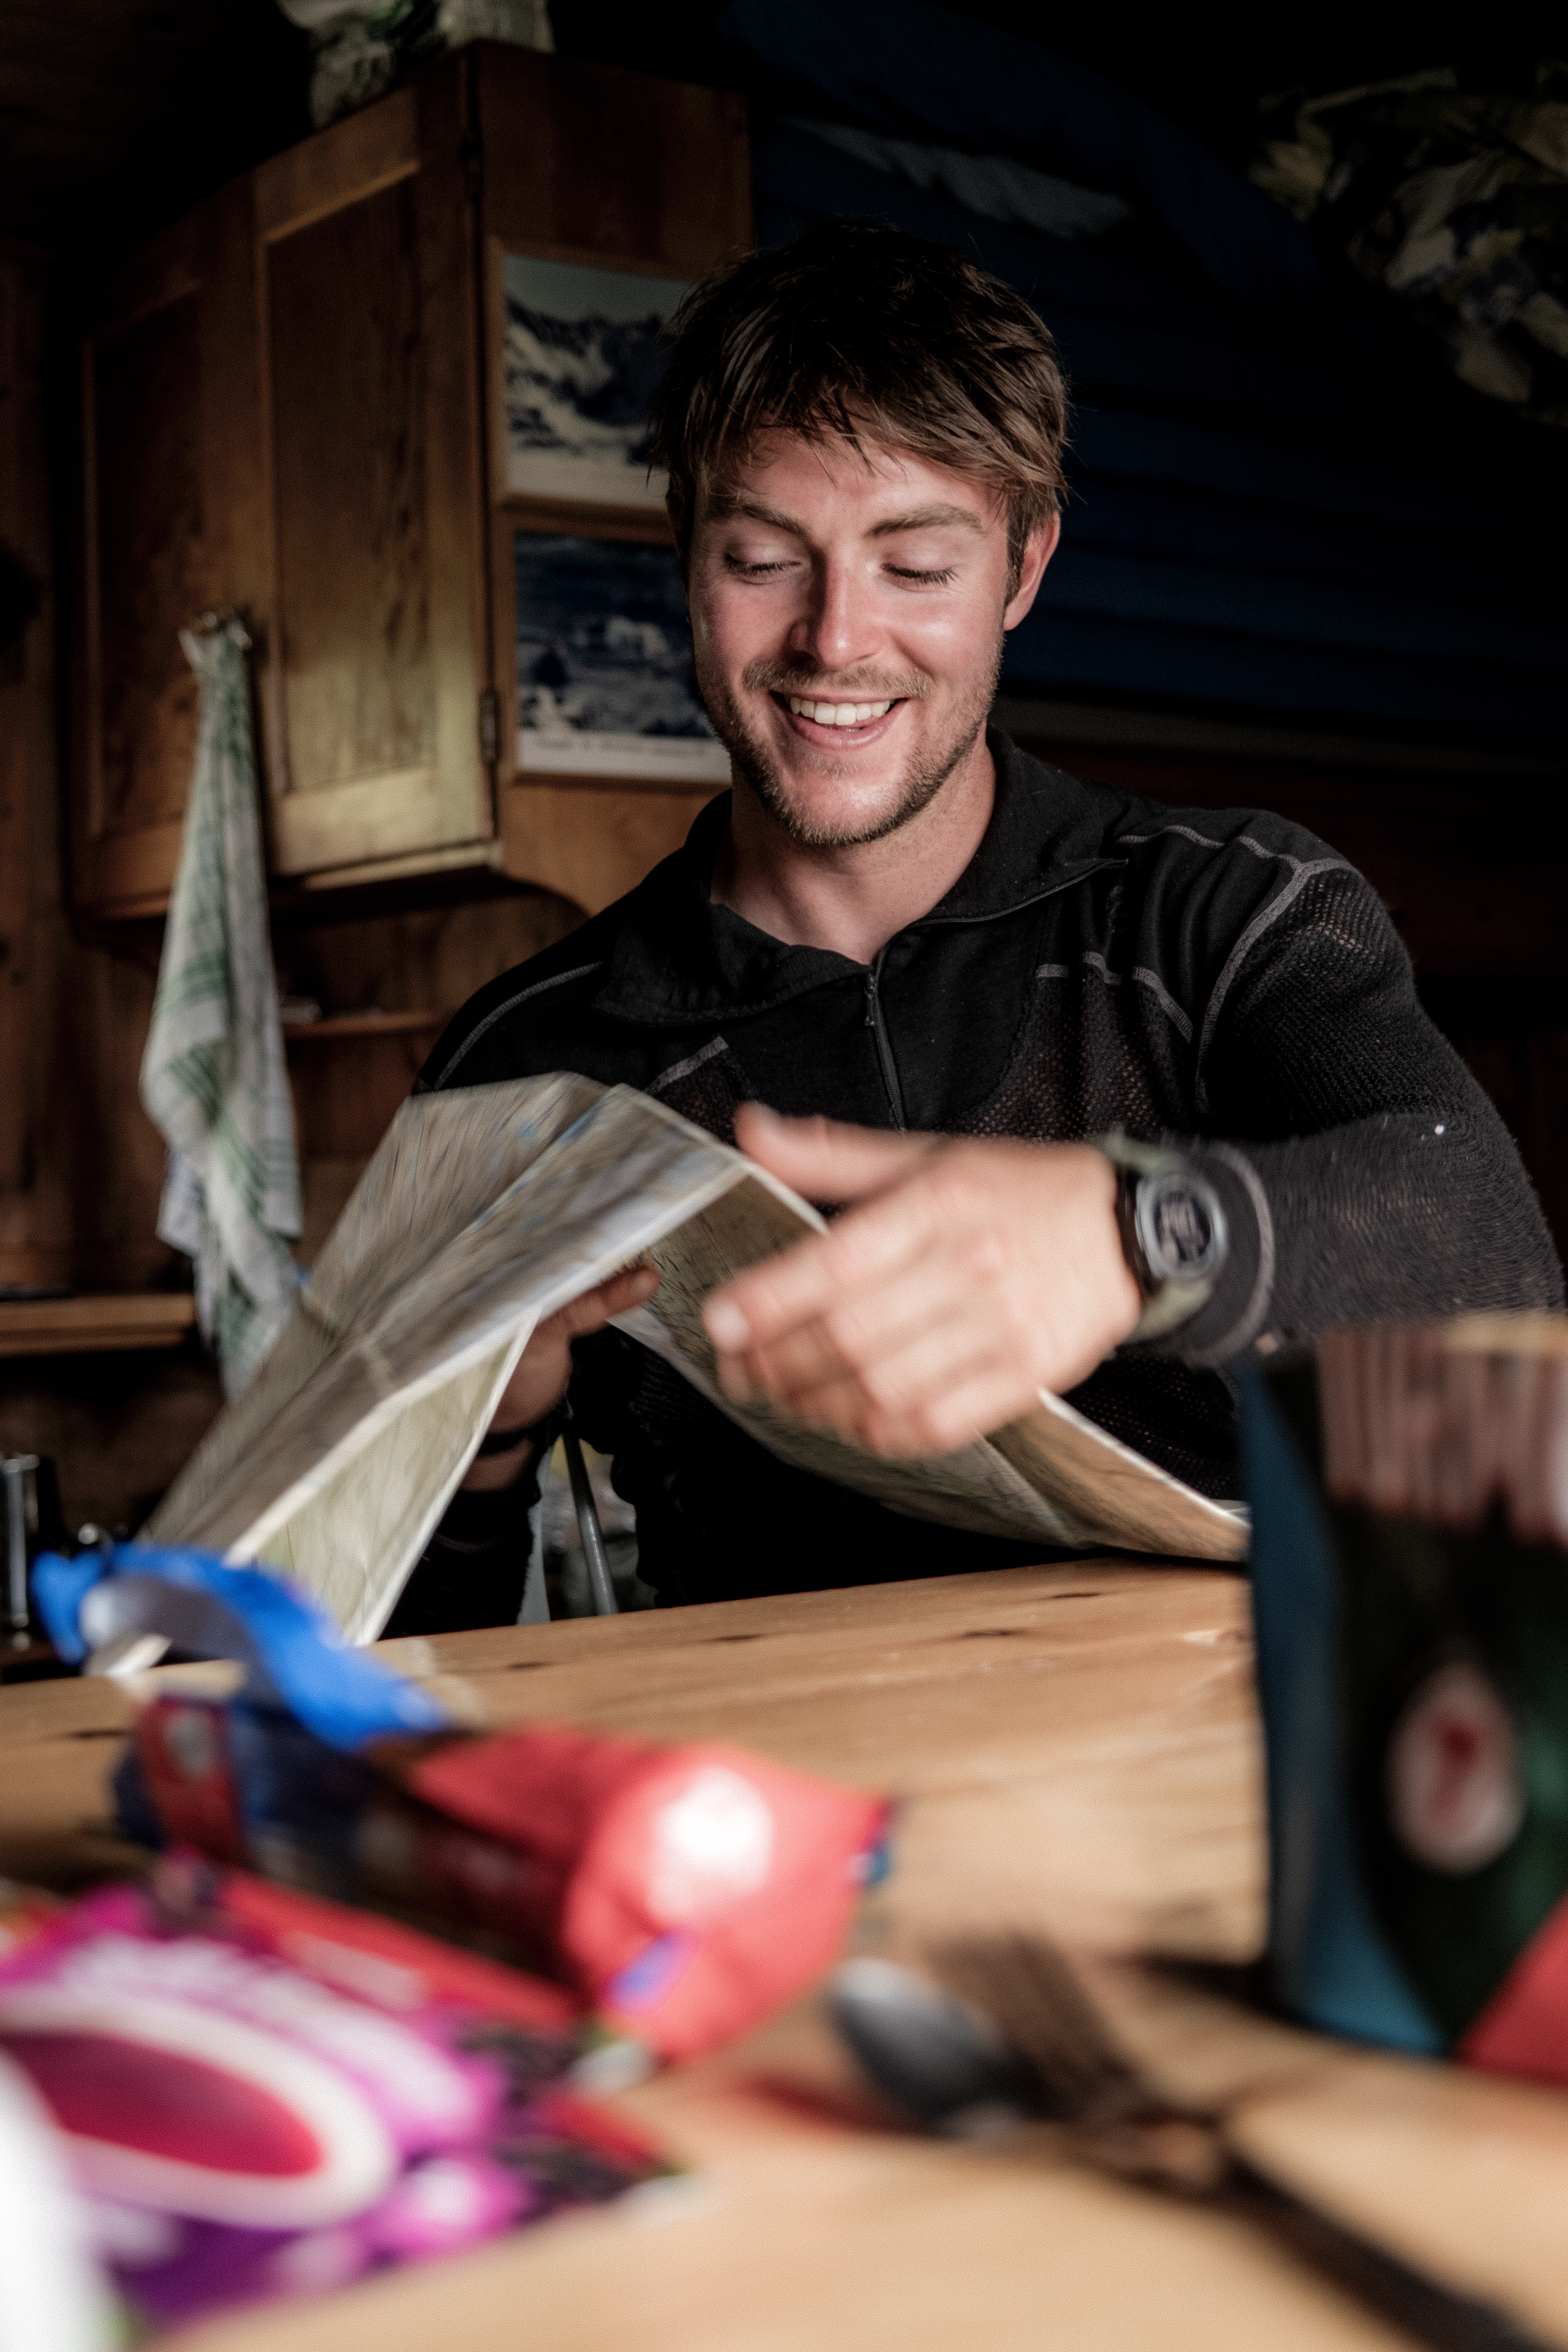
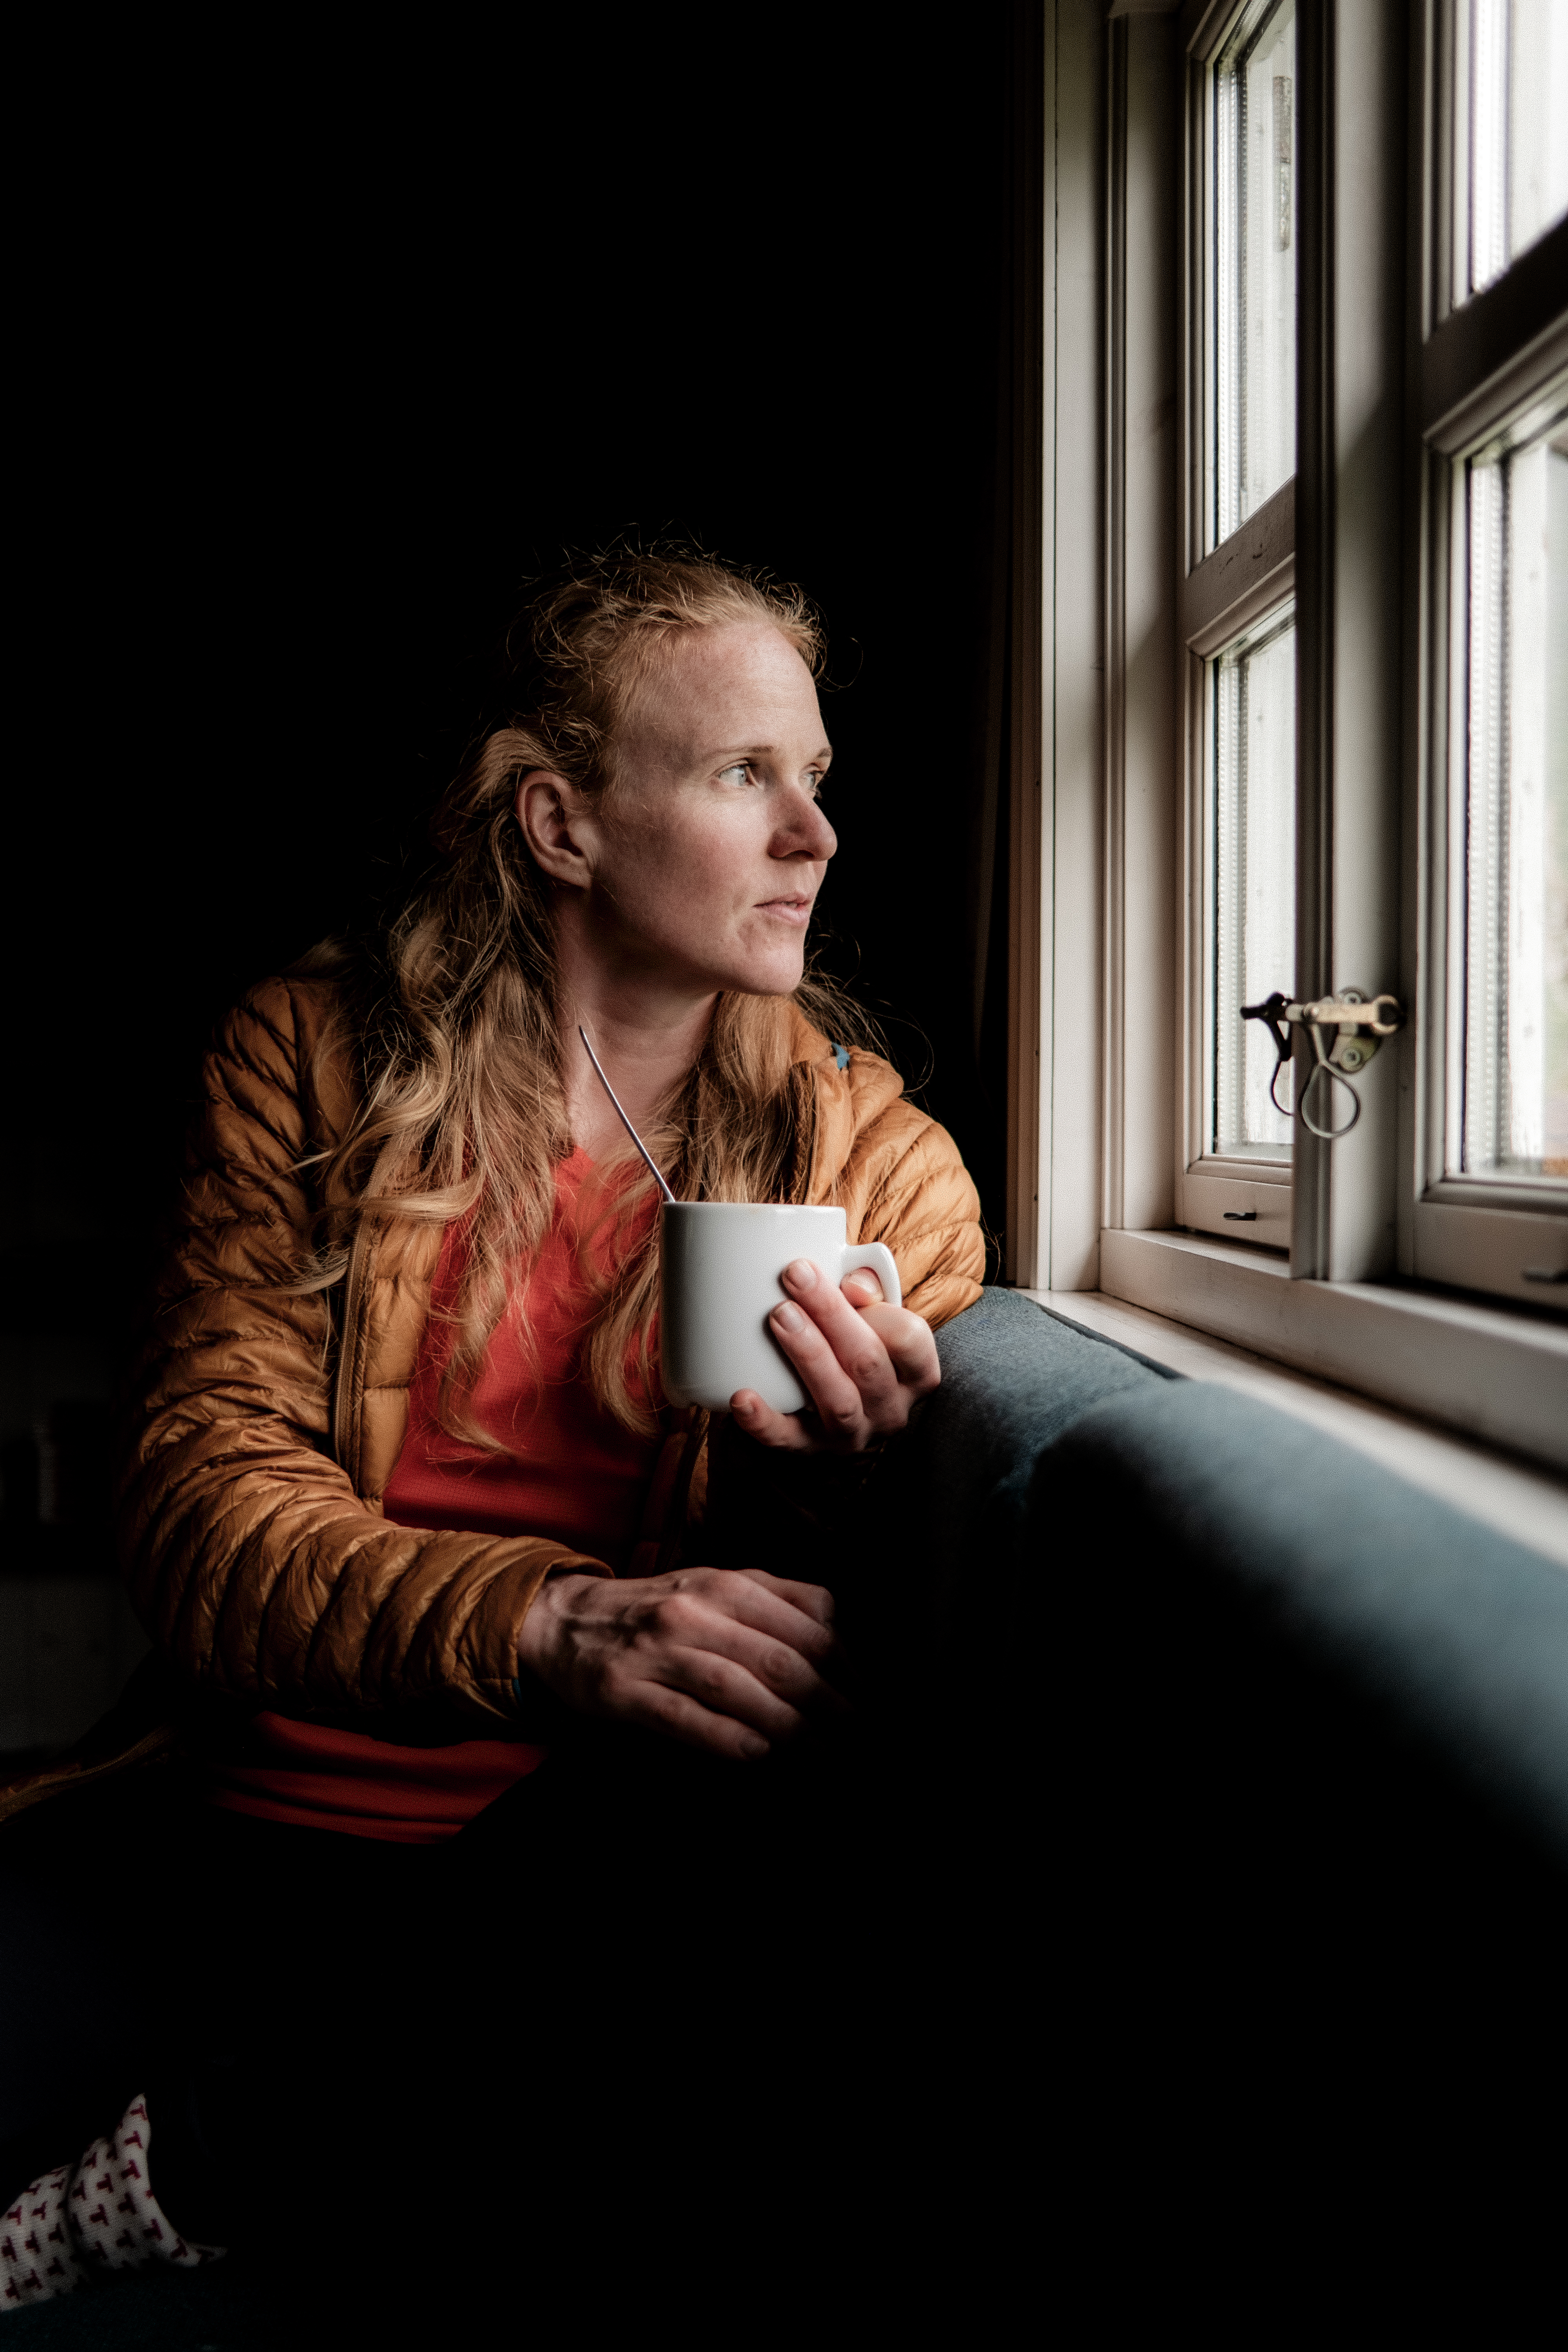
In Norway, and for my recent adventures, Abelone and I are moving from cabin-to-cabin and this makes a huge difference. Each night we will get food at the cabin, a place to sleep, warmth if required and the opportunity to (usually) dry clothes. We therefore can be very minimal.
By contast, fastpacking can also be with tent – in this scenario, it’s still possible to be light BUT you must carry a tent, you must have a sleeping mat and you will also need a sleeping bag. In addition, you will need to carry the food you need for the duration of the journey and/ or, you will need to plan for refuel stops.
The equipment list below is for cabin-to-cabin.
MY EQUIPMENT
During the SAGA or during the BREHEIMEN TUR, I carried the same equipment as listed below. Importantly, I consider what I am carrying on these tours to be the minimum and should I expect extreme cold, very bad rain conditions or a combination of the two, I would add to the list – I do not cut corners. I never compromise on safety and lightweight doesn’t mean underprepared.
Luxuries are typically kept to a minimum. As a photographer I indulge myself and carry a Fuji 100 VI which weighs 500g. I also carried a Kindle to have some downtime and escape with a book. For many, this would be an immediate 600g +/- saving.
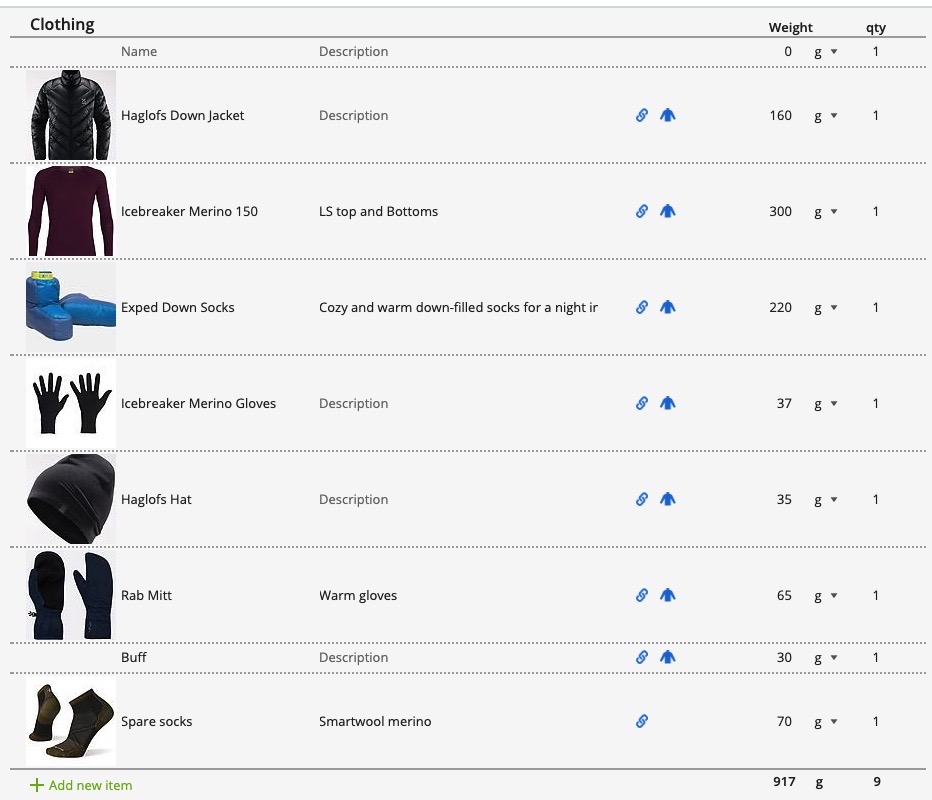
Black Diamond Poles – fixed length not folding 168gr – Non folding poles are stronger and lighter
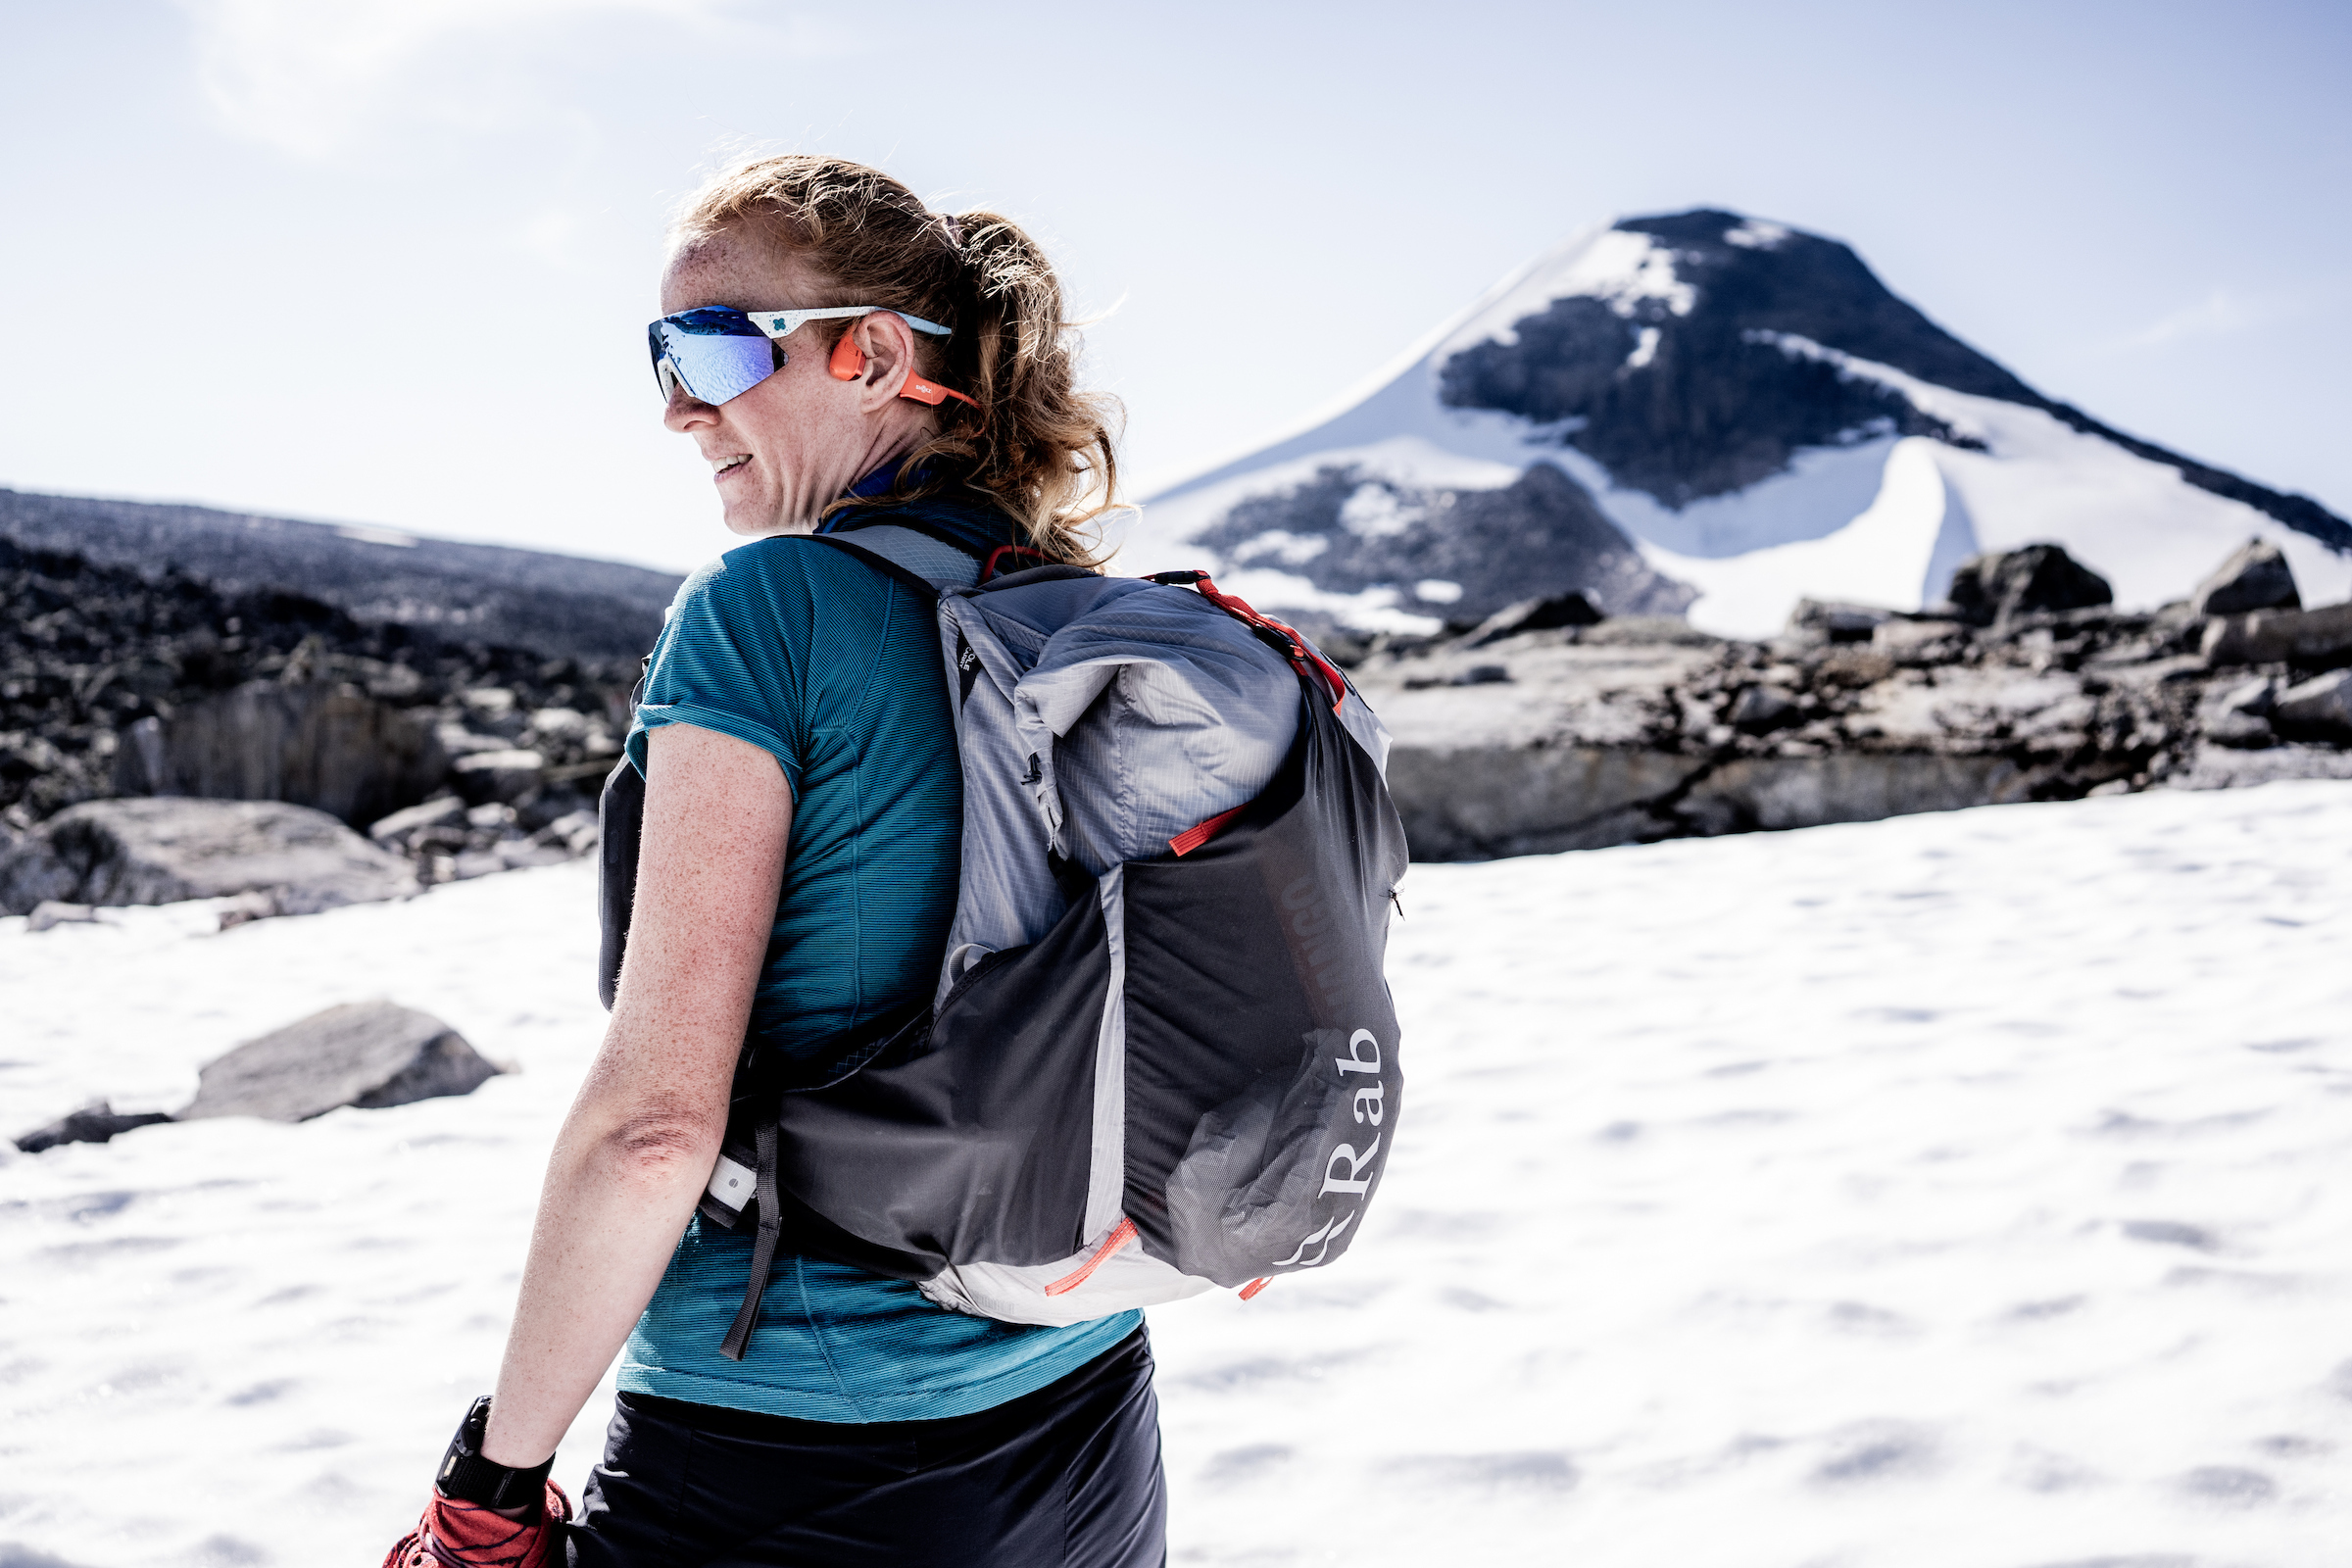
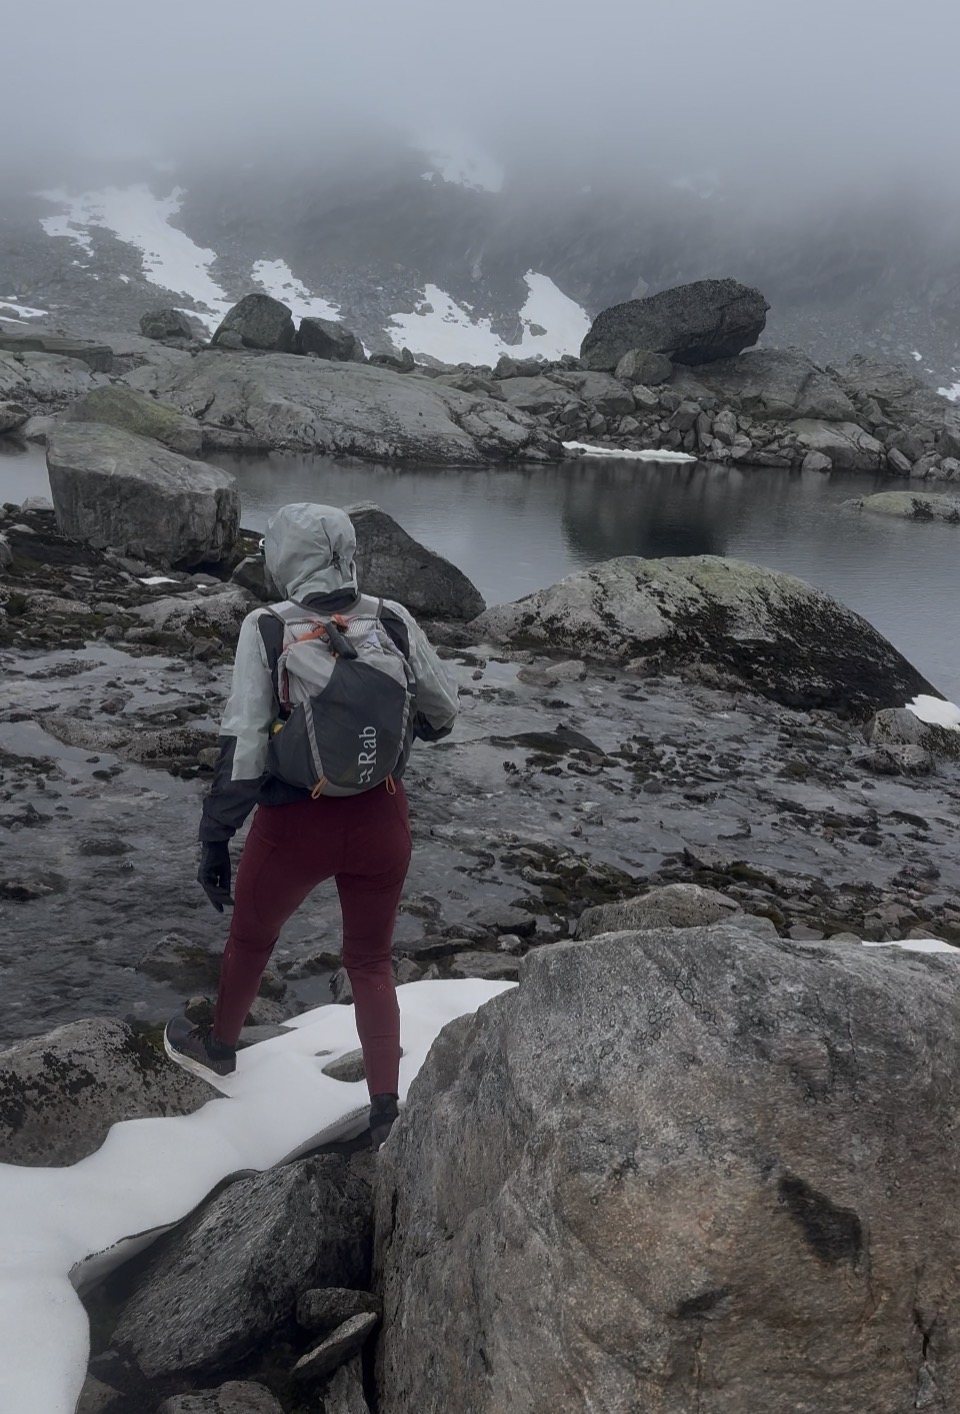
RAB Veil XP 20 Pack 476g – this pack is the best I have used and the main compartment is waterproof
RAB Alpine Light Down Jacket 252g – A little heavier than some options on the market but it is durable and very warm.
RAB Phantom Waterproof Jacket 116g – Super light and ideal for bad conditions in summer. Was I expecting daily rainfall or heavy rainfall for prolonged time or days, I would move up to a heavier and more durable jacket.
RAB Phantom Waterproof Pants 84g – Light and an ideal outer layer for when needed.
RAB Hut Slippers 198g – This was a luxury for SAGA and when I did Breheimen, I did not take them.
Devold LS Merino Top 200g – essential warm layer, I always use merino wool.
Devold Merino Tights 150g – ssential warm layer, I always use merino wool.
RAB Sonic Ultra T 96g – lightweight T should we get some very hot days
RAB Merino underwear 151g – merino is warm but also great for daily use
Injinji Merino Socks 45g – wool socks essential, I carry one spare pair
GORE Run Tights 300g – I debated if I should take or not and I was glad I did, on several days I was happy to have long tights and not shorts.
RAB Filament Beanie 18g – warm and light hat
RAB Filament Neck Tube 28g – great to stop drafts and ideal for other uses.
RAB Liner Gloves 18g – great as a thin warm layer or extra warmth inside other gloves.
RAB Pertex Mitts 65g – these are tthick and warm, essential for when the cold surprises.
Hestra Waterproof Mitts 50g – great protection as a stand alone or with liner gloves inside.
Toiletries – mini toothbrush, mini toothpaste and small deodorant 75g
First Aid kit 95g
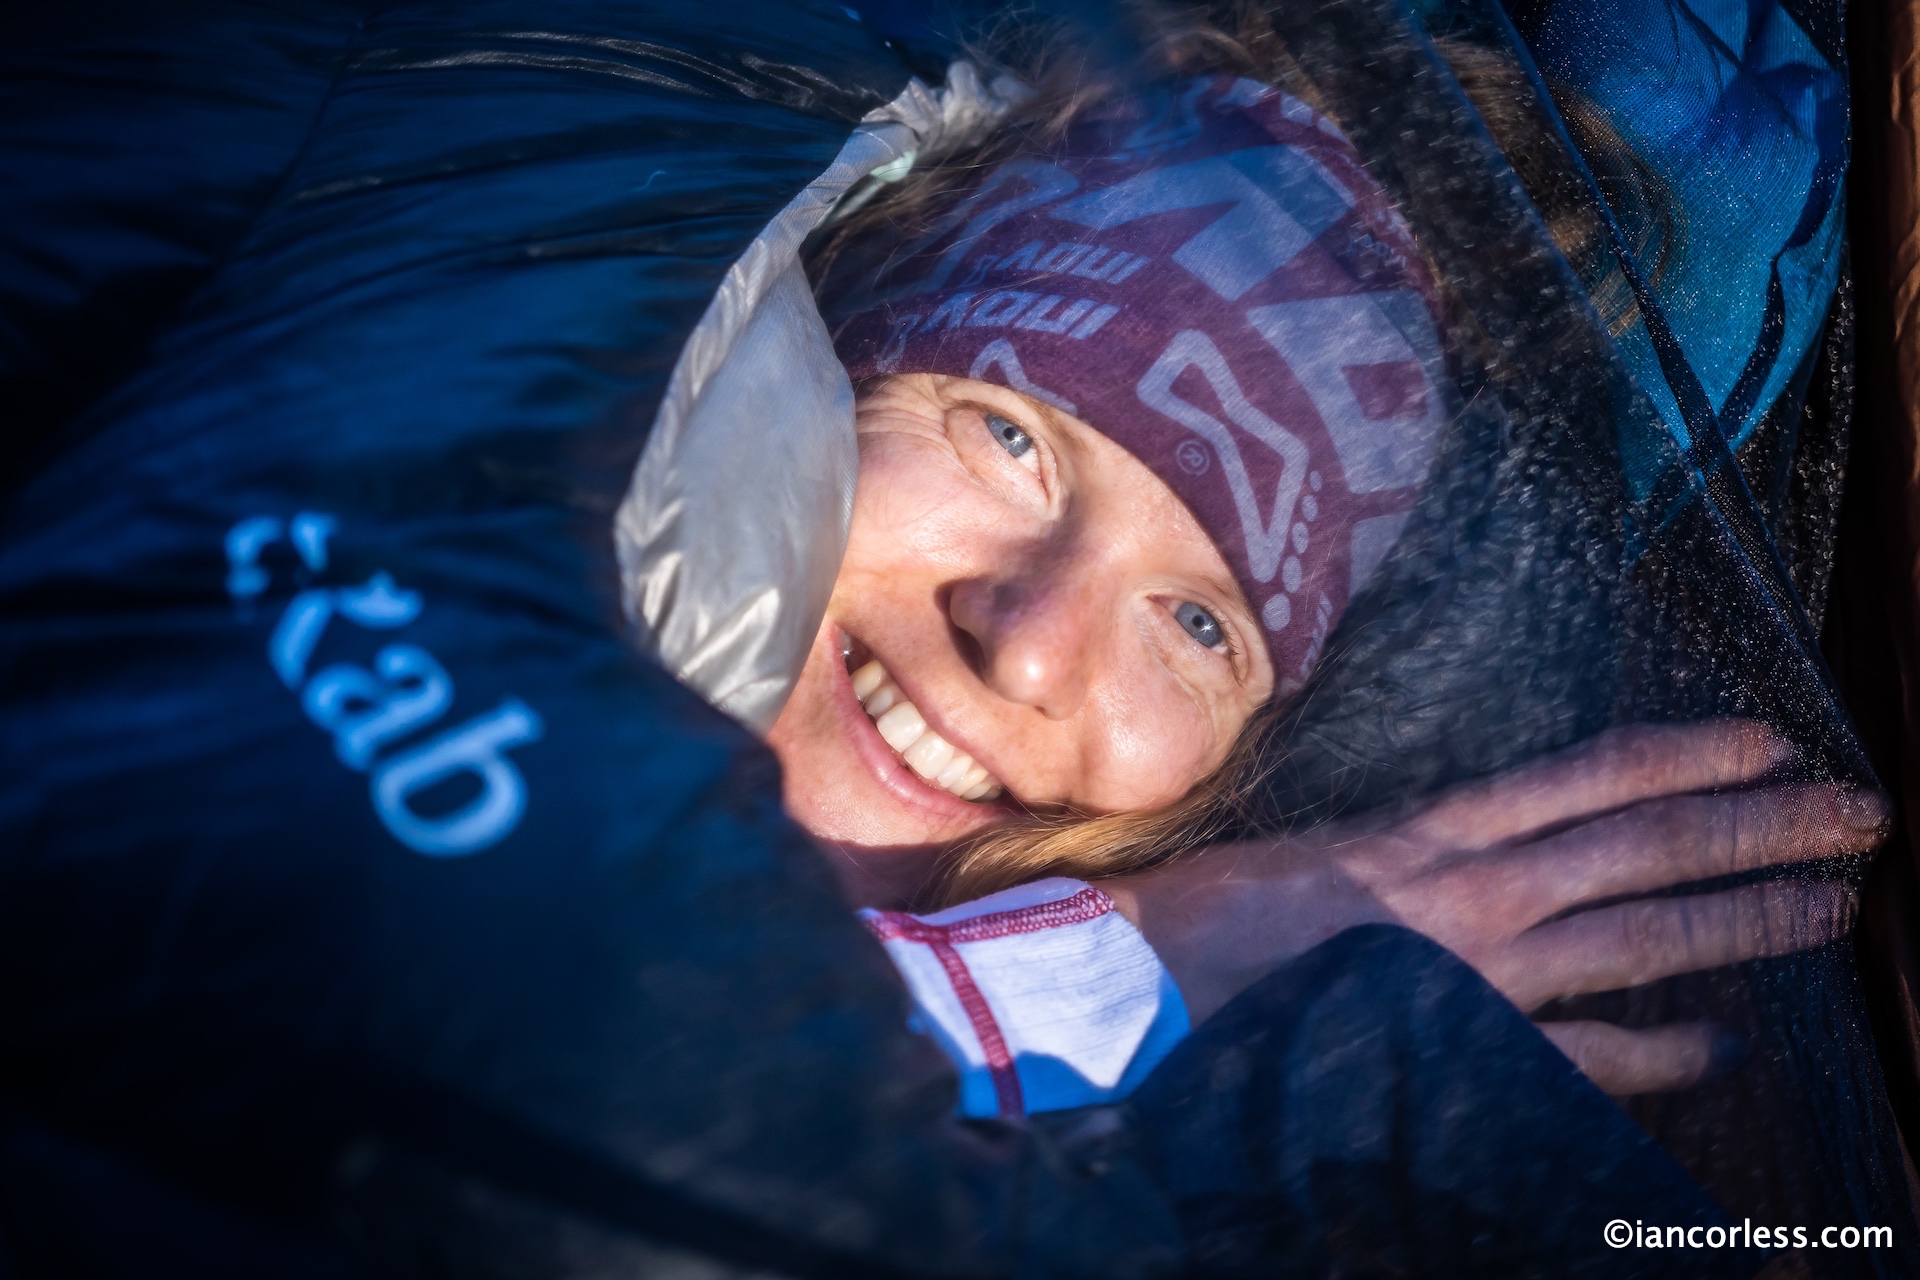
RAB Bivvy Bag 105g
Plug and USB cable 60g – ideal for phone recharge, Shokz recharge and Garmin recharge.
Inflatable Pillow 46g – this is essential for me, I travel so much I love the consistency my own pillow gives.
Blindfold and Earplugs 10g – essential.
2x 500ml Bottles 49g x2 – 96g I used bottles in contrast to soft-flasks, a little heavier but I prefer the ones I use ny Ultraspire as they have a flat back which sits comfortably against the chest.
Total weight – 3268g
3926g with camera and Kindle
Wearing:
HOKA Mafate 5 315g – The Hoka worked really well except on wet rock, Vibram just does not cut it and without doubt, VJ Sport MAXx2 or ULTRA 3 is the shoe to use.
RAB Hat 52g – peaked hat to keep rain and sun off.
TNF Run Shorts 146g – they have an inner and therefore reduces the need for underwear.
Devold SS Merino Top 219g – I prefer merino, great in hot, cold or wet.
Shokz Openrun Pro 2 – some daily music escape is ideal.
SunGod Glasses – great for all conditions I use photochromatic so they adjust to the conditions.
FOOD AND DRINK
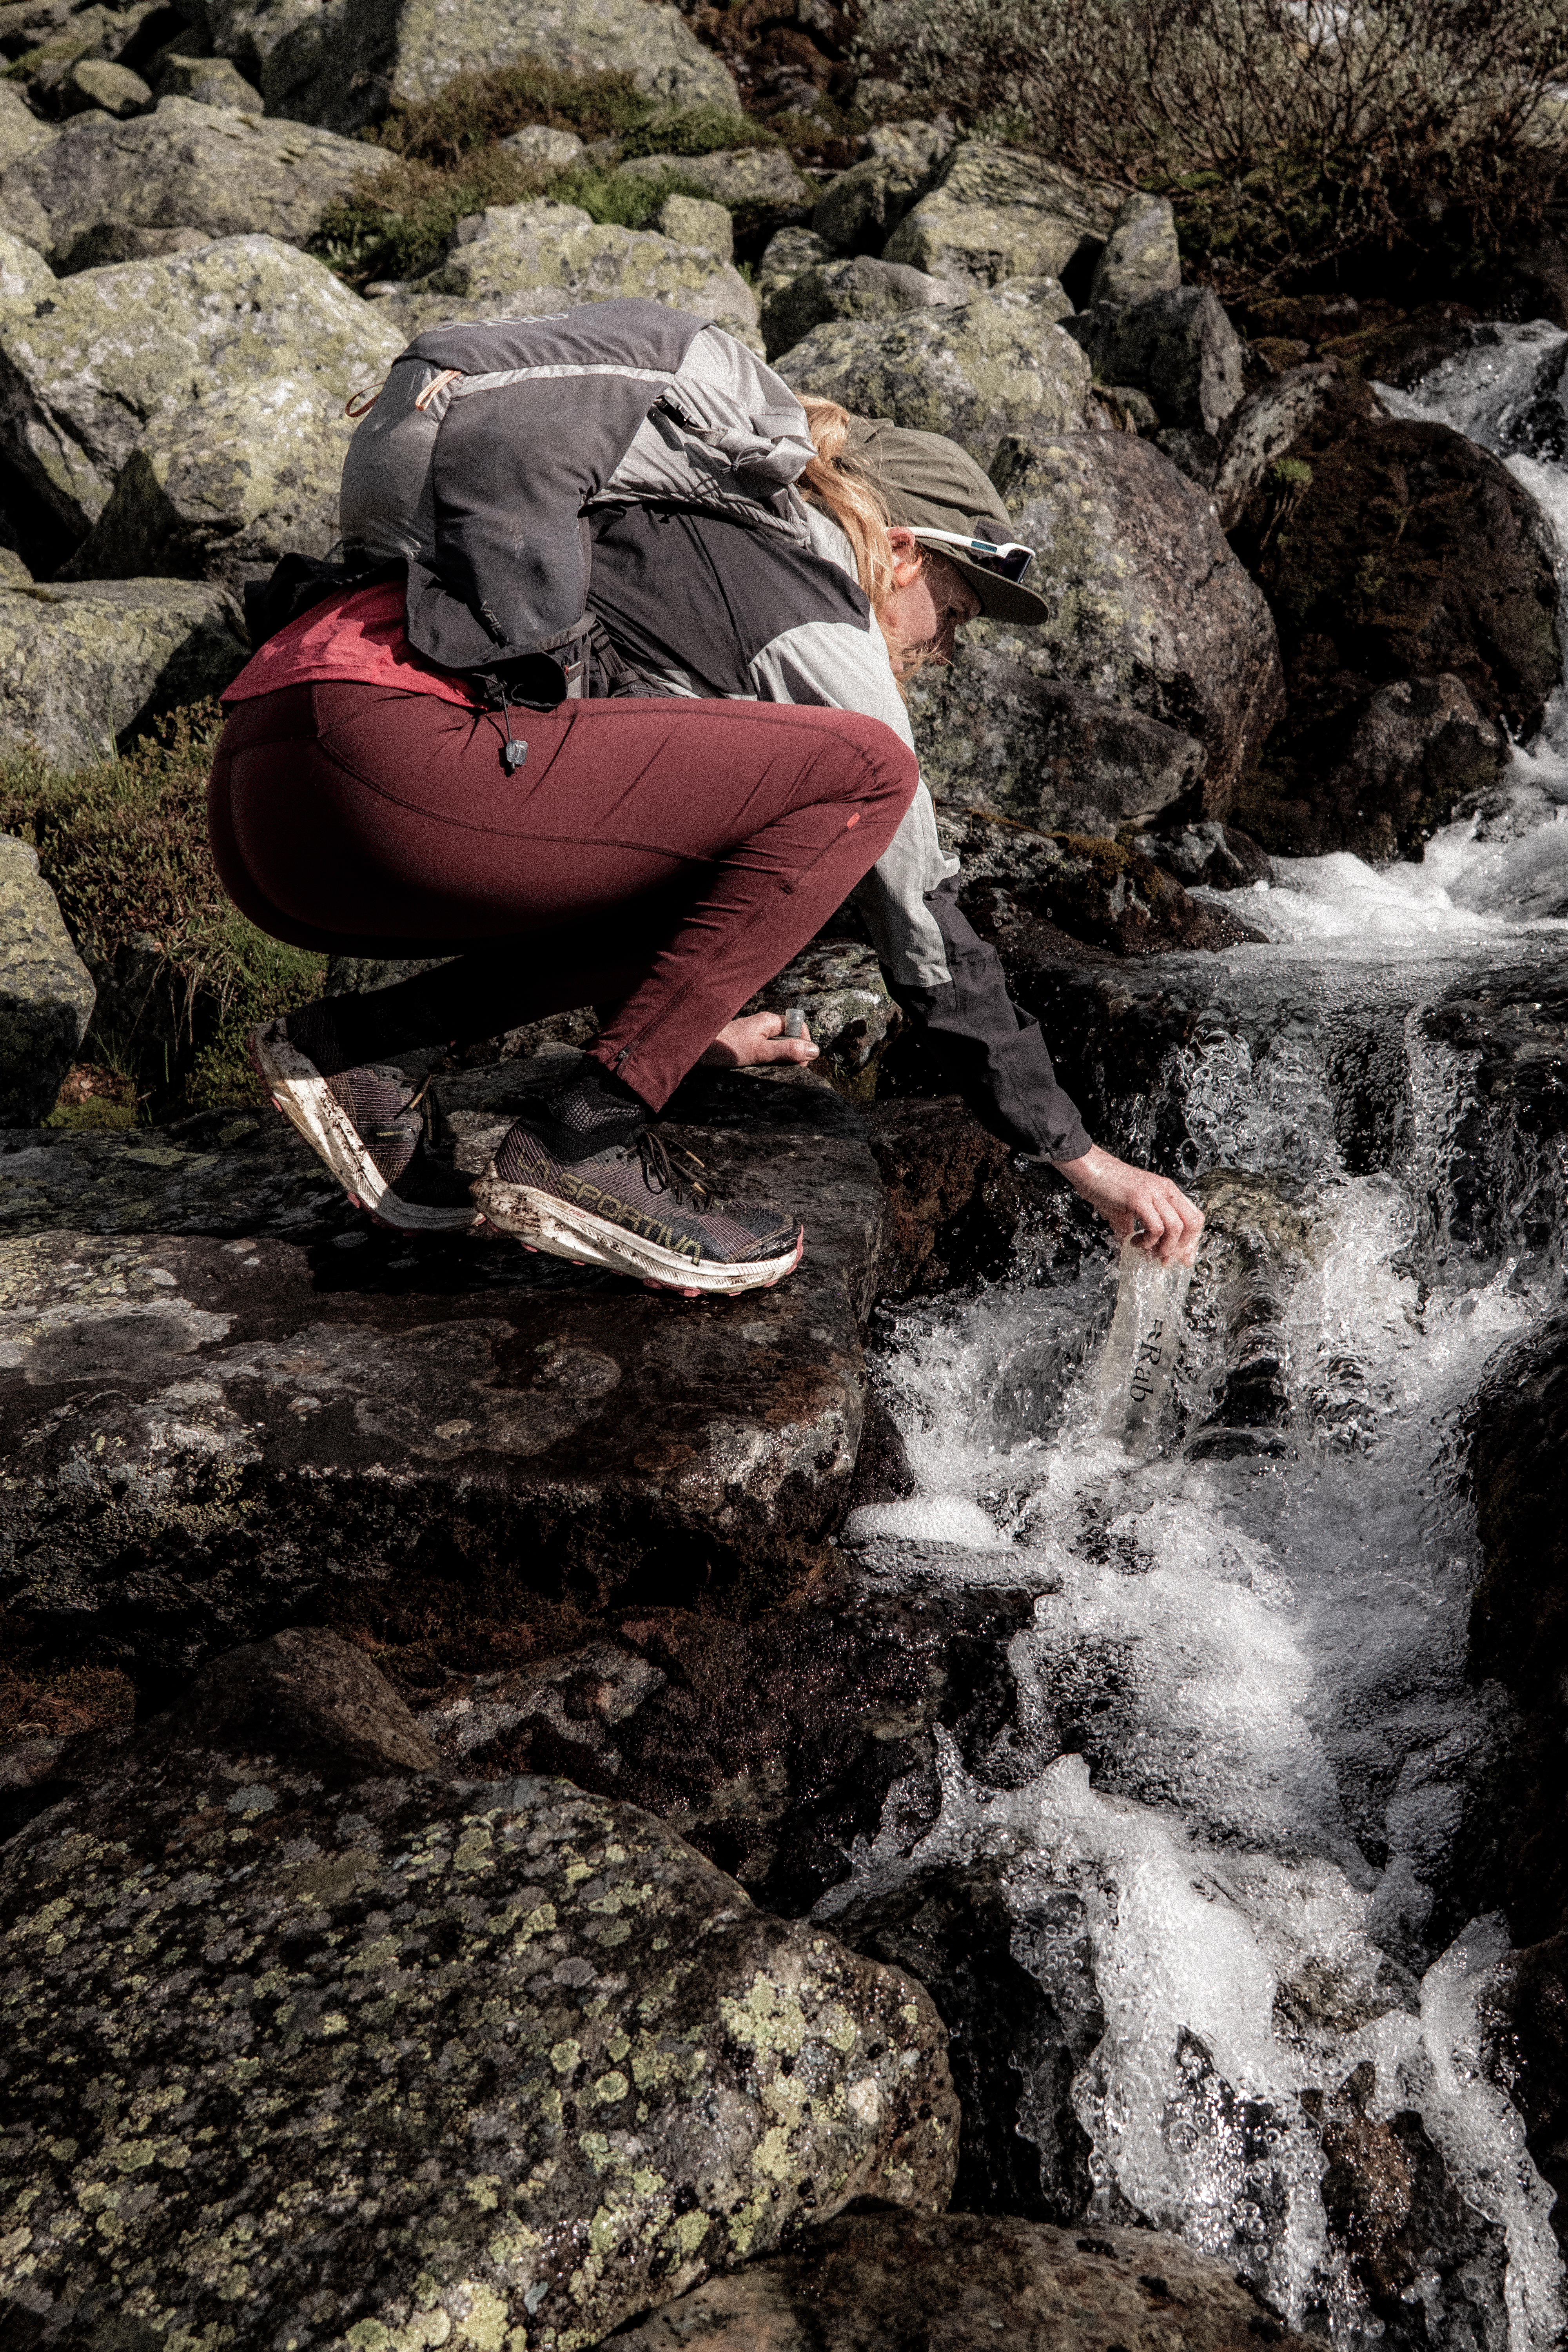
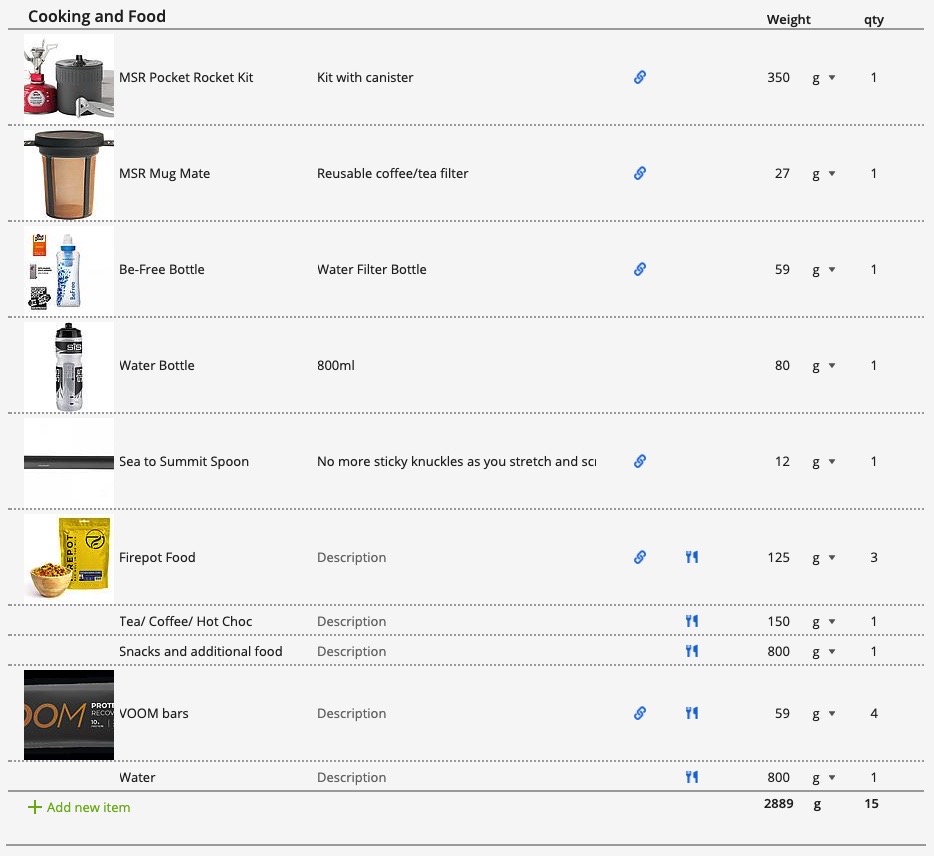
We get water from rivers and streams, there is an abundance of opportunities in Norway and for most of the time, although I have two bottles, I only fill one to save weight.
Importantly, wherever you are fastpacking, you need to research what is and what is not available on the route you take. No water? You need to plan and carry more.
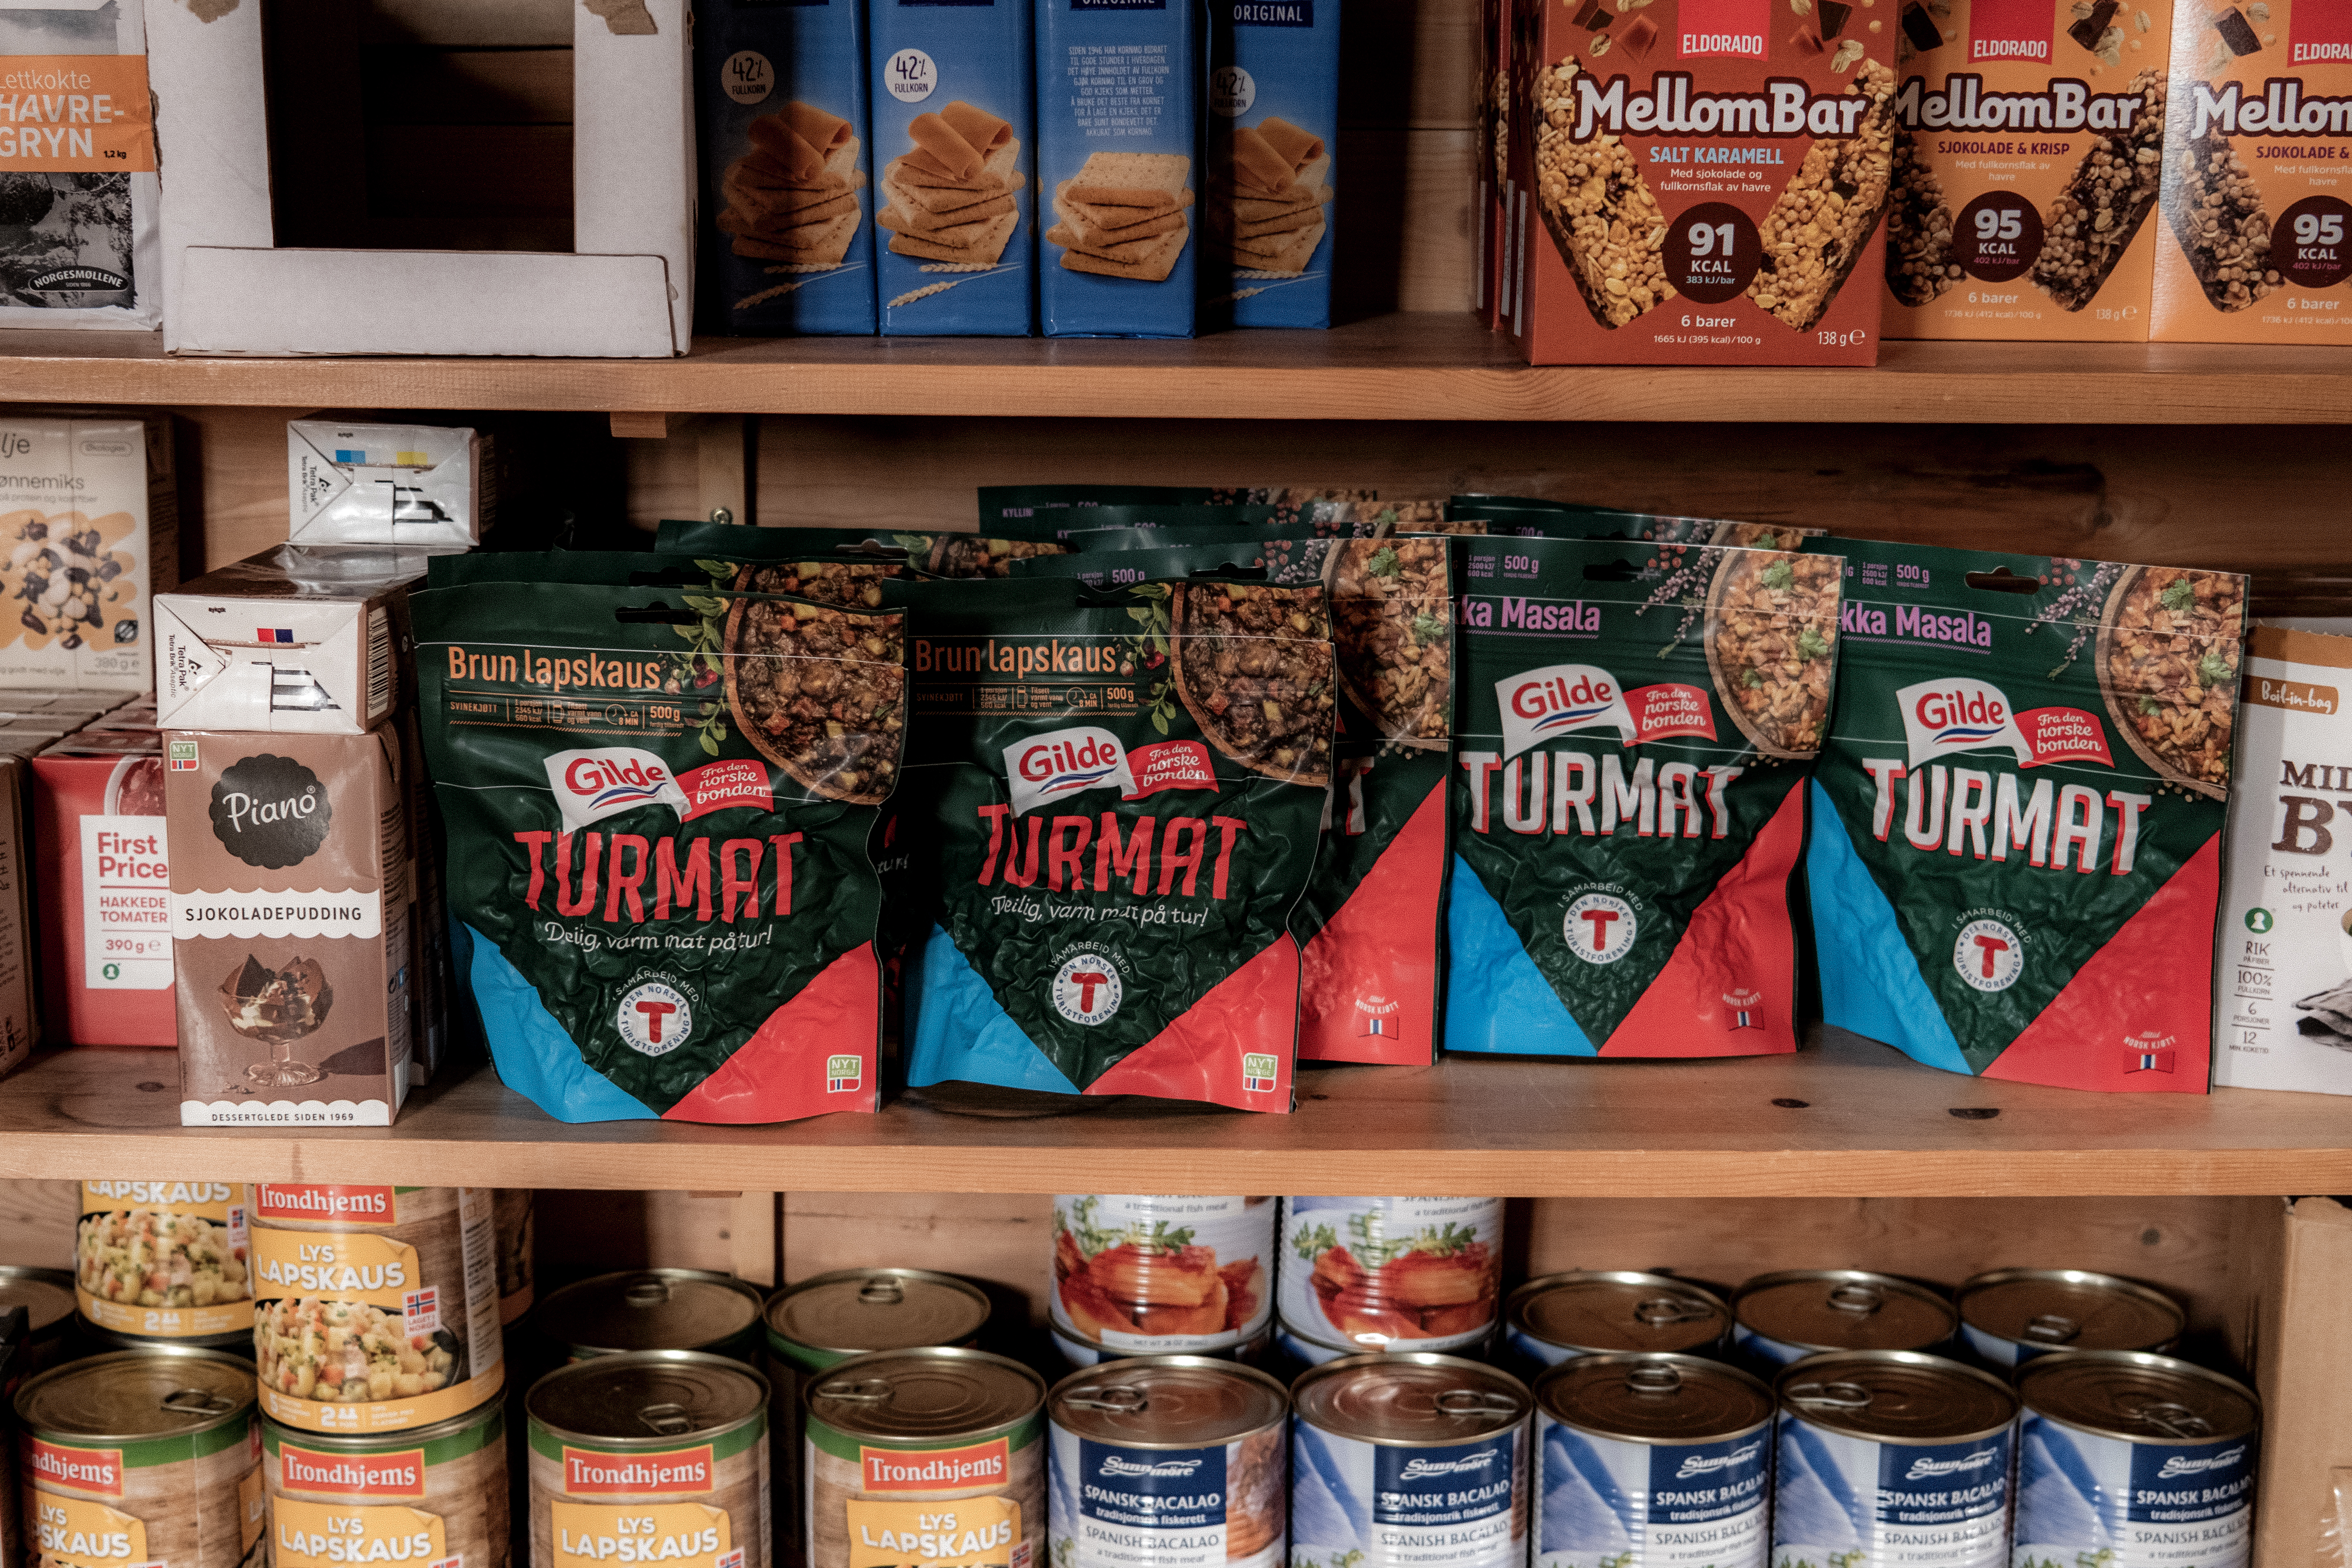
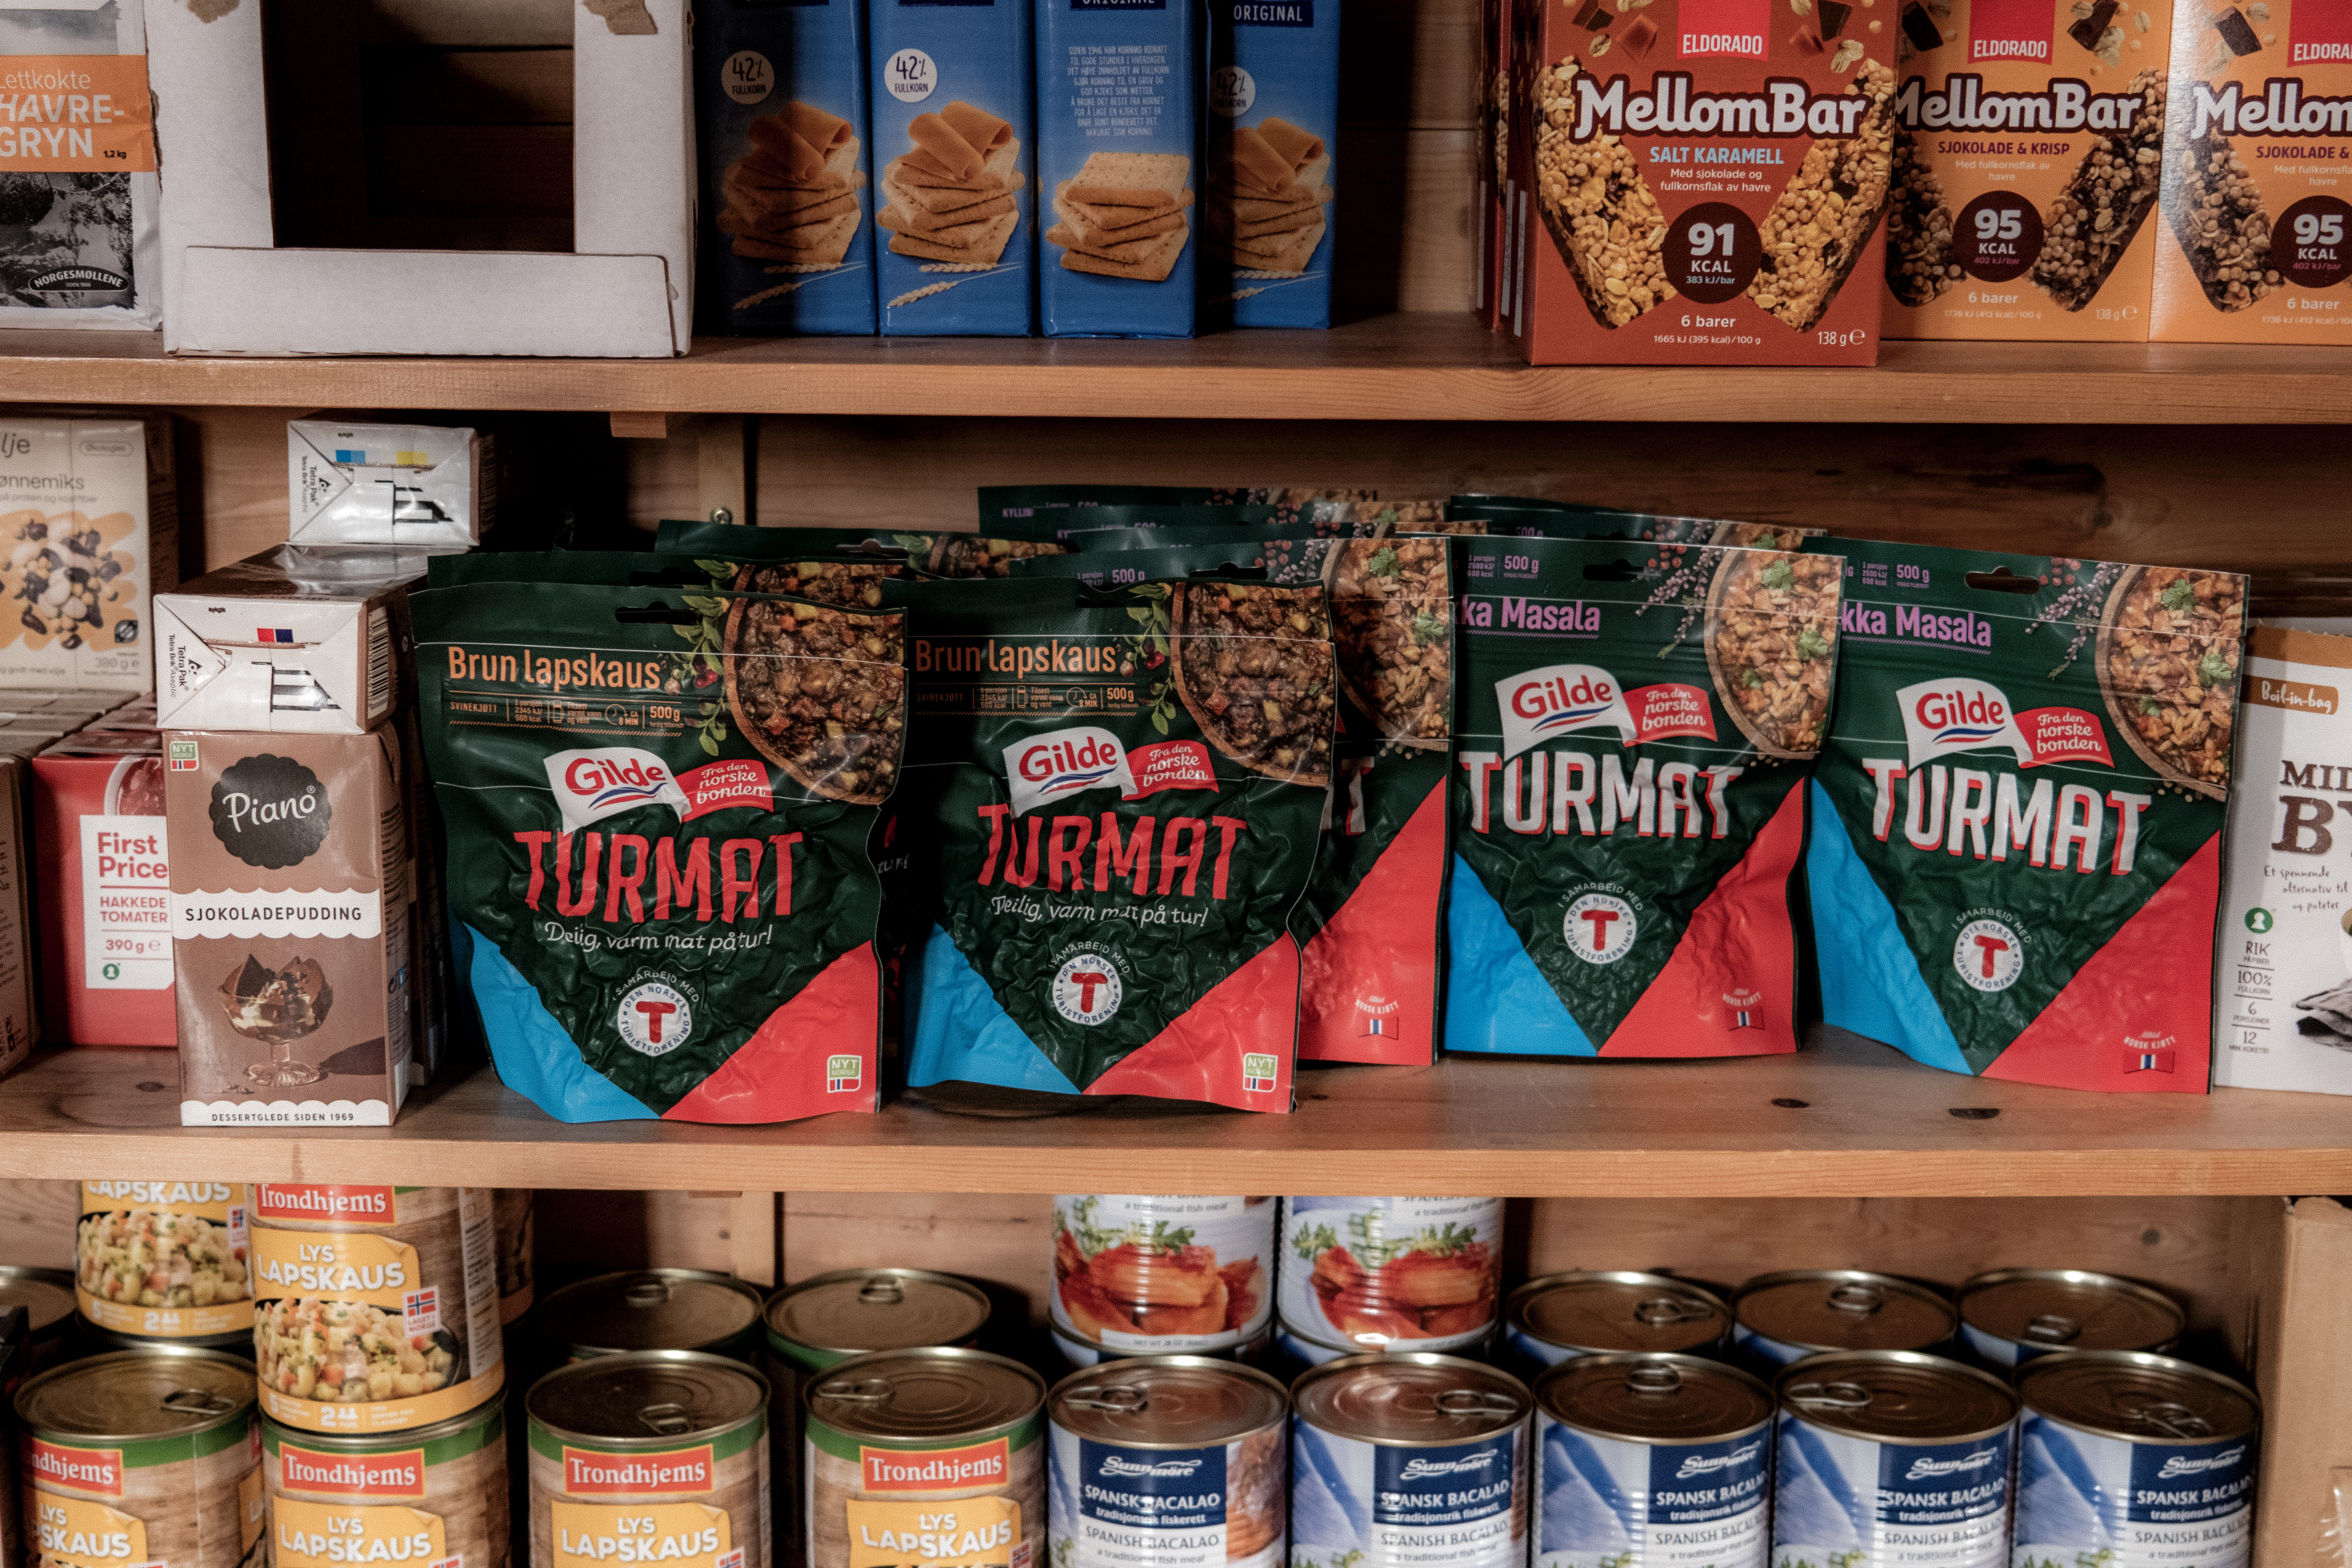
Day snacks I would replenish each night from the cabin we stay at, be that a serviced cabin or an unserviced cabin – there are typically cereal bars, chocolate, snacks etc that you can purchase.
On tough days and when the option exists, I will take a bottle of soda as a backup – Cola, Fanta or similar.
In the cabins, we either have food provided by a serviced cabin, or, we make our own from the food supply shop.
THE REALITY
You have one set of clothes to move in.
You have clothes to change into after each day – typically merino top and bottom.
You have minimal extra layers for cold, rain and bad conditions.
Life is very simple and it is liberating.
You need to accept some days you will not wash, you have to accept that you and your clothes will be a little smelly as the days pass.
IN SUMMARY
Fastpacking appeals because of its simplicity. Planning, preparation, bring only the essentials and aim for items that are lightweight and versatile – importantly do not skimp on safety. There is a real pleasure in fine tuning kit, researching the best items and then bringing it all together. Be specific and adapt what you take based on the route and the weather conditions.
Following our SAGA adventure, a couple of days RnR was welcome in Otta and Lalm – an opportunity to check Hylja Lodge which offered four stunning individual cabins and a new lodge, one year in the making – we were the first guests.
After moving fast and light with minimal clothes and comfort, this was a perfect luxury treat before once again heading back to the mountains.
BREHEIMEN
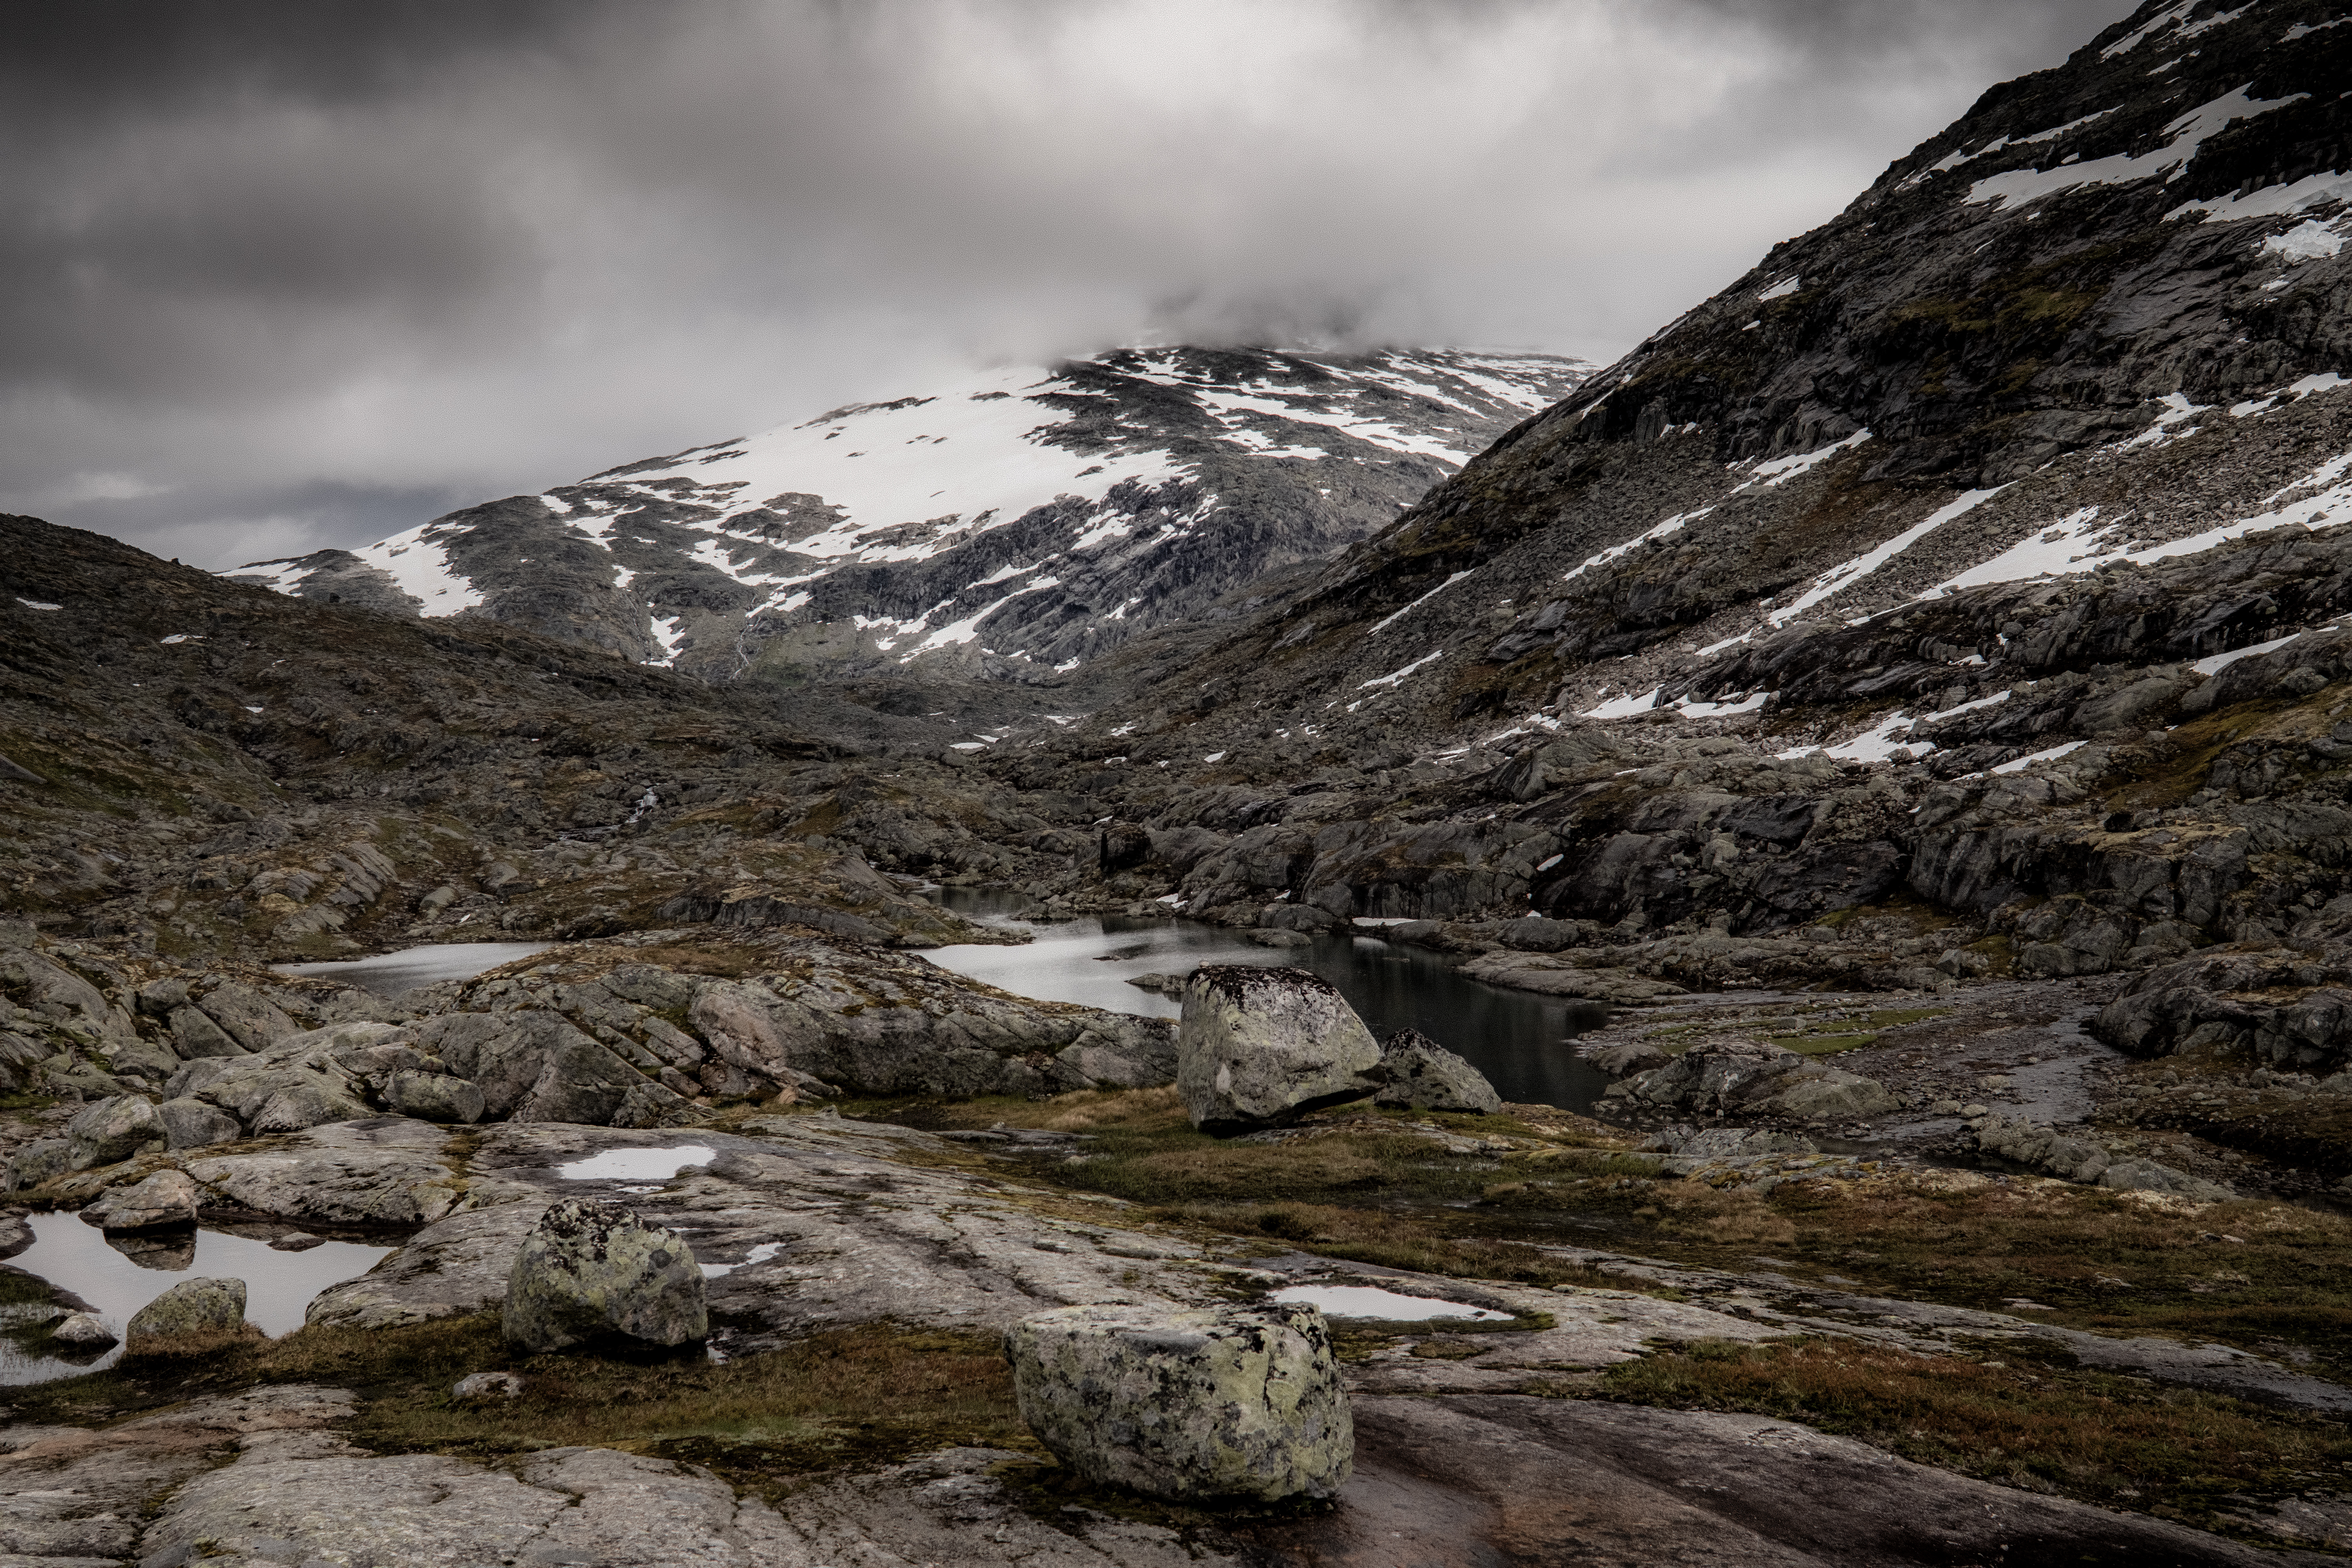
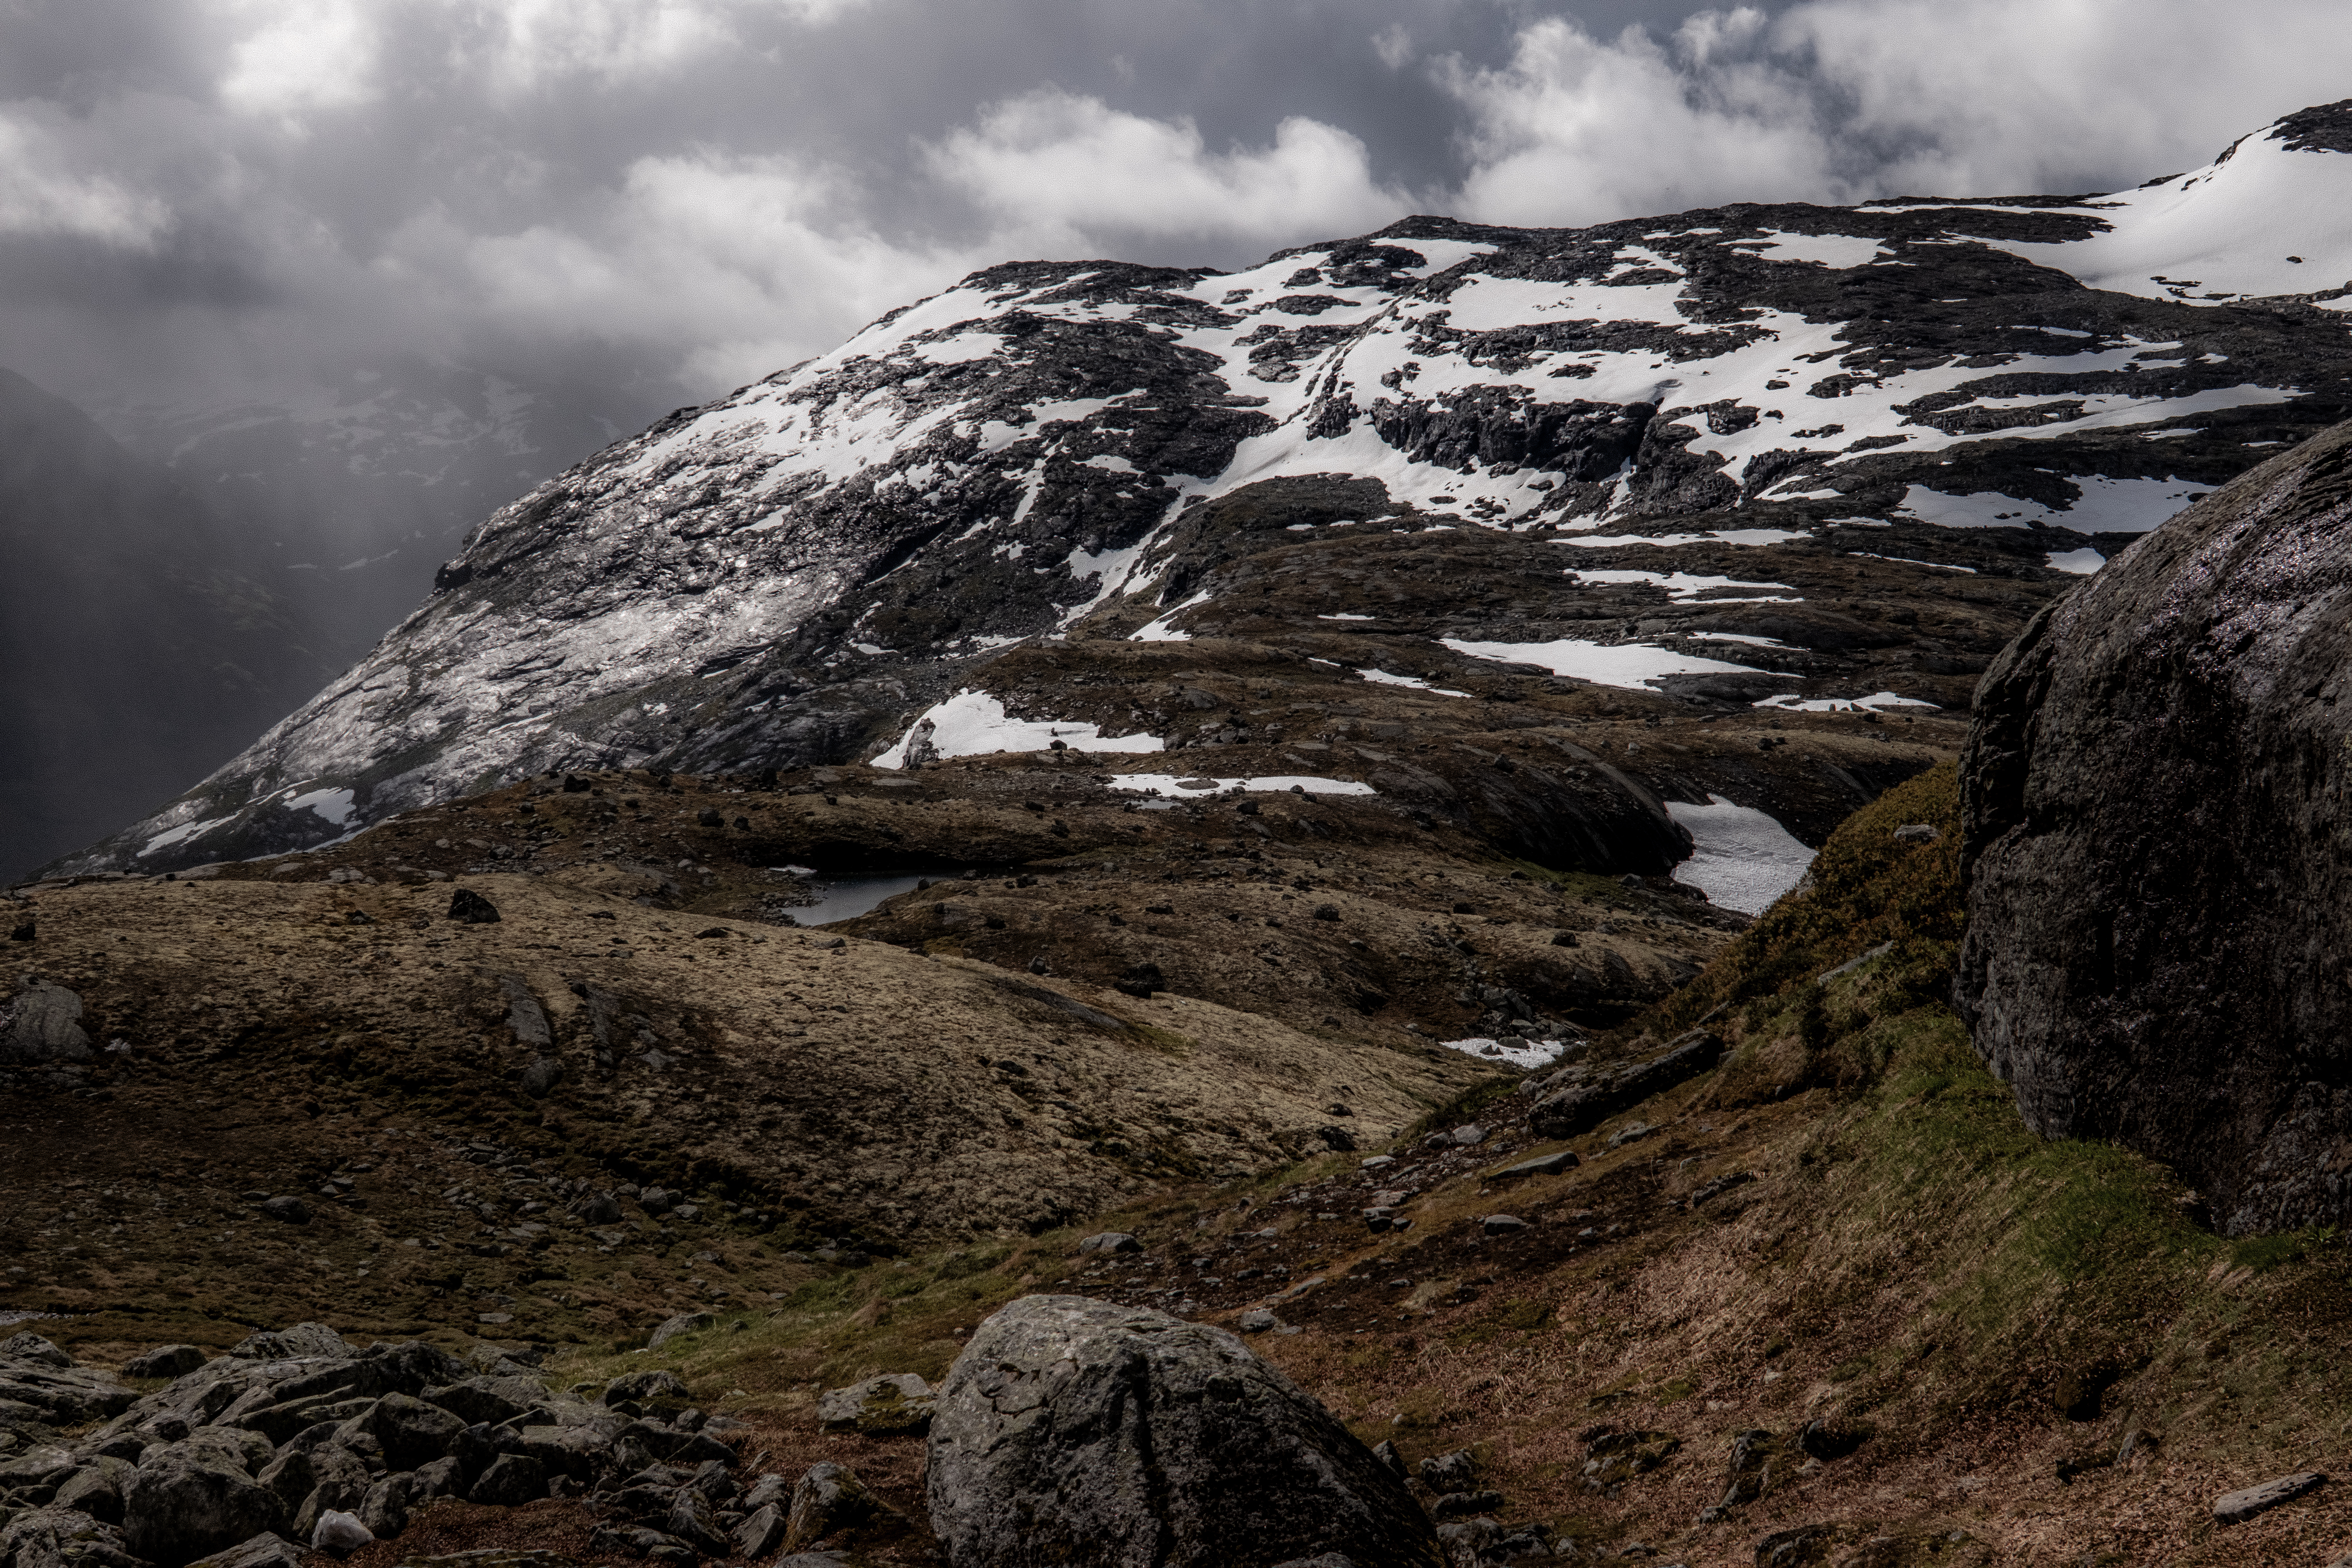
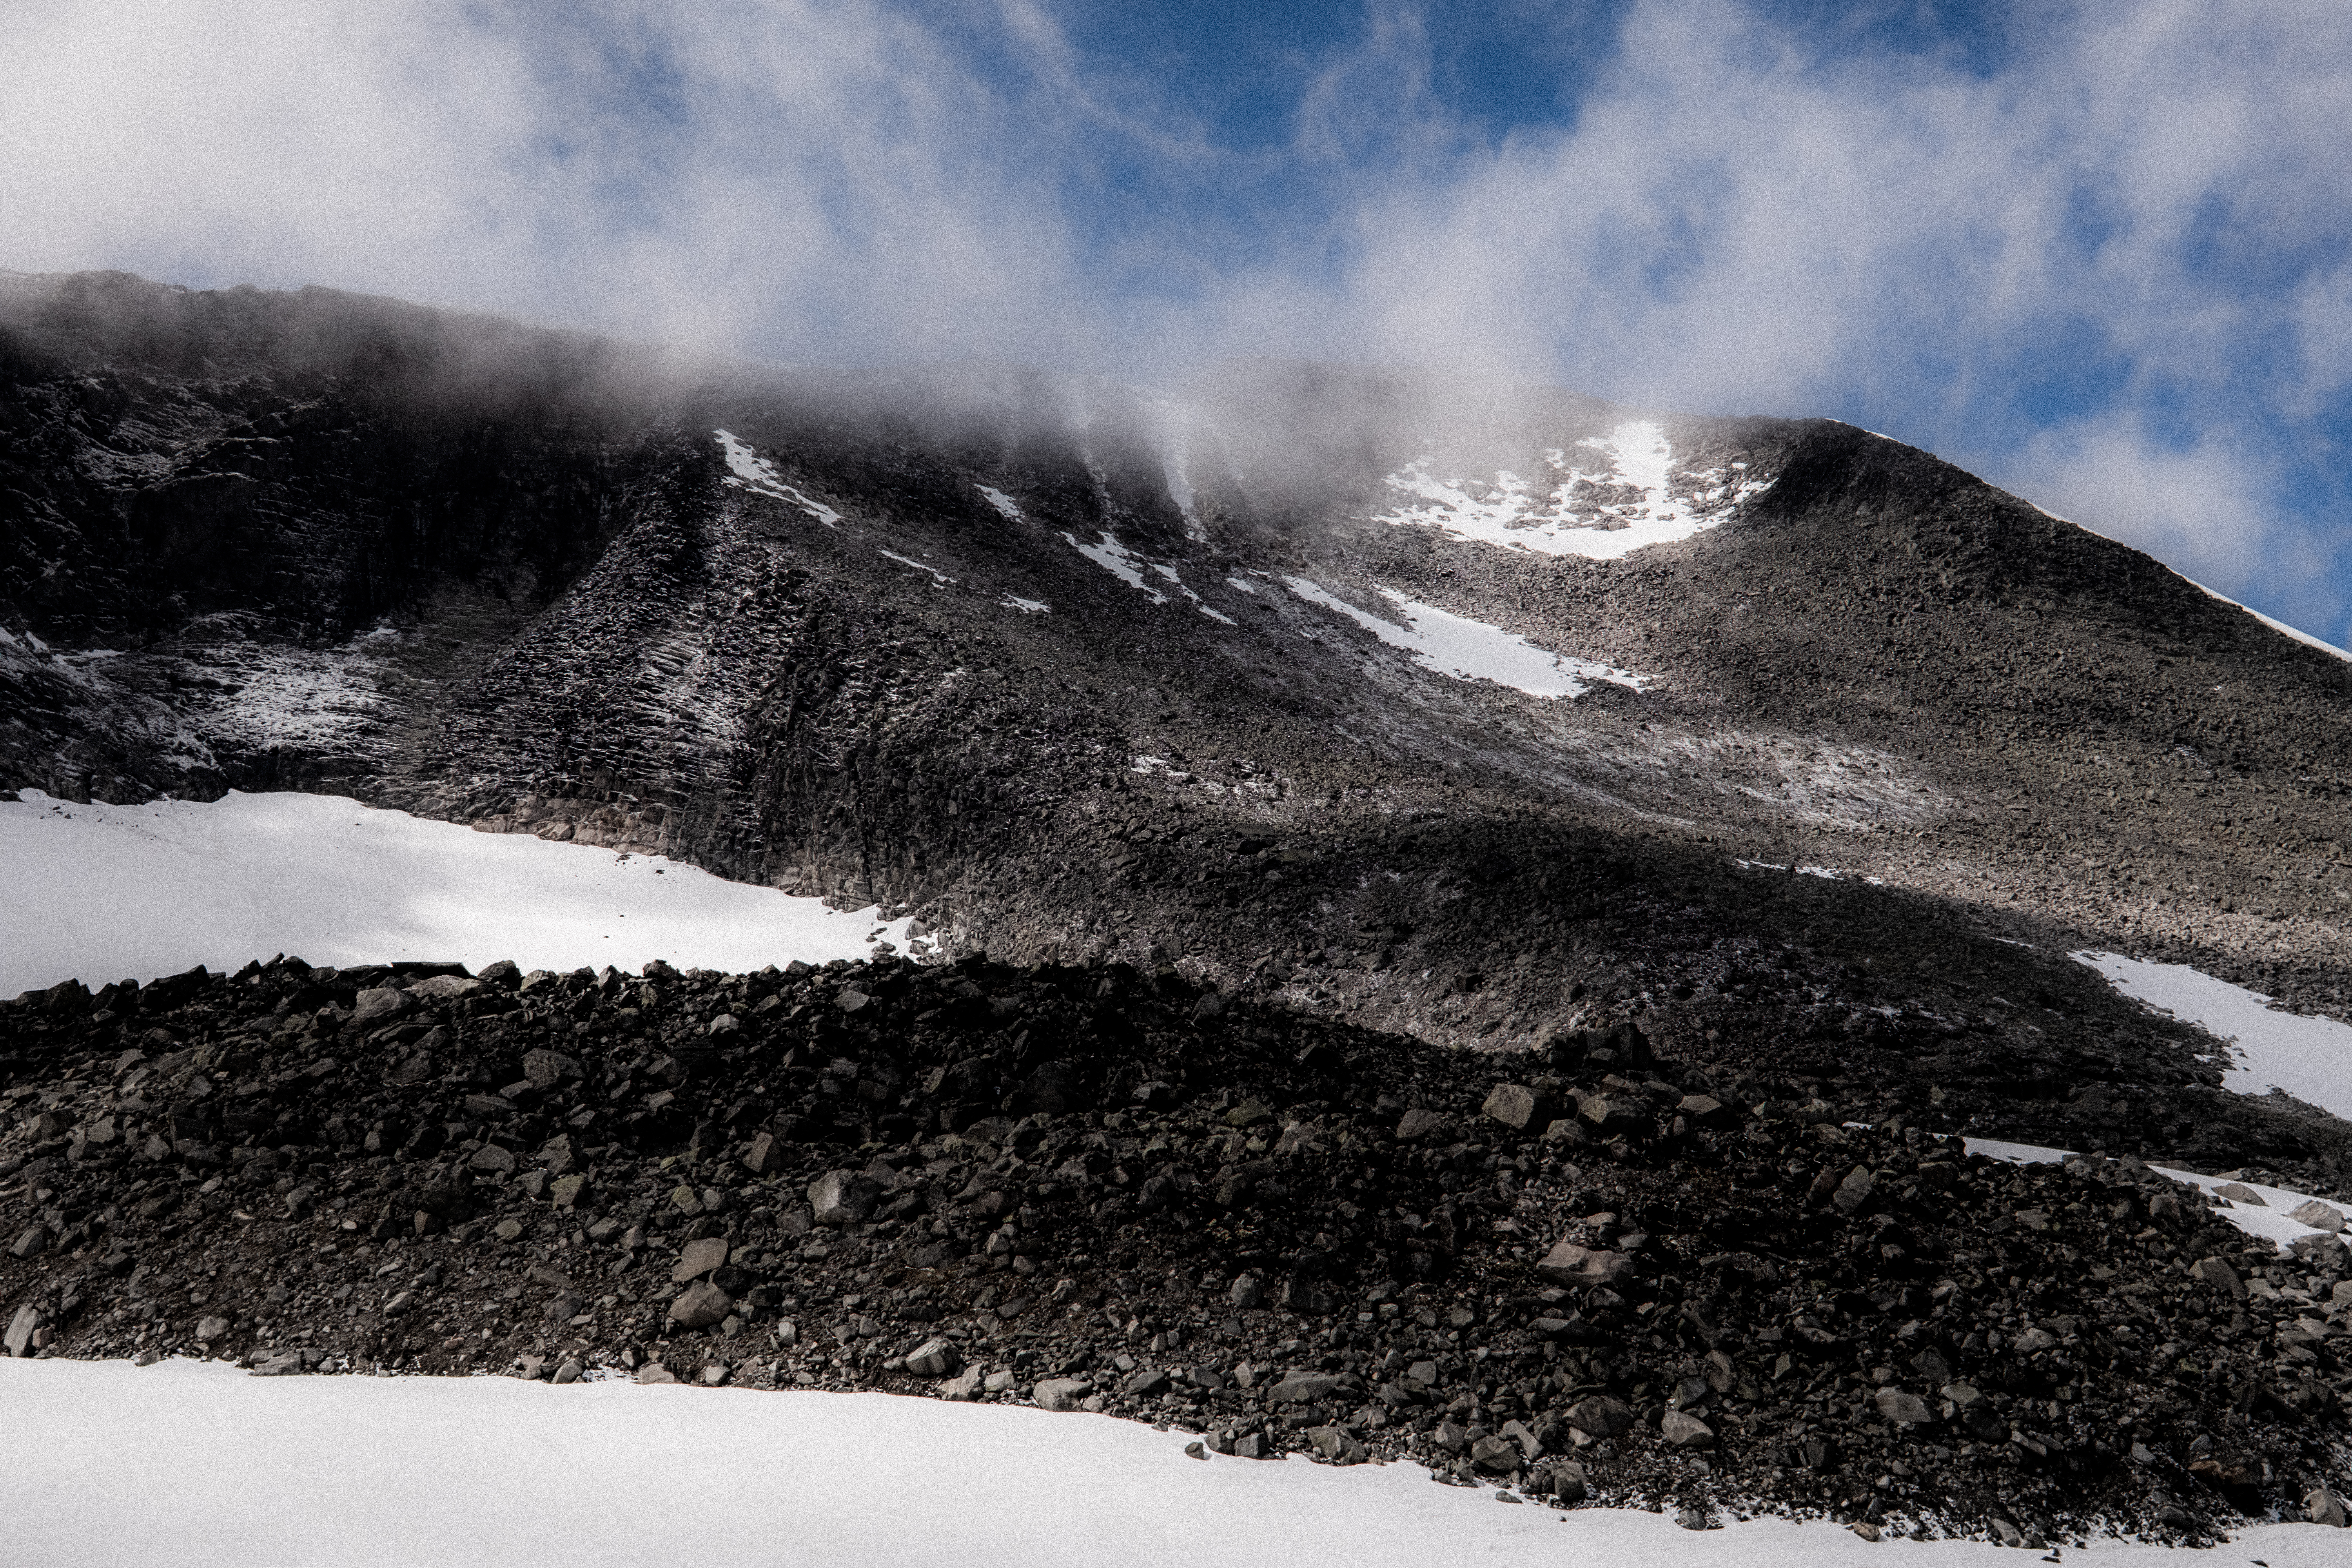
Breheimen is a magical landscape, in contrast to what we experienced on SAGA, this is area is wild, rough, remote and challenging – real mountain terrain.
“The area extends from just above sea level to well over 2,000 meters. The landscape has been formed by glaciers, landslides and other geological processes that have taken place over hundreds of thousands of years. Today, everything from lush valley grazing areas to rugged high mountains and glaciers are found in Breheimen, which is one of our most diverse national parks.”
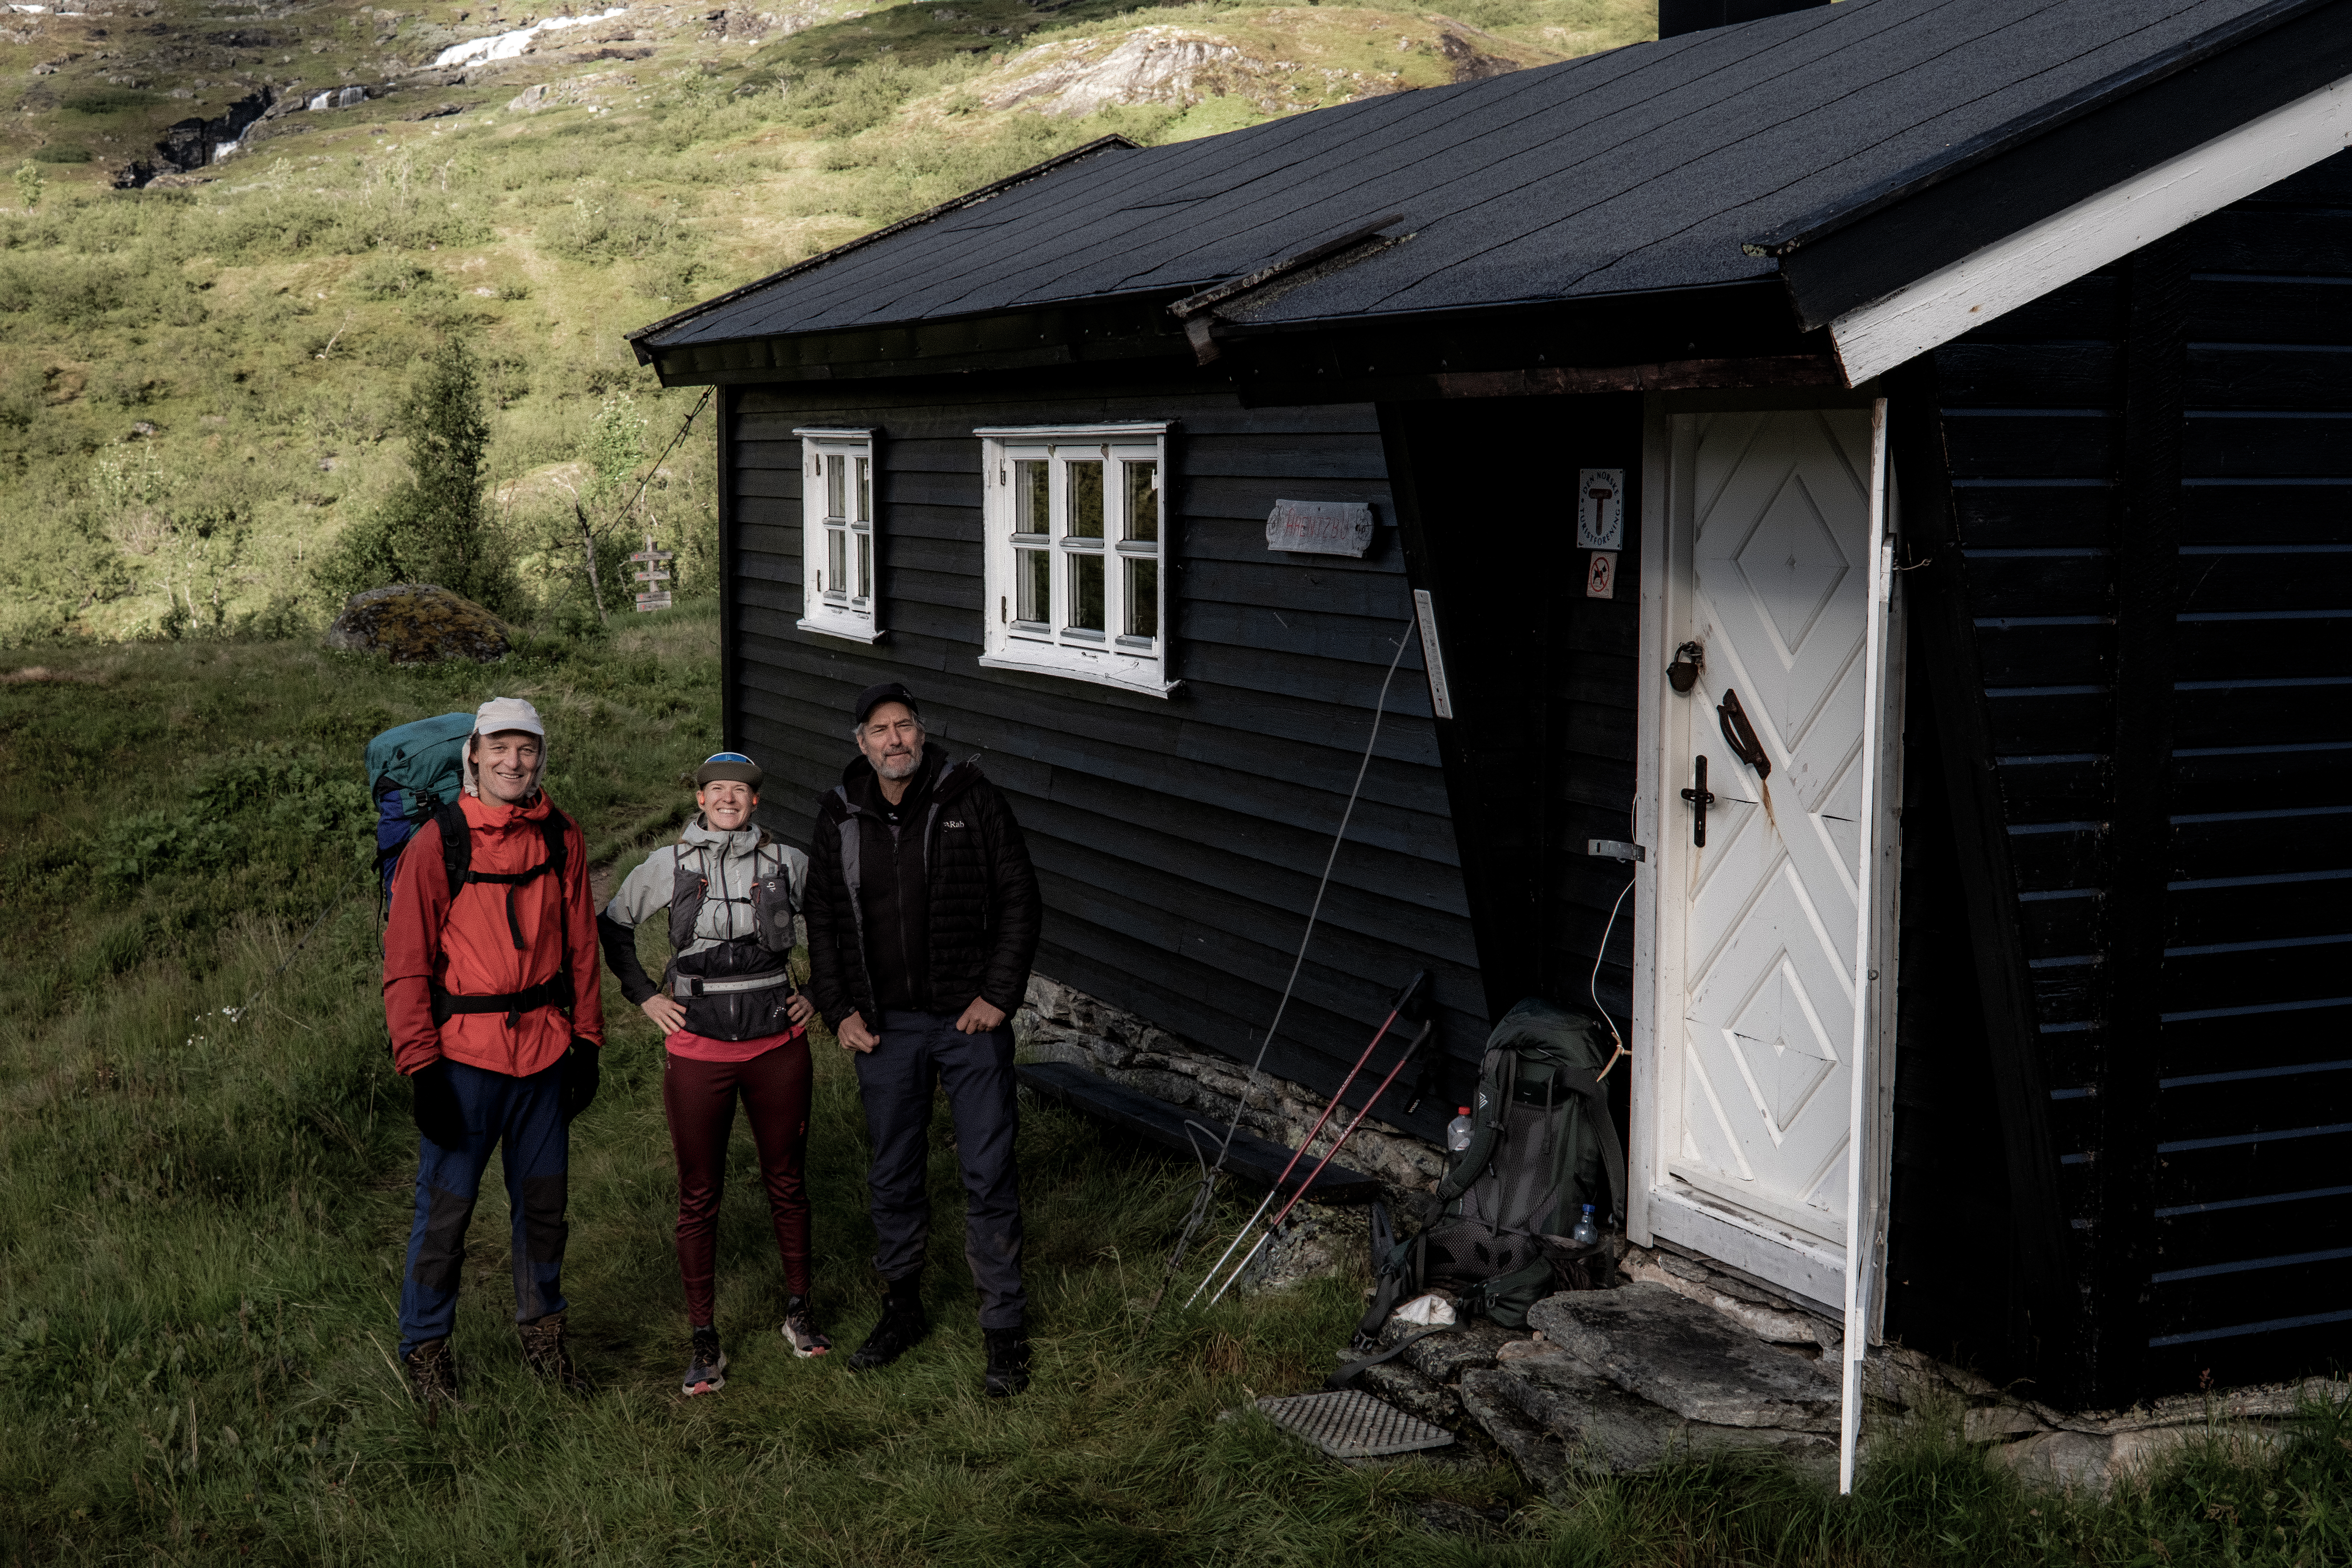
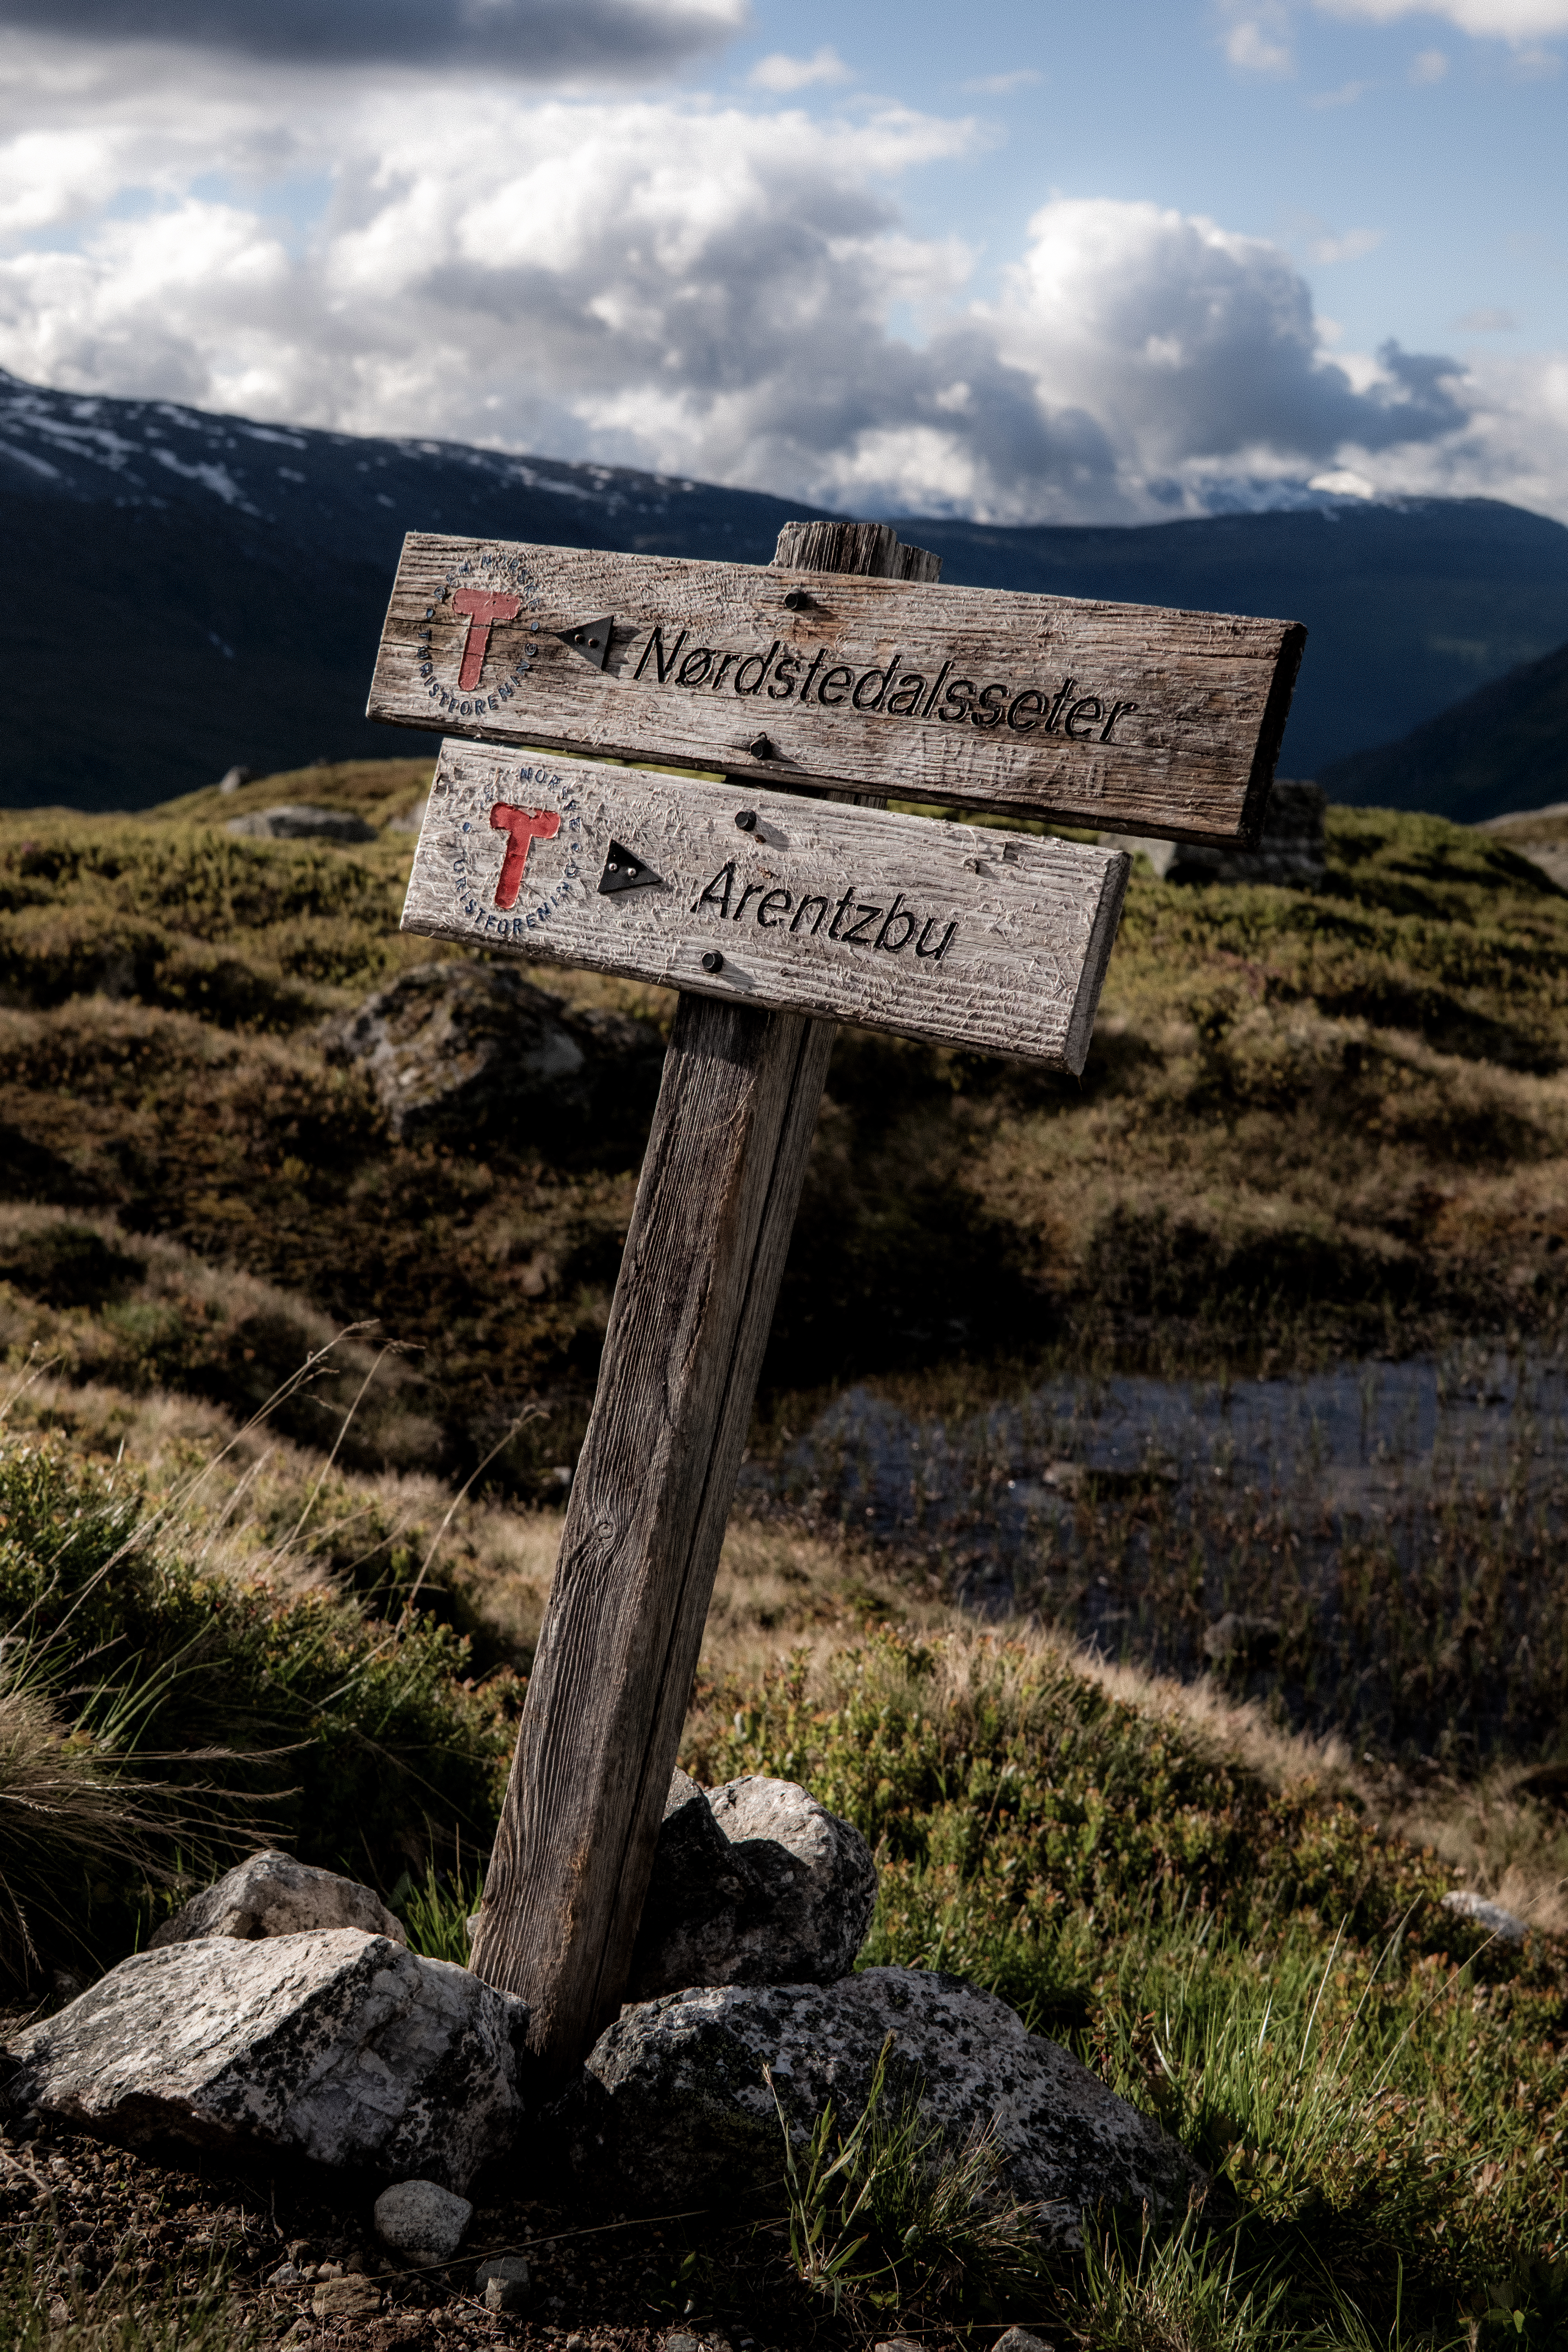
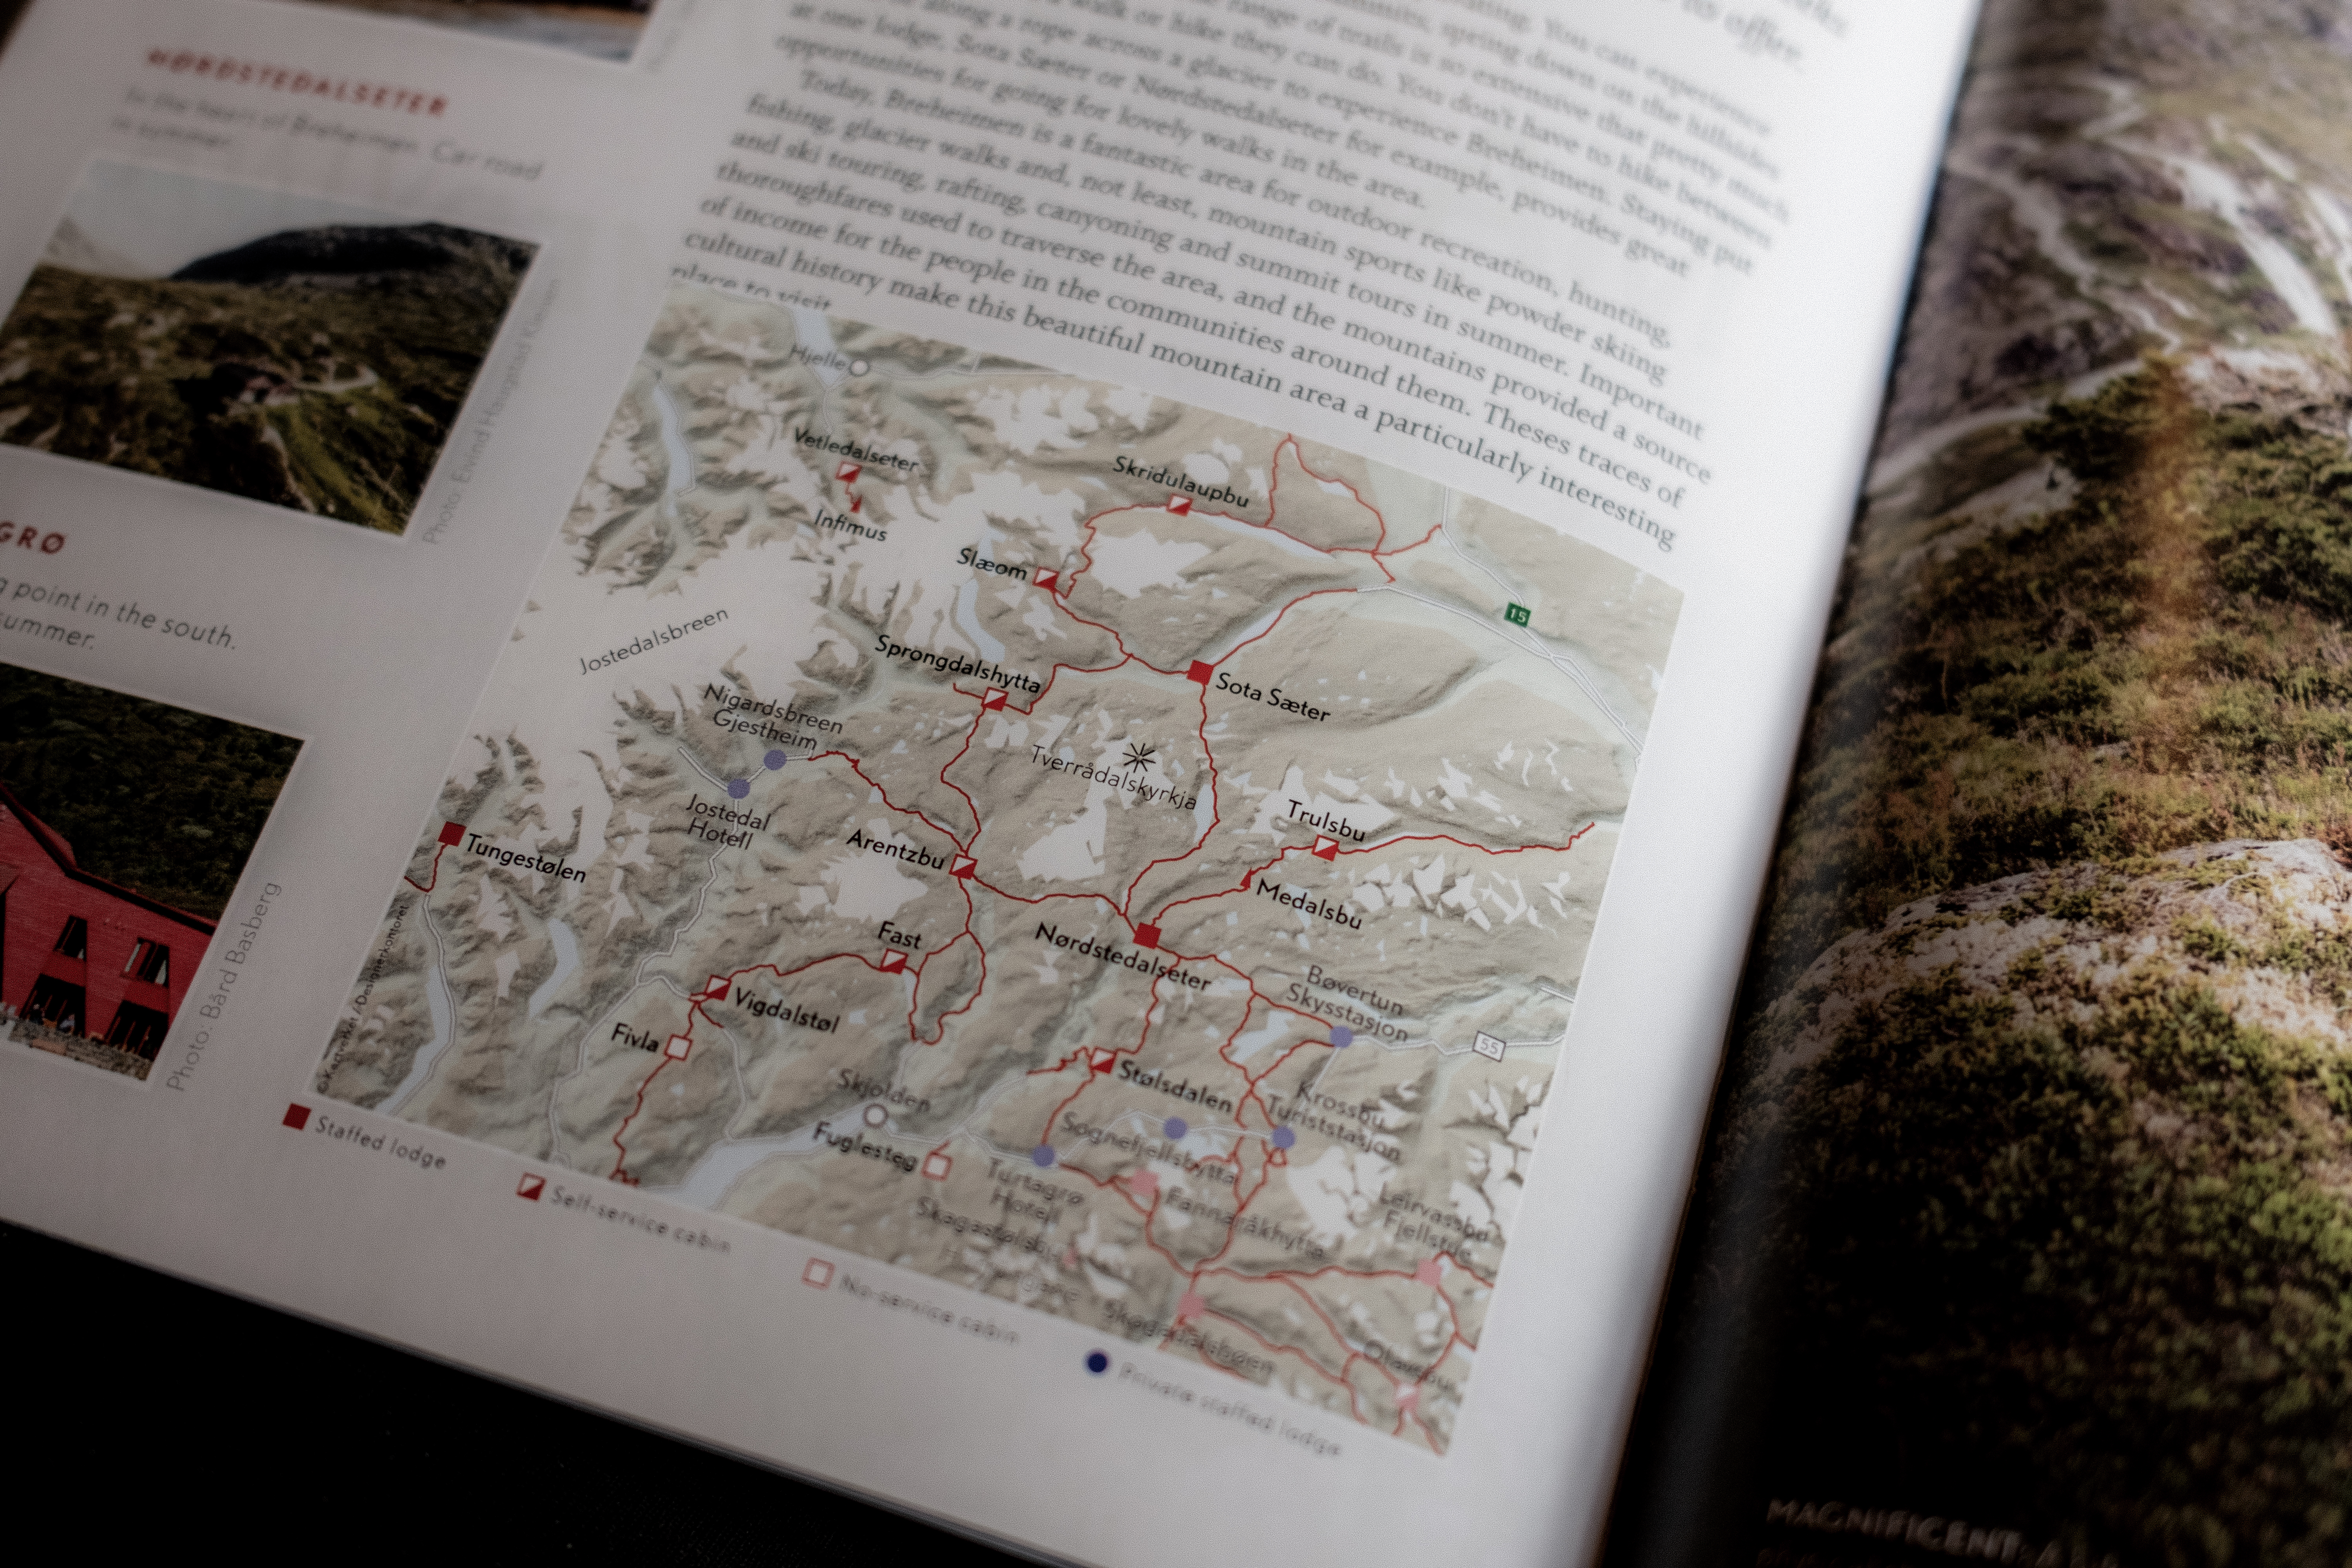
In 2025, Abelone started her MASSIV journey here – Sota Sæter cabin being the official start or end point. I joined her on that first day heading to Nørdstedalseter – a day that was embedded deeply in my memory bank – it was magical weather and magical terrain and what a pleasure to share that with Abelone who was starting an epic 350km journey that takes most around 21-days, she would eventually complete in 10-days.
So, our return to Breheimen and Sota Sæter had special meaning.
THE PLAN
Just like SAGA, we’d be moving fast and light, ‘fastpacking’ with exactly the same items. However, with just 4-days, we would take in a circular route, starting and concluding at Sota Sæter.
Our route, in principle was simple. Arrival Sota Sæter and stay the night.
Day 1 was open to being a single stage or double stage, our original plan was to finish at DNT Arentzbu passing via DNT Sprongdalshytta.
Day 2 would be then to go to DNT Nørdstedalseter and stay 2-nights with some out-and-back adventure on day 3.
Day 4 Nørdstedalseter and return to Sota Sæter.
FUNNEST KNOWN TIME
Once again, our priority was a Funnest Known Time and whereas with SAGA we had very specific motivations, our 4-day Breheimen trip was very relaxed. The estimated total distance over the 4-days was +/- 80km’s but with plenty of vertical and challenging terrain.
THE JOURNEY
Day 1 – 18.88km 916m+ 3h 52m
Sota Sæter is a great cabin, it has road access but is very isolated. A relaxed night, some great cabin food, a good sleep and hearty breakfast and we were ready for day 1.
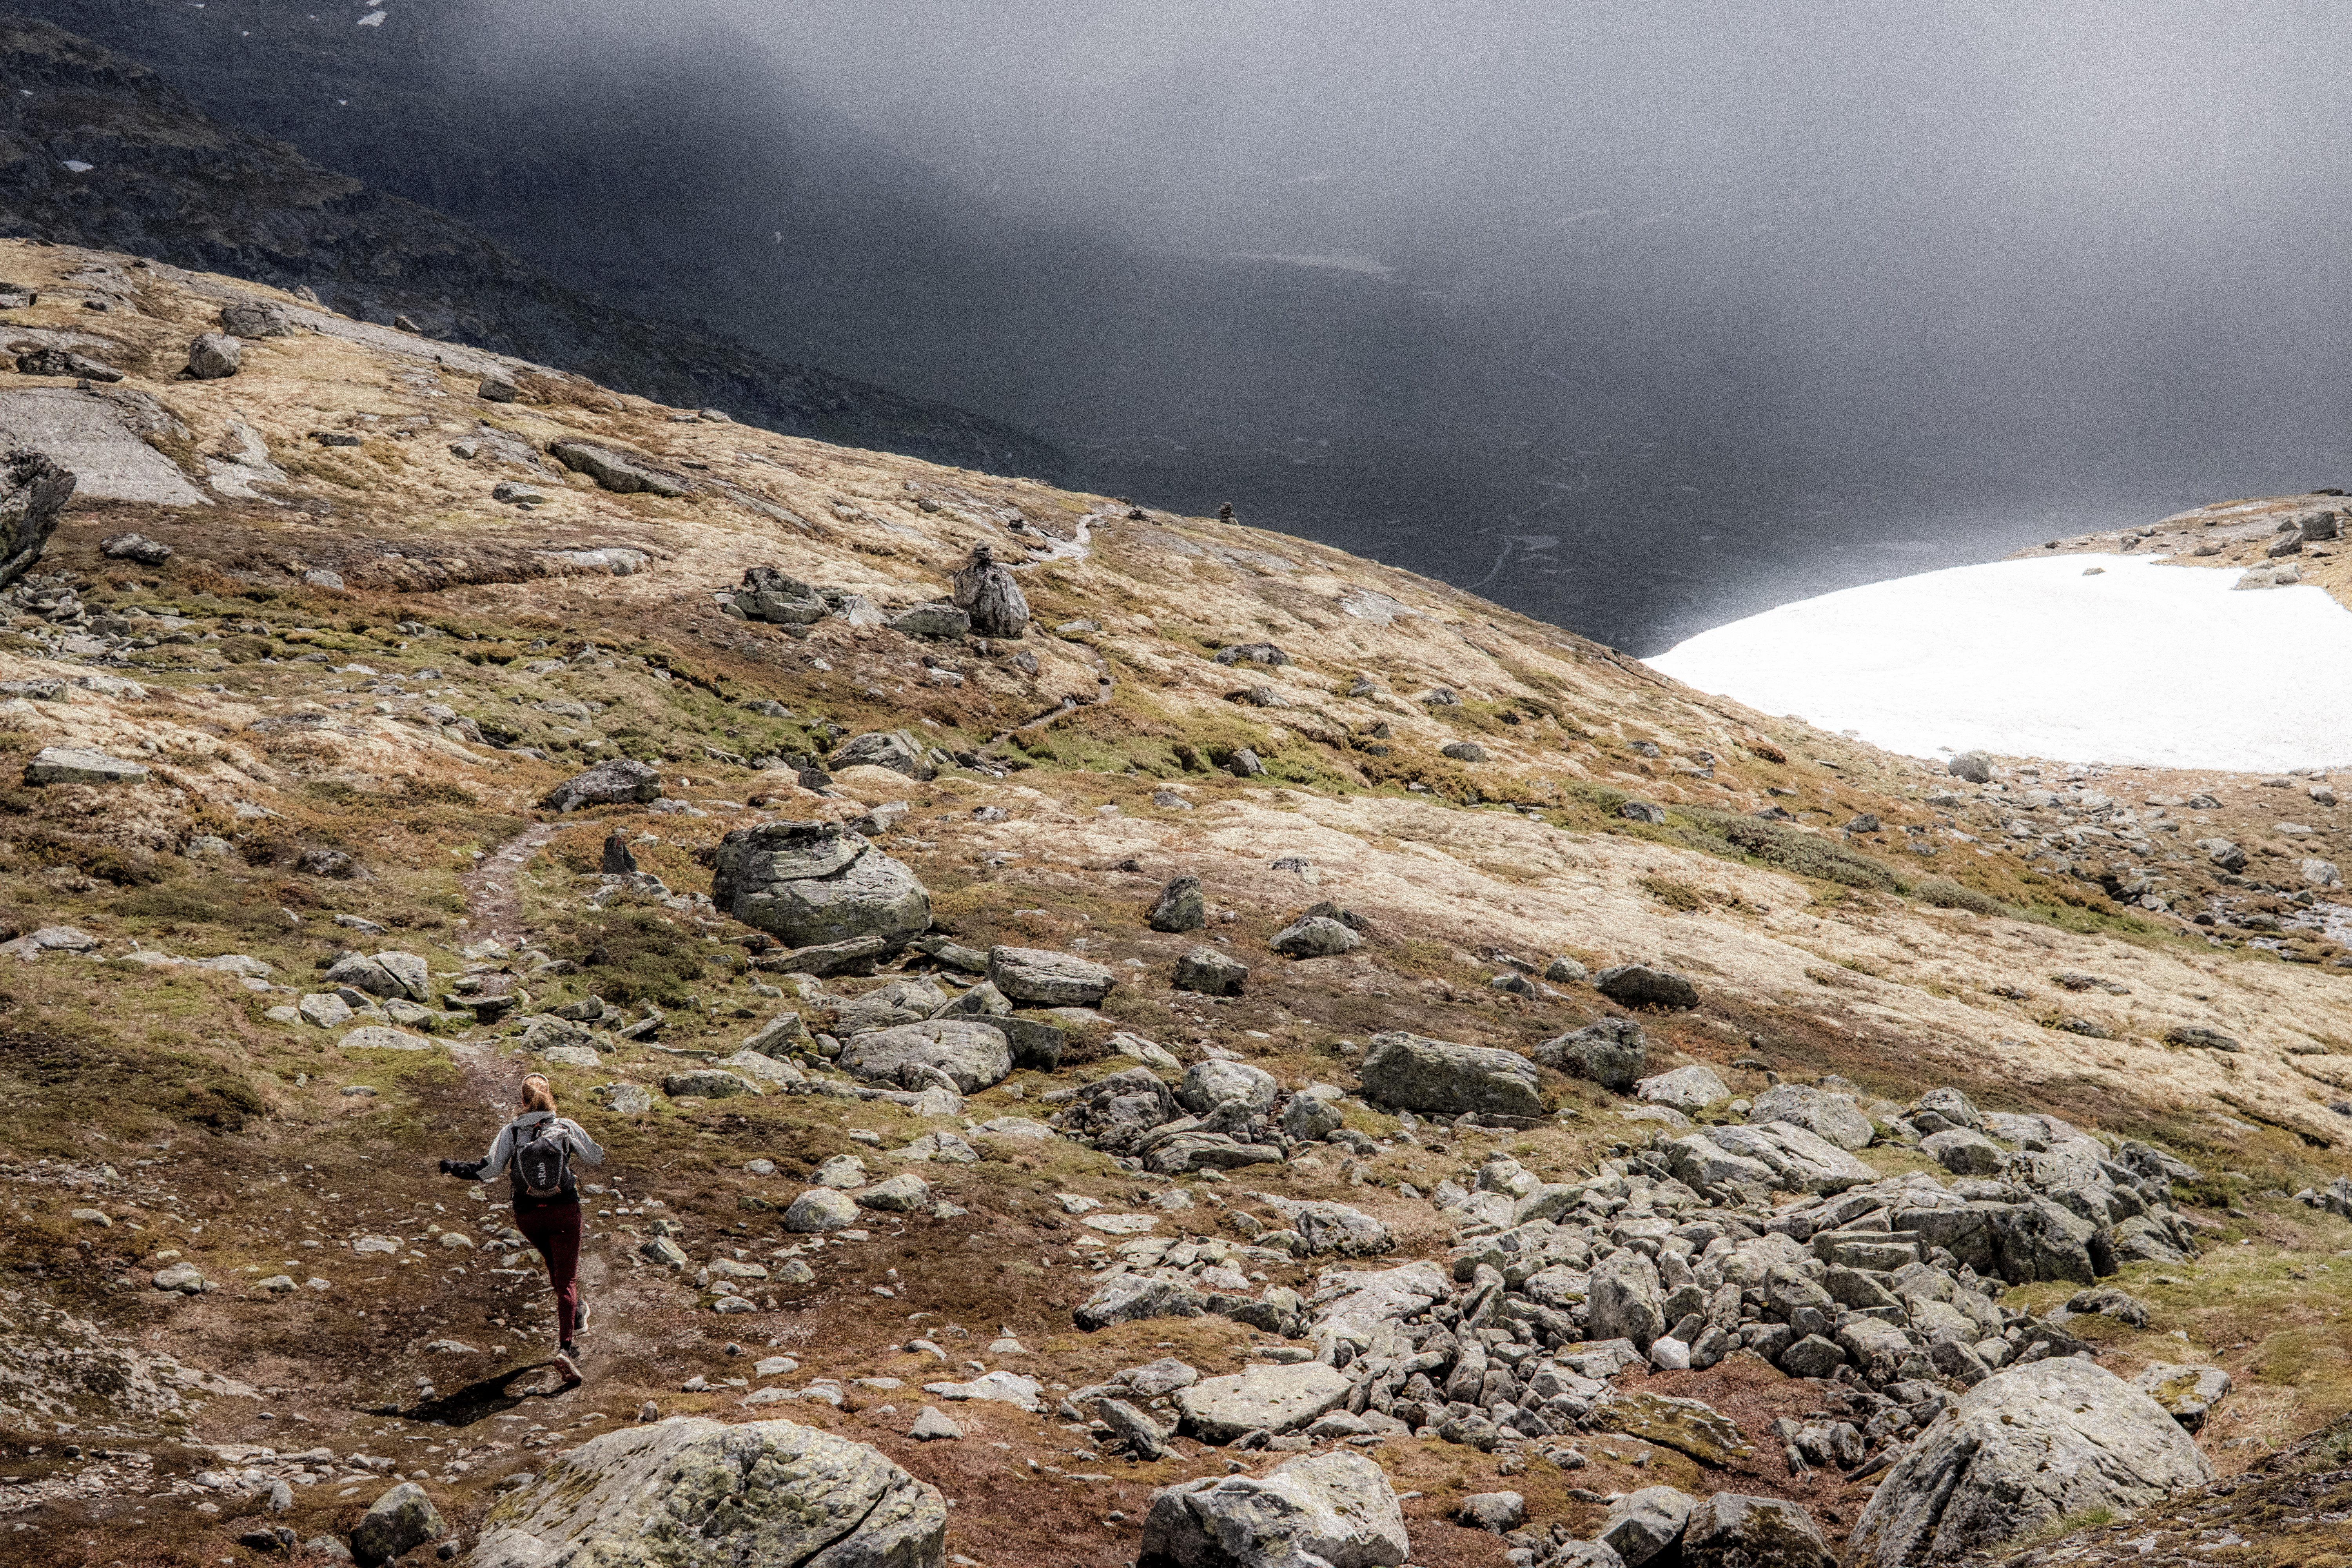
The early km’s were very easy and unlike SAGA, the plan was to do this journey together. The terrain here is considerably more technical and challenging and therefore, the pure running sections are greatly reduced making fast hiking a default pace.
The first 5km flew by and then we started the challenging terrain.
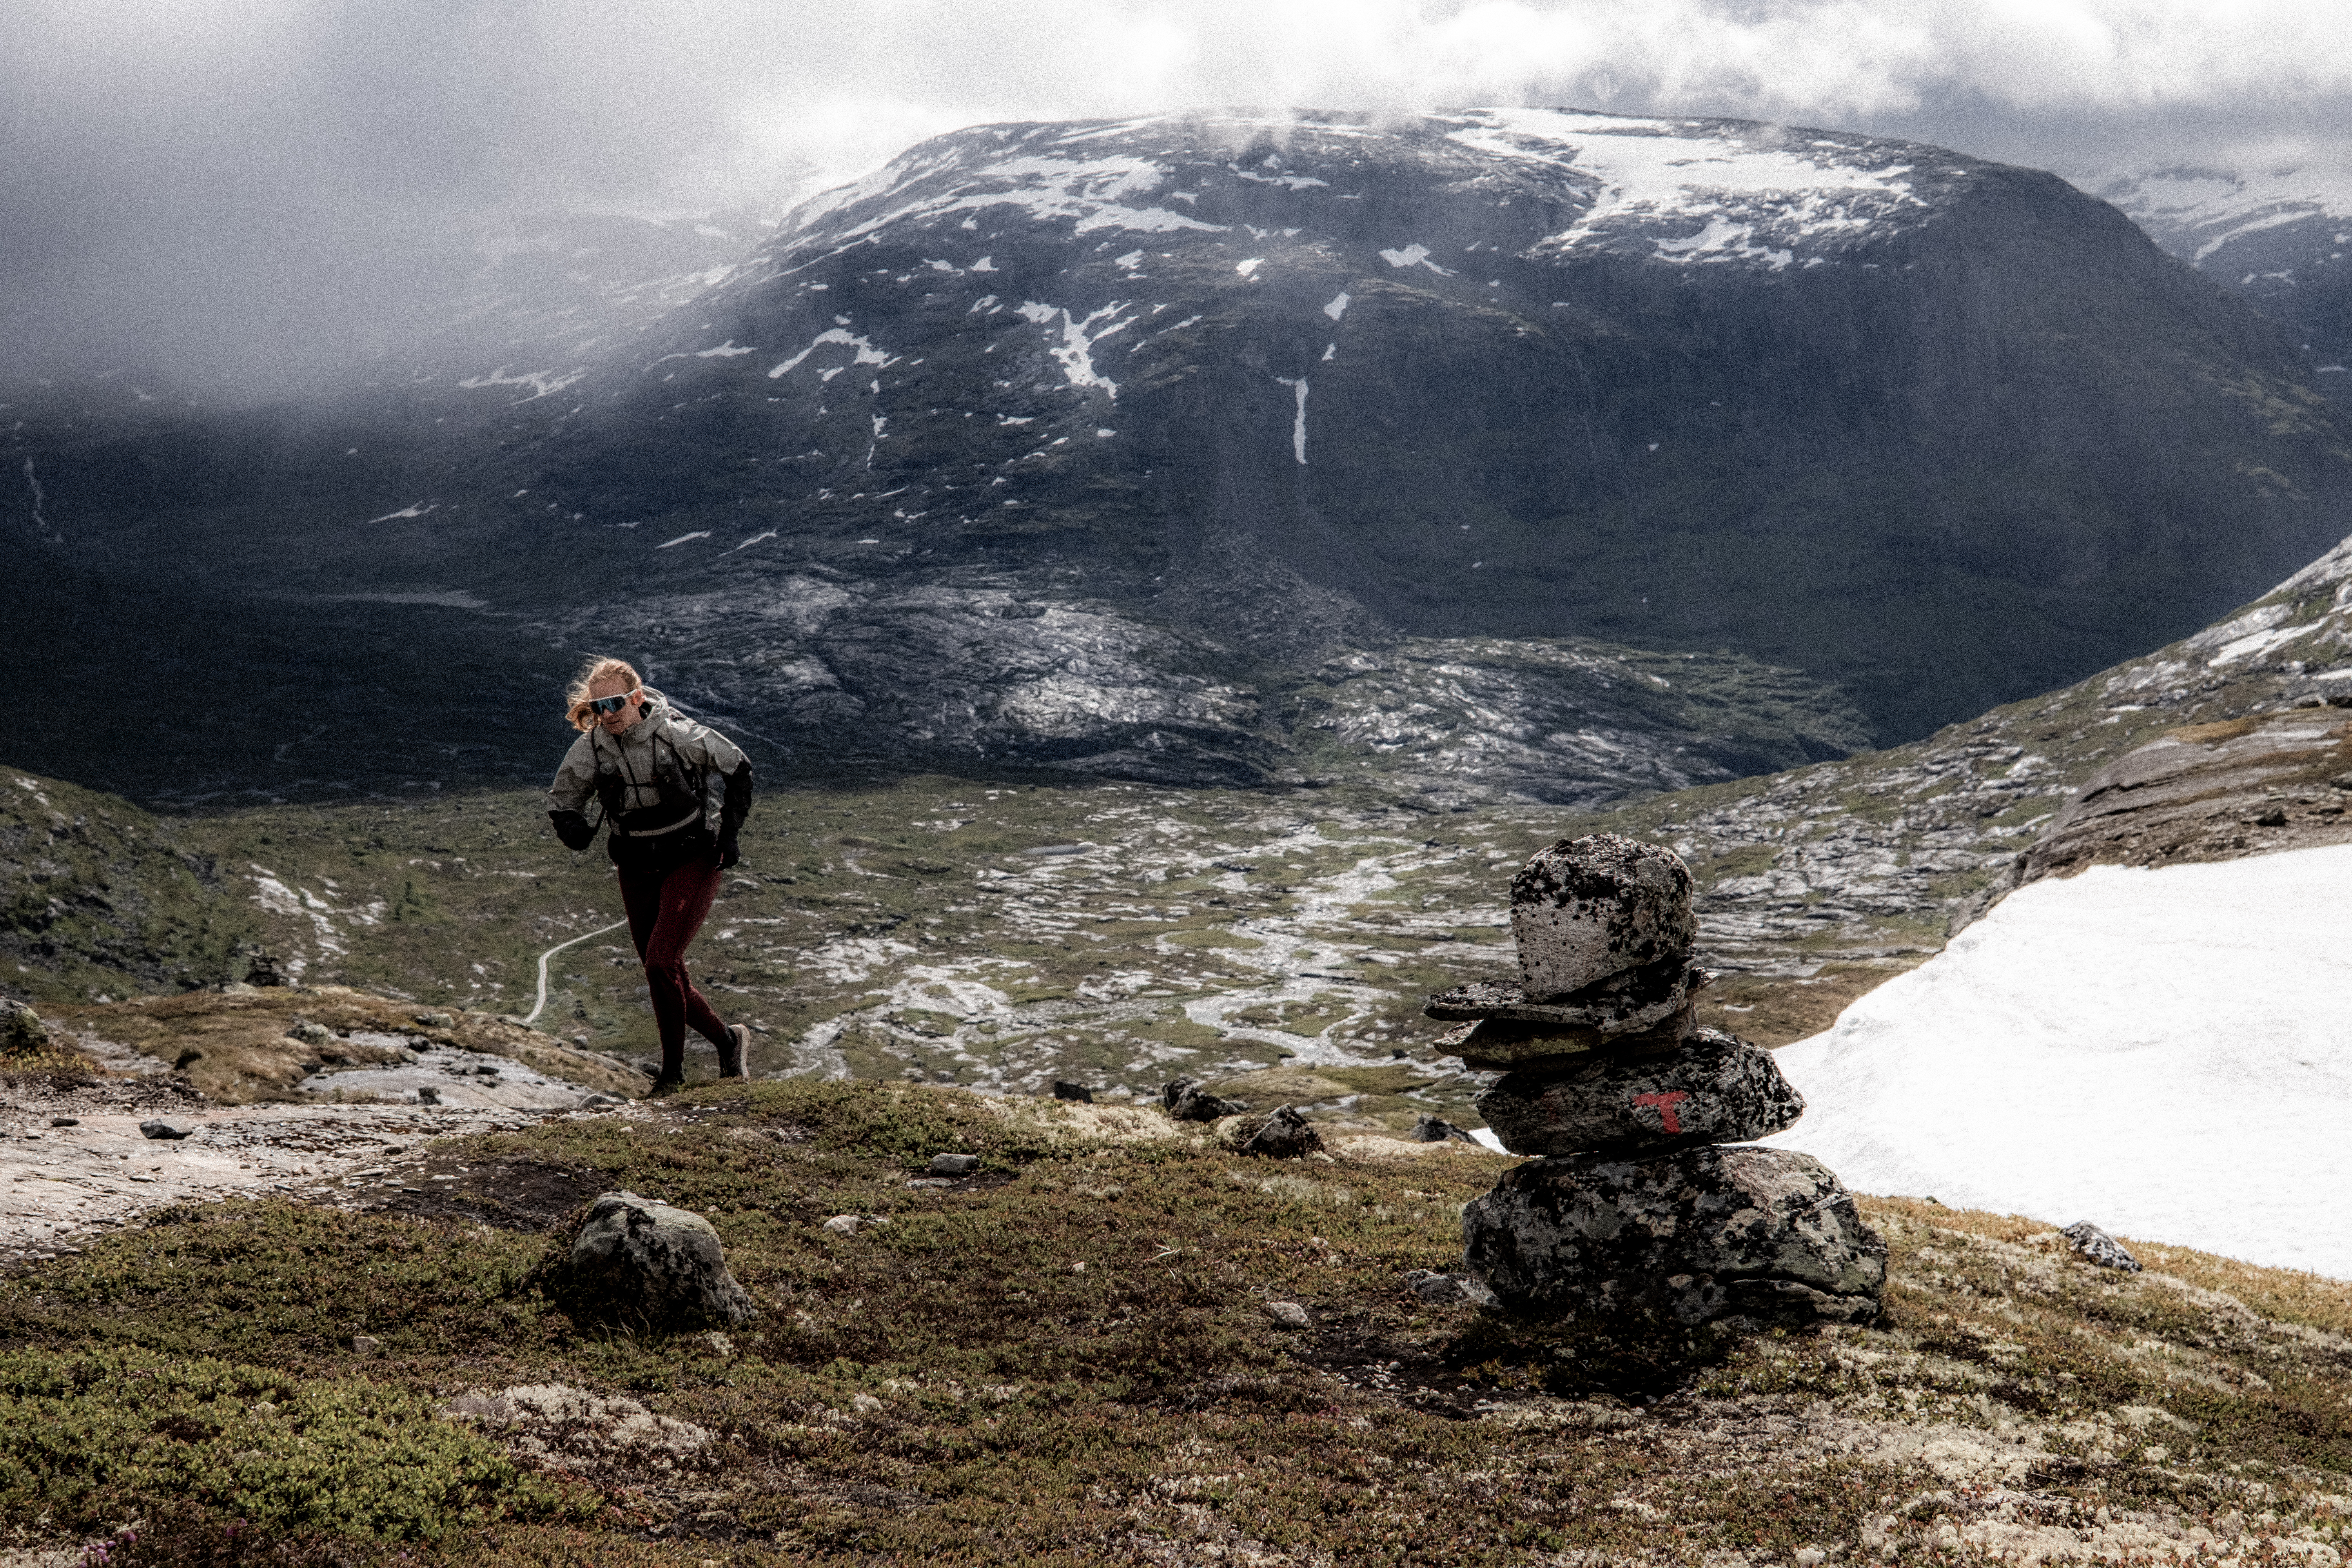
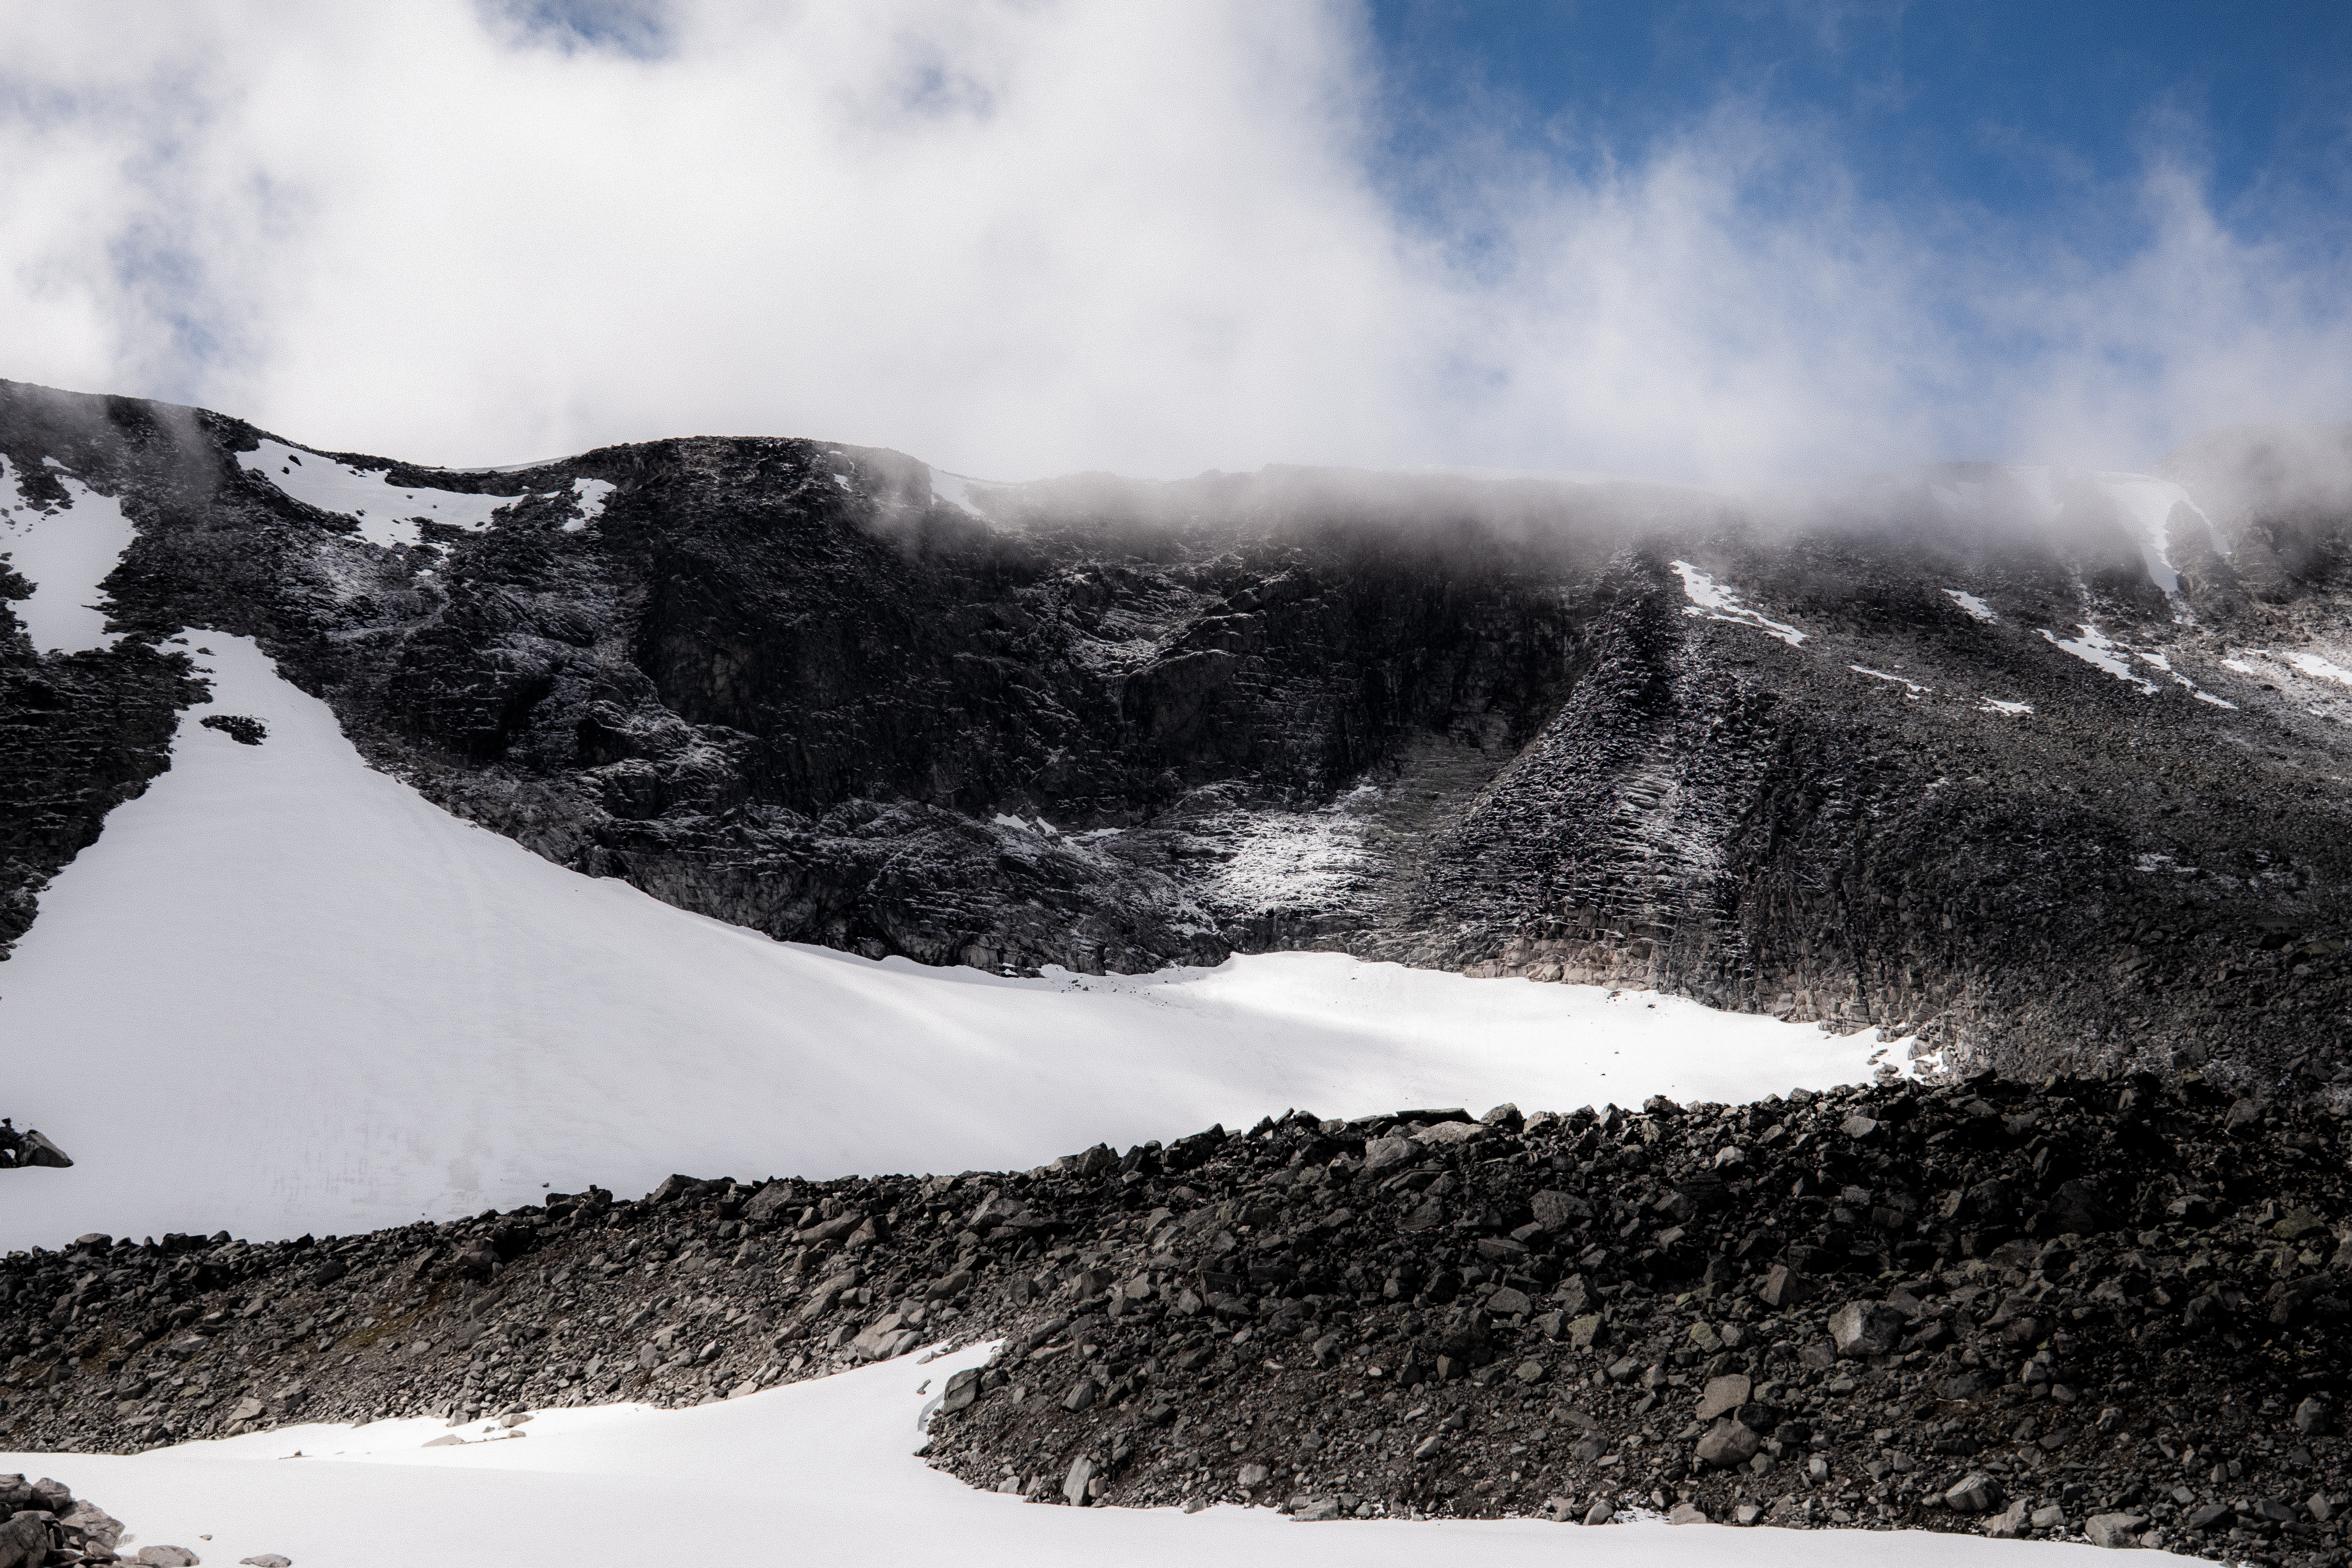
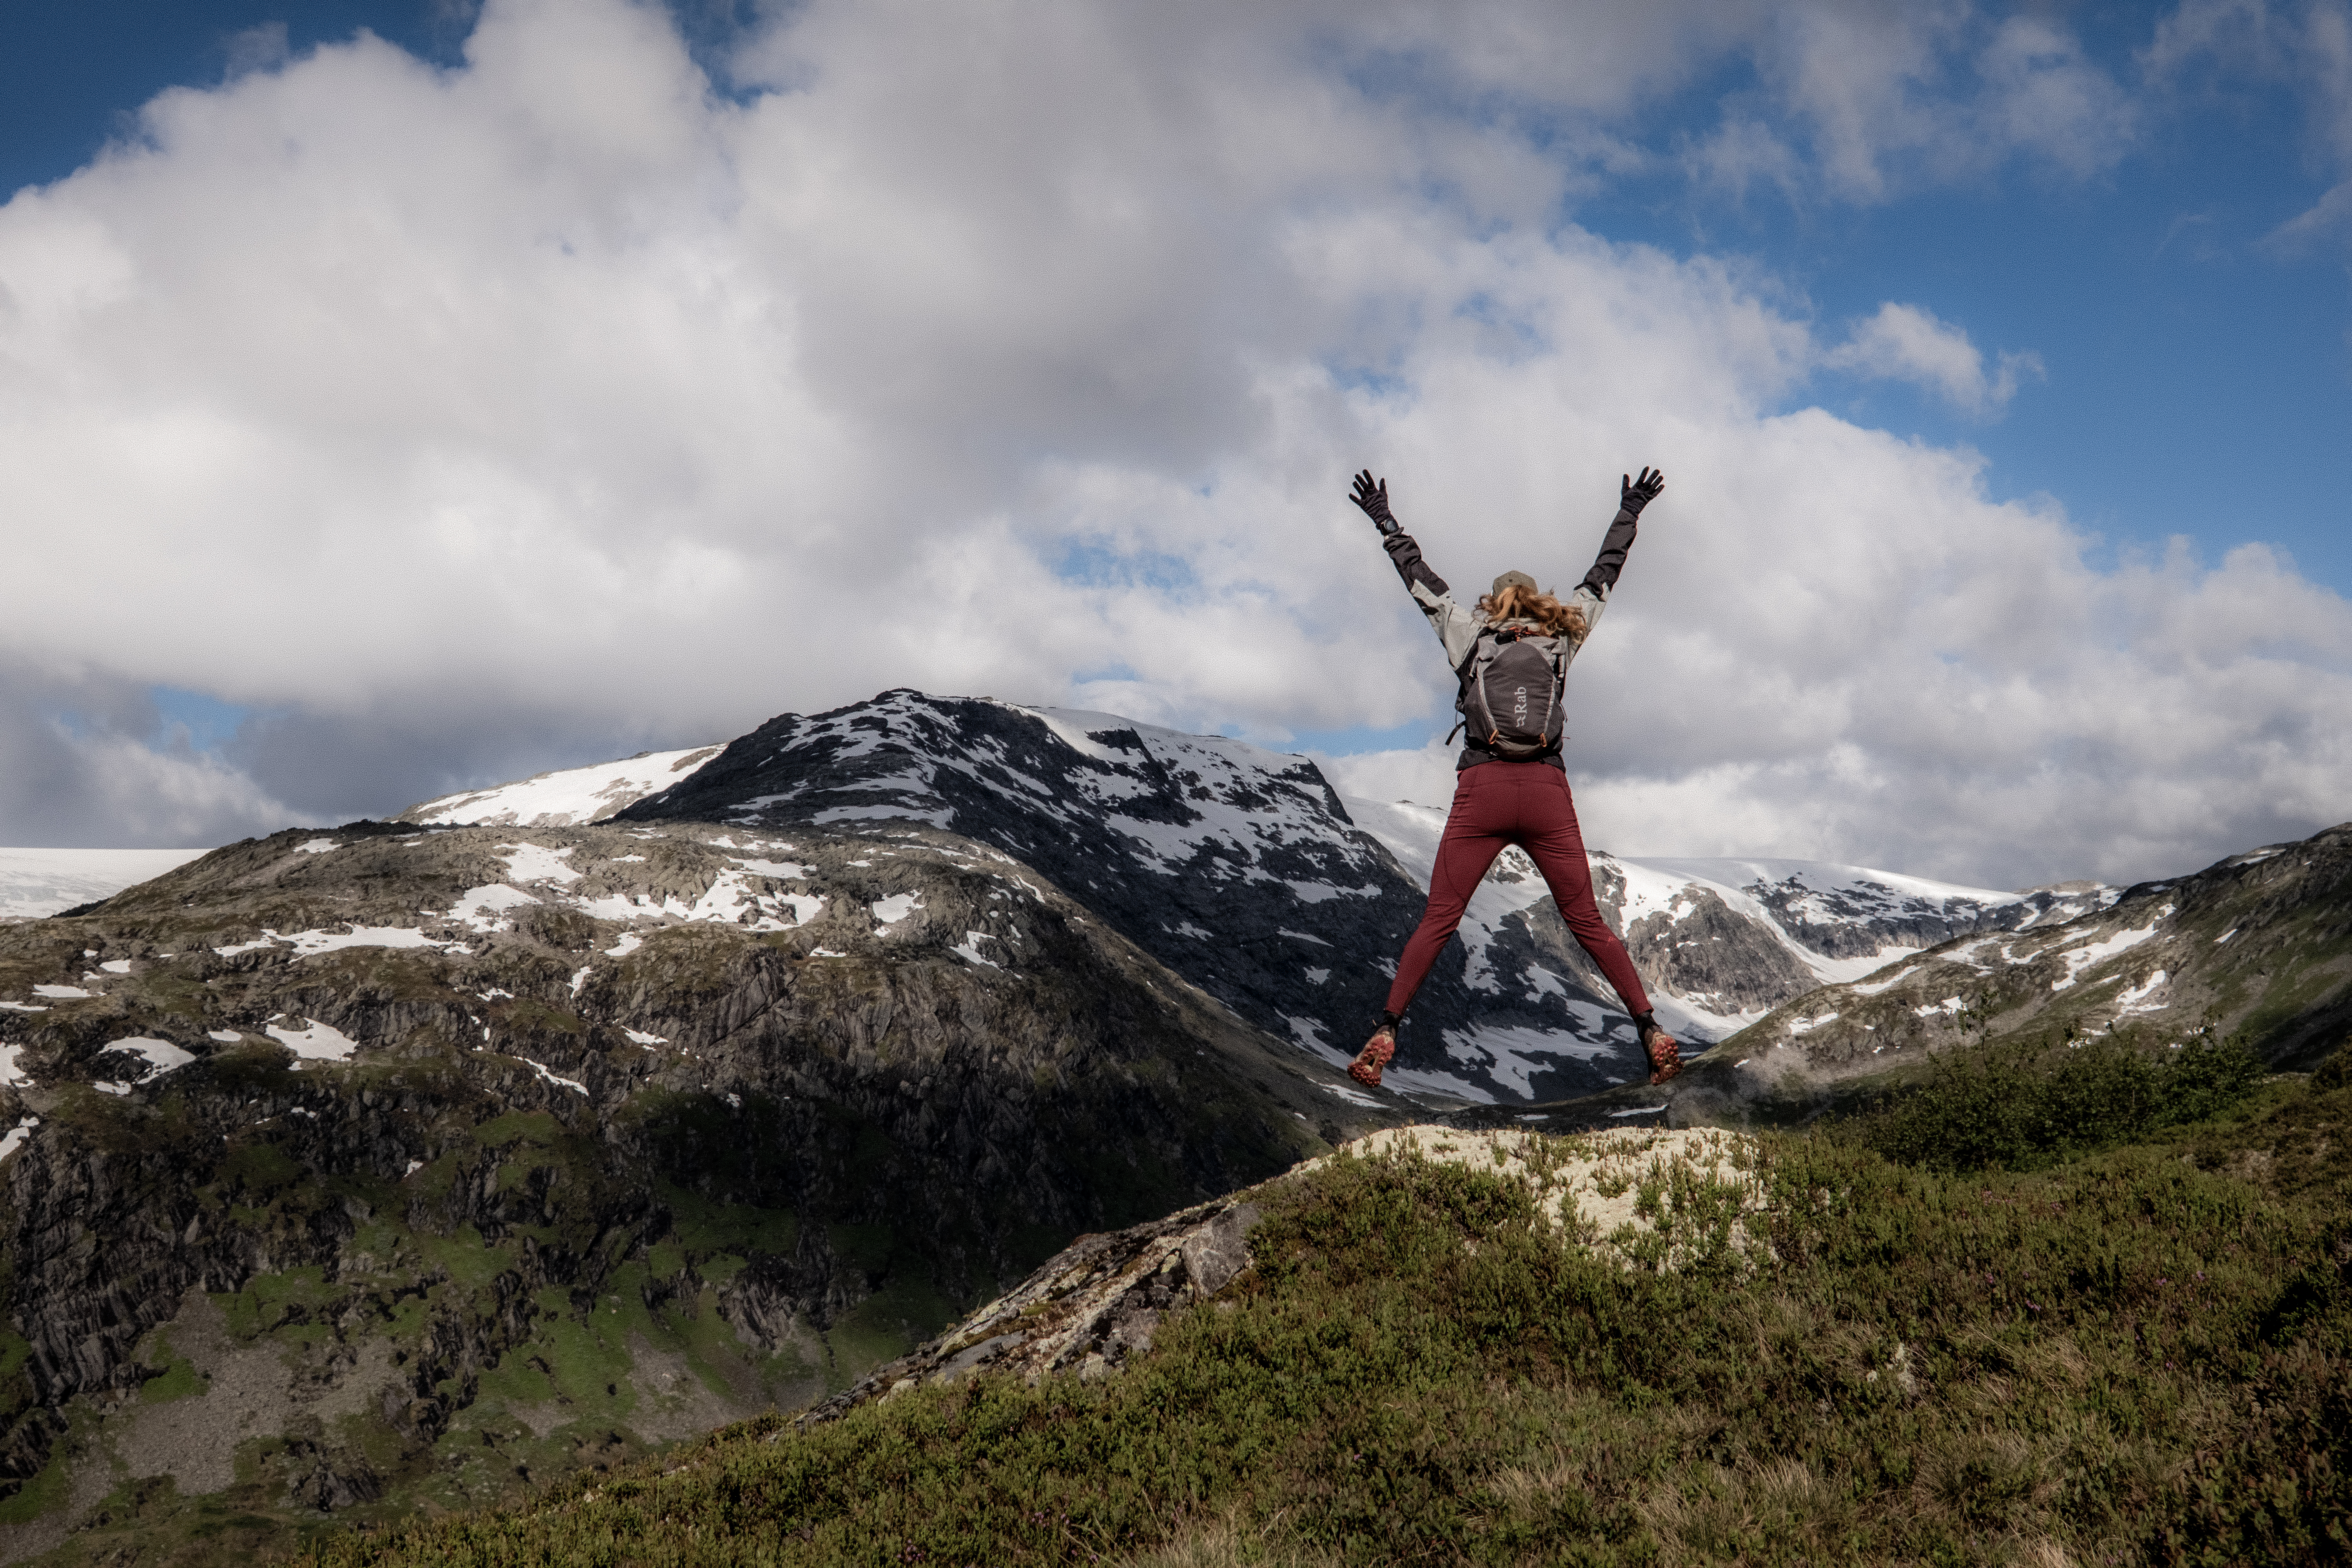
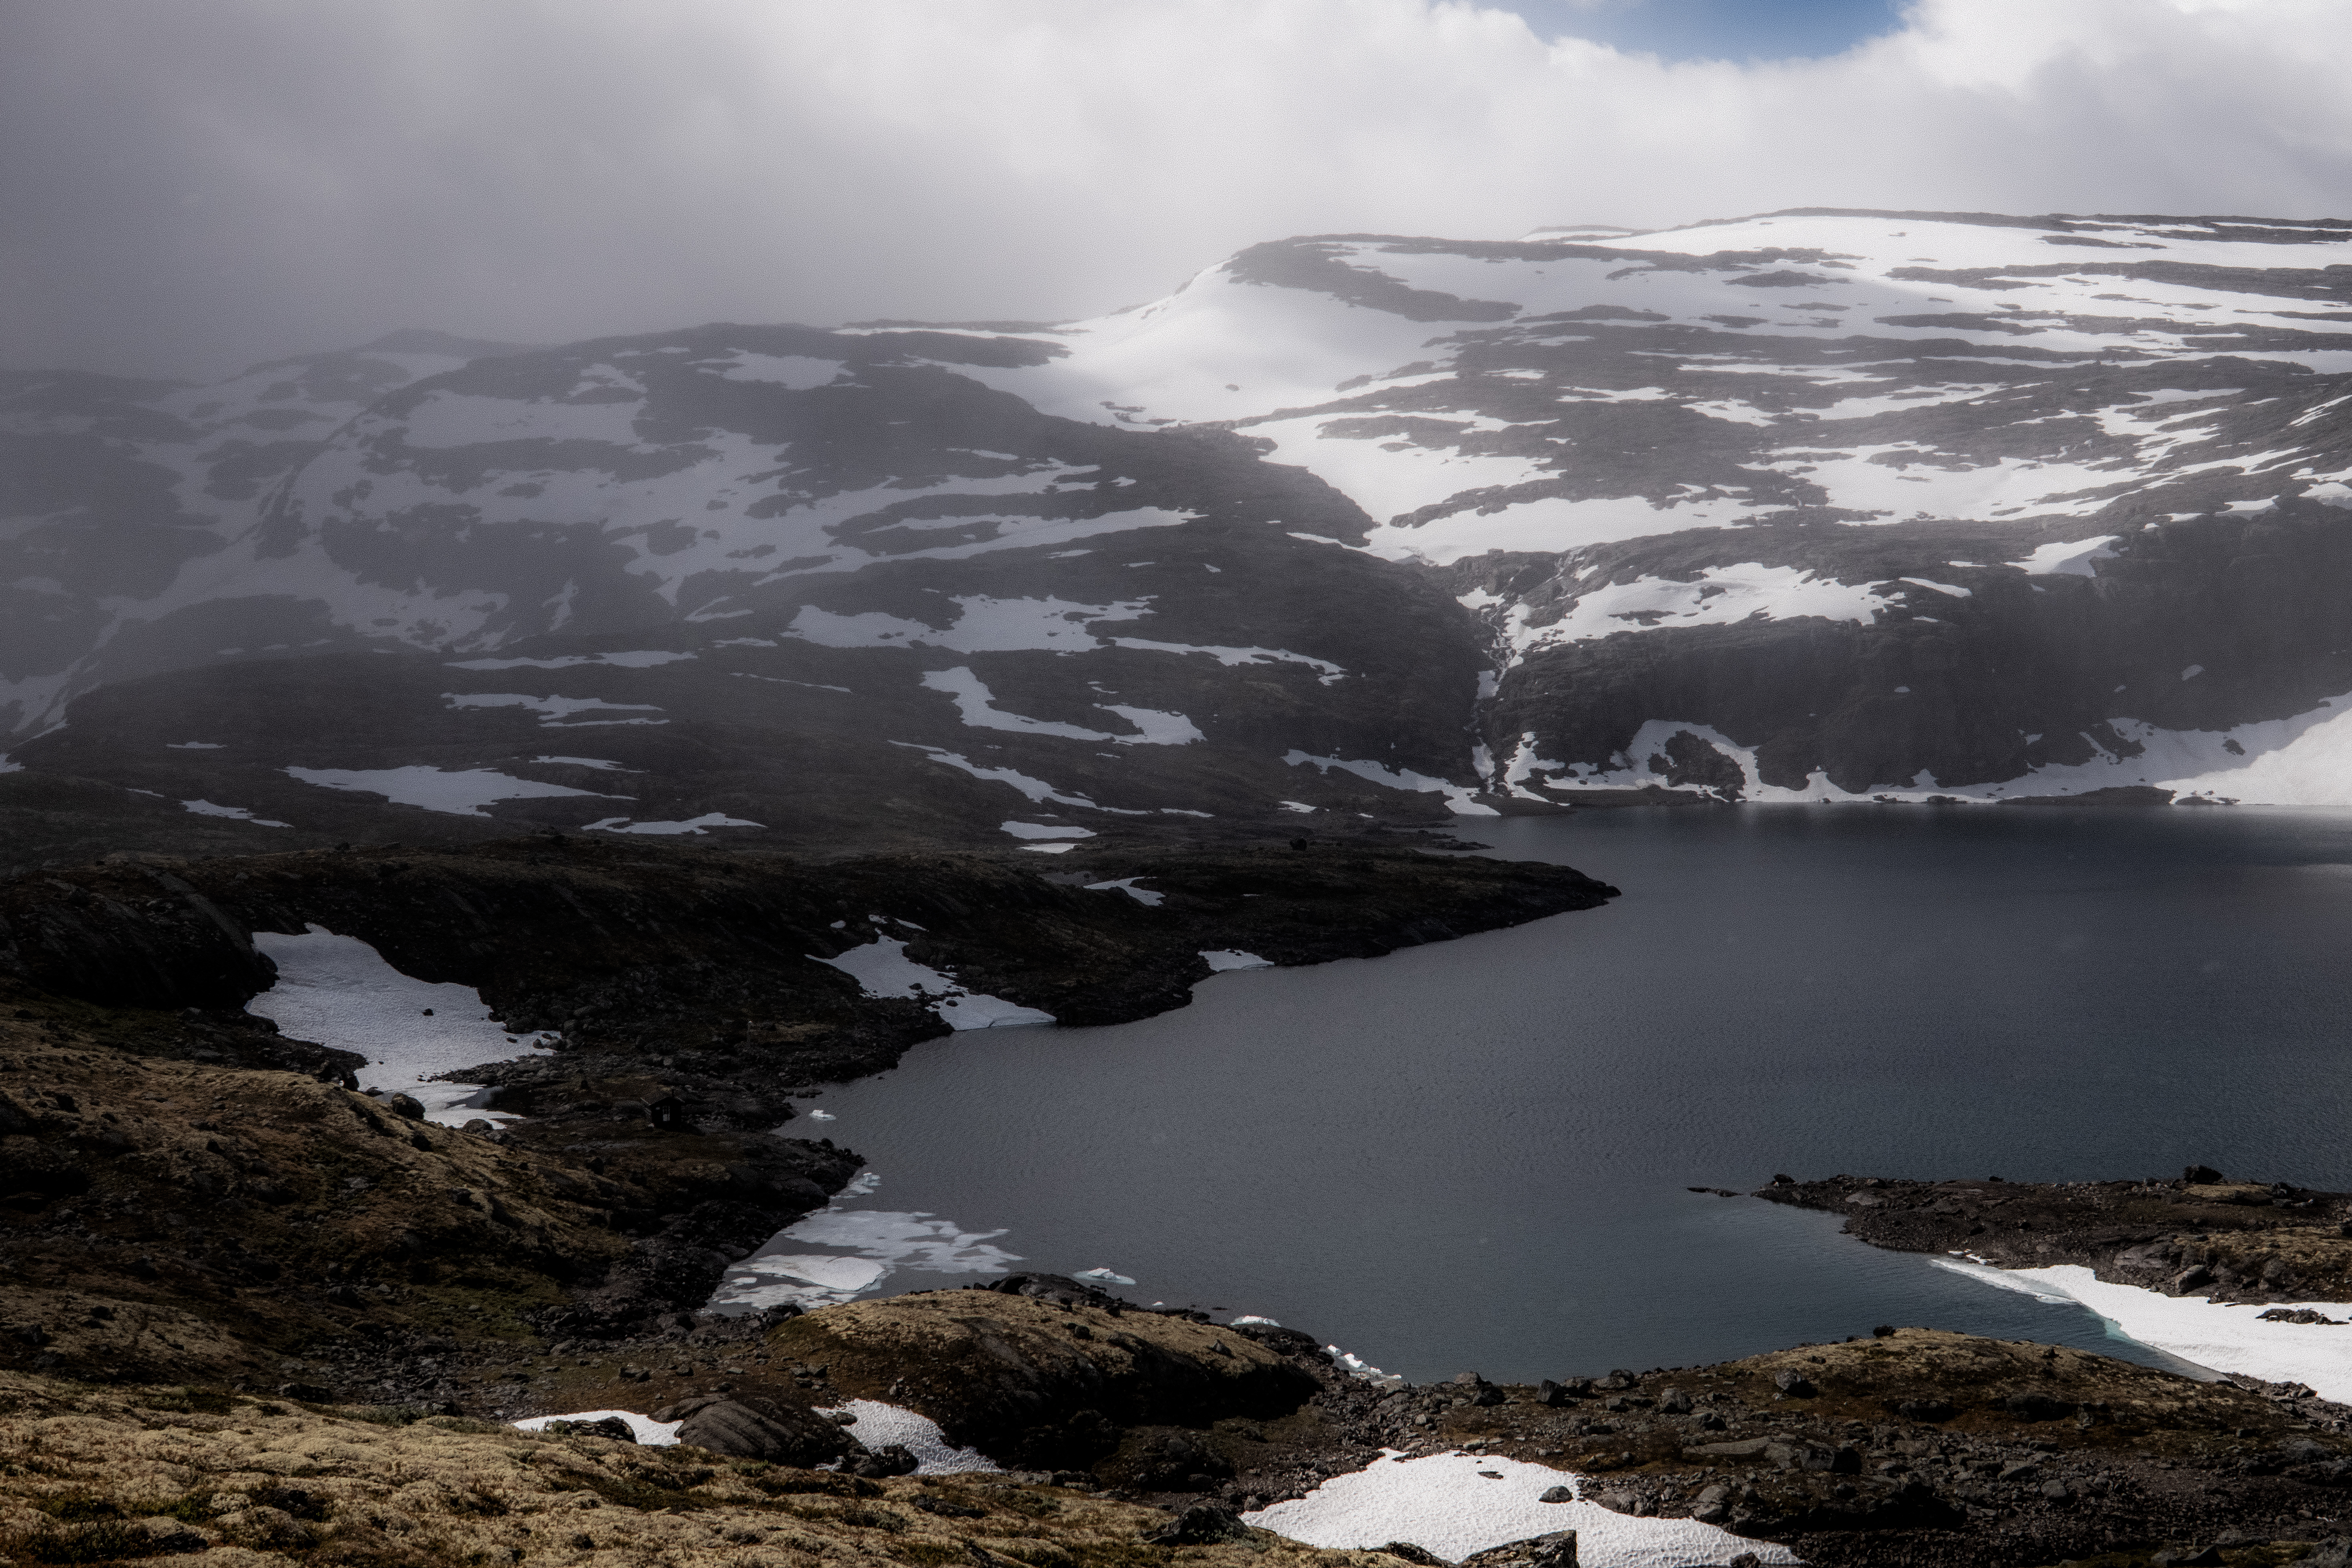
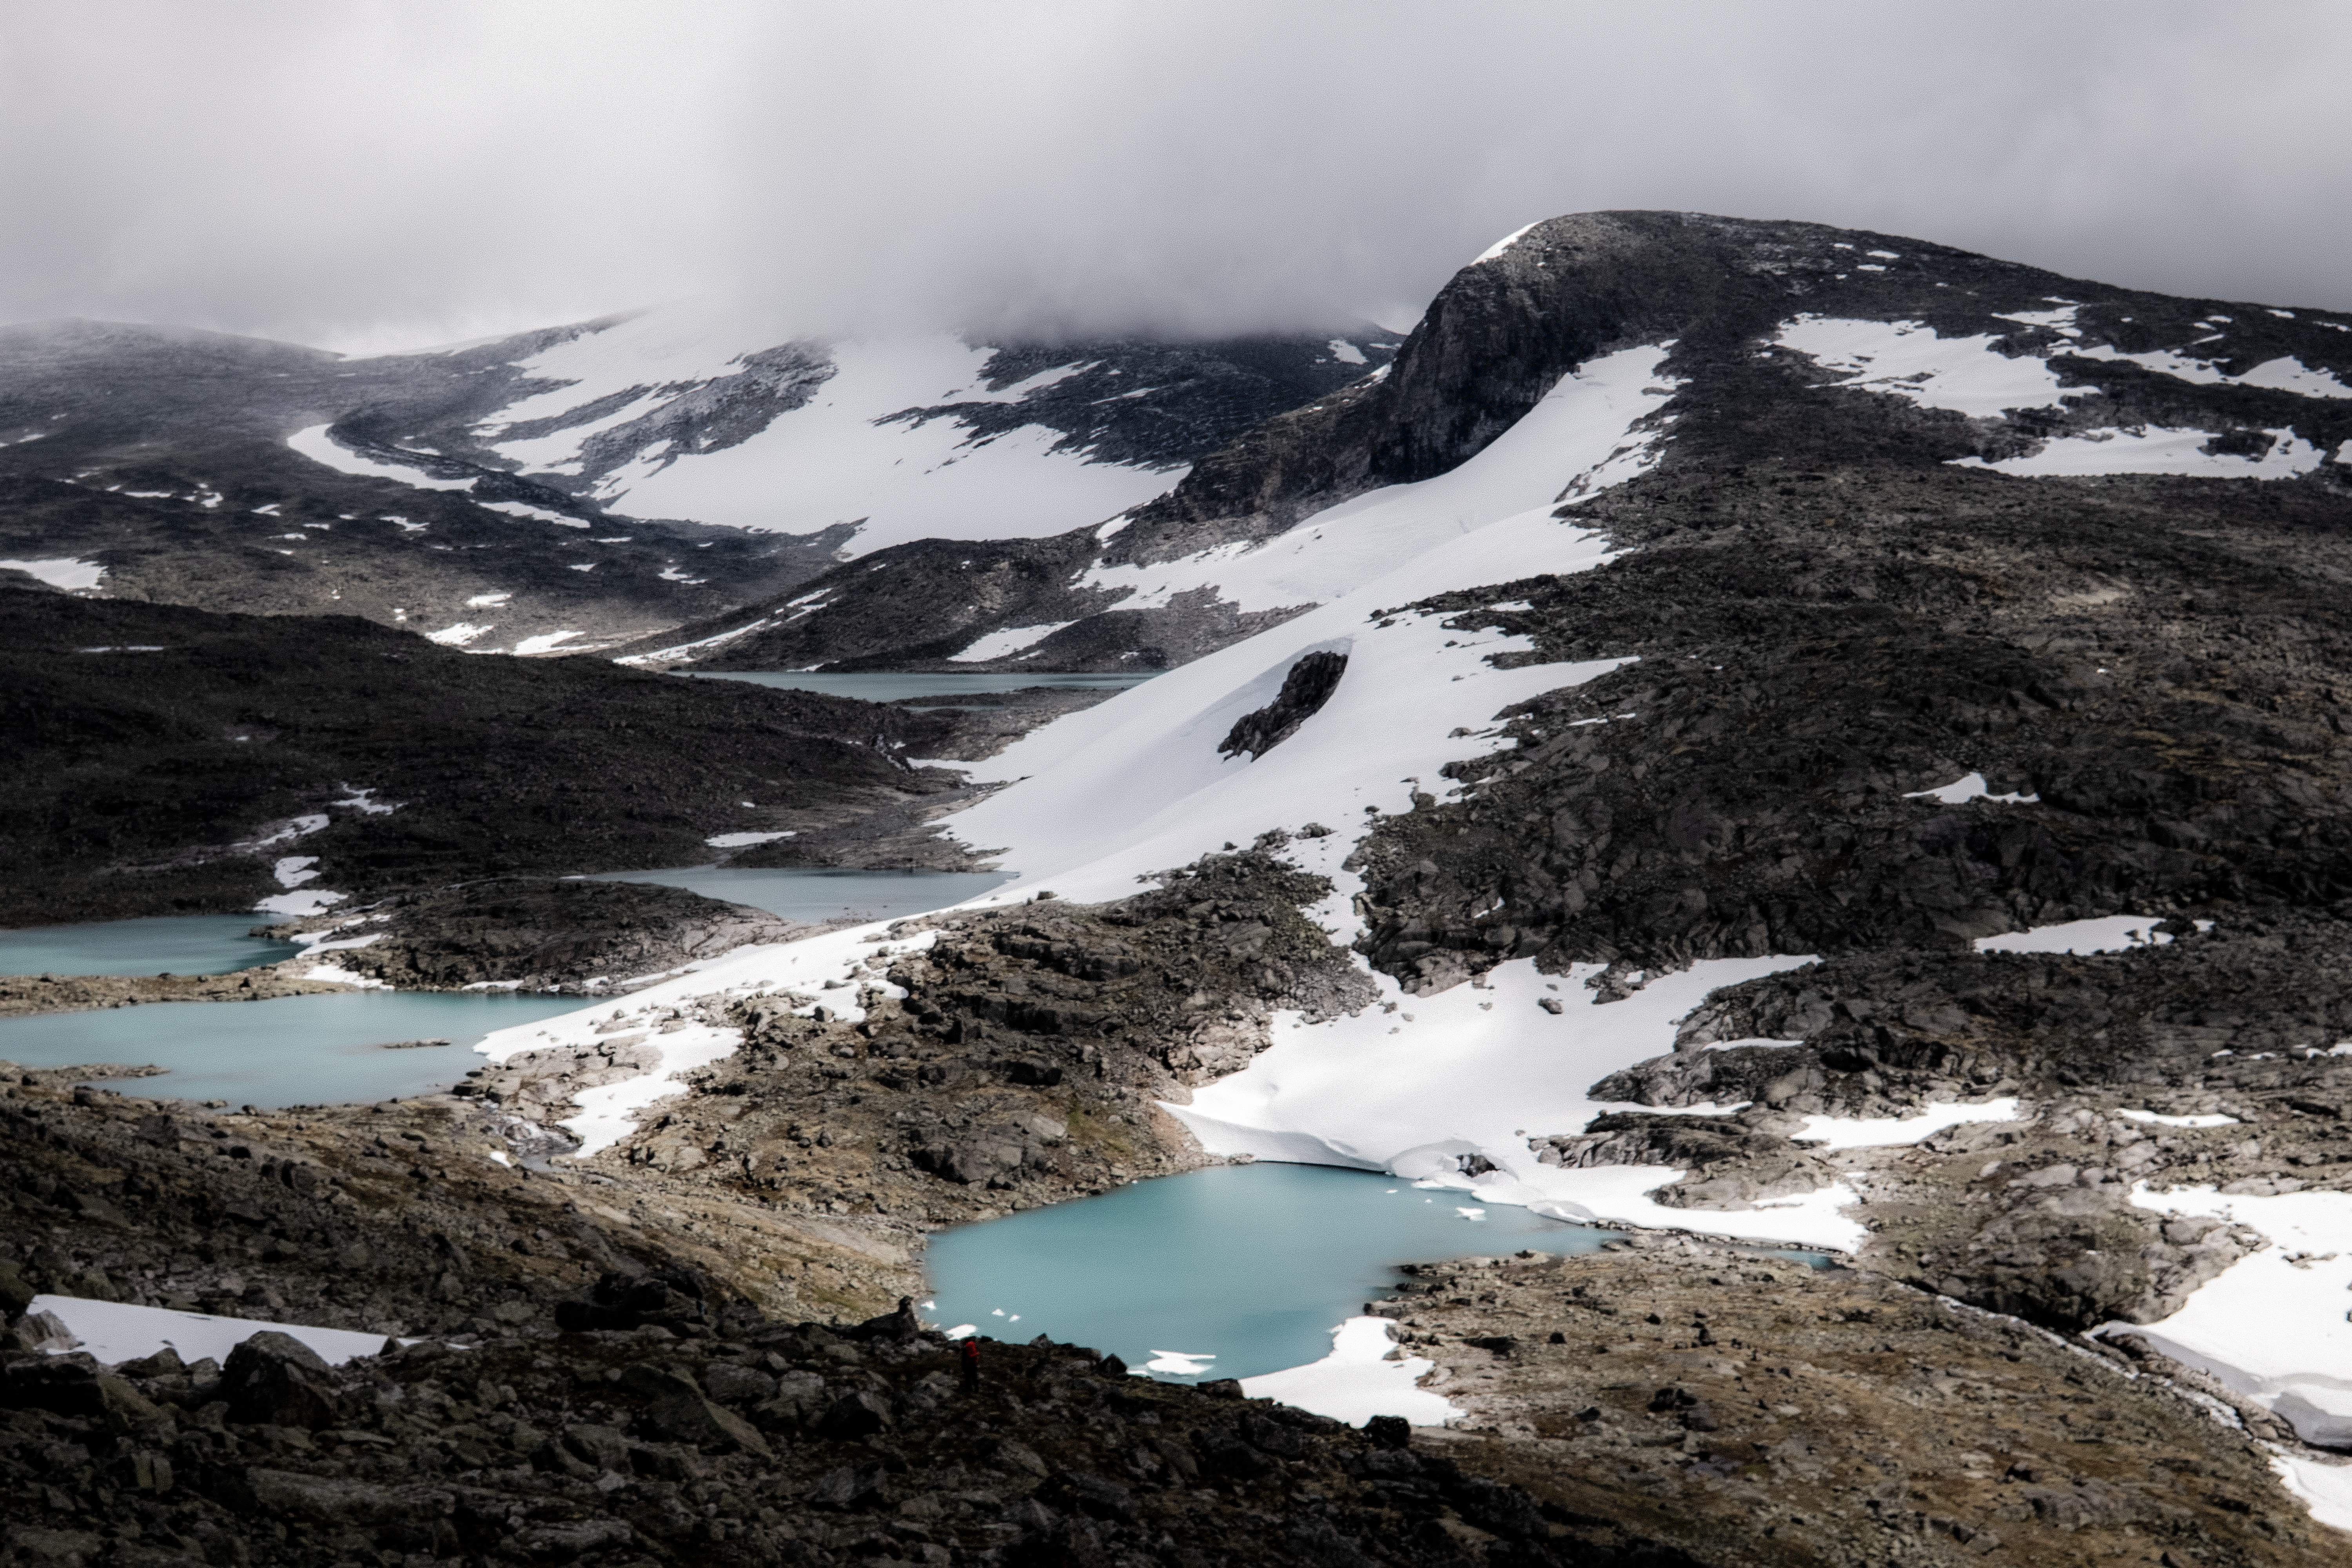
This landscape has been created by the ice age and as you move through the trails, up high, glaciers surround you. It’s magical.
The pace slowed and the ground was sodden – feet were permanently wet and in mud. Abelone makes me laugh, she tries to avoid it (a useless task) whereas I accept the fate and just go straight in.
iPhone photo
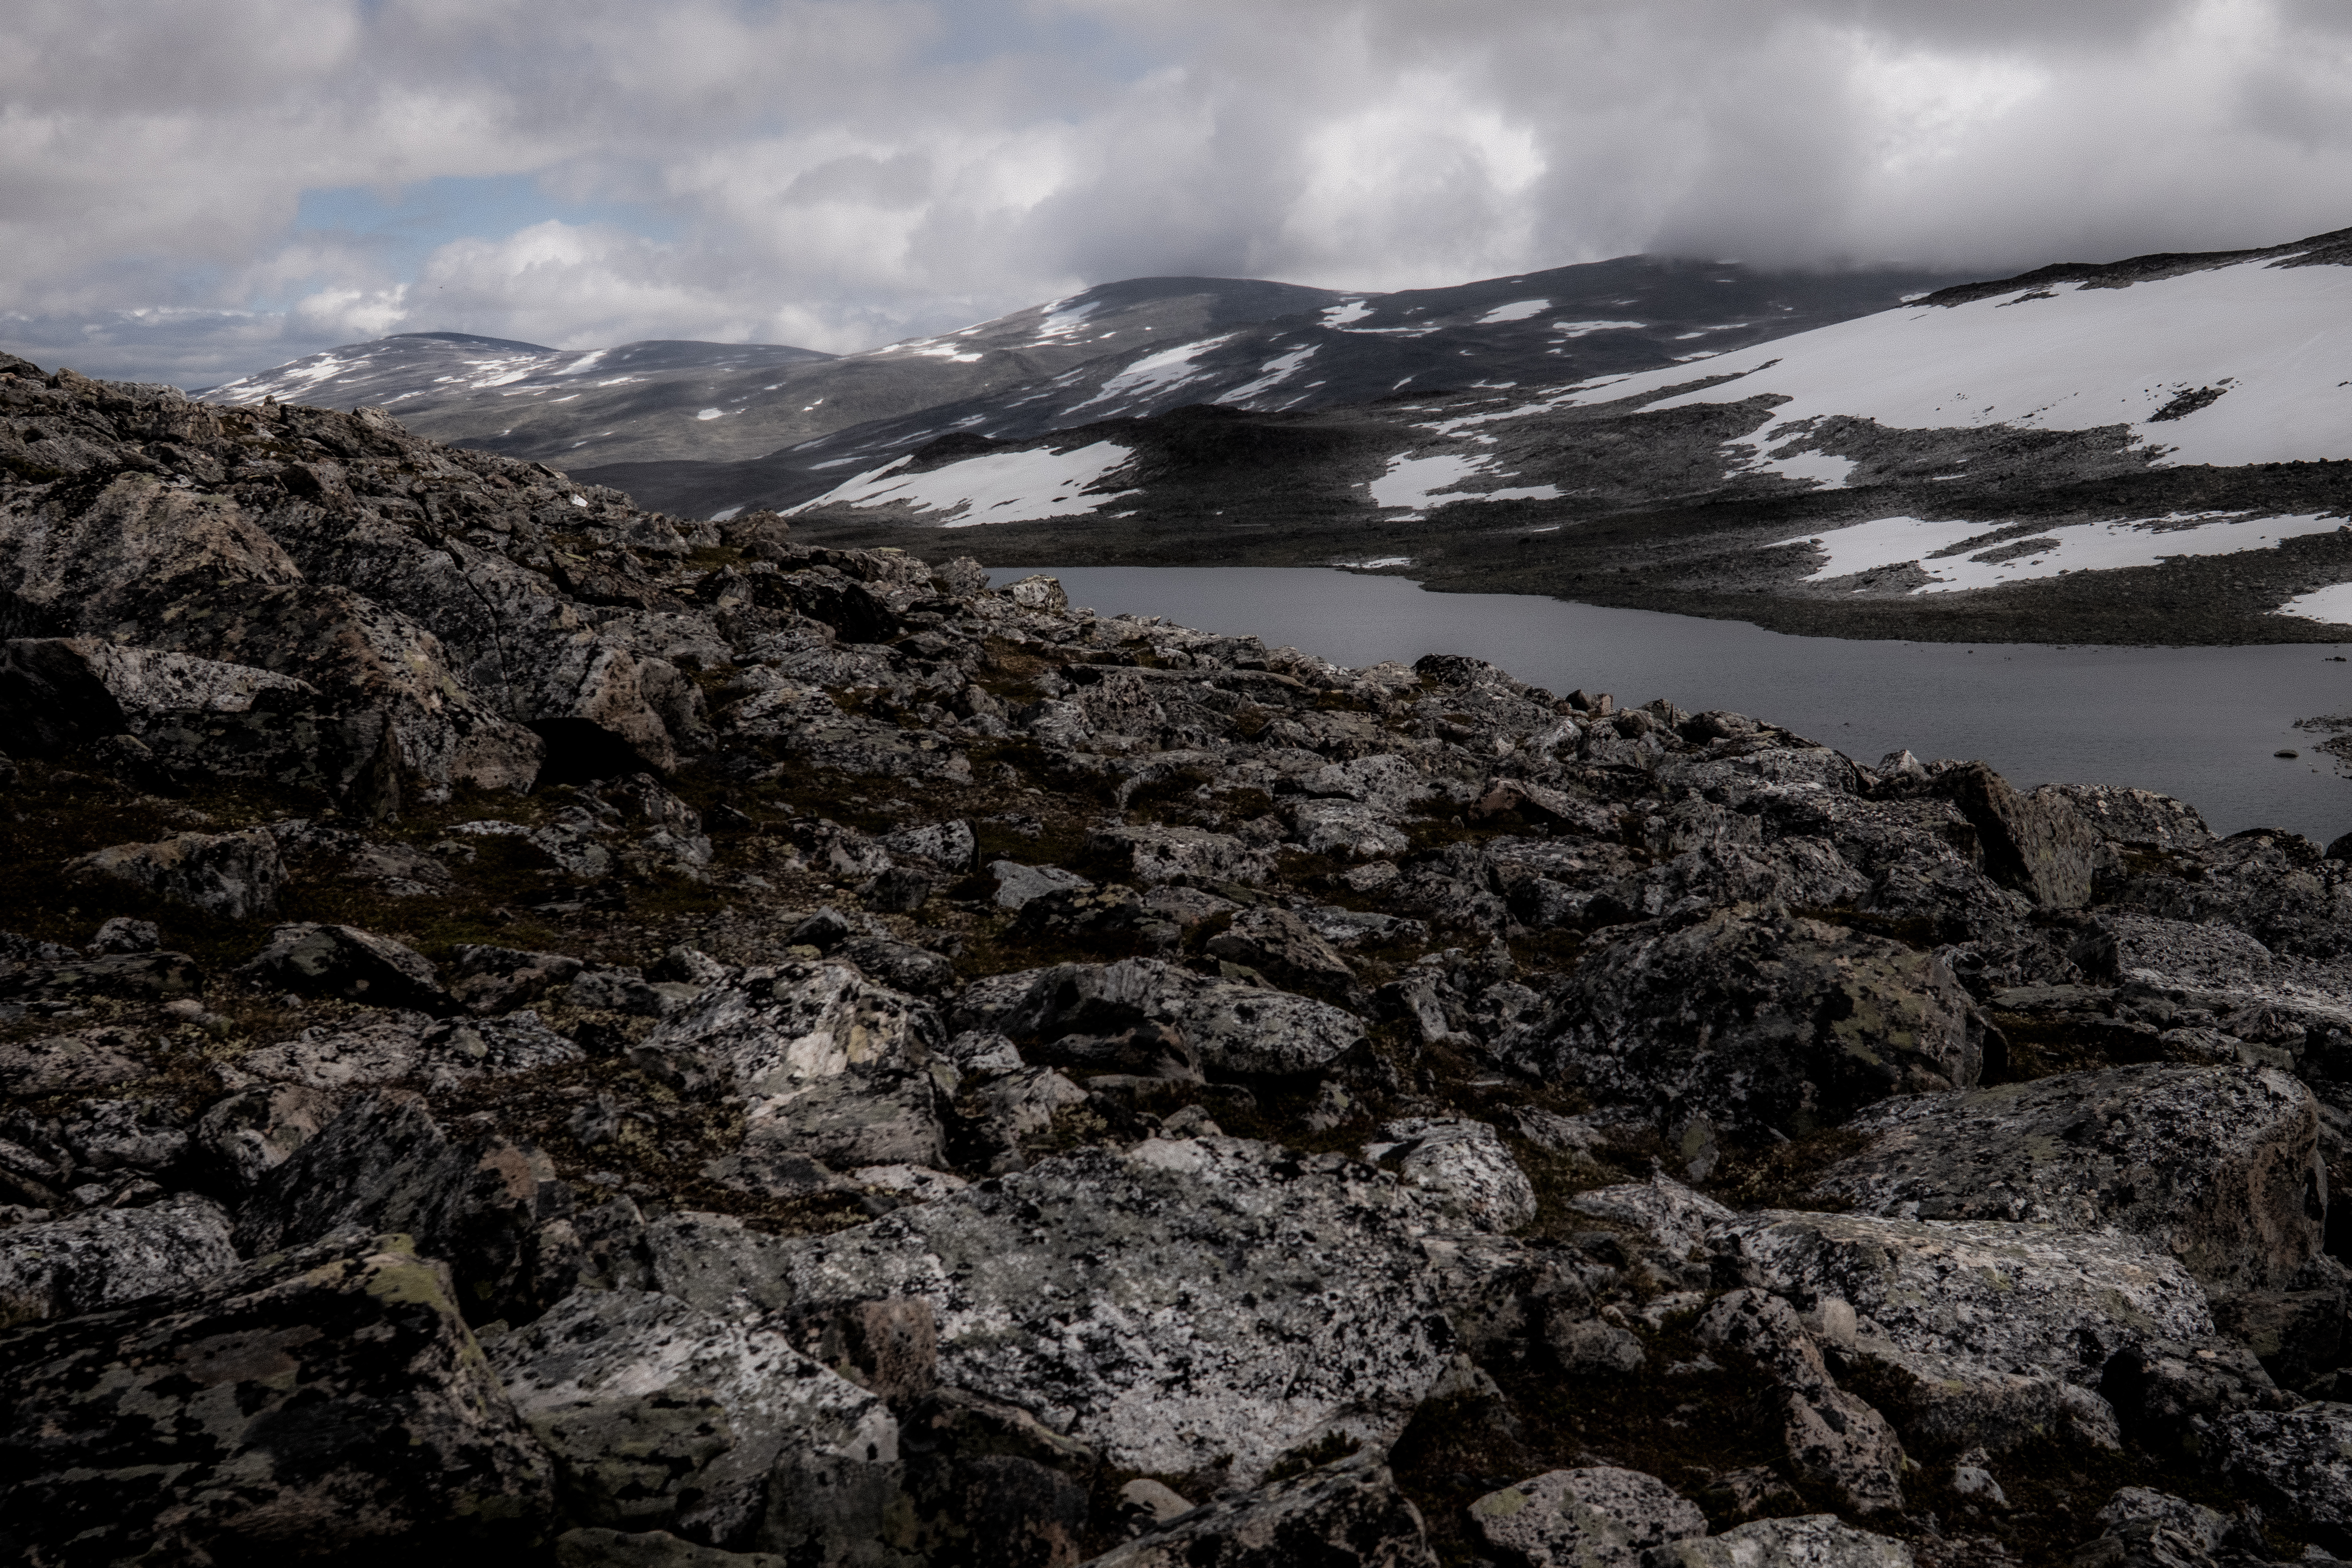
After 10km’s or so, we passed Surtbyttvatnet lake and above towered Syrtbyttnosi peak at 1700m.
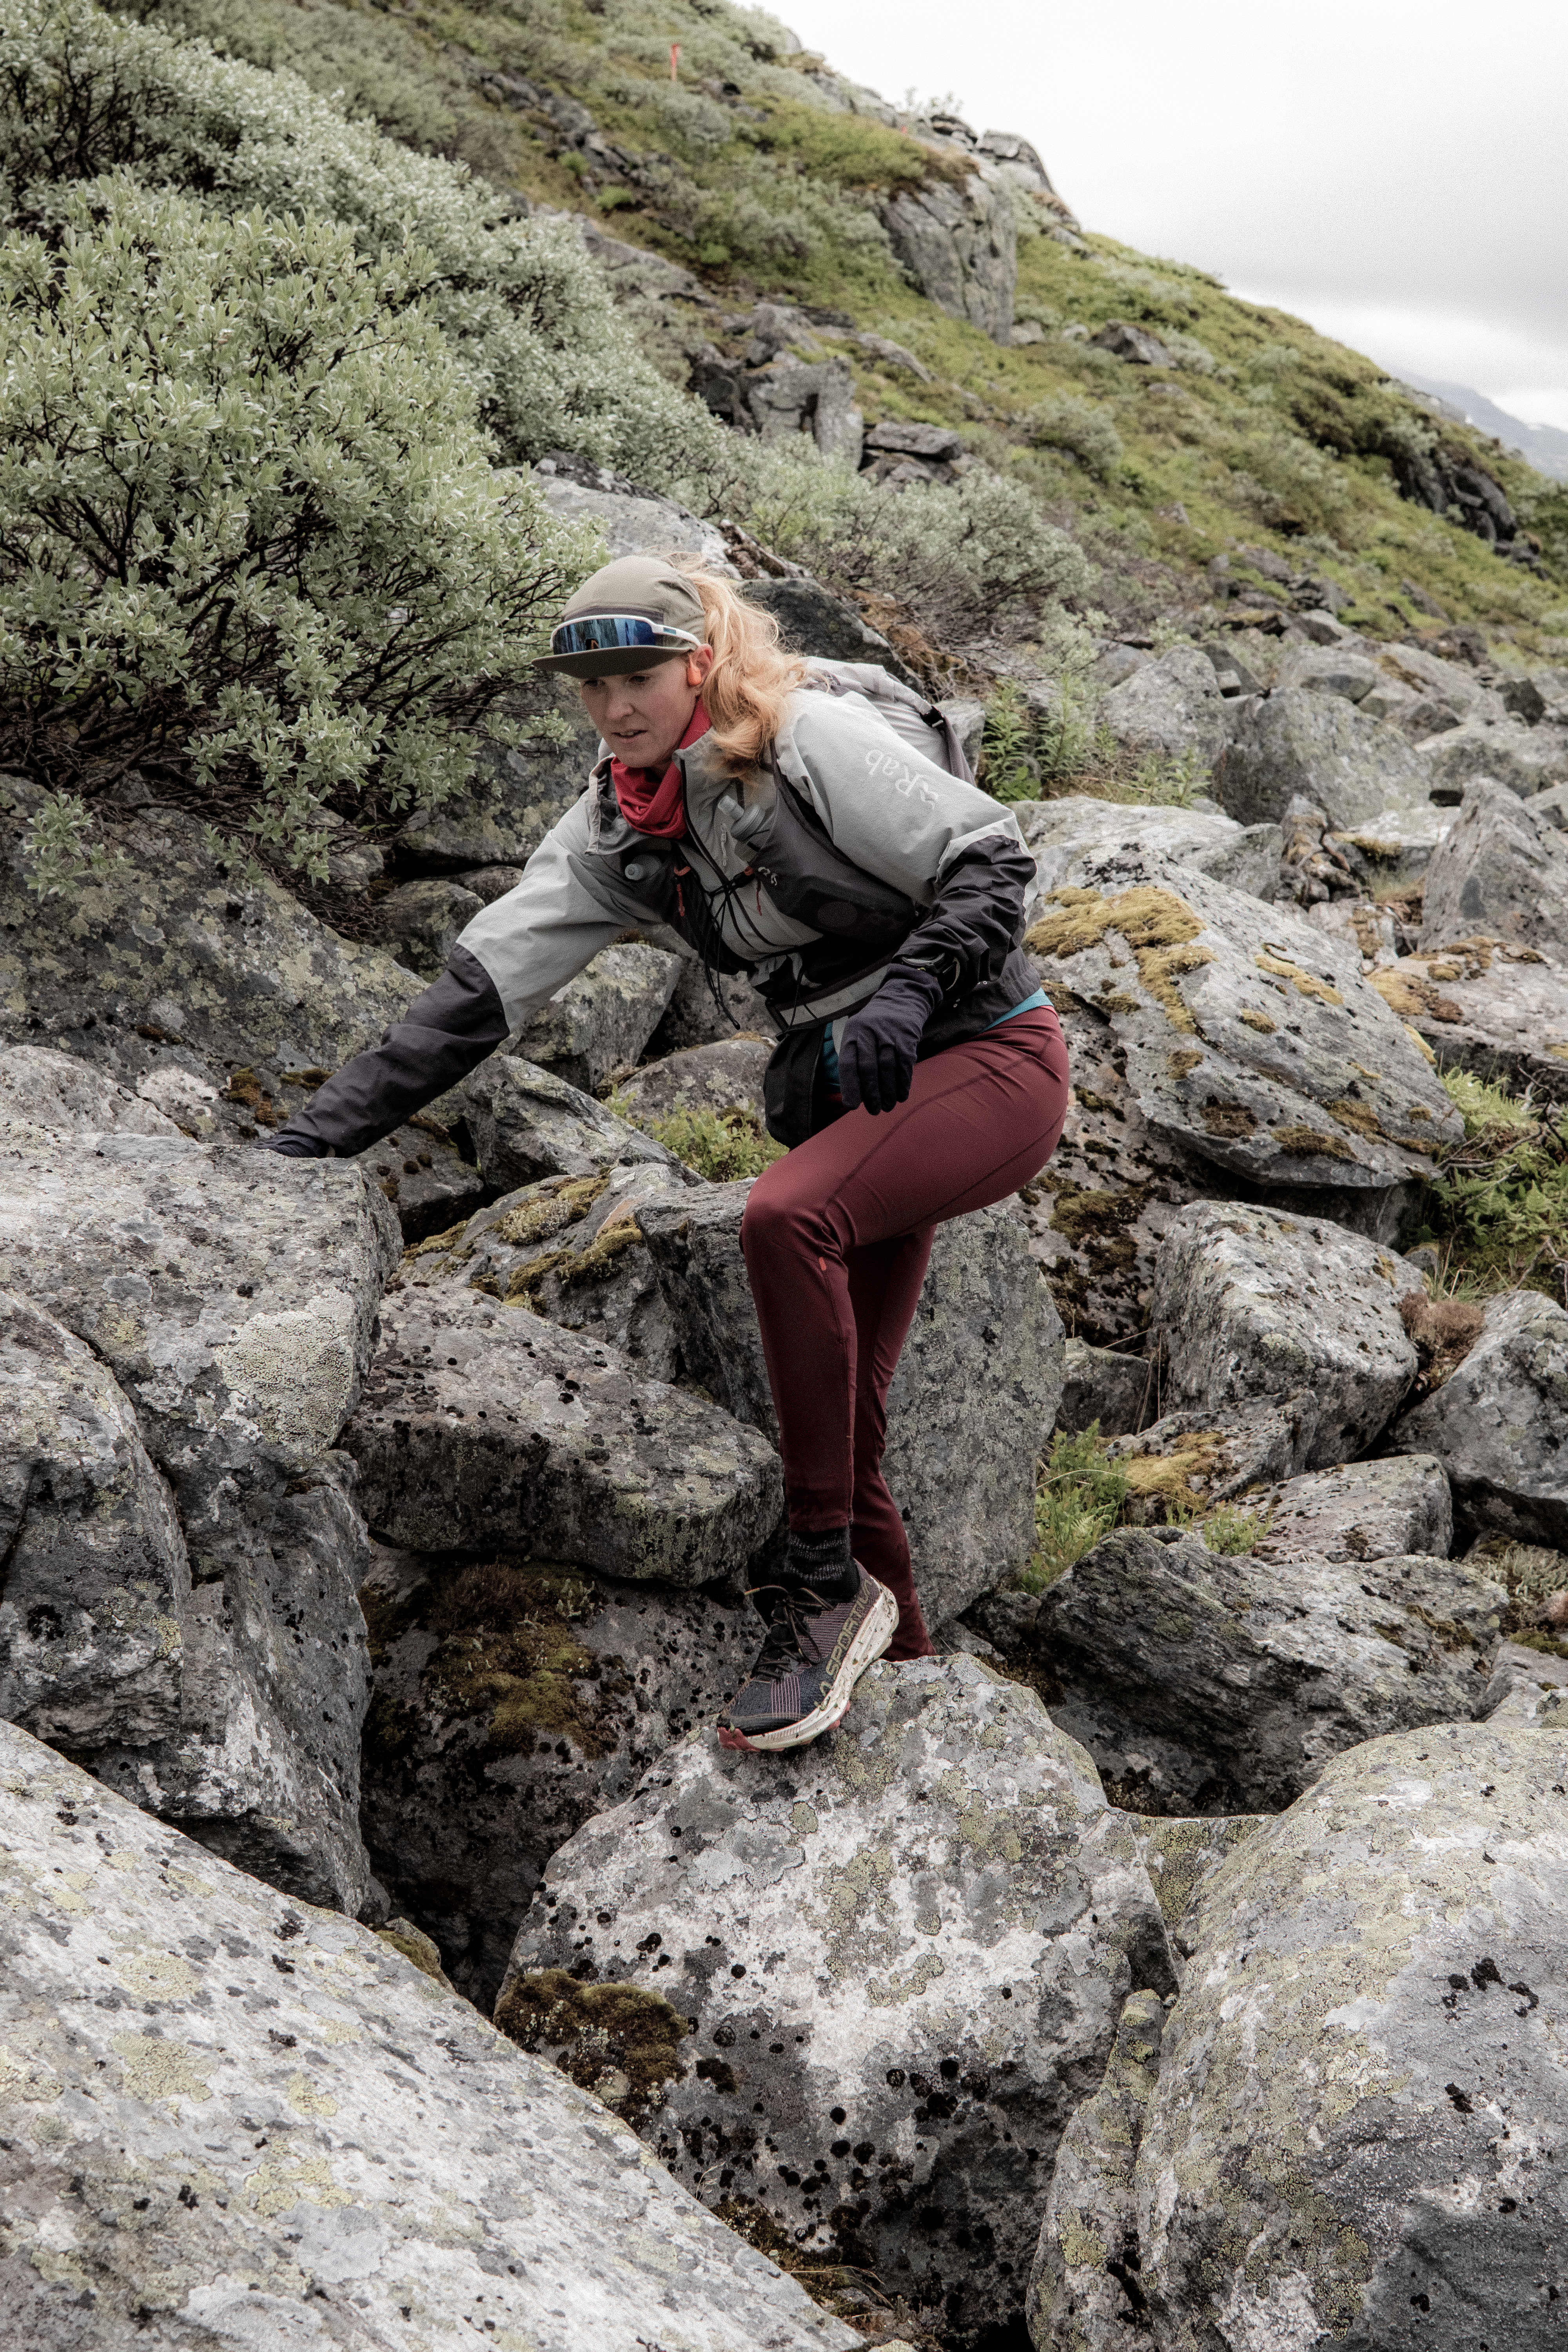
Now we were in the mountain terrain we expected and wanted. Pace is slow, one has to accept that in these scenarios it’s best just to switch off and any wish to move quicker needs to be put aside – accept that the challenge is navigating the rocks, boulders and water crossings.
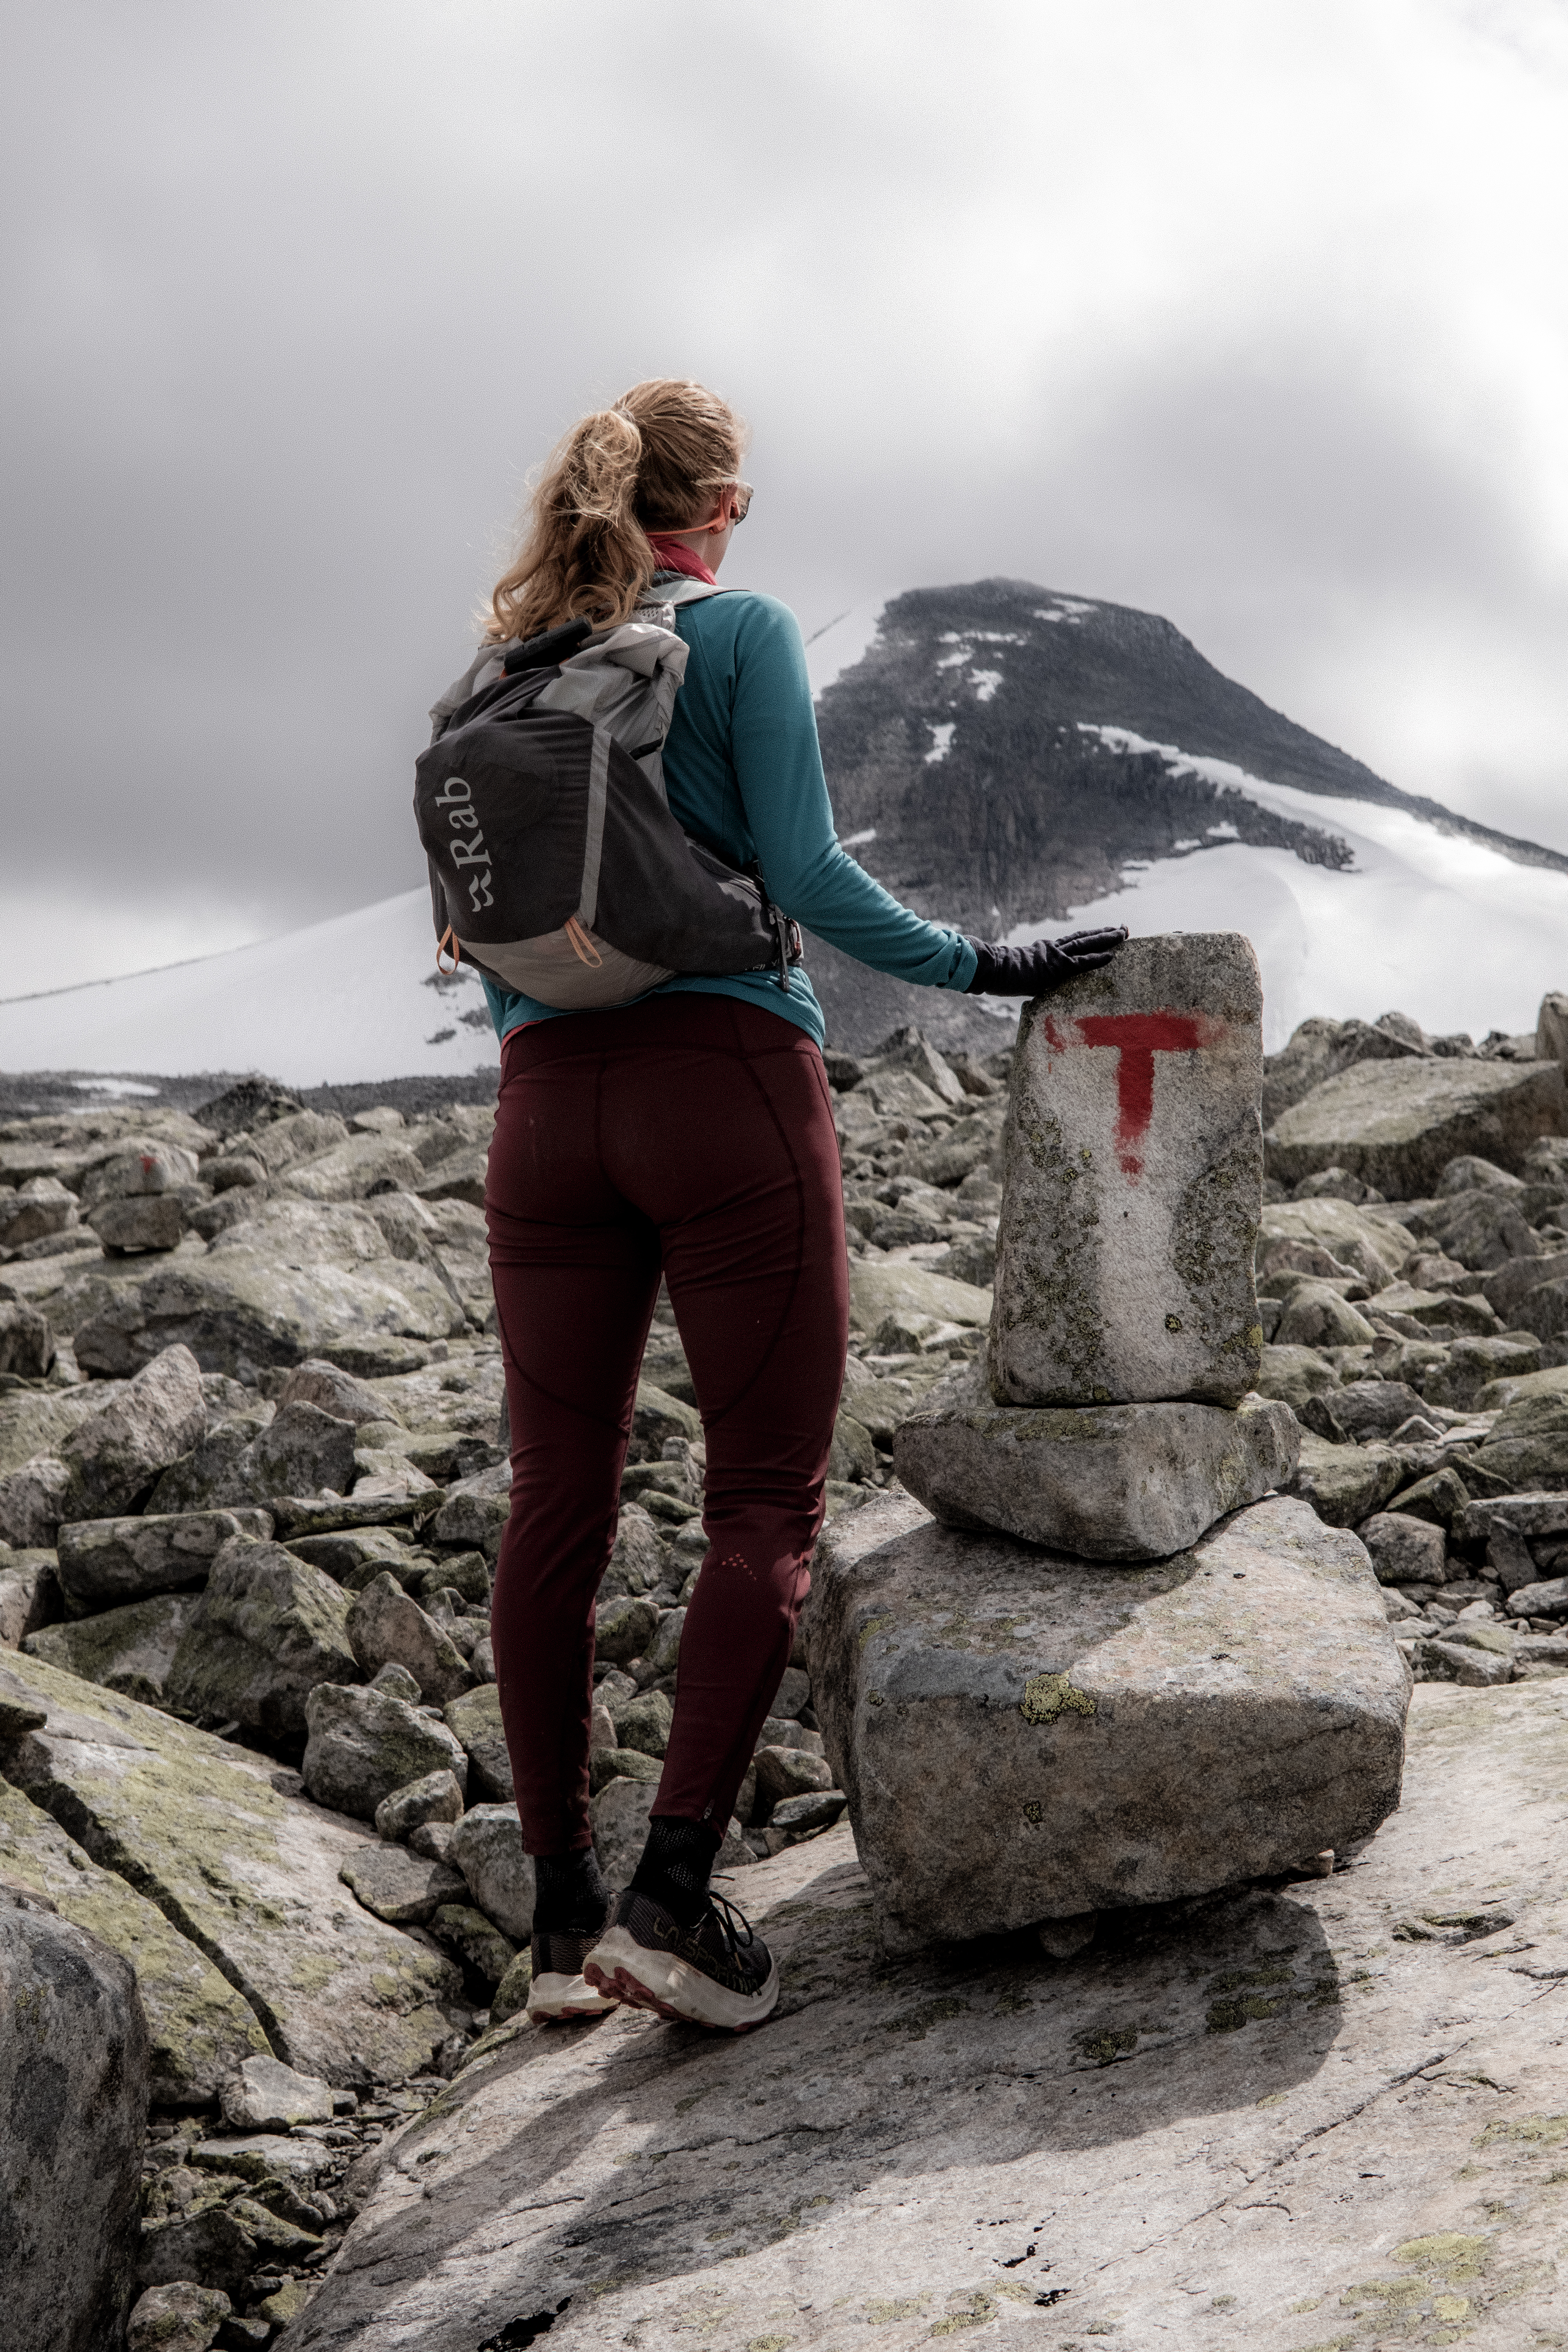
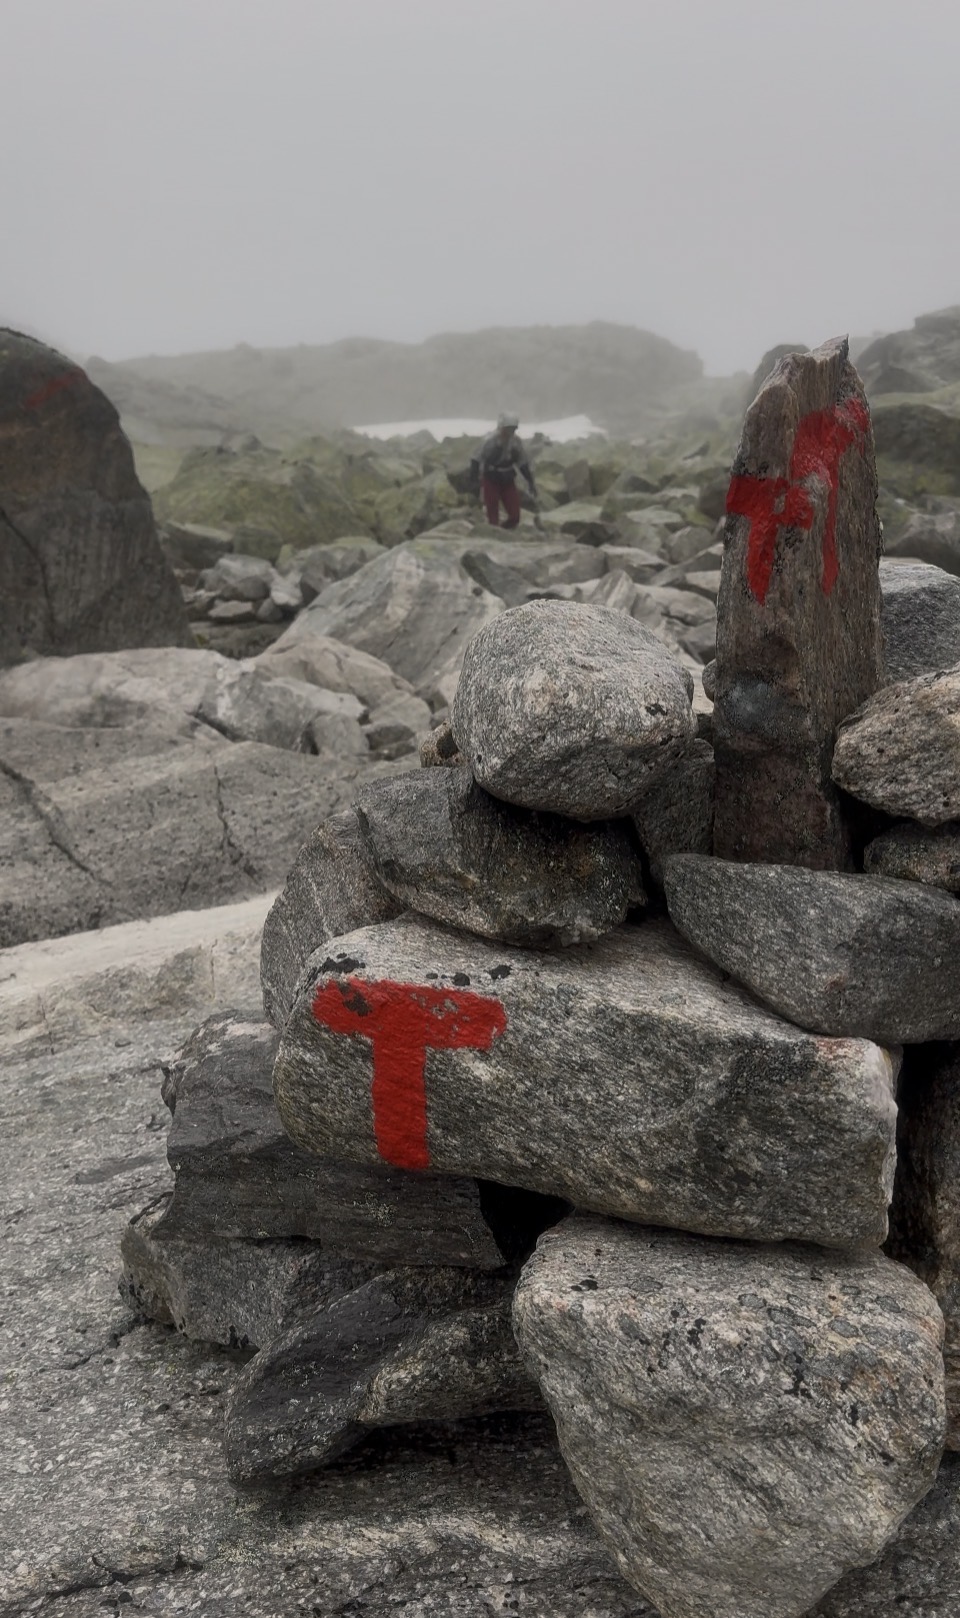
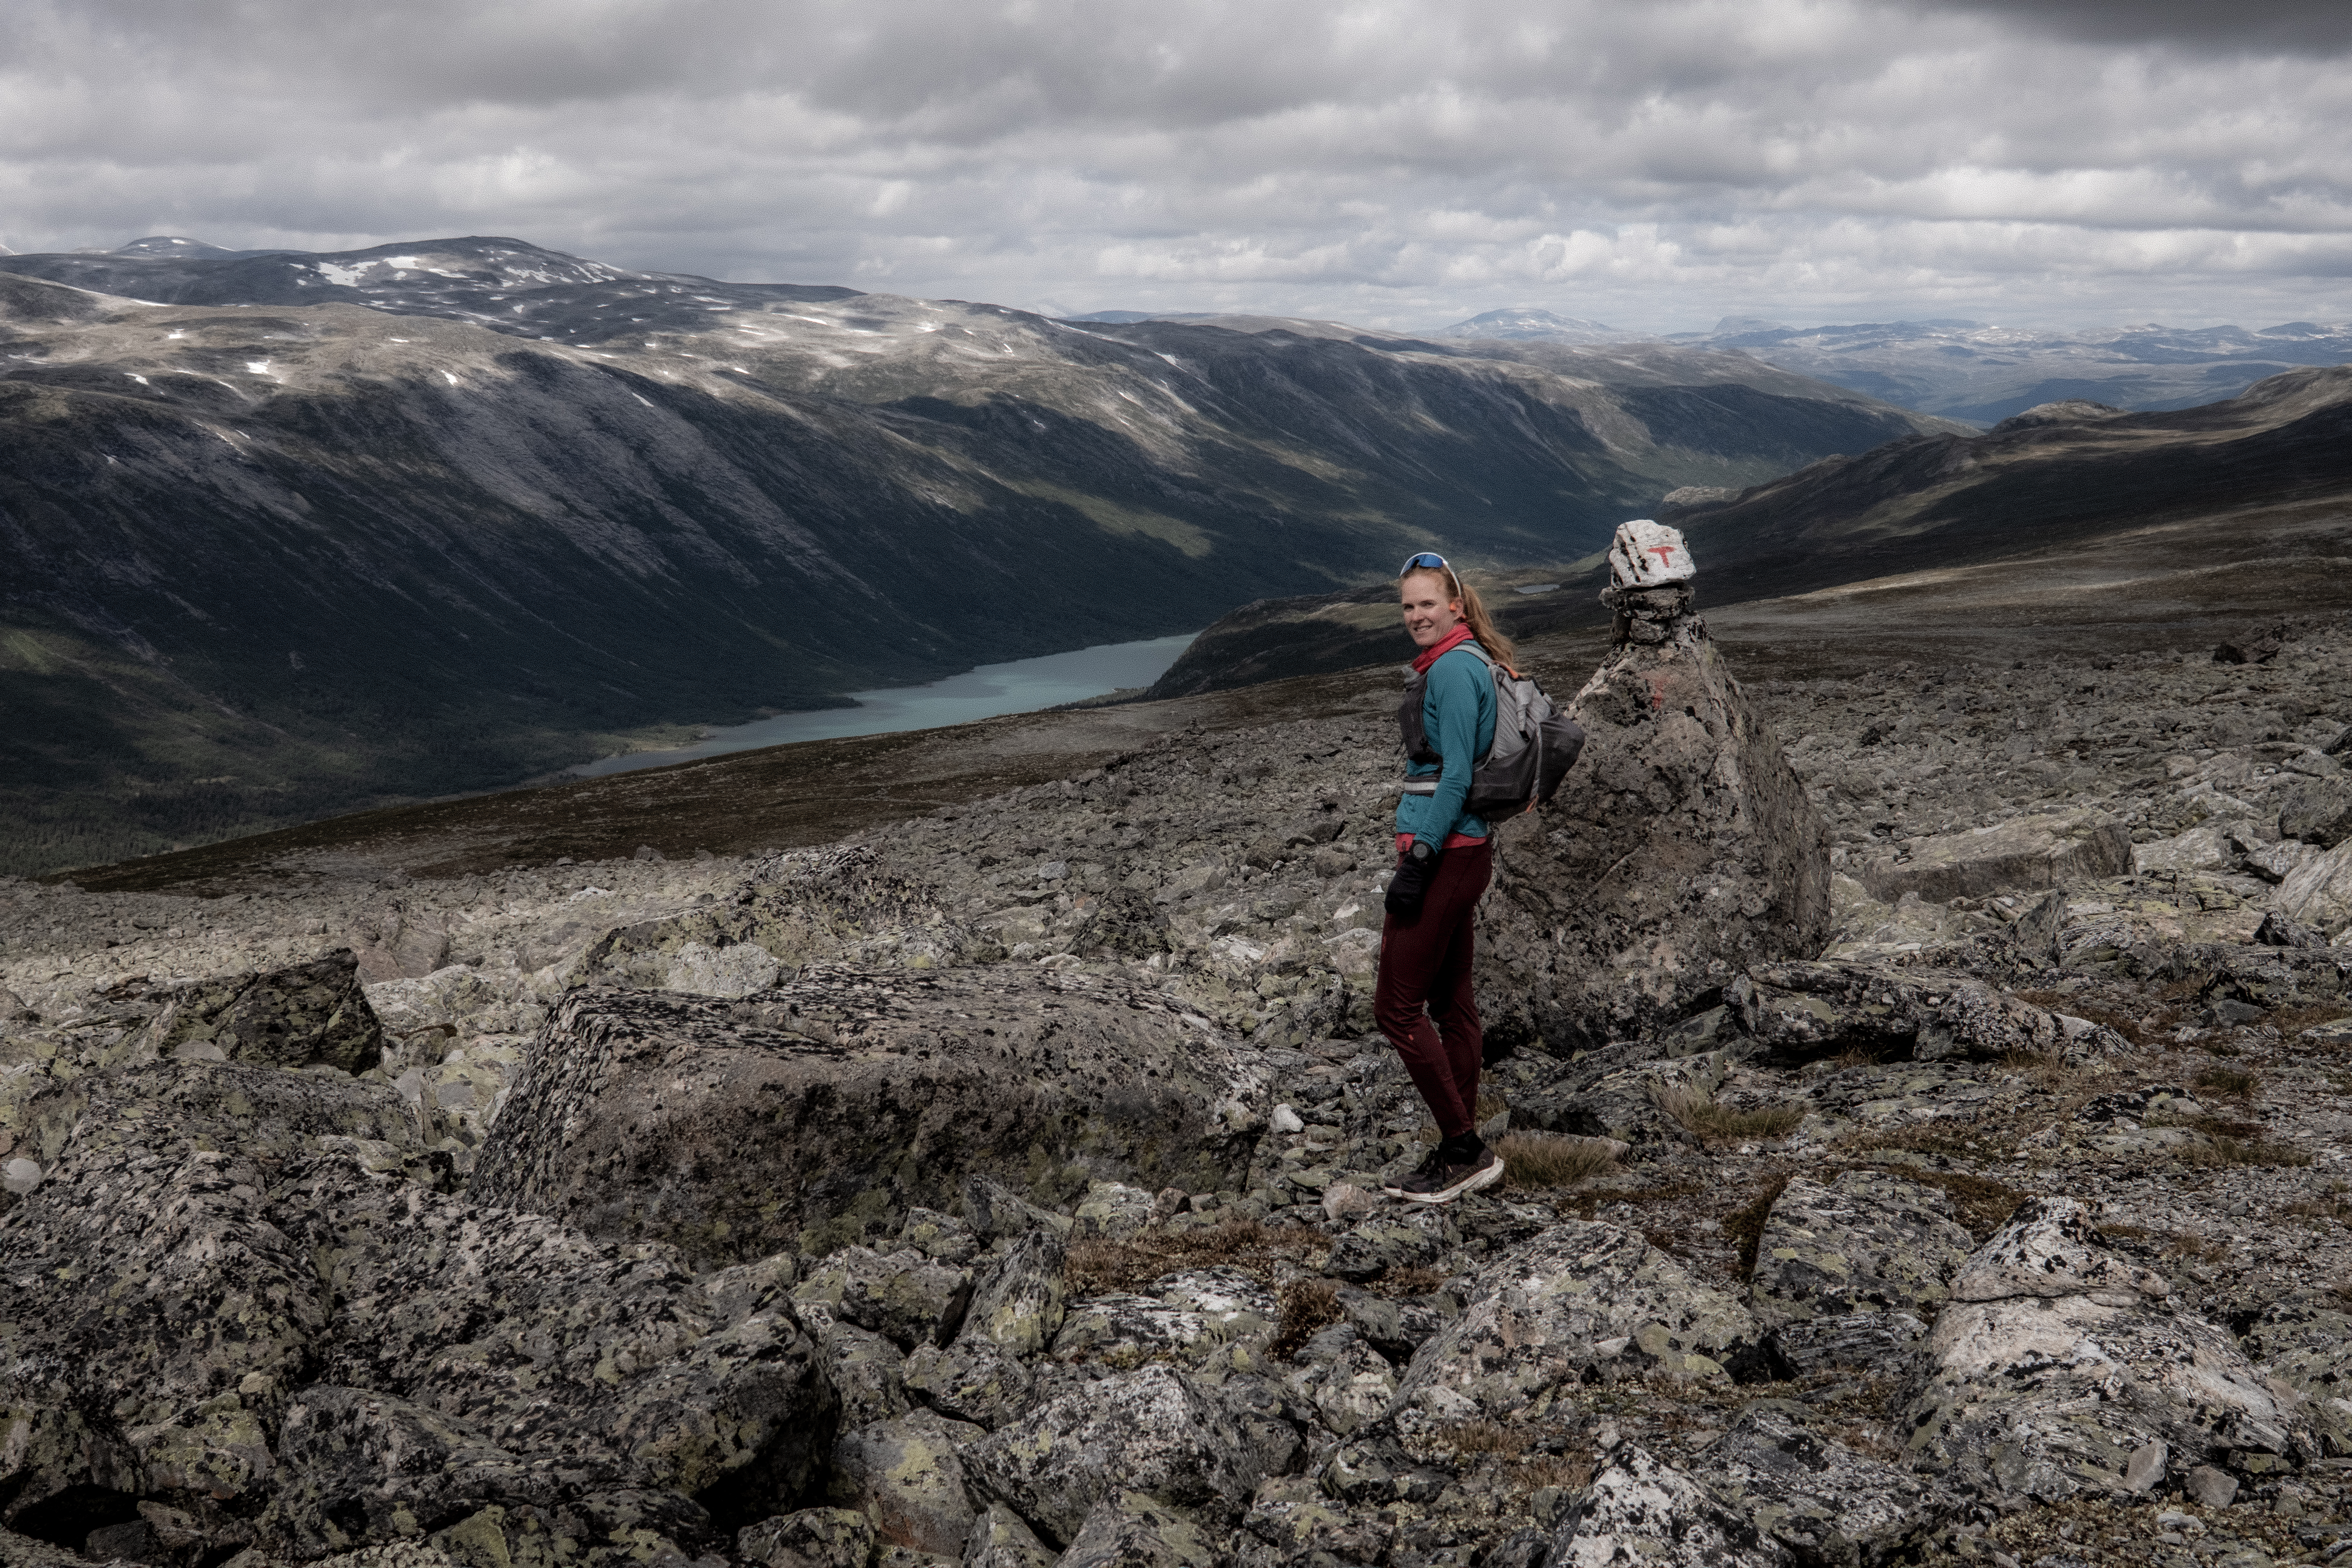
After 14km’s you start to climb up alongside Sprangdalen and the red ‘T’s which signify the route, while clearly visible, in many ways did not make sense. I had a GPX route and as always, I never look at where the next T is but maybe where the 4th, 5th or 6th is.
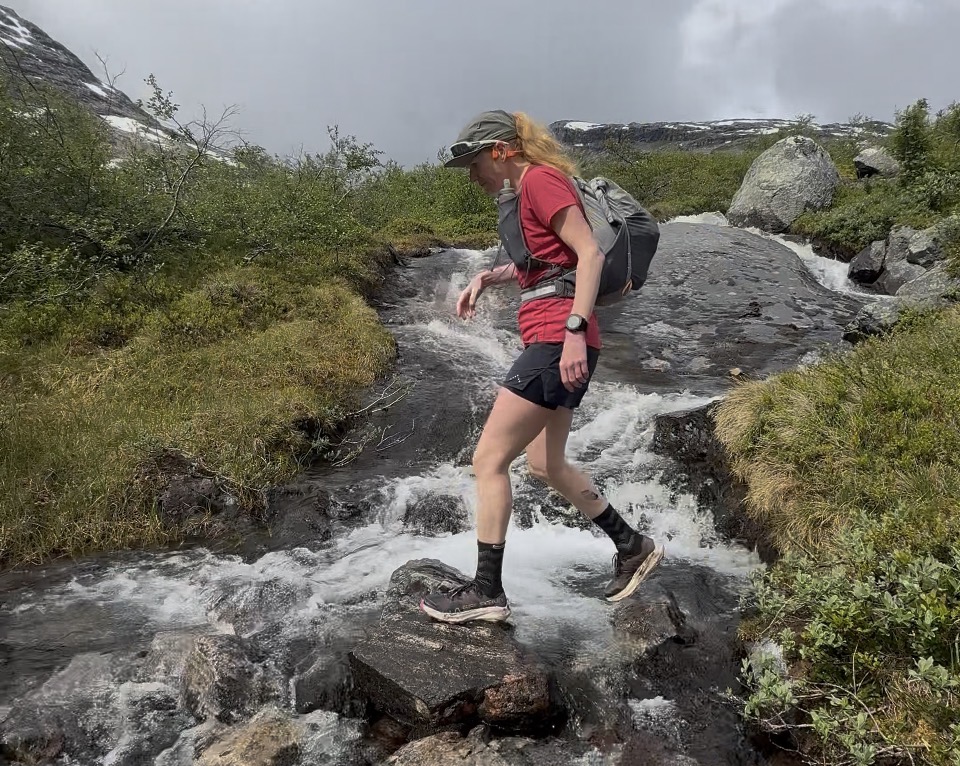
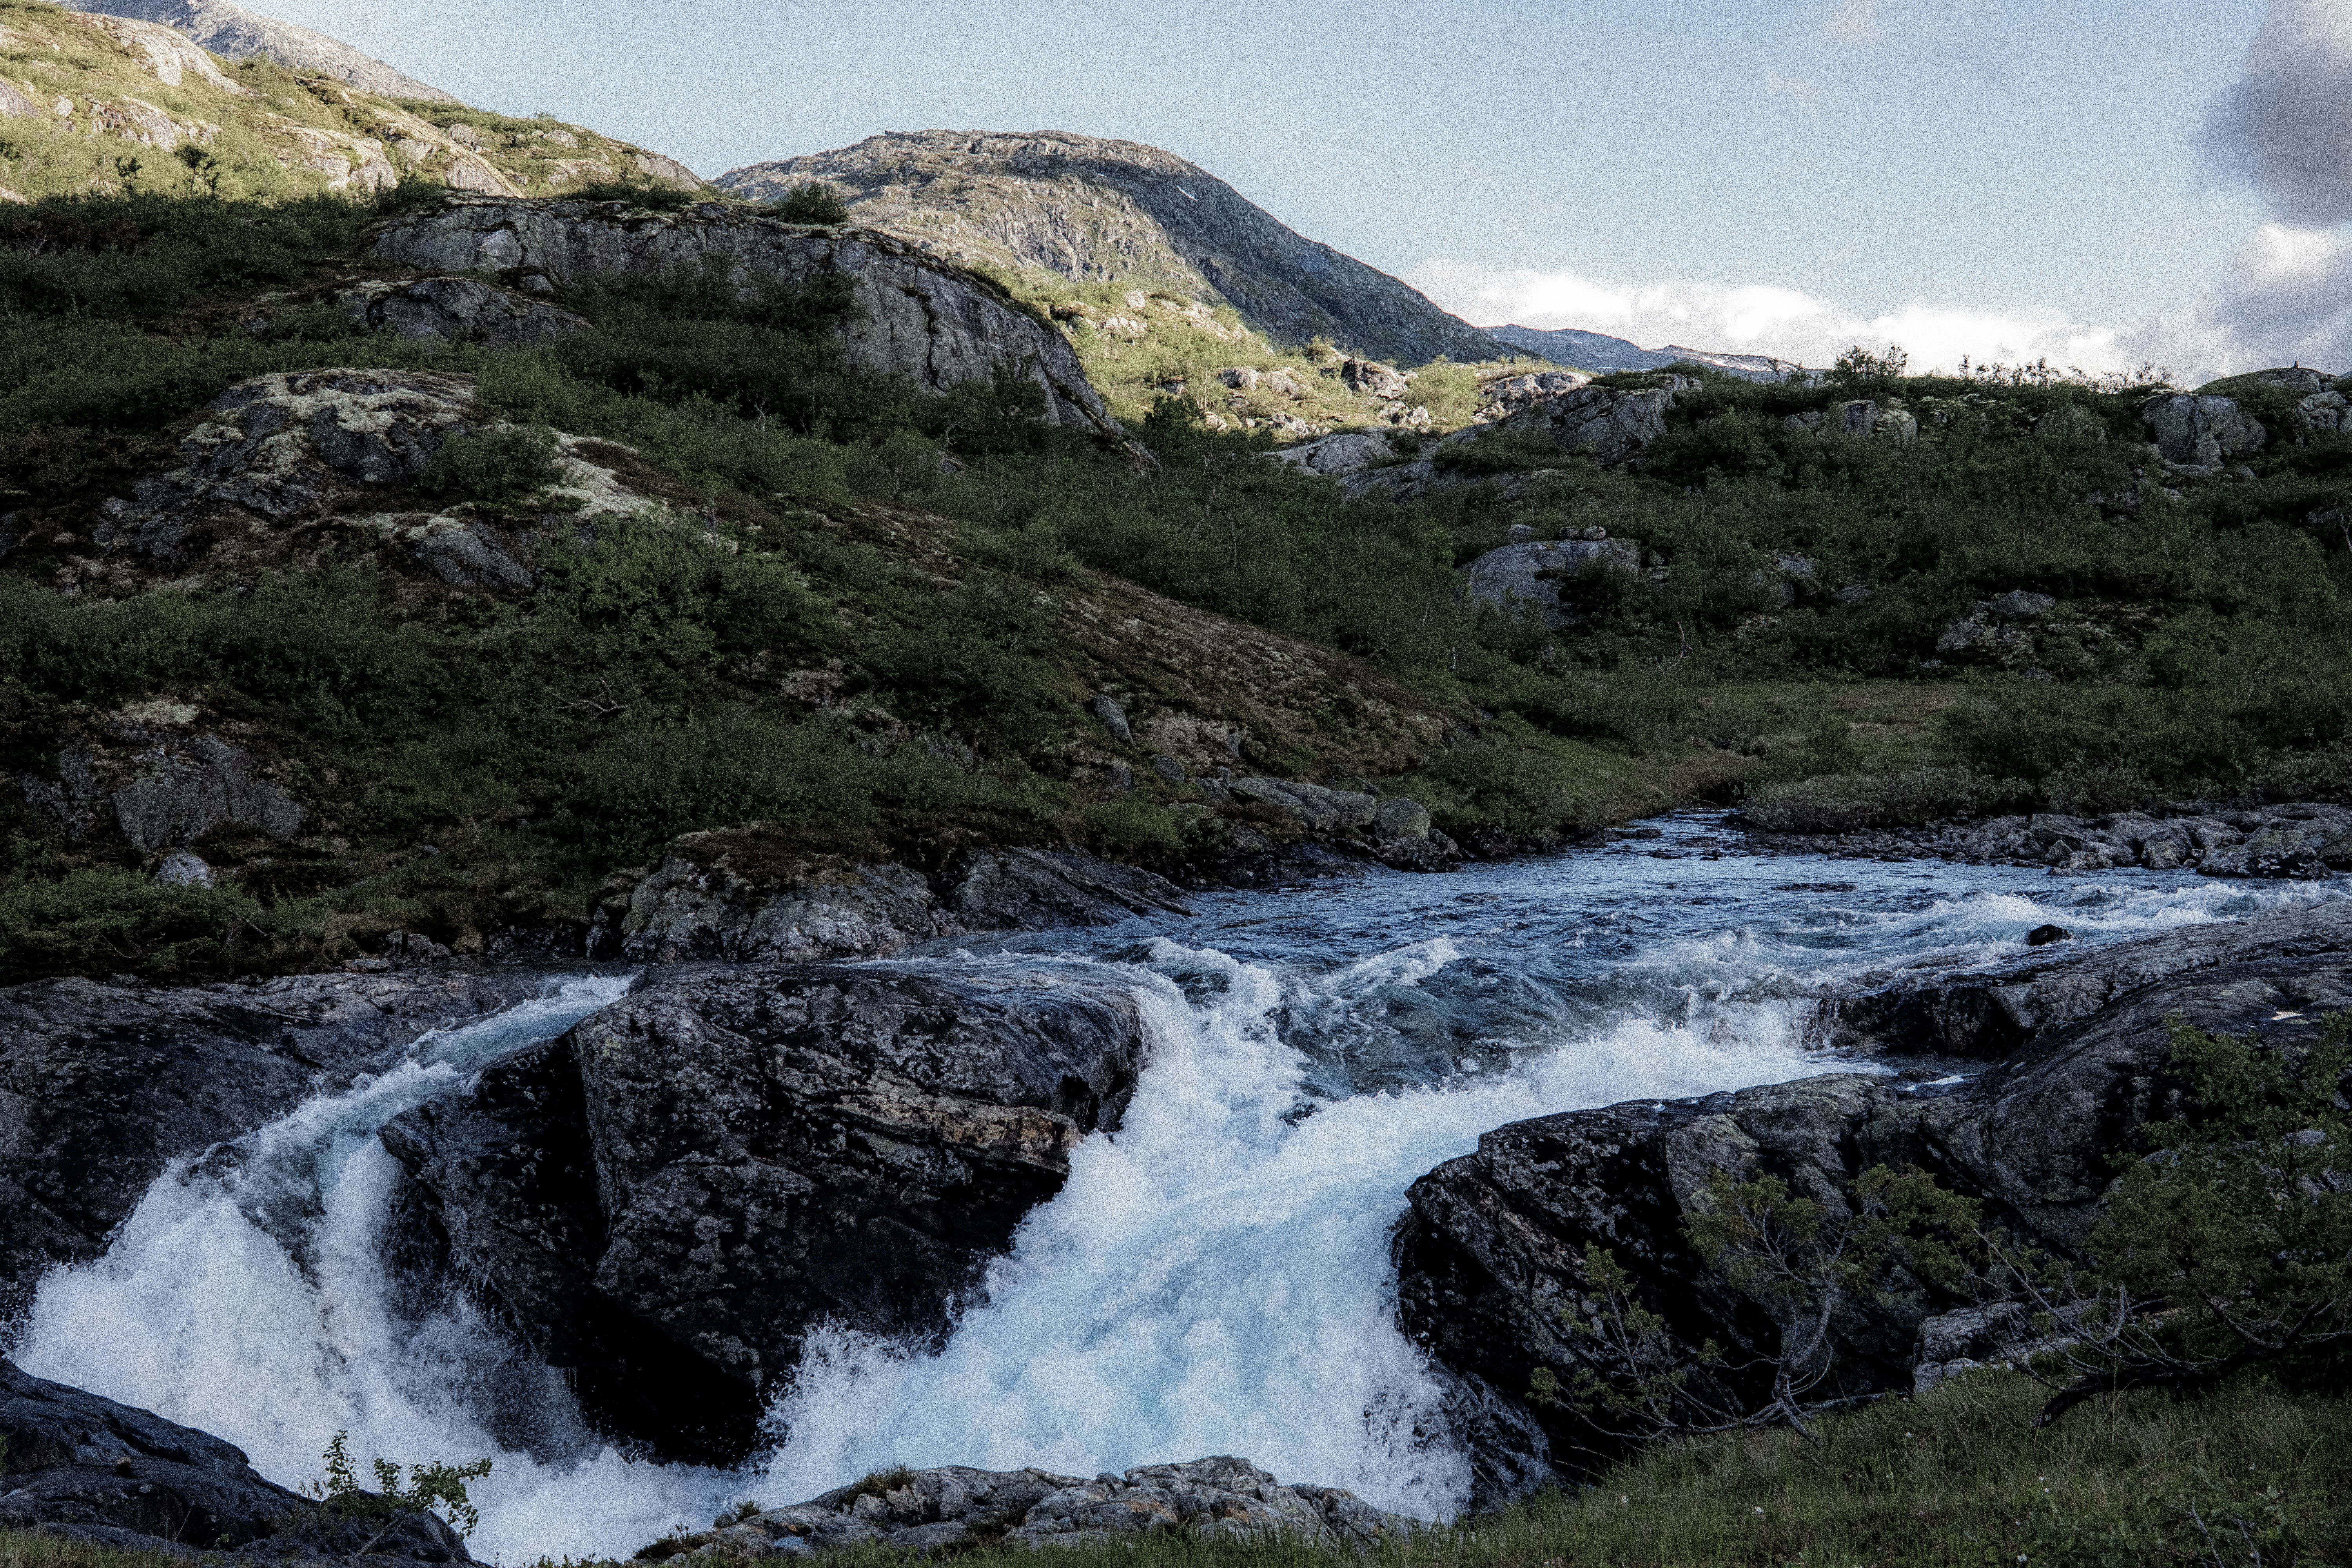
Sprangdøla river was in flow from snow melt and the T’s wanted us to cross, but much higher up I could see the Ts were back on the other side – I moved in a straight line refusing to cross the fast-flowing water.
iPhone photo
‘The Ts are there for a reason!’ shouted Abelone and off she went crossing the fast-flowing water. I pushed on climbing on the right, Abelone pushed on climbing on the left. I then stopped at a beautiful red T and Abelone was stuck on the other side, water raging and it was impossible to cross – I managed to resist, ‘I told you so…’
There was colourful language, backtracking by Abelone and then hilariously she couldn’t find the place where she had crossed – the sight of her kicking boulders in anger will stick with me for some time. Finally, across the water, she made her way back to me, her head was shaking with confusion, anger and frustration and then it happened – she slowly raised her middle finger and pointed at me with a smile. Maybe my nav error on day 4 of the SAGA wasn’t too bad after all!
In all honesty, I was not having a great day – I loved the terrain, the challenge and the mountains – but I was flat. The estimated distance to Sprongdalshytta was around 18km’s and 1000m+ and the prospect of following on to Arentzbu, another 17km’s was not something I relished.
‘How are you feeling?’ Abelone asked and I honestly replied, ‘I am good but today feel flat.’
‘We can stop at Sprongdalshytta if you like, we have time, we are on holiday…’
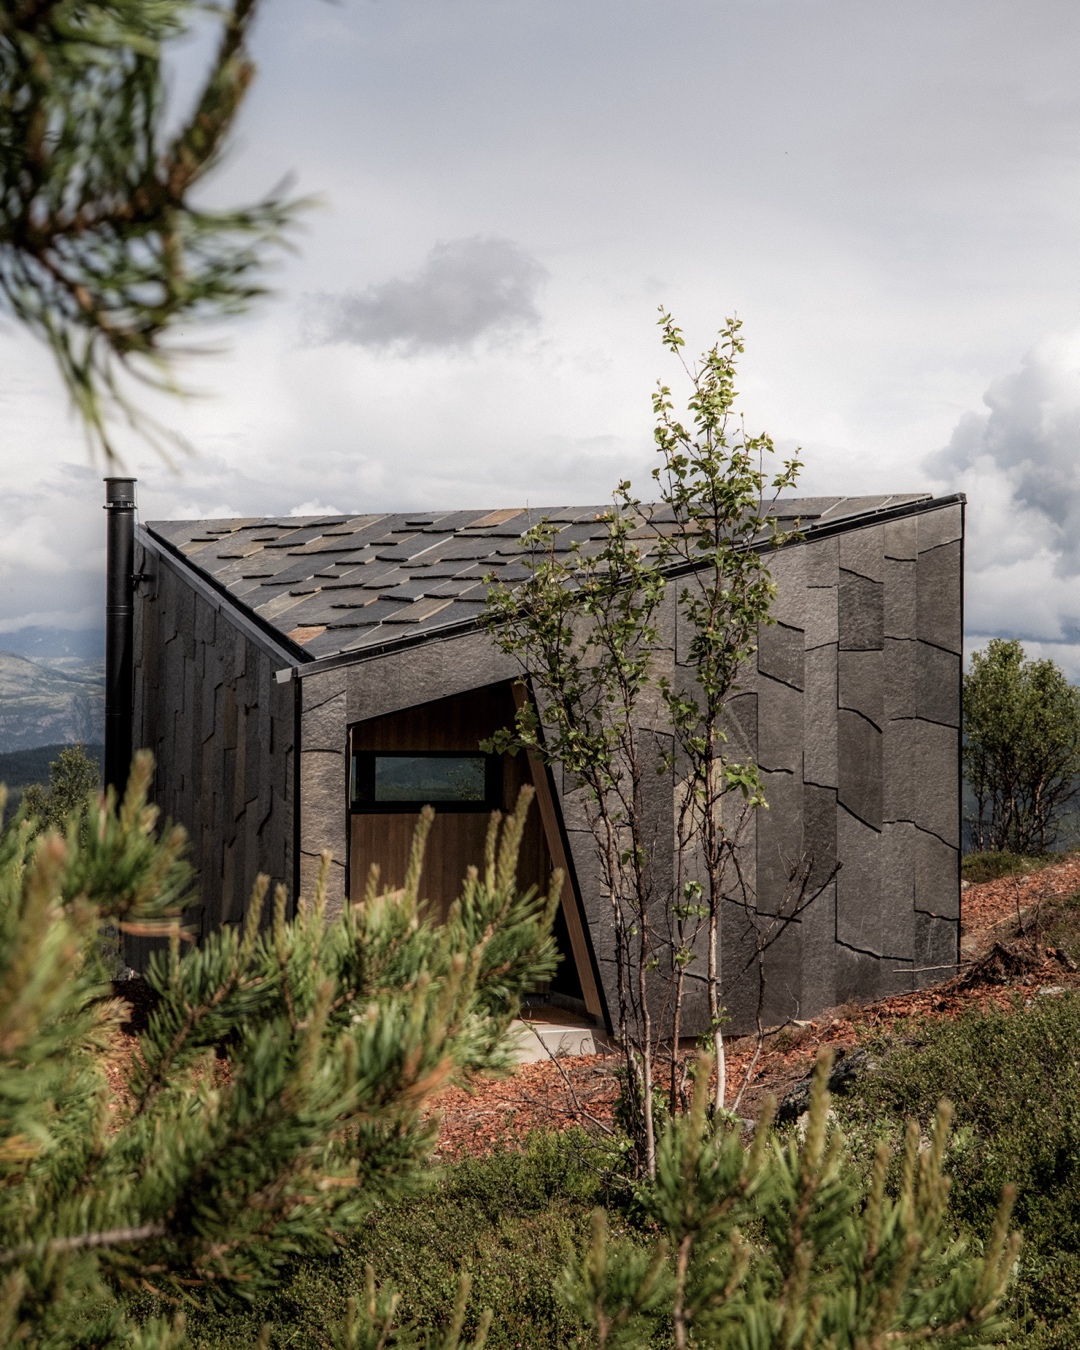
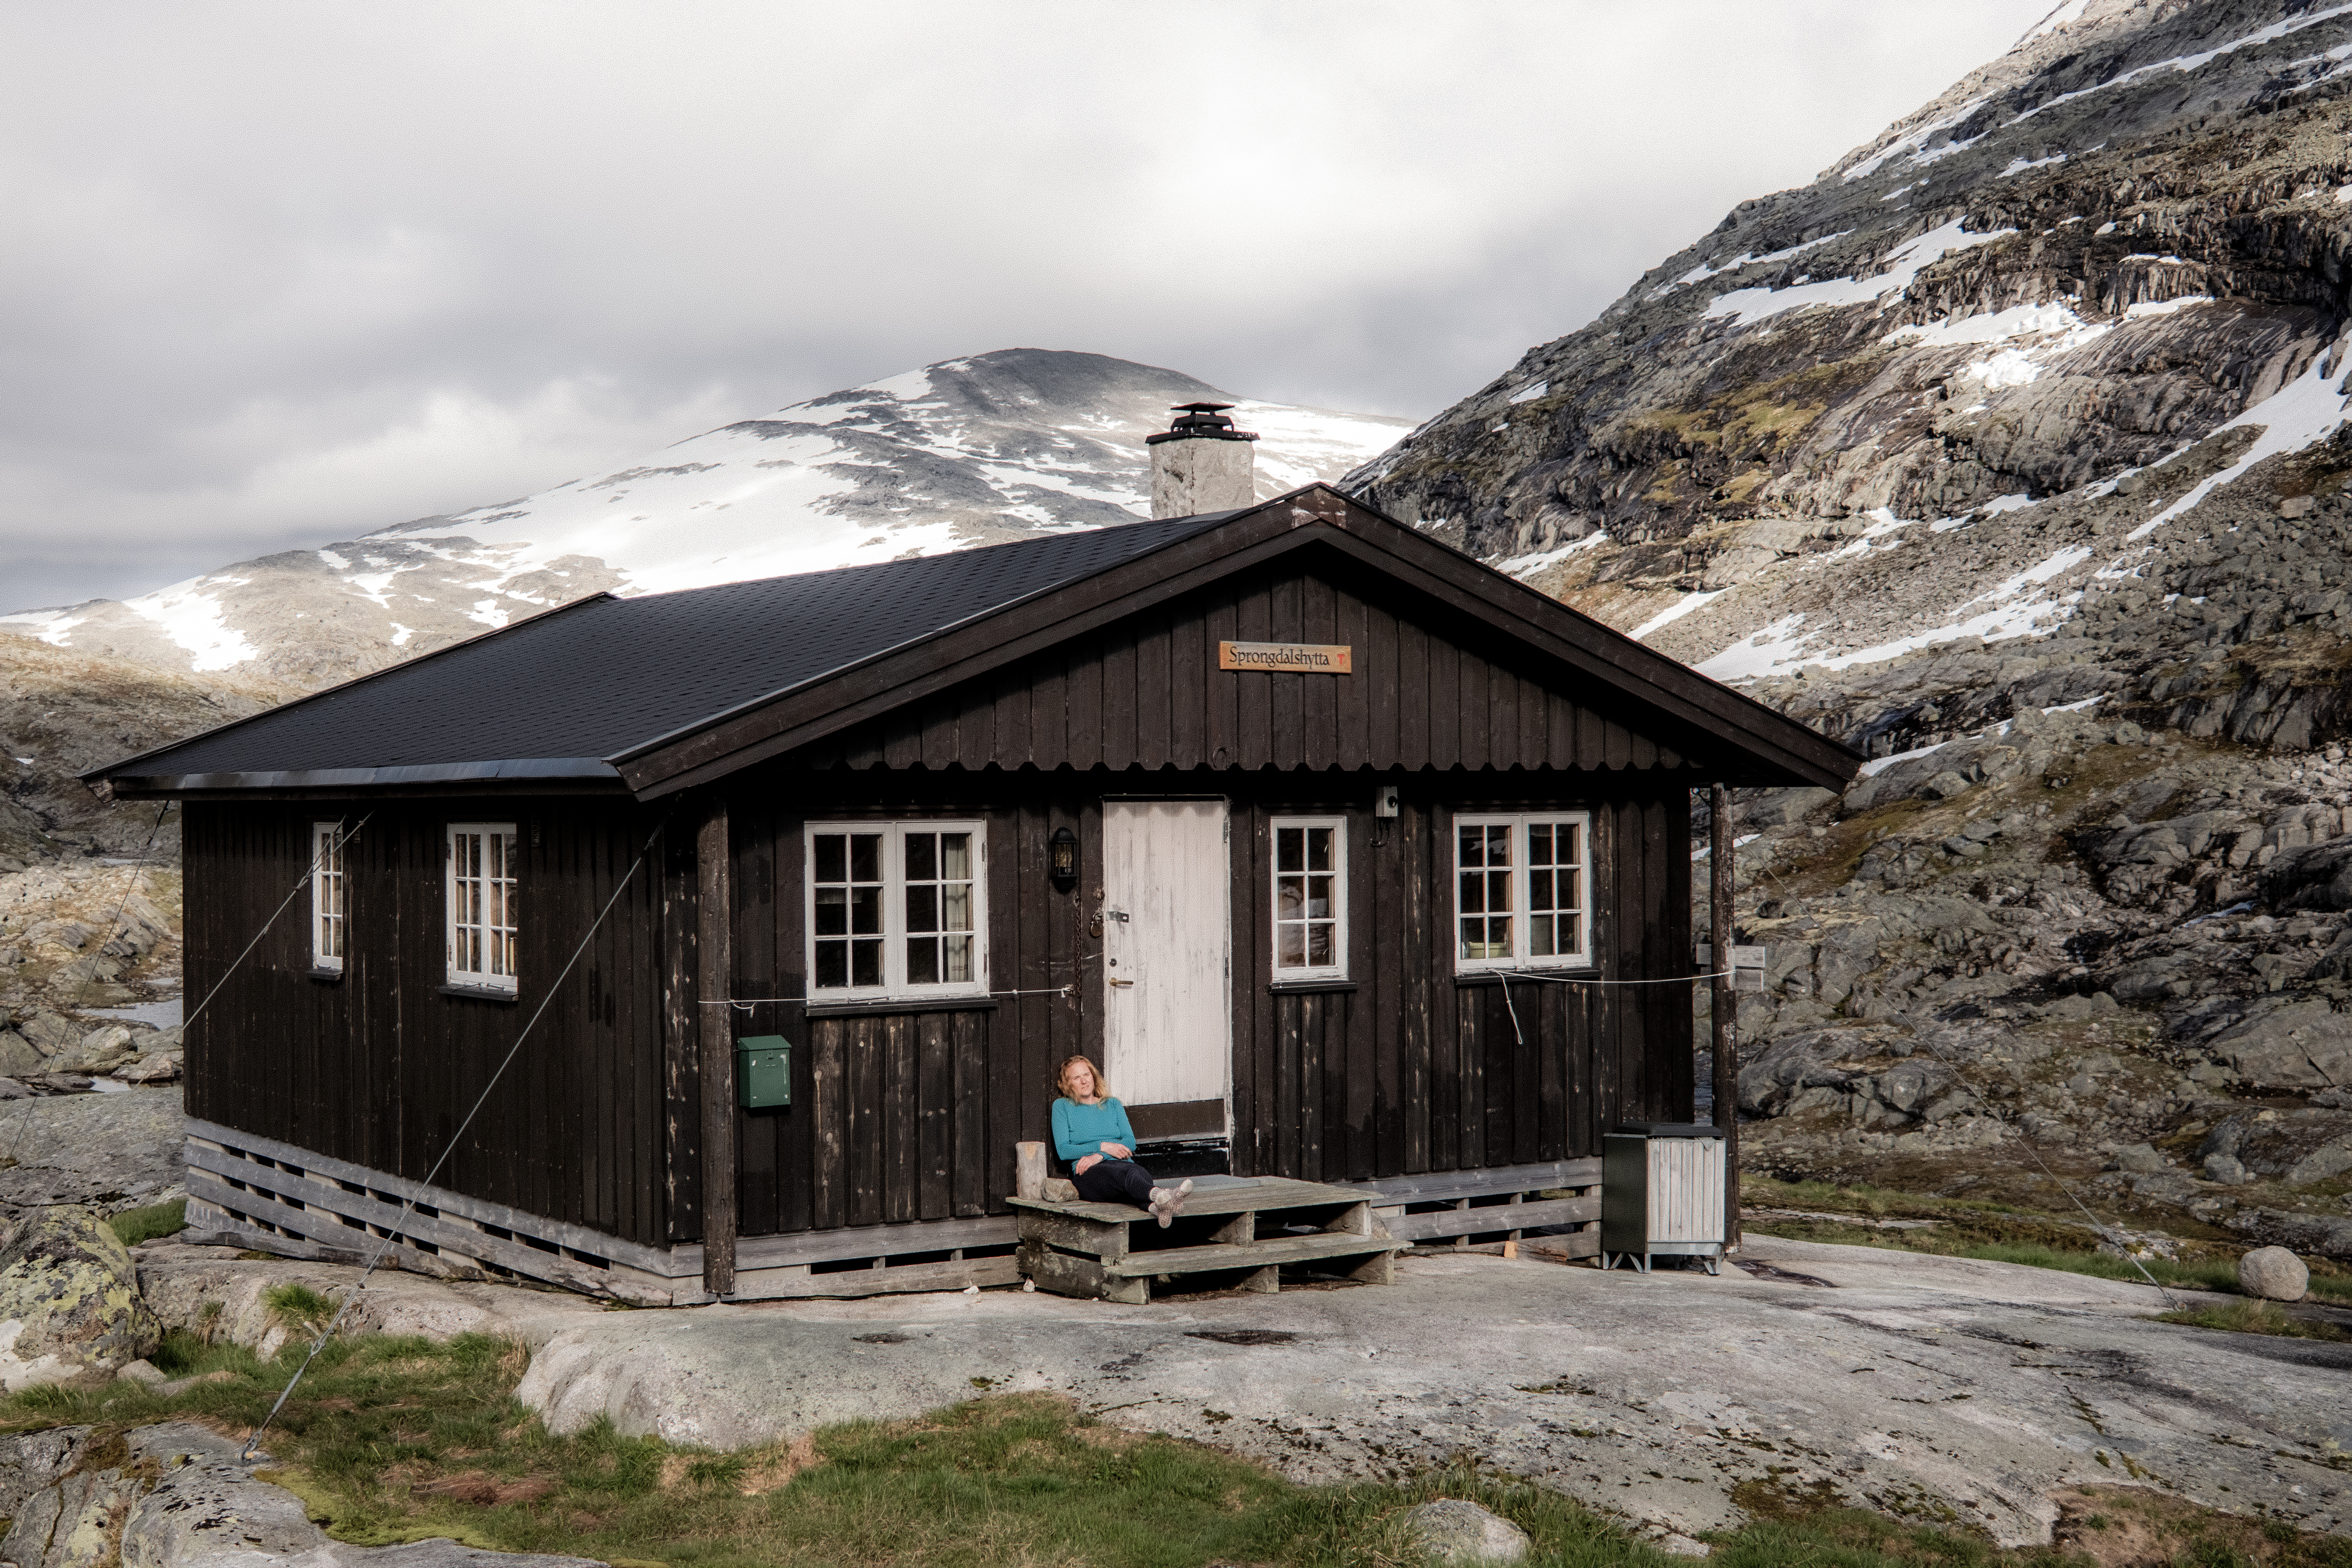
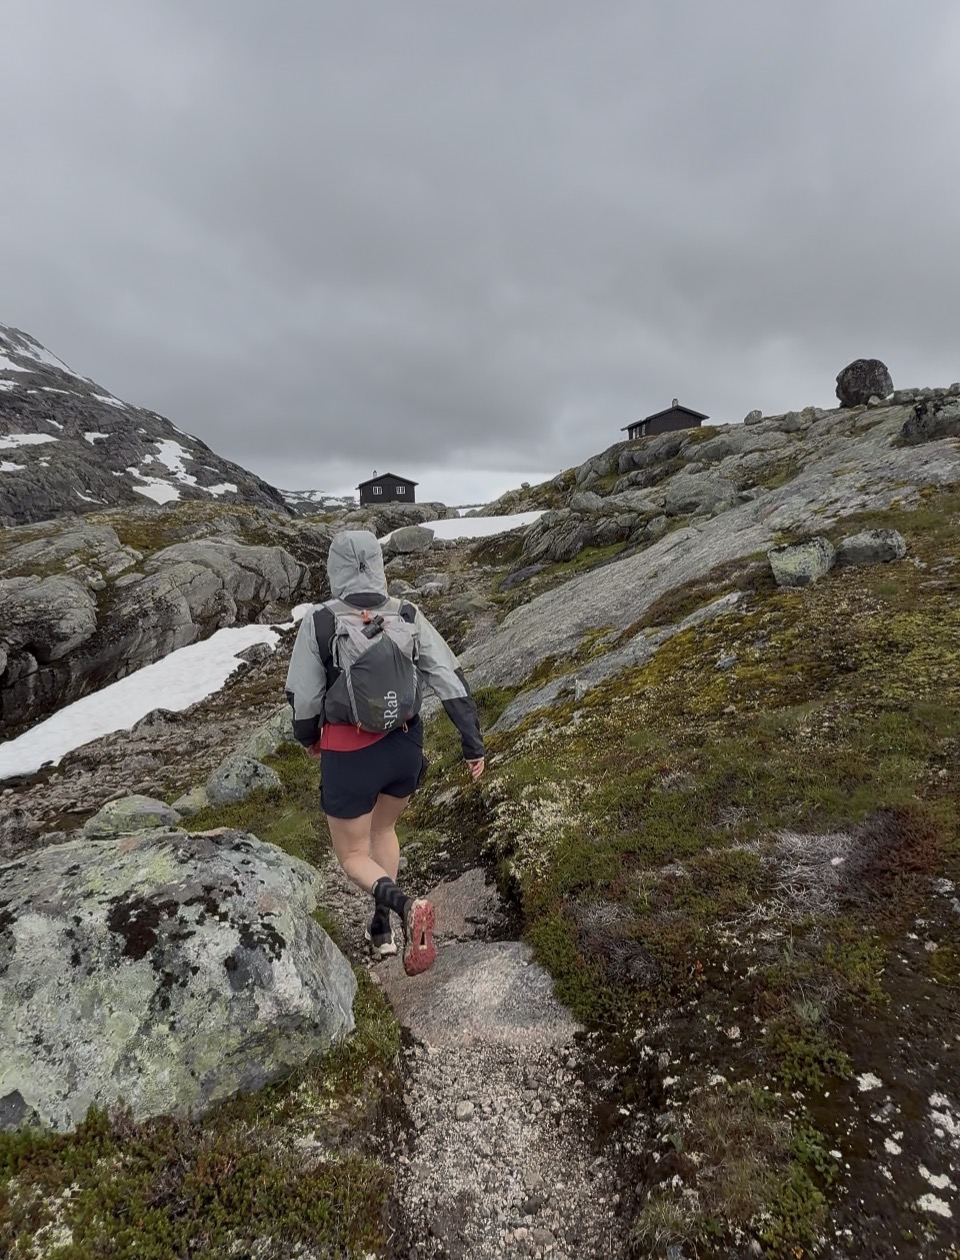
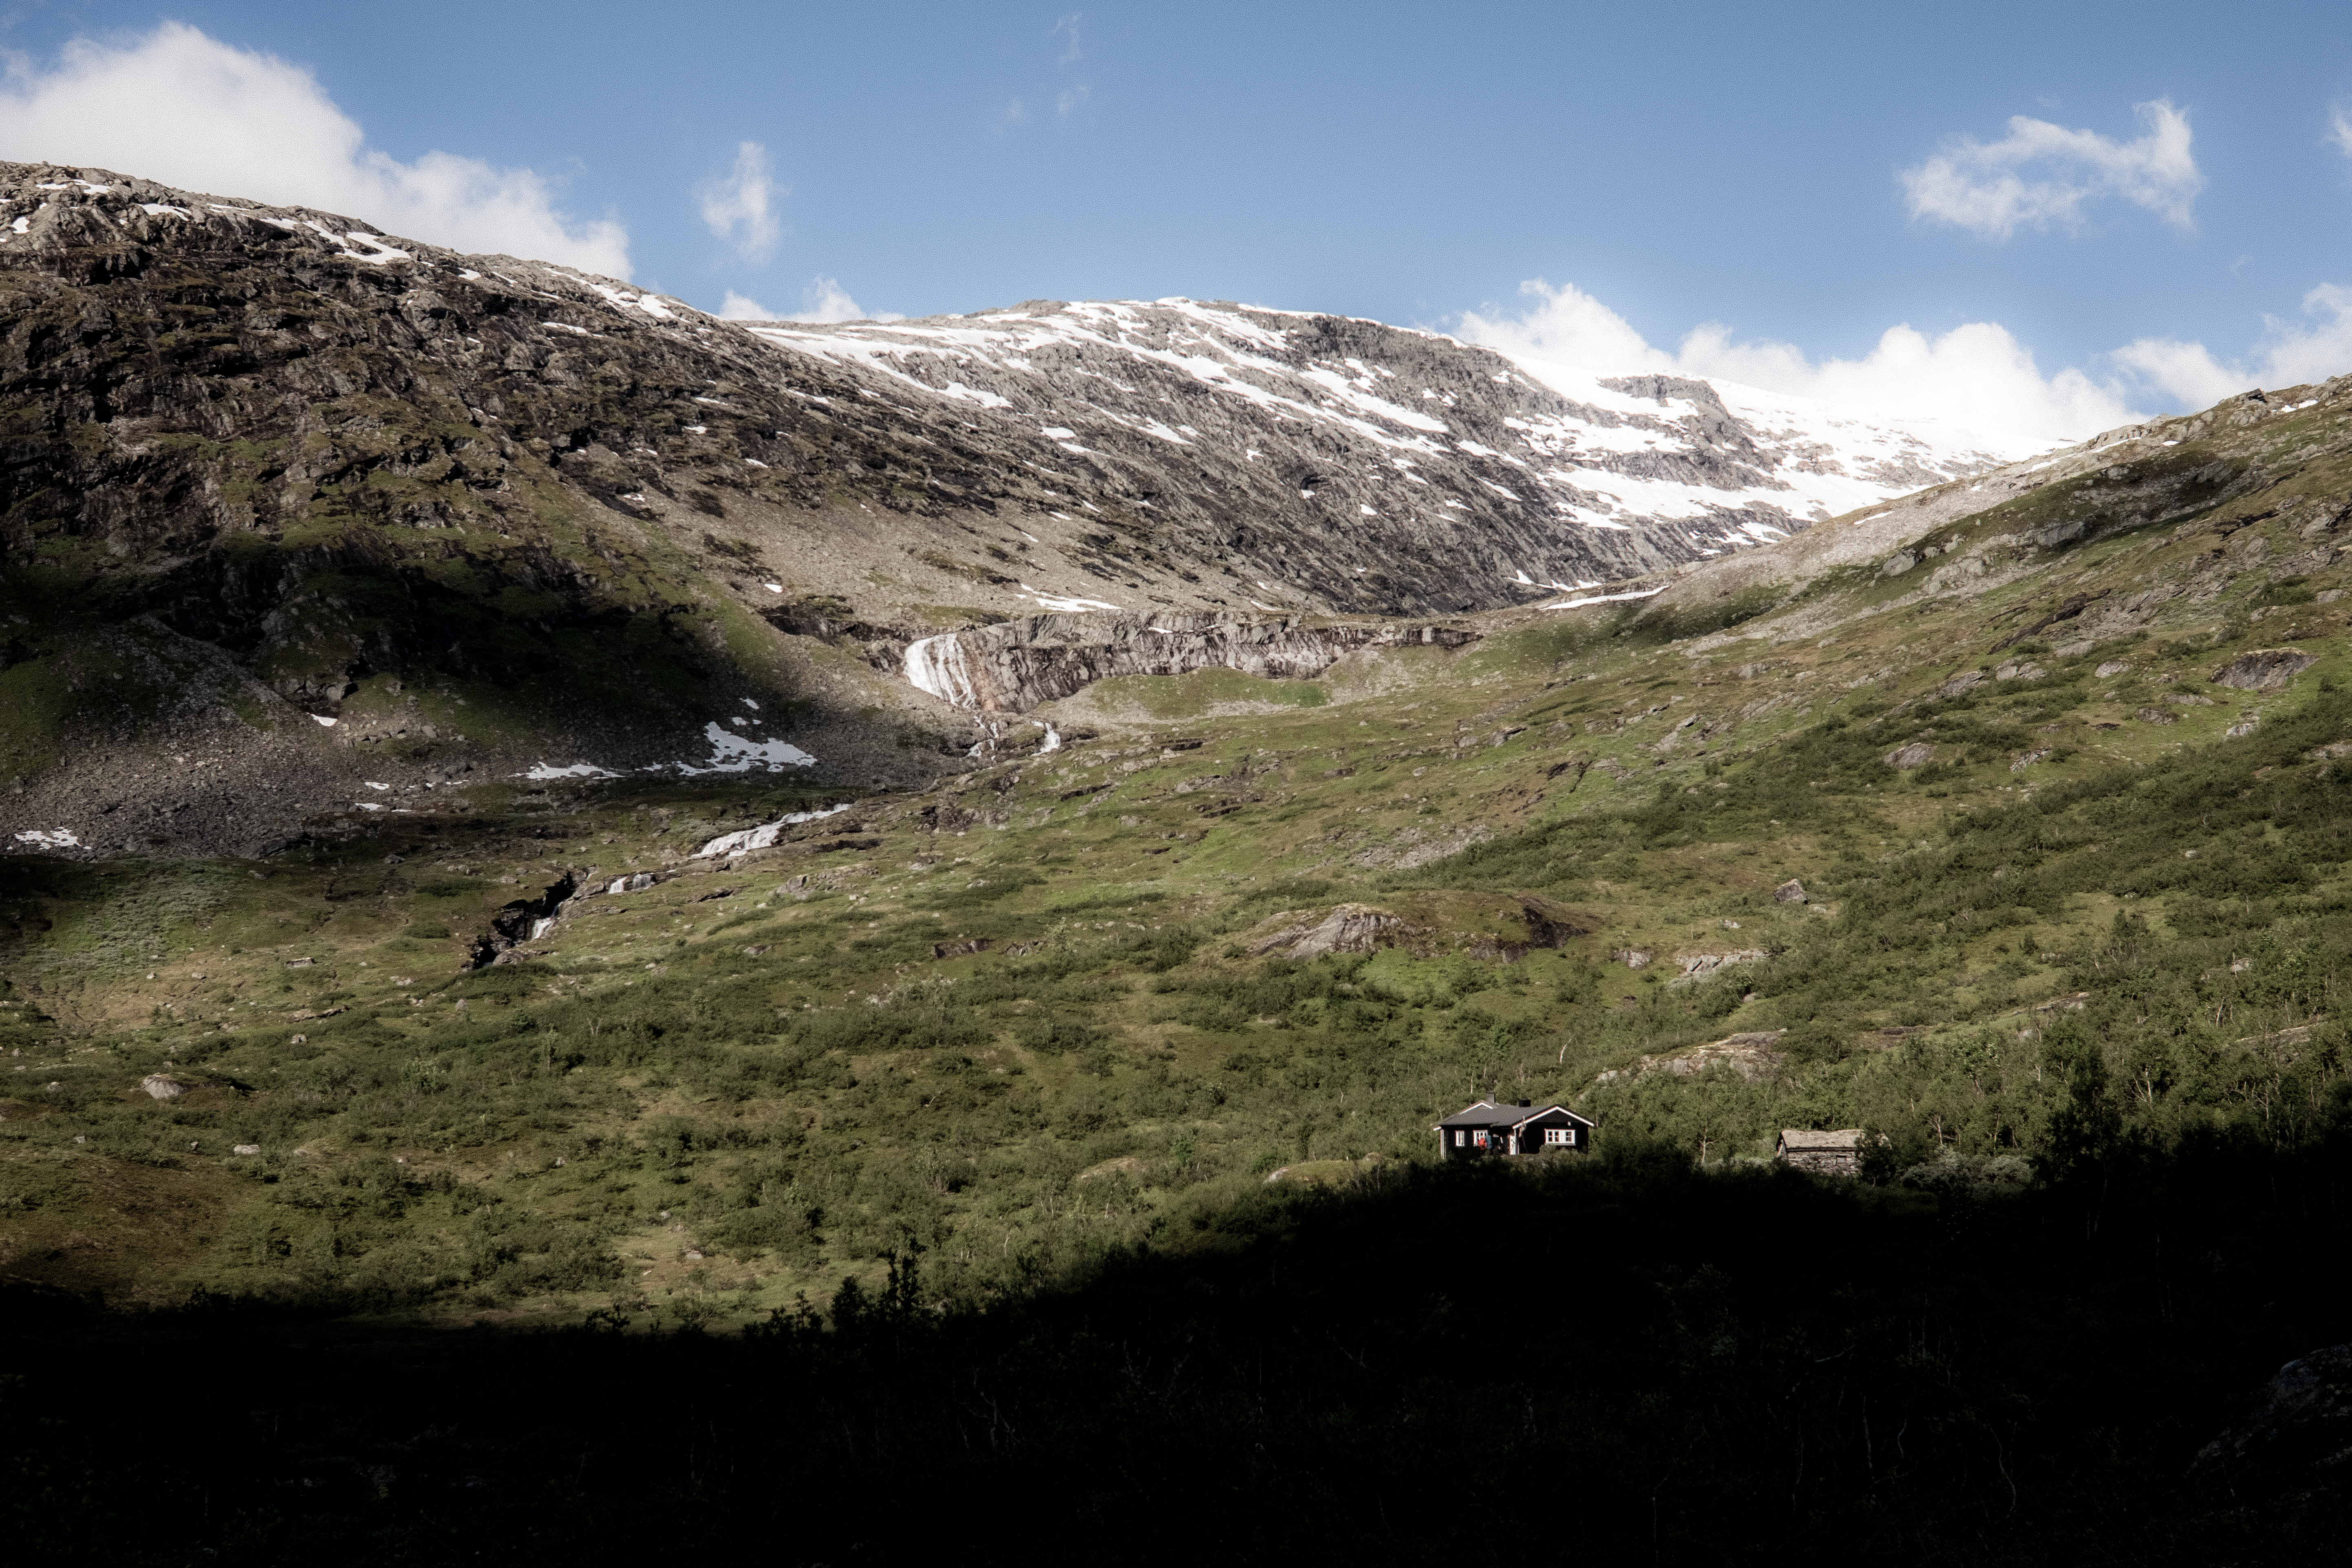
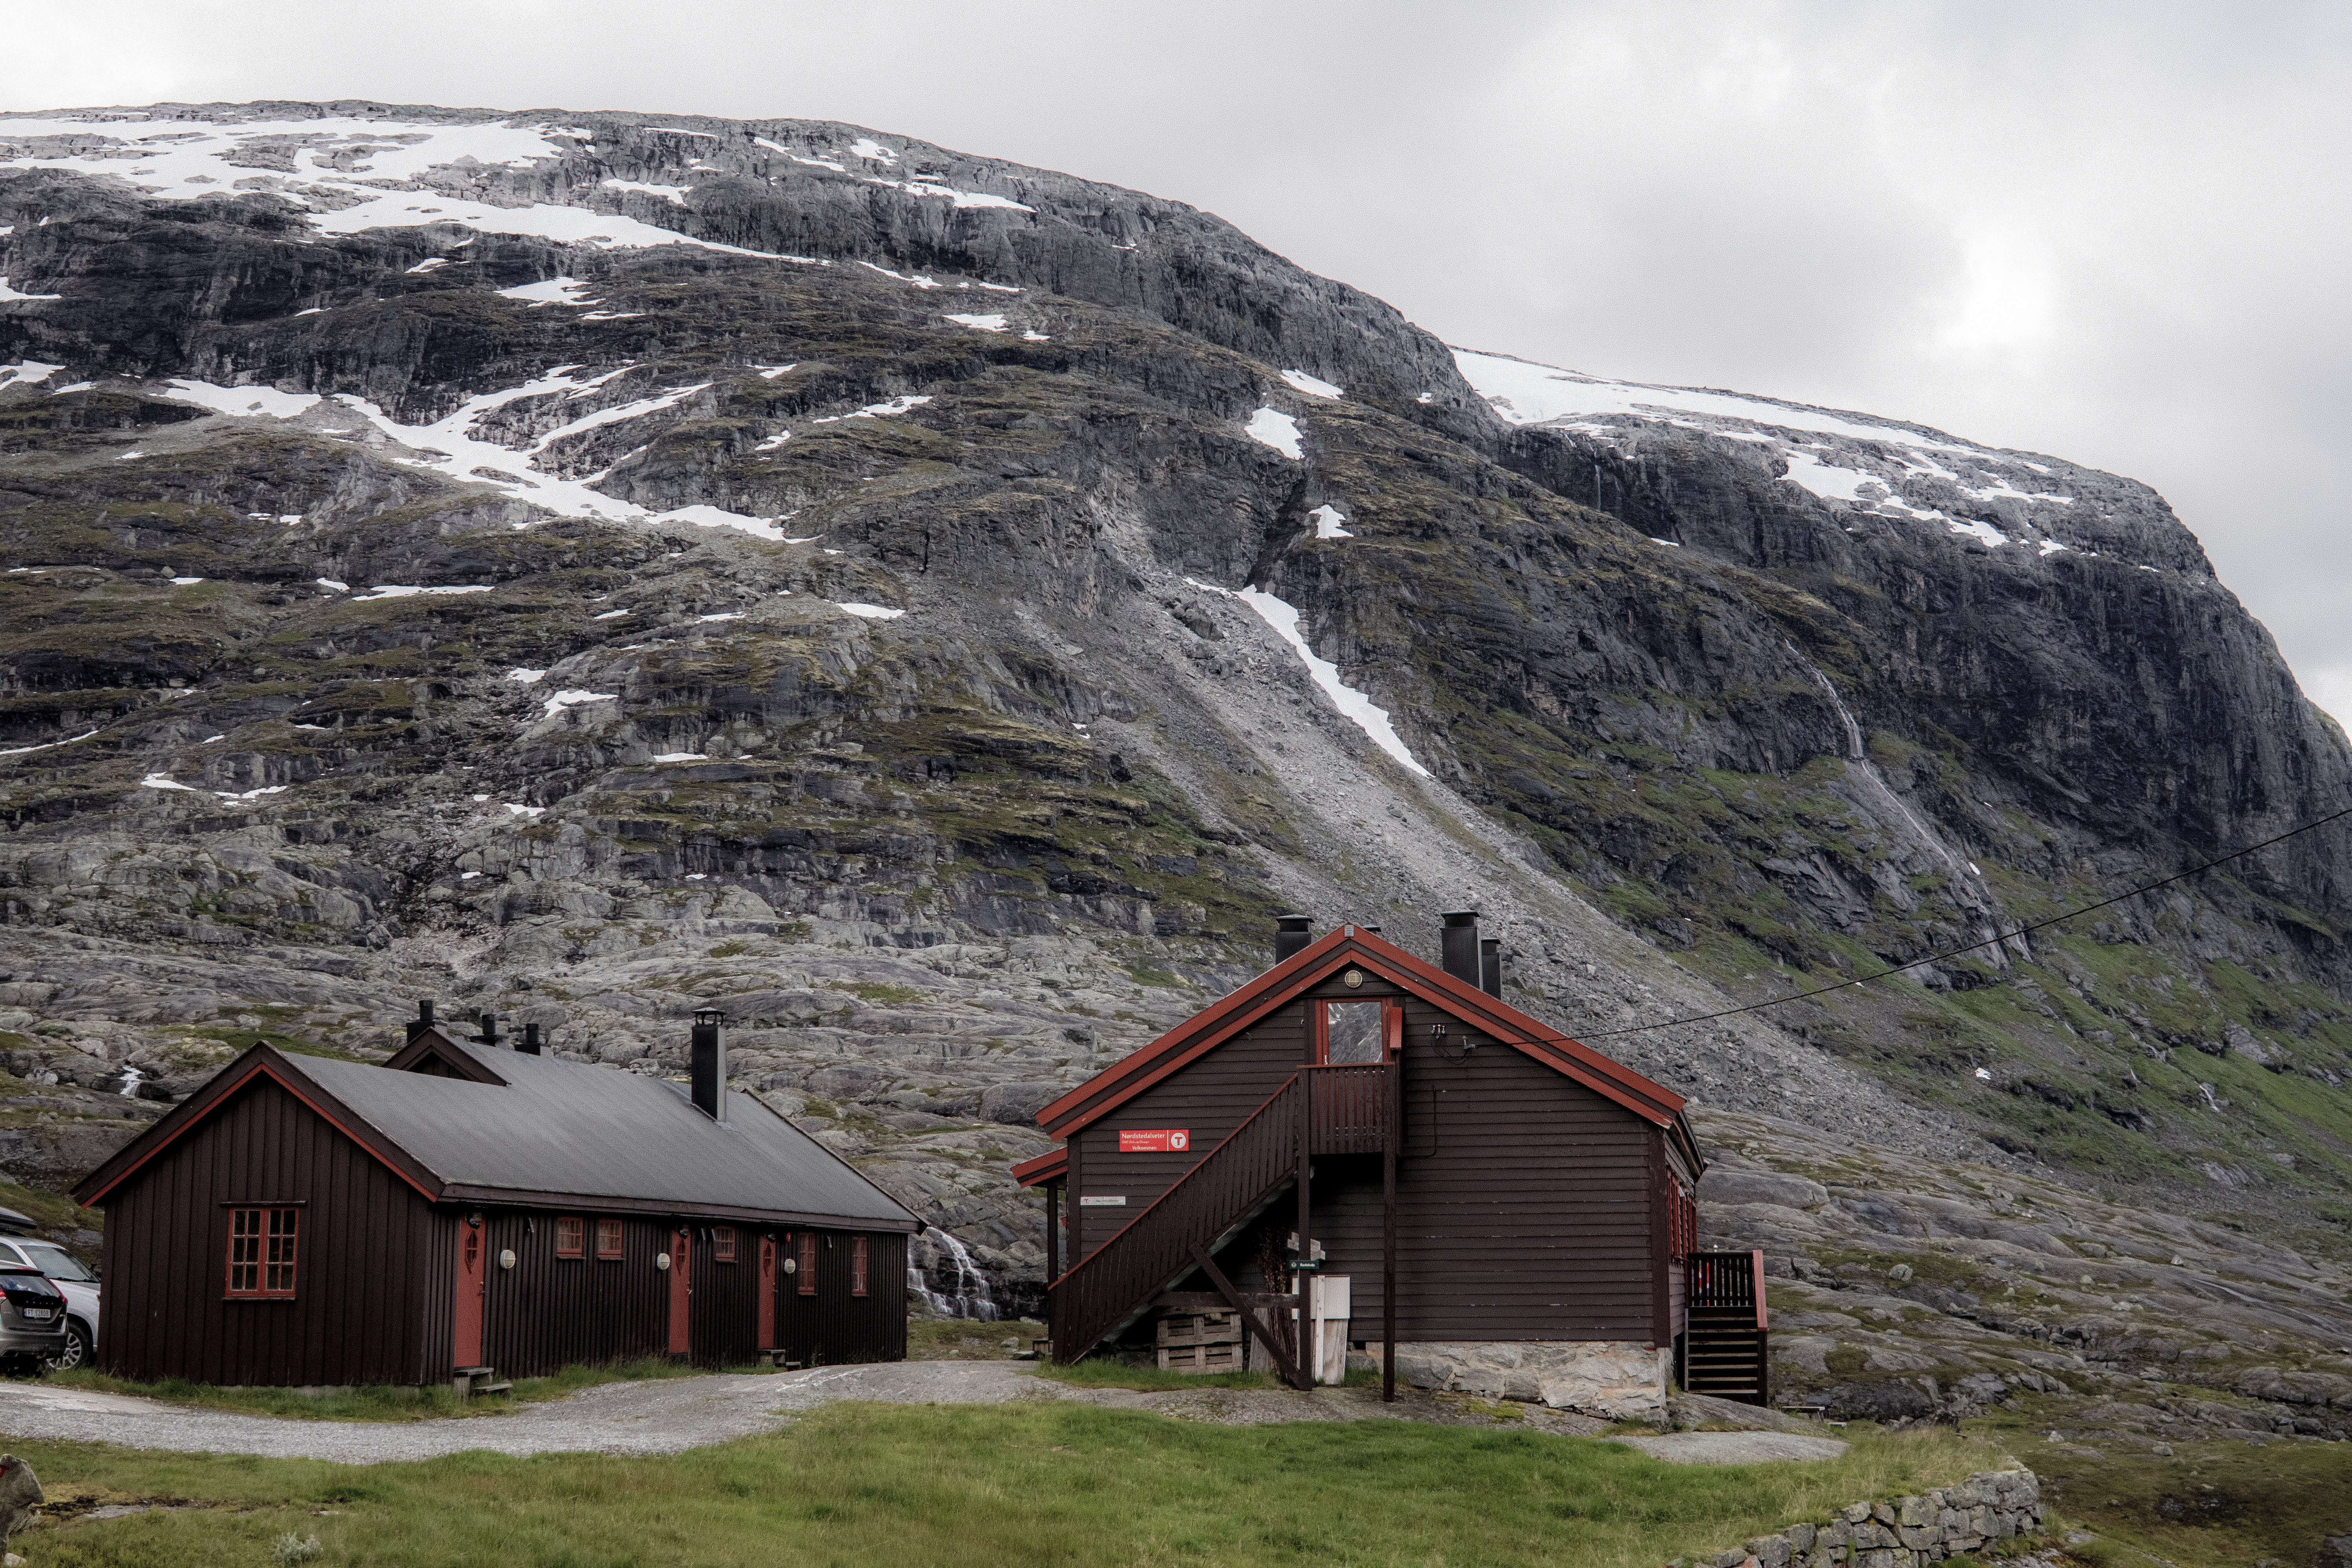
And then the cabin came into sight – it was perched on the edge of the mountain, surrounded by peaks – it was so exposed it was tethered to the ground by steel cables.
iPhone photo – we are staying here!!!!
‘We are definitely staying here!’ we universally agreed.
What a place. It has now gained our recognition of our favourite unserved cabin.
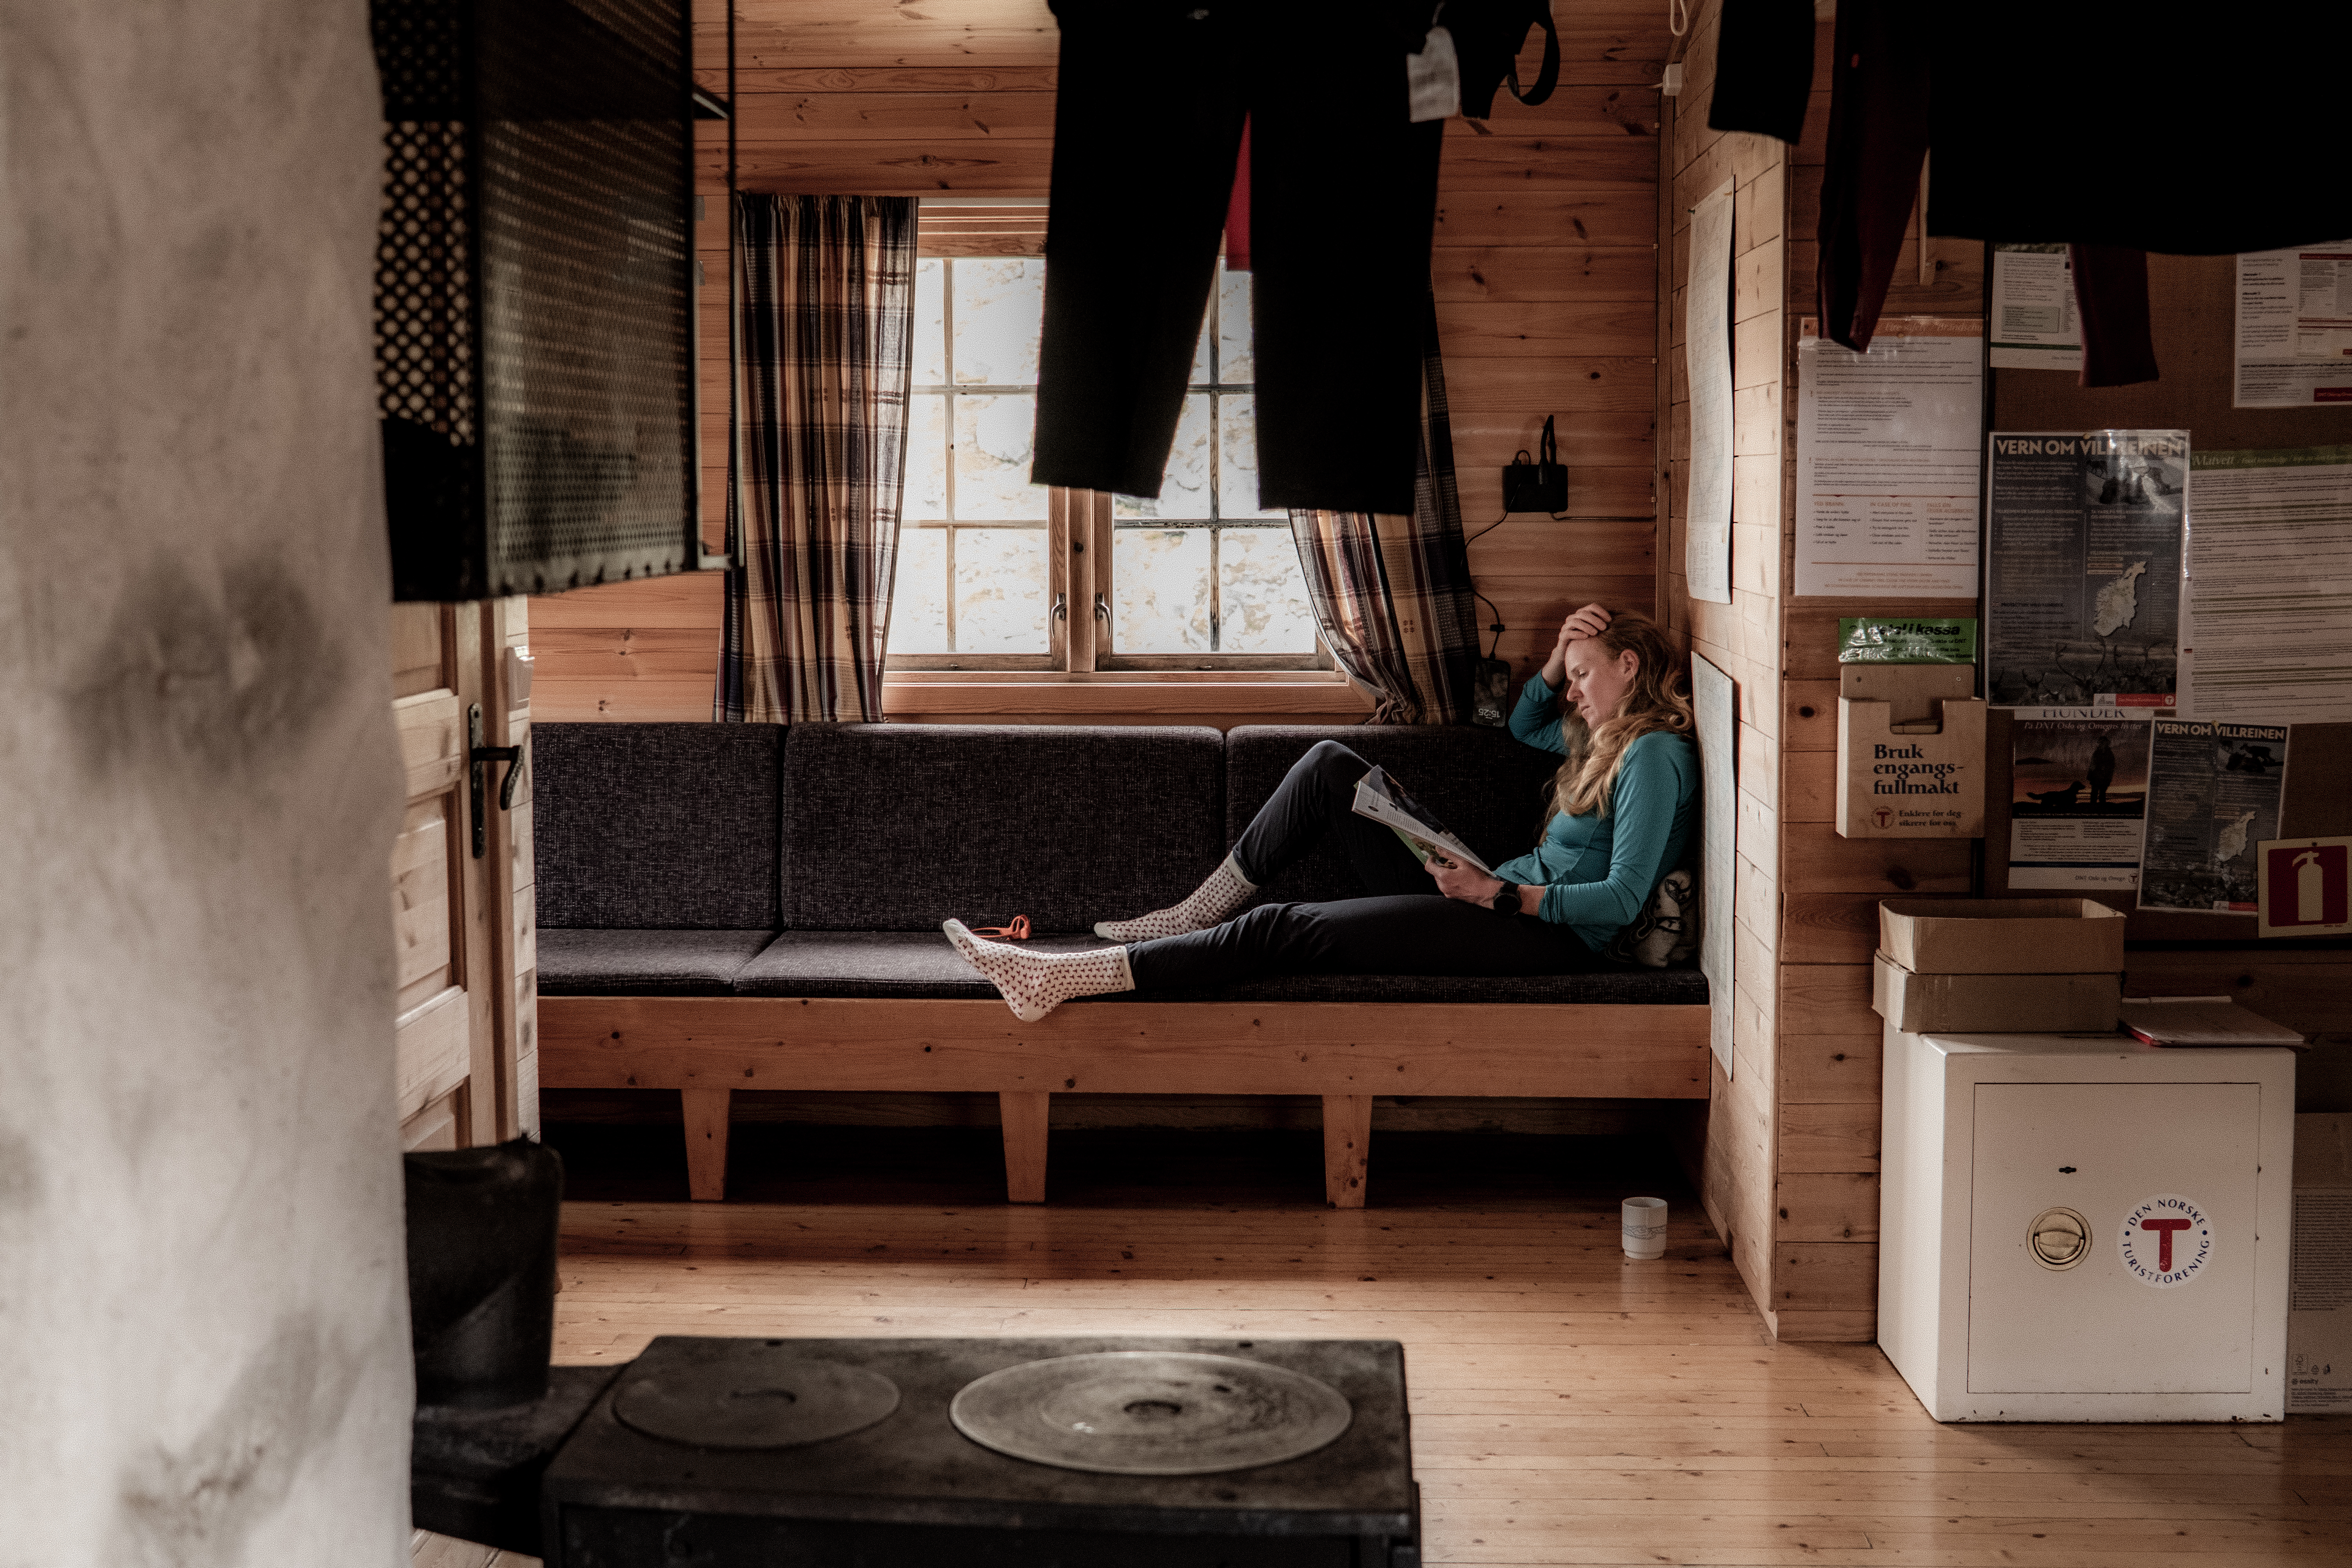
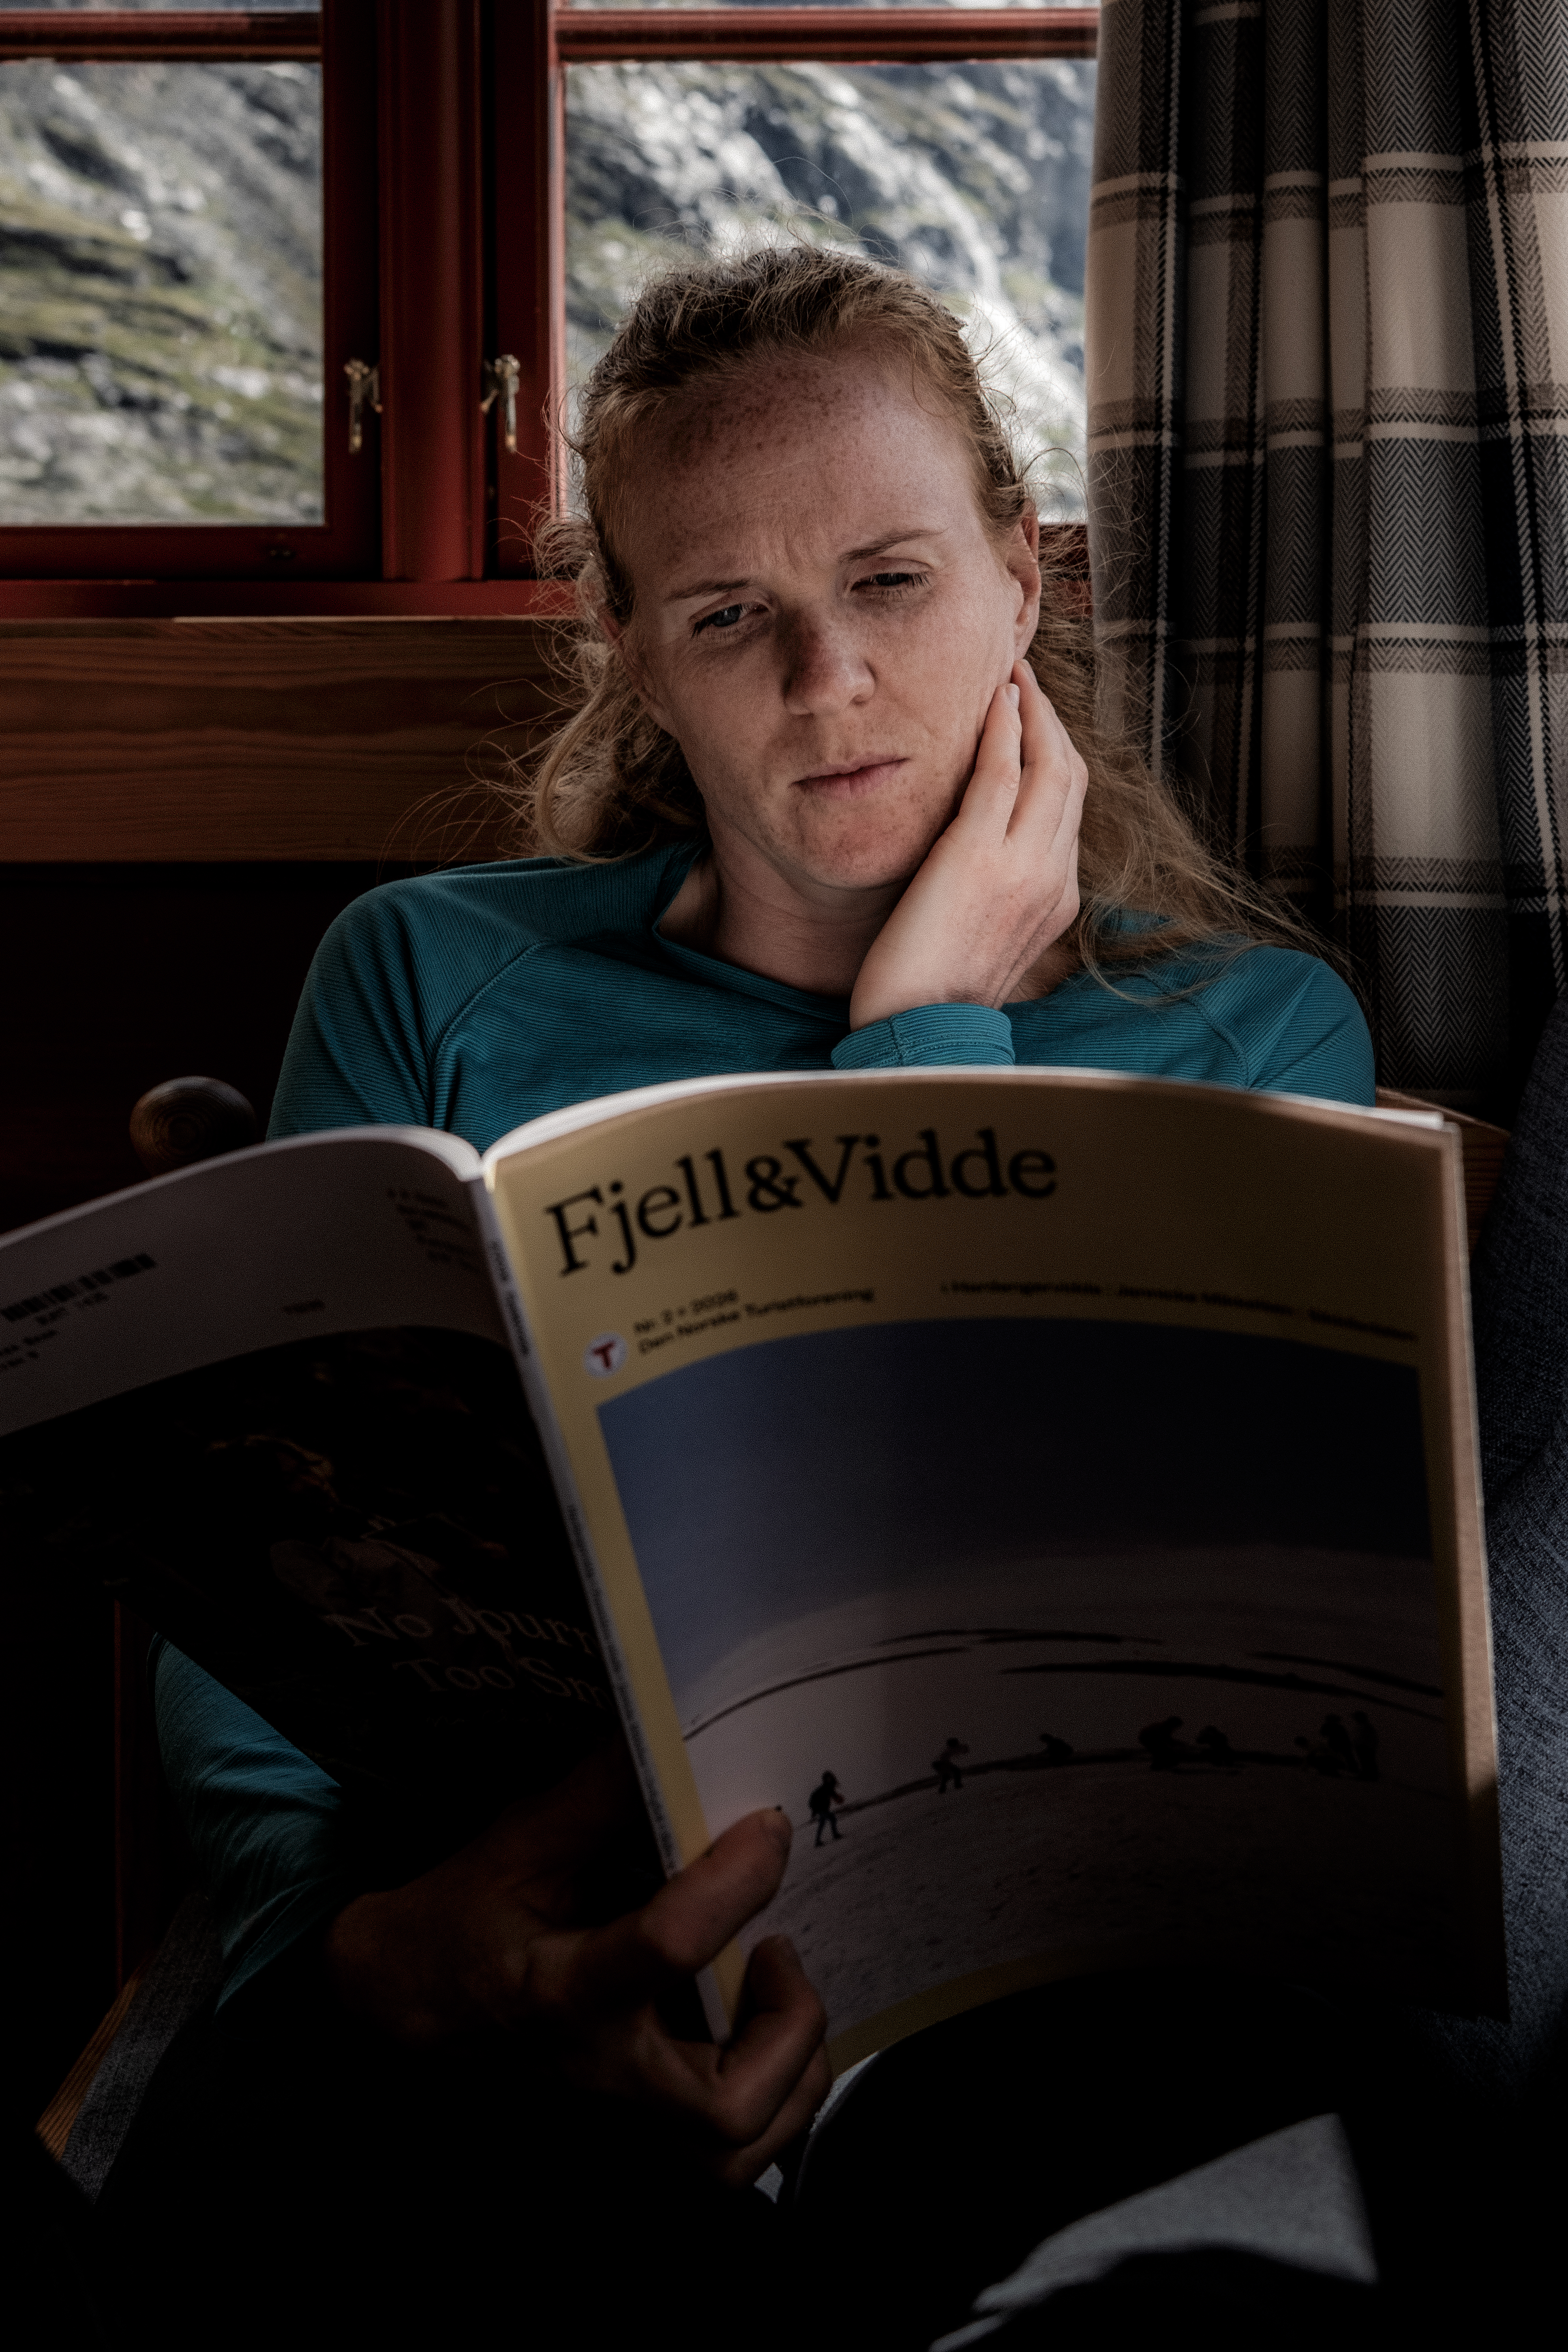
Inside, cozy and warm – we soon got a fire going, checked out the food supply and settled down to an afternoon of relaxation and reading. We were alone.
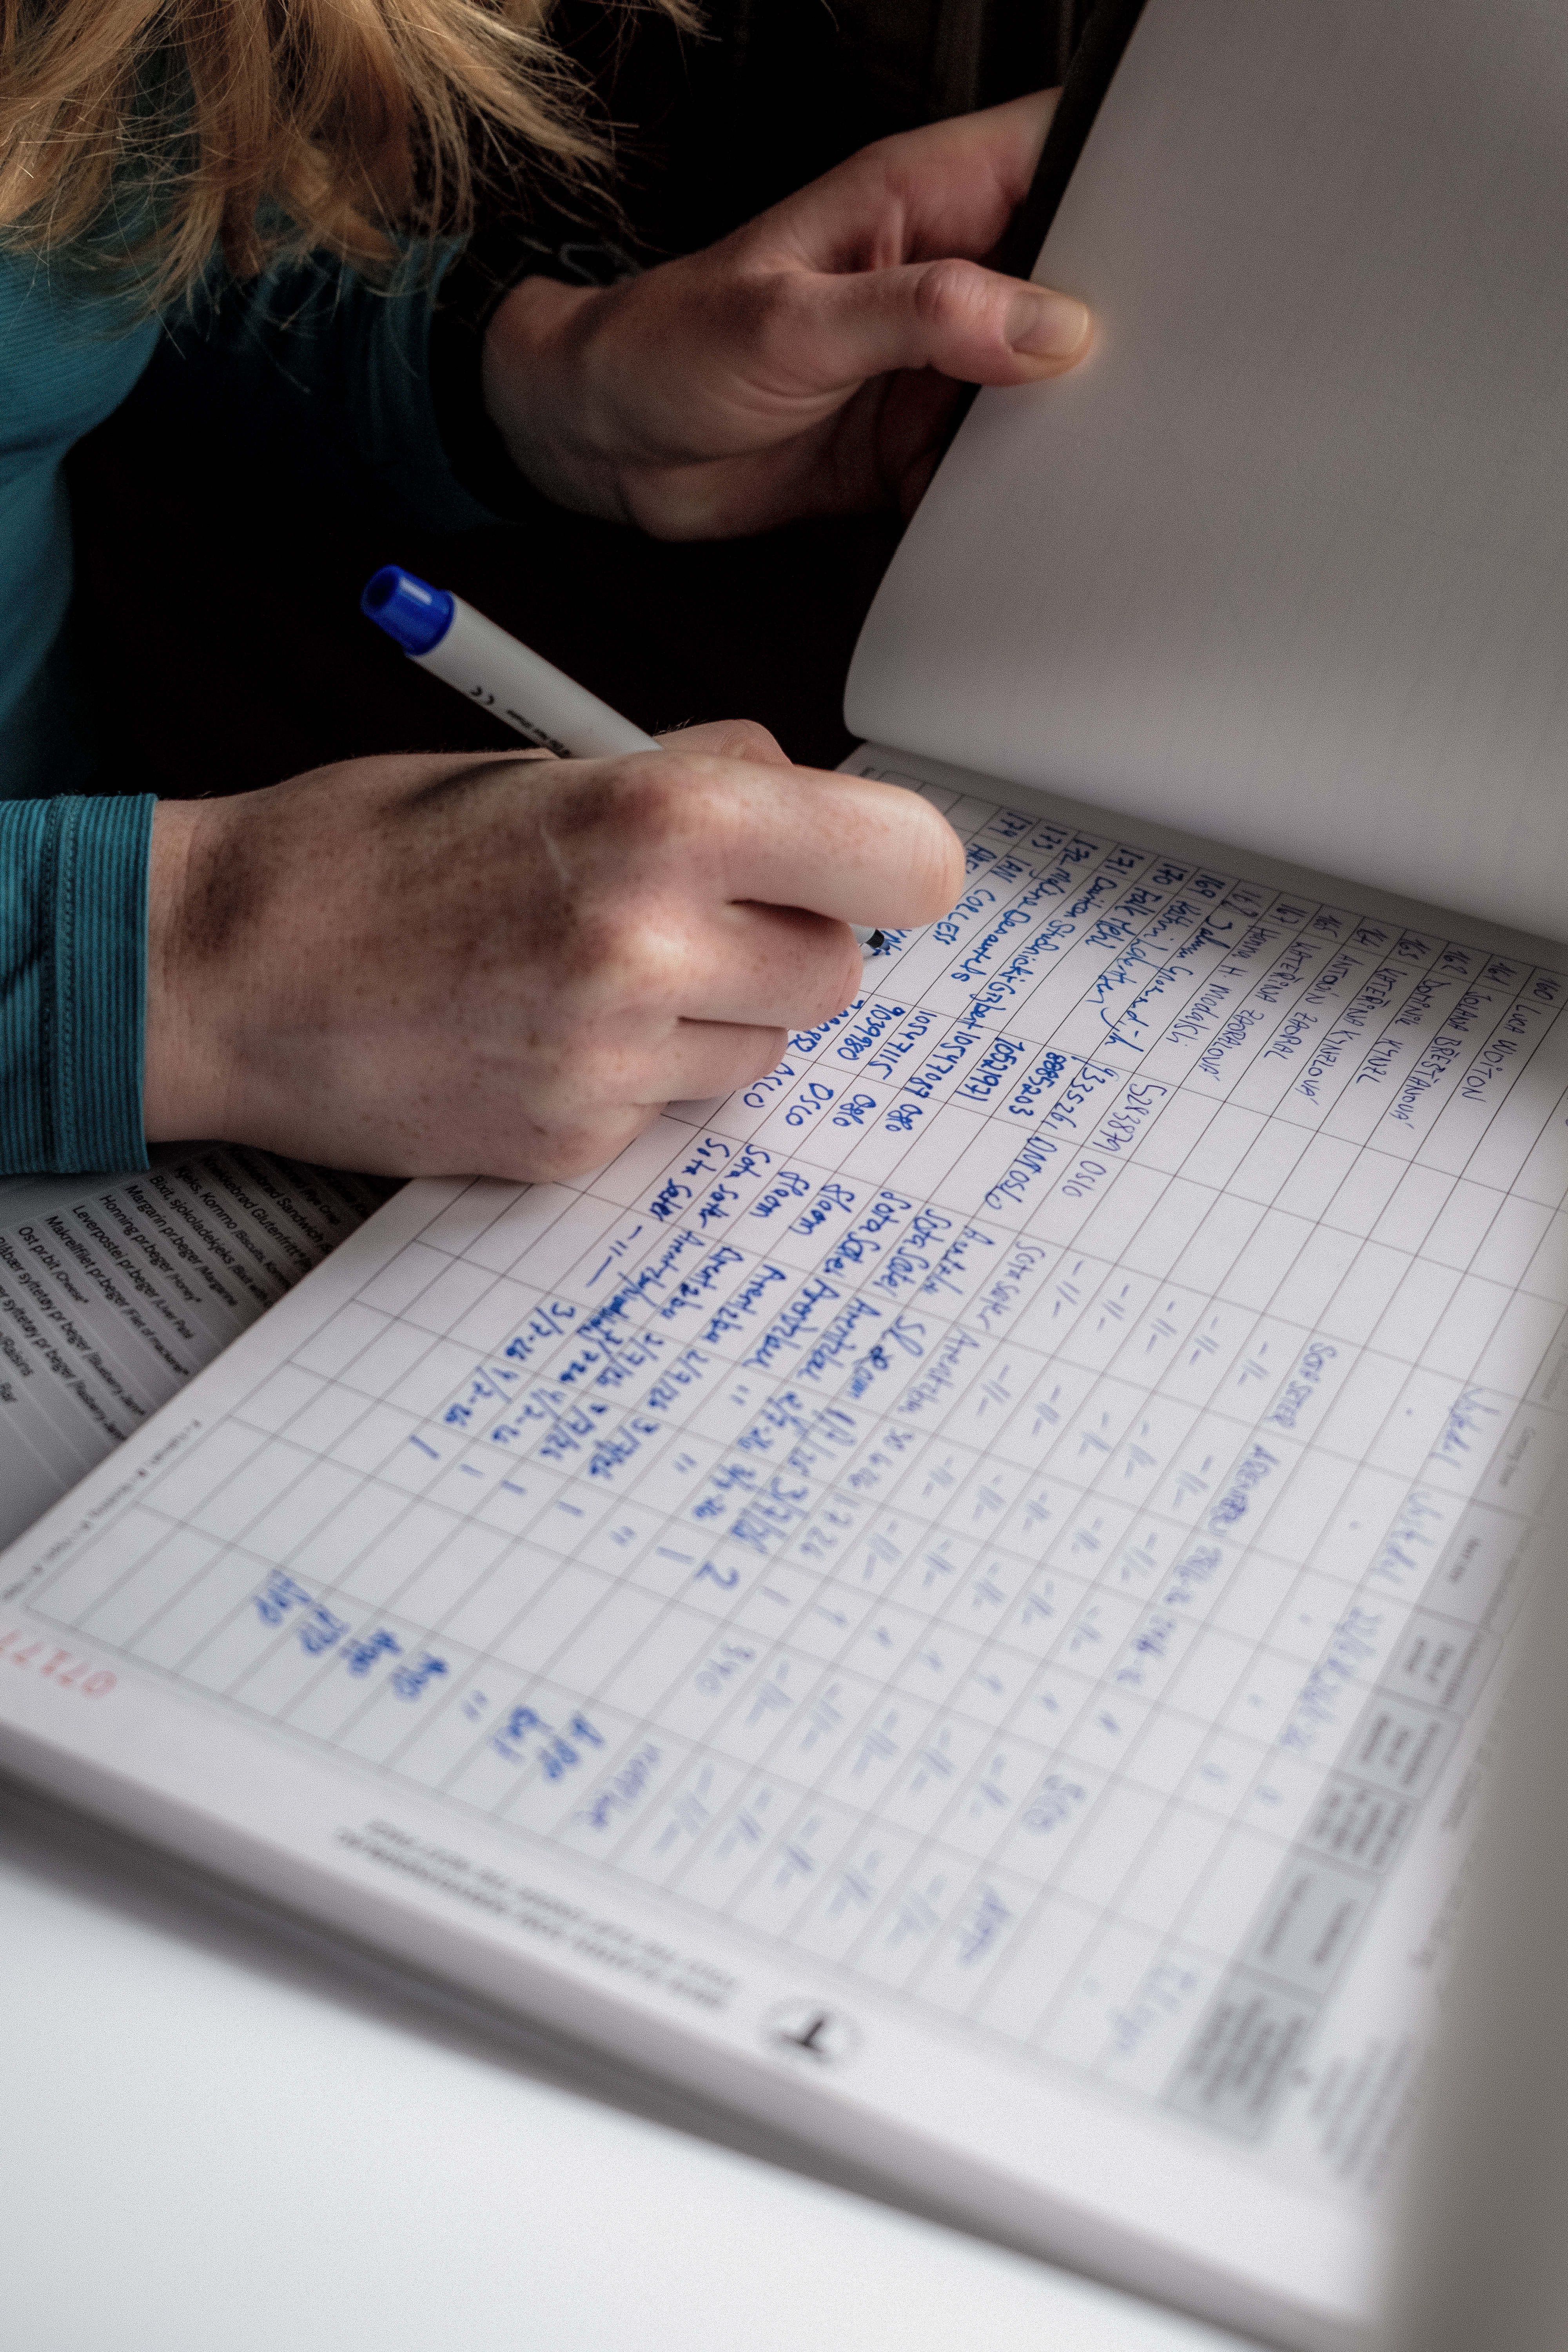
Self service cabins are special and they make ‘fastandlight’ possible – there is a food store so you do not need to carry food. There is a bed with a duvet and pillow, importantly, you must have your own sleeping bag liner! To access you need to be a DNT member and you need a key so that you can access the cabins. Download the DNT app on your phone and you can pay for your stay and what food you use in an automated way.
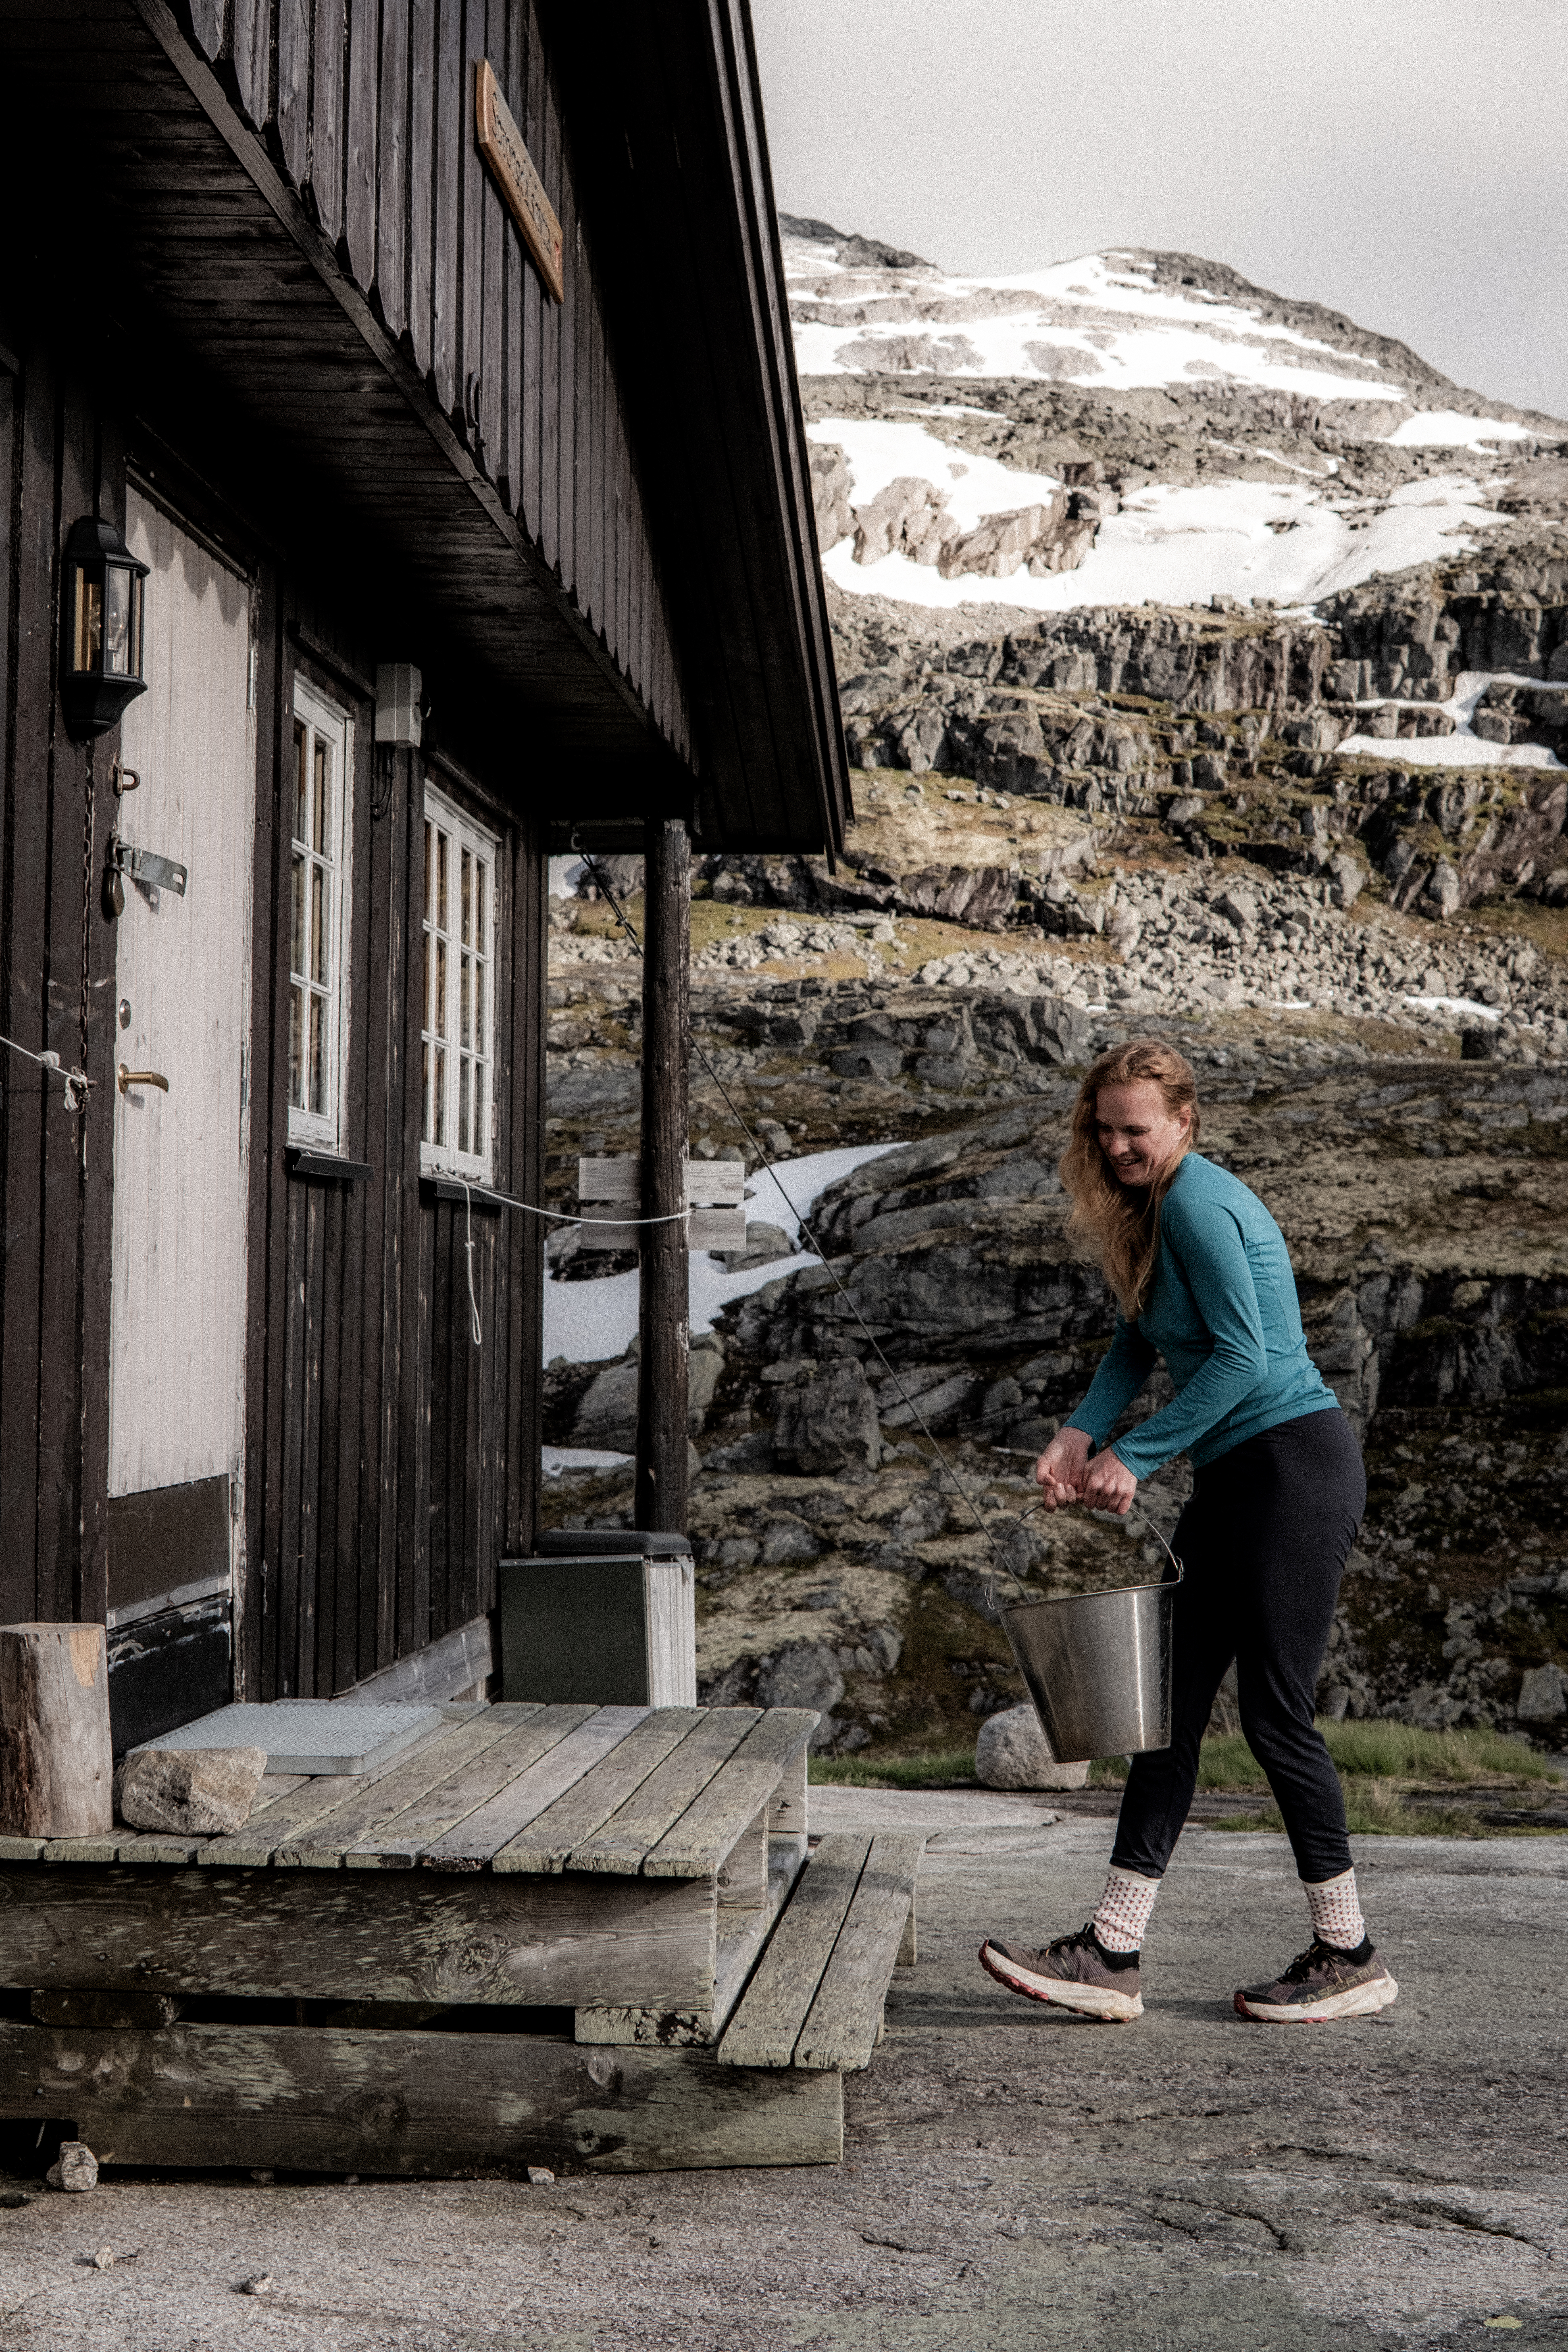
Water often comes from a stream.
Fire wood is available for warmth and comfort.
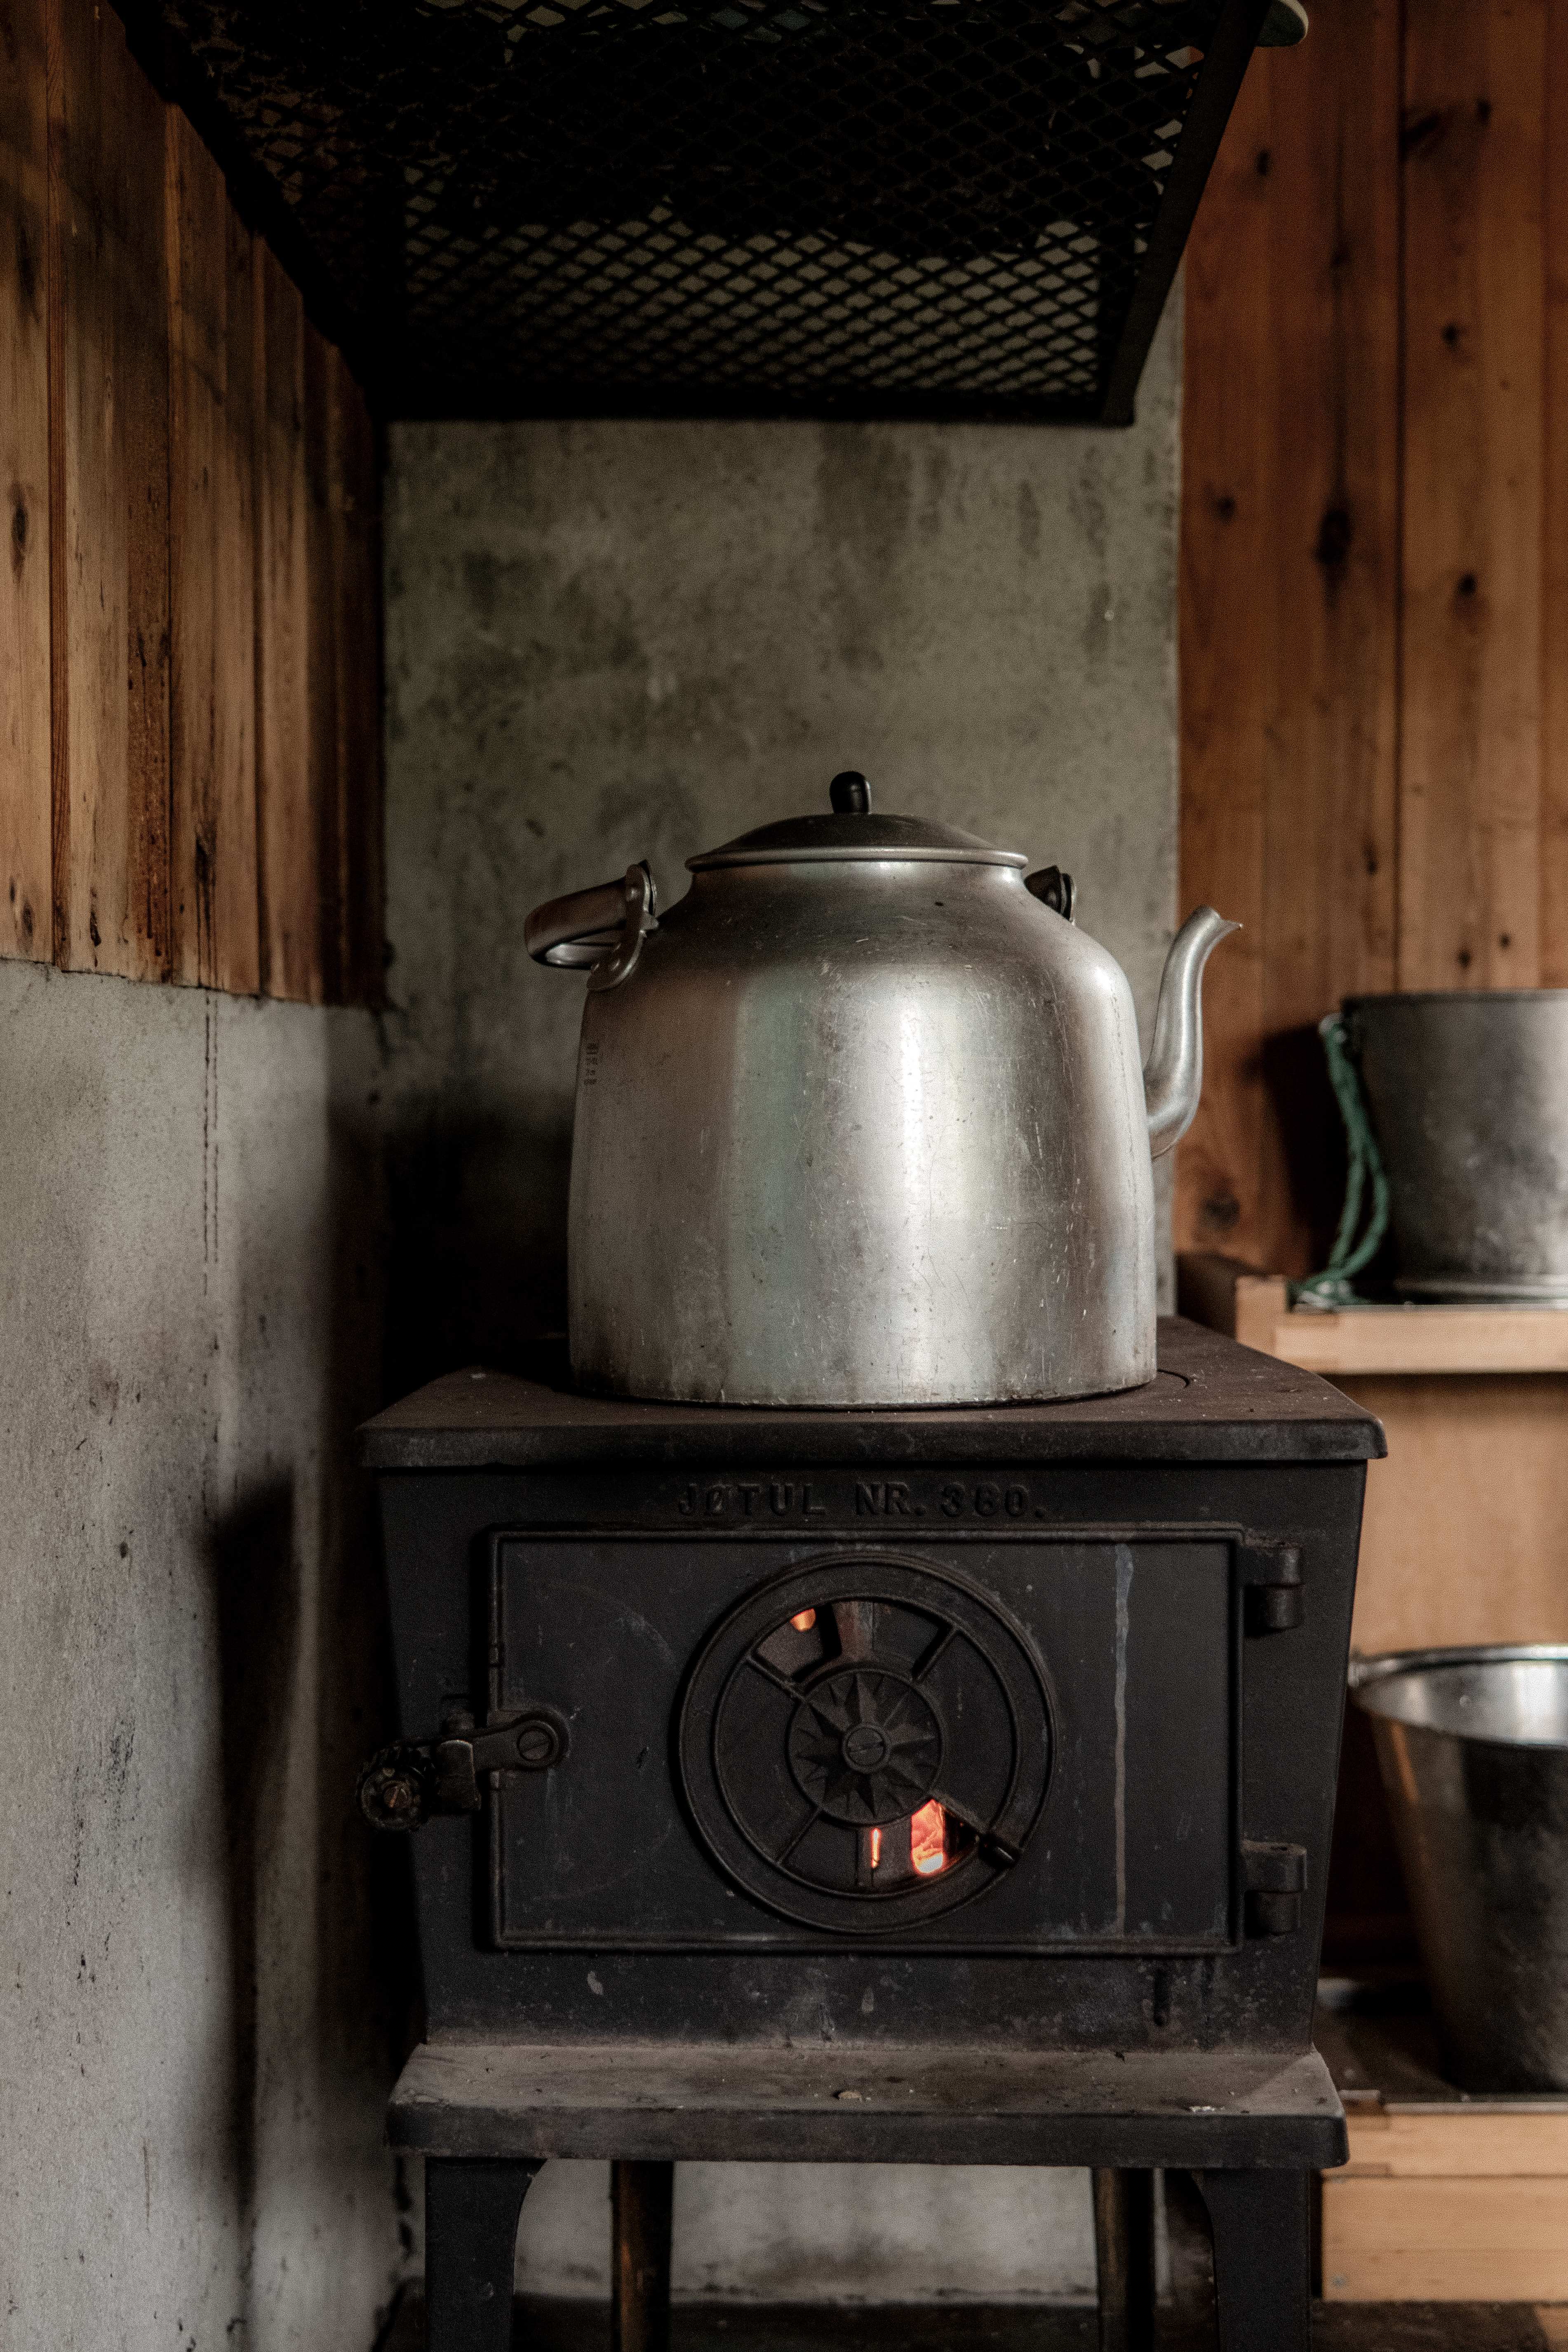
There are cooking facilities – a home from home.
Later in the day we were joined by one hiker, we effectively had the place to ourselves and what a place!
Day 2 – 17.6km 573m+ 4h 01min
On paper, this stage to Arentzbu was going to be easy. ‘It’s mostly downhill’ I said.
Welcome to Norway, welcome to Breiheimen.
This place humbles you in a very good way.
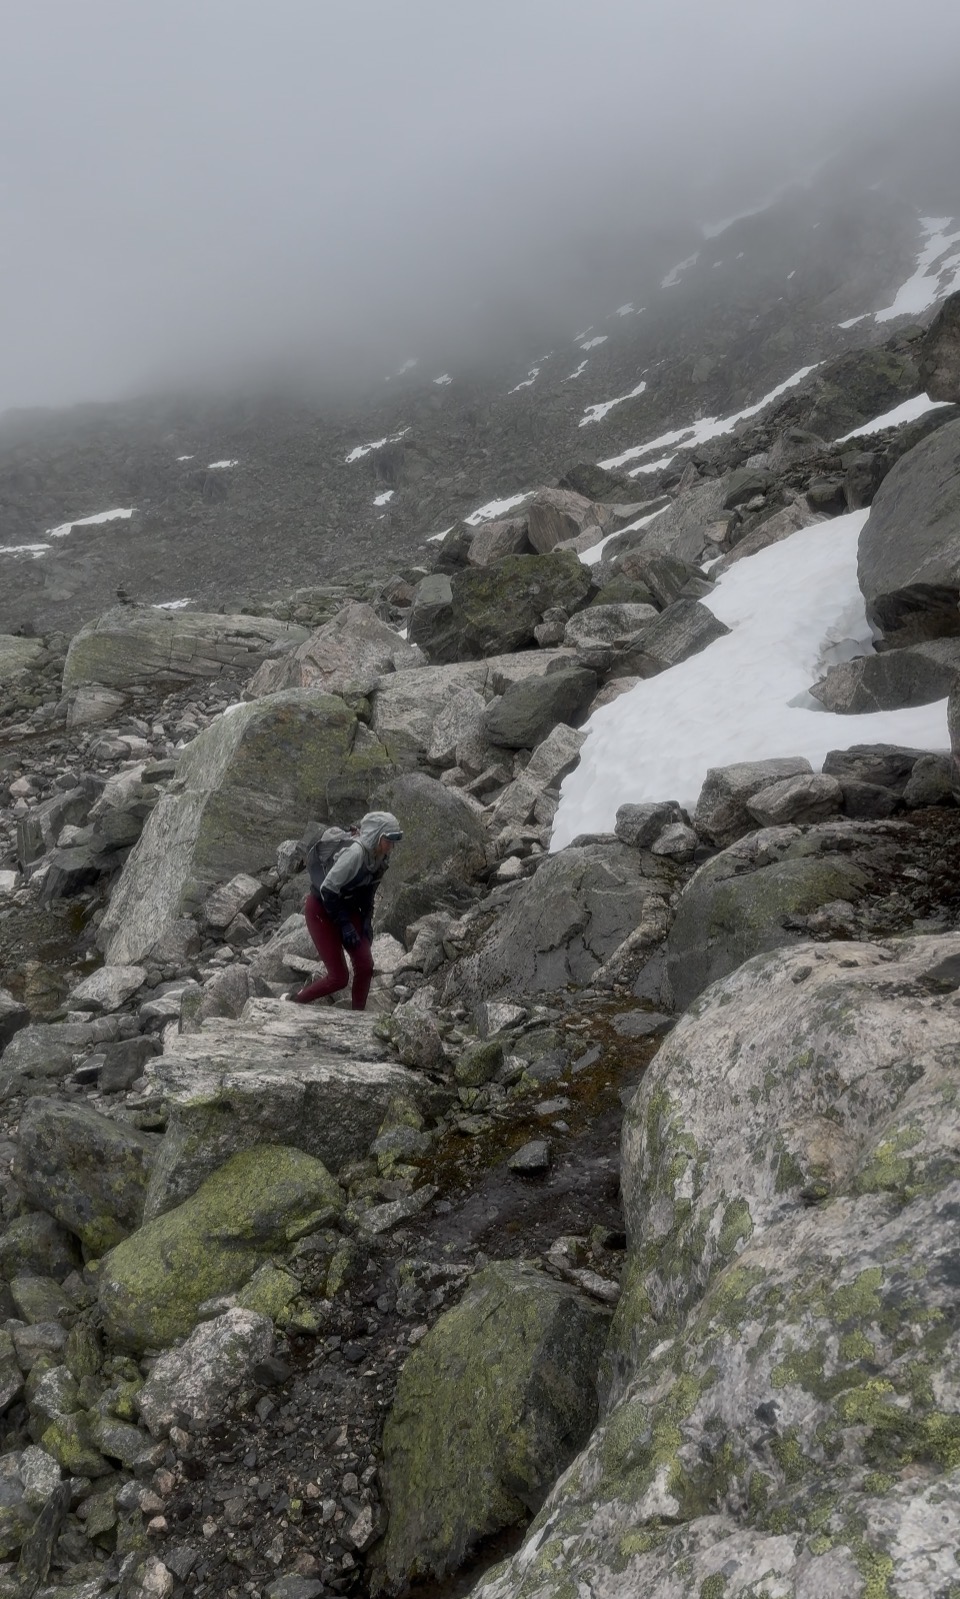
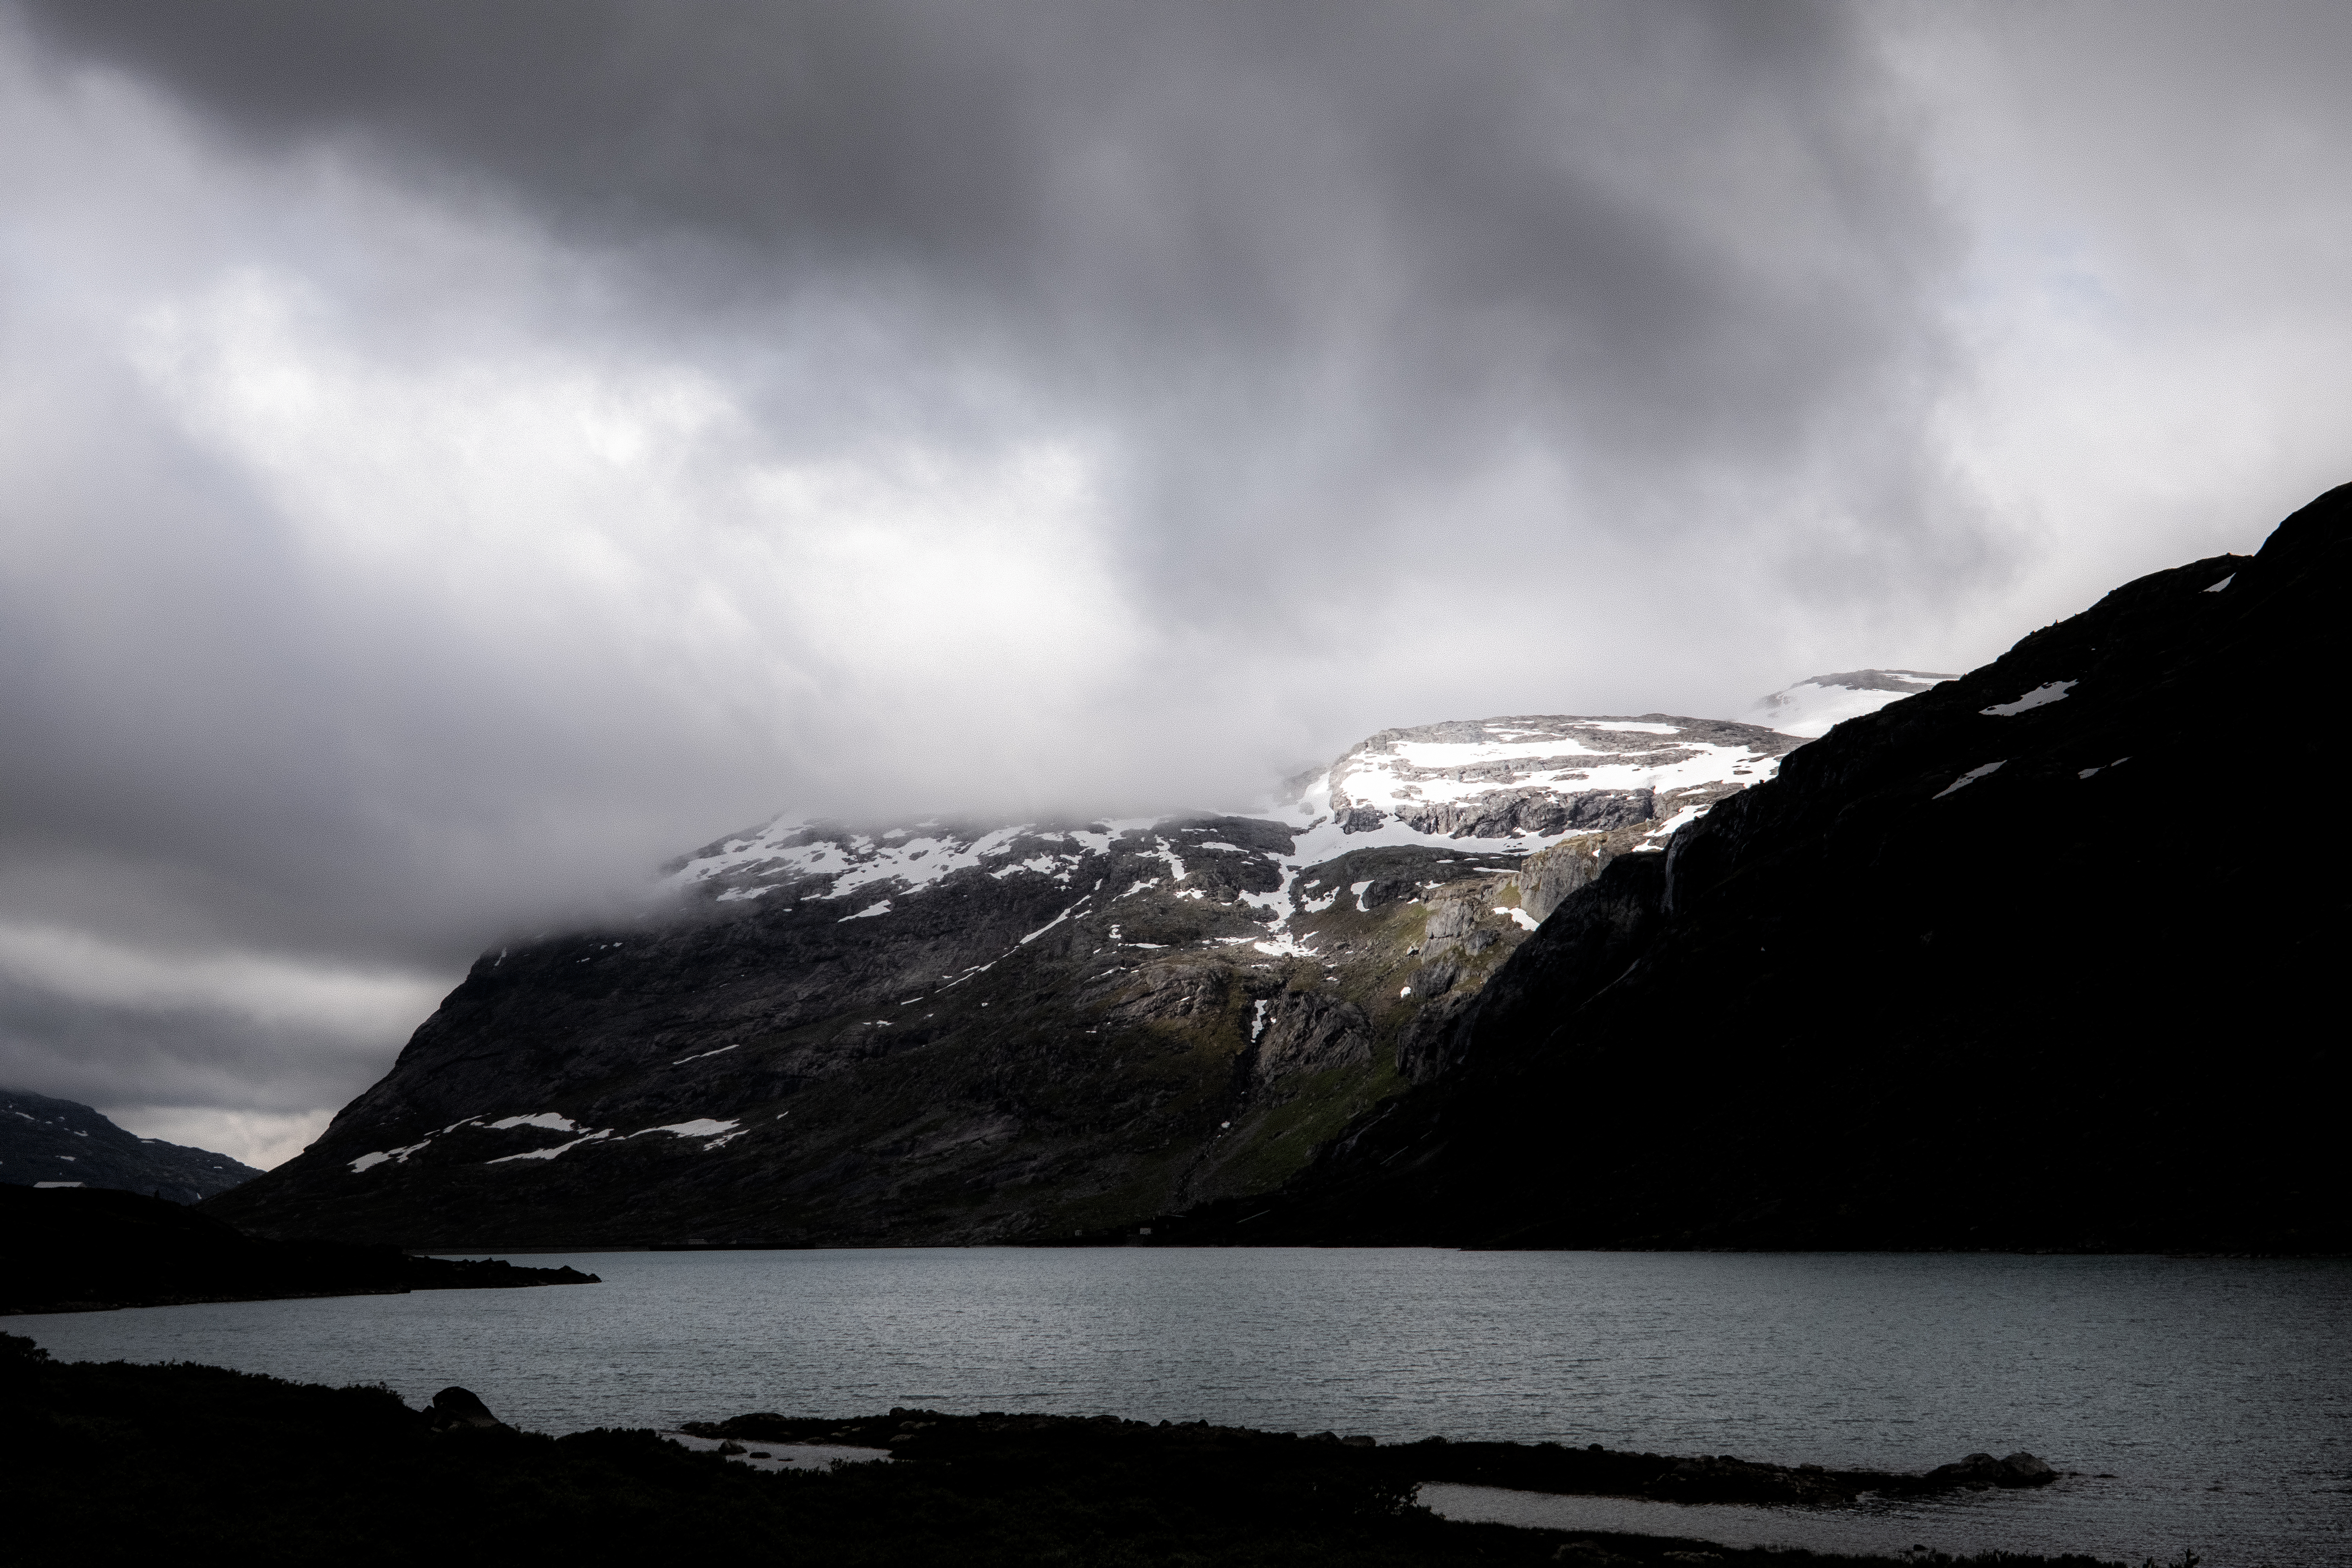
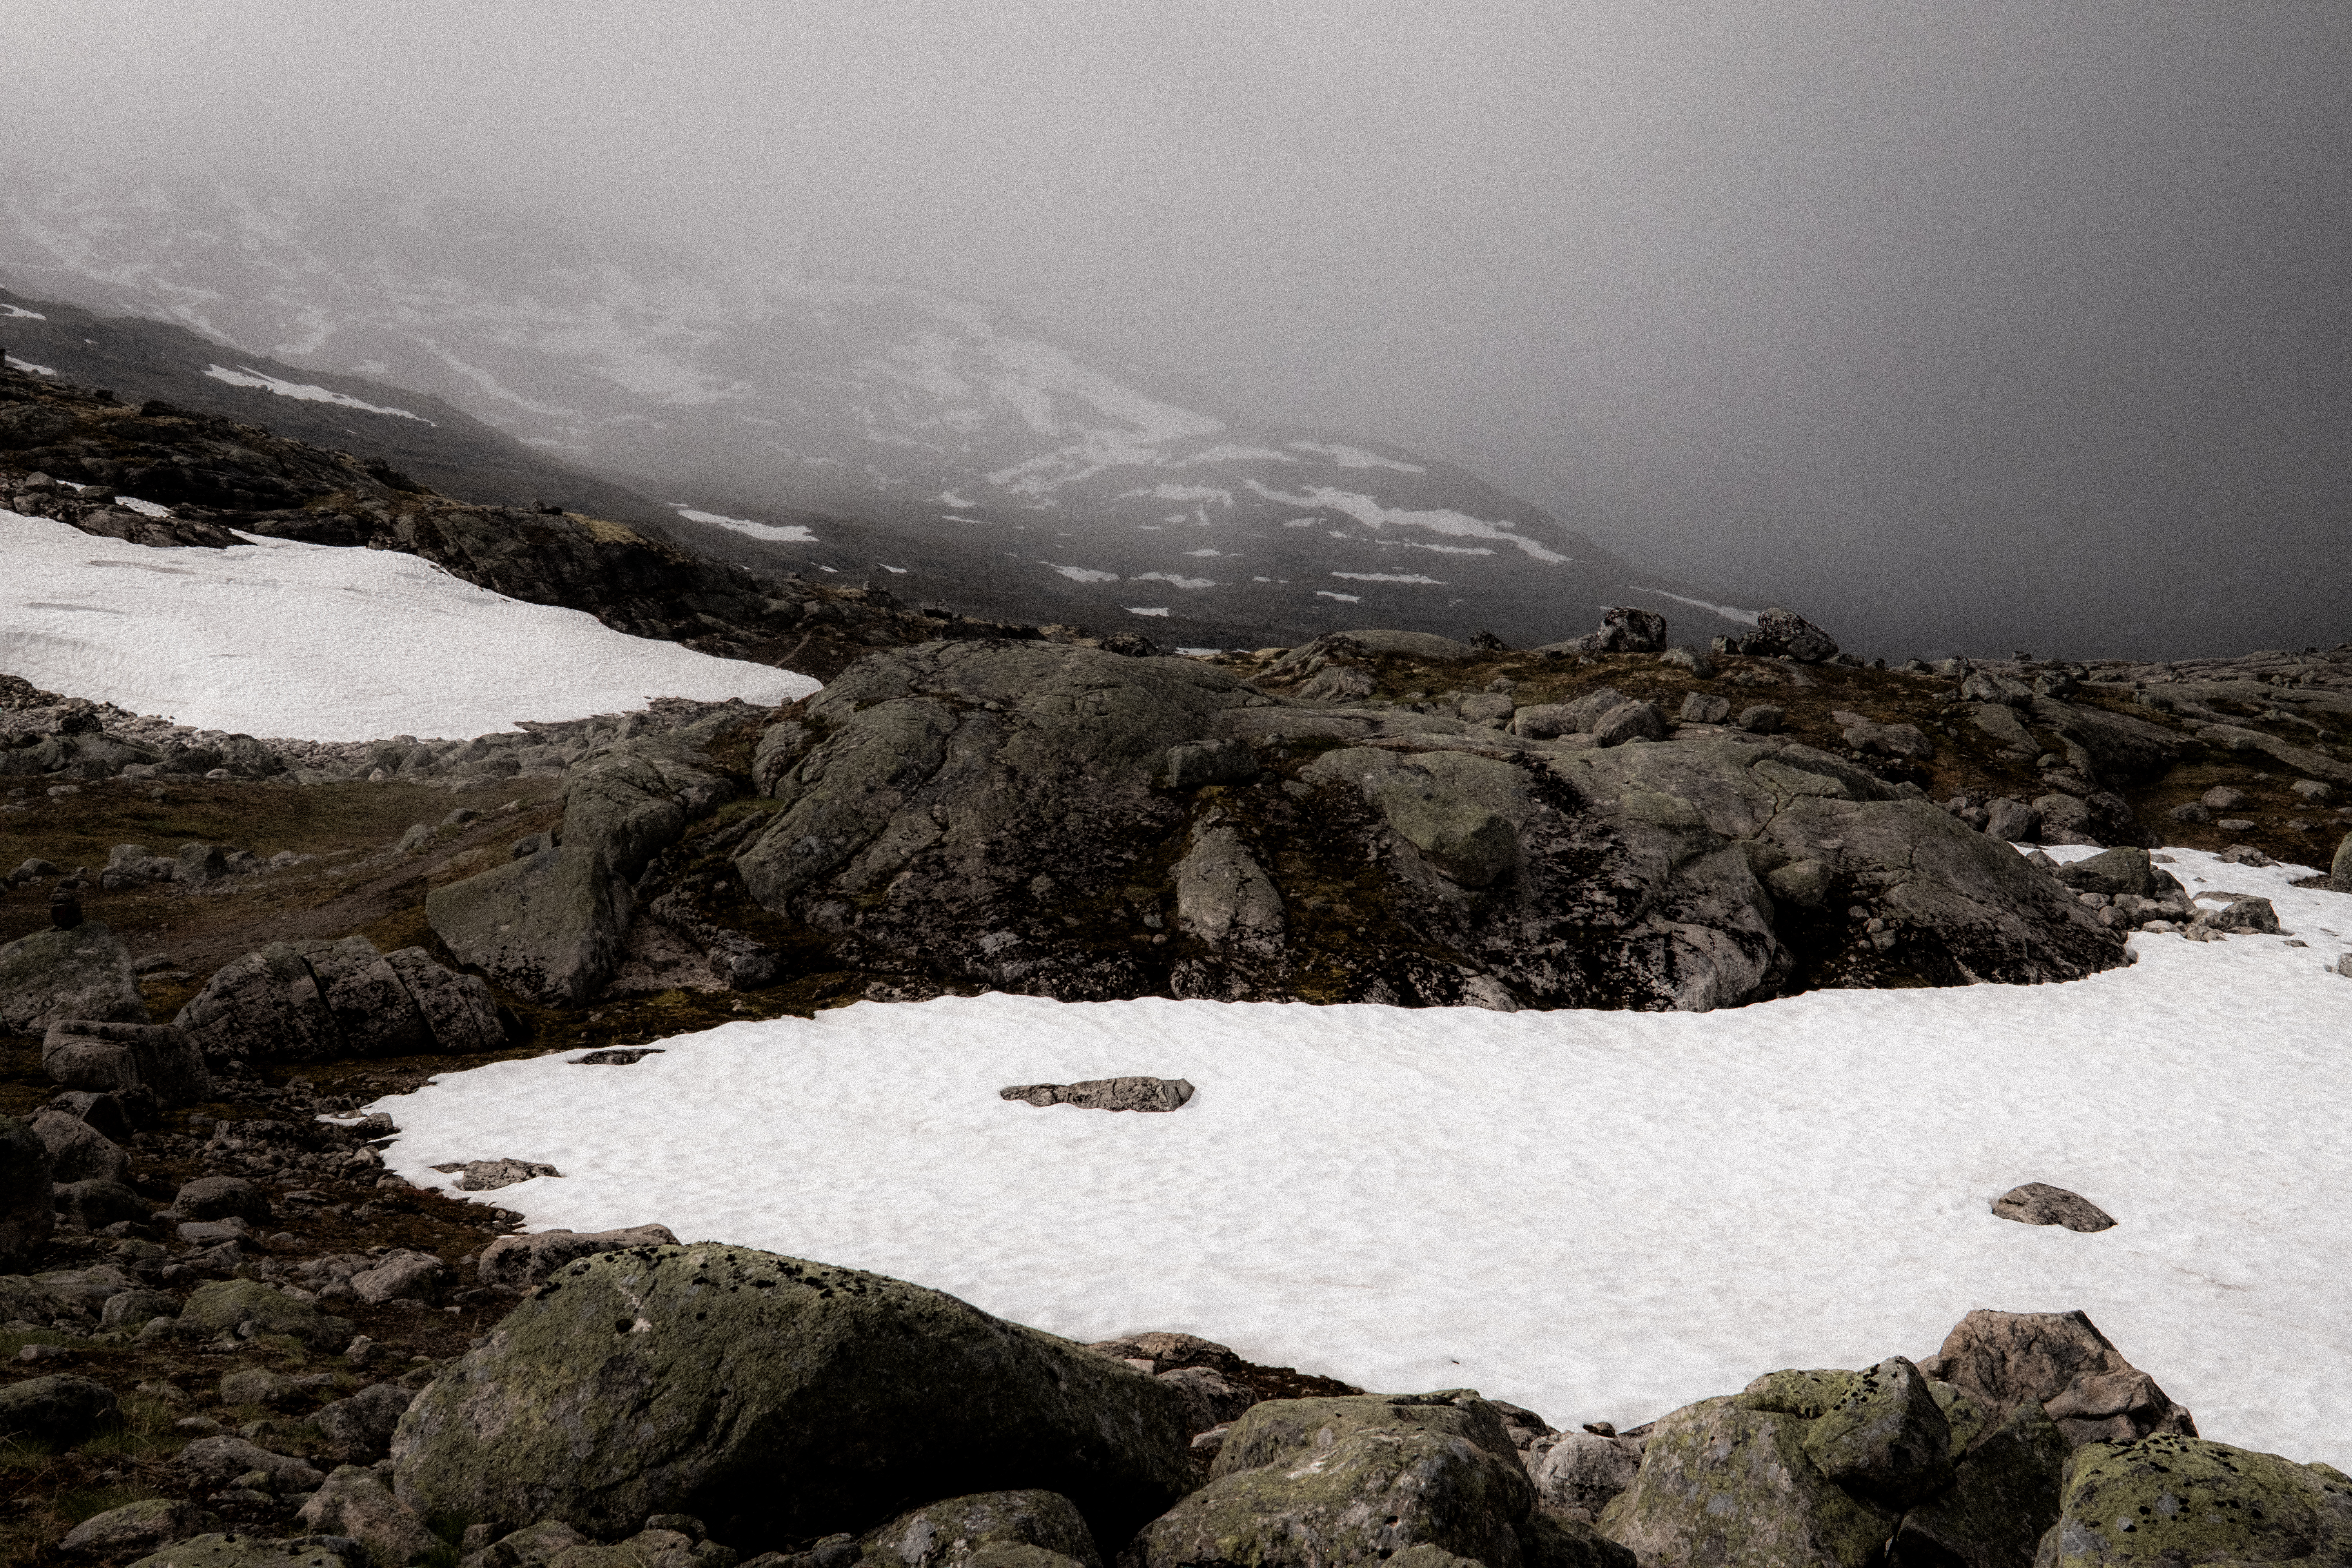
Breiheimen is wild and I love it. We awoke and as always, I took a look out of the window… argh, I am inside a ping pong ball. Cloud and rain had arrived and we were in the thick of it.
Layers on, waterproof jacket on, gloves on Garmin InReach turned on and we started the day climbing up to the snowy mountains above us.
My camera never made an appearance today, at least until inside the cabin, the weather was too wild.
iPhone photo
The trail twists and turns navigating through the rocks, boulders and snow. As in the previous day, looking ahead and referring to GPX is the best way to navigate – this provides the big picture and picking a point ahead and navigating to it is my preferred method than going from T to T.
iPhone photo
It was tough terrain.
Slippery, wet, uneven and the persistent rain made this a PURE Norwegian day. In contrast to SAGA, this was wild and remote.
iPhone Screenshot
Gluggevardvatnet (1429m) a large lake was a key point with a short climb after then effectively we were going downhill to Arentzbu.
‘Bloody hell, I am seriously glad we stopped at Sprongdalshytta last night; this would have been miserable yesterday!’
There was part of me that hated to say it, but I was correct. Had we done the double day yesterday, for sure we would have got it done but it would have been a seriously tough 8 to 10-hours.
If you haven’t already realized it, never read too much into distance in Norway – 2km’s can take 1-hour!
Following the trail through green and wet terrain, Arentzbu revealed itself nestled in a lush green valley surrounded by mountains – a real contrast to Sprongdalshytta.
There were two cabins and, in the cabin we chose, there were three Danish guys who ironically were chilling after a night in the cabin.
It was midday and for me, I was expecting that they would stay another night, but no, they were just late starters. We shared chat, a fire and hot drinks and by 1500 they were gone.
Abelone and I settled down, fire blazing – this is the life.
The door opened and two very wet and exhausted Dutch guys entered the cabin. It was around 1800hrs, and they looked a little traumatized. As always, we welcomed them, offered hot water and helped them settle.
They had come from Nørdstedalseter, this would be our day 3, approx 17km’s and 1000m+
It had taken them over 10-hours and the final km’s hadmost definitely had an impact – they complained of the mud, the cold, the slippery conditions – ‘Welcome to Norway’ Abelone and I confirmed.
A cellist and a script writer – we enjoyed an entertaining night sharing stories, one of the joys of the cabin-to-cabin experience.
Day 3 – 16.91km 1059m+ 3h 48m
Nørdstedalseter was our destination today, a cabin Abelone and I know well. This cabin was the end of Abelone’s day 1 doing MASSIV in 2025 and as such it holds a special place. It’s in an amazing location, has great rooms, a shower and serves great food – what a treat!
The sun was shining, the sky was blue, and the landscape was magnificent.
The first 2km’s were boggy, wet and slippery. A mud fest. We then turned left and climbed up and up through a tight twisting trail of mud.
‘I can see why our Dutch friends were a little jaded when they arrived last night!’ I shouted at Abelone. ‘It’s aw challenge going up, coming down it must have been miserable!’
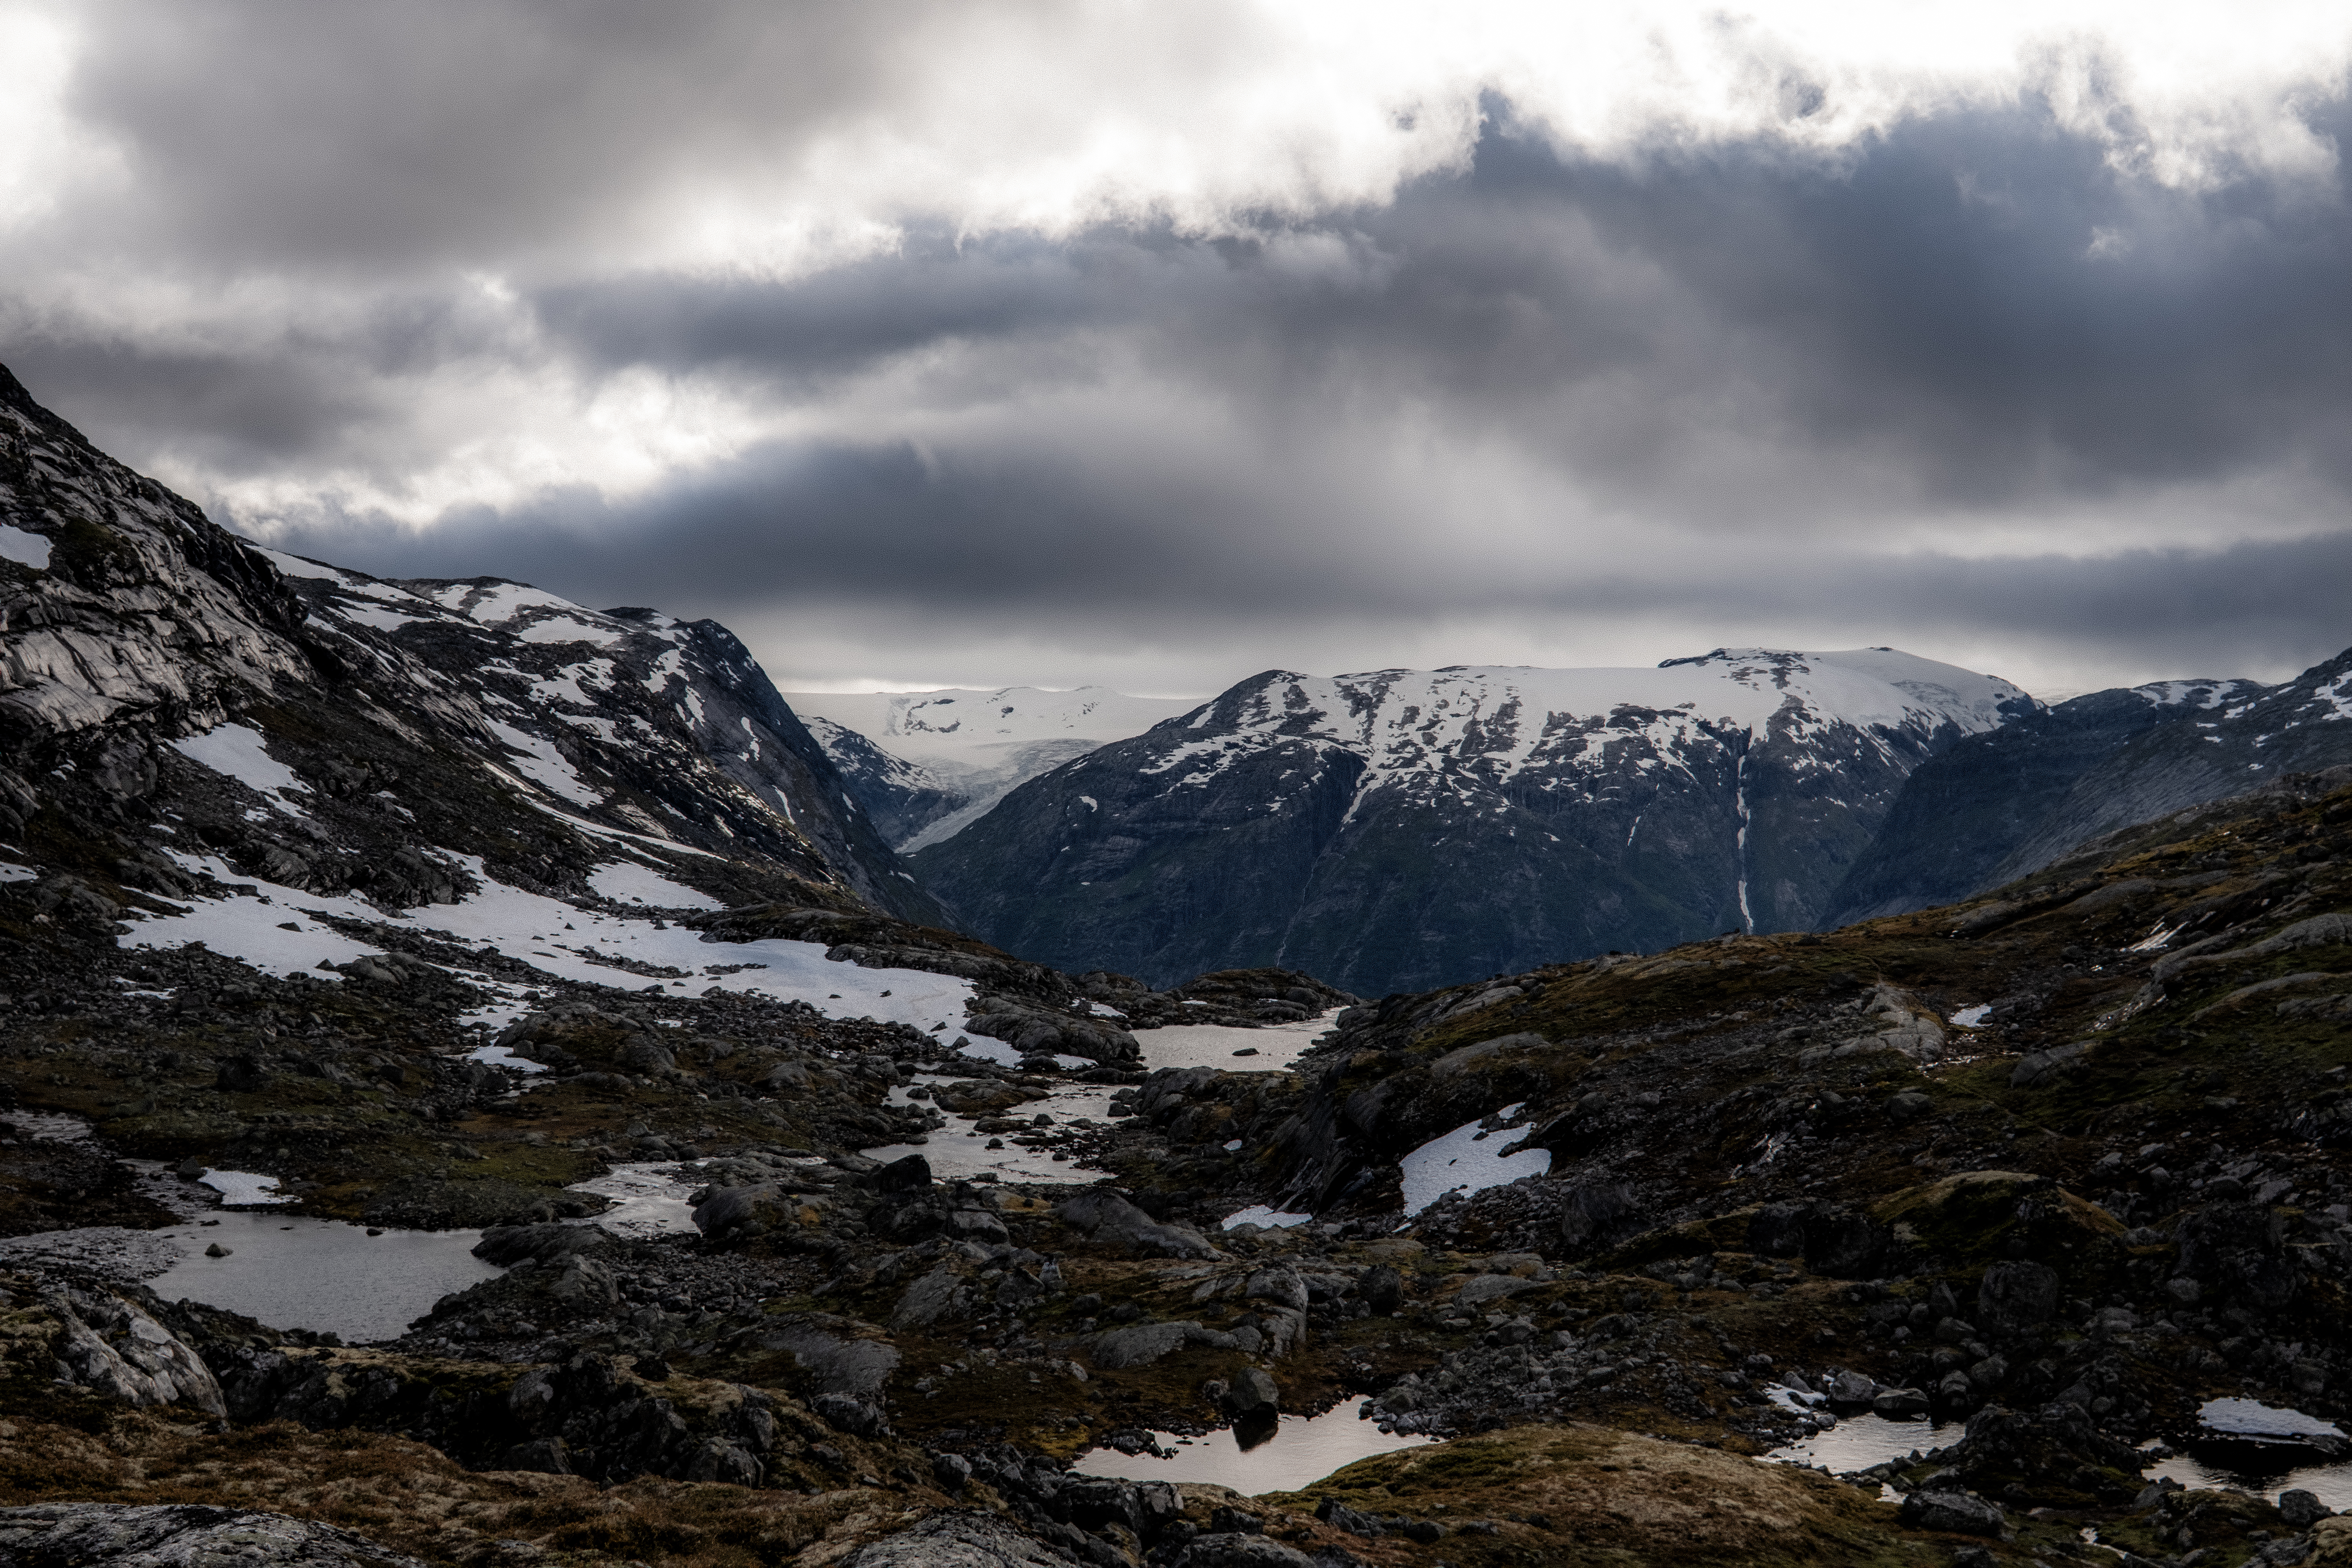
Heimsta Rausdalsvatnet lake was in the background, in the distance Spørteggbreen glacier was clearly visible. This is why we do what we do, these views were stunning.
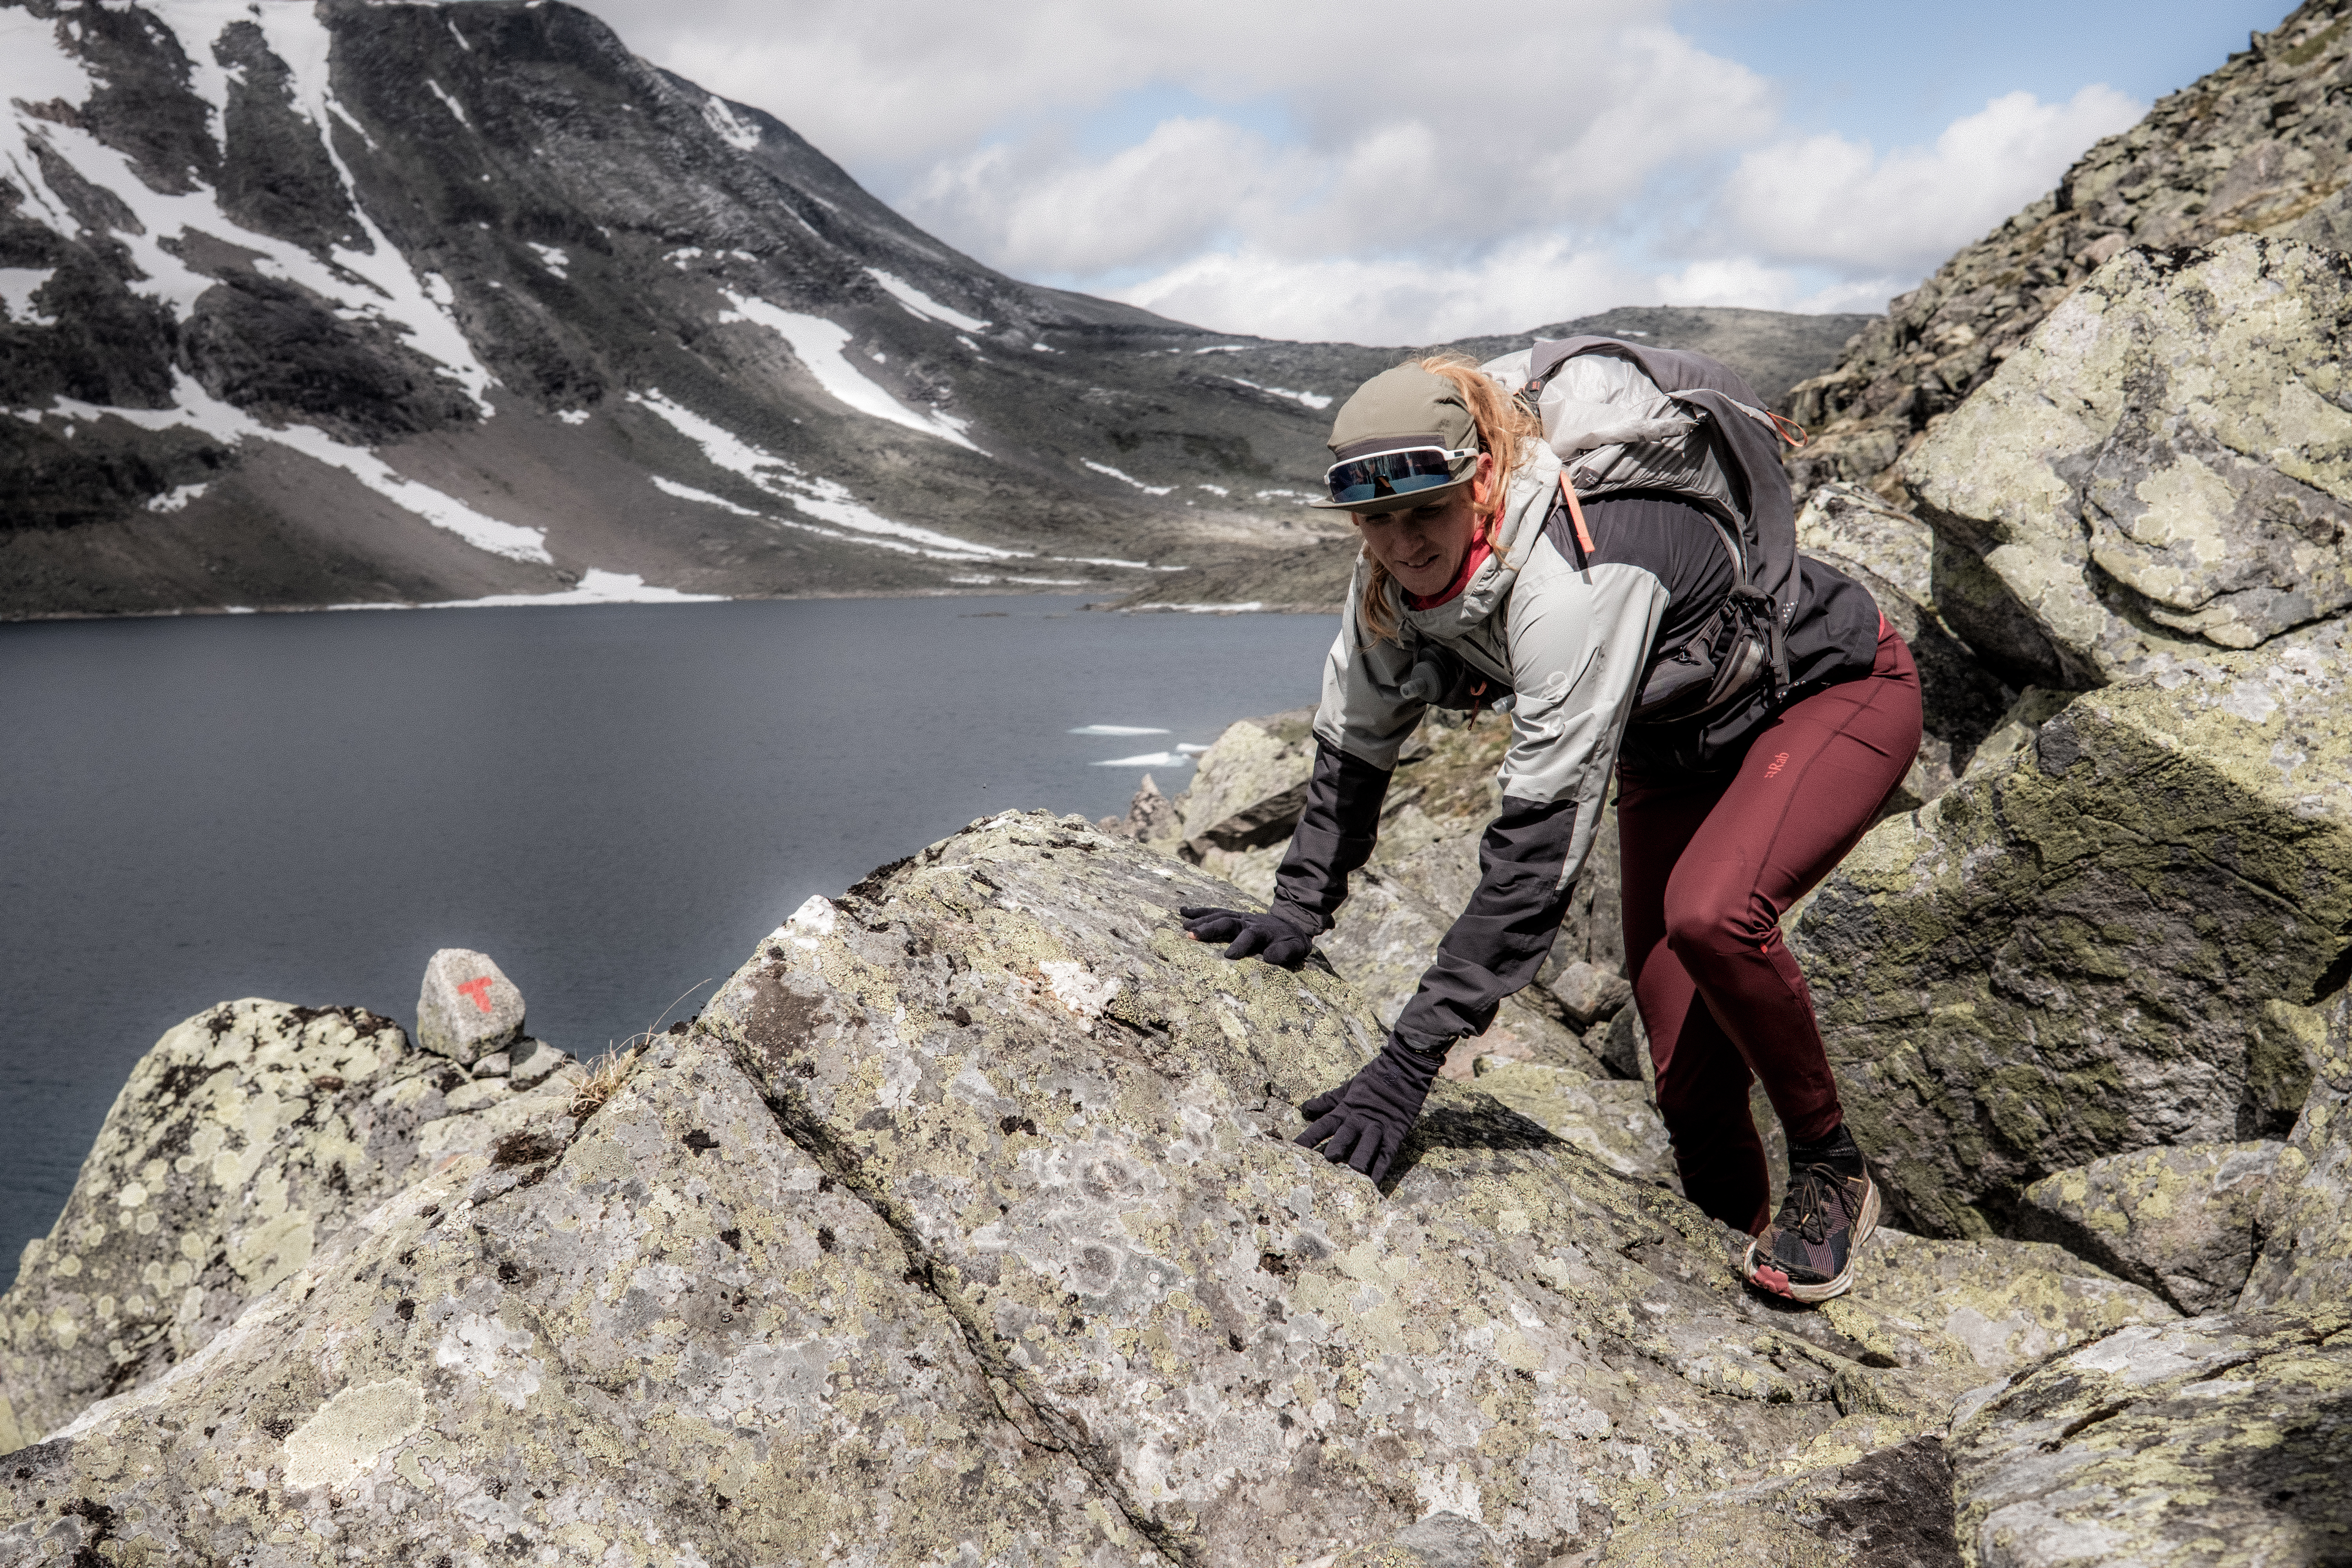
We were now on stunning trails that mixed single-track with snow crossings, boulder fields and rock hopping. It’s the terrain we love. The weather was perfect.
We passed around Leirvatnet and started the steep and rocky climb that offered some pleasant challenges and then the snow came… Yes, snow started. Just to confirm that July in Norway can give you anything and everything.
Sun, snow, challenging terrain and amazing views – this was a perfect Breheimen day.
After passing Gravdalsvatnet, Nørdstedalseter could be seen in the distance, apprx 5km’s away – the light, the views were stunning. With the final few km’s on gravel road, I was already drinking an AF beer in my mind.
But we had the descent to Fivlemyrane first. Downhill, technical terrain, steep and two really ****ed knees basically mean grin and bear it – I did, it was miserable.
The cabin was a welcome sight.
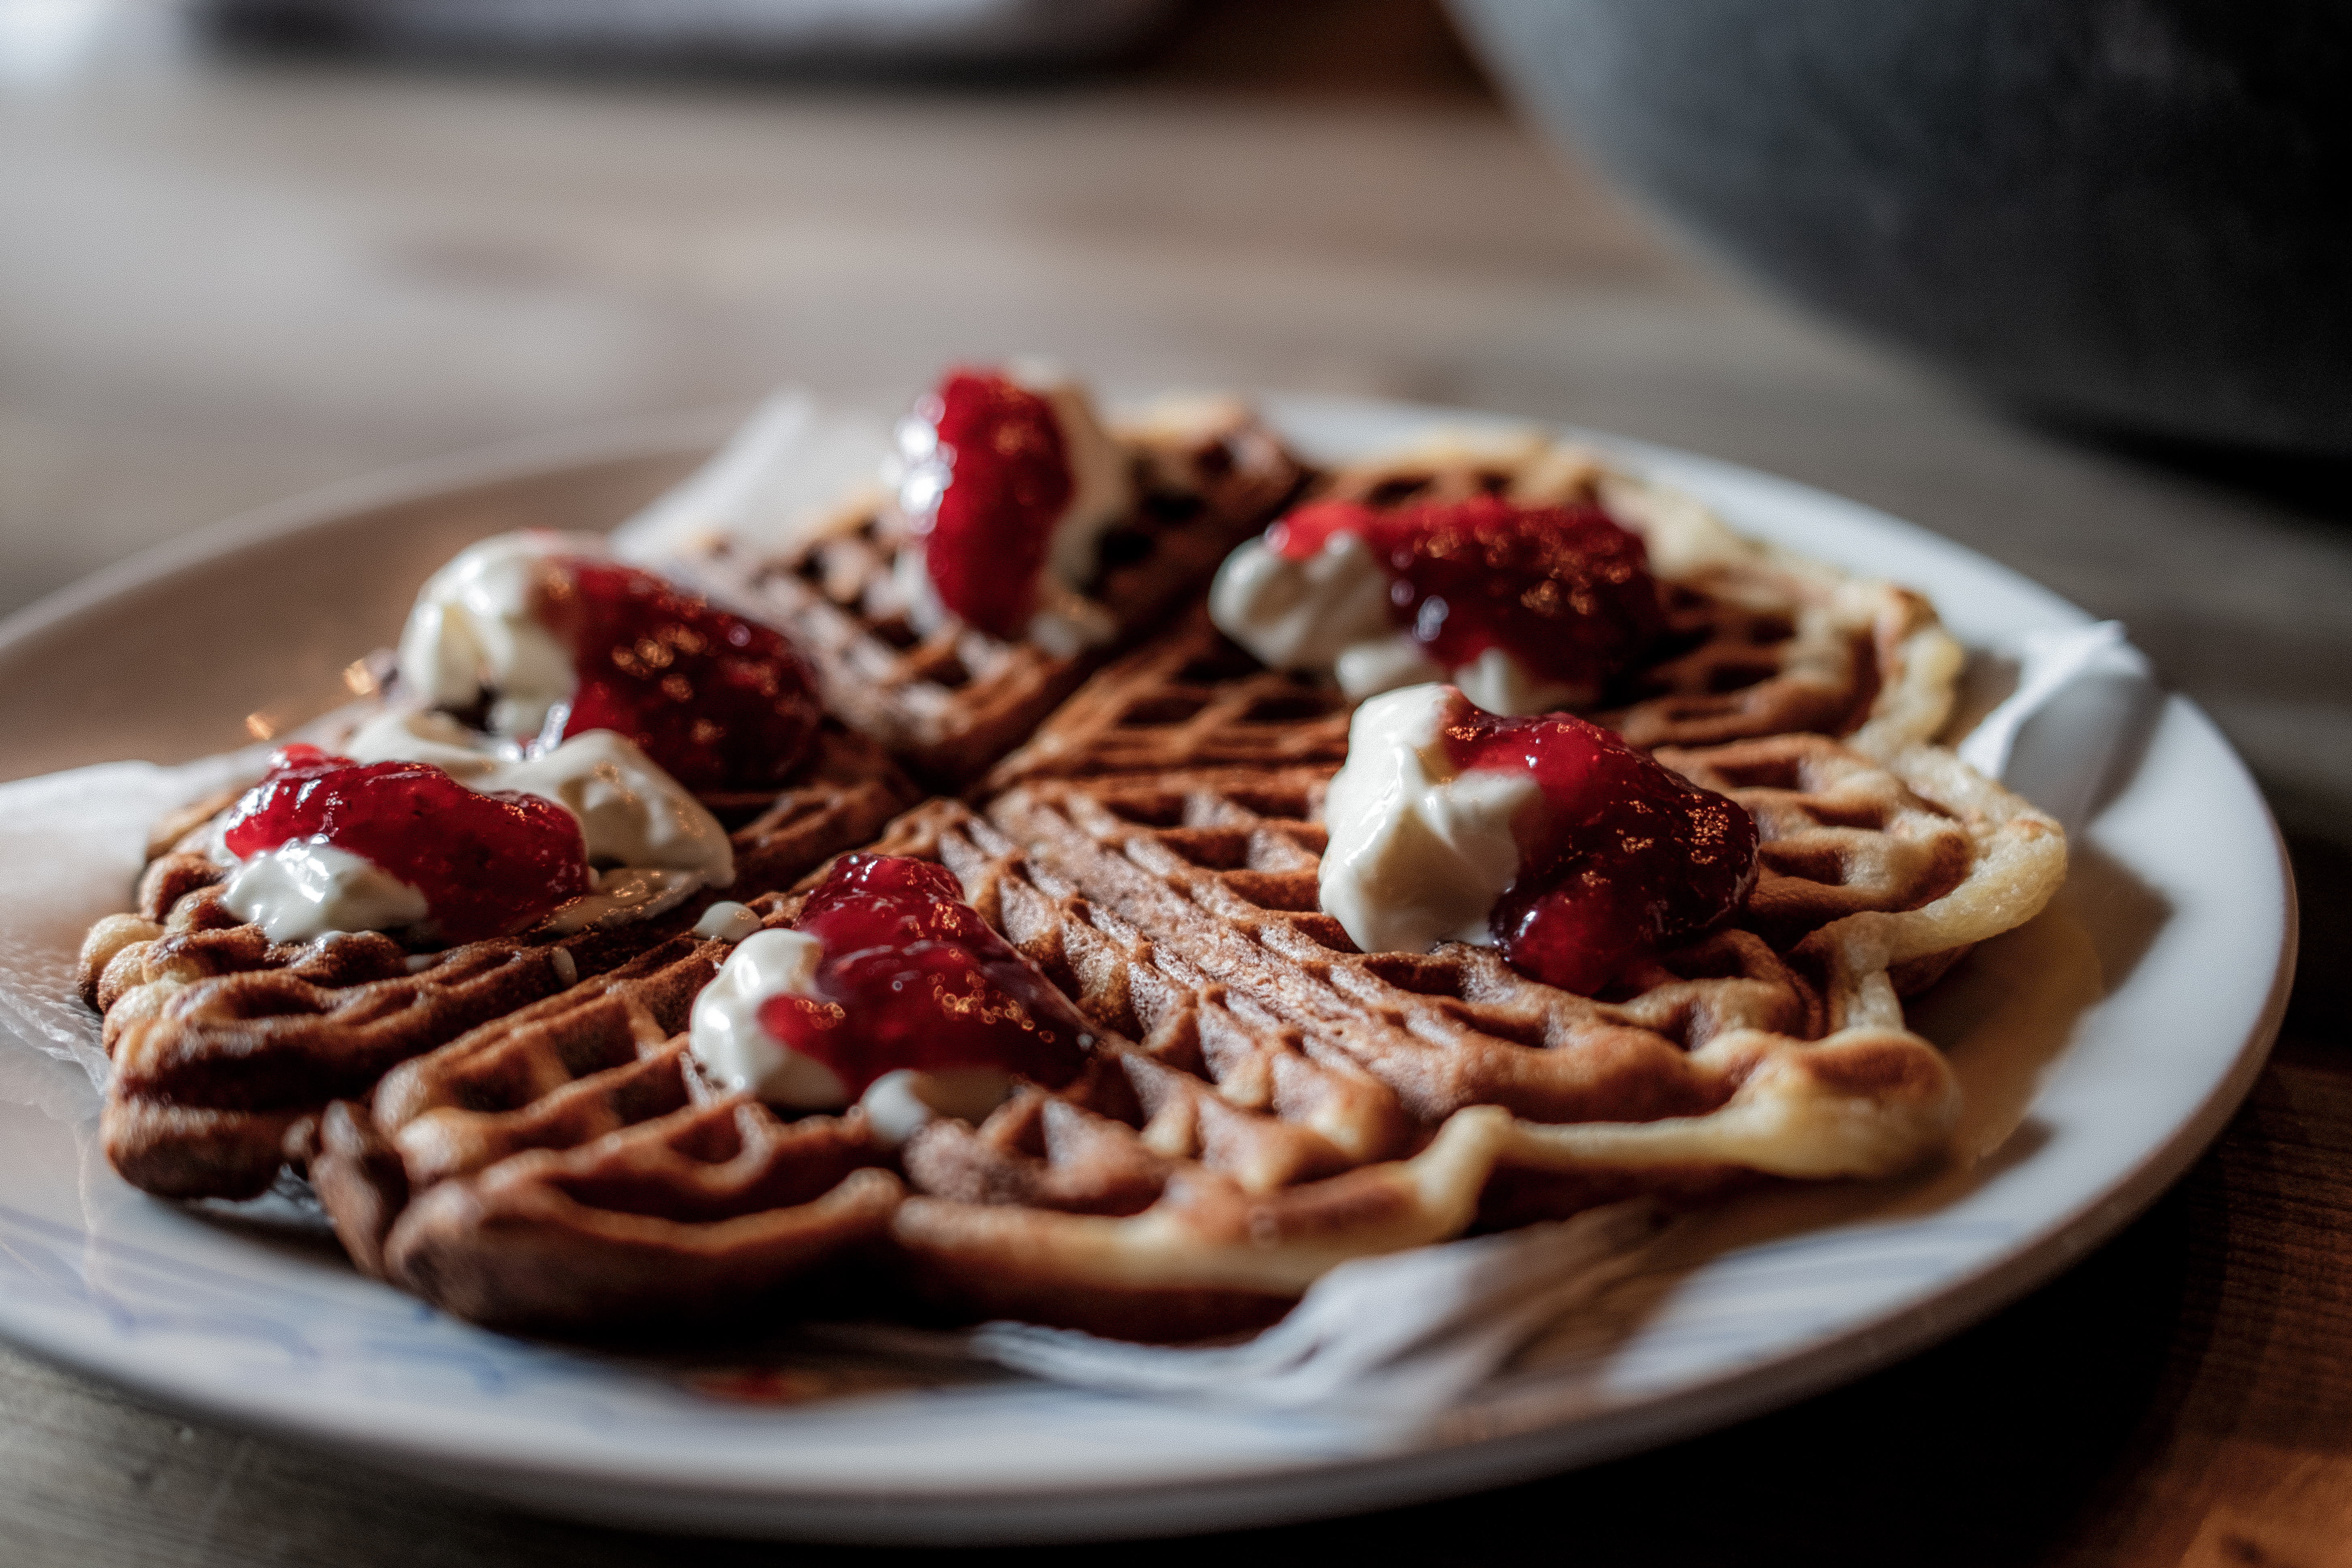
With just over 4-hours moving time, we settled into the cabin for relaxation, of course waffles, hot chocolate and some RnR.
Nørdstedalseter as I have said is the first cabin on the MASSIV route and it is a rude awakening – arguably, along with the second day, it’s the hardest stage of the whole route. While Abelone and I take 6 hours +/-, many take 10, 12, 14 or even 16 hours. To accommodate that, dinner starts as 1900 but goes on till 2300.
We enjoyed our chilled afternoon and slowly, one by one, people arrived, the look of trauma clear on their faces – this is ONLY day 1, ‘How will I complete the MASSIV?’ the obvious question in their minds.
Day 4 – 25.69km 1269m+ 5h 38m
Nørdstedalseter to Sota Sæter and Sota Sæter to Nørdstedalseter is feared. I had done it both ways in 2025 joining Abelone on her MASSIV day 1 and then returning the following day to pick up the car and meet Abelone at her stage 2 finish.
For Abelone, she had not experienced the trail in this direction.
Due to some construction work, our opening easy gravel road start was detoured through no trails on the mountains adding an extra challenge.
Back on the normal trail we were moving quick and after what we had experienced on day 2 and day 3, we quite confidently said, ‘These are easy trails huh?’ They were, it was mostly single-track that weaved a path around Fivlemyrvatnet lake.
The sun was shining and then you guessed, it started snowing. I love Norway!
This route is beautiful, the views are spectacular, and the terrain is constantly challenging.
In contrast to 2025, there was considerably less snow, however, the boulders were just the same as last time… when you start the boulder fields, they go on, and on and on.
Around Illvatnet the terrain is particularly challenging and there is only one thing to do, move slow, precise and be careful.
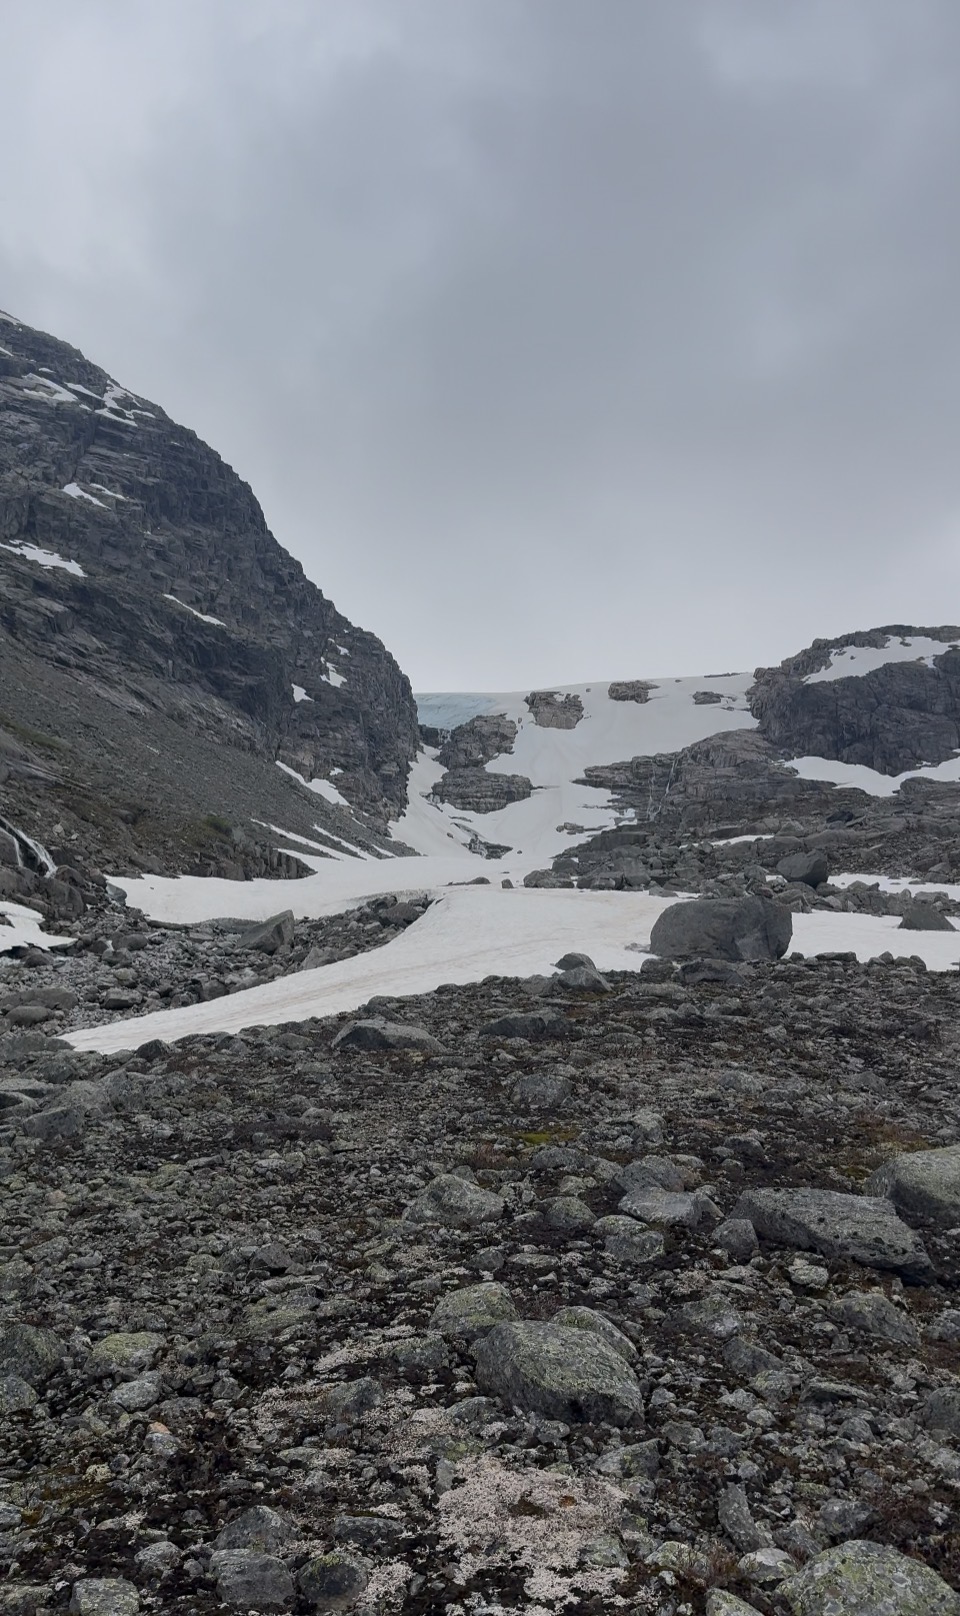
Importantly, if you do decide to do this trail, you can arrive at Sota Sæter in two ways – one way is over the glacier! Do not go the glacier route without a guide or without the equipment/ experience to ensure safe passage.
Up and down, boulder after boulder, you finally climb up to the plateau with stunning views over the route you have just experienced – magical. Tundradalskyrja peak at 1969m towers over you and from here on in, it’s an easy run into the finish….
Think again – the boulders continue and so does the snow and just as you climb the final last little climb, knowing Sota Sæter is nested in the valley below, the boulders continue. There is a reason why this day is considered one of the toughest on the MASSIV.
I gritted my teeth, hated every single step of the final descent as each knee screamed with each footstep and finally, when on the road at the bottom, I kissed the floor.
‘Now, where are the waffles?’
Breheimen is wild, adventurous, a challenge, impressive, beautiful and magical. You need to respect it, and you need to be prepared, but this is one loop I cannot wait to do again.
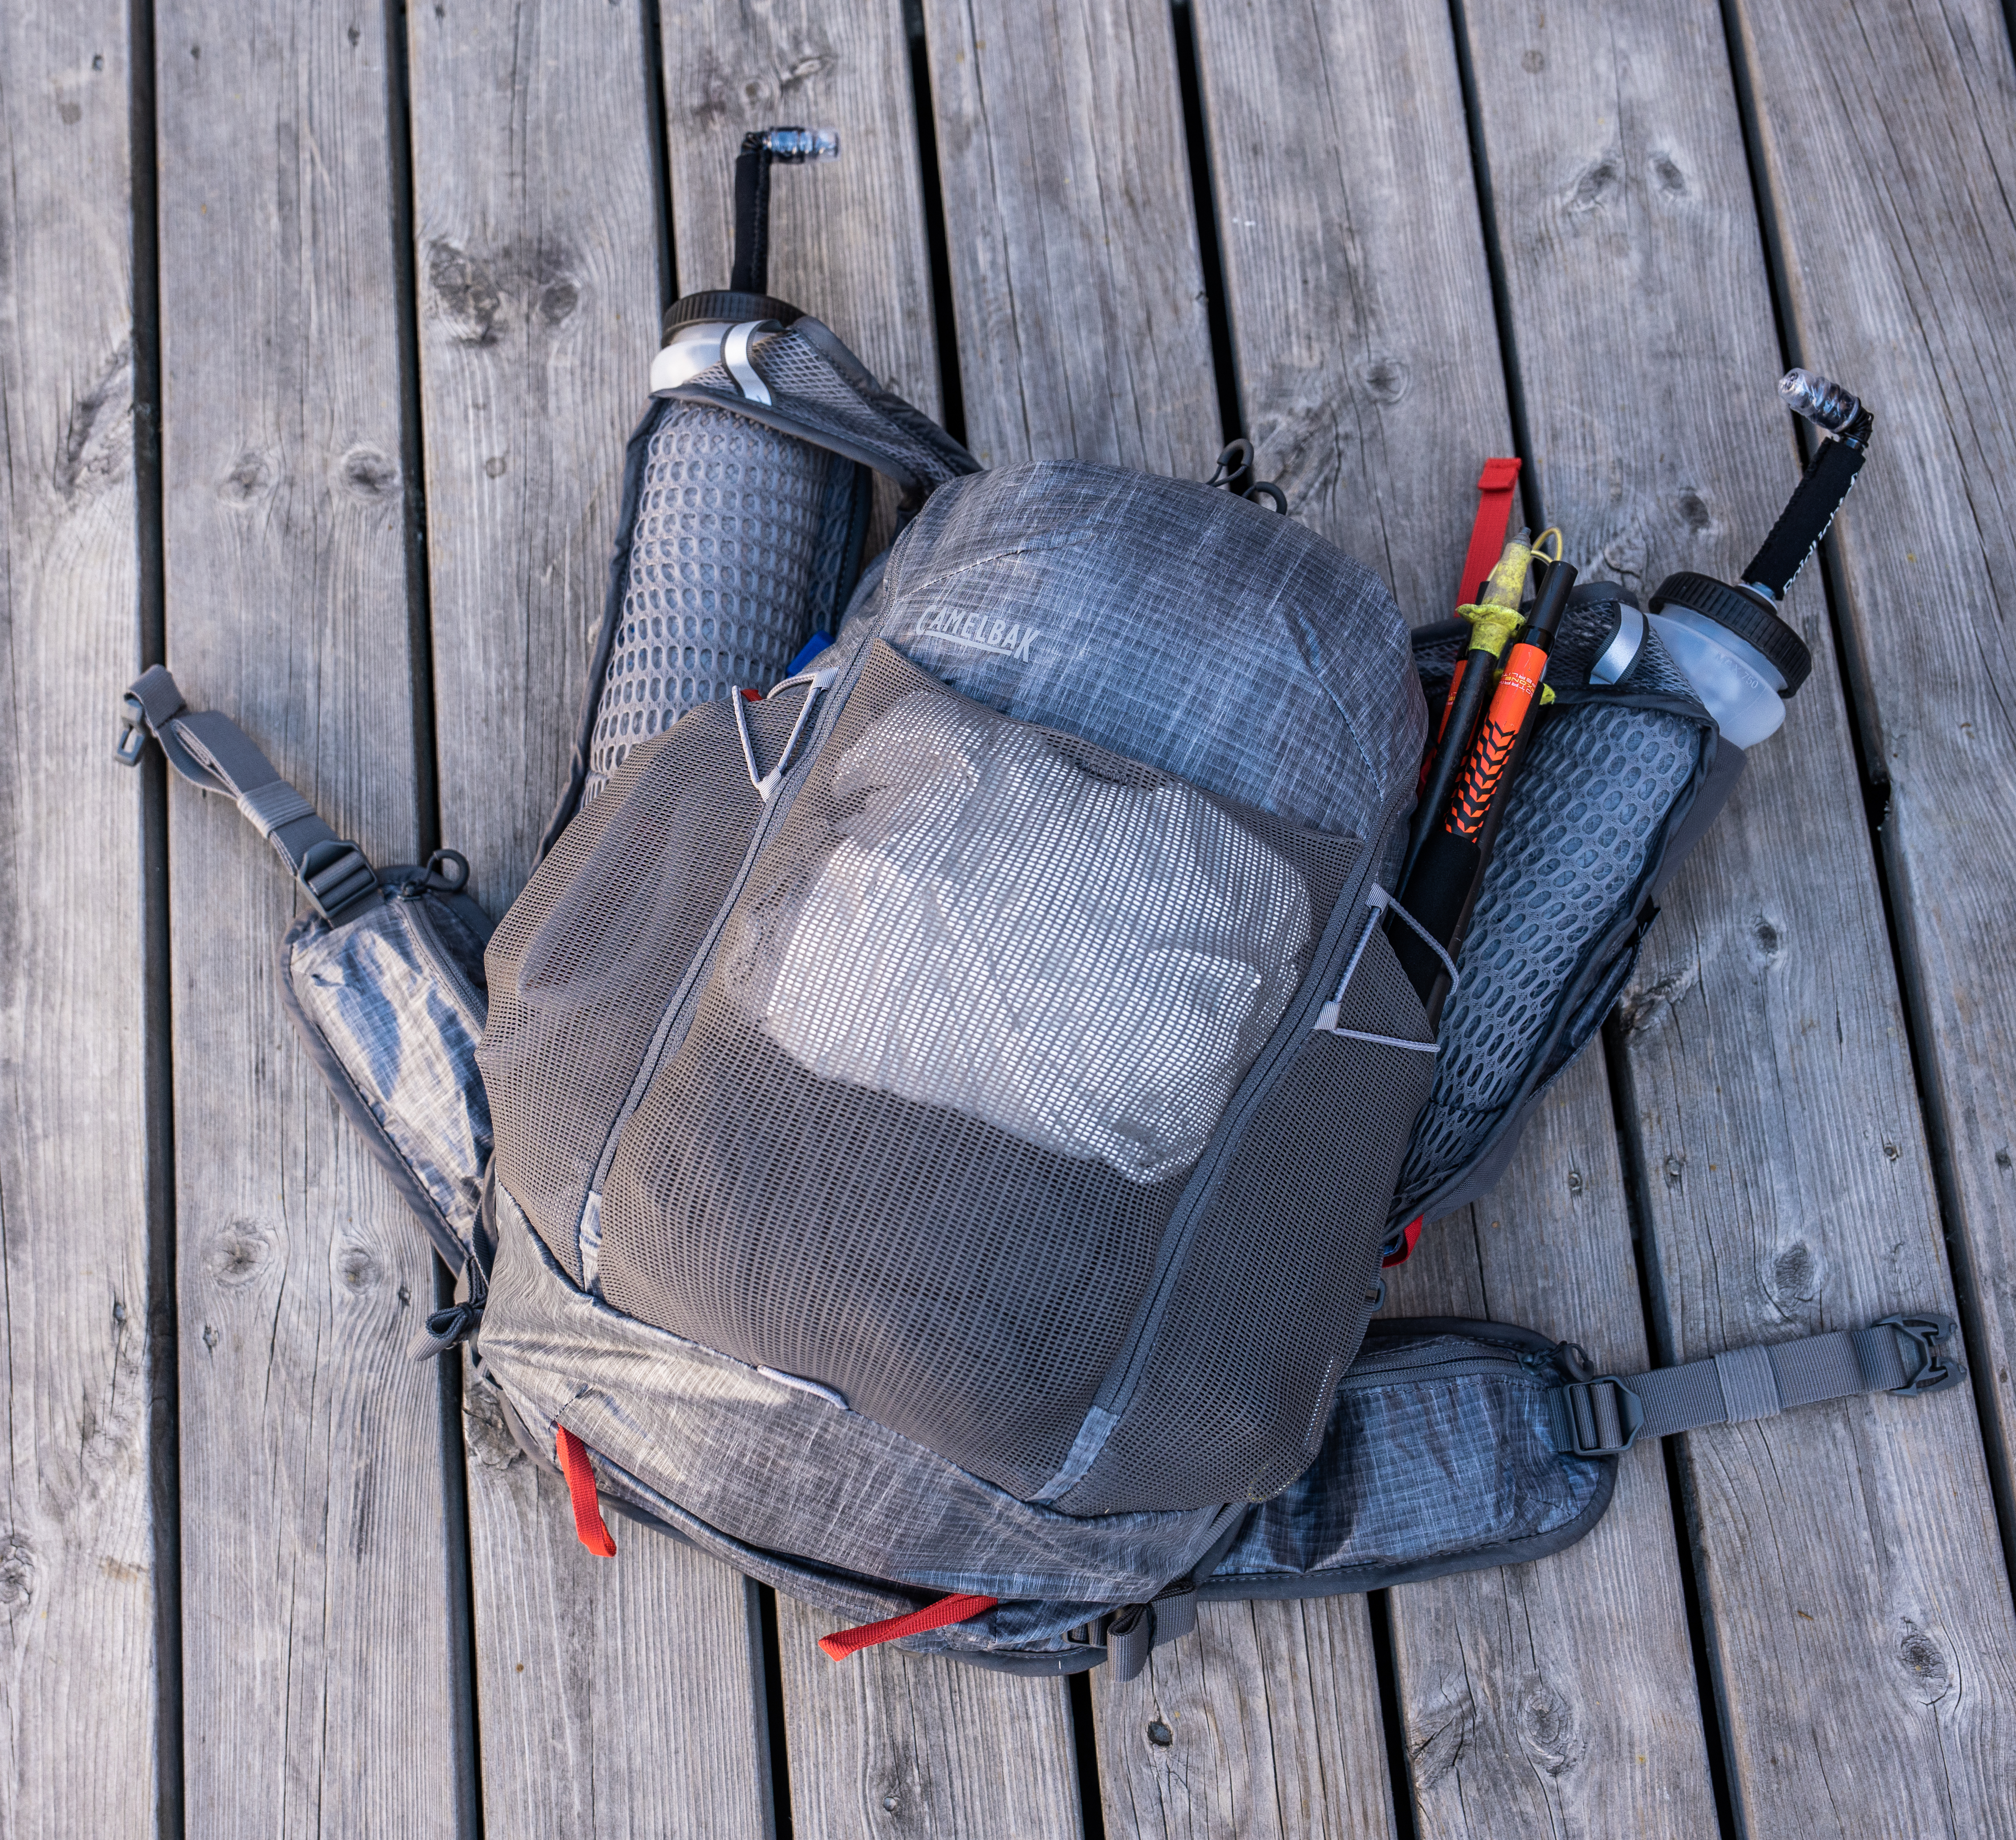
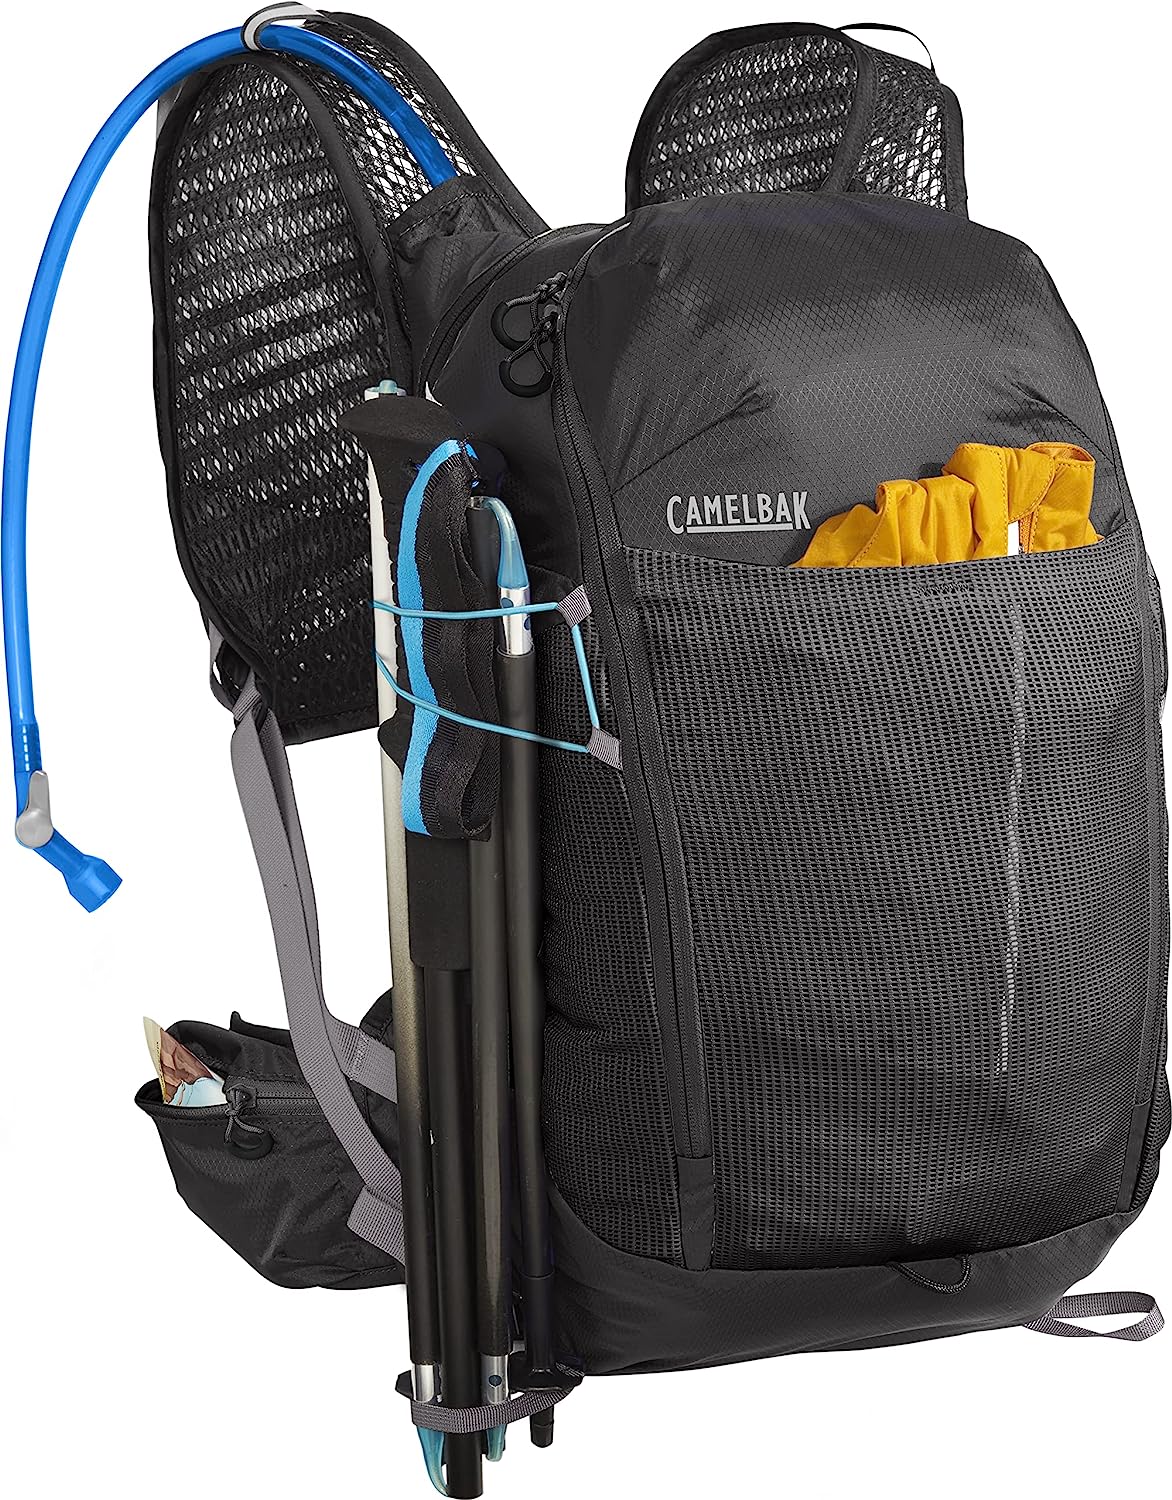
Octane 25 fully packed with tent,sleeping bag, apparel and food for a 1-night fastpack.
Streamlined, lightweight, full of features and storage, CamelBak have brought together the best of both the trail running and hiking worlds with Octane 25 LE.
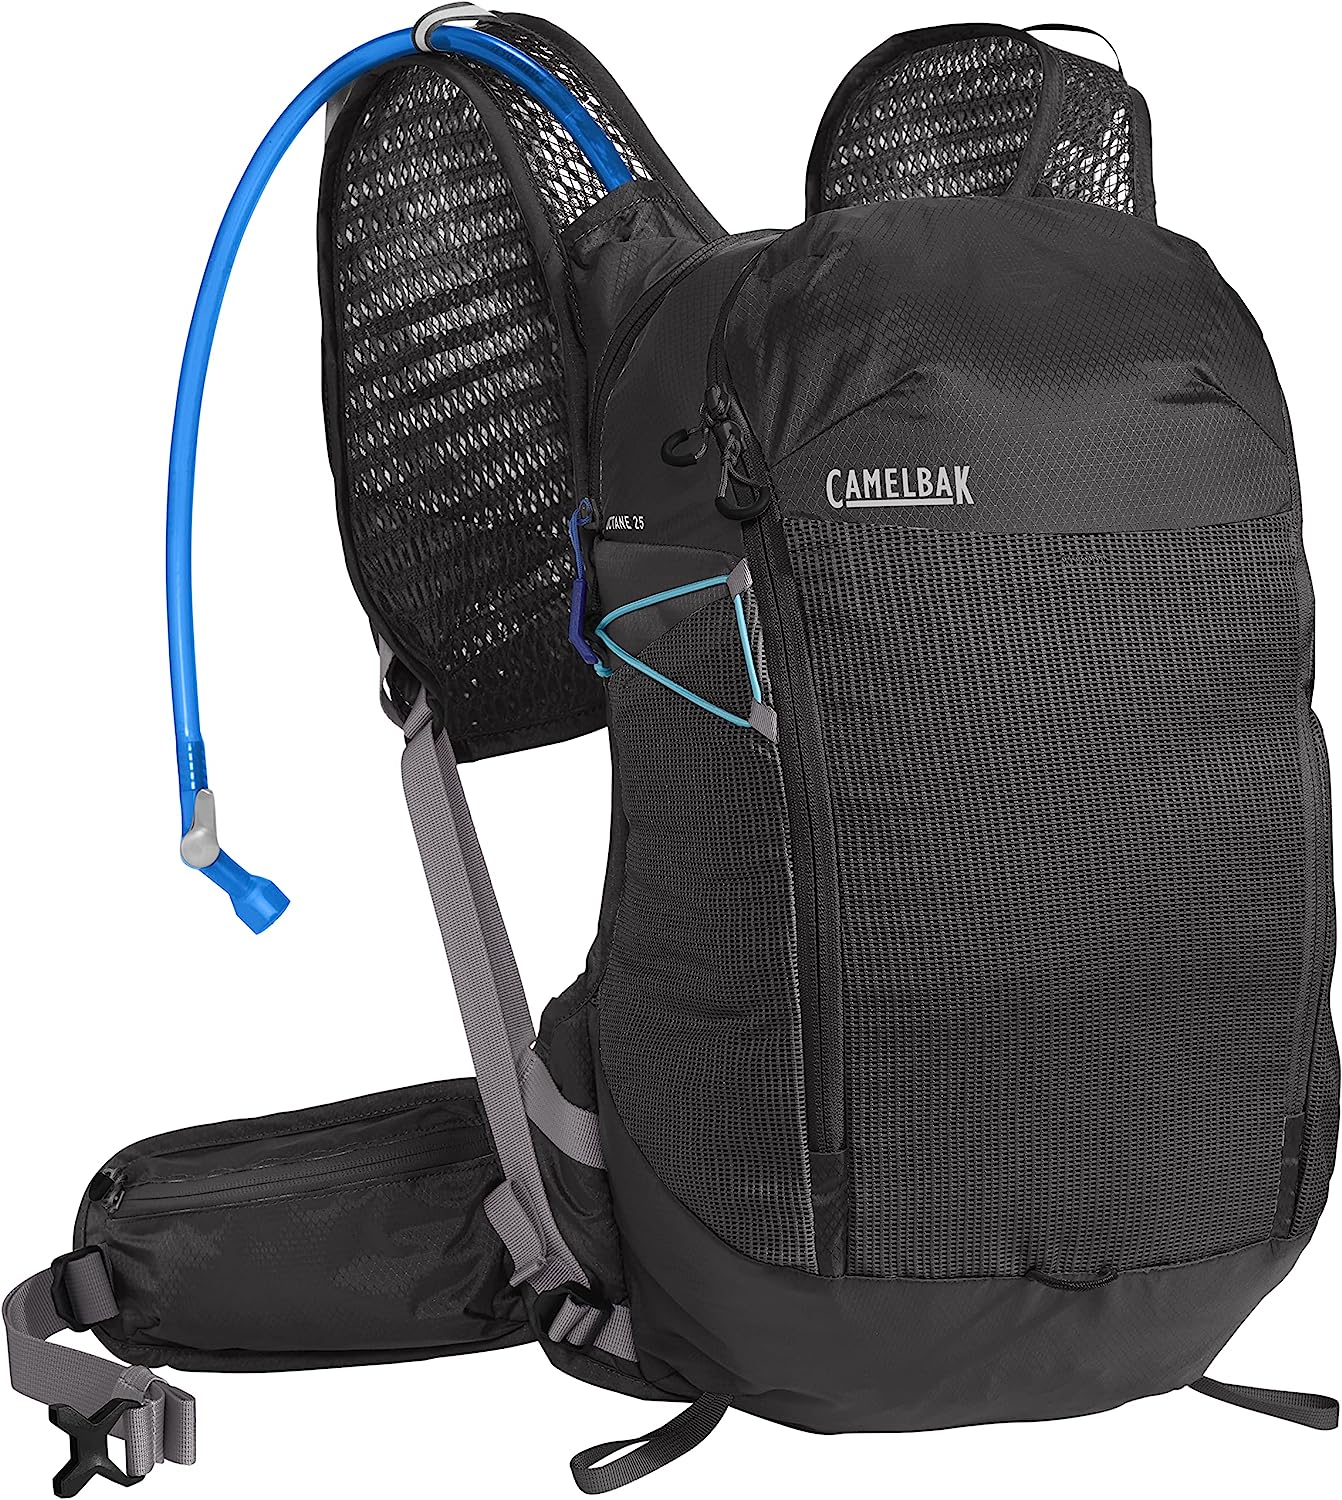
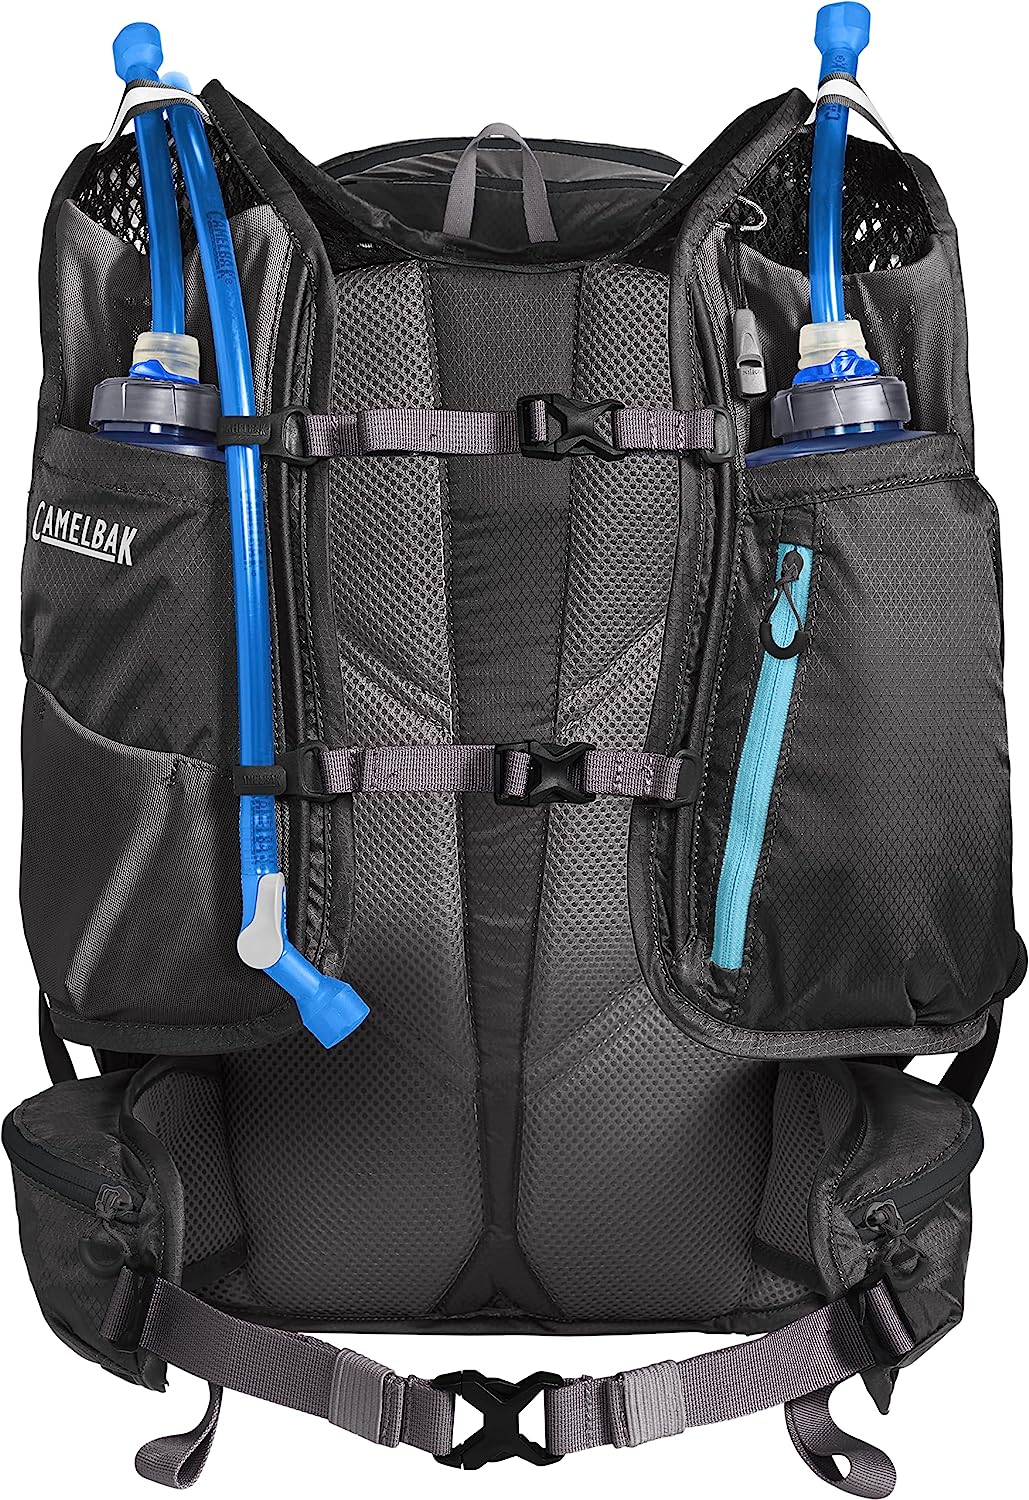
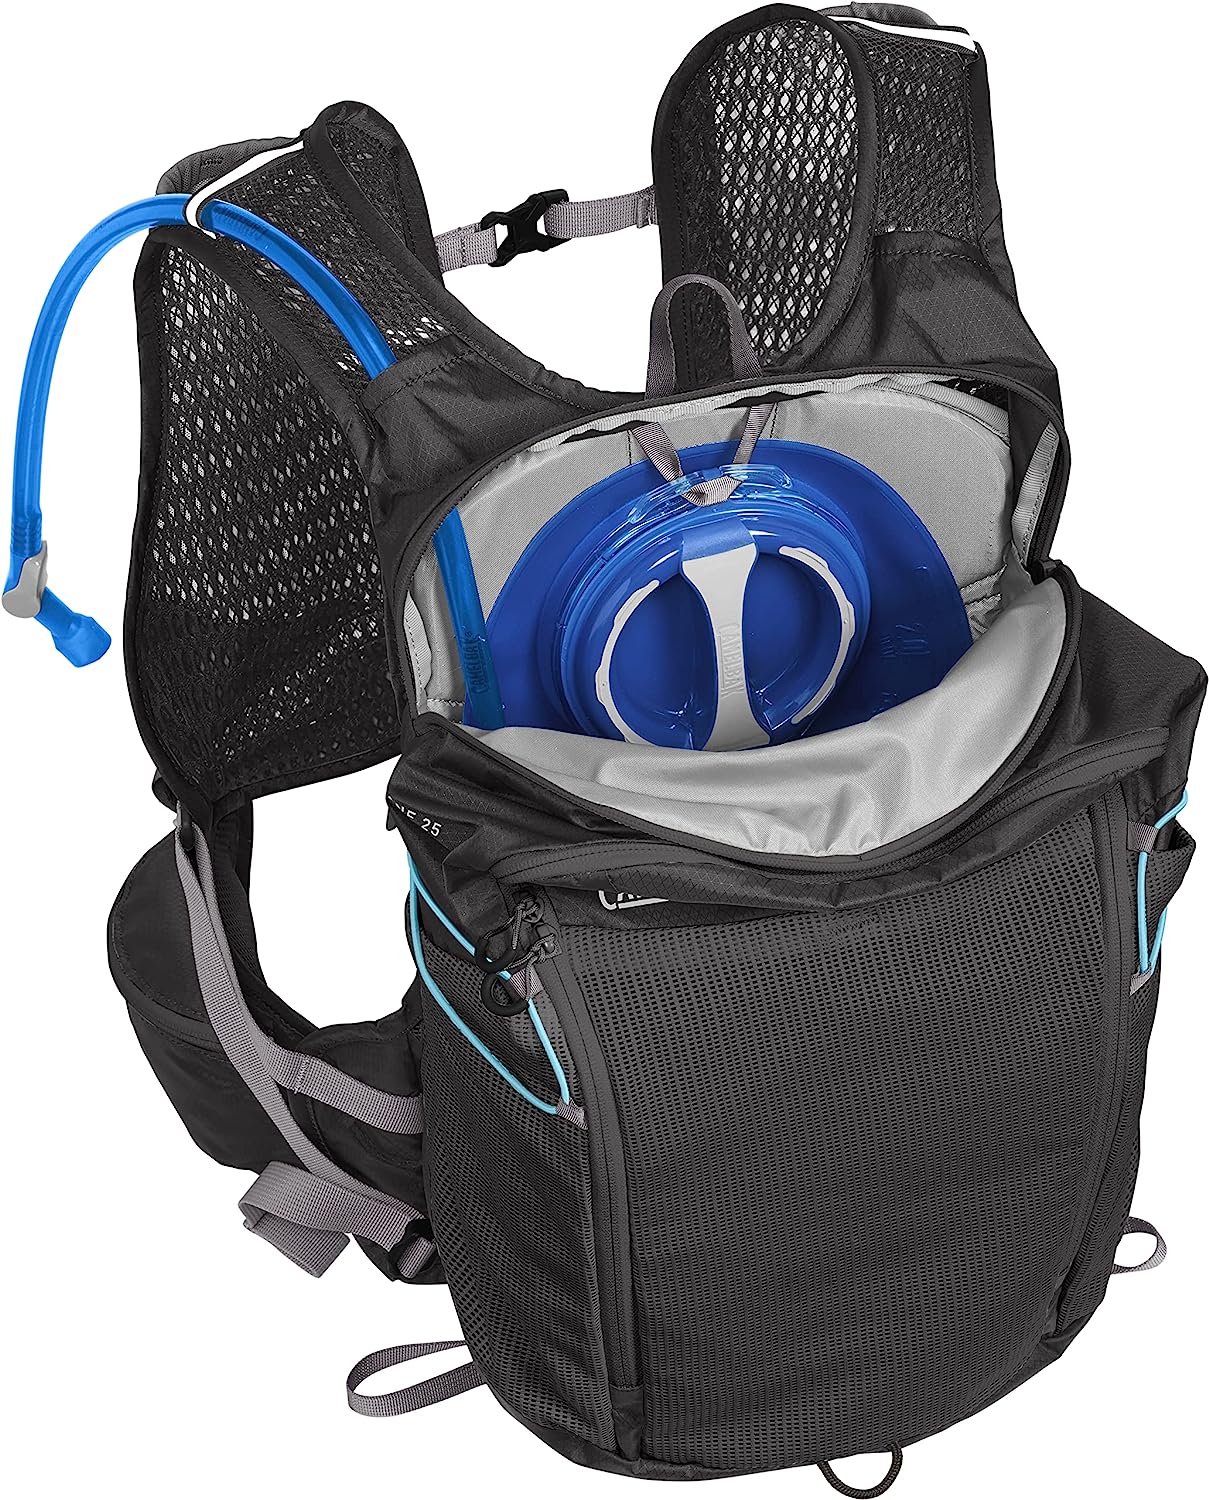
As you would expect, CamelBak has integrated a system to keep the bladder secure and easy to access, with the hydration hose tucked in and out of the way with secure fixings at the front. For many though, the use of the bladder can be a plus or a minus, so, removal is easy. At the front, there is storage for two large bottles or soft-flasks.
Ultimately, this pack with 25L of storage is perfect for fast packing and multi-day stage events. It is optimised for those who want to stay light and move fast. It is full of features and after packing and testing, this is a piece of equipment that is ideal for a race such as Marathon des Sables.
Key features are:
Belt with two zippered pockets for ‘on-the-go’ snacks.
Trekking pole storage via left or right side.
11 exterior pockets one with zipper and two for bottles/ soft flasks.
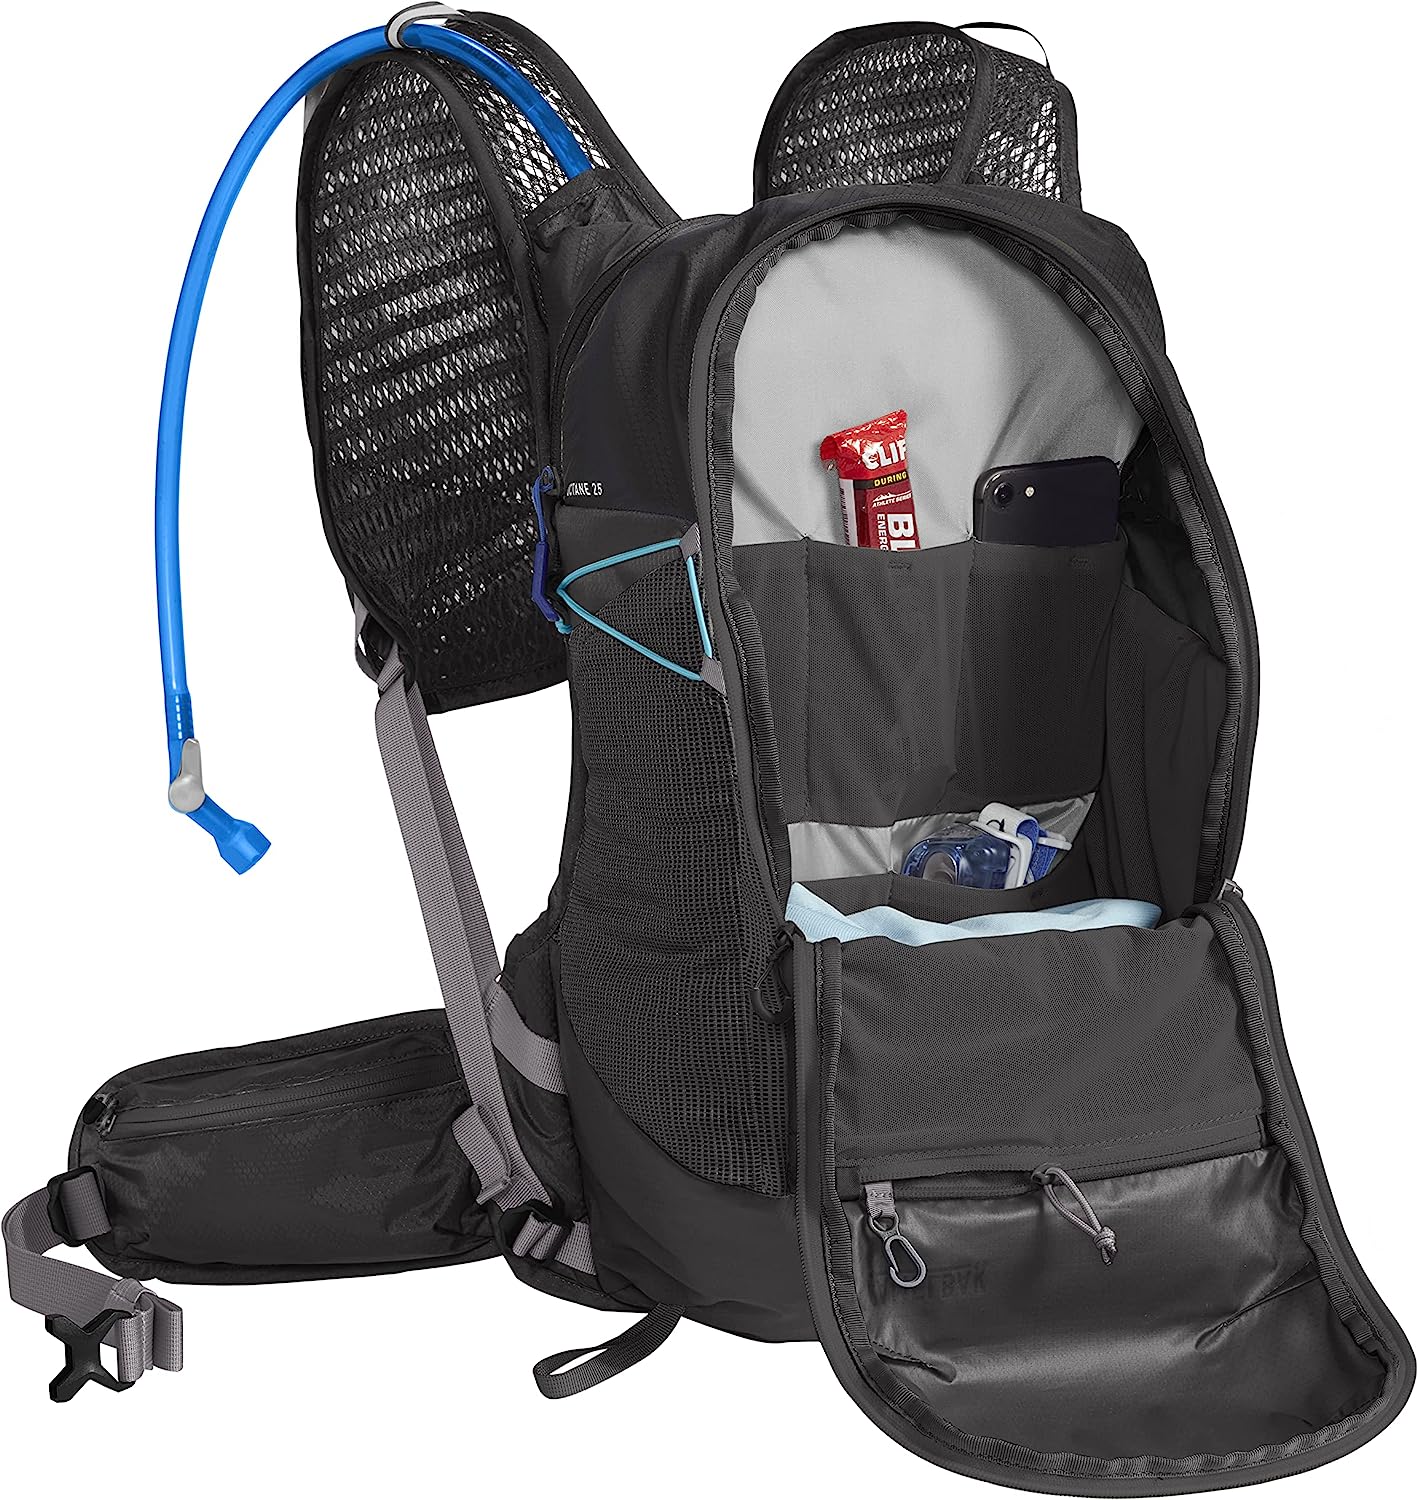
8 interior pockets one with zipper and key holder
2 chest straps
A large zipper opens up the pack like a suitcase, therefore adding and removing contents is easy. Inside the pack are multiple small stretchy storage pockets, 8 in total. On the rear insides 5, 2 longer pockets on the sides of the inside. In the lid of the pack is a zipper pocket ideal for wallet, passport with an integrated key holder.
Outside there are 11 exterior pockets and a giant compartment that is dedicated to hold the bladder, or, if doing multi-day, this is a great place to put a sleeping mat or even some clothing. Three large mesh pockets are ideal for external storage that may require quick access, for example, waterproof jacket, pants, hat, gloves, additional liquid and so on. Two elastic straps not only will hold poles in place but also help compress the pack smaller.
Pockets help keep things in place, and the dual chest straps keep it all closely attached to the body. The addition of the waist belt and two zippered pockets only adds to a secure feel and the increased pockets are welcome for ‘on-the-go’ snacks.
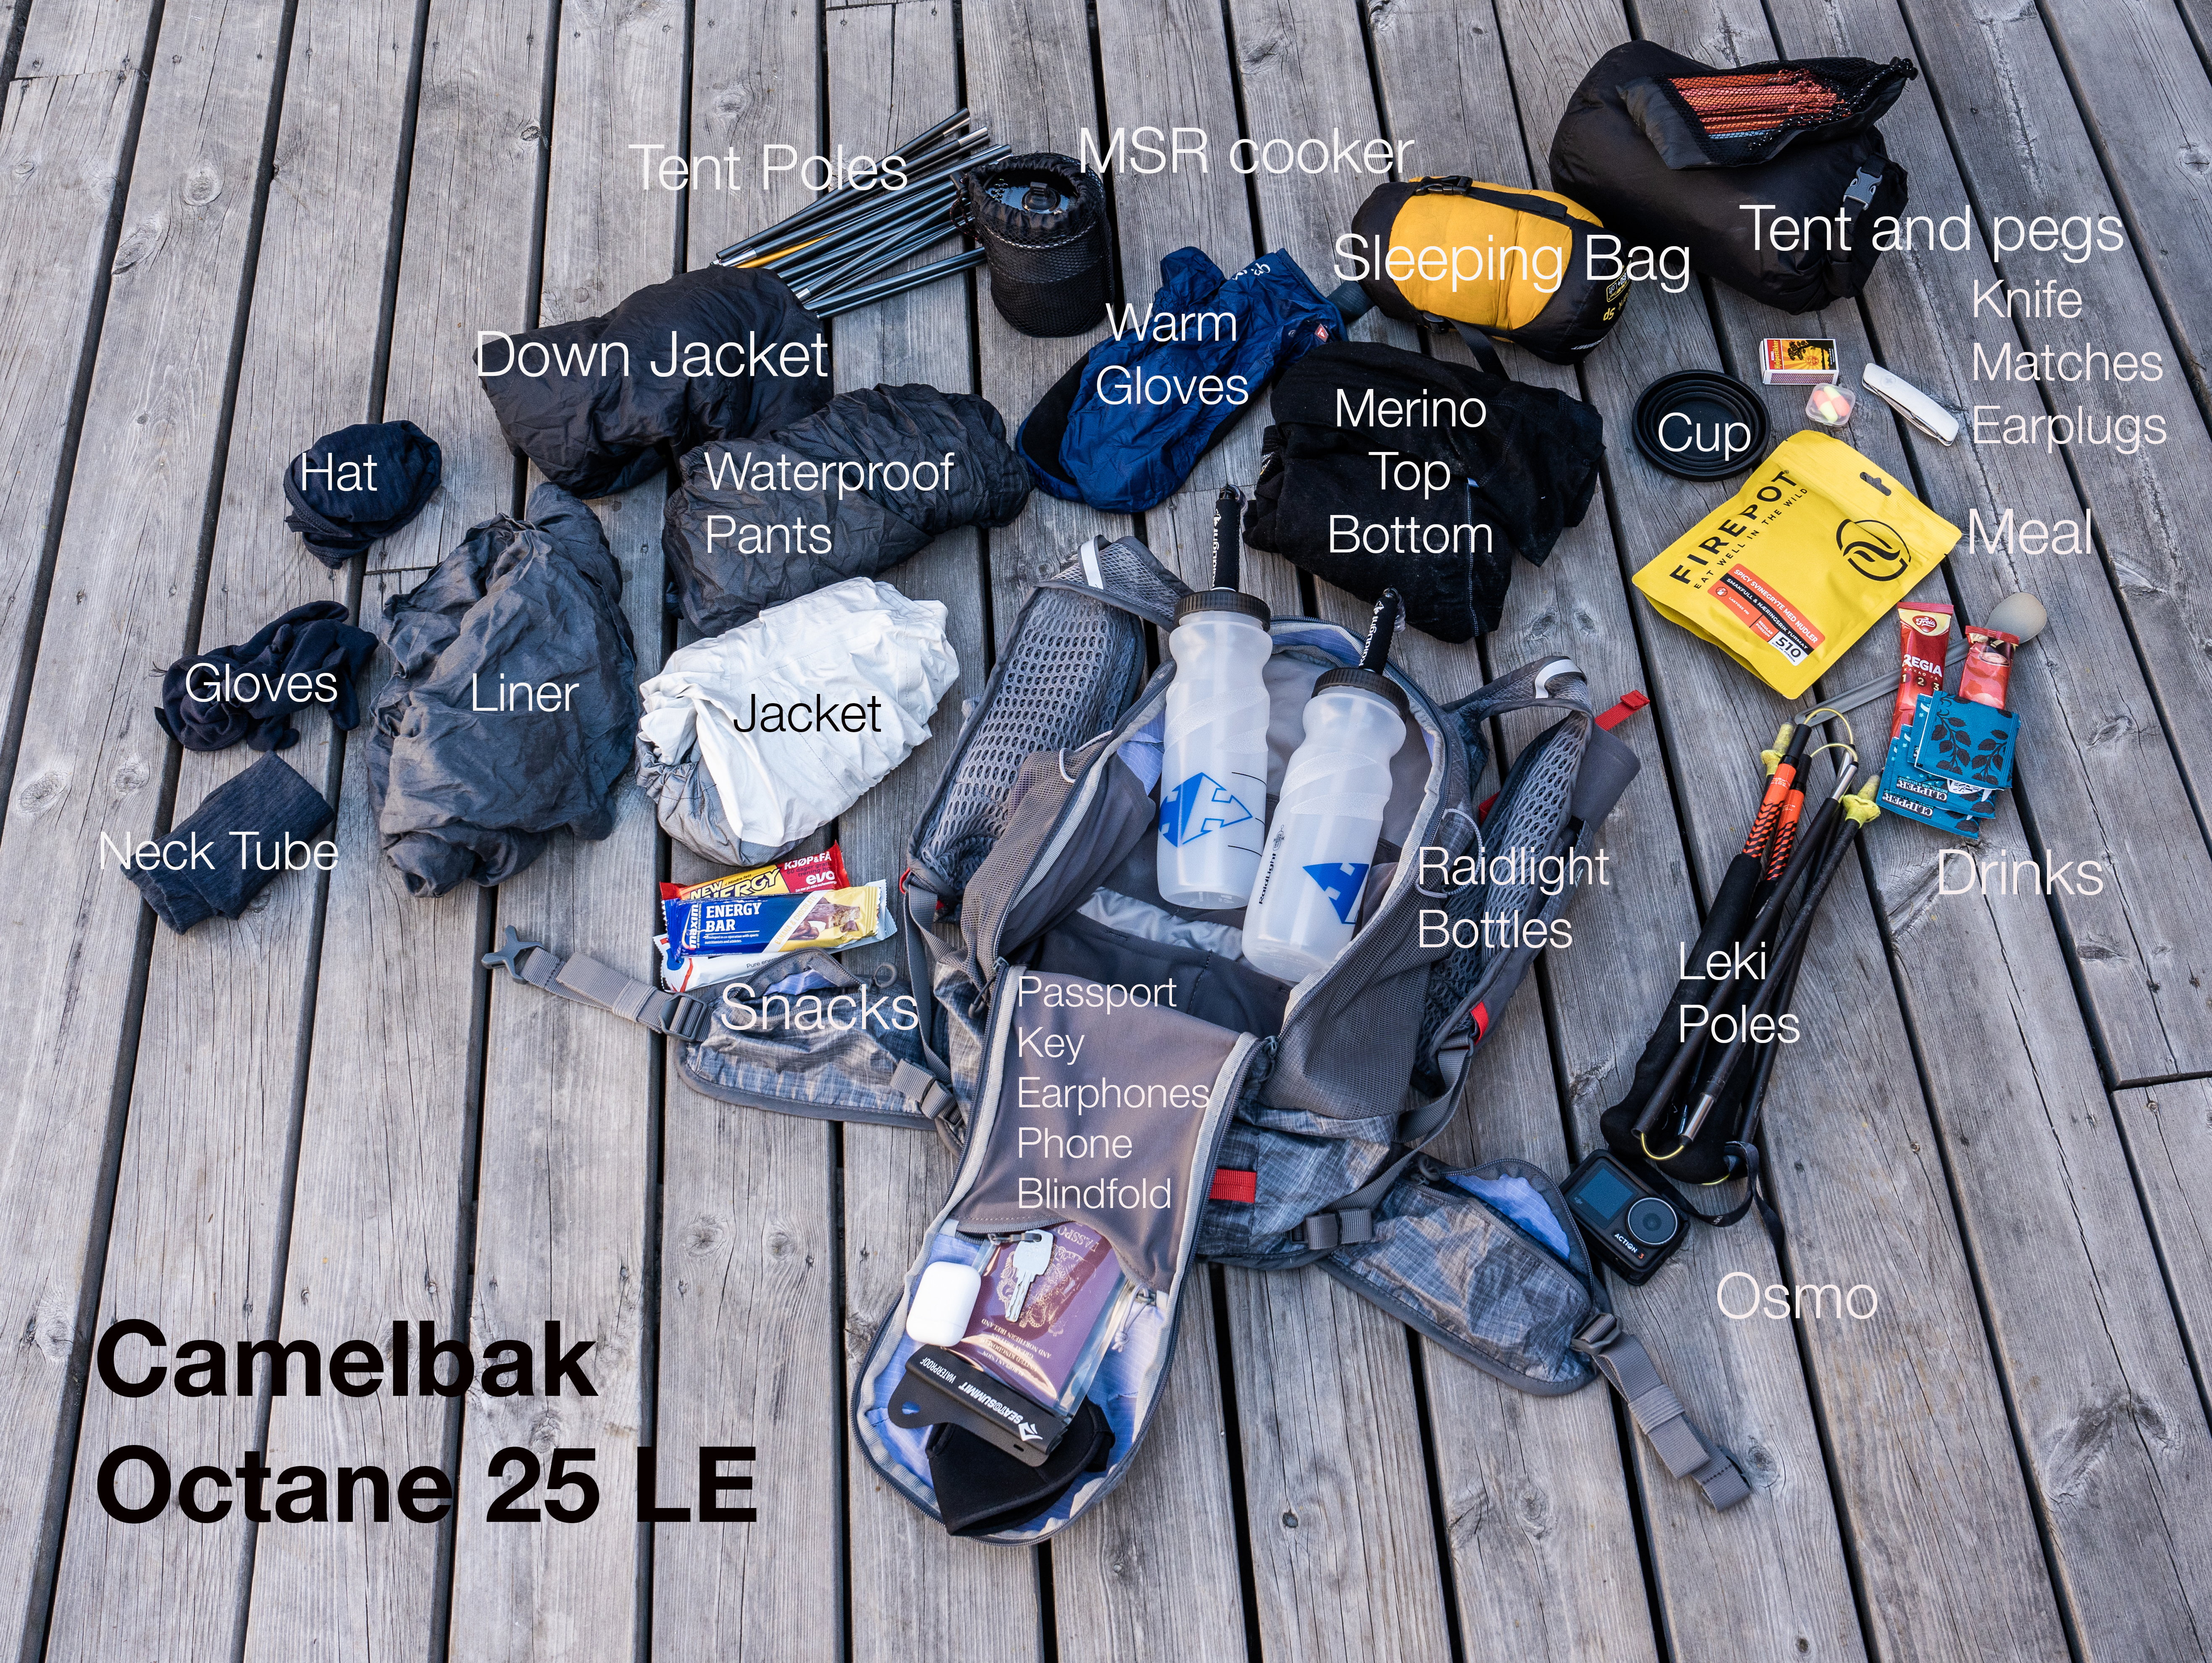
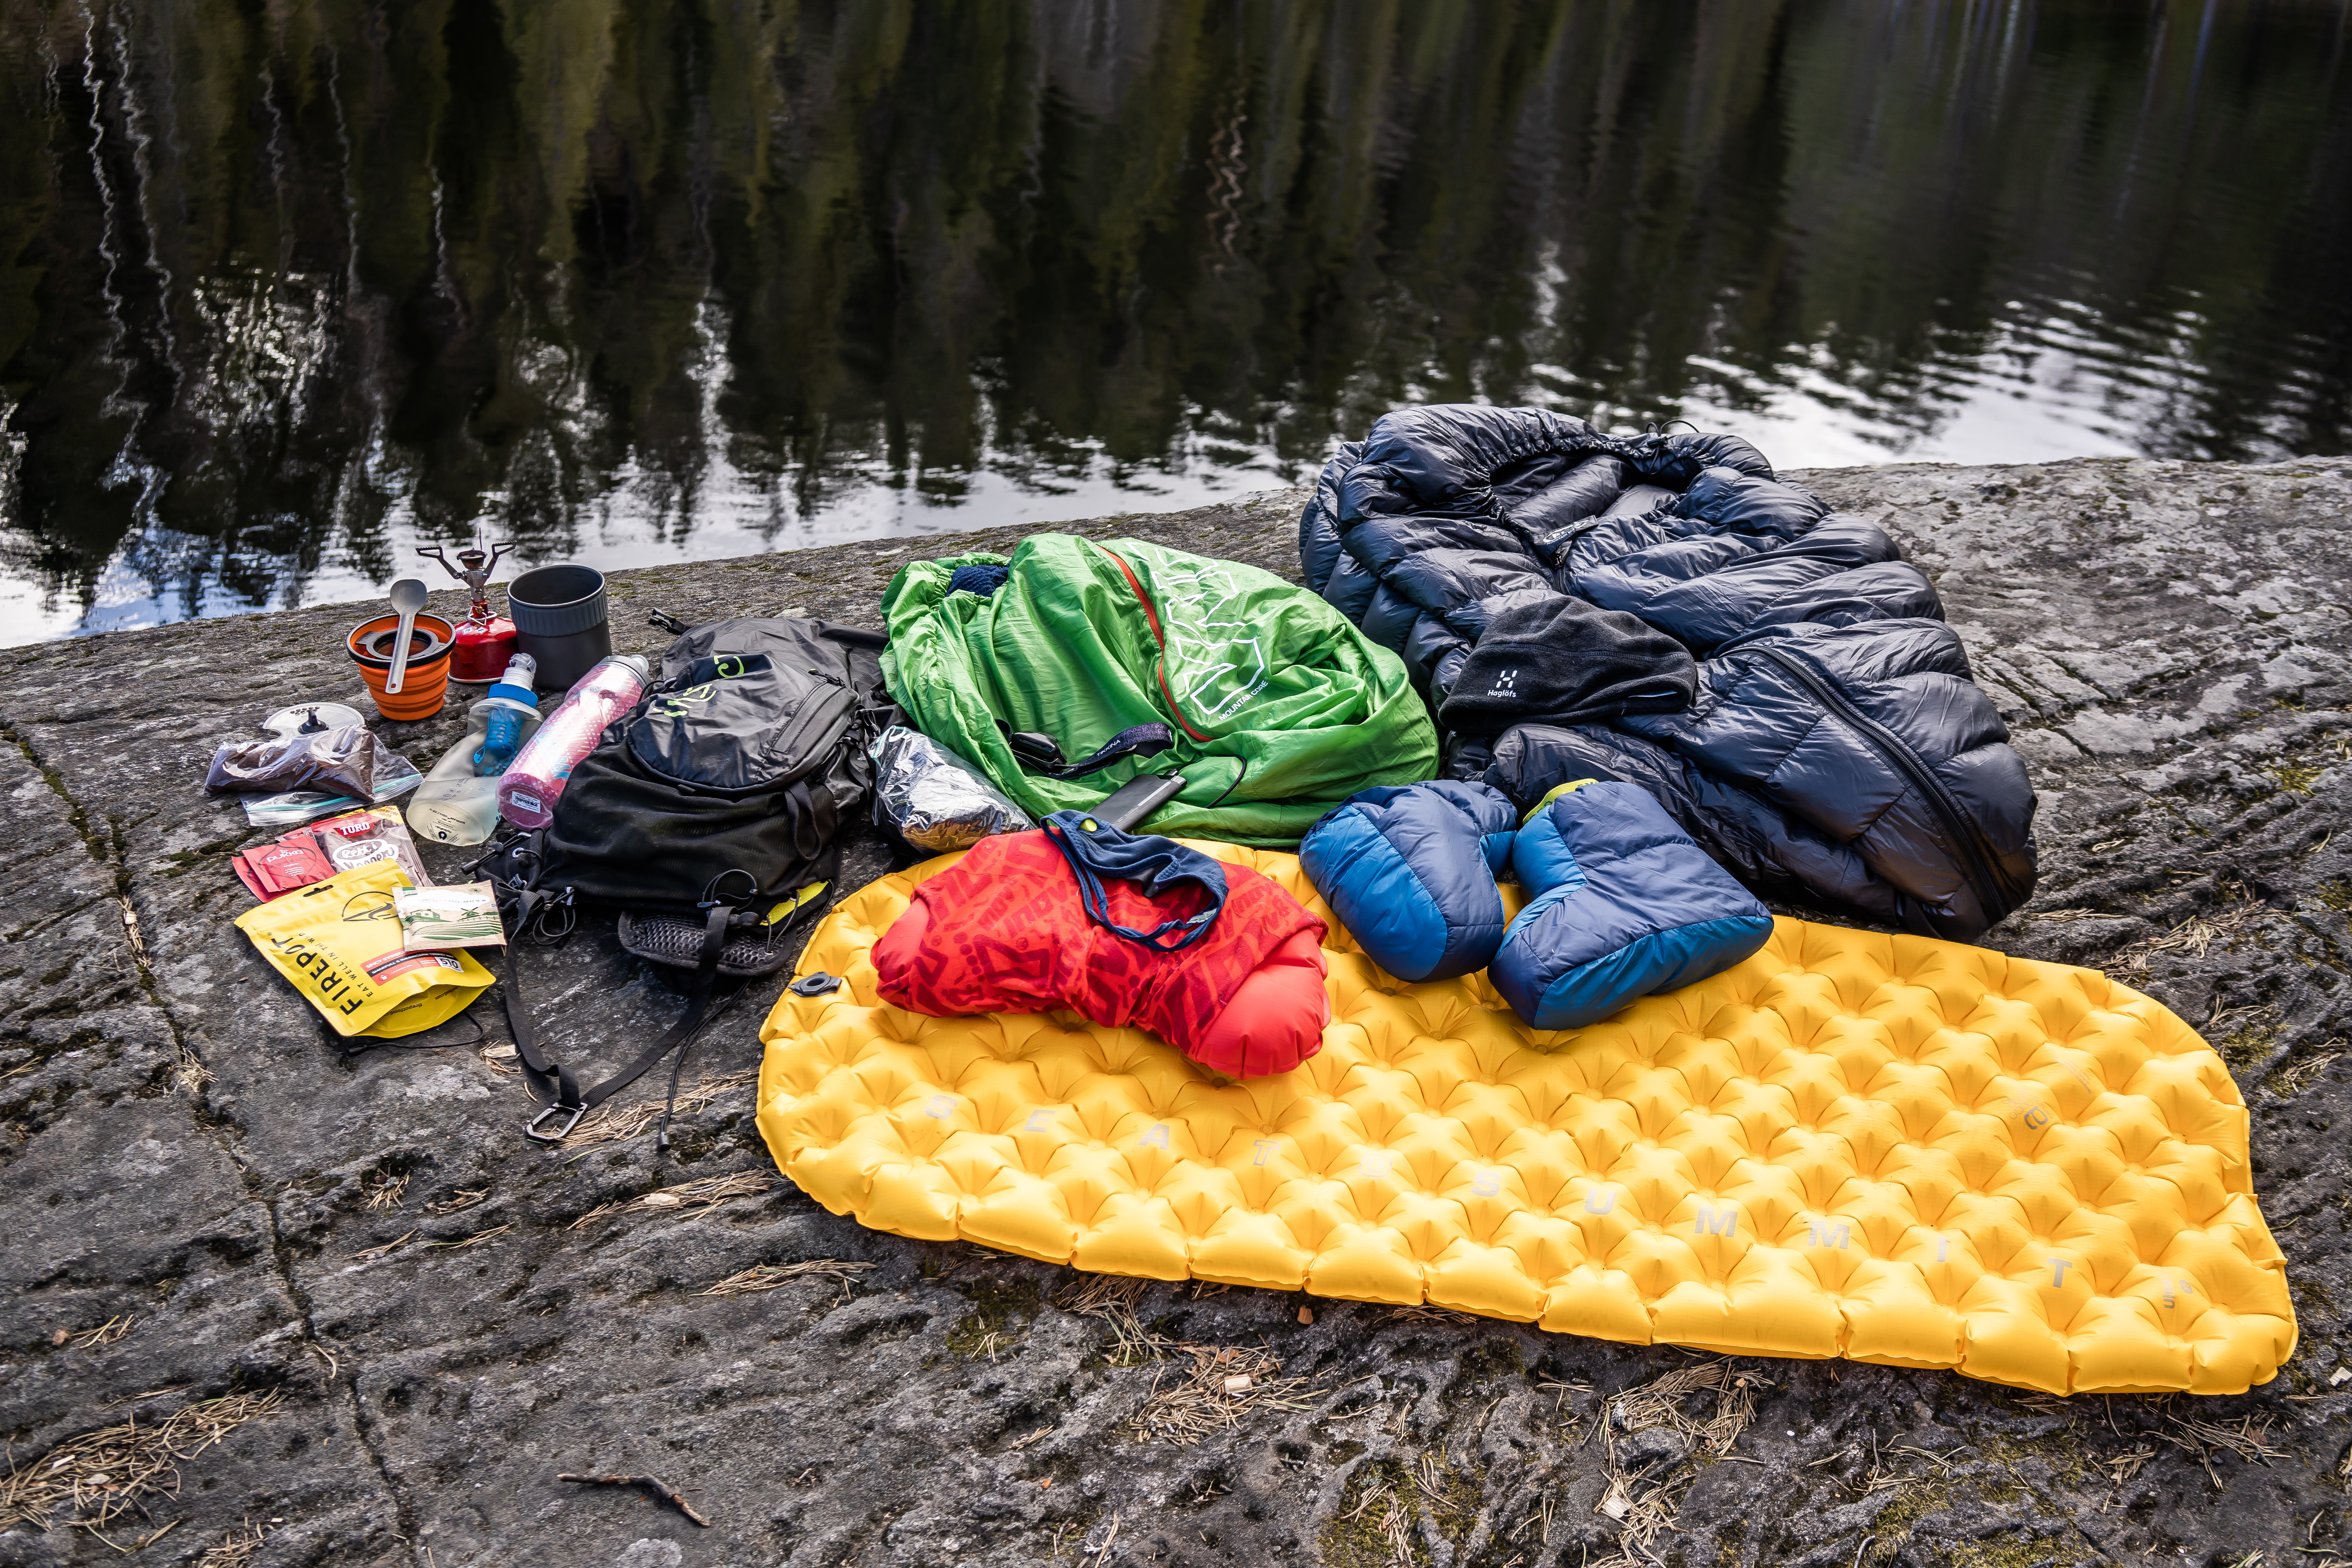
To provide perspective I removed the bladder and added a sleeping mat in to the bladder compartment (not shown in the video) and the items you see are as follows:
2 large Raidlight bottles
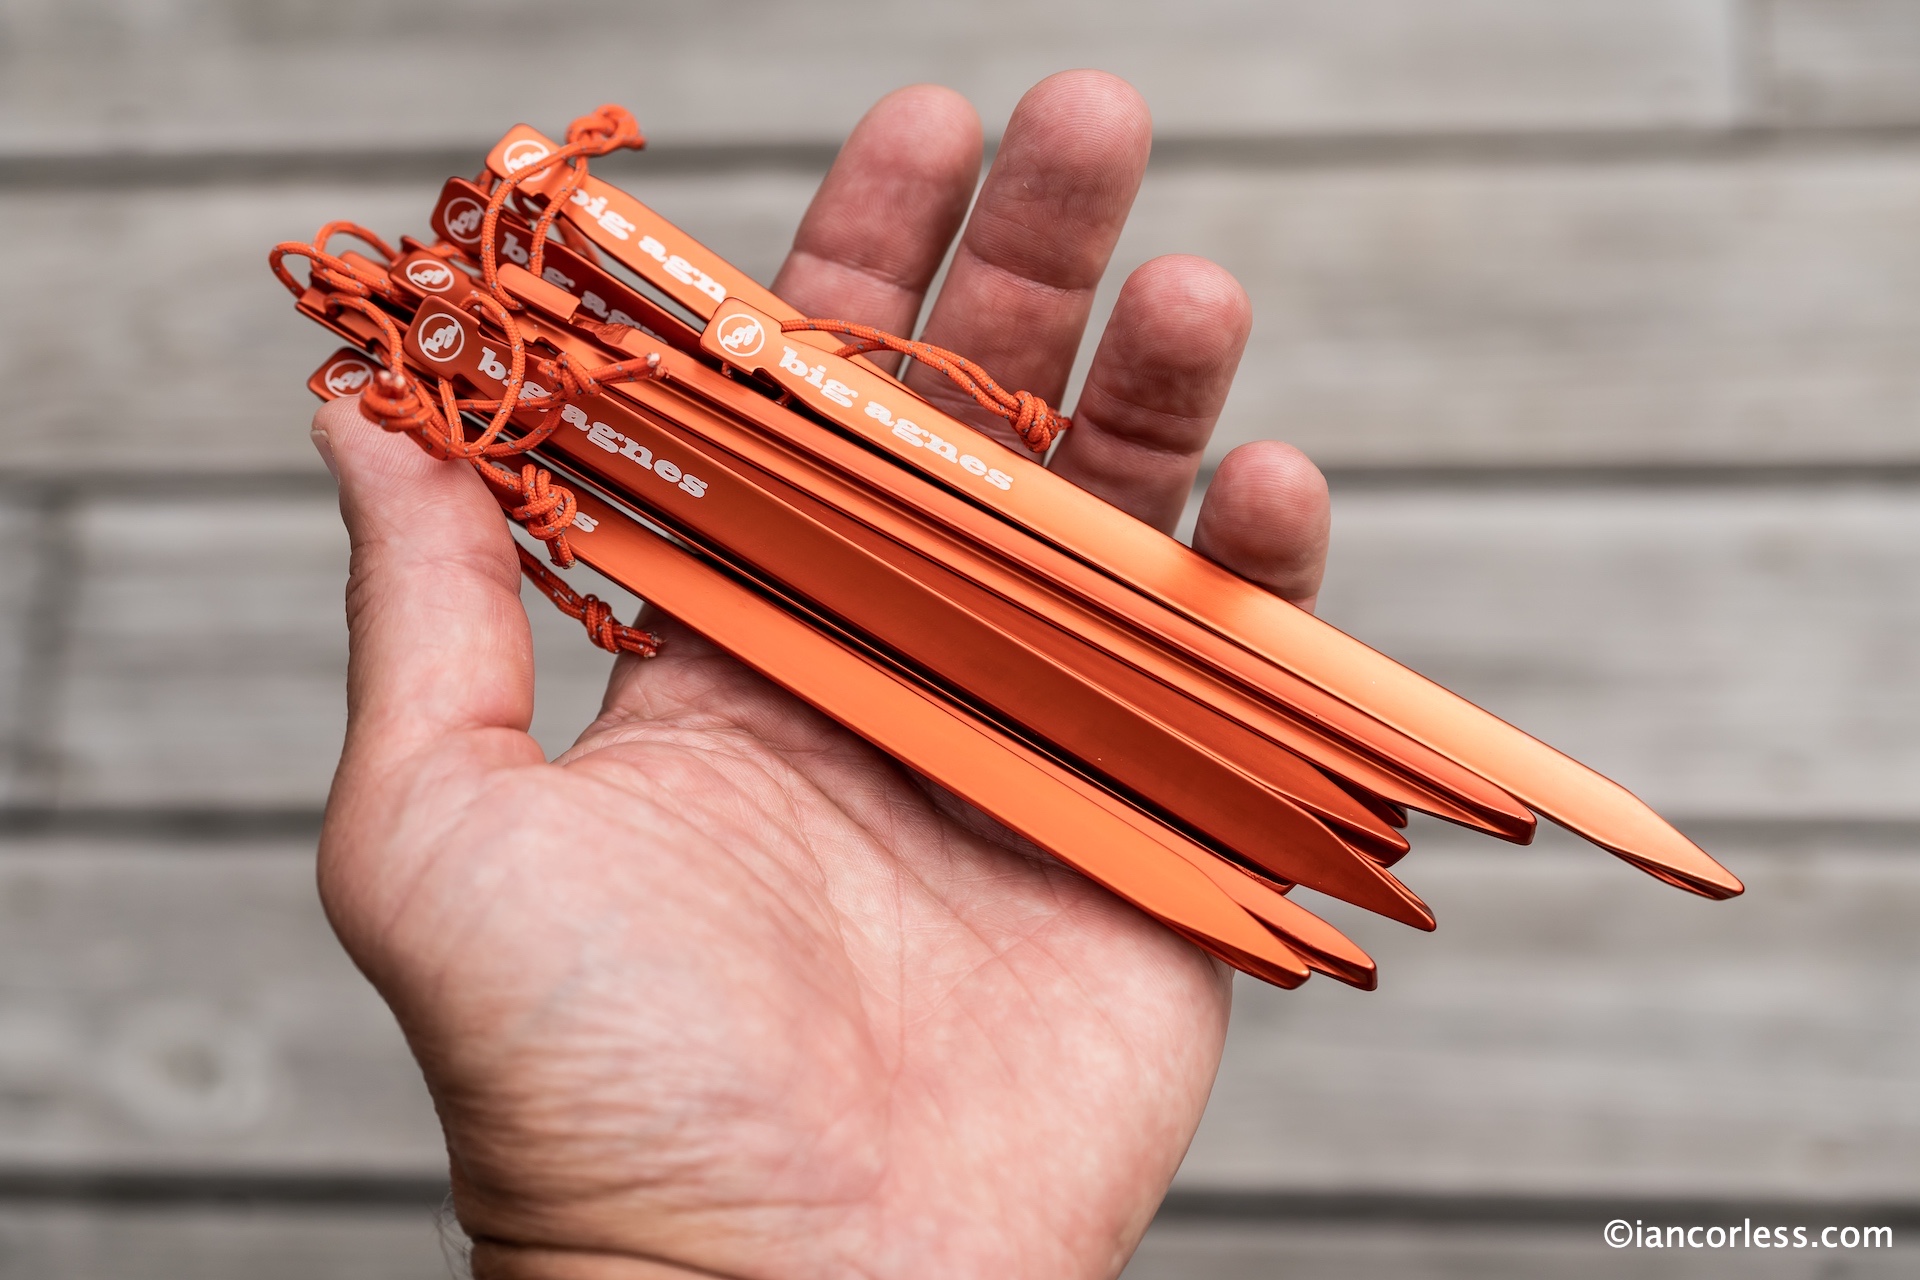
Big Agnes solo backpacking tent with poles and pegs.
Sea to Summit Sp1 sleeping bag.
Sea to Summit sleeping bag liner.
Merino LS top and bottoms.
Waterproof jacket.
Waterproof pants.
Down jacket.
Warm gloves.
Leki poles.
Merino beanie, neck roll and gloves.
MSR solo cook kit.
Sea to Summit spoon
Knife, matches, hot chocolate sachets, tea, earplugs, blindfold, snacks, and cup.
Firepot food and bars.
Osmo Active.
Phone, passport, and credit card.
To wear, the pack hugs the body, is comfortable and if adjusted correctly provides a run with minimal bounce. Made from ultralight sail cloth, the Octane 25 feels very durable. 3D vent mesh helps comfort and breathability.
While not one of the obvious choices for a multi-day or stage race, this pack is proving hard to beat. The features, the storage capacity and the fit against the torso is superb. It really is one of the best, if not the best, we have tried. Coming in one size, smaller or larger individuals would need to try on and make sure fit and comfort works. The side adjustments do compensate for many sizes and the waist belt adds to a secure feel and it helps spread the carry load.
Is there a downside? The only possible problem could be the zip. Zips can break, particularly when under pressure from holding in contents or from harsh environmental conditions, such as sand. However, this is just a thought process that needs considering, there is nothing in testing that would suggest there to be a problem.
Ultimately, one of the best fast packing and multi-day packs I have tried and one that I am using on all adventures for the foreseeable future.
12th January to 19th January, 2023. Club La Santa, Lanzarote
Missing the 2021 camp due to the pandemic made the ’22’ camp even sweeter. Some may say it was the best camp yet…? To be fair, we think they are all great.
We have so many attendees returning year-after-year and this keeps me on my toes always looking for something new. In the last two editions we have added a ‘Long Day’ that is a point-to-point run offering an opportunity to see and experience new trails. In 2022 we added some new routes that offered a little more technicality and vertical meters.
2023 WILL BE THE BEST YET
Rachid at the 2021 MDS on stage 1.
First and foremost, we will have some new coaches and special guests. The big news is that 8x Marathon des Sables champion, ‘King of the Desert,’ Rachid El Morabity will join us, arriving Friday 13th and departing Monday 16th. He will join us for two runs, provide a 2-hour Talk & Worskshop and yes, I am pretty sure you will all get an opportunity to have a photo taken with him.
The amazing and inspirational, ‘Dead Man Running,’ Kevin Webber will join us for the whole week. He will look to inspire each and every attendee by quite literally, leading by example. As Kevin says, “Got told my prostate cancer may kill me in 2yrs but here I am, nearly 5 years later running ultra marathons, raising awareness and funds for Prostate Cancer UK!”
With some new routes, new talks and workshops, new guests, the 2023 Multi-Day Training Camp will take what is already a special and unique formula and take it up several notches.
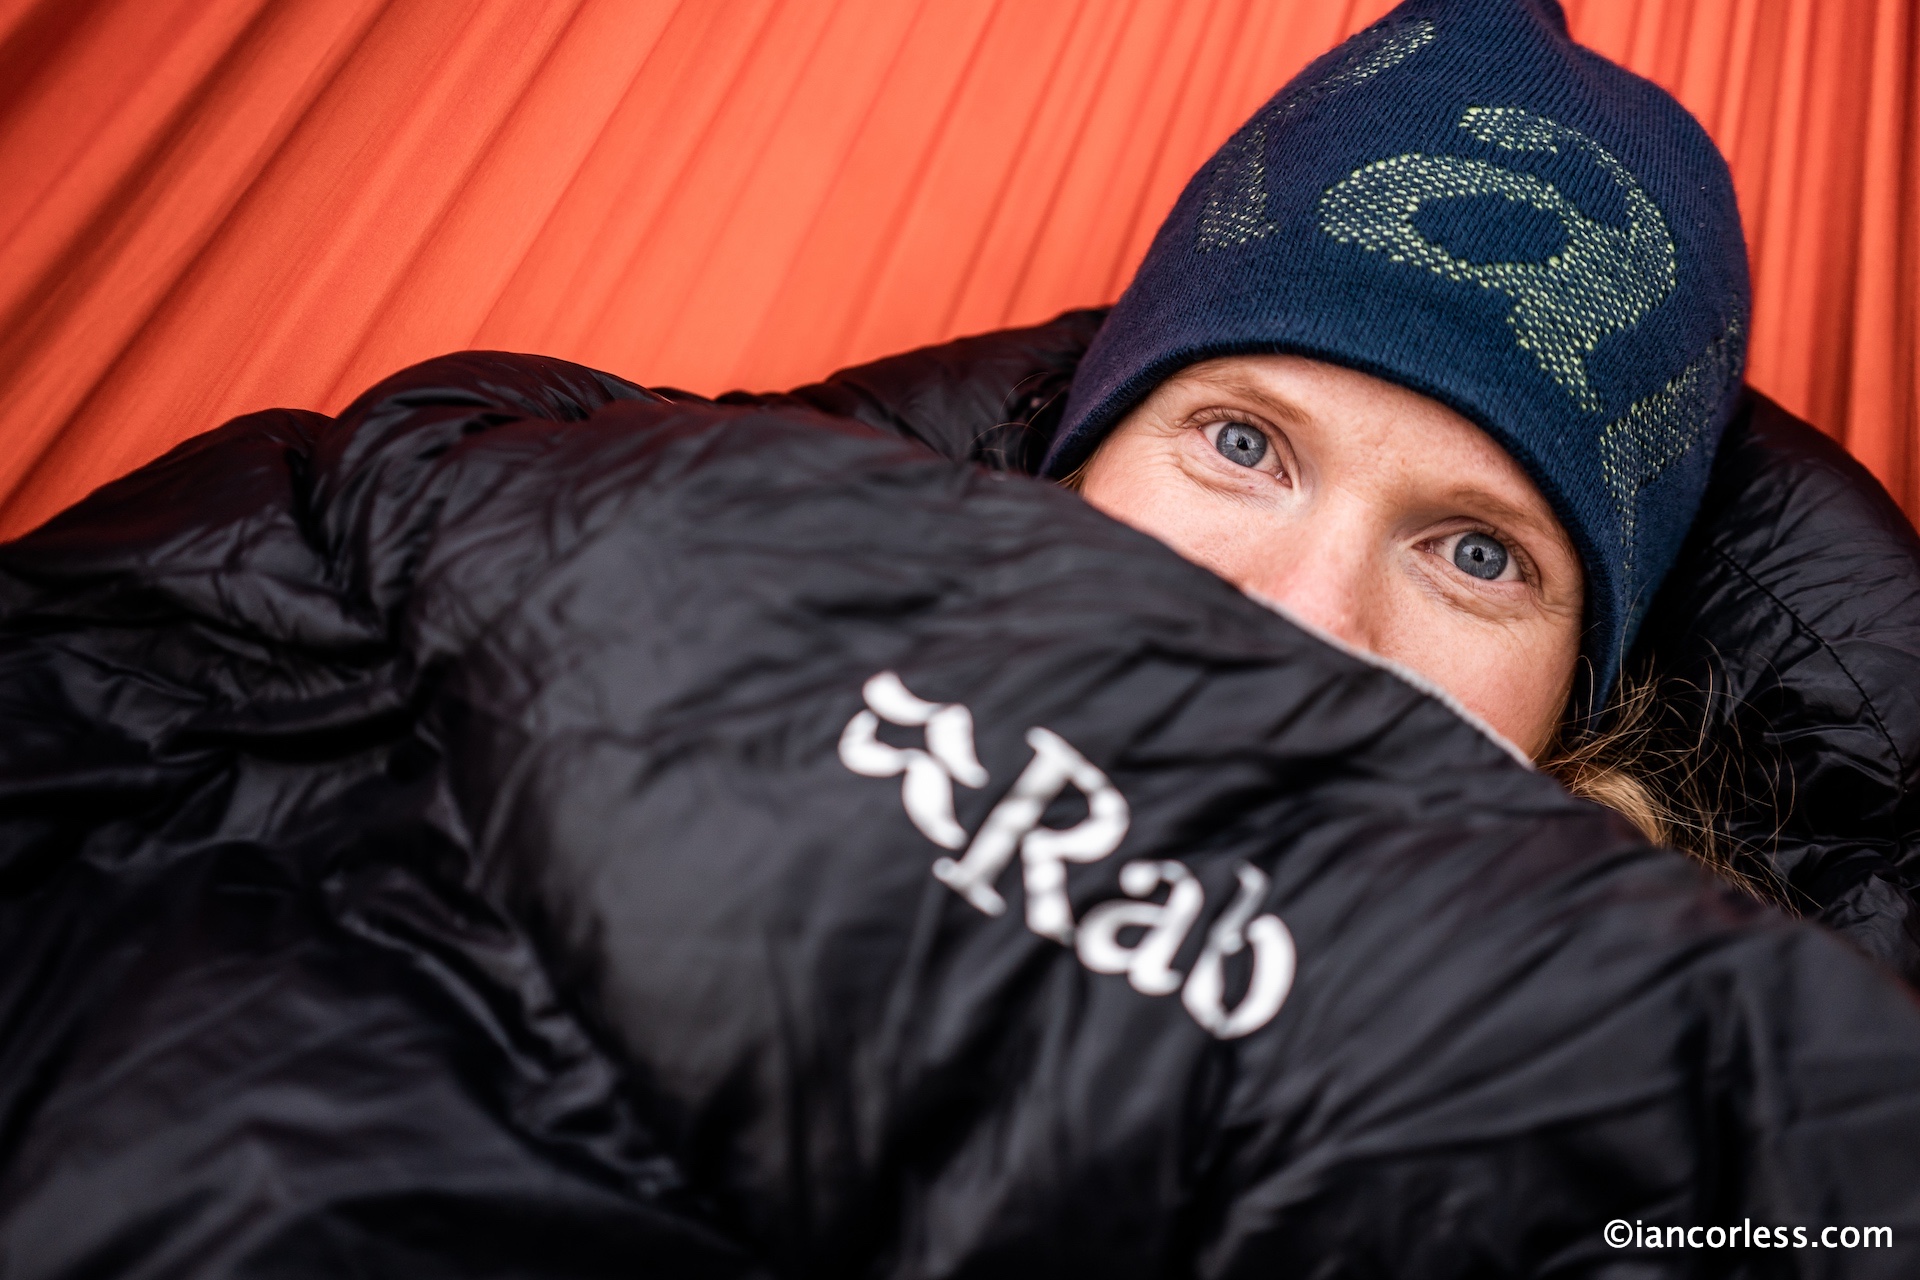
RAB have produced two state of the art sleeping bags in the Mythic Ultra 180 and Mythic Ultra 360 sleeping bags. Utilising the same technology, both bags offer low weight, small pack size, Hydrophobic Down and the ground-breaking TILT technology – Thermo Ionic Lining Technology. The TILT in real simple terms brings elements of an emergency space blanket incorporated into the design of the bags.
Offering best performance at weight for any comparable bag, both the 180 and 360 have been my ‘go-to’ bags since early in 2020.
Quite simply, amazing levels of warmth for low weight.
The RAB Mythic 180 has 180g of 900+ fill power Hydrophobic down and a comfort limit of 0 degrees and a weight of 390g. It’s a perfect bag for warmer weather and any adventure when low weight, small pack size and warmth are important. Perfect for multi-day racing for Marathon des Sables or similar and, is brilliant for fastpacking adventures when travelling in a self-sufficient manner.
The RAB Mythic 360 has 360g of 900+ fill power Hydrophobic down and a comfort limit of -8 degrees and a weight of 620g. This bag utilises all the same technology of the 180 and quite simply is warmer and heavier. Just like the 180, it’s the perfect bag for racing and fastpacking adventures in colder and more challenging conditions.
The recent 18-months have allowed me more time outdoors than ever before and almost weekly I have ventured outside on multi-day fastpacking adventures or overnight trips. The 360 and 180 have been on most of these trips offering low weight, small pack size and incredible warmth.
I am lucky, based in Norway, I get to fully experience the cold of winter and in summer, warm and comfortable nights.
An overnight fastpack in February and I was camping in -18 degrees on snow in a small one-man tent. The Mythic Ultra 360 with a comfort rating of -8 was not going to be enough for a cold night, however, I had planned accordingly carrying Merino base layers, down pants, and down jacket. When all combined inside the Mythic Ultra 360 I was cozy warm. This was an extreme test of the 360 and importantly, I think it’s important to understand how layering is an important element to the use of any sleeping bag. It offers incredible flexibility.
But the true test of the 360 has come on regular trips in Autumn and Spring when the temperatures are hovering around +5 to -5. In these situations, the bag has performed flawlessly providing low weight and incredible warmth all in a small package. The groundbreaking TILT really does perform and as mentioned earlier, it’s like adding a space blanket inside the bag. It’s heat reflective and therefore increases the internal warmth for minimal extra weight.
I consider the bag a game changer for its weight v performance but of course, this comes at a price. Expect to pay around £700 for this technology.
Using 7D ripstop nylon, TILT and excellent design, the Mythic Ultra 360 has been the most comfortable bag I have ever used. One would potentially think that just 360g of down would not be enough, especially for a -8 bag, but that is where the technology kicks in and that is why the price goes up. It’s the perfect bag alpinists, adventurers, and runners.
It has boxwall construction and trapezoidal baffles which allows the down to loft reducing cold spot risk. It has an ergonomically designed collar and hood that closes in around the head and neck reducing cold getting inside the bag and therefore allowing the warm air inside the bag no opportunity to escape. An anti-snag zip guard, angled foot box and short zip are additional features.
As you would expect, internal space is compromised, after all, this helps keeps the weight down. So, this may be a consideration, it’s suitable for someone up to 6-foot tall with comfort. After that, it would come down to personal comfort and needs. Shoulder width is 27 inches, hip width 21 inches and the foot width 16 inches.
FEATURES
The bag comes with a large cotton sack so you can store without compressing the down, it is also supplied with a compression dry bag. It has a ½ length zip on the left only. The down is Hydrophobic, so, it can get wet and retain warmth, an important feature. 7D Ripstop fabric and importantly the TILT technology is a USP to boost warmth thereby facilitating lower bag weight. Tested to EN1357:2016 standards, the Mythic Ultra 360 has comfort of -2, Comfort limit of -8 and an extreme limit of -27 (but I wouldn’t want to be in that situation!)
CONCLUSION
This is a high-performance bag and state of the art. If the cost is no problem and you require small size, low weight, and warmth, the RAB Mythic Ultra 360 should be on your list. It’s an amazing bag!
Mythic Ultra 180
At £550 the 180 has all the features of the 360 above and it has the same measurements: Suitable for someone up to 6-foot tall with comfort. After that, it would come down to personal comfort and needs. Shoulder width is 27 inches, hip width 21 inches and the foot width 16 inches.
It also has all the same features including the cotton storage bag, dry bag, 7D ripstop, TILT, 900+ Hydrophobic down and same great construction.
Quite simply, the Mythic Ultra 180 is a stripped down 360 designed for warmer temperatures and thus bringing even lower weight and pack size.
At 400g, it is perfect for racing or fastpacking when temperatures at night are expected to be 0 degrees or above, as such, it’s a perfect bag for Marathon des Sables or similar multi-day adventures. It’s also ideal for Mountain Marathon events and summer alpinism.
All the pros and cons listed above for the 360 are directly transferable for the 180.
FEATURES
The bag comes with a large cotton sack so you can store without compressing the down, it is also supplied with a compression dry bag. It has a ½ length zip on the left only. The down is Hydrophobic, so, it can get wet and retain warmth, an important feature. 7D Ripstop fabric and importantly the TILT technology is a USP to boost warmth thereby facilitating lower bag weight. Tested to EN1357:2016 standards, the Mythic Ultra 180 has a comfort limit of 0 degrees.
CONCLUSION
Low weight, amazing warmth and small size, the Mythic Ultra 180 is a bag for warmer temperatures when price is no issue and features are paramount. It’s a perfect bag for racing and fastpacking adventures and the Hydrophobic down gives peace of mind in poor weather conditions.
FINAL THOUGHTS
The RAB Mythic Ultra 180 and 360 bags are state of the art and work together with each other offering low weight and warmth for any adventure. I am fortunate to have both and therefore can switch between 180 or 360 based on weather conditions. However, all sleeping bags have greater flexibility when one adds layers. The 360 can be used in much colder temperatures with Merino and down layers. You could argue that this adds extra weight to the overall pack, but, if you are out in in -10 or lower, you will be carrying these layers anyway for day use.
The 180 is a lighter bag and again, adding a layer or multiple layers when inside will increase warmth. A prime example being a race like MDS, many take a very light down jacket for when sitting around, add this inside the bag and the warmth increases.
However, here in the RAB Mythic Ultra, remember the TILT works by reflecting heat, so, one would need to test and try what method provides the best warmth.
Ultimately, if you need a sleeping bag the 180 and 360 offer two great starting points and they should be a consideration.
Please support this website. I believe everyone deserves to read quality, independent and factual articles – that’s why this website is open to all. Free press has never been so vital. I hope I can keep providing independent articles with your help. Any contribution, however big or small, is so valuable to help finance regular content. Please support me on Patreon HERE.
Can you ever have enough tents? I think the answer, most definitely for me, is no! Recently, I was looking for a lighter, smaller packing 1-person tent. The Nordisk Lofoten answered all my requirements particularly on weight and pack size BUT a compromise was going to be made on comfort, living space and storage space.
A recent purchase of a Big Agnes Tiger Wall UL2 ‘Bikepack’ tent for 2-people has been a revelation – packs real small, has low weight and is just perfect when out on adventure providing incredible space and storage for one person, or a comfortable relaxed space for 2 with excellent vestibules for storage and individual entry for 2.
2 person Tiger Wall UL2 Bikepack Tent
I was so impressed, the Tiger Wall urged me to look at the Big Agnes brand and low and behold I found the new for 2021, Big Agnes Fly Creek HV UL 1. Check out options on Big Agnes. A one person tent with lower weight and pack size but excellent living space has been on my wish list for a long time.
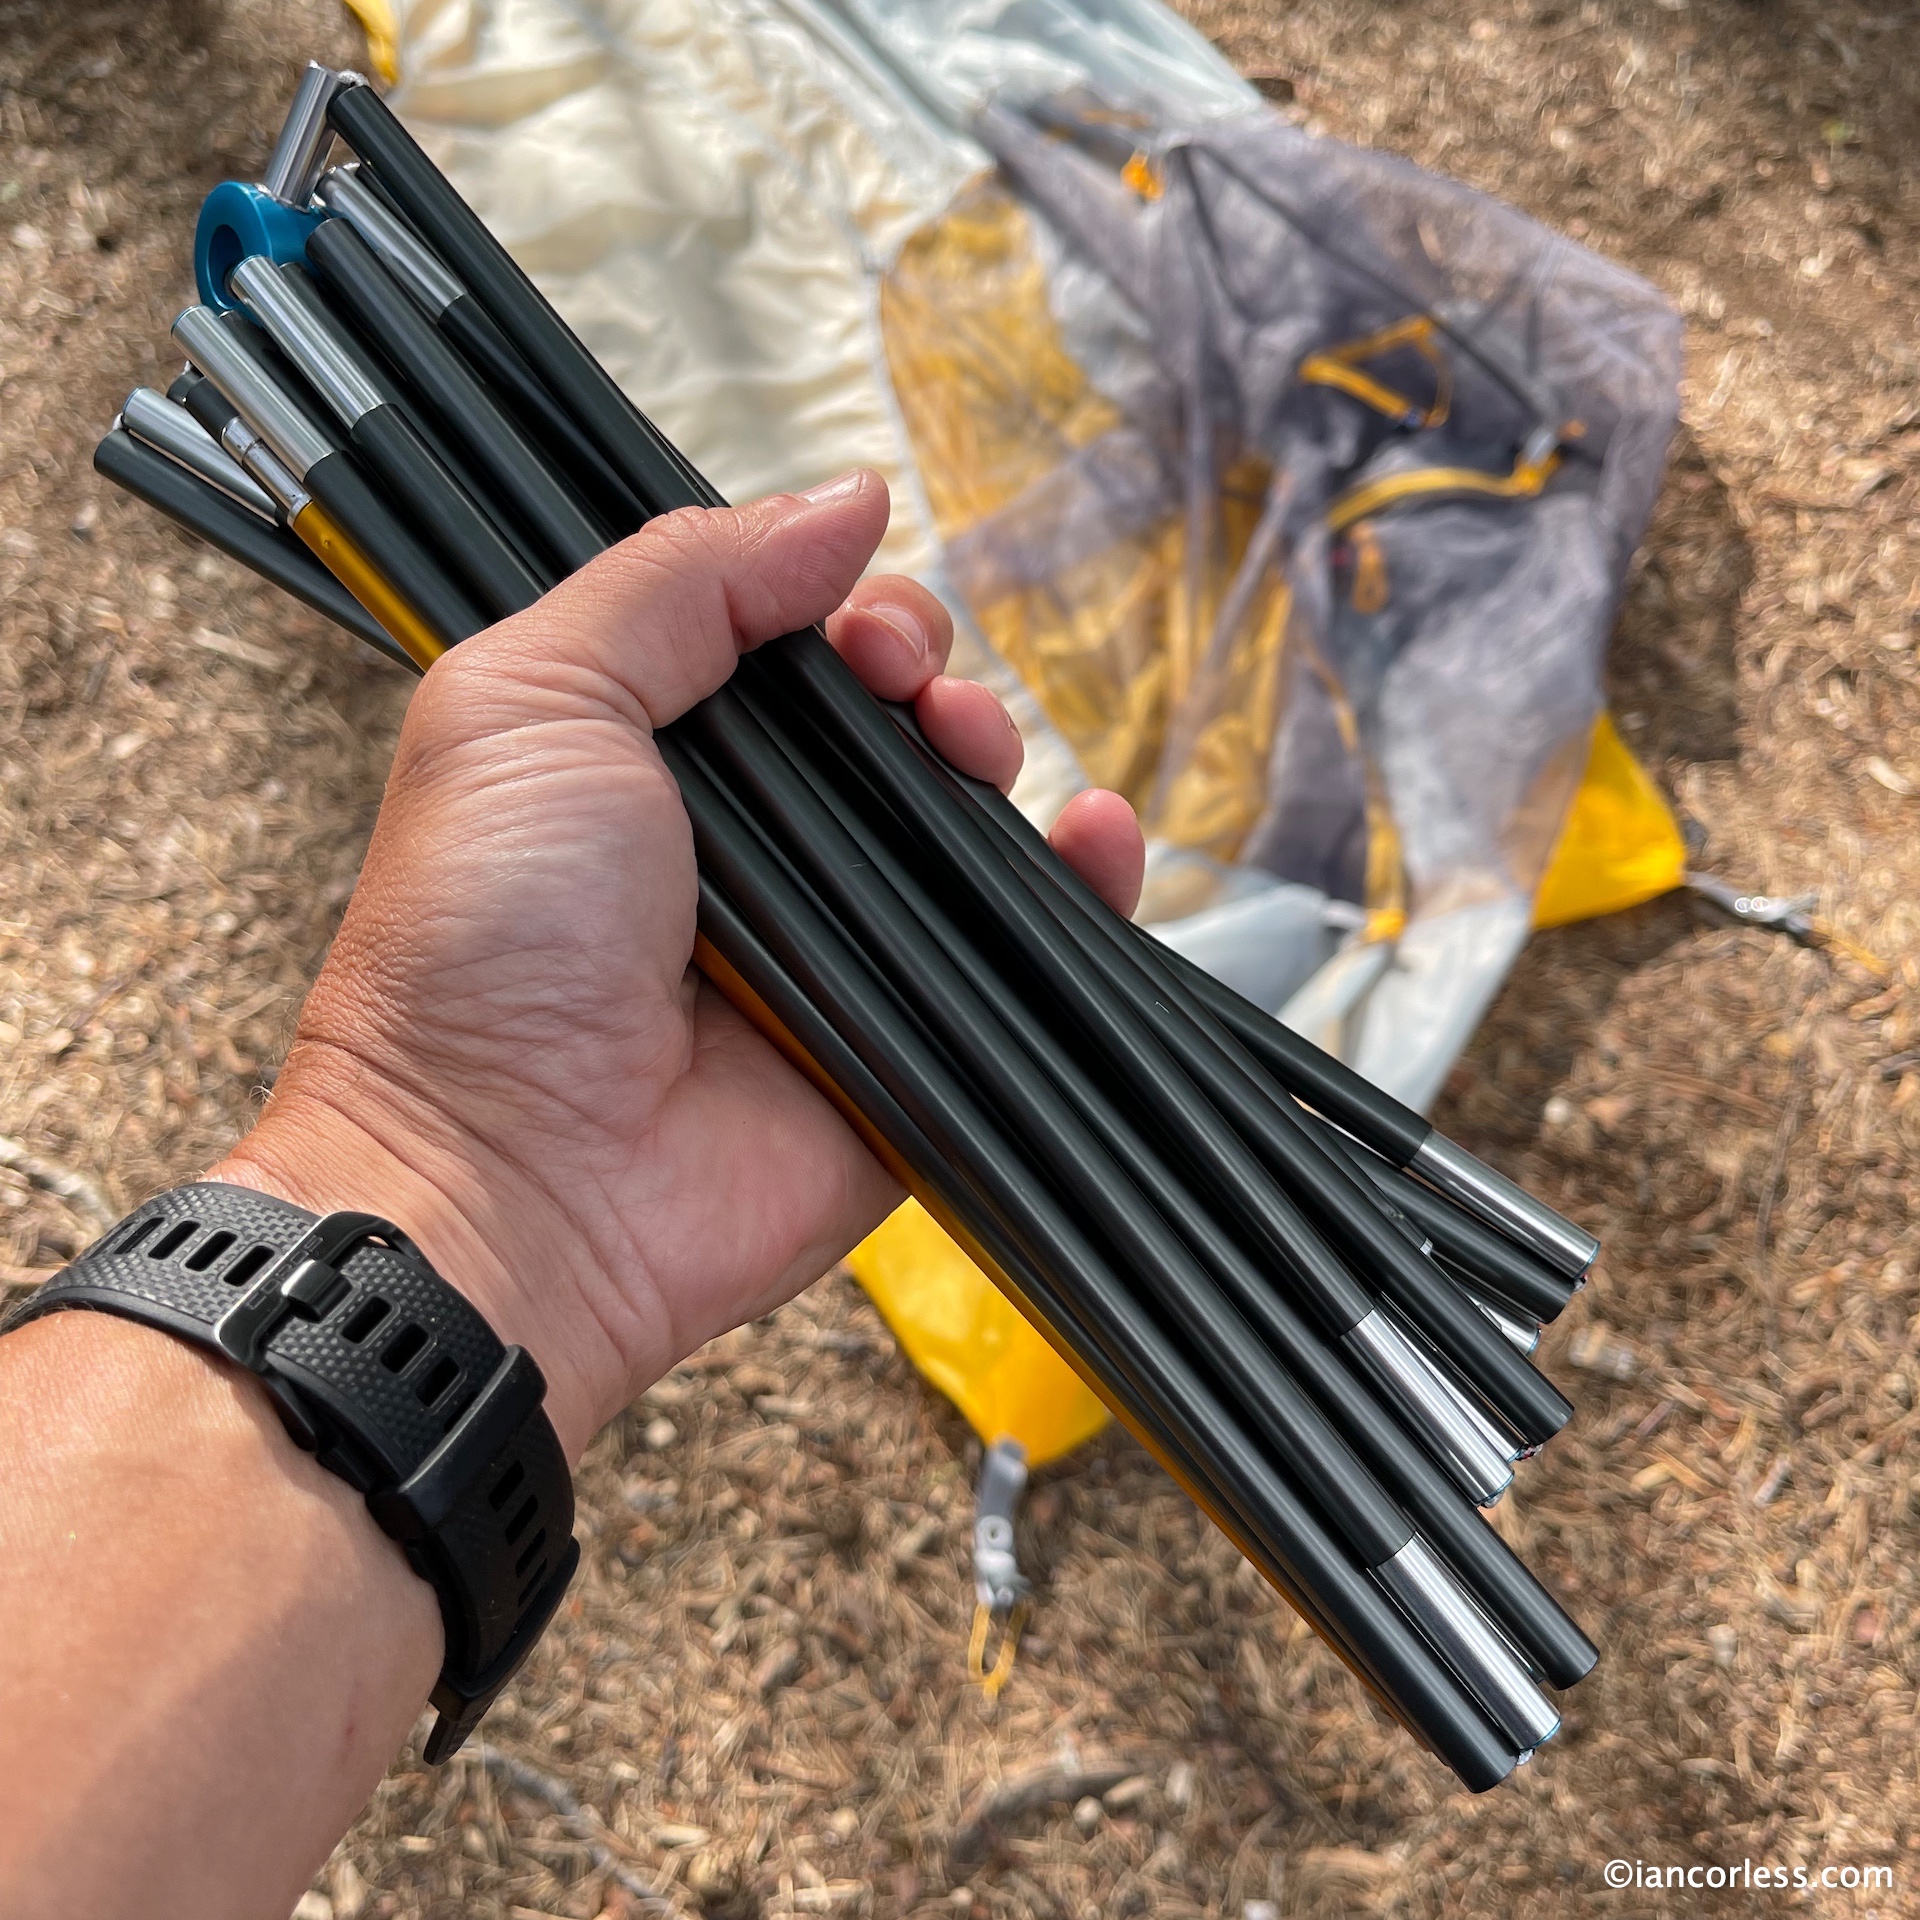
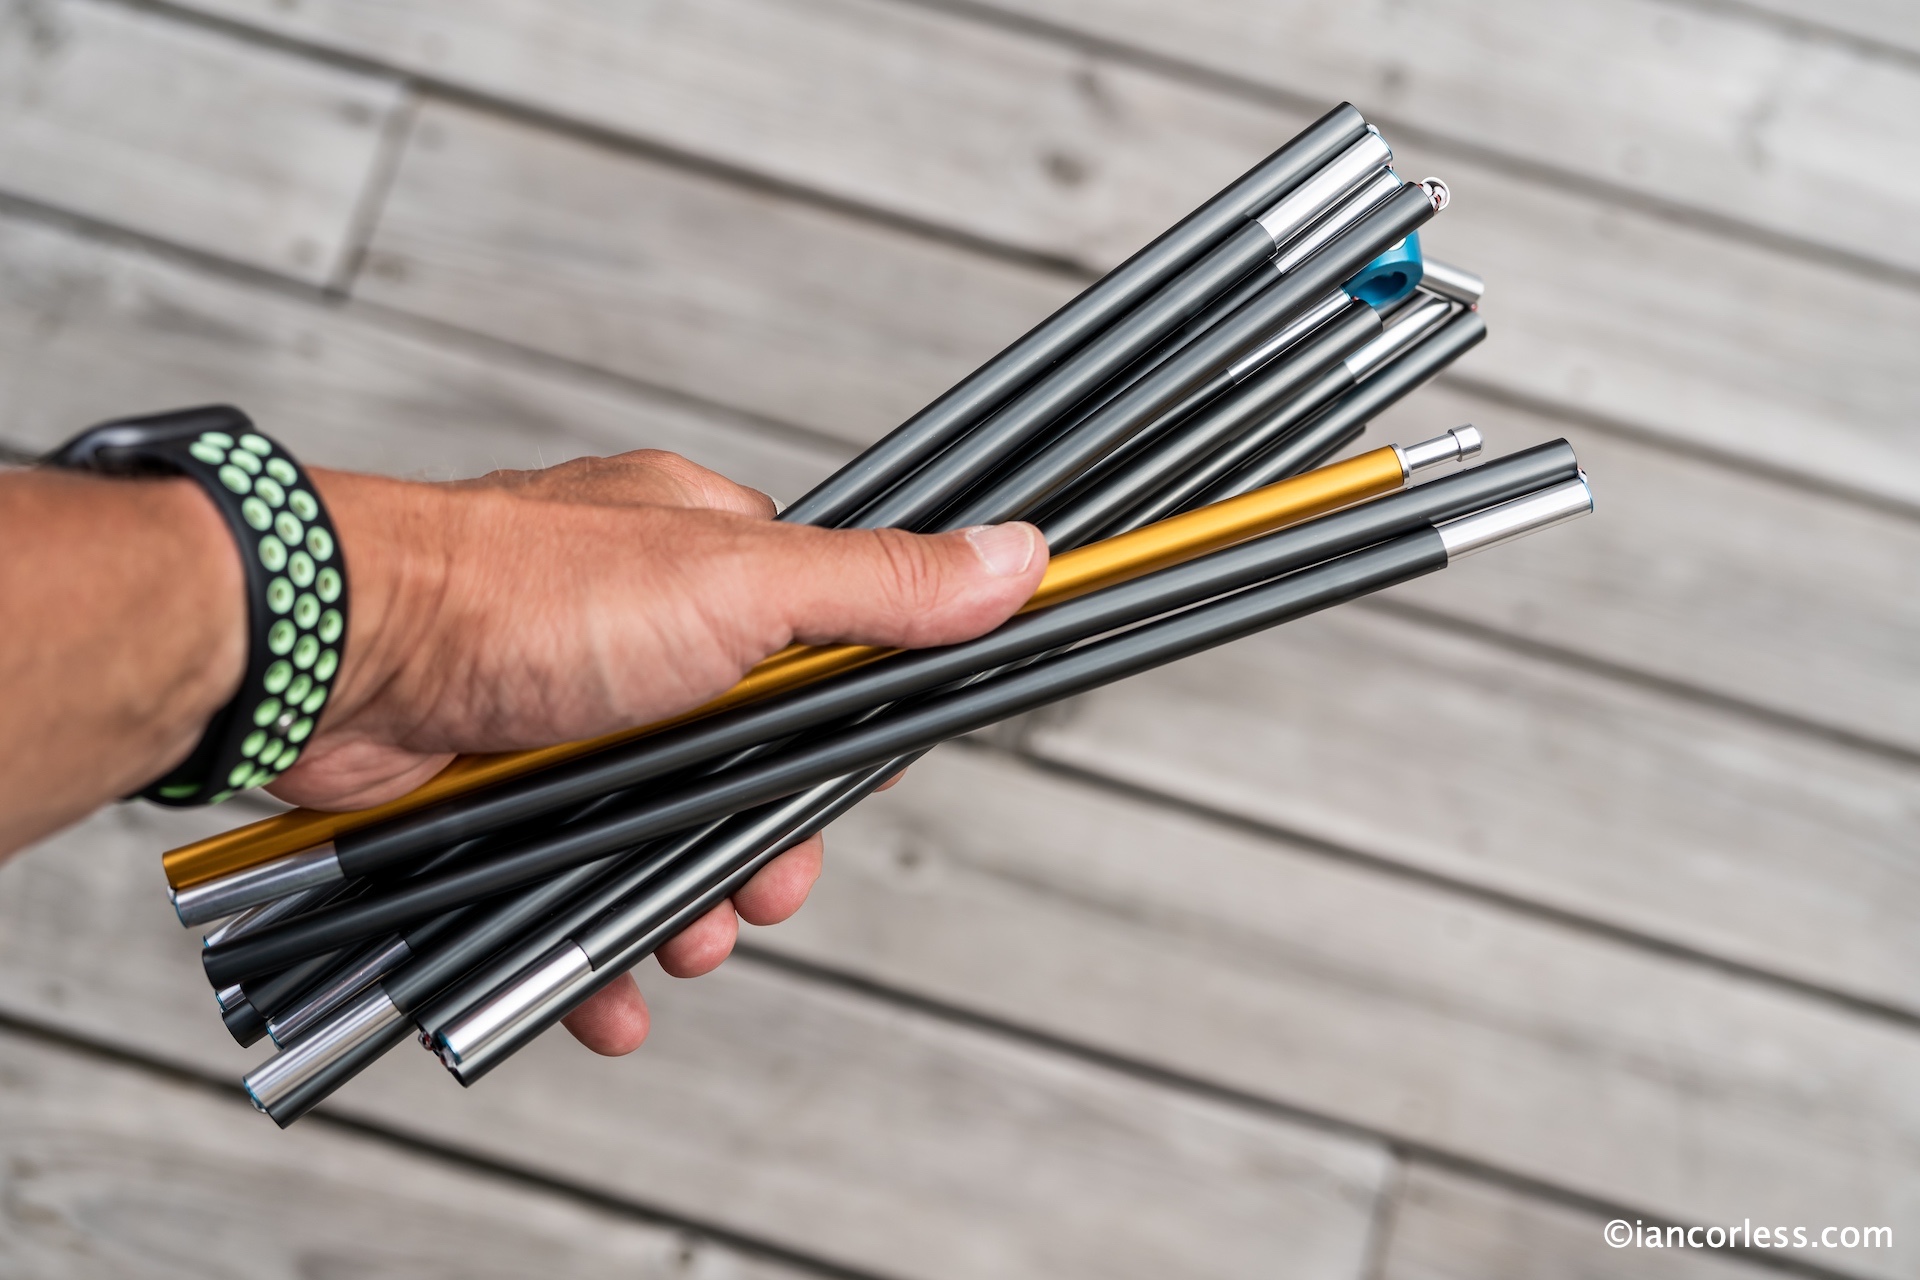
To clarify, I am not going bikepacking, BUT, bikepack tents use smaller poles, typically 12-inches, and trust me, once you have had the option to pack and fastpack with 12″ poles you will be completely sold on them. Ultimately, they were designed to fit across the handlebars of a bike, but equally, they will fit inside pretty much any run pack – a winner!
So, I was sold on smaller poles, but my other two criteria were ‘low weight’ and ‘good living space’ and by living space, I mean the option to sit up inside the tent.
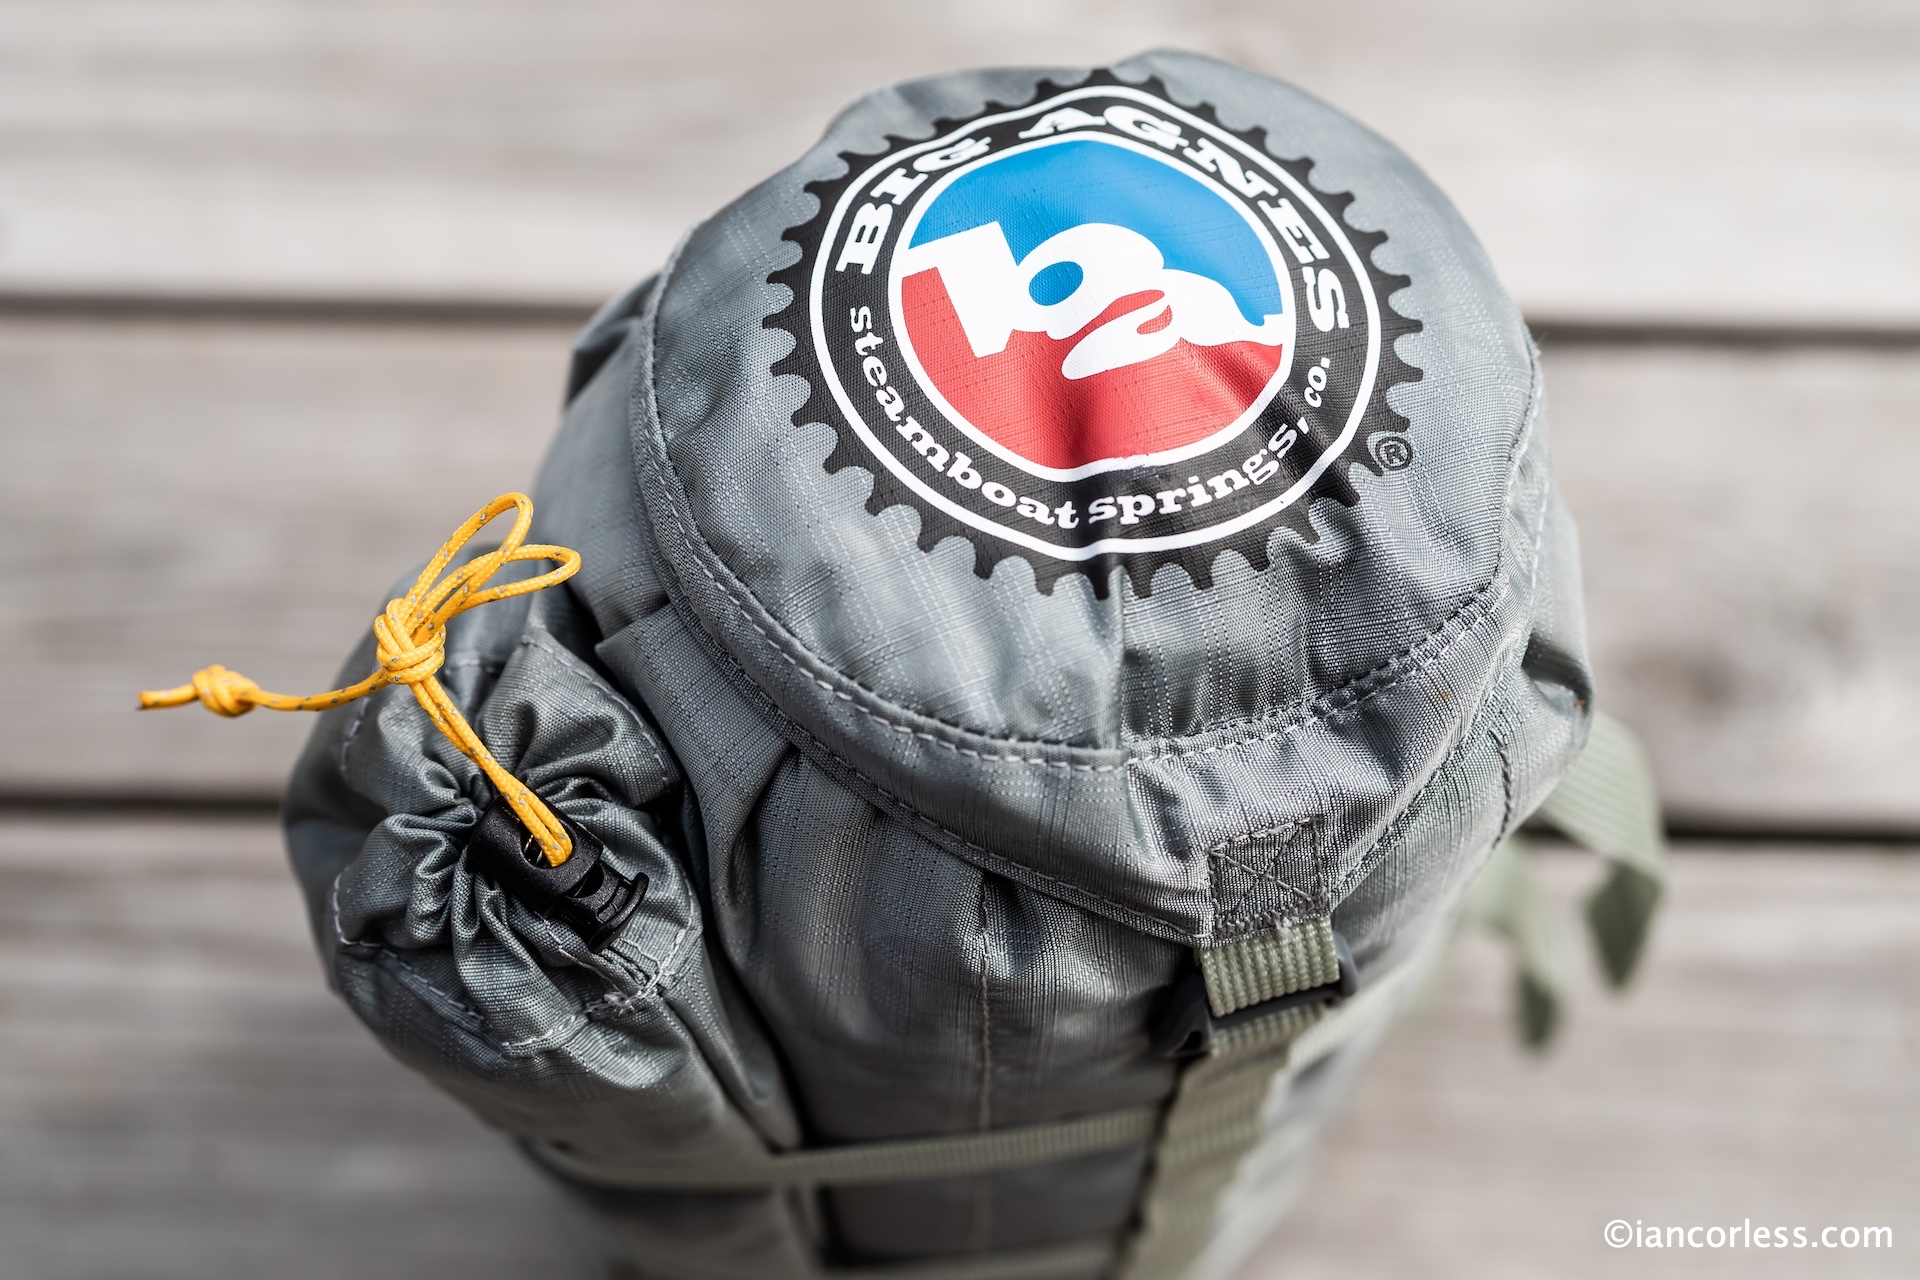
The Big Agnes Fly Creek HV UL 1 arrived and first and foremost, the storage bag for the tent and poles are designed for going on a bike, therefore they are robust, a little heavy but well designed.
If like me you are fastpacking or going hiking/camping, you just don’t need these storage bags and you will immediately make a considerable weight saving by not using them.
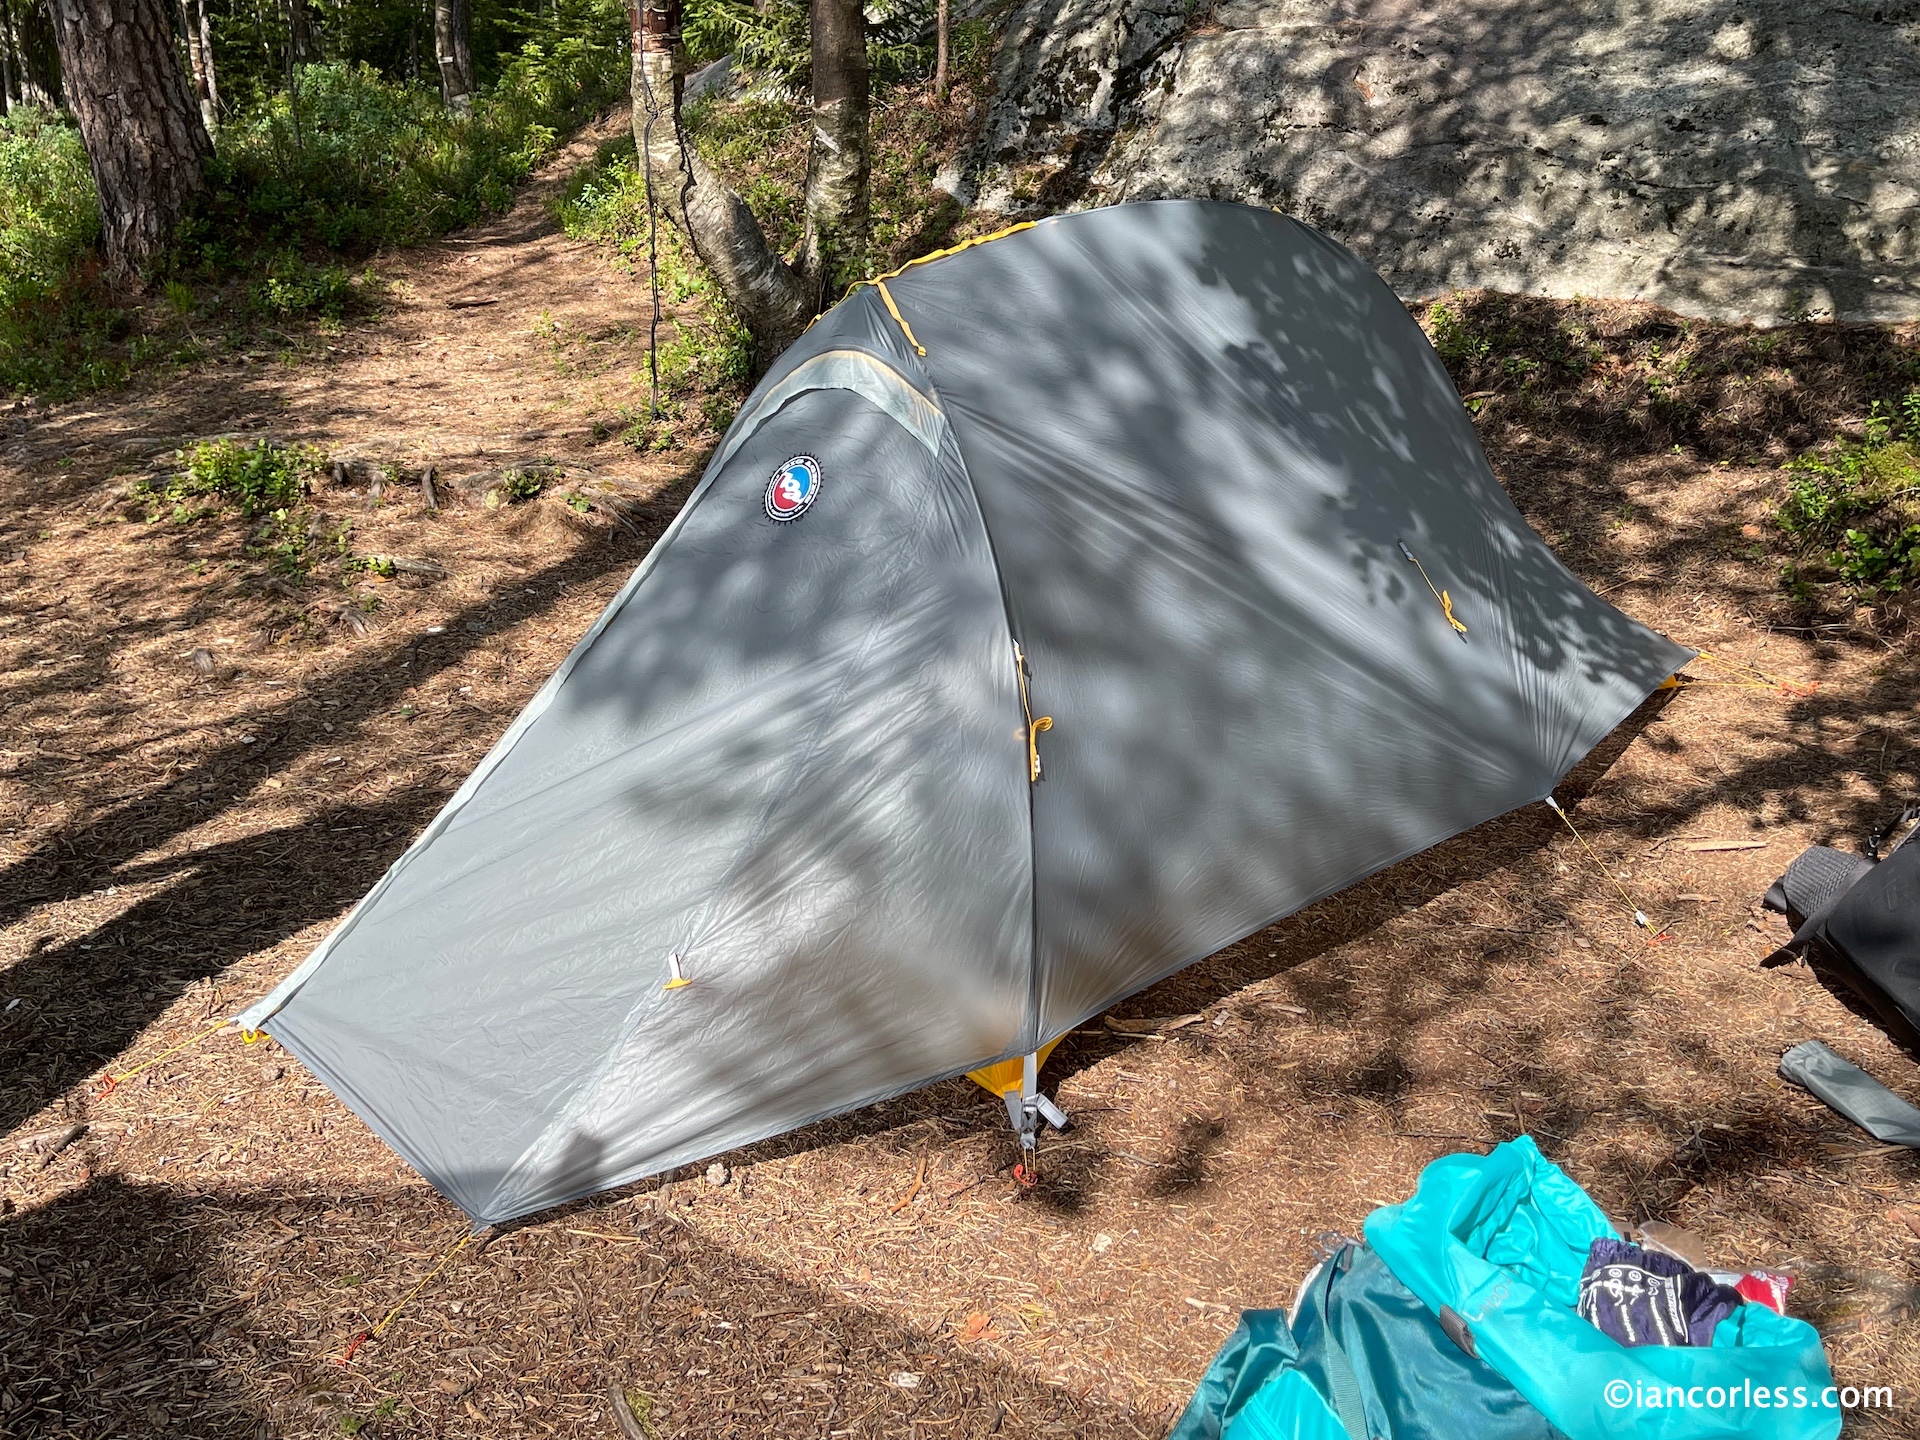
The tent weighs just over 900g with all the bags but stripped down to a minimum, poles, light pegs, fly and inner, I got the weight to just over 800g which for me, is perfect. It is possible to go lighter with some other brands, the Nordisk an example, but you don’t get the features, storage, living space and proper 2-layer tent that the Fly Creek offers. It’s a winner!
The 12″ poles are impressive and there is just one that attaches to the tent inner at three key points, two at the front, one at the rear which is colour coded. The inner attaches to the poles with simple clip buckles and you have a *free-standing inner tent for hot conditions. When I say *free-standing, to maximise space at the foot end, you ideally need to peg out the two corners that increase space. Also, to ensure the tent does not blow away, it makes sense to also add pegs at the three pole attachment points. It is also possible to use the flysheet as a tarp covering with no inner providing ultimately flexibility and the option to travel extremely light based on your needs and weather conditions.
IN USE
Pitching the tent takes minutes. Lay out the inner and peg the bottom two corners, this helps stop the inner blowing away (just in case) and allows for easier pitching. Attach the pole at three points and peg out tight, start at the rear. Peg out the two rear corners after pegging out the front corners. Throw the fly over the inner, remember to attach the inner Velcro fastenings to the poles and then ‘clip’ the outer to the inner, one at the rear, two at the front. The two rear corners are designed to utilise the two pegs that peg out the inner – handy on saving weight. Peg out the two cords at the front of the tent. In the middle of the sides there is a cord on either side, with these pegged out, you increase the internal volume of the tent. Make sure you look under the fly as there are two internal attachment points that link the fly to the inner that help increase internal space. On the fly itself, there are four additional ‘cord’ points, two at the front, two on the middle (one on either side) that offer more stability and security in bad weather.
The inner has one zippered access point at the front that has plenty of space to sit without being obstructed. Of course, if you are over 6-foot tall, some compromises will be made! With the outer fly zipped up, you have enough vestibule space for pack storage, shoes, and other items.
Inside the tent, it tapers quickly and there is an excellent storage space for clothes, I managed to fit a jacket, base layers, waterproof, hat, and gloves with no problem. On either side near the door entrance, there is a pocket for small items – phone, keys, glasses, headlamp, batteries etc….
There are several features specifically for cycling, for example, a helmet attachment point and on the outer, loops are attached so you can add items without losing them. This is perfect for attaching socks, t-shirt, shorts etc after a day on the trail and allowing them to air and dry out.
Worth pointing out that for 2021, Big Agnes have redesigned many tents, the Fly Creek being one of them and they are using solution-dyed fabric which ecologically reduces water and energy consumption.
THE GOOD
The 12″poles are brilliant as I can pack them pretty much anywhere. They are DAC Green Poles, poles so very durable and strong.
The steep architecture of the tent allows for excellent space at the front which really does allow one to sit up.
Internal and external storage is superb with some really great features.
Pitching is fast, easy, and secure and importantly you have three options: 1. Full tent with inner and outer. 2. Inner only. 3. Outer only. The use of TipLok Tent Buckles makes things very easy especially with the secure pole tip catcher and pre-cut guy lines.
Weight will always be crucial for me and a sub 800g tent with so much space ticks all the boxes, especially with no compromise on durability and features.
The vestibule offers great storage, easy access and has a two-way zipper.
Lots of reflective additions to the tent which makes pitching in the dark easier.
THE BAD
The interior space in the tent does taper off quickly but it is a minor niggle as you obviously need all the space where your head will go, however, for some it may feel claustrophobic.
I am used to side-entrance doorways/ vestibules and having used the Fly Creek with a front door, my preference would be a side-door. I think you get more usable space and potentially a better, more protected area for cooking with a side option. BUT this normally would increase the footprint of the tent and then that would mean additional weight, SO, I am more than happy with the front-door here.
The buckles make attaching the fly to the inner super easy. But if one breaks… attaching the fly, particularly at the front would be a real problem. I have no reason to think that they would break, but the possibility always exists.
MEASUREMENTS
Internal height 38″ at the front.
Length 86″ with 24″ vestibule.
Width 38″ at the front entrance and 28″ at the rear. With the door closed, the front door width is 26″
Packed weight 980g
Stripped down weight 800g
Fly only weight 620g
CONCLUSION
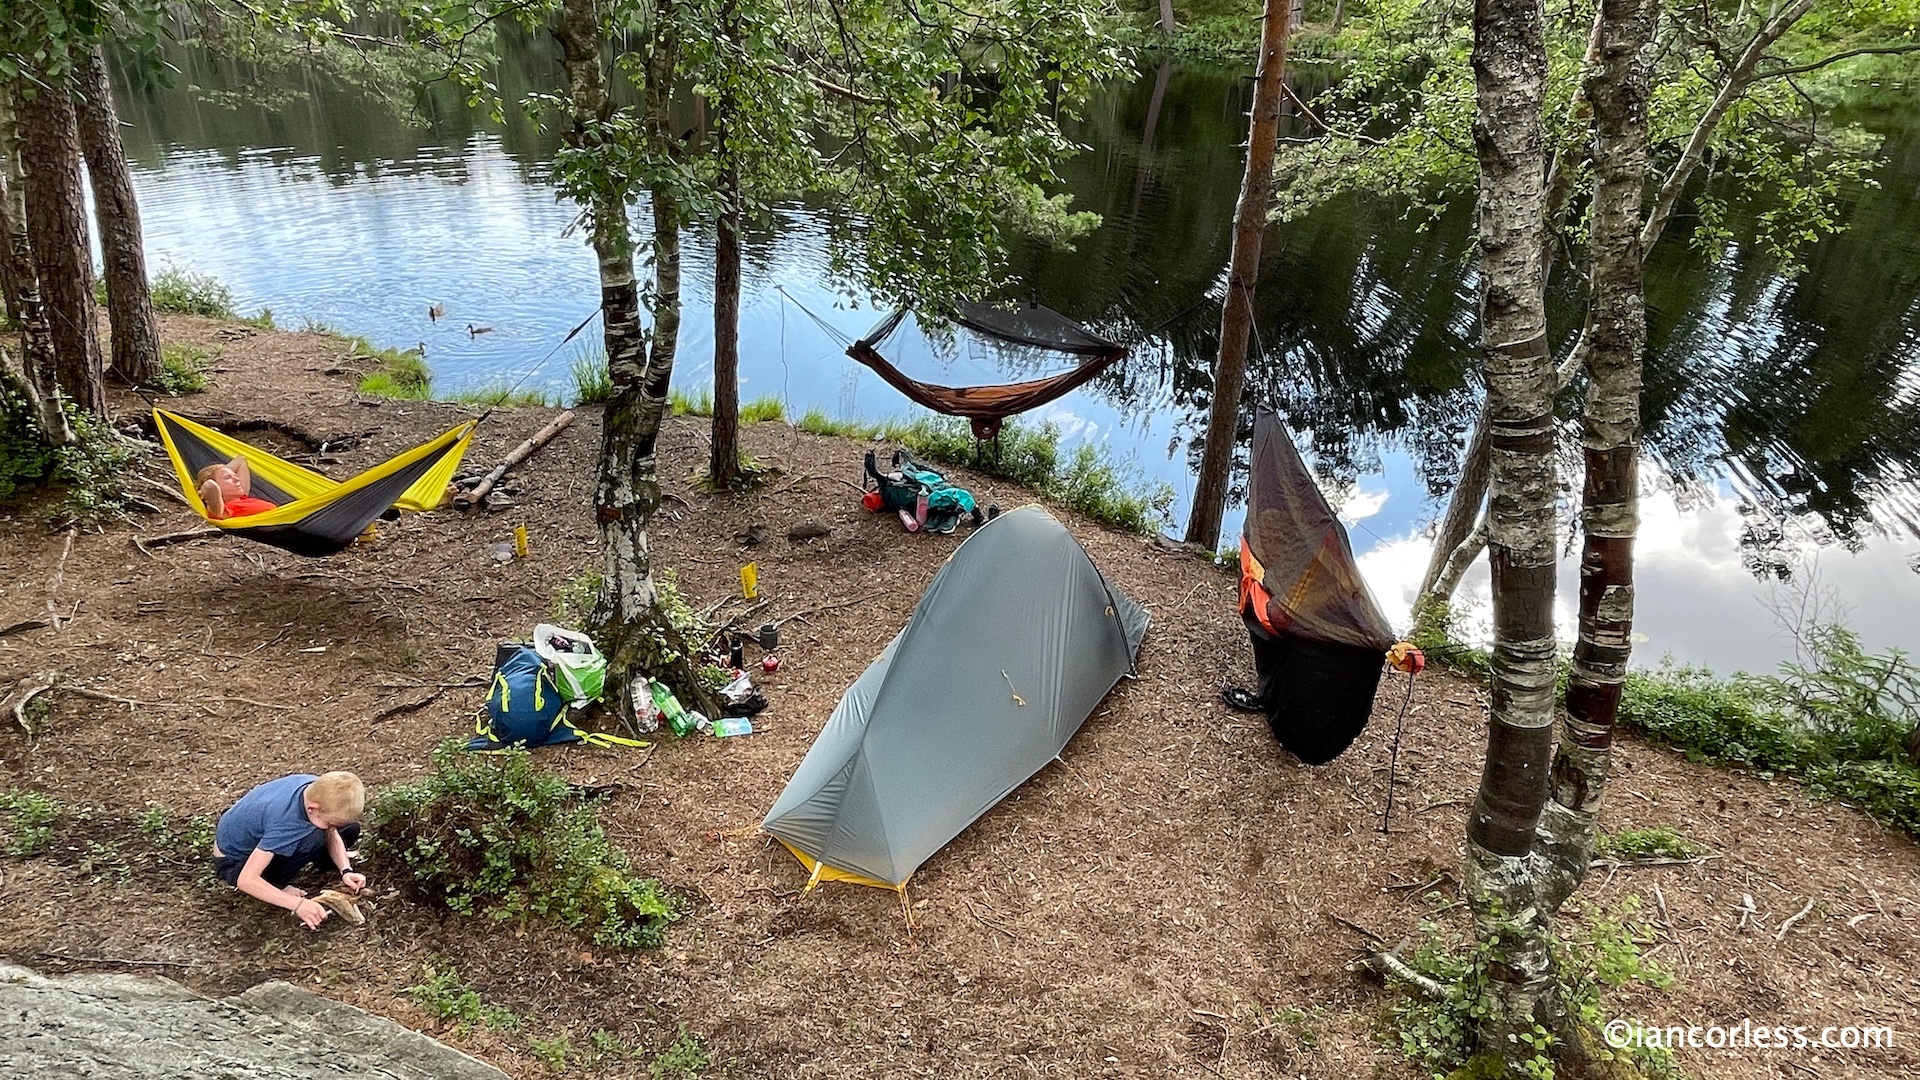
Here on a Summer family camp, the Big Agnes is lighter than hammock, bug net and tarp.
As solo tents go, Big Agnes Fly Creek HV UL 1 is not the lightest out there but is still amazingly light! The features, internal space, resilience to weather conditions and small pack size make this a serious contender for any trip. The Nemo Hornet does come close as a comparison with a little more space, less features, additional weight (approx 200g) and I personally feel less protection in harsher weather. At the lighter end, the Nordisk Lofoten is lighter, smaller pack size, considerably less features and compromised living space and storage. Ultimately, when choosing, you need to decide what works for you. Having lived with the Big Agnes Fly Creek HV UL 1 it will now be my ‘go-to’ tent for solo adventure. It just ticks all the boxes with little or no negatives. It really is a superb offering at a good price, 350 dollars / 350 pounds.
Ultimately, the tent has received a significant update over the previous one, it has new environmentally friendly fabrics, larger internal space, wider opening access and a range of tweaks and upgrades that make it ideal for 3-season use when travelling fast and light.
Please support this website. I believe everyone deserves to read quality, independent and factual articles – that’s why this website is open to all. Free press has never been so vital. I hope I can keep providing independent articles with your help. Any contribution, however big or small, is so valuable to help finance regular content. Please support me on Patreon HERE.
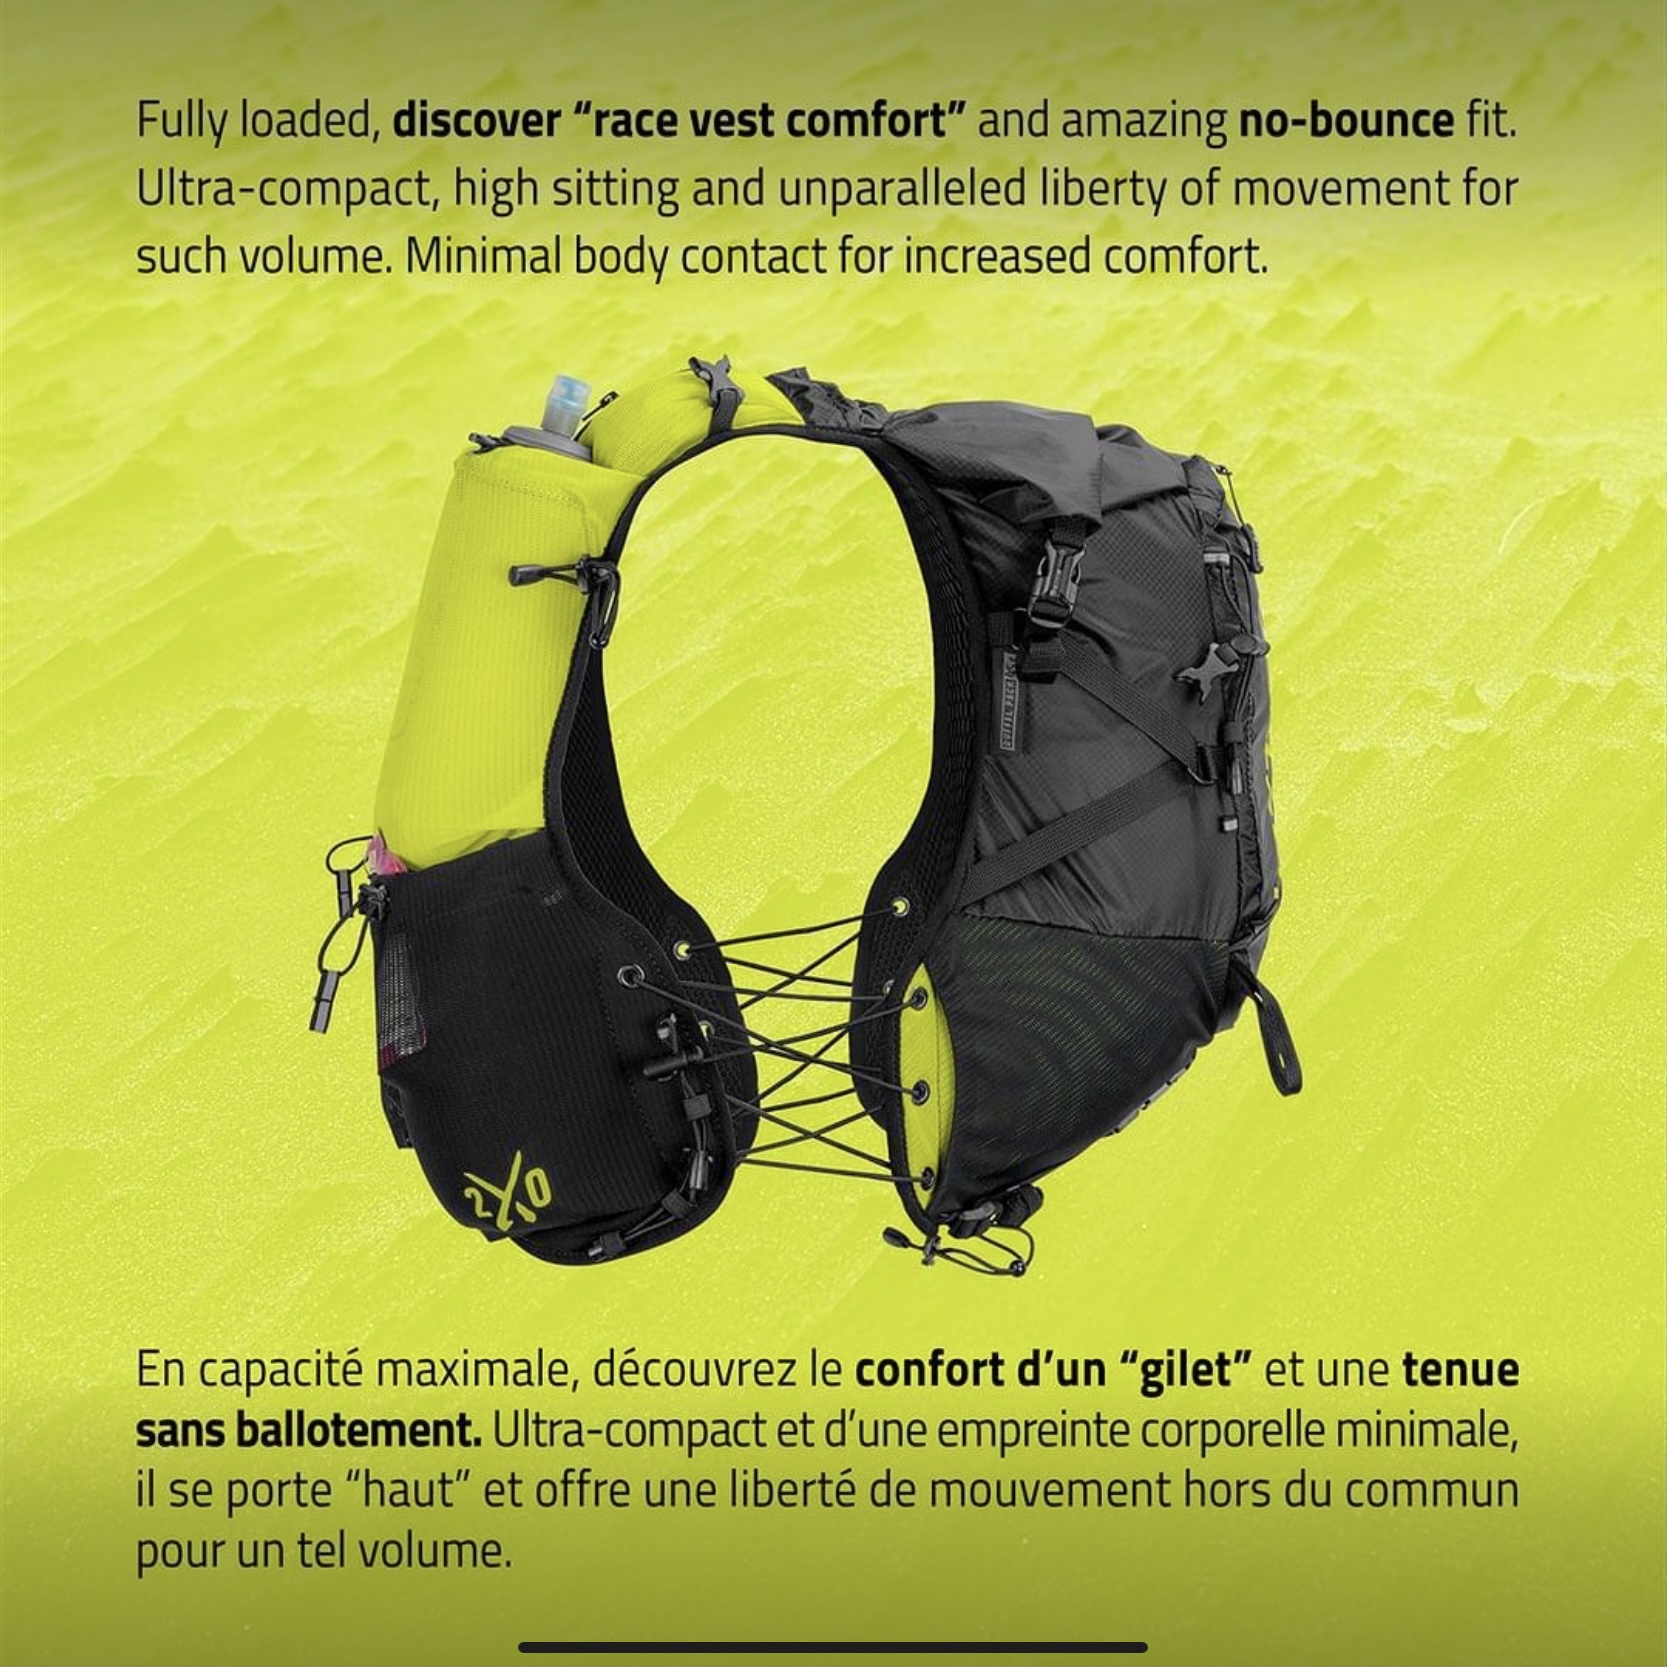
The INSTINCT XX 20L pack is a new addition to the stage/ multi-day racing scene and finally, dare I say, this pack begins to address many of the failures experienced in other packs.
It is in summary, the best pack we have used.
To clarify, this pack was provided free to test and this is not a paid review or advertisement. You can read and view some initial videos here.
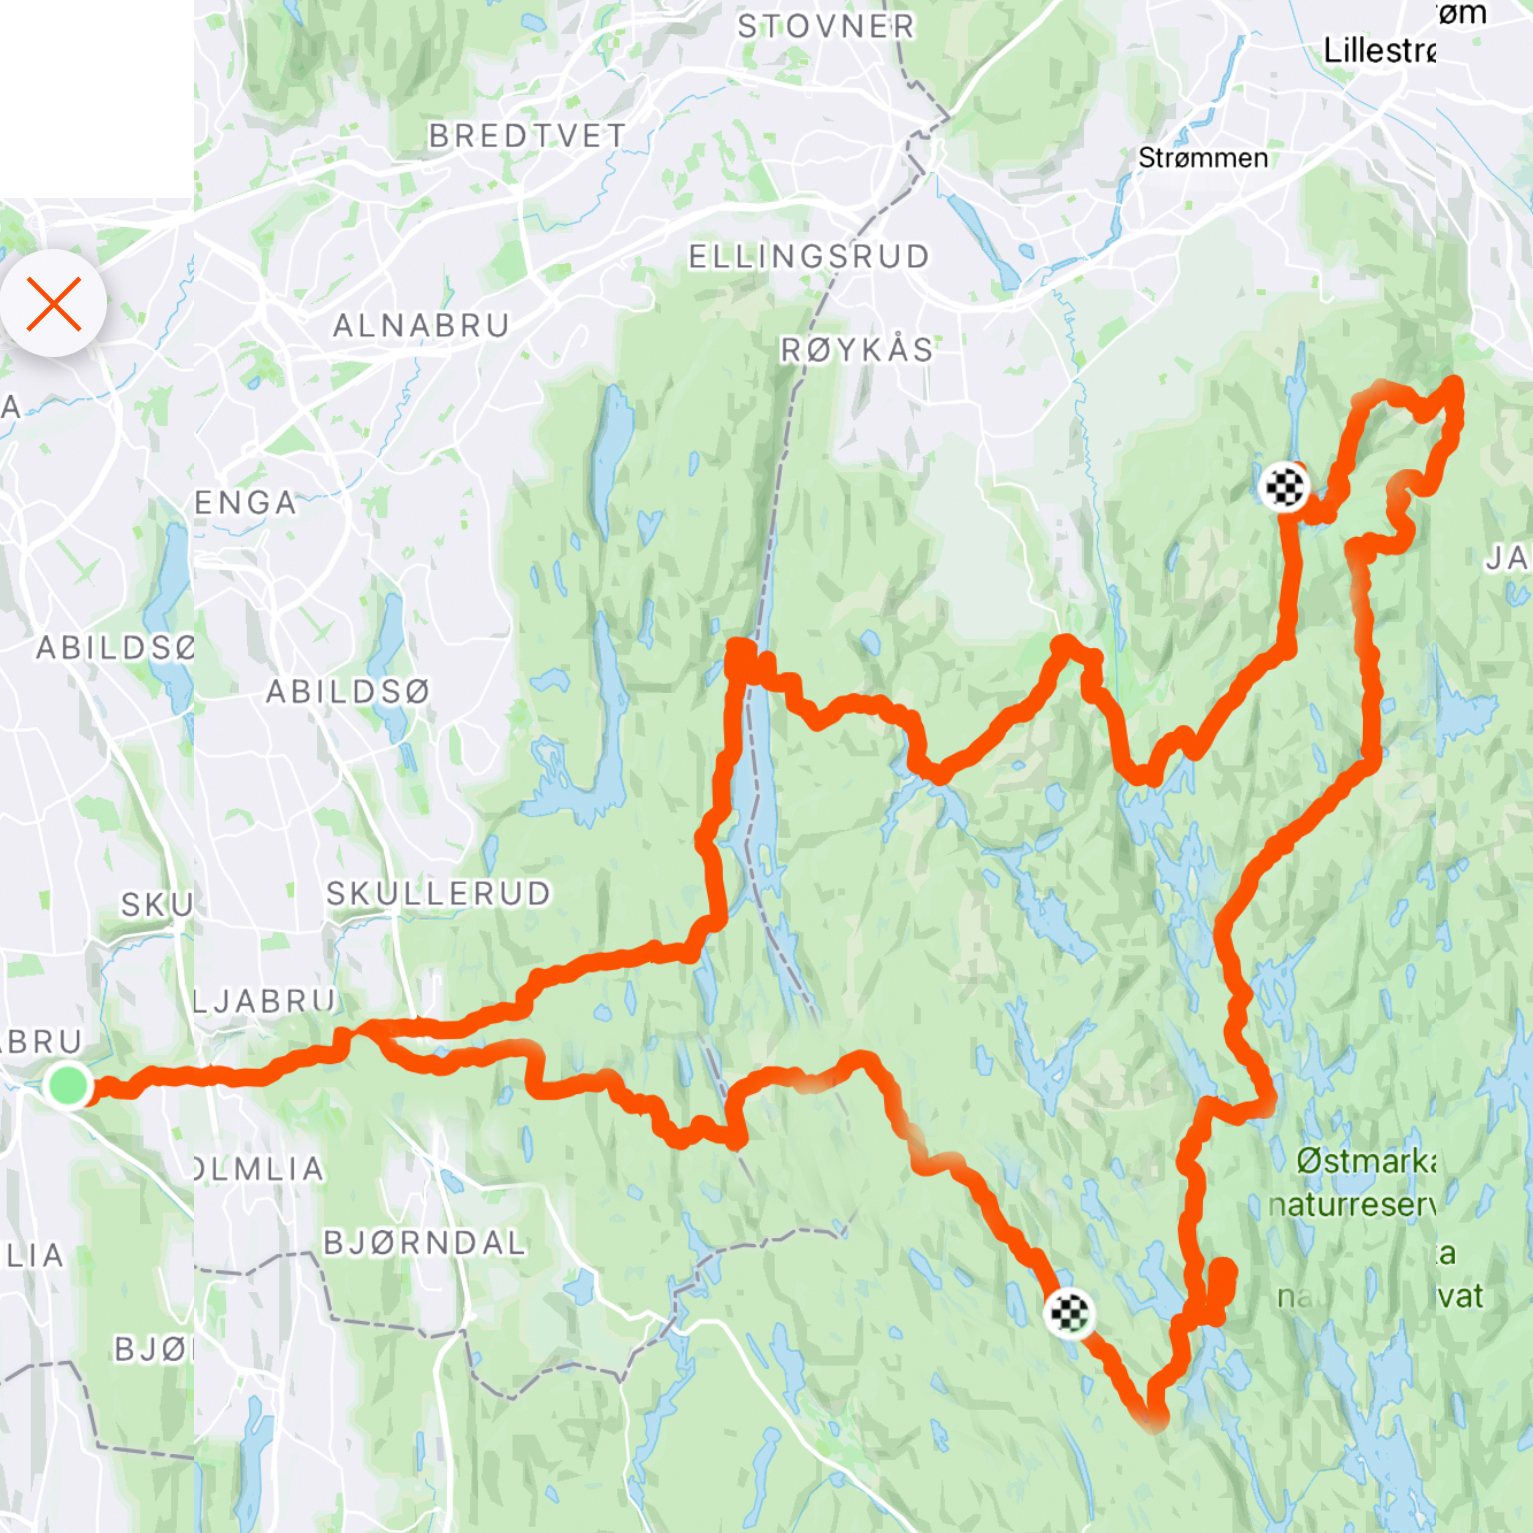
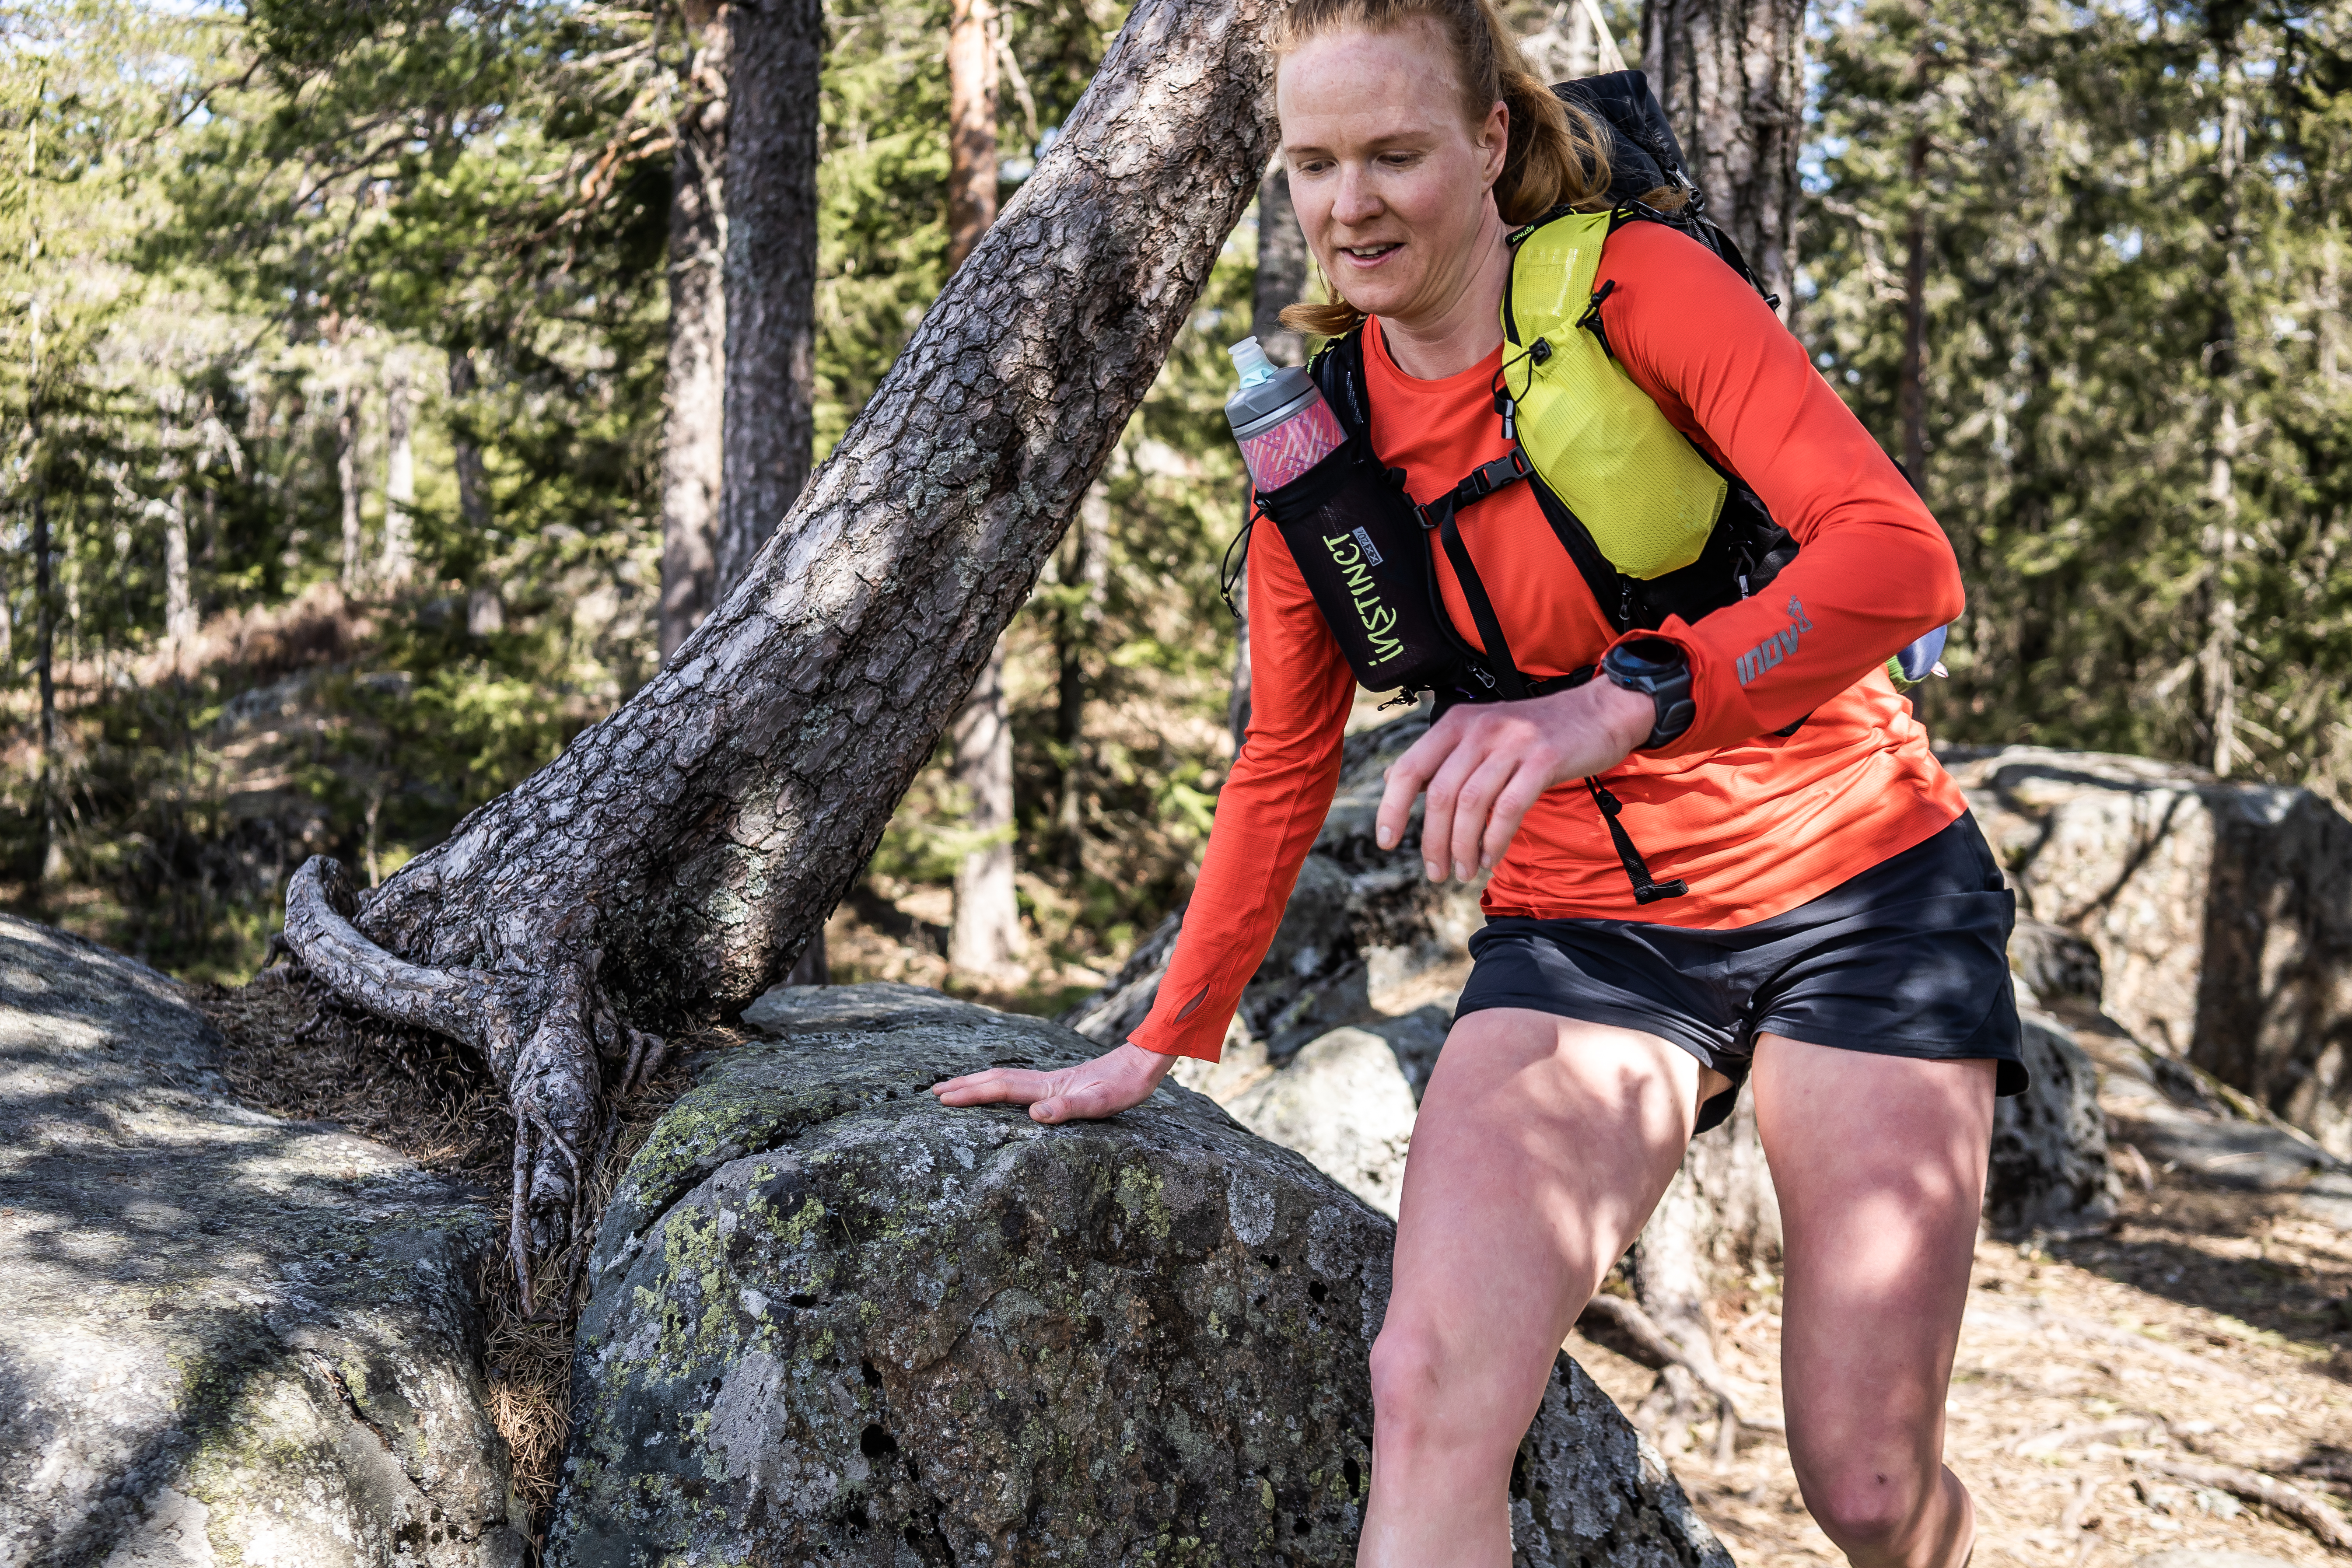
The only way to test any pack like this is in a ‘real’ scenario for male and female. So, Abelone Lyng and myself set off for a 3-day fastpack covering 65km carrying all we required.
Our 65km route.
We both carried a pack, and the INSTINCT had more than required for one person. You can see in the photo above the majority of contents but in addition to the above was a 2-person tent, merino top and leg base layer, down jacket, hat and gloves. Also, 3 Firepot meals and additional snacks. Total weight, inc the pack was approx 6.5kg with 800g water.
See a time-lapse of packing below:
HERE are the pack contents itemised with weights and links.
There are several key features to the instinct and depending on the adventure you are undertaking, you would pack the bag differently. For our 3-day trip we needed a tent, but as an example, if doing a race like Marathon des Sables, you would have no need for a tent and this would free up considerable space for the food requirement of six or seven days.
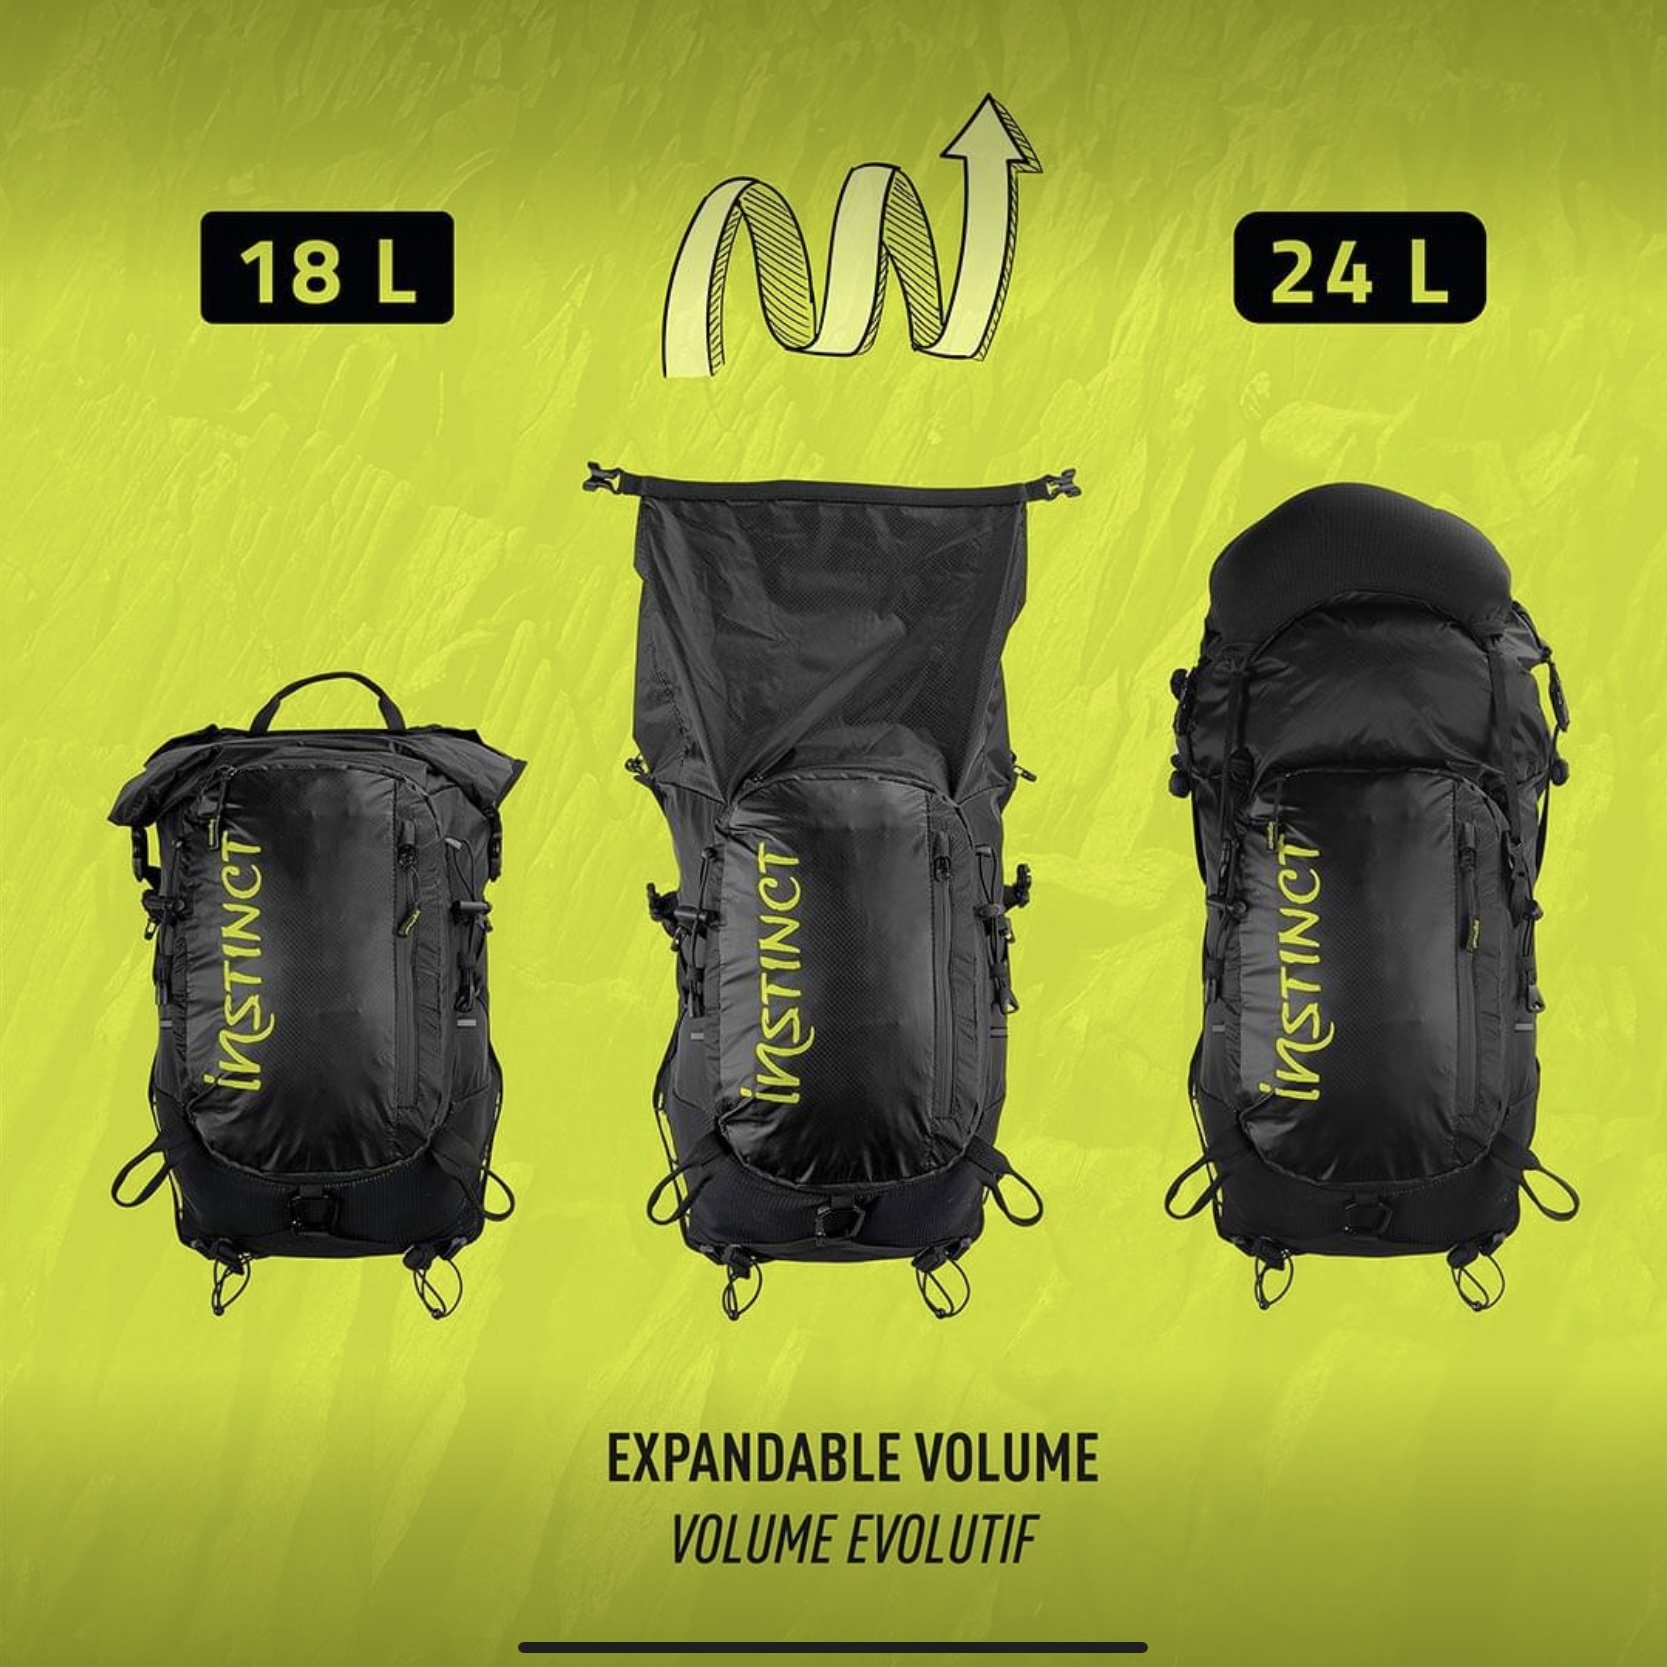
The pack has a maximum capacity of 24L and compresses to 18L by rolling down the top of the pack and compressing it. We recommend you view the videos here. This is extremely useful in self-sufficient races when you basically ‘eat’ the contents of the pack and therefore the pack reduces in size, weight and volume.
Here is a review video which gives a real-time review of the INSTINCT XX 20L.
Both Abelone and myself found the pack arguably the most comfortable we have used and tested and it stands out in several areas:
Flexibility and adaptability.
The ability to reduce the pack size as per requirements.
The ability to segregate items in different areas – top pocket, main pocket, two mesh pockets, zipper pockets.
The front of the pack is the best we have tried not only for two hard bottles but the ability to use four bottles or use two bottles and use the other pockets for storage.
The fit is excellent and while extremes of size, both large and small cannot be accounted for, in general, we feel that the pack will work with most body sizes and shapes.
Movement while running is minimal but not zero. It is the best we have used.
There are many small features – zipper pockets, elastics, the external carabiner fitting and so on that make the pack a pleasure to use.
With full weight (8kg) you soon realise if you have the Instinct packed incorrectly and it is worthwhile playing and spending time with different configurations. What works for one, may not work for another, so, find what what works for you. Certainly, what I personally thought would work for me initially, did not work and I had too much movement in the top pocket. When I re-packed, the improvement was considerable.
The one size fits all and elastic side does provide incredible flexibility and comfort and both Abelone or myself found no hot spots or irritation.
Packed correctly, the ability to access what you need, on the go, is superb. Ultimately, fine-tuning the pack to an individuals need is part of the process of what makes fastpacking fun. However, the crossover of fit, packing and individual needs between Abelone and myself was seamless and we could easily swap and change at any time with just an adjustment to the chest and elastic side straps making for a perfect fit.
How to fit the pack?
Notably, there are features to the pack that we did not use or mention:
Large zipper pocket that will take a 2 to 3ltr bladder that will occupy the length of the pack between the back pad and the main compartment. This pocket could also be used to segregate clothes, for example, clean and dirty.
Removable top pouch that we did not use that can also be used to secure a helmet if required – useful for snow/ climbing adventures.
Three different areas to secure poles.
Ice axe and shovel friendly with attachment points.
Specs:
The XX allows : – 2 x 750ml+ bottles/softflasks in front – 2 XL vertical front zip pockets – 2 zipped shoulder pockets – 2 XL mesh front pockets – 3 fixing options for poles (front/back) – Ice pick on back – Shovel fixture – Easy backside carrying of sleeping mat or other objects (ex: tent) – Independent 3L water bladder pocket – X-Large 2-in-1 overlapping stretch mesh pockets on lower backside
KEY FEATURES : – Large back door = instant access to main compartment and easy viewing of internal items – Independent roll-top pocket for increased storage – Removeable top pouch carries smaller items (first aid kit, knife, etc). A stretch mesh pocket over the top allows instant access to jacket storage or a solar battery panel
Is the INSTINCT perfect? No, it’s not, but it comes pretty darn close… I guess the question that I have is the zipper on the main compartment? If that fails, this would cause huge problems, however, it is a special zip, reinforced and extremely durable, I have no reason to think this would fail. The pack may be compromised on fit with small men or women, however, in general, based on myself and Abelone, we can see it fitting most body shapes.
Ultimately, for both of us, the INSTINCT XX 20L is the most complete and flexible pack we have used. It’s great to look at, it is really well thought out, it provides multiple options and flexibility and without doubt, has the best bottle holding and capacity of any pack I have used. The option to compress the pack to 18L means it can also be used for long single-day races, such as UTMB, when the need for mandatory kit is high.
Please support this website. I believe everyone deserves to read quality, independent and factual articles – that’s why this website is open to all. Free press has never been so vital. I hope I can keep providing independent articles with your help. Any contribution, however big or small, is so valuable to help finance regular content. Please support me on Patreon HERE.
It is finally here… I have been waiting to get my hands on the INSTINCT XX 20L pack ever since I laid my eyes on it and now I have one to test.
Unprecedented in design, the XX marks a new beginning for those seeking the ideal solution for multi-day trail races, ultra-distance events or their next self-sufficient adventure.Stunning in function and versatility, the XX’s intuitive design offers easy access to key elements in the most critical conditions. Extreme function allows customization in how gear/ clothing/ food/ hydration can be carried.The XX is evolutive in volume and brings intelligent, segmented storage.
This is not a review, this is a first look and importantly I have done a video that address questions that I have asked and asked…
How much liquid will it hold?
Will it take 750ml bottles both hard and soft?
Do they have different sizes?
Is there a female version?
Over the coming days I will be testing the pack completely and I will video packing and showing capacity and features.
Below shows the pack with a typical multi-stage equipment list.
I will then do a 2-day fastpack carrying all I need, including tent, to see how the pack performs with a loaded weight of 8kg.
Below shows the pack with a typical fastpacking set up.
To show packing flexibility, the above pack is as in the Fastpacking video BUT with the tent split between one of the mesh pockets and the main compartment. All other contents remain the same, just packed differently.
Initial impressions confirm the pack has vest comfort and amazing flexibility and fit. Notably, the pack has the option to adjust in size shifting from 24L to 18L – important in a multi-day like MDS when you eat food and the need for less volume is required.
KEY FEATURES : – Large back door = instant access to main compartment and easy viewing of internal items – Independent roll-top pocket for increased storage – Removeable top pouch carries smaller items (first aid kit, knife, etc). A stretch mesh pocket over the top allows instant access to jacket storage or a solar battery panel
The XX allows : – 2 x 750ml+ bottles/softflasks in front – 2 XL vertical front zip pockets – 2 zipped shoulder pockets – 2 XL mesh front pockets – 3 fixing options for poles (front/back) – Ice pick on back – Shovel fixture – Easy backside carrying of sleeping mat or other objects (ex: tent) – Independent 3L water bladder pocket – X-Large 2-in-1 overlapping stretch mesh pockets on lower backside
Follow here for full review, video and photos.
Please support this website. I believe everyone deserves to read quality, independent and factual articles – that’s why this website is open to all. Free press has never been so vital. I hope I can keep providing independent articles with your help. Any contribution, however big or small, is so valuable to help finance regular content. Please support me on Patreon HERE.
Icebug are specialists at studded shoes, be that for orienteering, trail running or winter running. The ICEBUG ROUTE is considered an entry level shoe with a combination of features designed to appeal to experienced or novice runners. I have been using the Icebug Route in rotation with several winter shoes: VJ Sport Xante, inov-8 Arctic Talon, inov-8 OROC and notably, the Icebug Pytho 5.
The Icebug Pytho 5 is solid shoe, I wrote, “works exceptionally well as an ‘all-rounder’ and is sold as such, recommended for trail running, forest running, orienteering and winter ice running.” The Pytho uses BUGrip and so does the Route.
BUGrip is the secret weapon of Icebug winter shoes and it this technology that provides grip in the most demanding and slippery conditions. The outsole is made from a special rubber compound, there would be typically 15-19 studs inserted. The Pytho 5 has 17 and the Route a maximum 19. The studs work independently from each other and are not completely fixed. When weight is applied, the studs push in toward the surface of the sole. How far they are pushed in depends on the pressure exerted by the user and the resistance from the ground. Quite simply, the secret of running in studded shoes is ‘trusting’ the outsole to do its job. The more confident you are, the harder you place your foot and the more you believe in the outsole, the better the grip will be.
The Icebug Route has been somewhat of a revelation. And I say this as many of the selling points are not what I would typically look for in a shoe, notably, 12mm drop. I am a neutral runner and typically run in anything from 0 to 8mm drop.
Designed for winter road conditions, I have been using the Route on trails with rocks, tree routes covered in snow and ice, frozen lakes, iced pavements and iced single-track, so in summary, pretty much everything… I have not used them on mountain terrain.
The Route is light, for example, in comparison to the Pytho 5 they are 30g lighter and they feel it. There is a life in the Route that I did not expect and comparison to the Pytho 5, the feel is considerably more preferable.
Listed as a cushioned shoe with a comfortable feel, I can confirm the ride is very plush with great flex, bounce and still with a feel for the ground. The propulsive phase is very good with great flex around the metatarsals. The midsole is Bloom Foam, EVA with ESS stabilizer. I have not been able to find any measurements for front and rear cushioning, but based on other test shoes and experience, I would estimate 8mm front and 20mm rear – this is a guess though!
The upper is not insulated and this is a notable point, the shoes in sub-zero winter runs of snow and ice are noticeably colder than some of the competition. Top tip – I use neoprene socks as standard with temperatures below zero and this makes a huge difference, especially with the Route. Breathable is not a good selling point for a winter shoe. Made from 100% recycled polyester textile, the upper is very durable to winter conditions. Toe box protection is minimal. There are no reinforced panels on the upper and the shoe does not suffer from it.
The toe box is wide and spacious, ideal for a winter shoe allowing the toes to splay and move. You don’t want your toes squeezed in a shoe in cold weather, some space allows for blood flow.
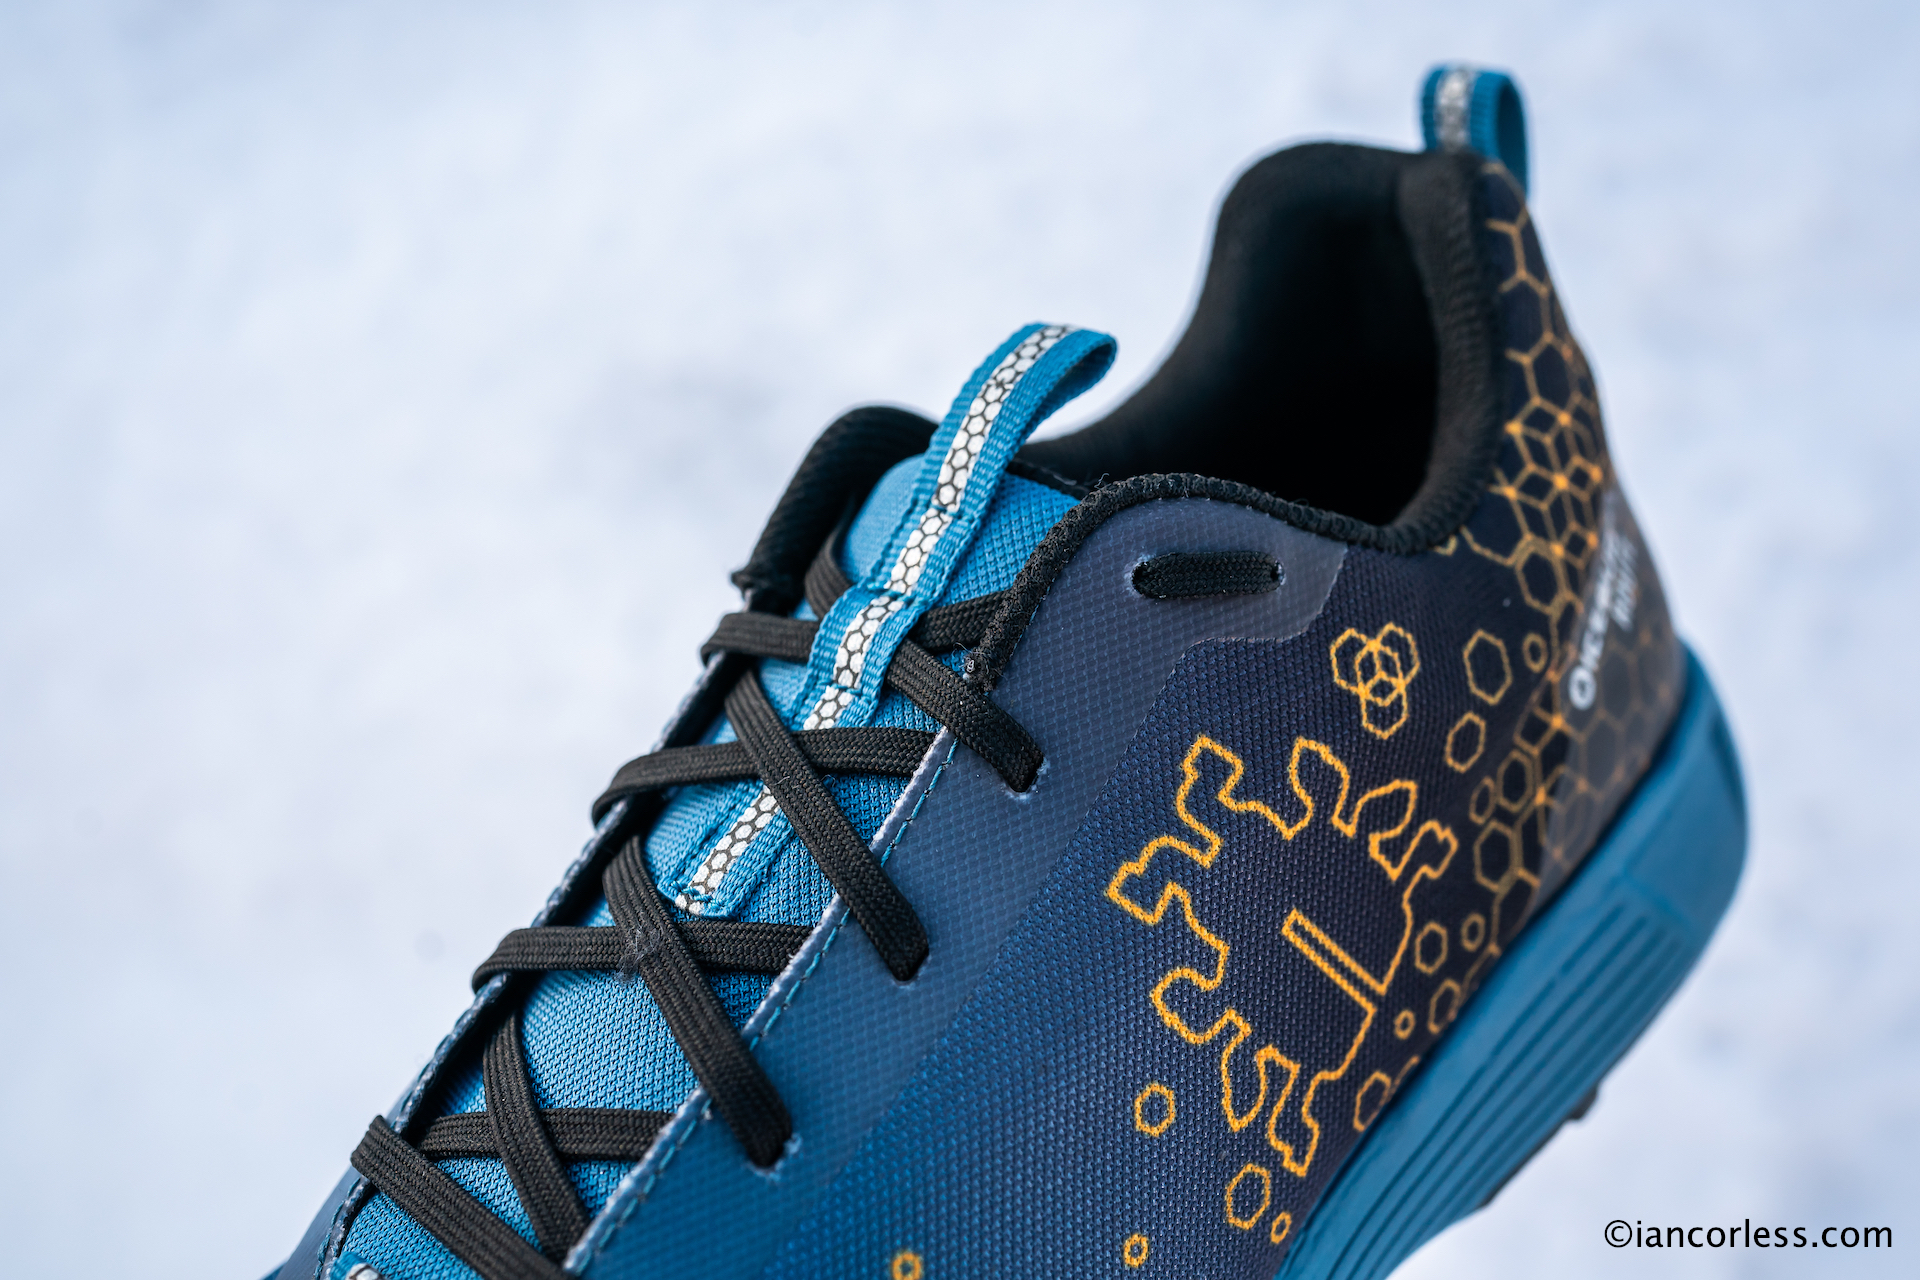
The lacing is simple with 5 eyelets on either side and an optional lock-lacing eyelet at the top. Importantly, the laces really pull and hold the foot providing reassurance on any terrain.
The heel box is comfortable, holds firm, caused no abrasion and importantly, when going uphill, causes no slipping. It’s well-padded and very comfortable.
The insole is Ortholite Hybrid designed to create a cooler, drier environment inside the footwear.
The outsole is the star of the shoe and the 19 dynamic steel studs perform superbly adjusting to the terrain and conditions providing supreme confidence. Notably, when running on road sections lacking snow or ice, the Route is still comfortable and unlike other studded shoes, I don’t feel the studs coming through to the insole. It goes without saying, that running on roads or pavements without ice or snow should be kept to a minimum. It is easy to lose studs and the BUGrip outsole is designed to work effectively with 2 or 3 studs missing. It is possible to replace studs, you just need to contact Icebug for spares. Notably with studded shoes, they work remarkable well on trail providing exceptional grip on tree roots, rocks and other obstacle; they are not just for snow and ice.
Finally, the Route has a good look with a blue fade and yellow patterned overlay including the Icebug logo.
IN USE
True to size, the Route is immediately comfortable when you slide your foot in. There is little to distract in this shoe, quite simply, lace up and off you go.
The width in the toe box is notable but not so wide that you lose feel or precision when running on more technical terrain.
Comfort is immediately noticeable from the cushioning and not at the expense of feel for the ground or flex in the propulsive phase.
Considering the shoe has a 12mm drop, I have to say, the Route did not feel out of place and at all times, on every run, has felt comfortable. This has made me very curious and I still do not have an answer? Maybe the soft snow, ice and the mixture of conditions masks the higher drop? Ultimately, the only consideration is comfort, and the Route is extremely comfortable.
The studs have been superb at providing the required grip as and when required, noticeably, in comparison to some other studded shoes, I like the way the studs adapt to the terrain and pressure from the runner to provide the grip required only when needed. Don’t get me wrong, the studs don’t disappear when there is no snow or ice, they are just not as noticeable.
The upper is surprisingly not ideal for a winter studded shoe. It’s durable, however, it lacks warmth and insulation. So, make sure you use appropriate socks for conditions. I recommend Merino socks as a base layer with a warmer sock over the top. I personally use neoprene socks as I know they work and keep my feet warm. Other options would be Merino socks with a Gore-Tex sock. Top tip – Ideally take appropriate socks when trying for size. It’s not unusual with winter shoes taking a half-size larger to compensate.
CONCLUSION
Before I used the Icebug Route I had wrongly anticipated I would not like the shoe. After all, who uses 12mm drop shoes these days? I was completely wrong. Light, cushioned, great comfort, amazing outsole and room in the toe box all combined together to make the Route one of the best winter shoes I have used. Alongside the VJ Sport Xante, they are now one of my preferred shoes. I even prefer them to arguably, in Icebug terms, the better shoe Pytho 5 which in comparison feels a little over engineered and heavy. I must clarify here, the Pytho 5 is a really great shoe. One thing the Route has taught me, is not to let shoe specs and details get in the way of how a shoe feels and runs. The Icebug Route is a really excellent winter shoe that excels on hard iced trails. The downside of the shoe is the lack of warmth in the upper which can be compensated for with good socks.
To clarify, the shoes were provided to test, as are all the shoes that I review. But this is not a paid review.
Please support this website. I believe everyone deserves to read quality, independent and factual articles – that’s why this website is open to all. Free press has never been so vital. I hope I can keep providing independent articles with your help. Any contribution, however big or small, is so valuable to help finance regular content. Please support me on Patreon HERE.
Runner’s strive for the best of all worlds in one shoe – lightweight, feel for the ground, cushioning, support, lack of support, grip in mud, grip on rock, low drop, high drop, grip in the wet and the list goes on and on. The reality is, there are few run shoes that will be a ‘one stop’ package and this why so many variables exist.
When possible, we choose specific shoes for a specific task.
Boots are not something that a runner would usually look at unless going on a specific hike. Even then, if moving fast and light, a good durable run shoe is usually preferable.
G370 boot at the summit of Galdhøpiggen, Norway.
In 2018, I was once again planning a fastpacking trek in the Himalayas but this time, my journey would take place in December. Previous trips had taken place in November and more often than not I had used the inov-8 Trail Talon which was perfect for long days. December in the Himalayas and I knew I would encounter snow and on occasion would need to use micro-crampons. I was reluctant, very reluctant, to use a boot, especially for long days… Too heavy, too cumbersome, too stiff and the list goes on.
I was introduced the Roclite 345 GTX with Graphene grip and the 325 GTX boot. These boots were a revelation providing all the feel, grip and upper of a conventional run shoe but with the addition of ankle support that was designed in a way that would facilitate running with very little compromise.
In 2019 and in 2020 I have been using the Roclite G370 for specific trips, by way of example, the Himalayas in November, Toubkal in Morocco (January) and the mountains of Norway for occasional trips when snow and tough conditions would challenge. A prime example being the highest summit of Norway, Galdhøppigen at 2469m with snow conditions. With 6mm studs, 9mm drop, 9/18mm cushioning front and rear and only weighing 388g for an EU44.5 (I went 0.5 size bigger than usual to allow for winter socks.) These have proven to be great boots when I needed more warmth, grip and comfort in extreme conditions without compromising a run shoe feel. They are highly recommended!
When I heard about the Roclite Pro G 400 I was immediately interested.
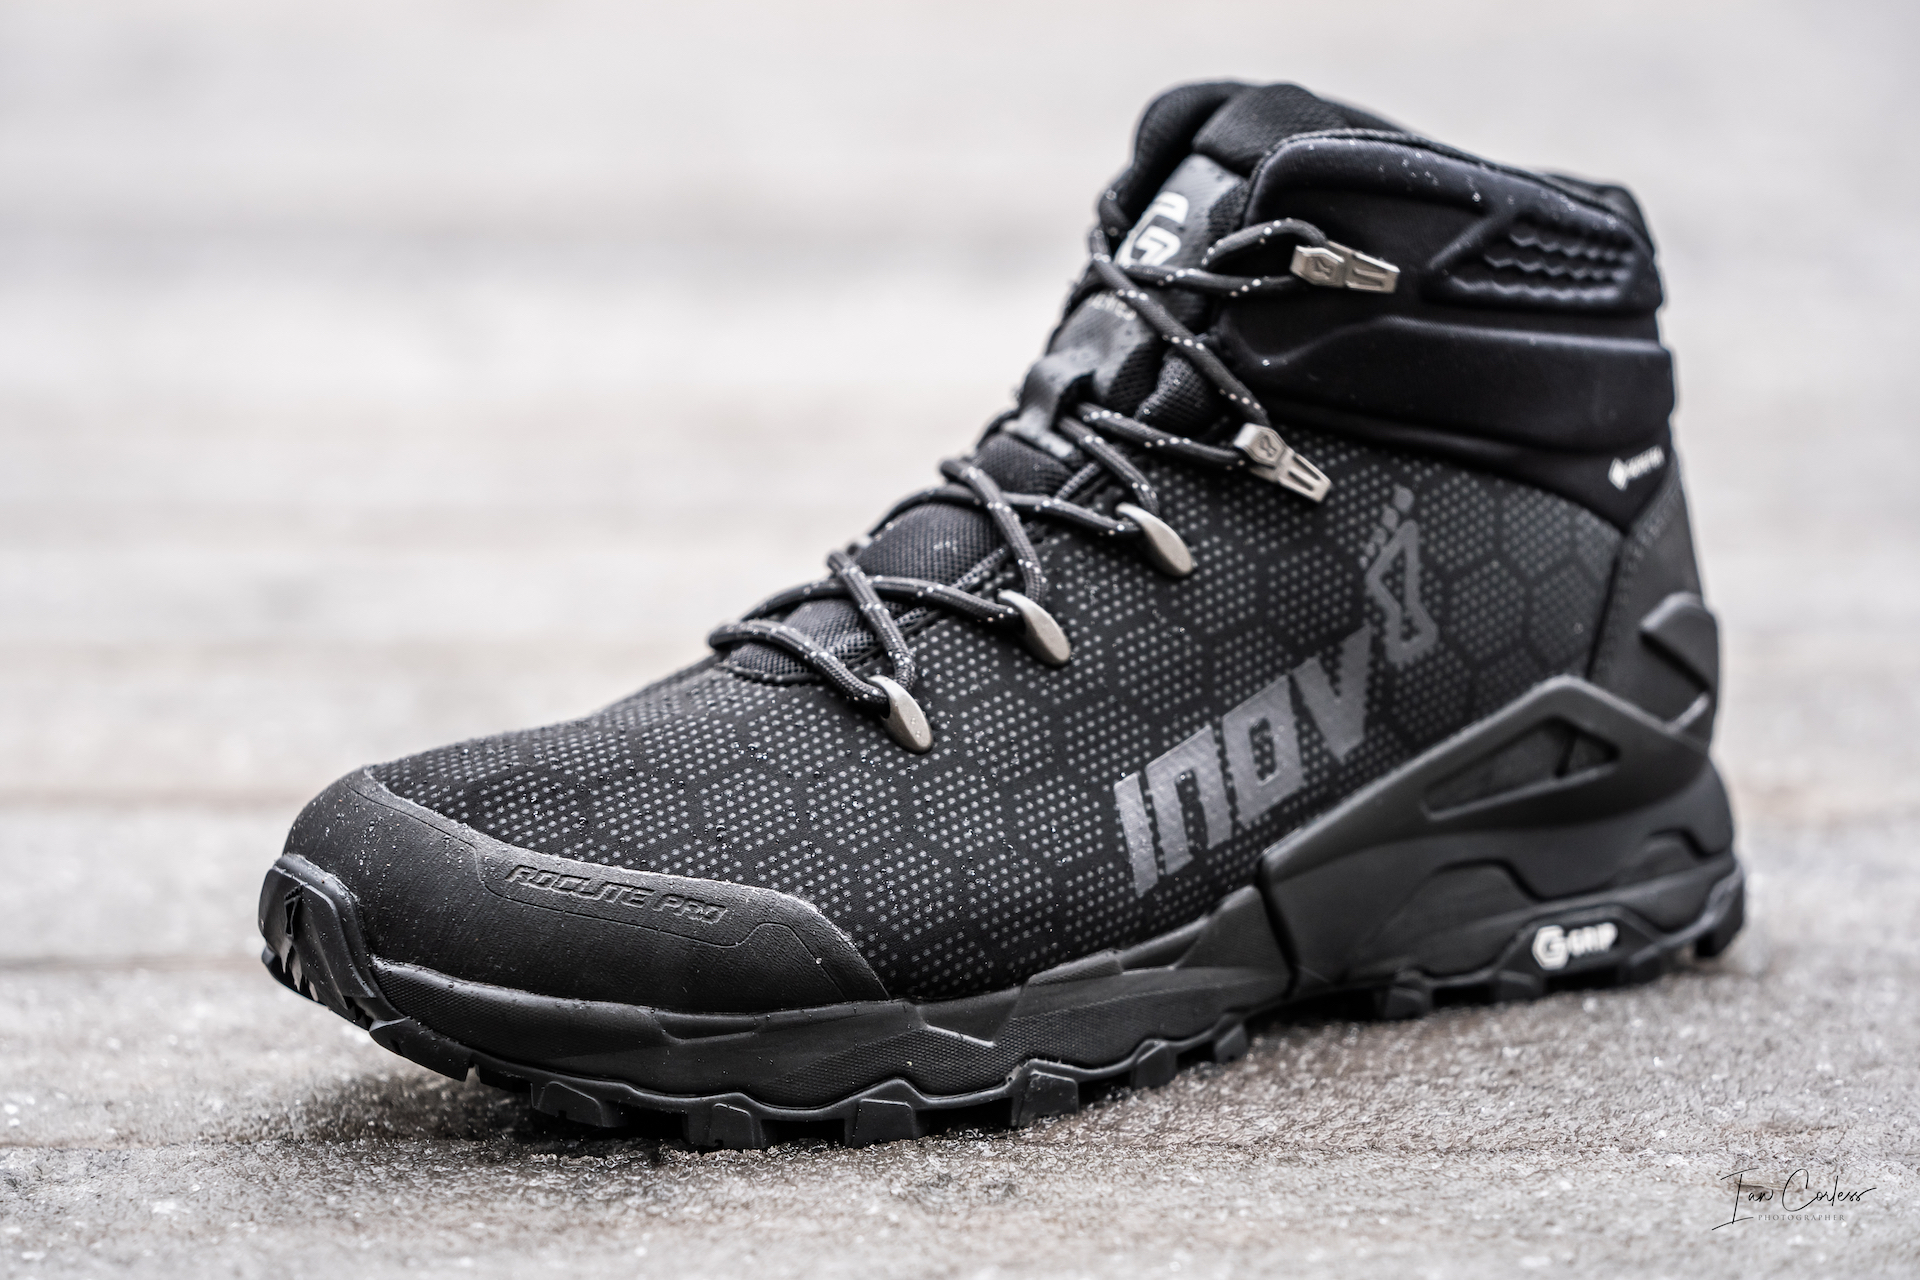
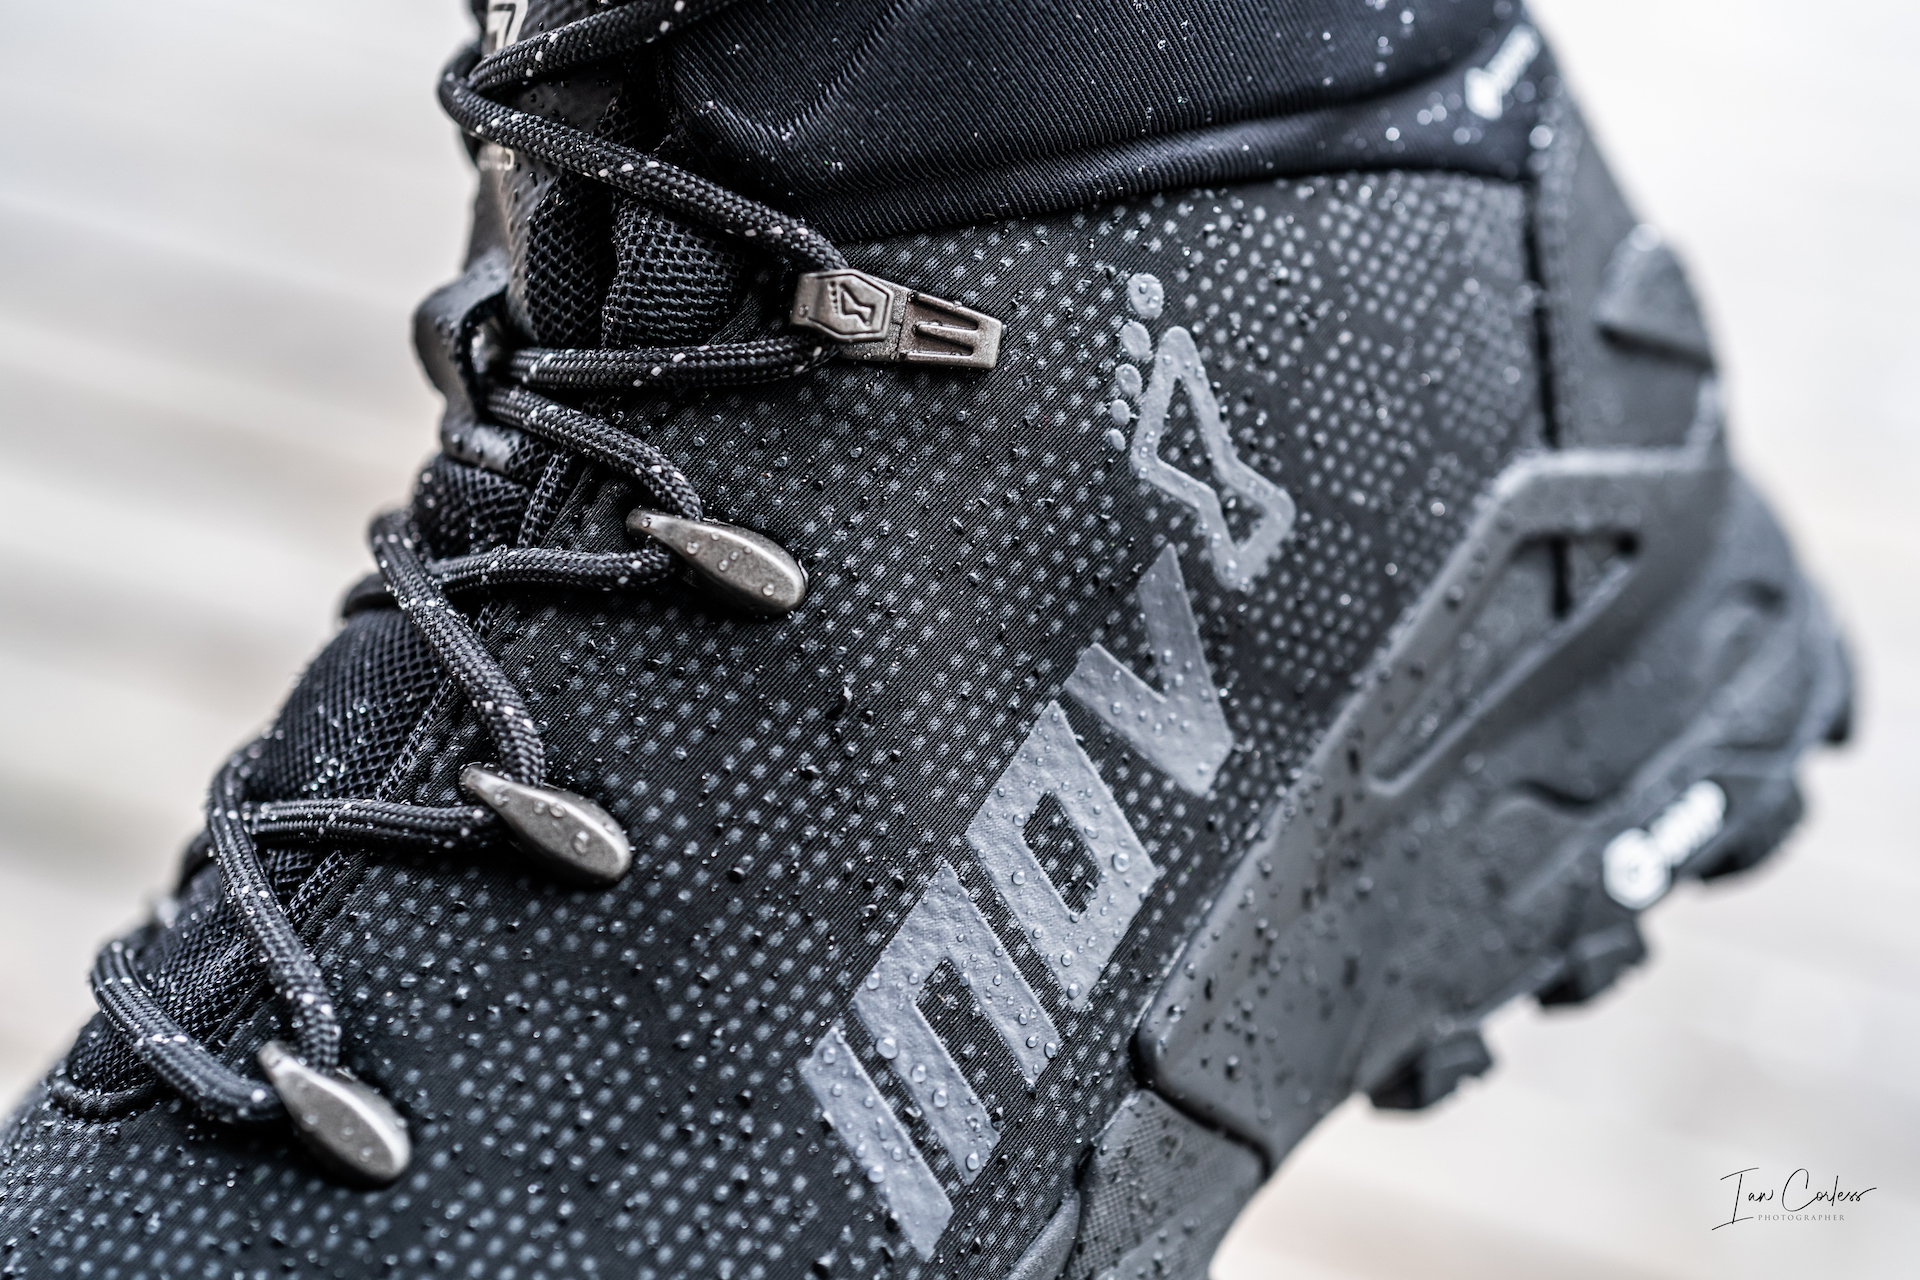
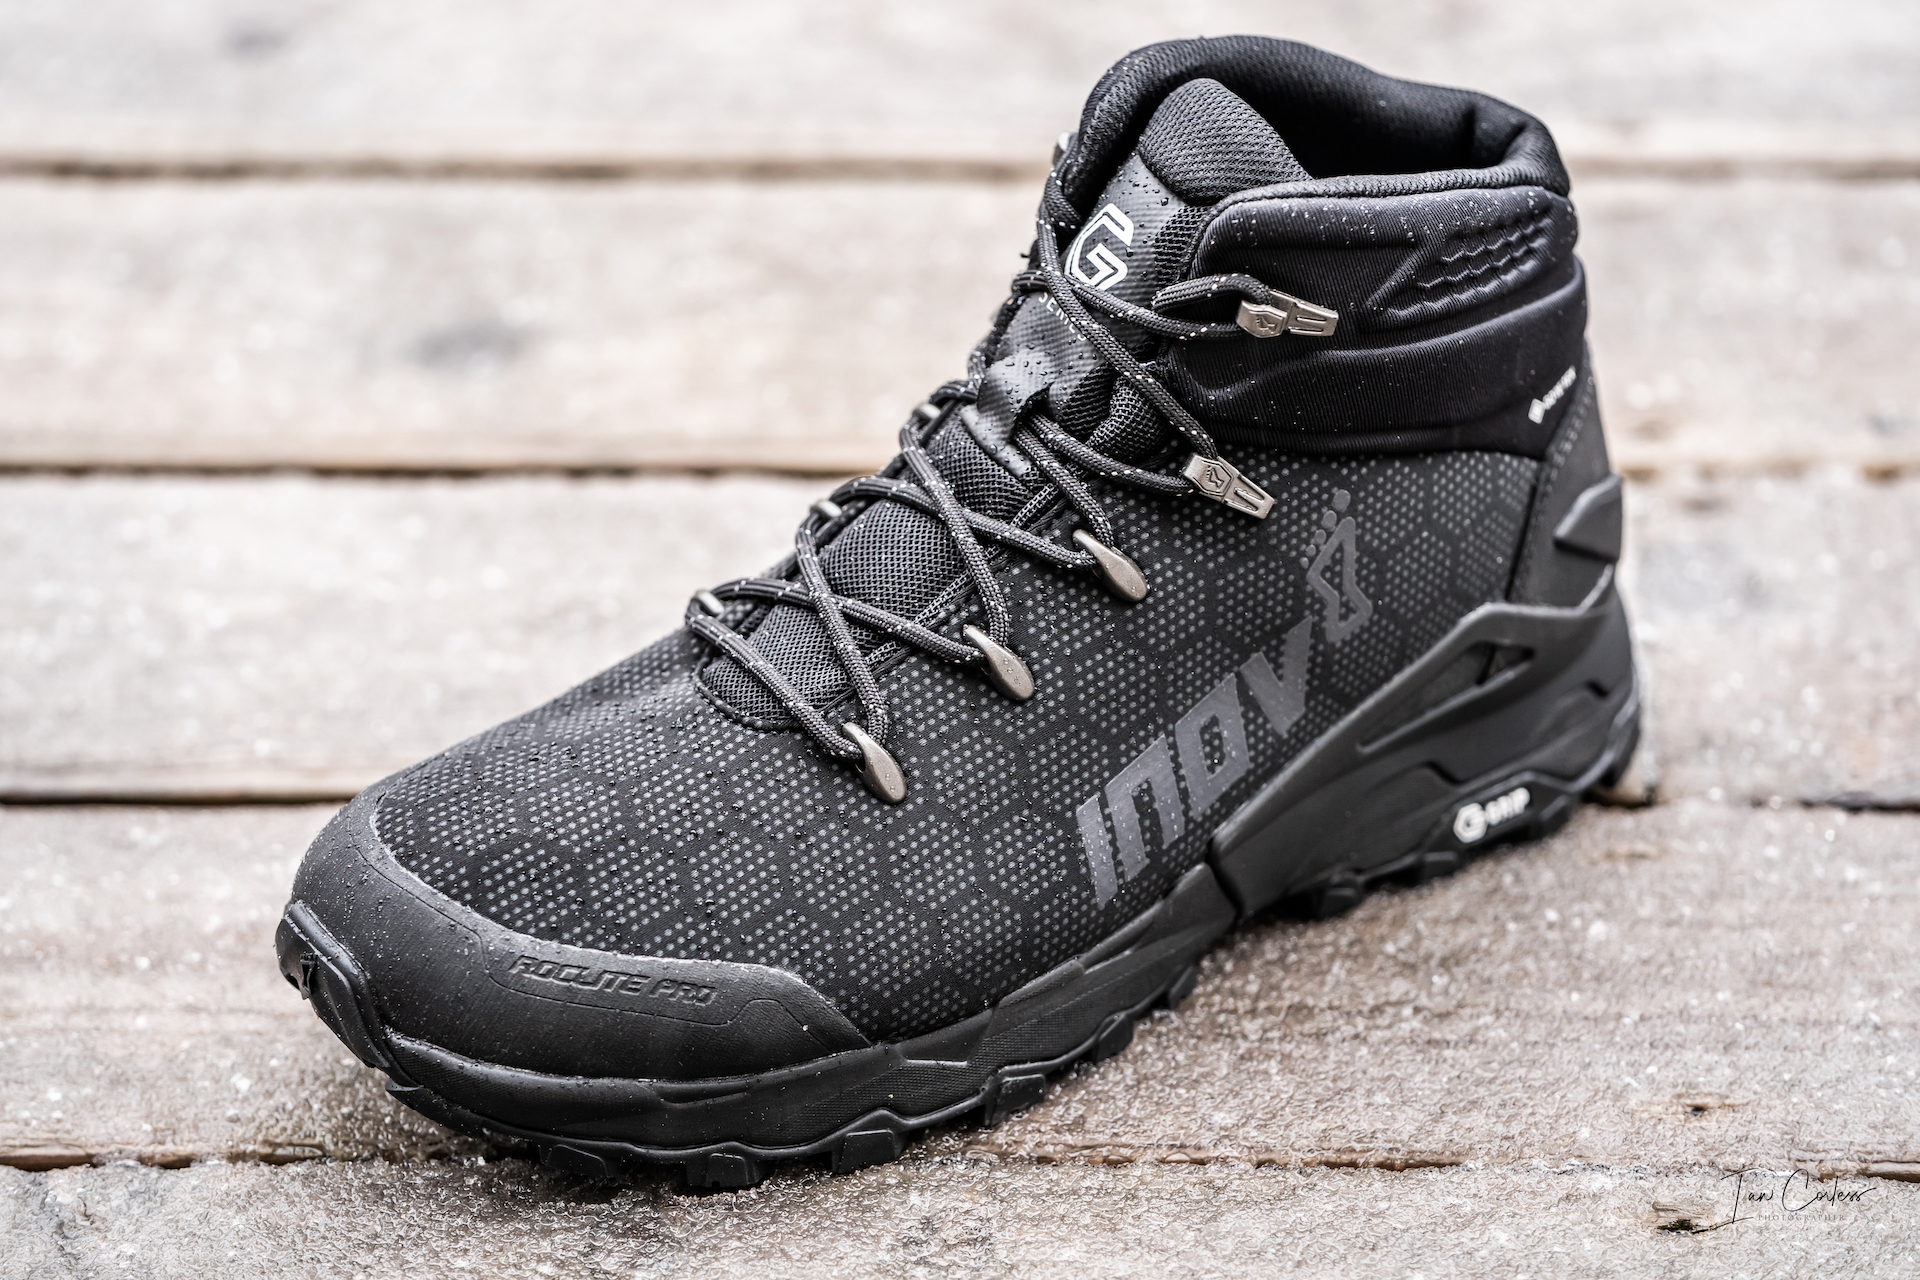
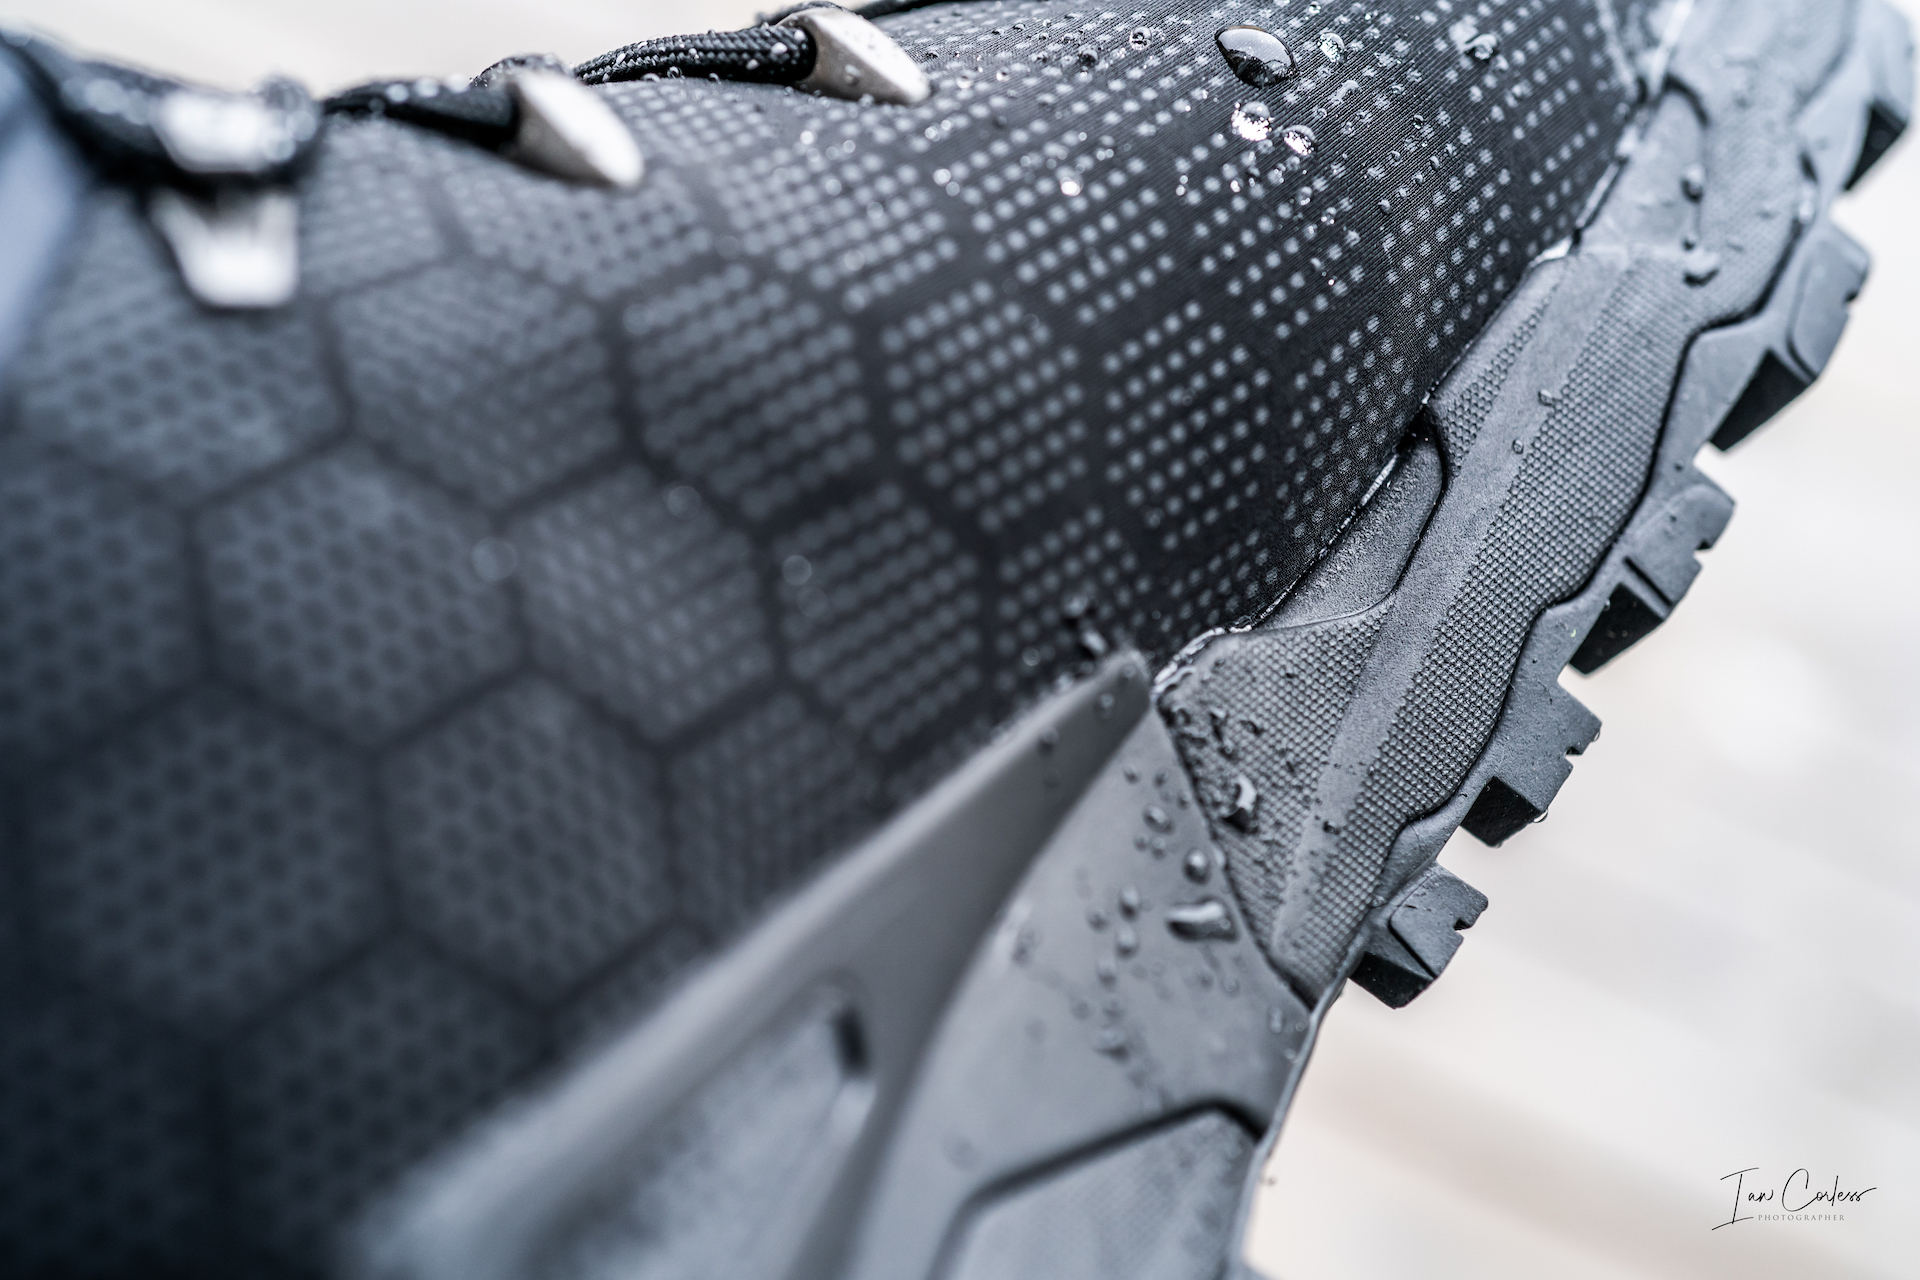
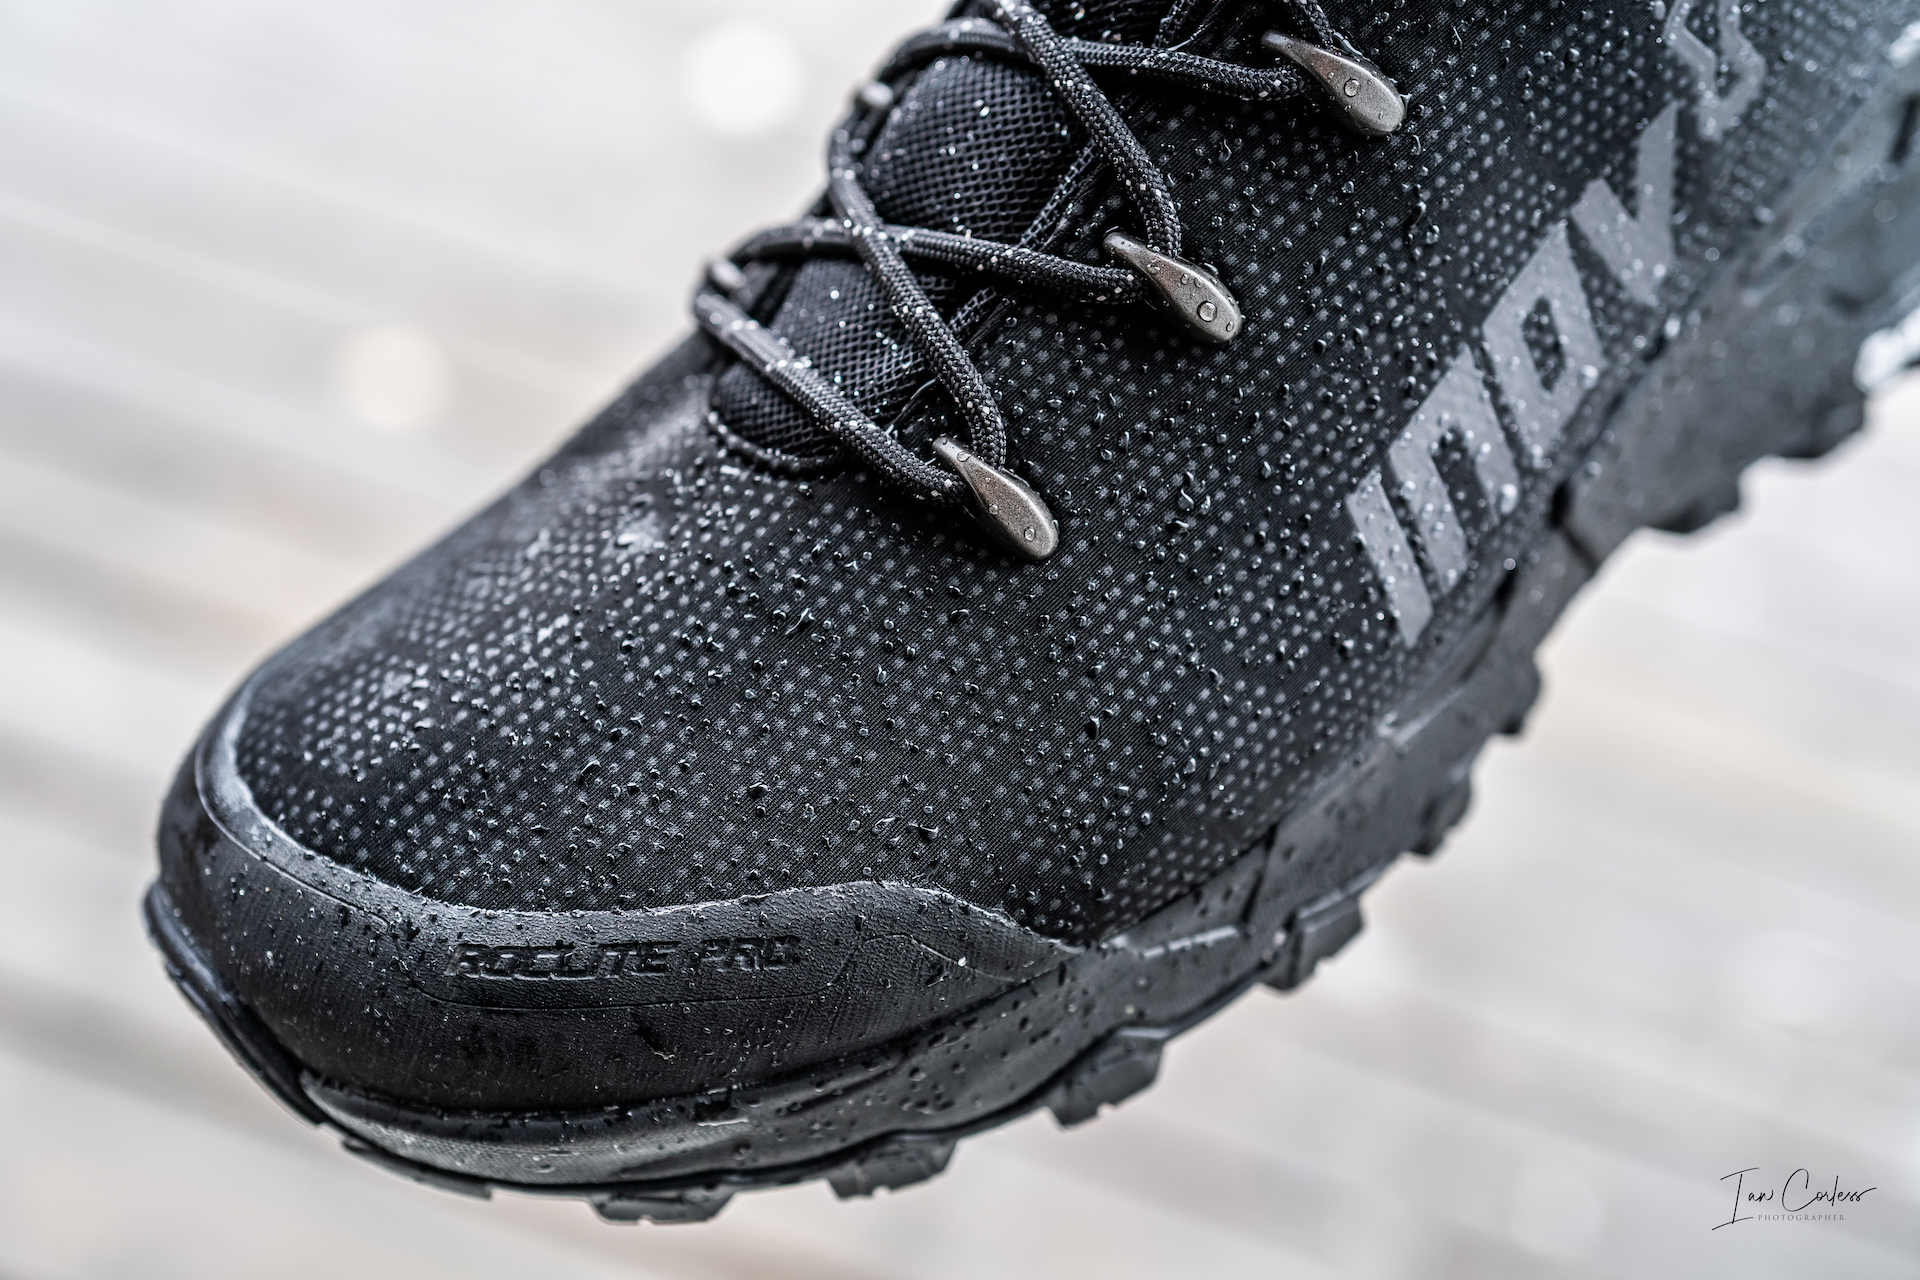
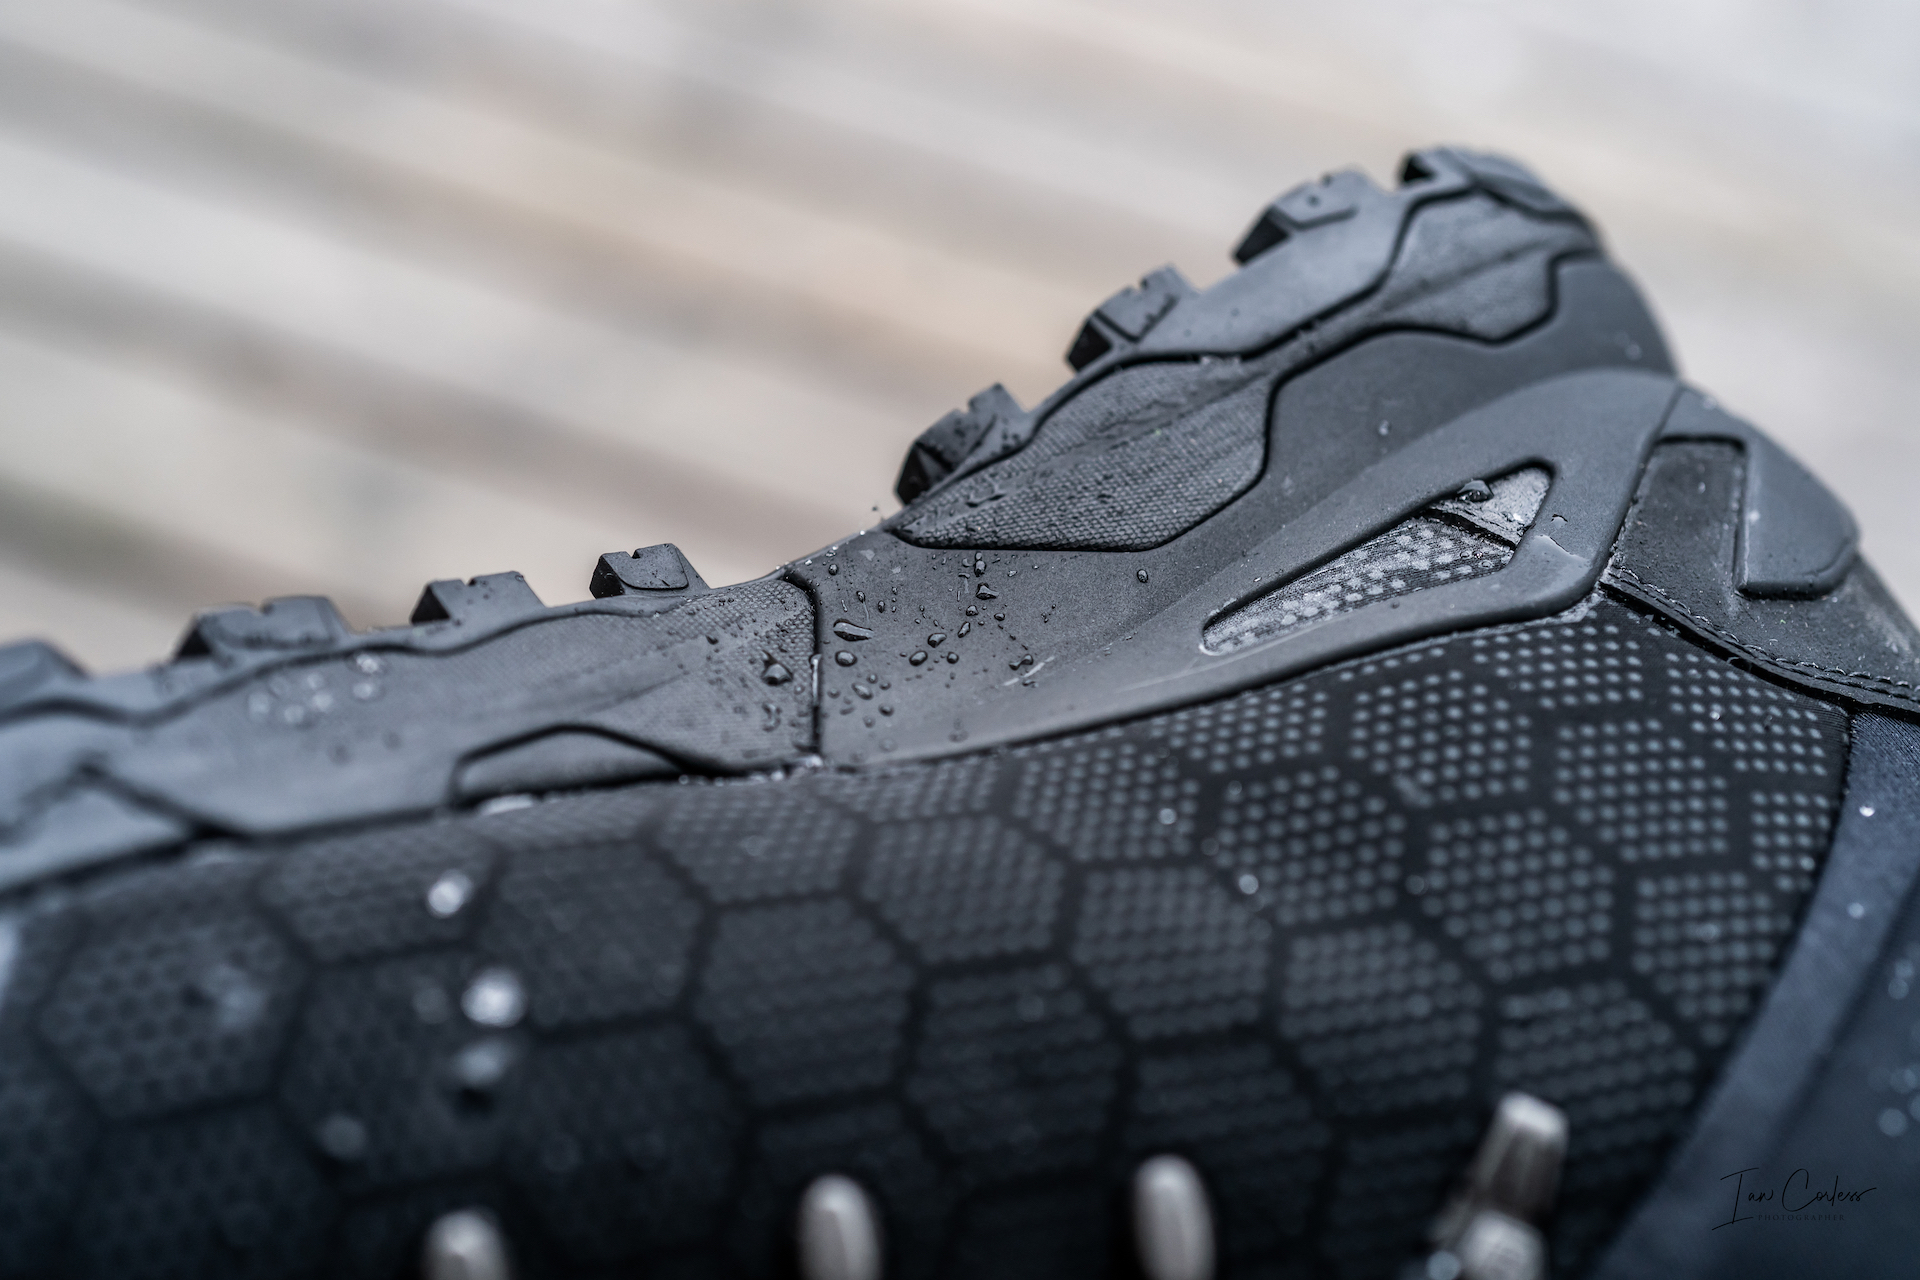
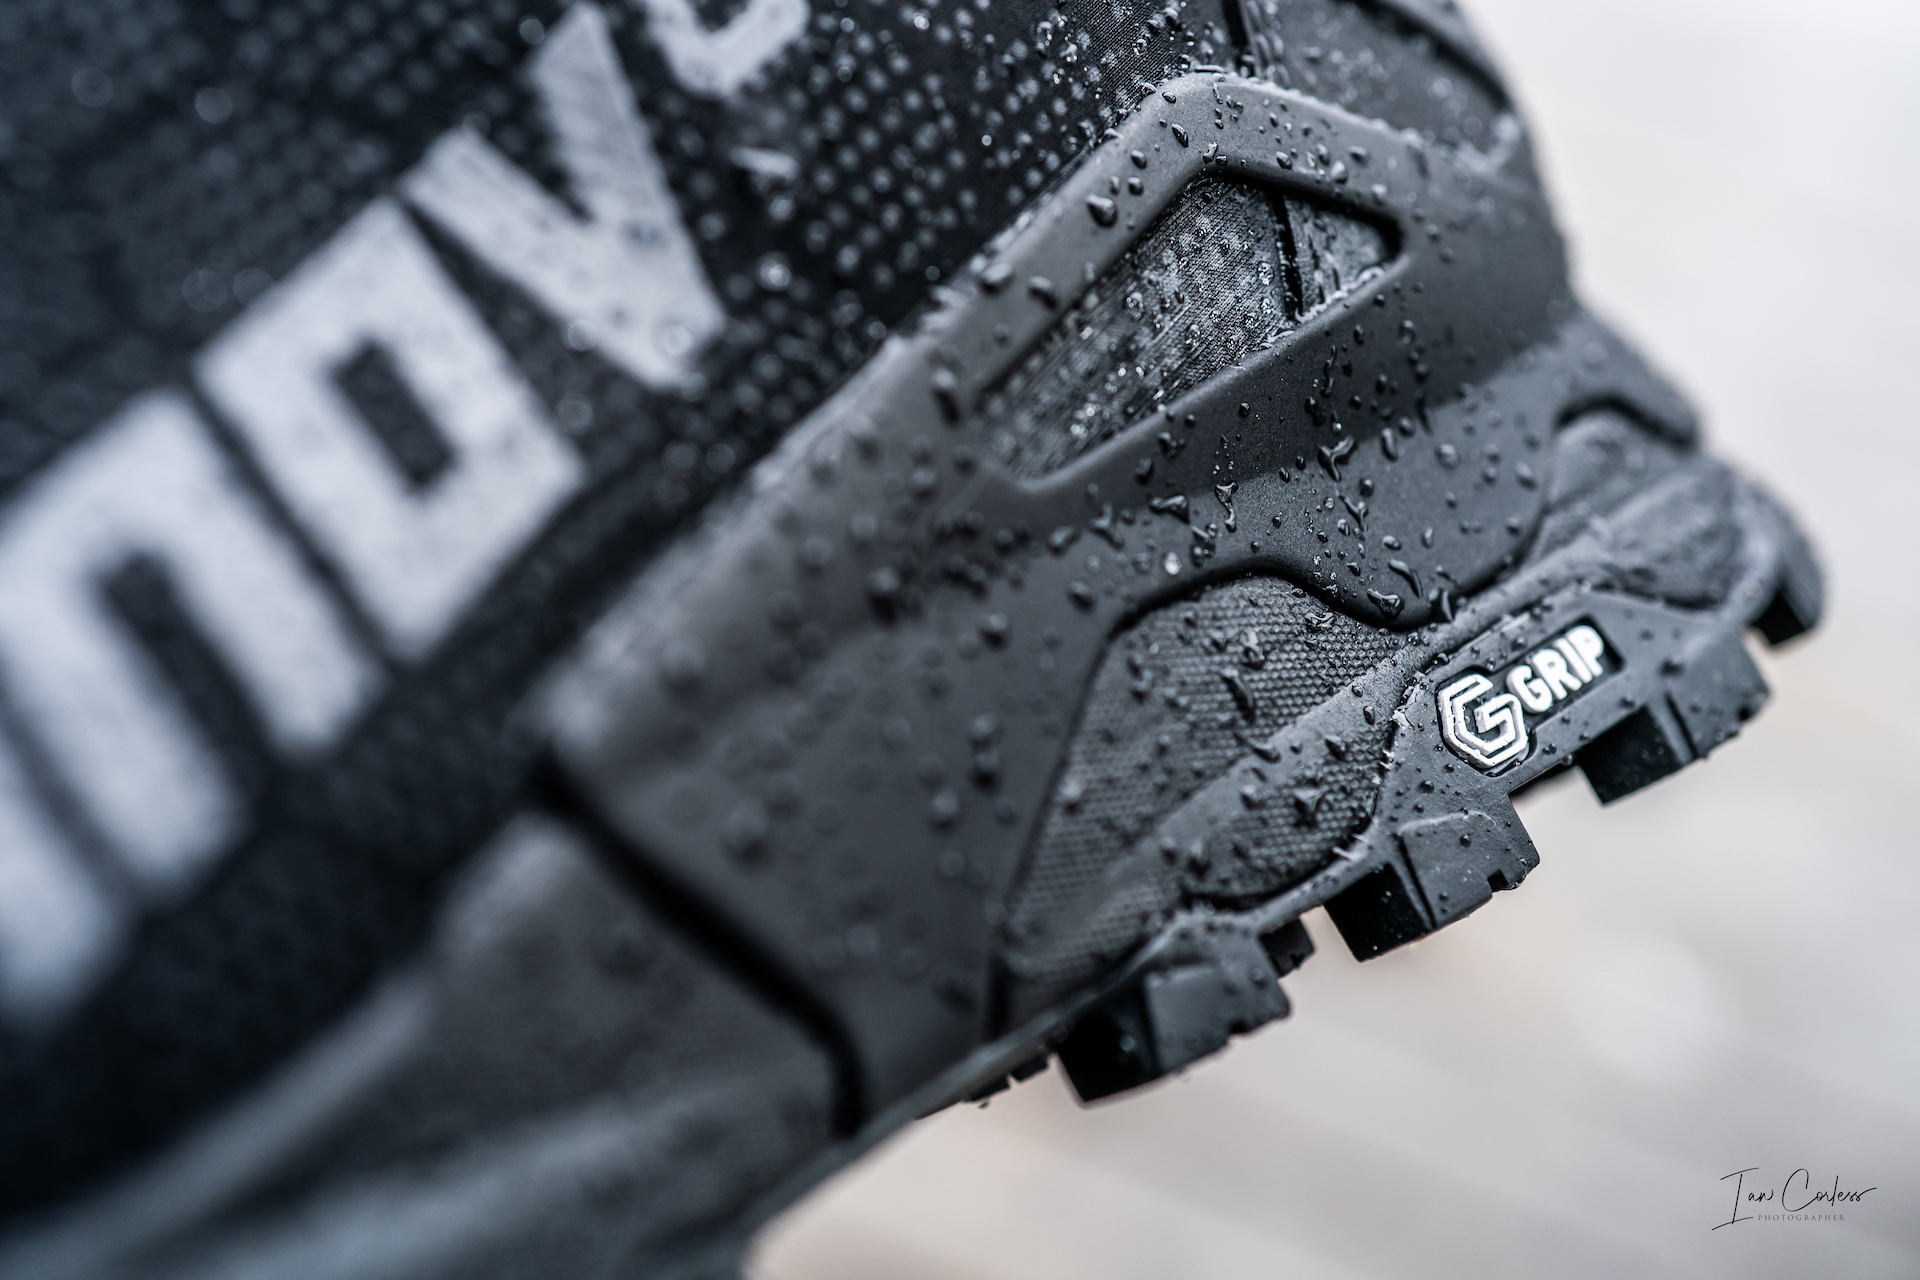
On first impressions this version of the Roclite does not look like any previous Roclite that has come before, the look and feel is completely different, especially in the stealth black look. Almost looks like a boot for the SAS or Special Forces.
Weighing in at 421g for an EU44 the boot is also more substantial than previous incarnations. But I need to clarify here that the new Roclite Pro G 400 is designed for a different purpose in my opinion. It is much more akin to a normal hiking boot but at a fraction of the weight.
The fit scale is 4 just like the Roclite G 370 listed above, however, I would disagree here. The G370 is more of a 3 fit and the new G 400 a 4. There is a distinct difference in feel between the two boots, the G400 most definitely allowing for more toe splay.
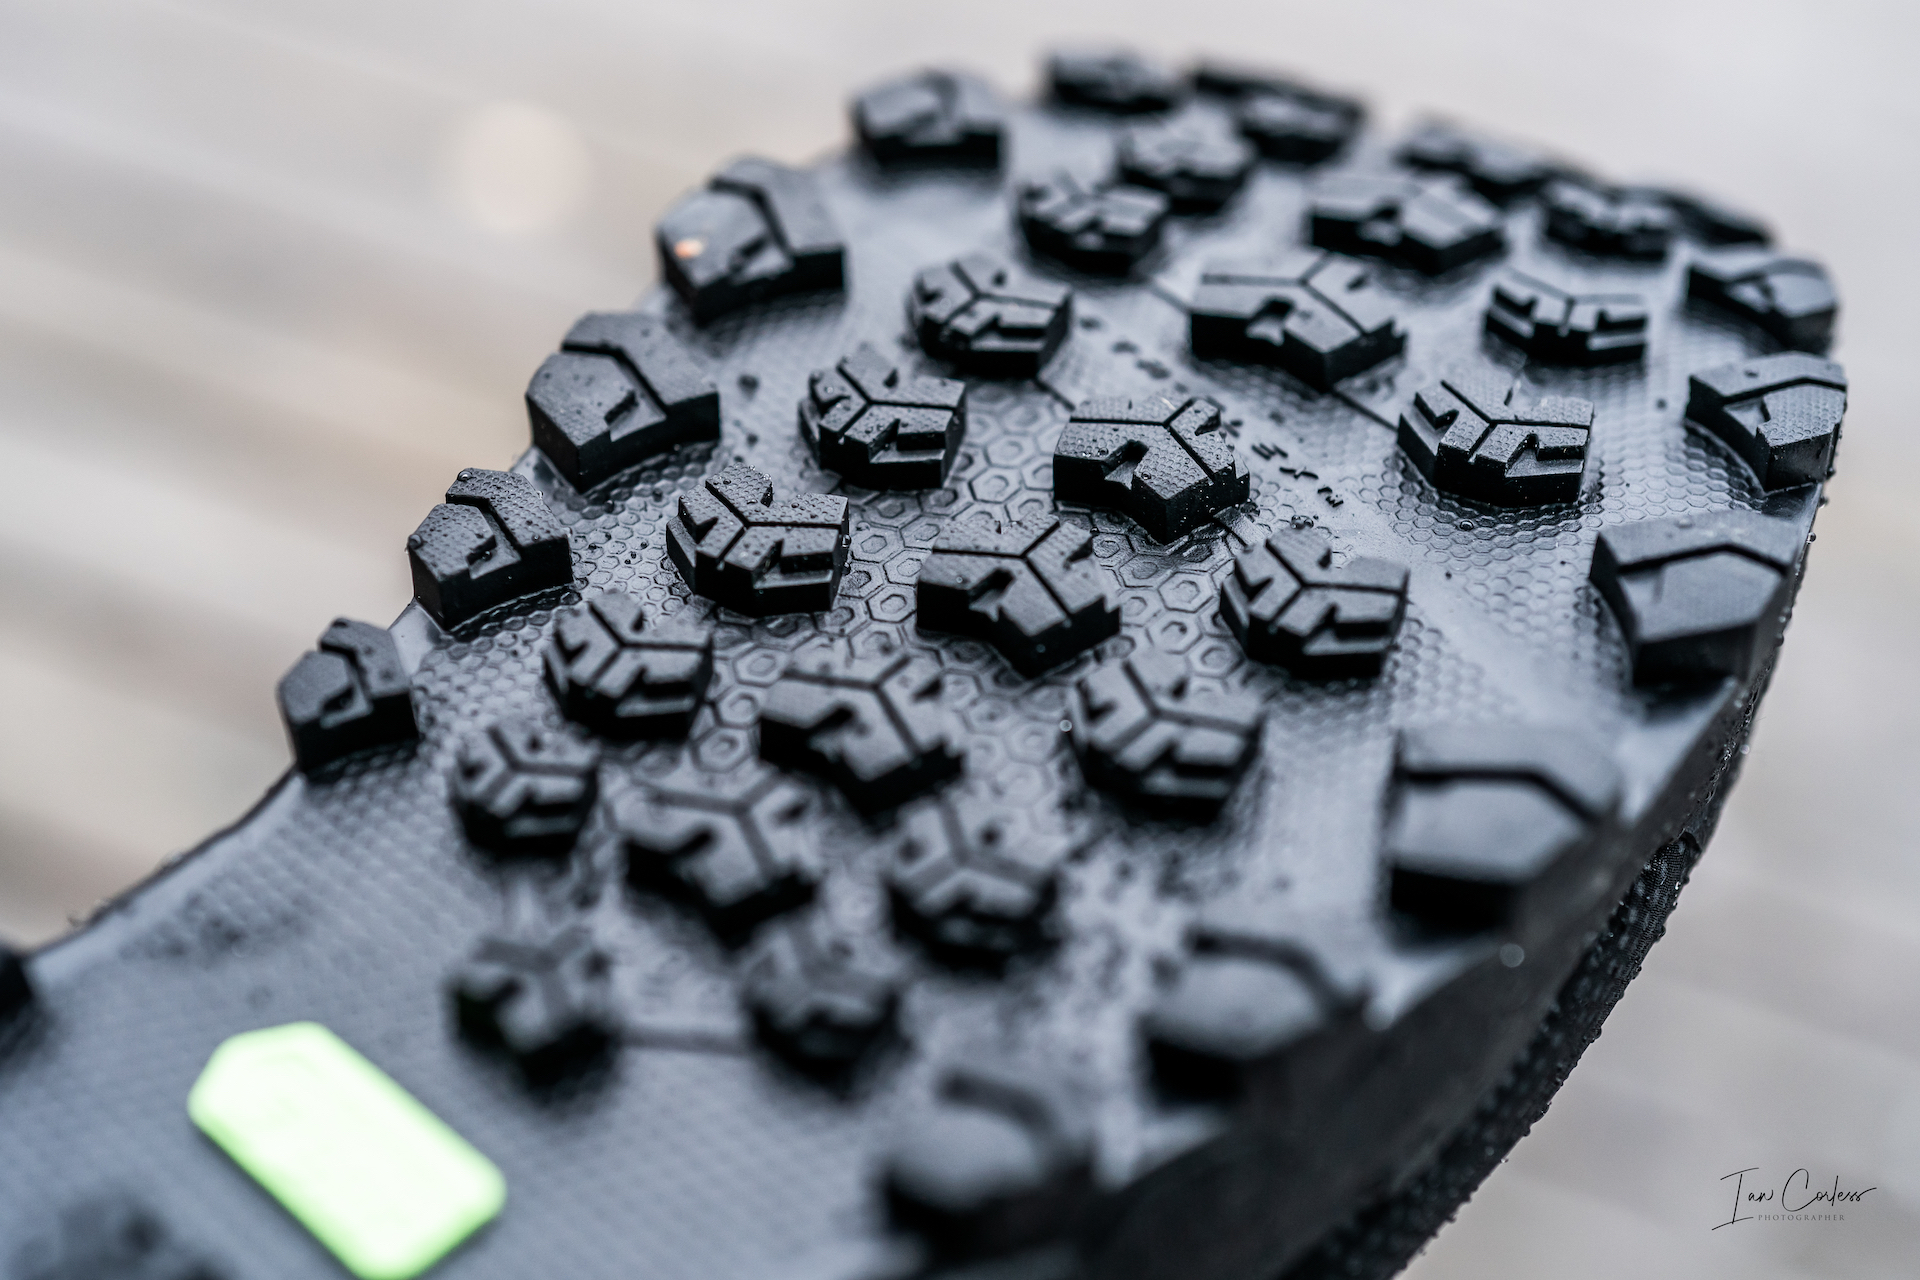
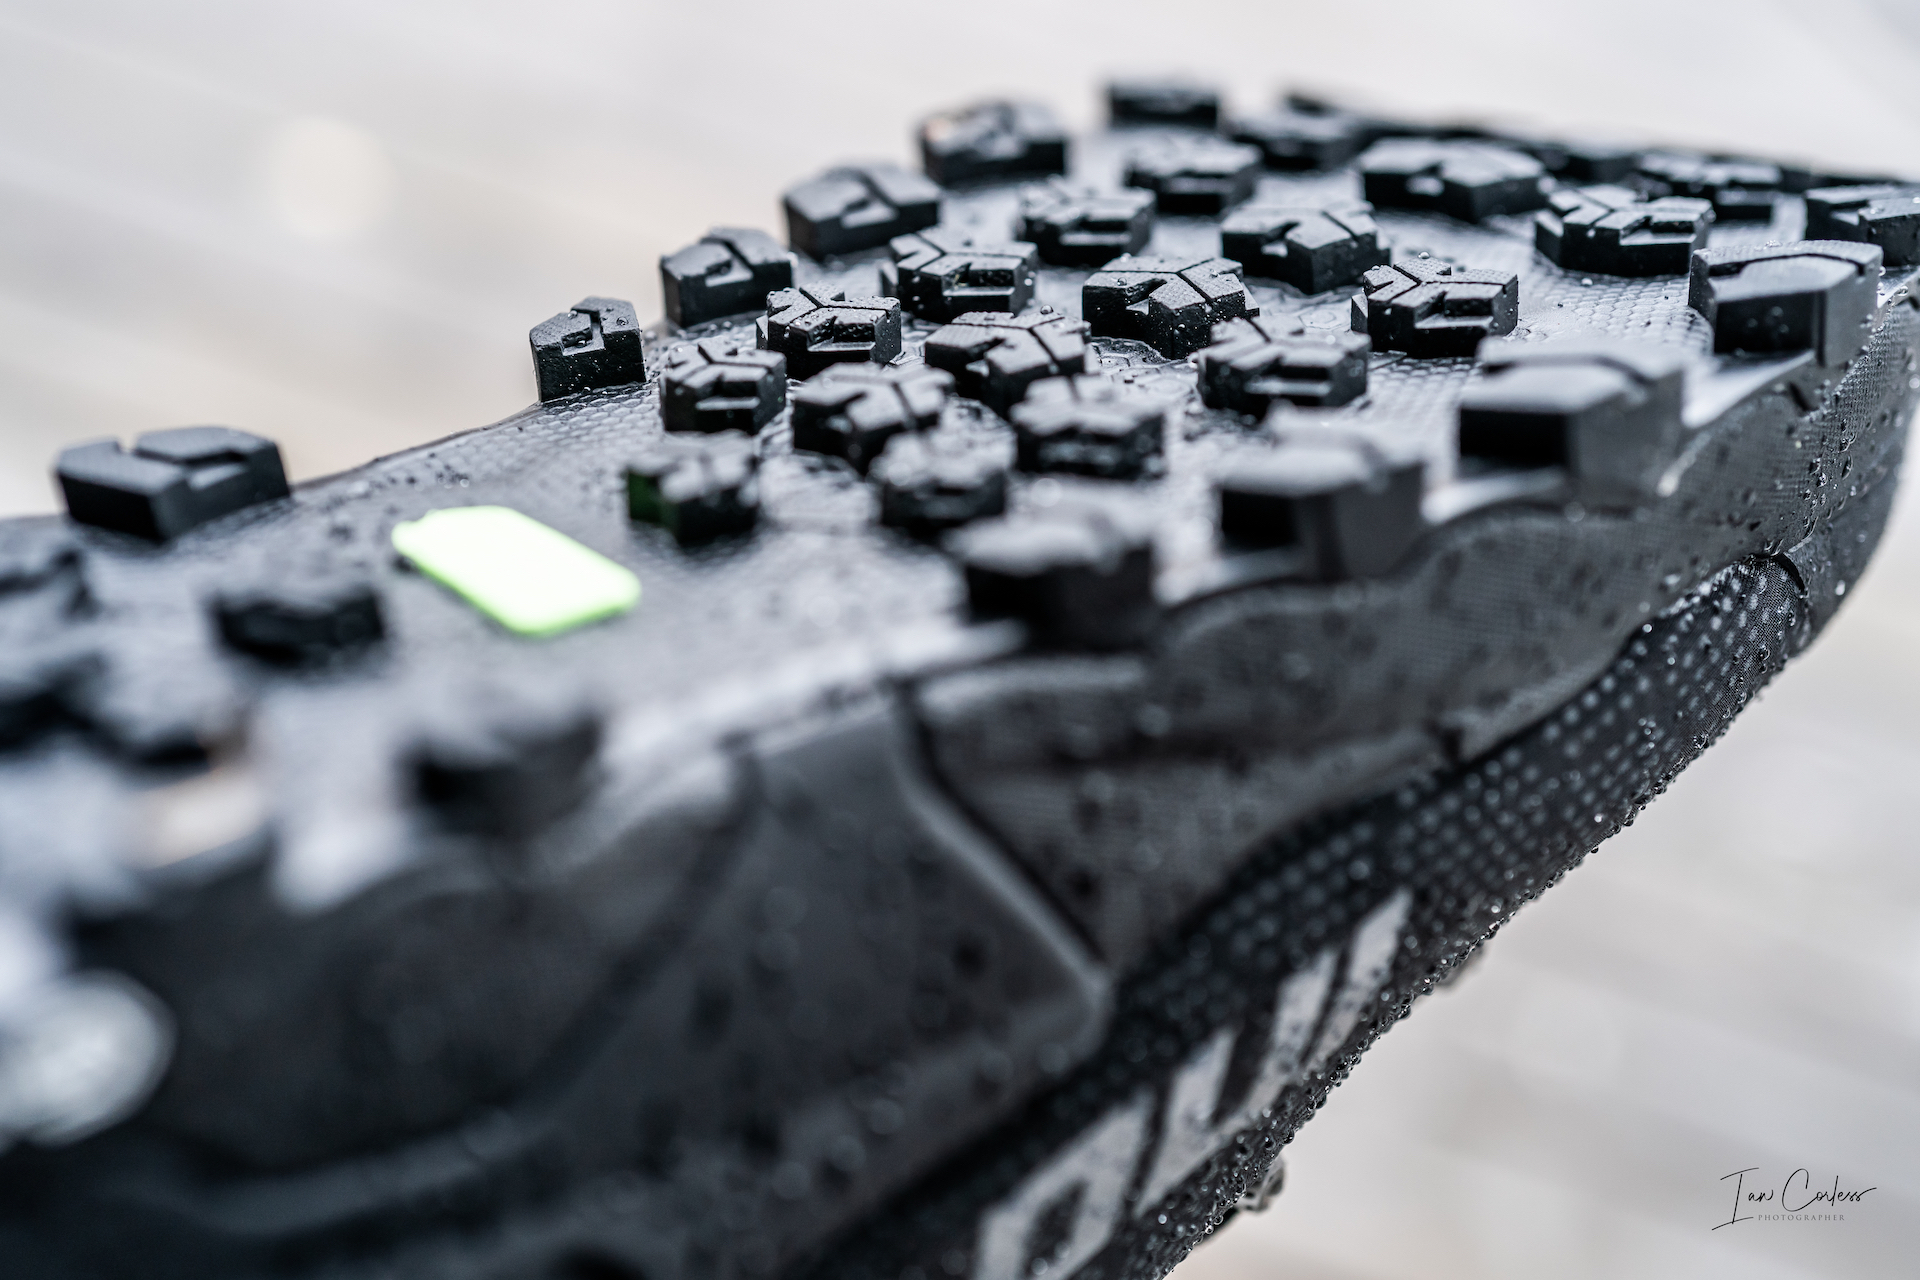
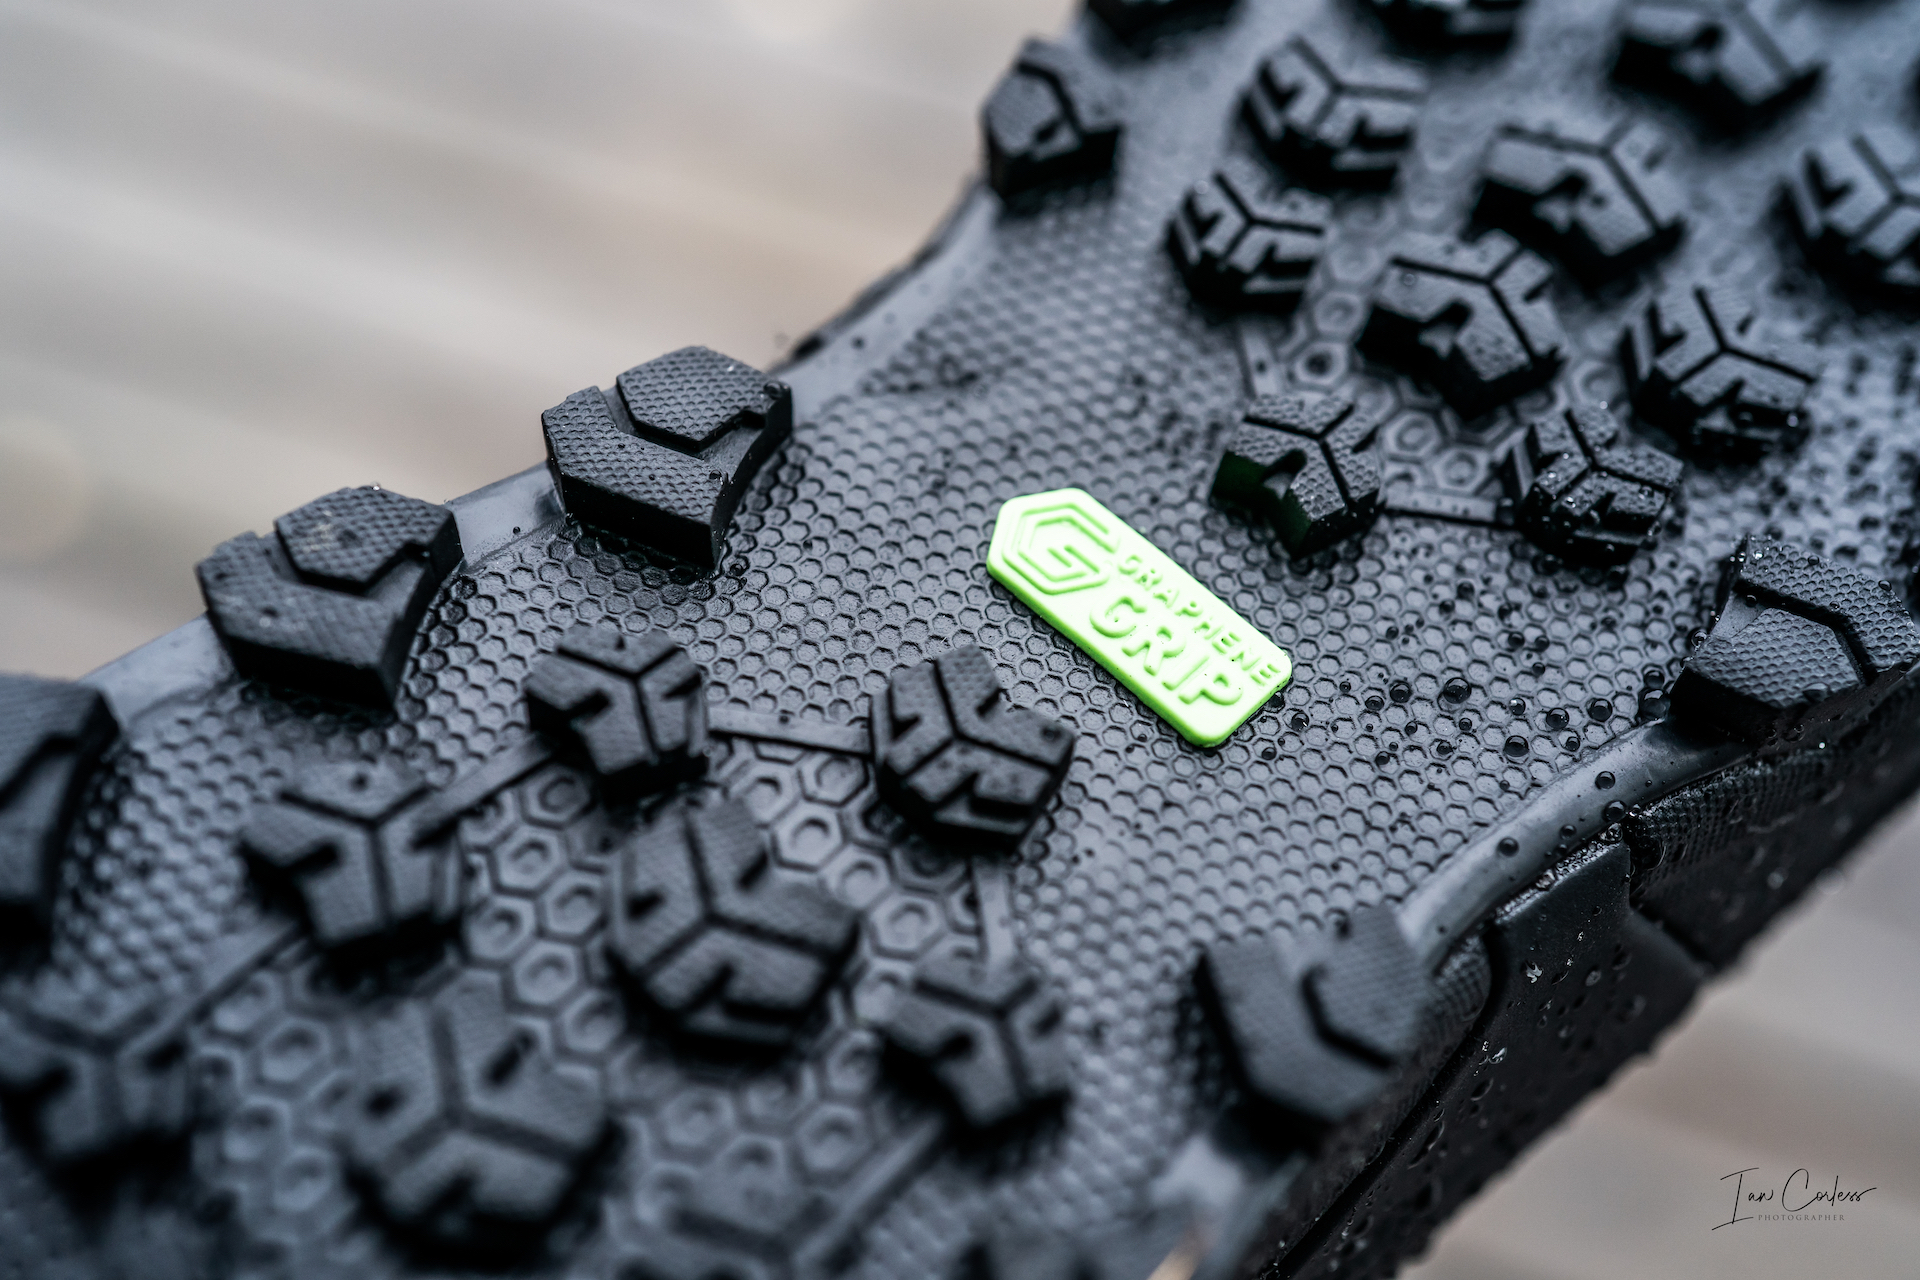
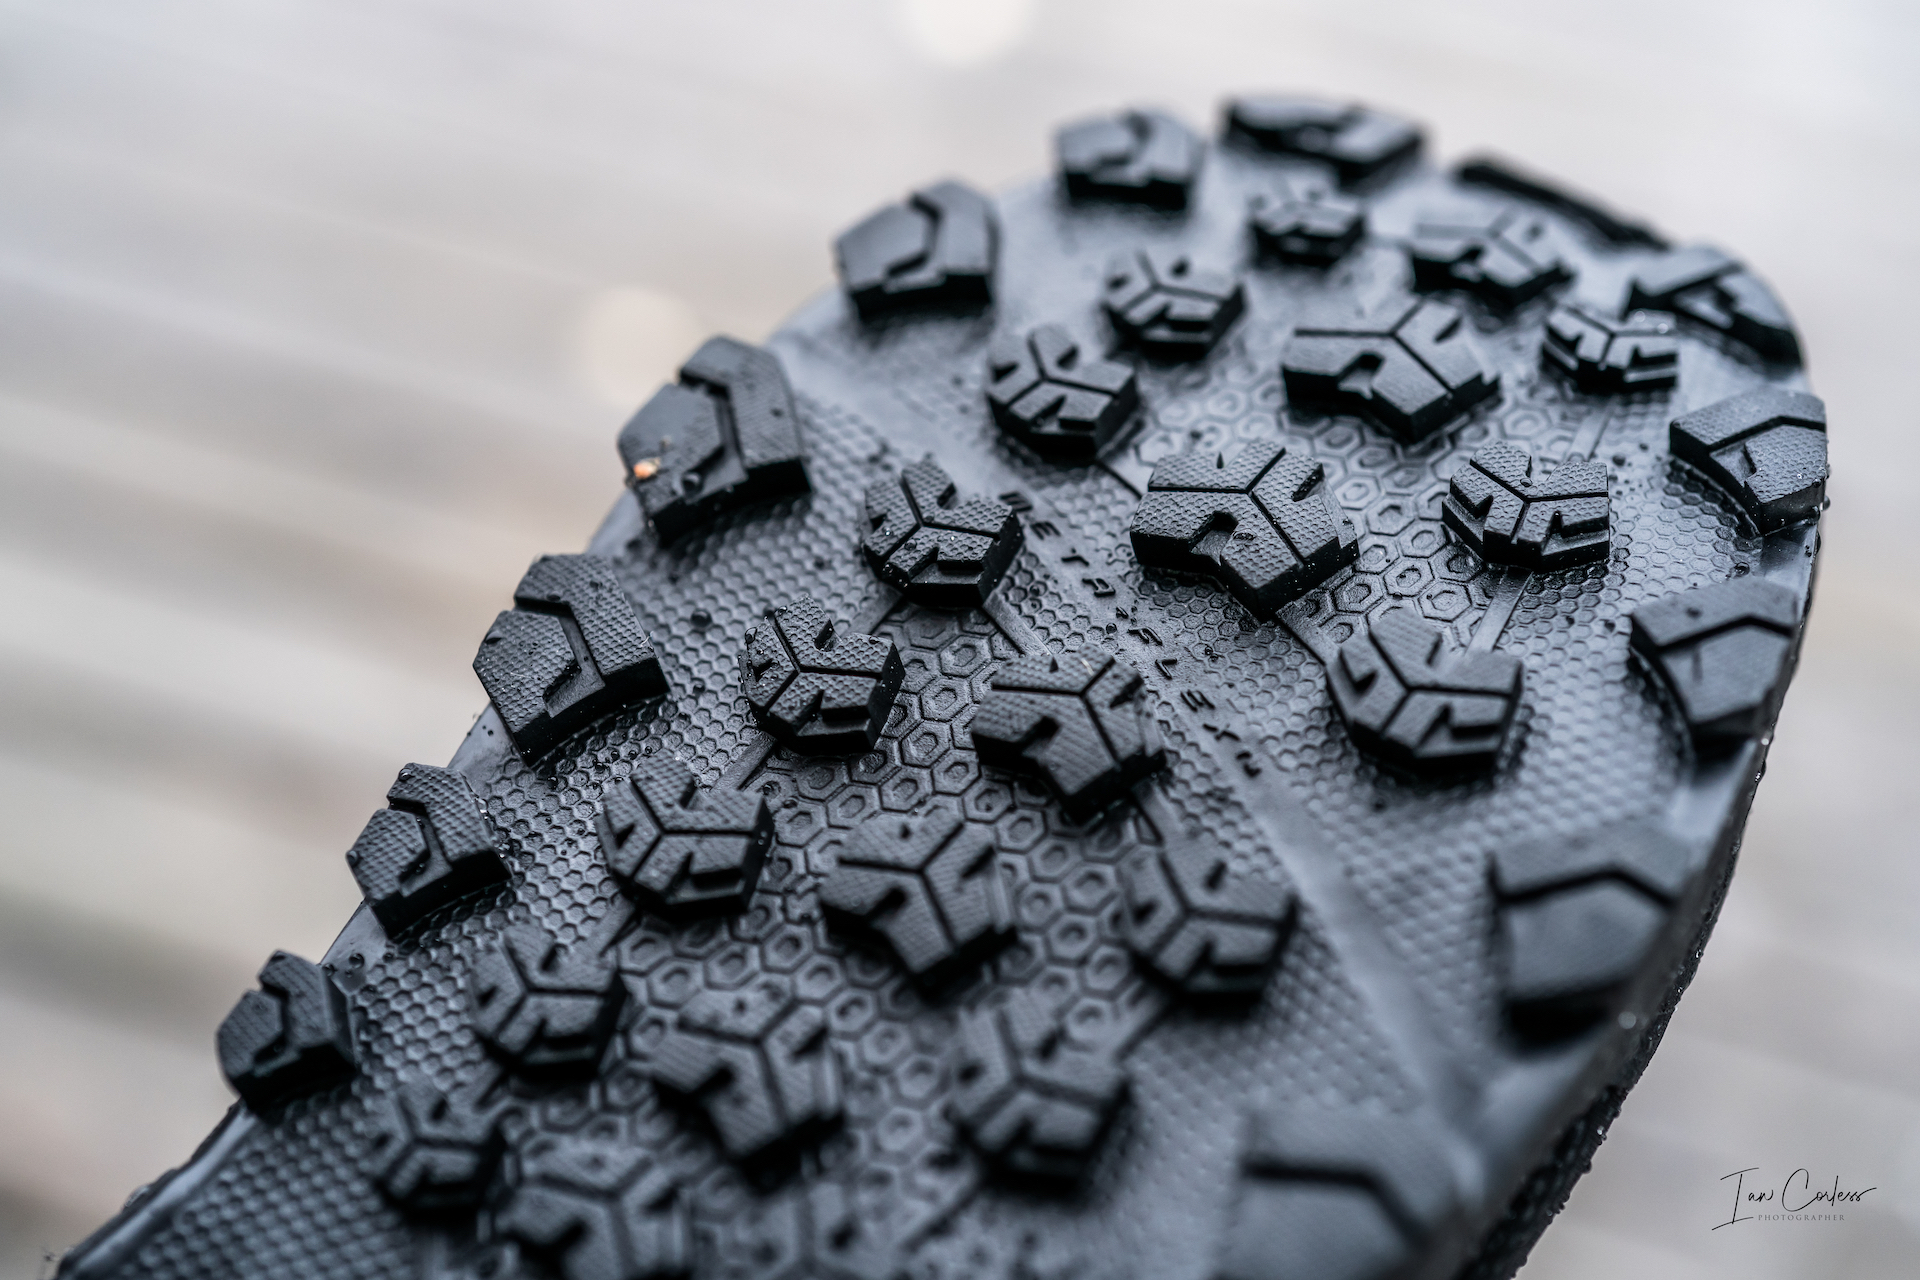
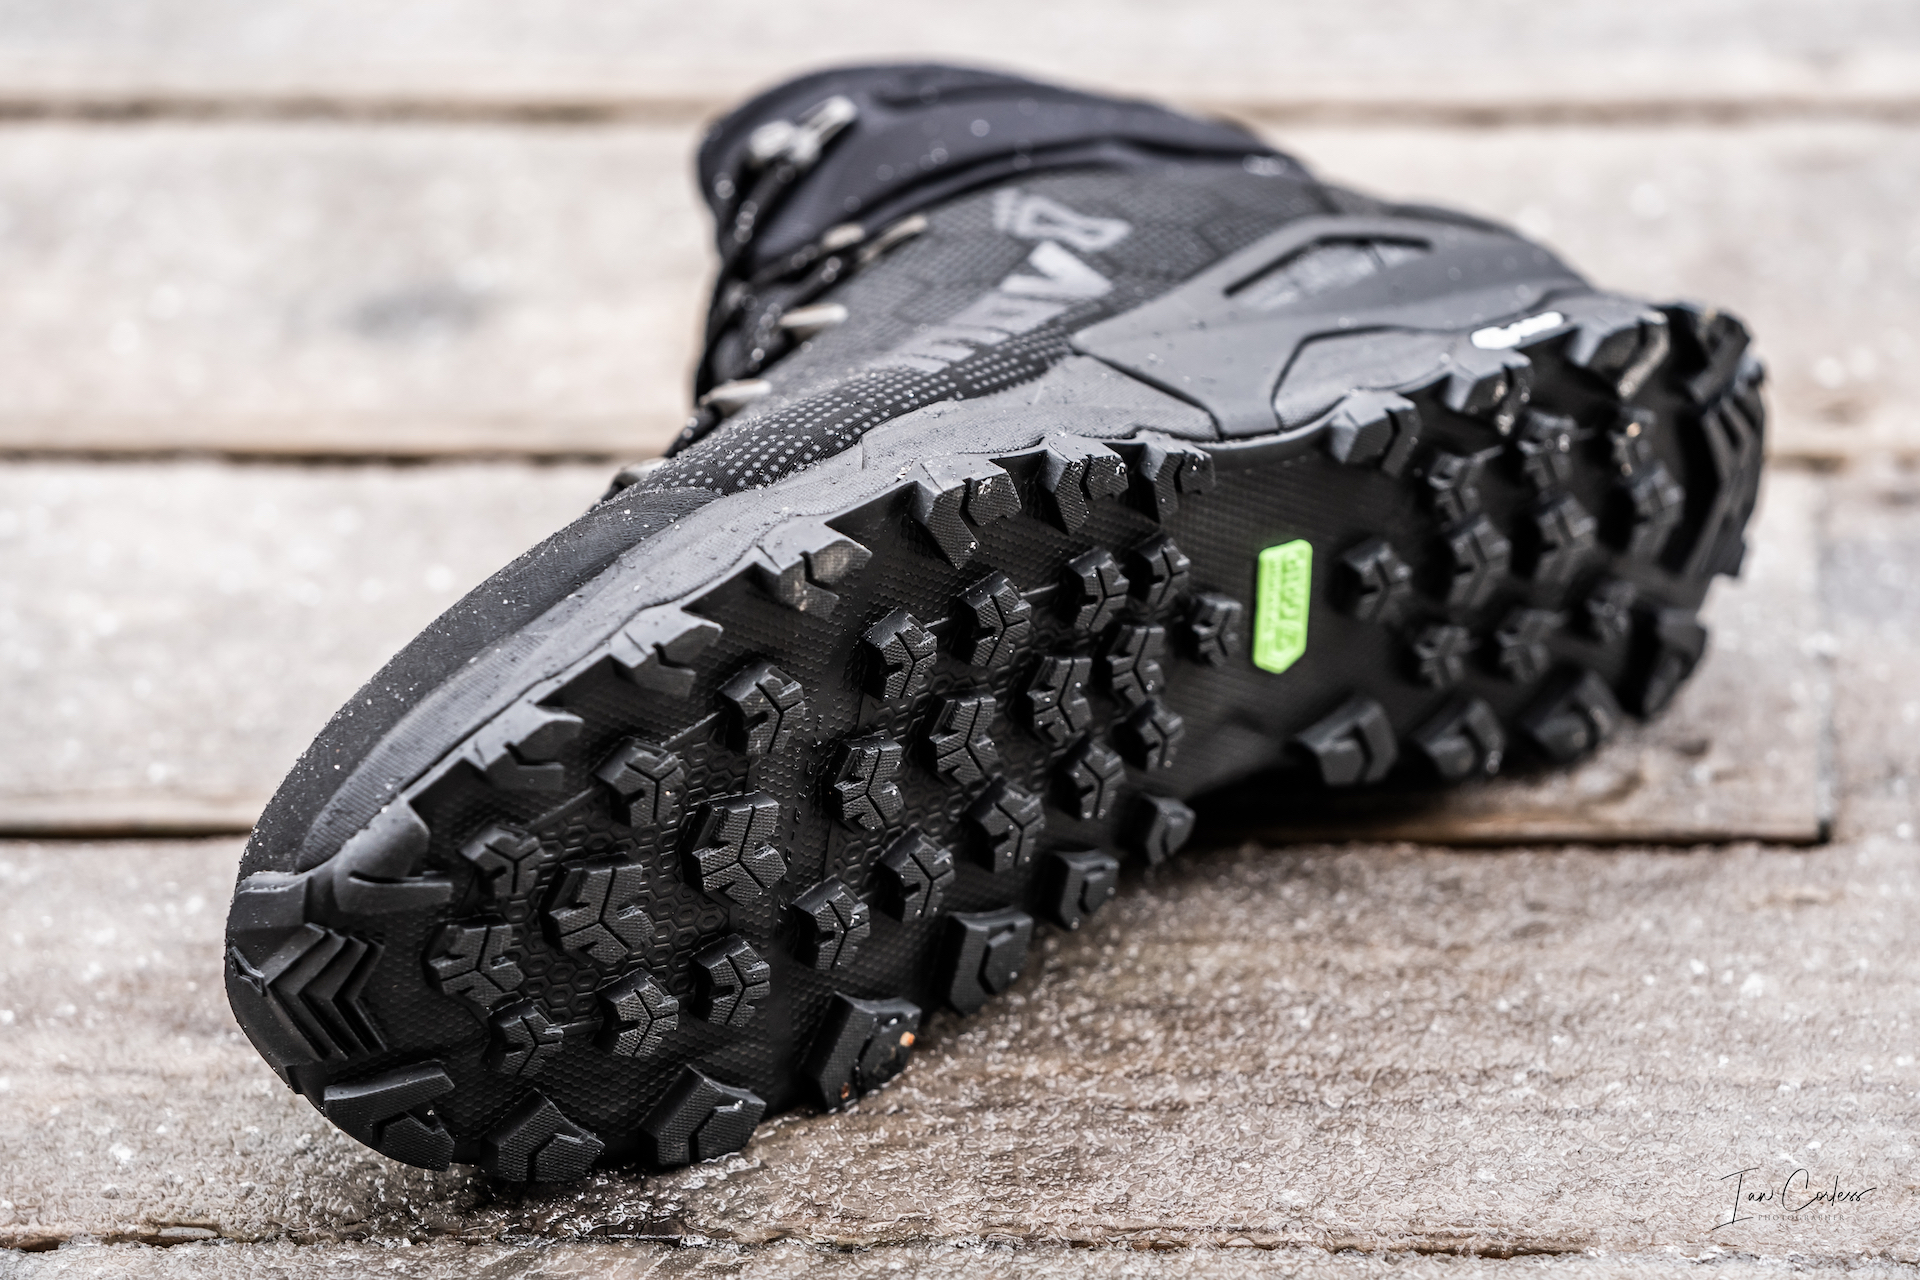
Drop is 8mm which is ideal for long days, the lugs are 6mm which provide great grip on a multitude of surfaces, especially with the addition of Graphene which extends outsole longevity. Cushioning is notably plush with 12mm at the from and 20mm at the rear.
Like the G 370, the G 400 is Gore-Tex and this does a great job of protecting against the elements, especially wet, mud and snow. The weak point is always where the shoe stops and quite simply, if water or snow goes over the top of the shoe, you will get wet feet. This is where Gore-Tex can be a problem; there is no way for the water to escape! Therefore, a key recommendation, from experience, is to use Merino socks that manage to retain heat and warmth when wet. Use Nylon socks and you risk cold/ wet feet. Merino wicks sweat excellently too… Also, a risk with a Gore-Tex product as they are obviously warmer.
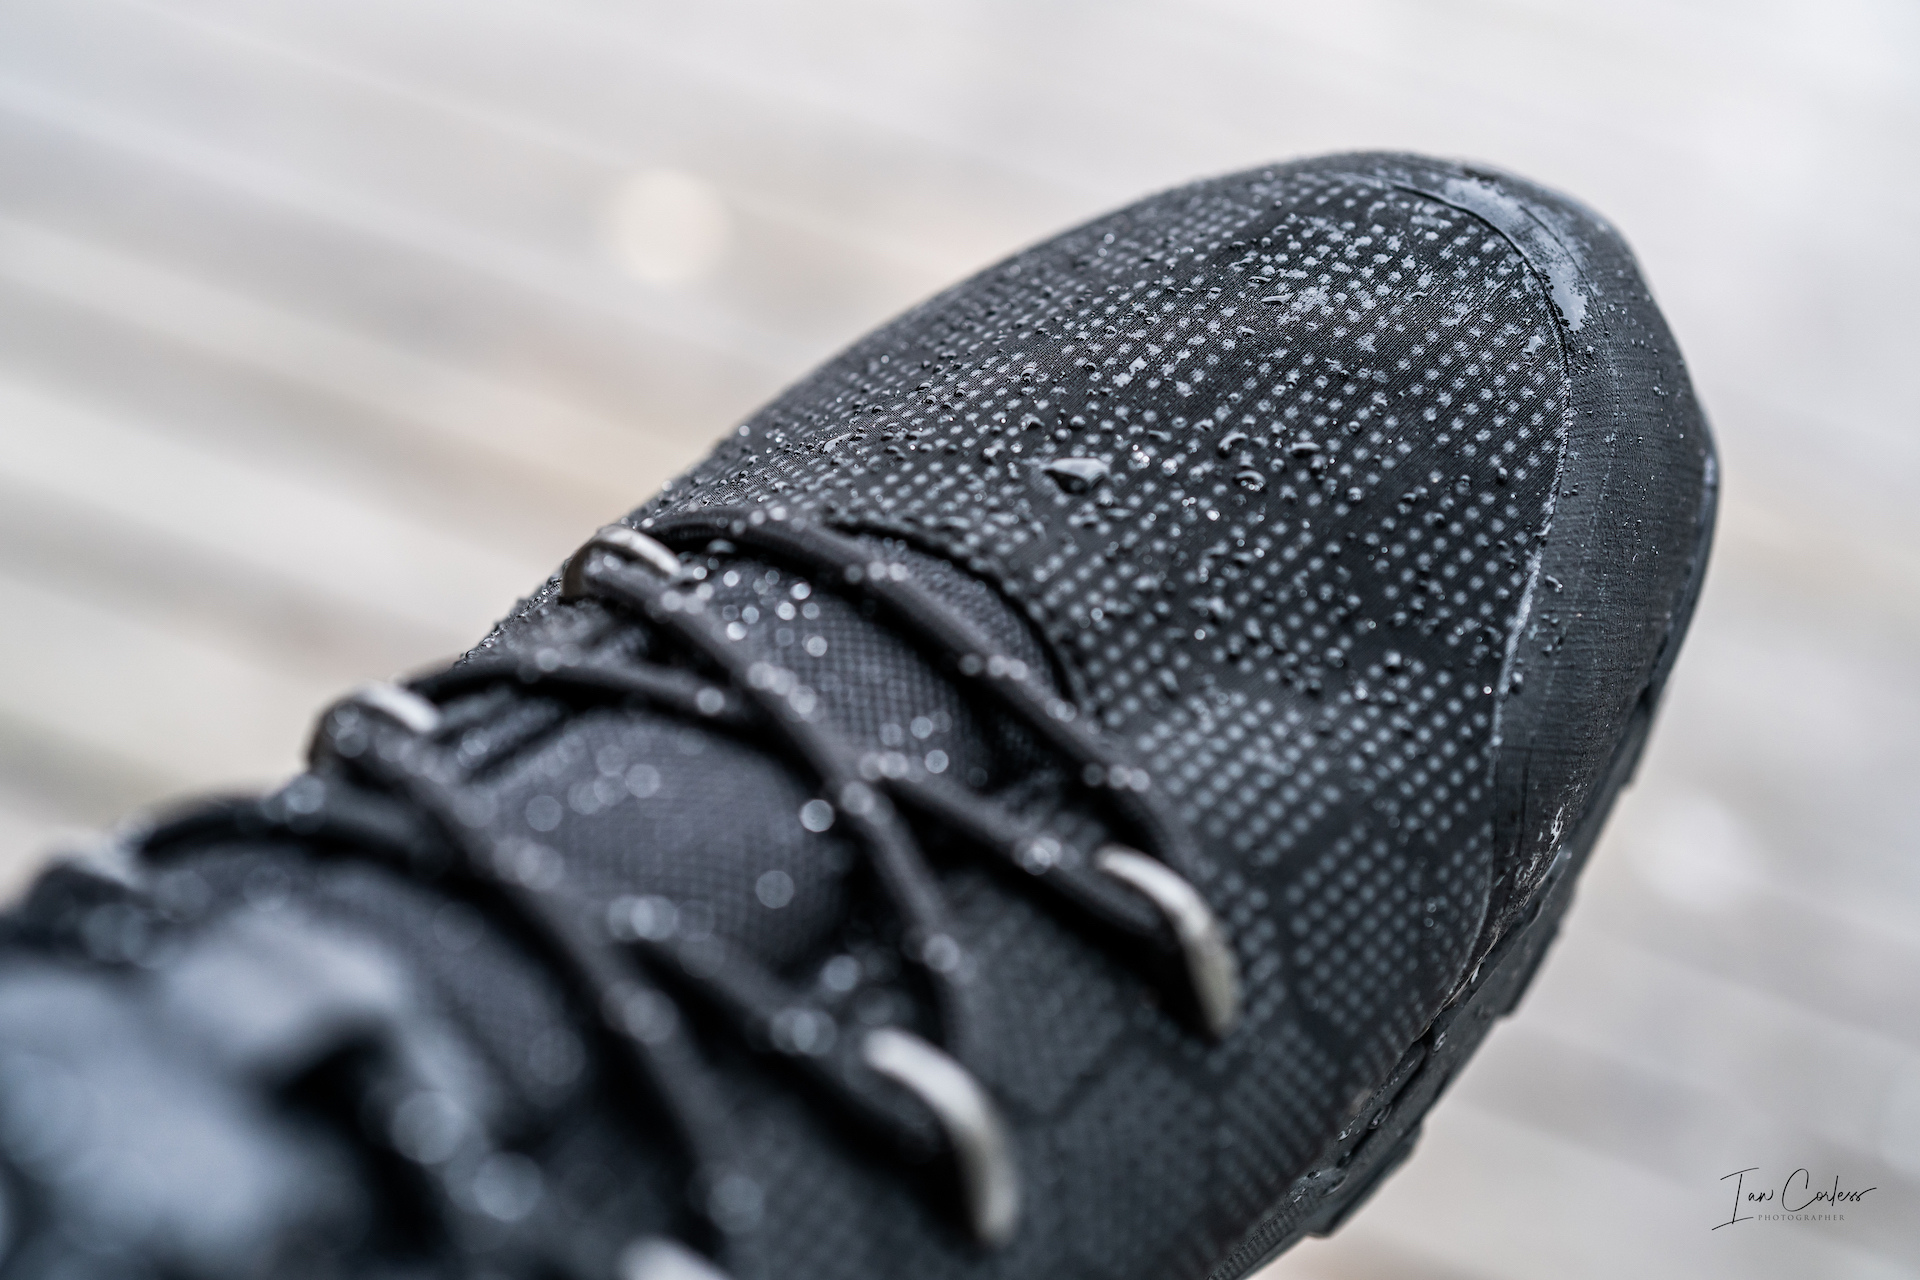
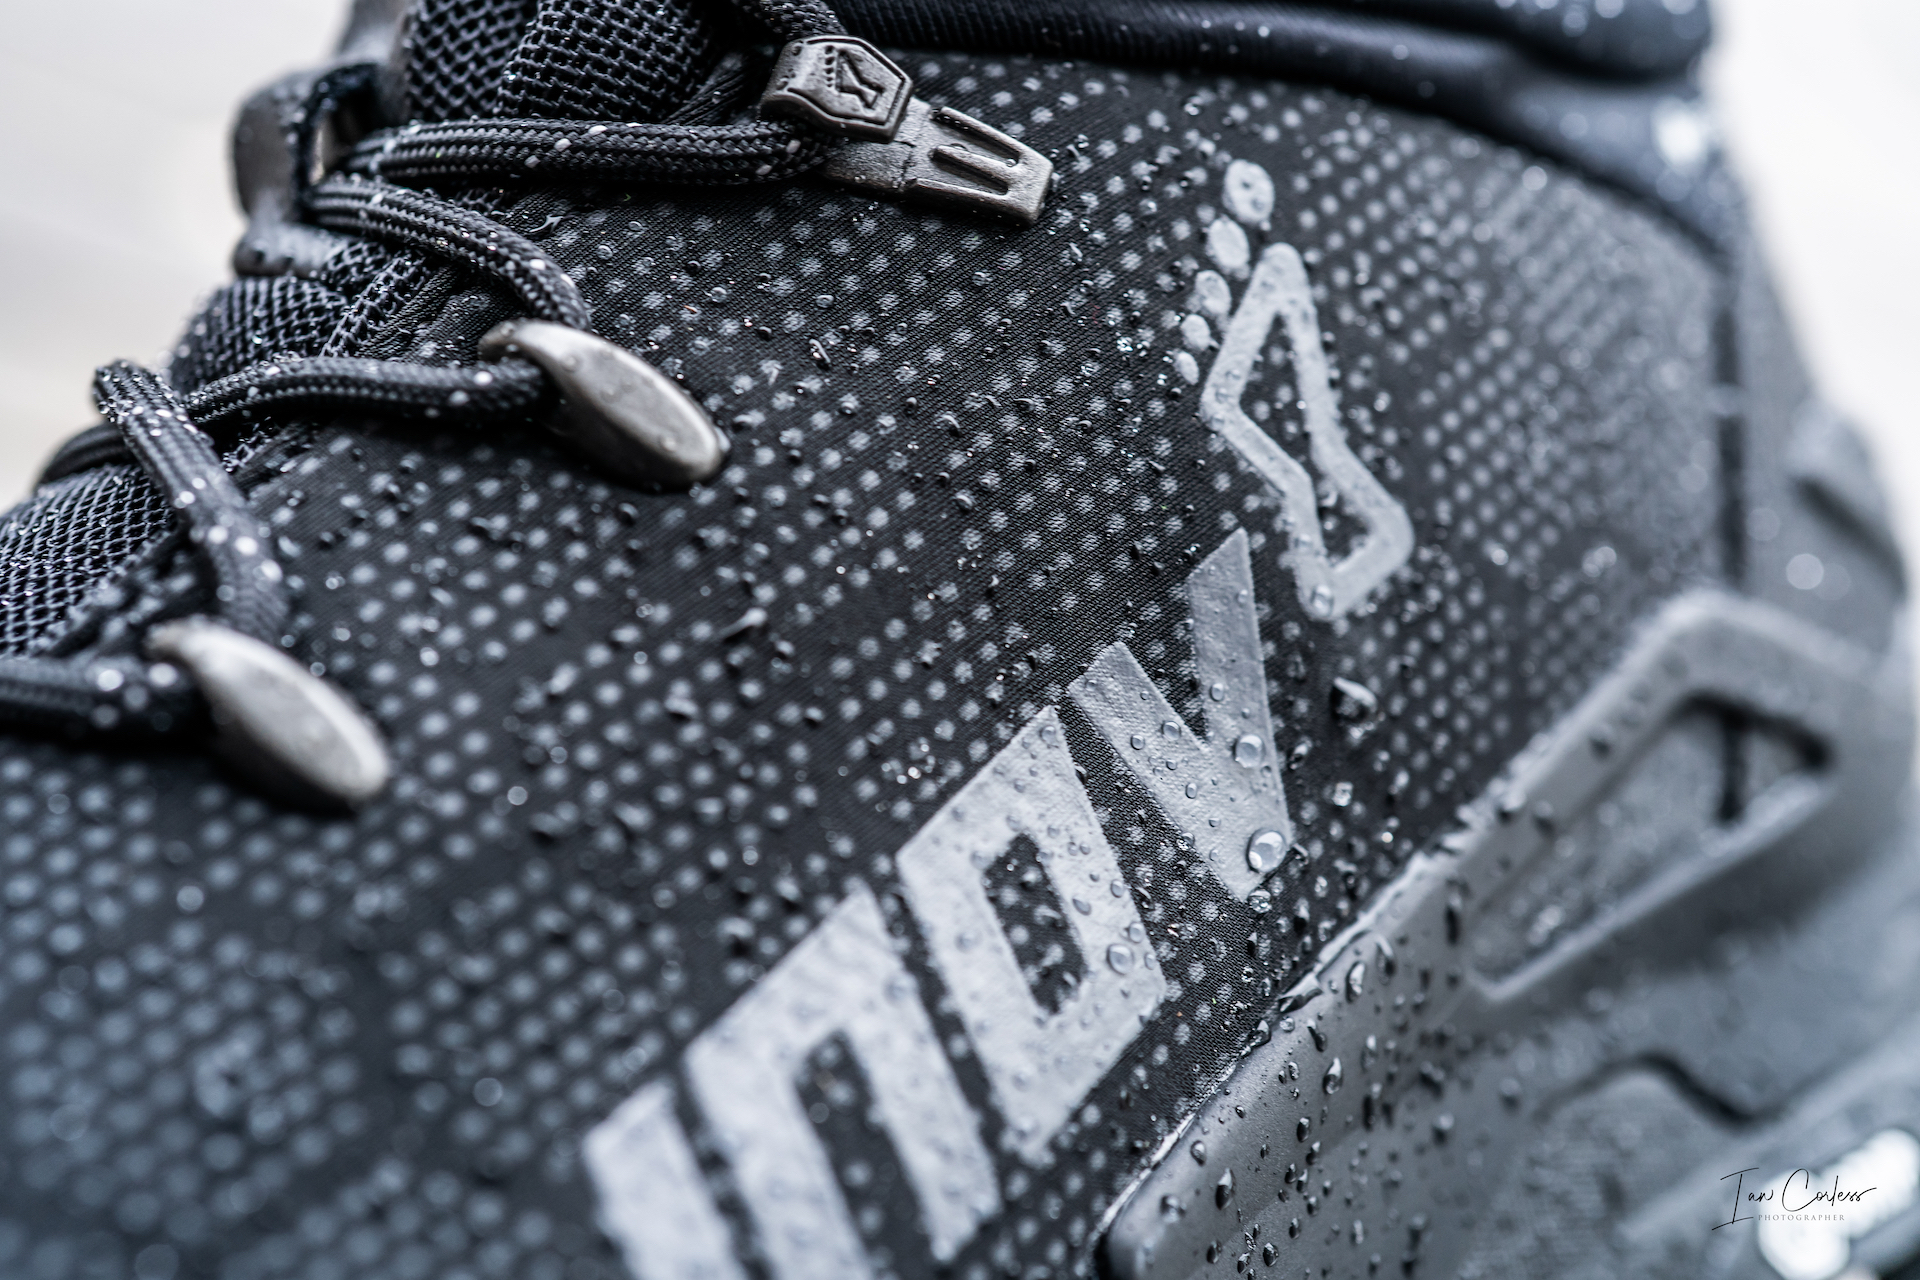
The upper uses Schoeller® ceramic-coated fabric which is an abrasion-proof, heat resistant fabric which sees ceramic particles – said to be as hard as diamonds – coated onto polymers for applications in the likes of protective, outdoor and military apparel. In simple terms, this fabric is incredibly durable to the wear and tear that one would encounter in extreme and harsh environments.
NOTABLE POINTS
There are many notable differences in comparison to the G370 and like I said previously, I see the two boots having different uses with some crossovers.
The G370 for me still feels like a run shoe. It laces up like a run shoe, feel for the ground is like a run shoe and the overall structure is more shoe like – there is less shoe if you know what I mean.
The G400 is considerably more robust in key areas:
The toe bumper is harder and more substantial.
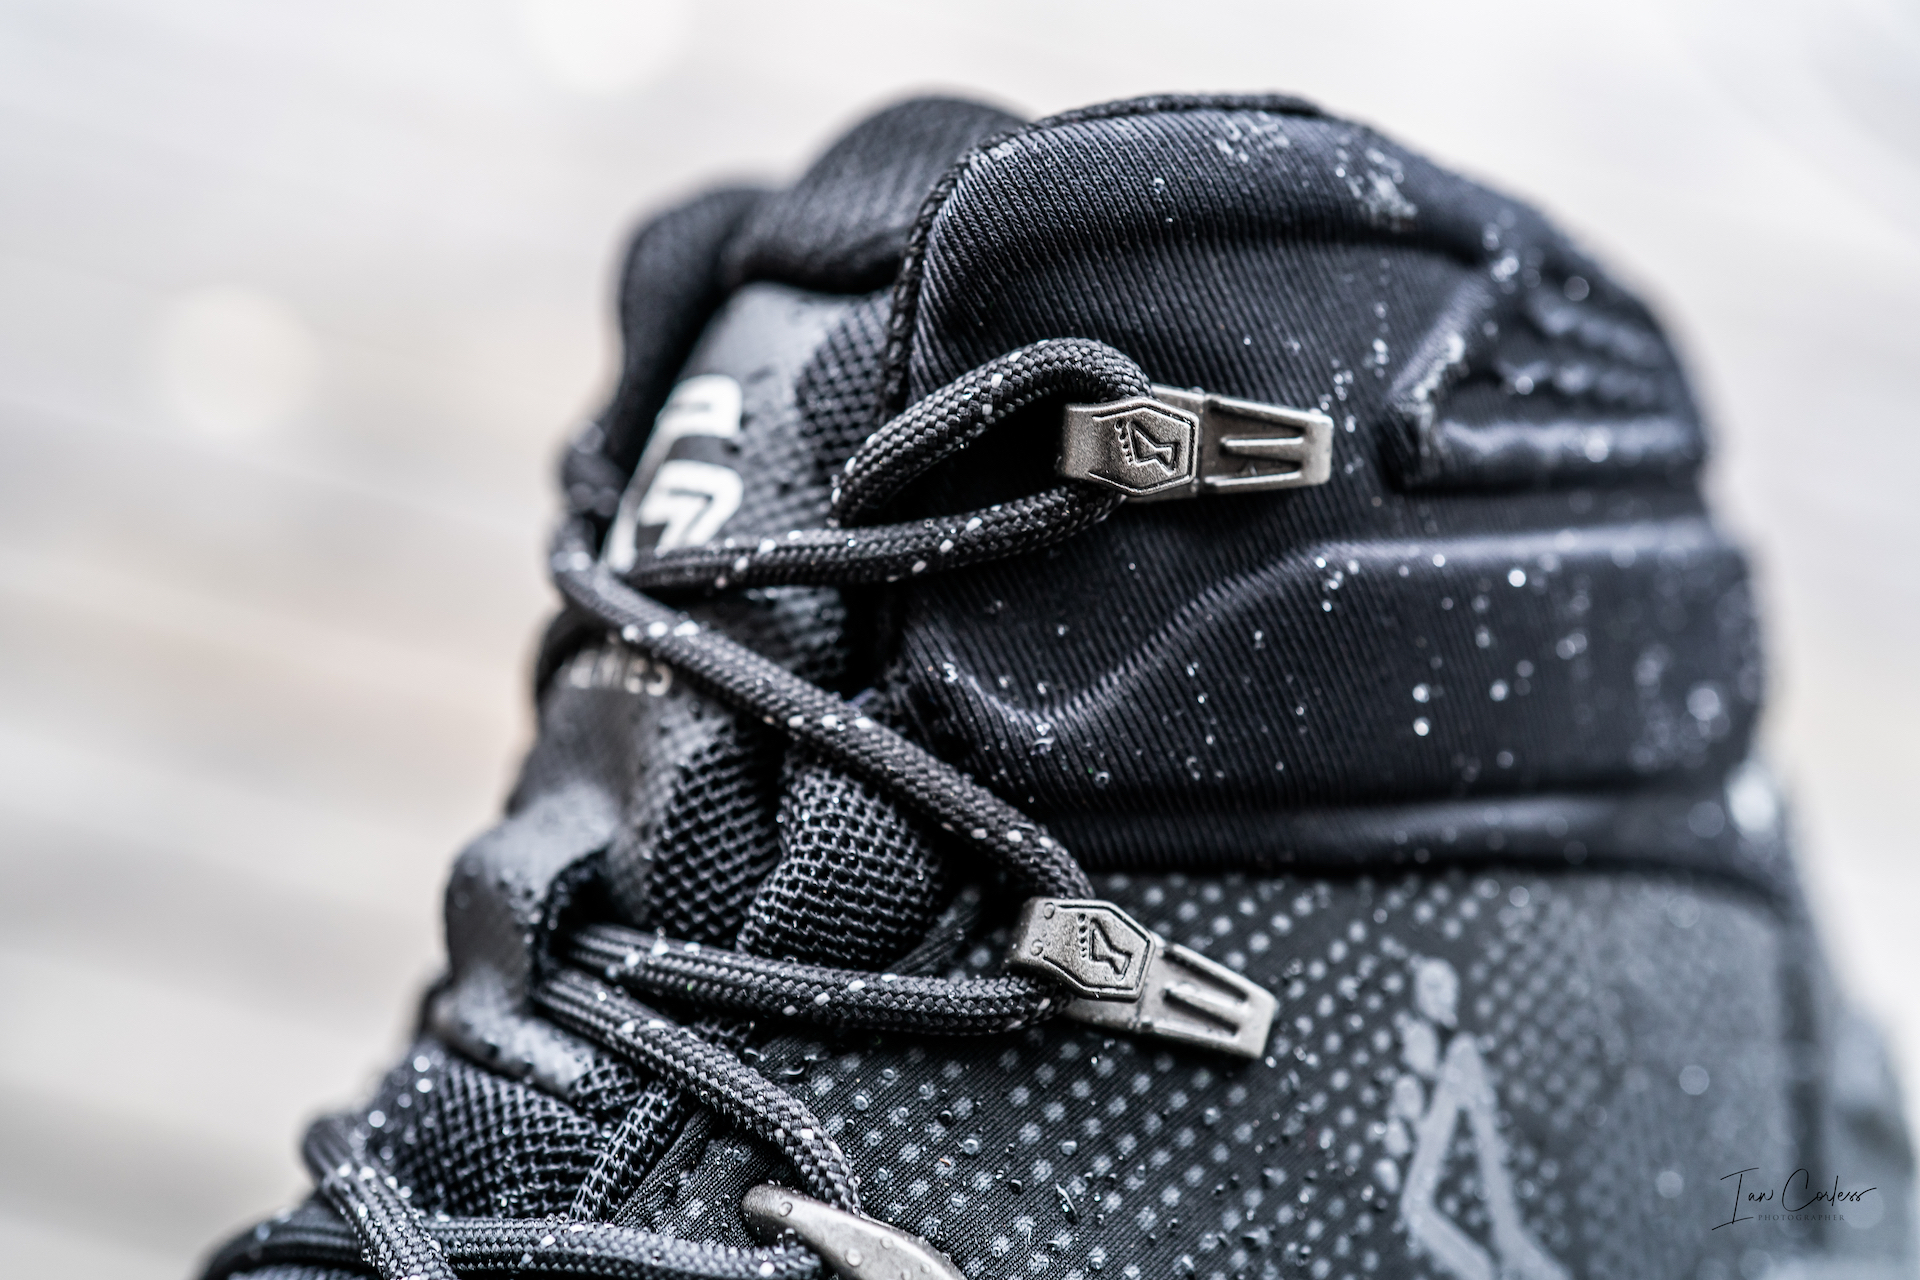
The laces start higher up the shoe keeping the all-important flex area behind the metatarsals free.
The lace eyelets are solid/ robust metal with 5 on each side, the upper 2 have the inov-8 foot on, a nice touch!
The tongue is gusseted and maybe(?) a little more padded.
The heel protection is more substantial and padded.
Support for the heel area is considerably more reinforced and spreads down the left and right side of the shoe.
Cushioning is increased.
The outsole is completely different.
The G400 is a lightweight hiking boot that manages to combine all the great features of the previous models and then beef them up in a more robust package.
IN USE
The G400 works alongside one of the other Roclite boot models, be that the G 286, G 335, G 345 or the G 370 but does not replace them. Important to consider that the choice provided (G 286, G 335, G 345 or the G 370) all have different drops, fit, uppers and cushioning, so, that is also an important factor.
The G 400 is just a great all-round boot that is light enough for fast hiking, fastpacking, daily jaunts and day-to-day adventures. It manages to combine all the features and support of a boot double the weight. By way of example, I have a pair of lightweight Haglofs which are still over 100g heavier per shoe without the level of protection the G 400 offers.
I have been using the zero drop Terraultra G270 run shoe and although the outsole configuration is different, the grip is comparable with comprises coming in very sloppy mud – the lugs are just not aggressive enough for these conditions and I would not expect them to be. This outsole needs to perform on a multitude of surfaces, and it does that exceptionally well.
The cushioning is very notable and on a couple of long days this proved to be really welcome, especially with the 8mm drop.
The shoe has ‘Meta-Flex’ which is designed to allow the front of the shoe to bend behind the metatarsals for that all-important propulsive phase. In the G 370 this works really well with plenty of flex. The G 400 less so. The sole is much stiffer, and it is here that there is a notable difference between say the G370 and the G 400 and why the G 370 feels more like a run shoe and the G 400 like a boot.
Sliding one’s foot into the shoe, it feels plush and the room in the toe box is notable. The lacing is fixed for the first 3 eyelets and the top 2 are open allowing ease for tightening, loosening or different lacing configurations. With the laces pulled tight and adjusted around the ankle, the foothold is spot on and the padding is superb. The back of the shoe drops away slightly avoiding risk of irritation on the achilles.
The back end of the shoe is beefy with a great deal of support to help reduce ankle roll. This is really noticeable to the G370 which has minimal additional support. Again, this is the run shoe v boot comparison.
CONCLUSIONS
The G 400 is a really great boot that is absolutely ideal for long mountain days when you need all the support and features of a traditional boot but in a considerably lighter package. It has great grip, durable upper, great comfort and superb weight. It’s hard to find a fault, especially when one compares to the competition.
Despite all of the above, the G 400 would not replace my G 370’s which feel lighter, faster and more like a run shoe.
Quite simply, I am in the fortunate position to have both and I can gladly mix between the two.
So, if you can only buy one, which should you go for?
If you are primarily a runner looking for a durable winter solution for all elements that will allow you to still run and cover ground fast, then one of the G 286, G 335, G 345 or G 370 models will more than likely be preferable. Make sure you check cushioning, drop and other key features.
If you are a hiker or fastpacker who will do a little running, the G400 would be a better choice and serve you for a multitude of uses.
Ultimately, whichever way you go you will win. The inov-8 boots have worked well for me for the last 2-years and the new G 400 is working exceptionally well now alongside my G 370’s.
Please support this website. I believe everyone deserves to read quality, independent and factual articles – that’s why this website is open to all. Free press has never been so vital. I hope I can keep providing independent articles with your help. Any contribution, however big or small, is so valuable to help finance regular content. Please support me on Patreon HERE