VJ SARVA ICEHERO Review

When it comes to grip, there are no better shoes than VJ Sport. If you follow my shoe reviews, you will know that I rave about VJ continually with three key features: Grip, comfort and foot-hold. The iRock, XTRM, MAXx and the recent Ultra offer something for all and they come highly recommended with grip, cushioning and fit to suit you and your needs.

When it comes to winter running, VJ have also been integral in my shoe choice using the Xante and the Xero 5, both shoes offering key VJ features with the addition of winter studs for grip on ice. Both these shoes I gave rave reviews BUT, in both cases, the shoes (for me) were just a little too narrow. If I wore normal socks, no problem, but in winter I often use thicker socks, 2-pairs of socks or even a waterproof sock such as a Sealskinz. Of course, I could go up a half-size but that does not always work as it can impact on the feel, foothold and flex of the shoe.

With the above in mind, for 2022, VJ have released two new shoes. The VJ Sarva ICEHERO and the VJ Sarva Devil 5. In this review we will look at the ICEHERO and later I will review the Devil 5.

VJ SARVA DEVIL 5

Simple comparison stats:

The new VJ Sara DEVIL 5 has less cushioning, 16mm/ 10mm (6mm drop) has slightly more aggressive lugs at 5mm, 17 studs and the same fit scale of 4.

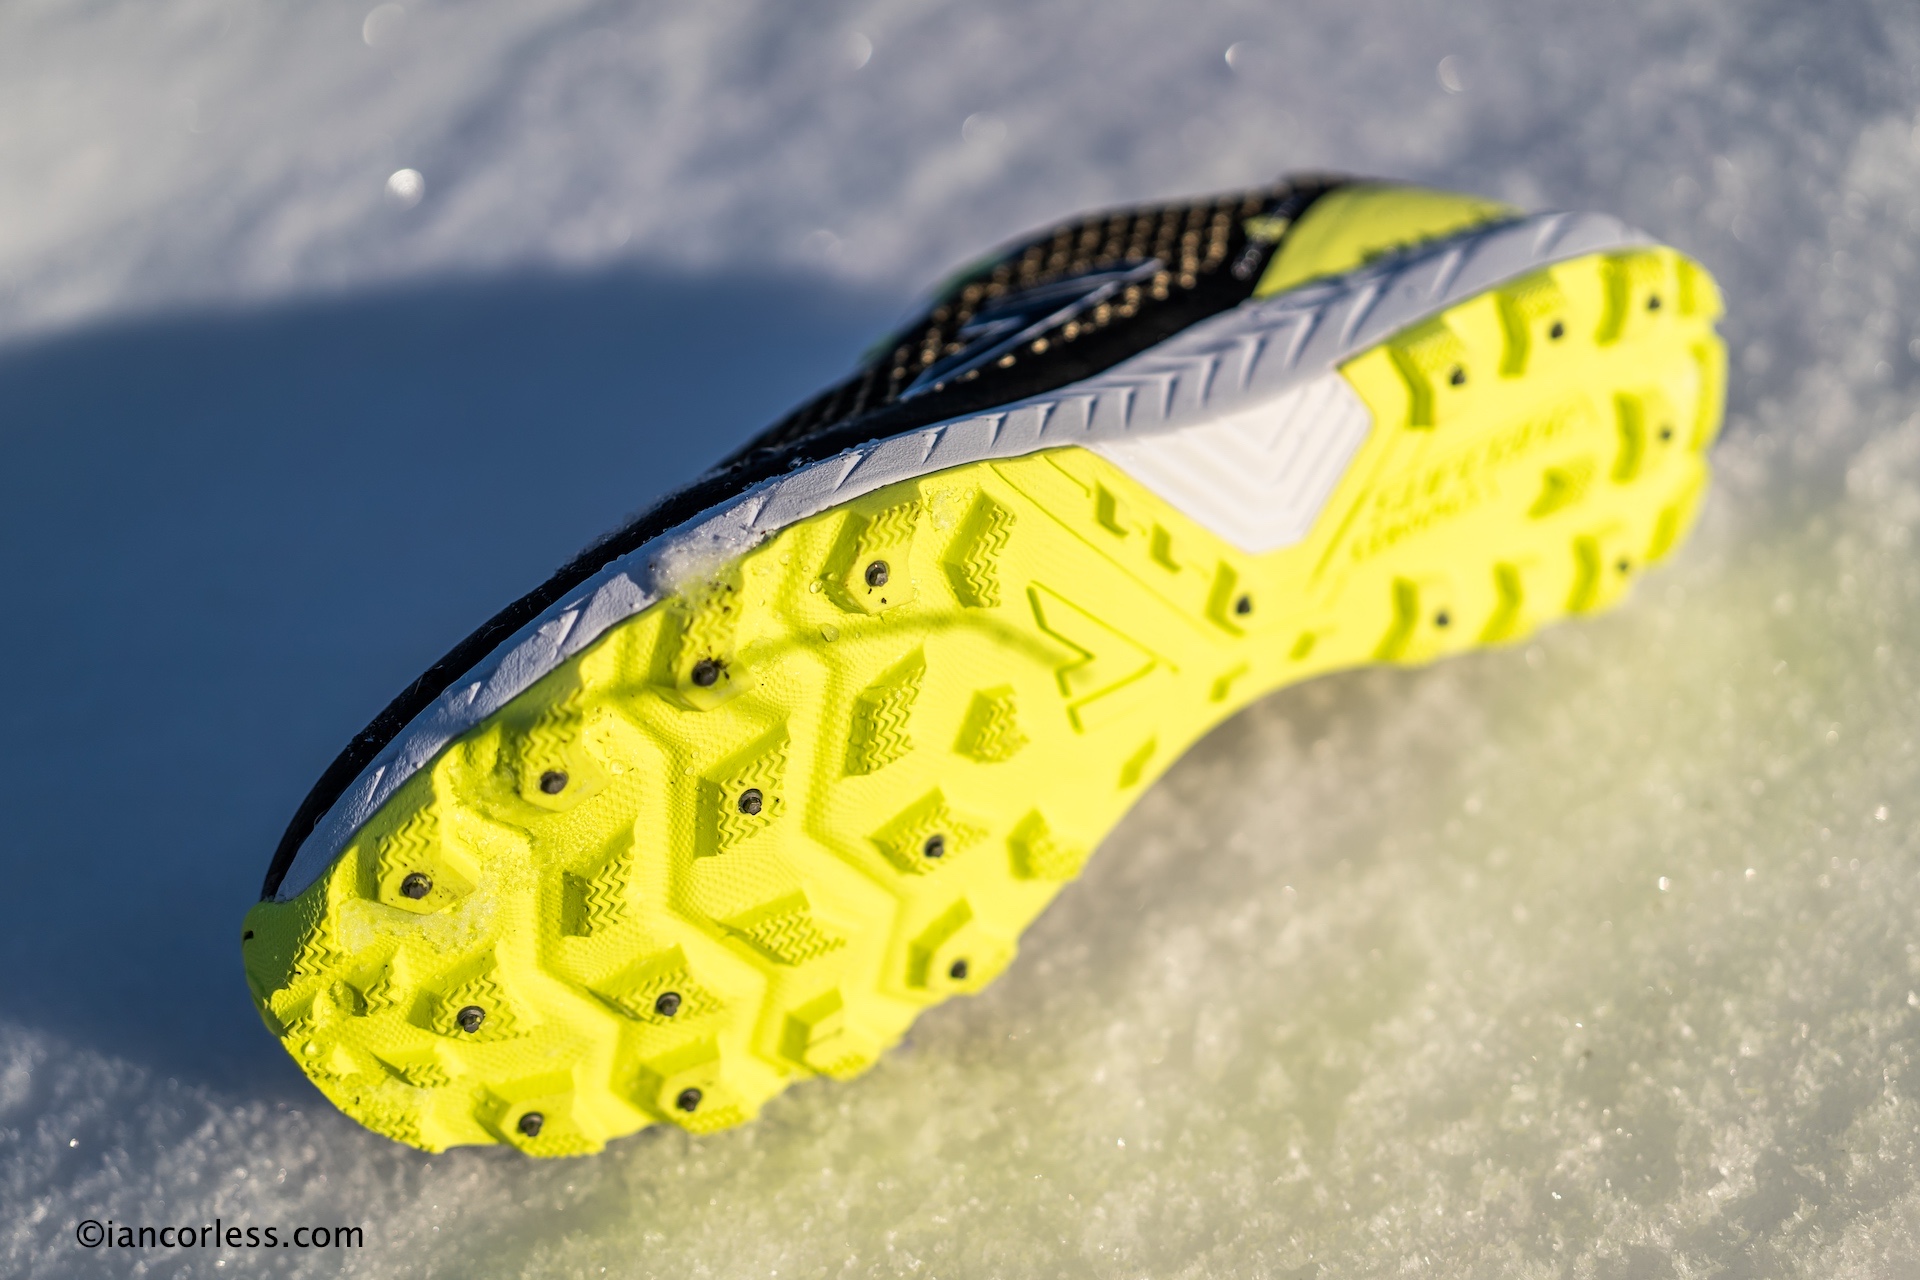
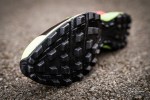
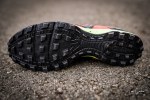
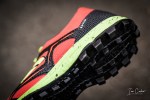
The new VJ Sarva ICEHERO has 21mm/ 13mm cushioning (8mm drop), 4mm lugs, 18 studs and a fit scale of 4.
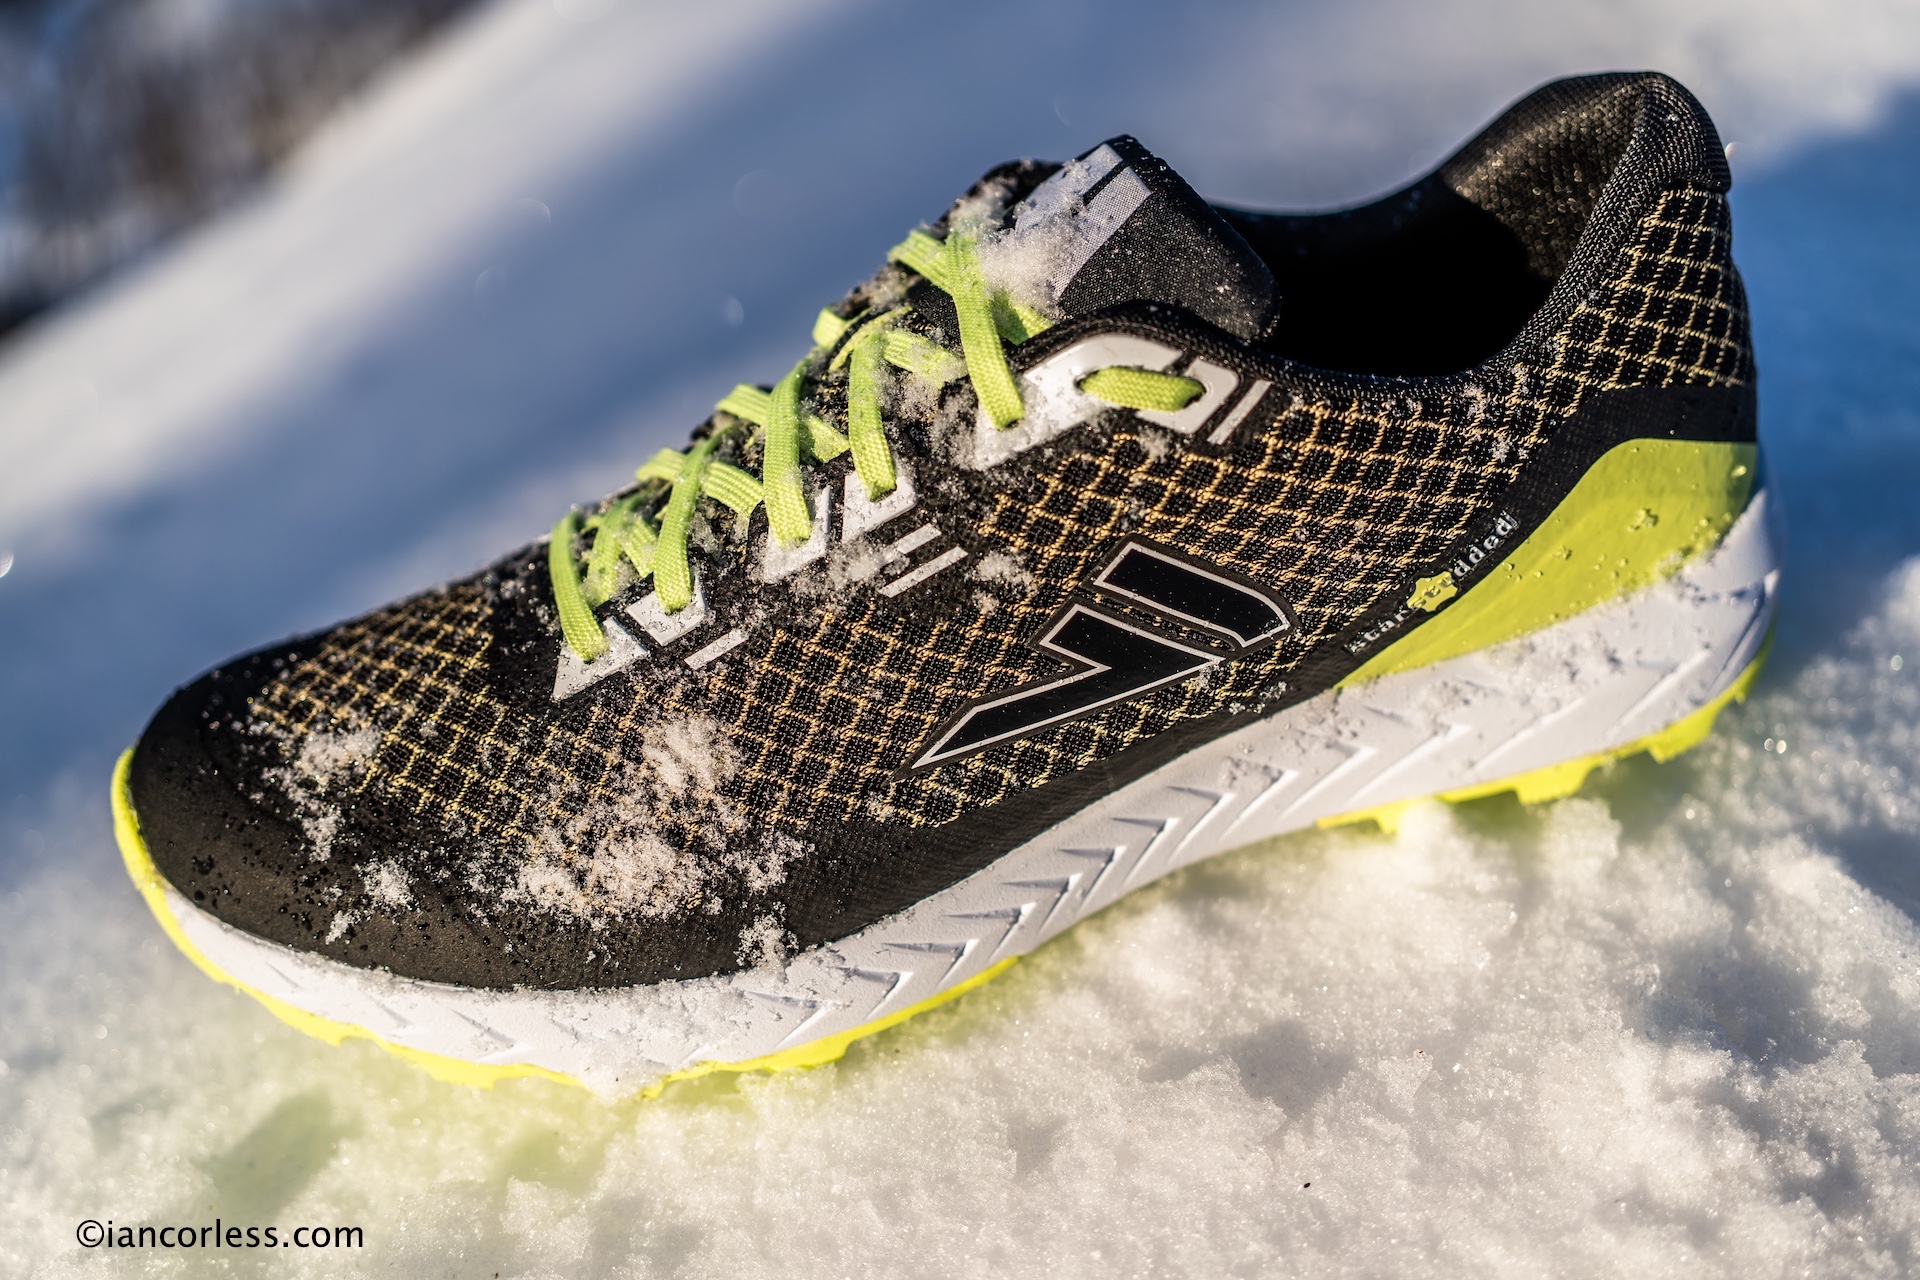
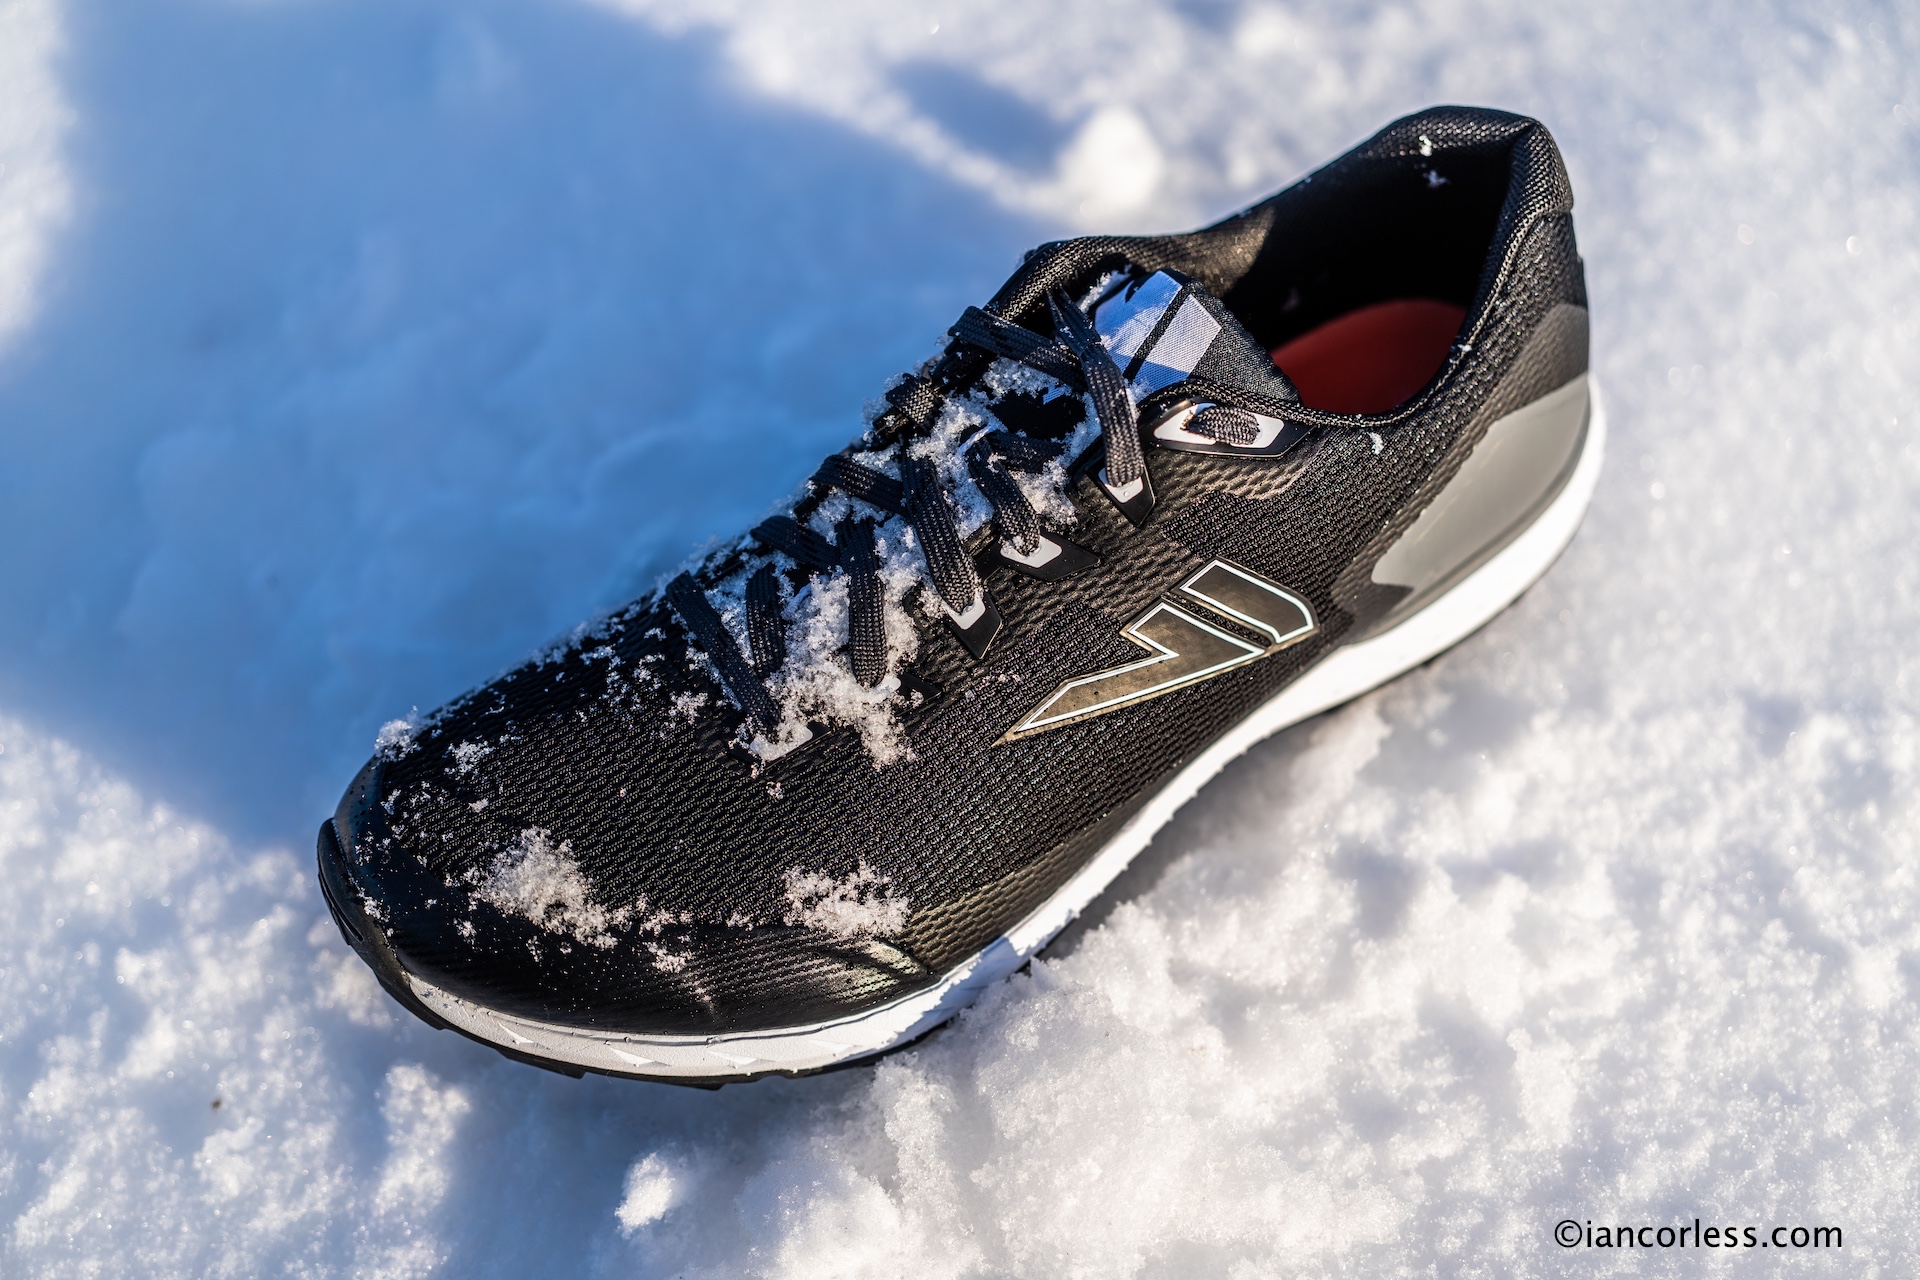
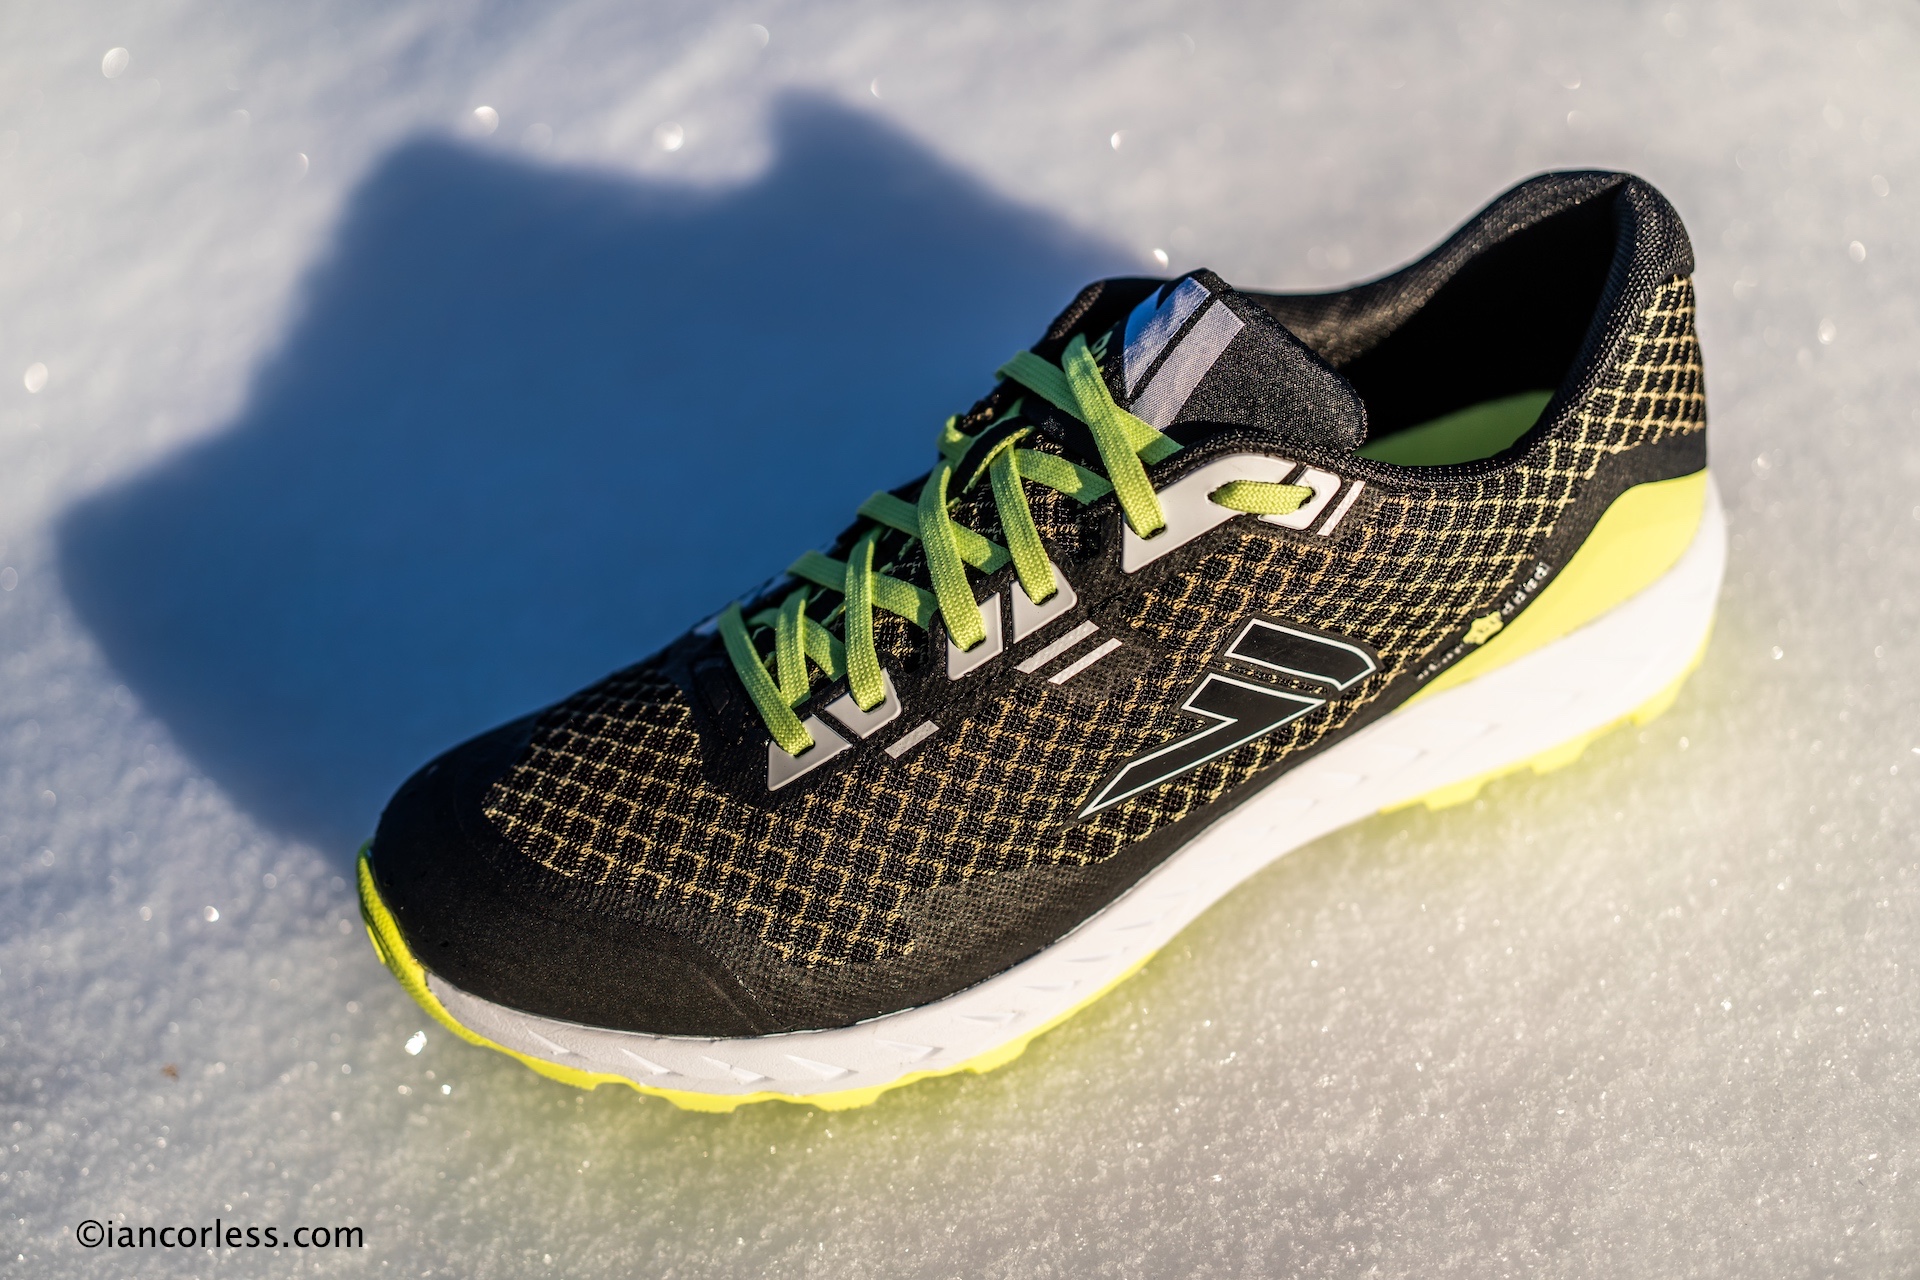
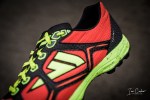
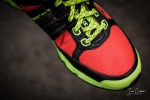
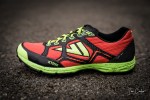
VJ SARVA ICEHERO

Light-weight, cushioned, wider fit, great foothold and superb comfort, the VJ Sarva ICHERO takes the previous Xante and Xero models to a new level.

For comparison, the Xero had 18mm/ 10mm cushioning (8mm drop) and the Xante had 20mm/ 10mm (10mm drop) with both shoes using 20 studs for secure winter grip.

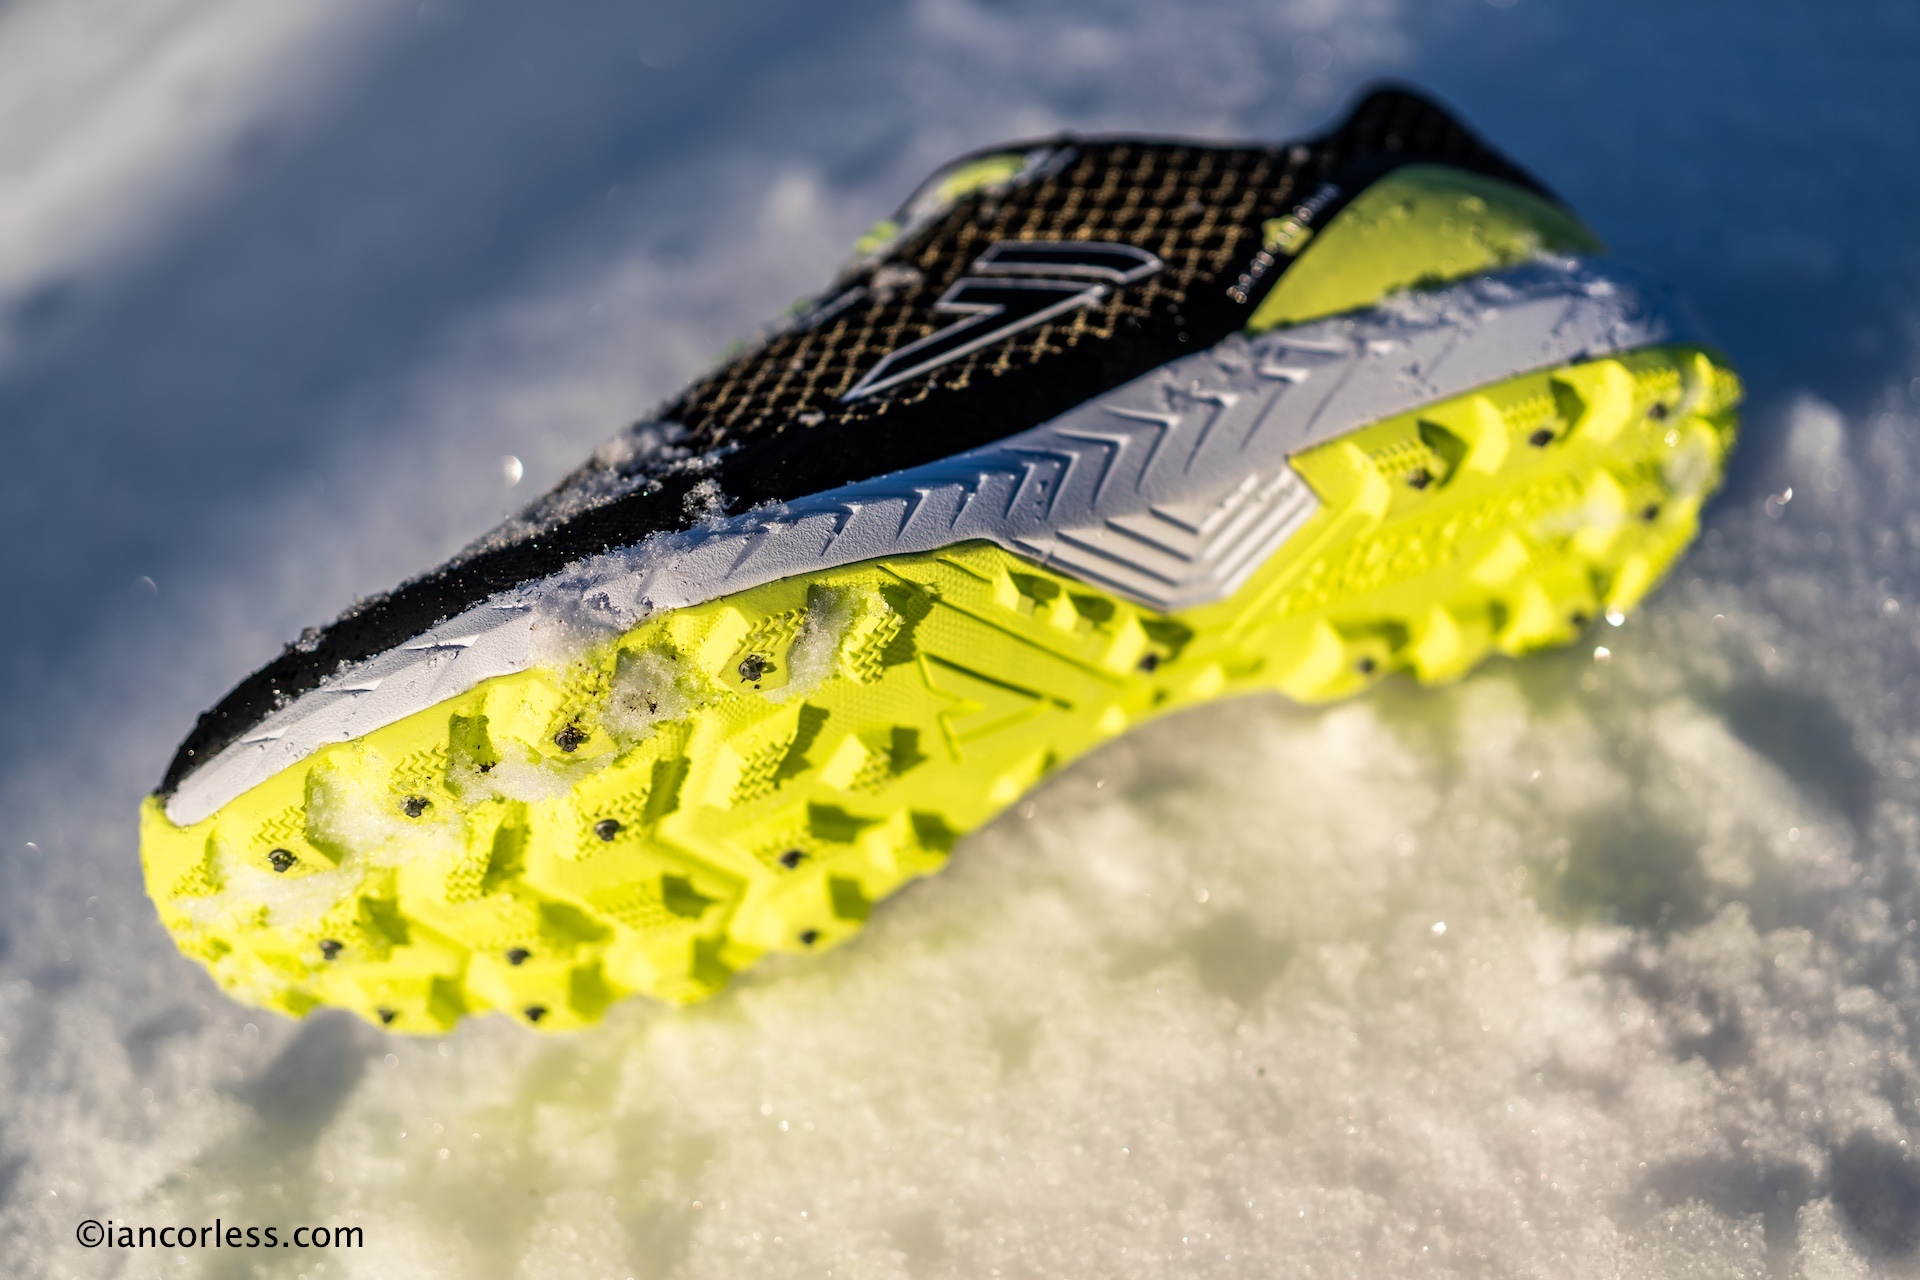
The new ICEHERO has 2 less studs (18 in total), 8mm drop with 21mm/ 13mm cushioning and more importantly, a considerably wider toe box (4 on the fit scale) which makes them ideal for winter allowing the user to utilize warmer and thicker socks to ensure warm feet.

But the changes don’t stop there. VJ have somehow made the shoe lighter, 285g for an EU 44 which feels superb.

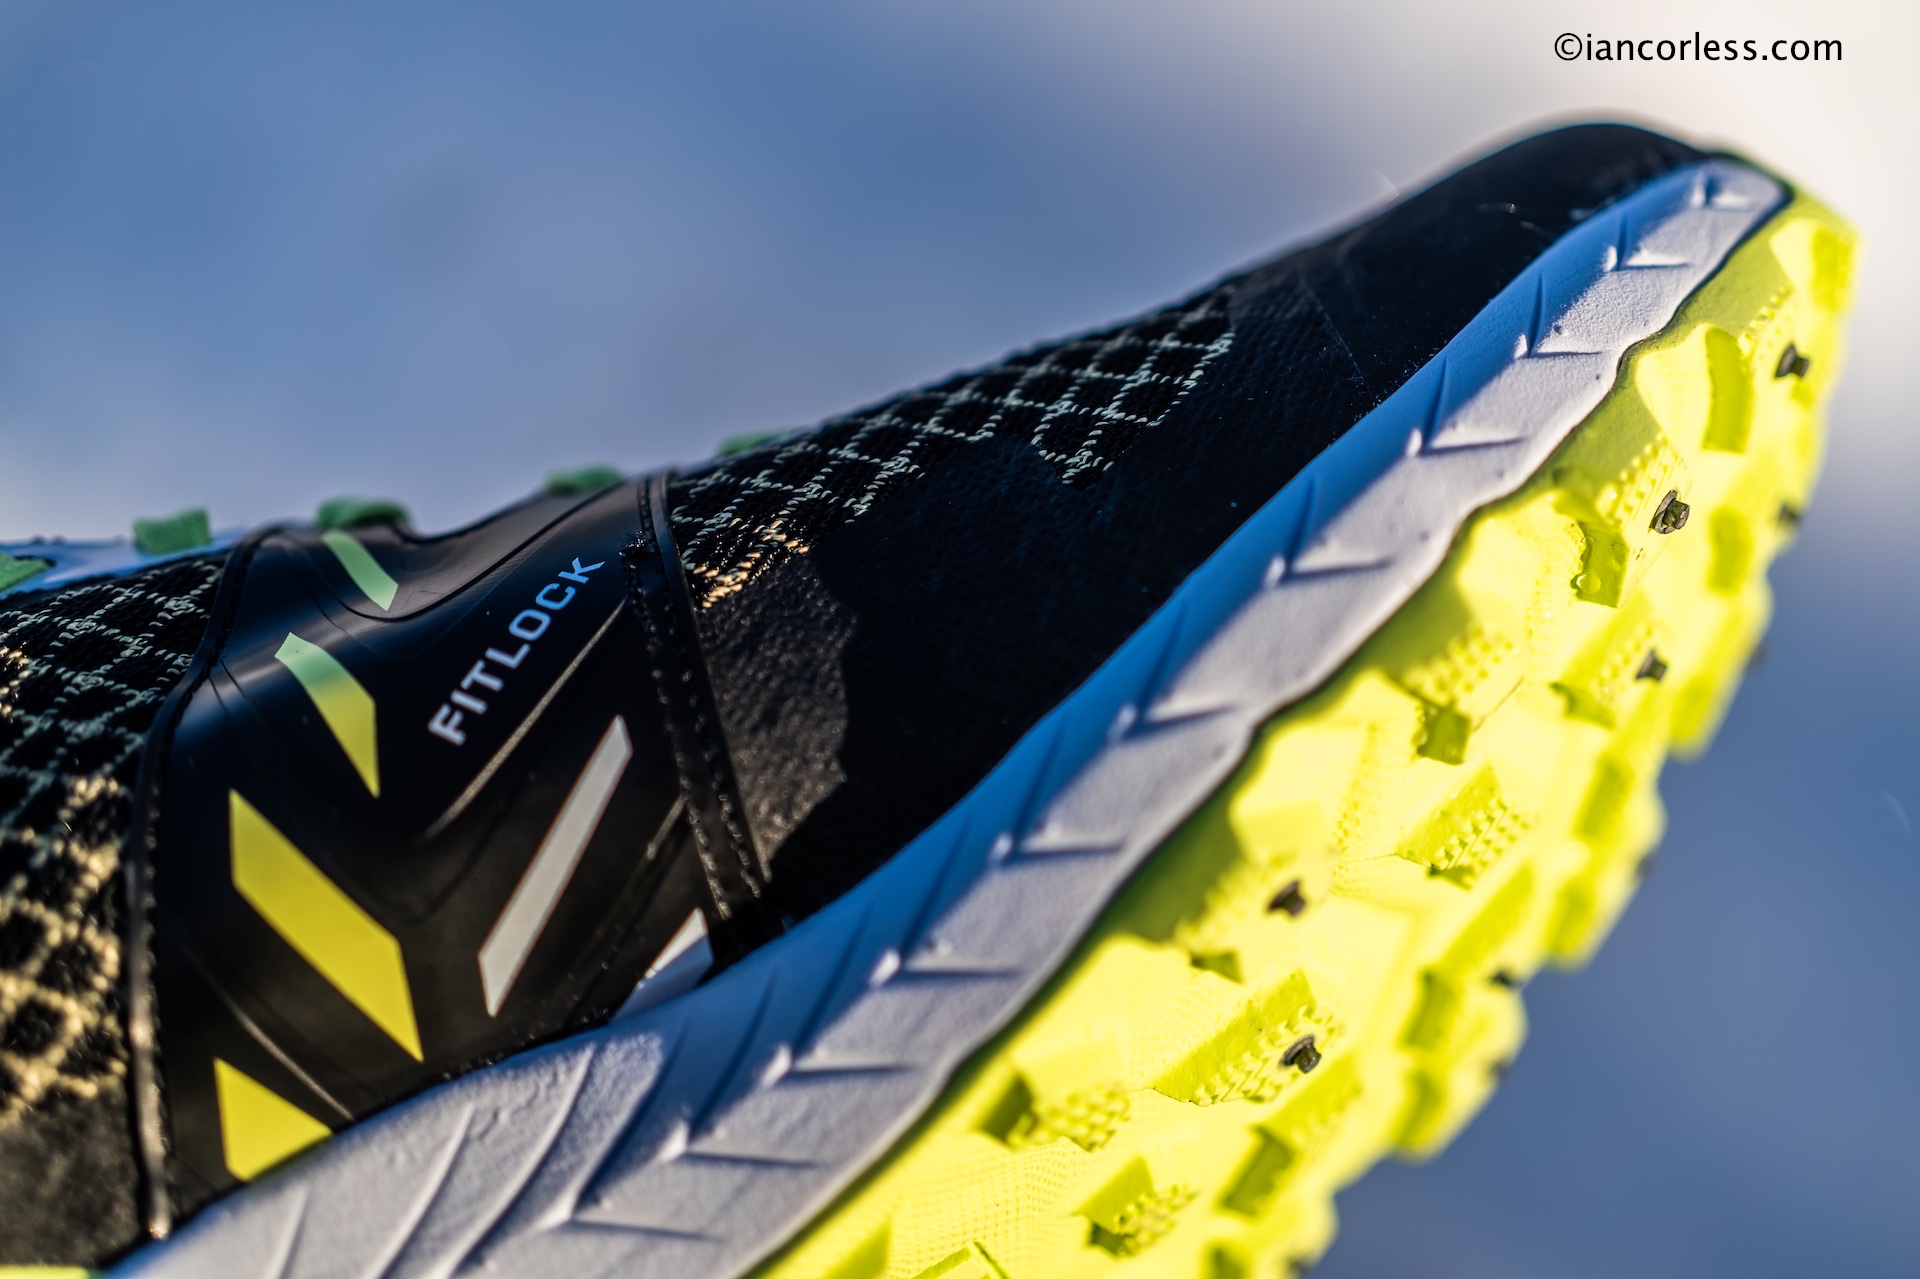
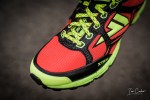
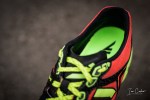
Those who have used VJ before will know how amazing the foothold is from FITLOCK, a feature on all VJ shoes. No other shoes hold the instep like Fitlock providing a tight and secure feel under the arch of the foot which at the same time offers support and stability. It makes the shoes feel like part of the foot.

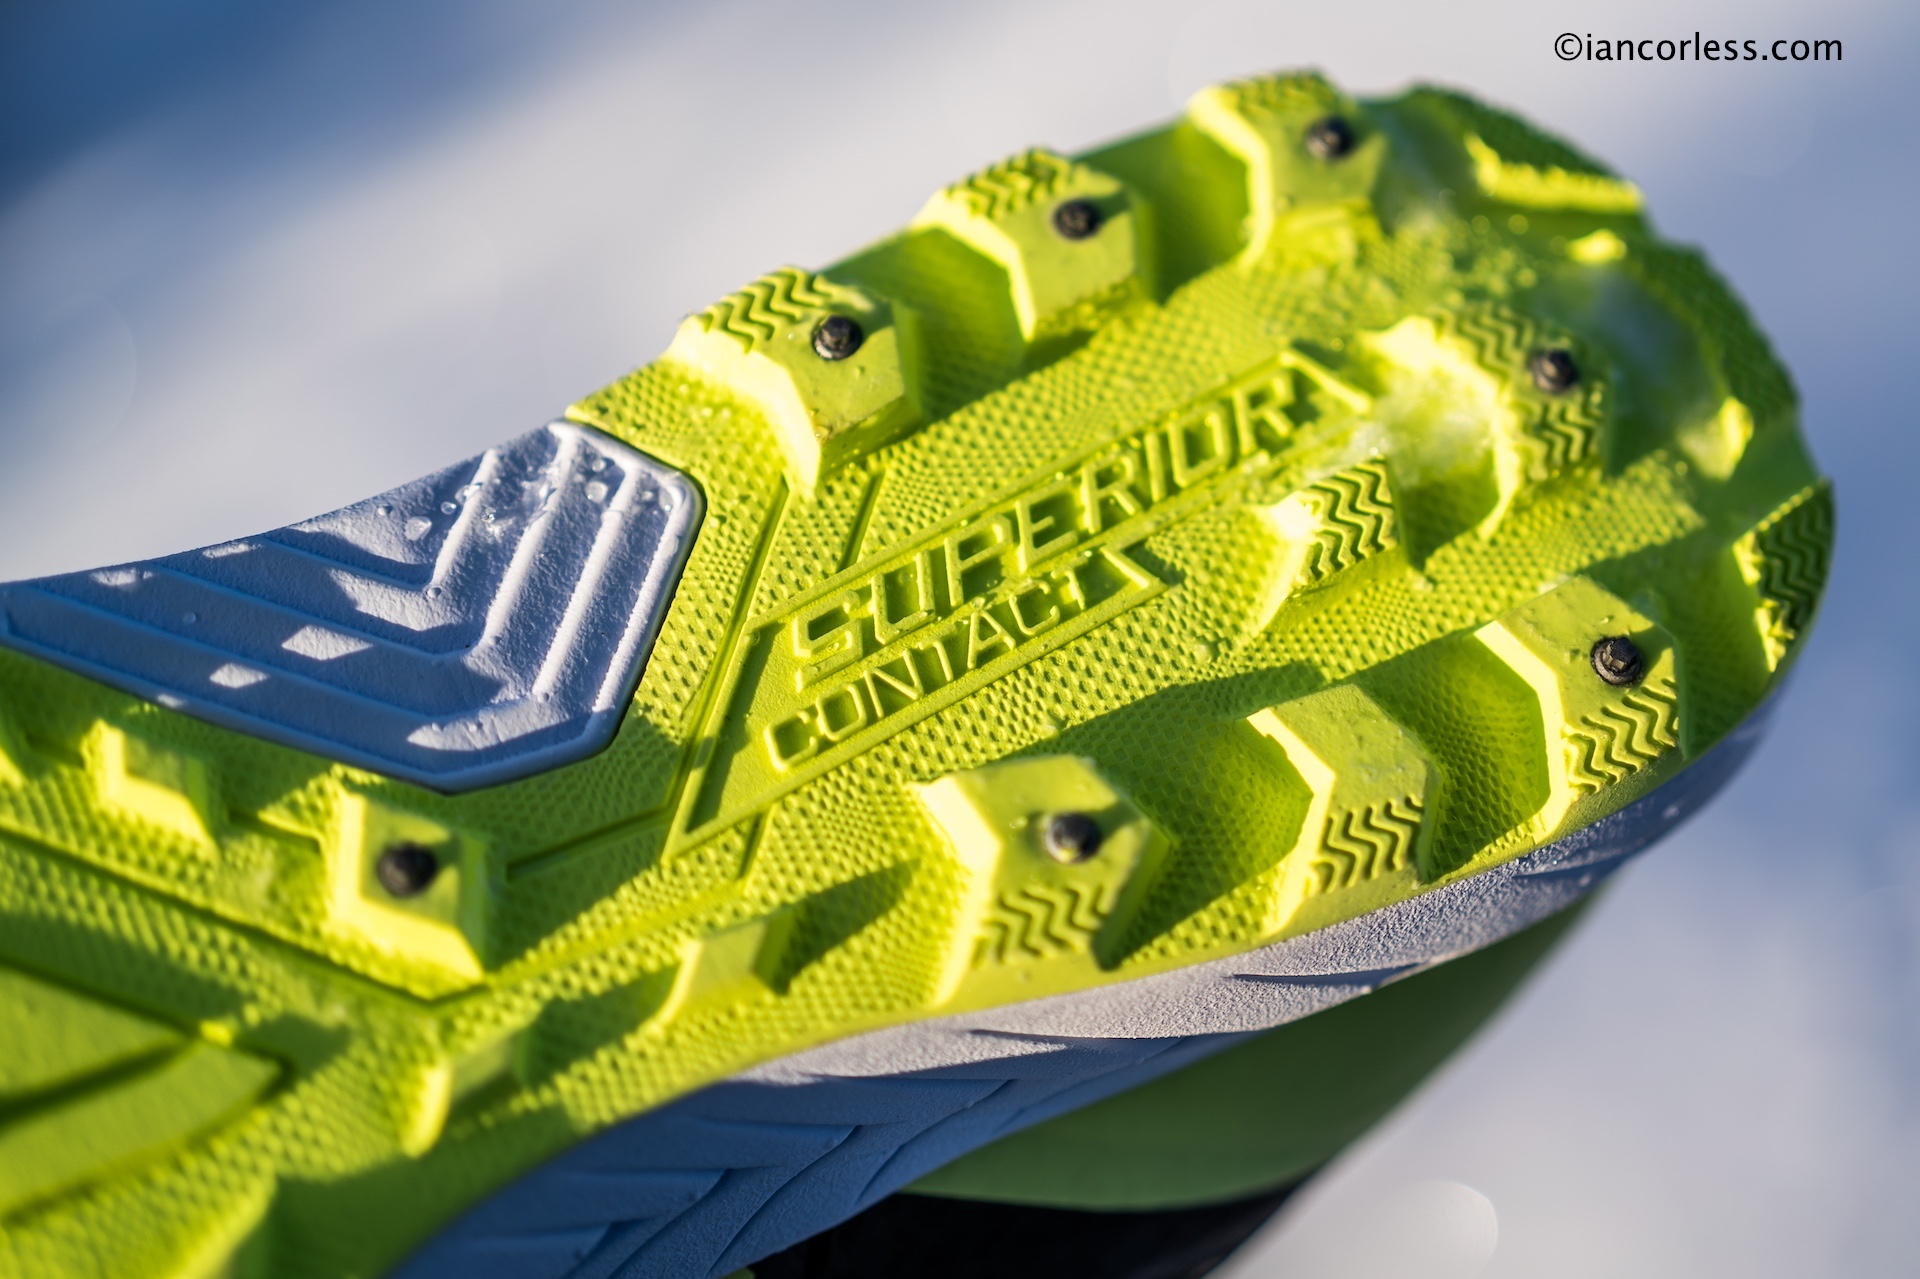
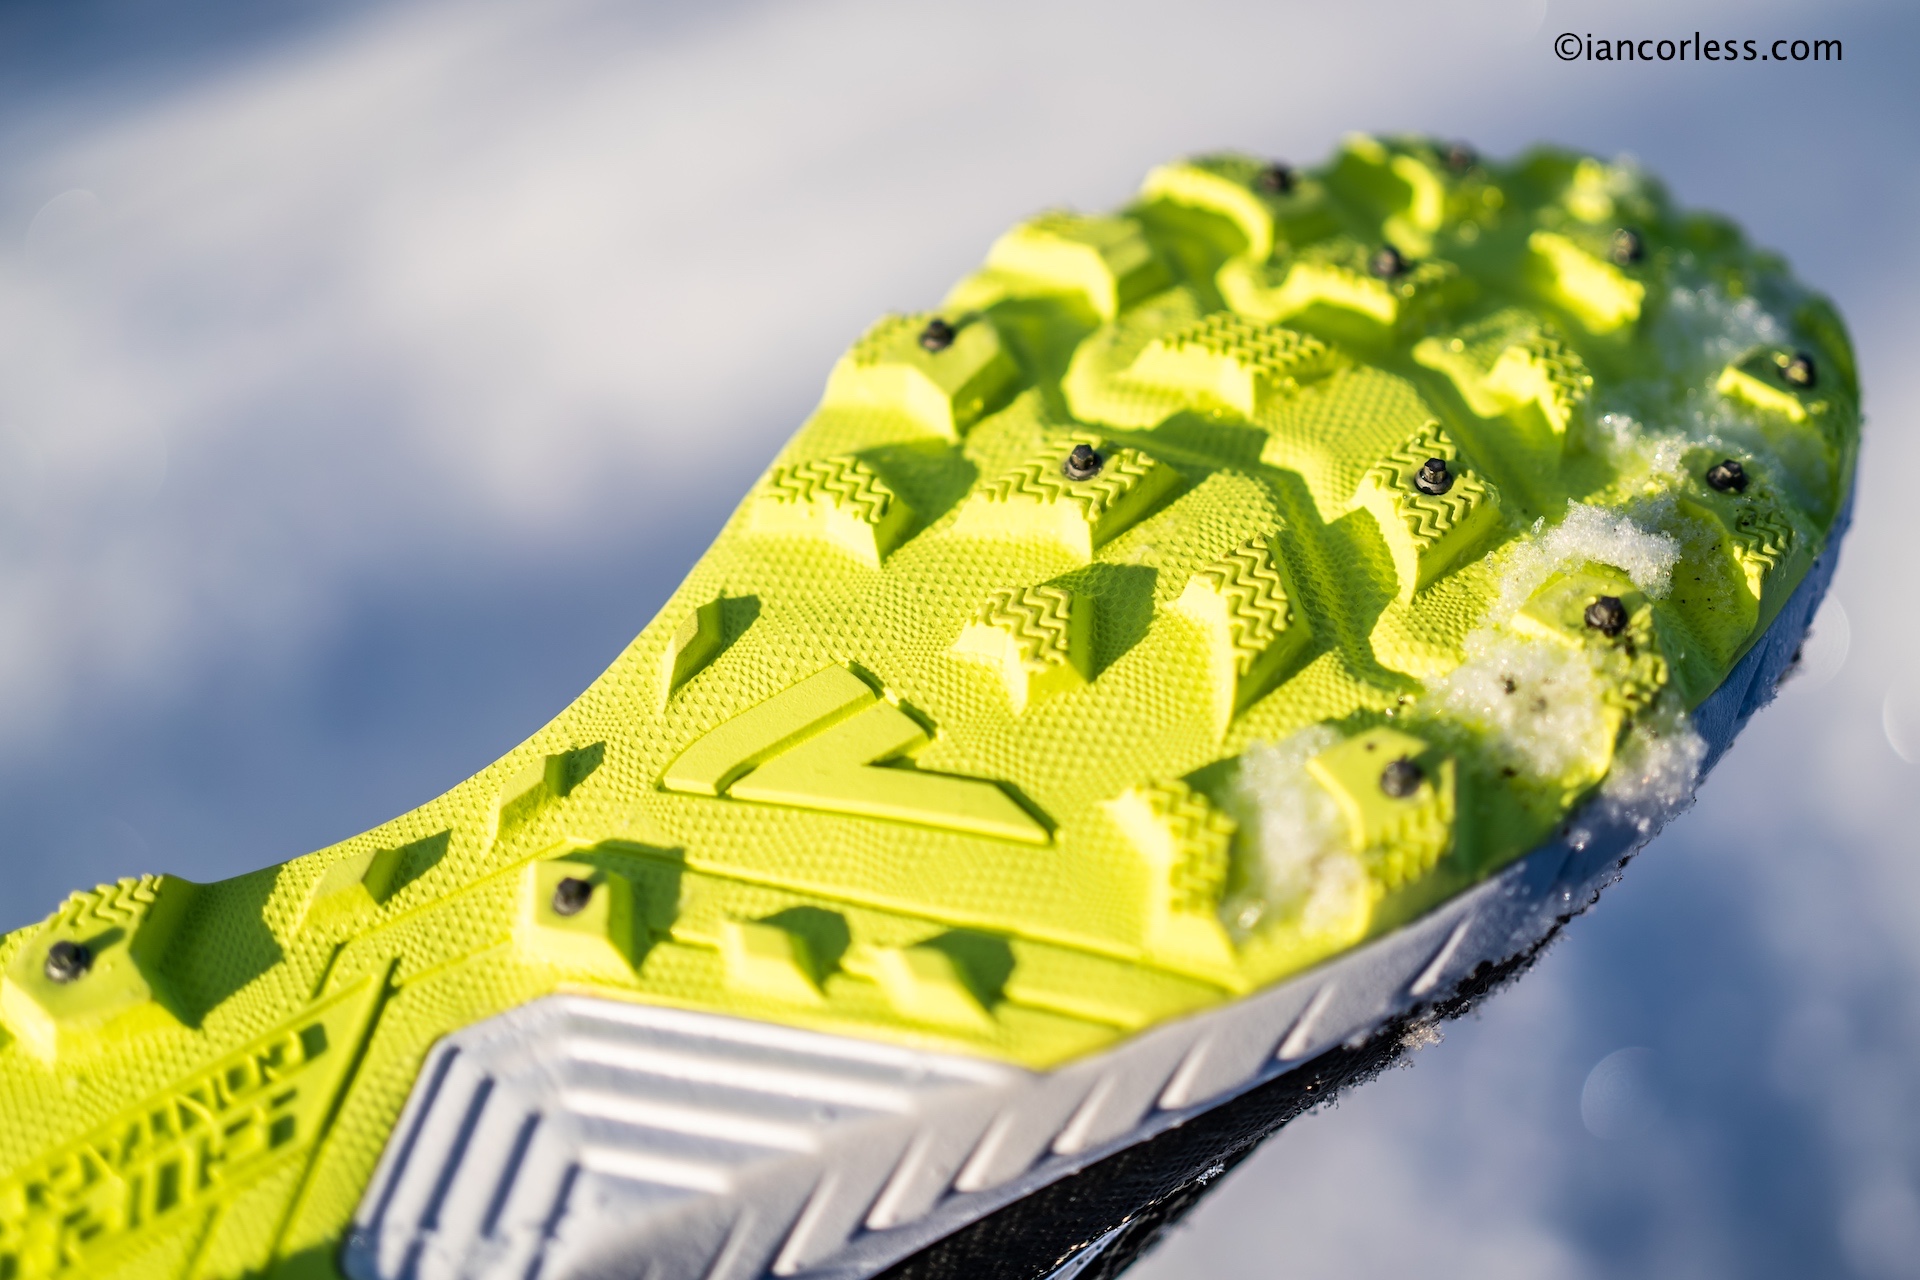
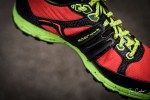
Known for amazing Butyl rubber, VJ’s SCR (Superior Contact Rubber) is the best on any terrain, be that wet or dry. Winter (particularly ice) brings new challenges and therefore, like other brands, VJ add metal studs to the outsole to ensure grip in the most challenging terrain. VJ’s studs are star shaped and comparison to other studs, they offer increased grip due to extra corners.

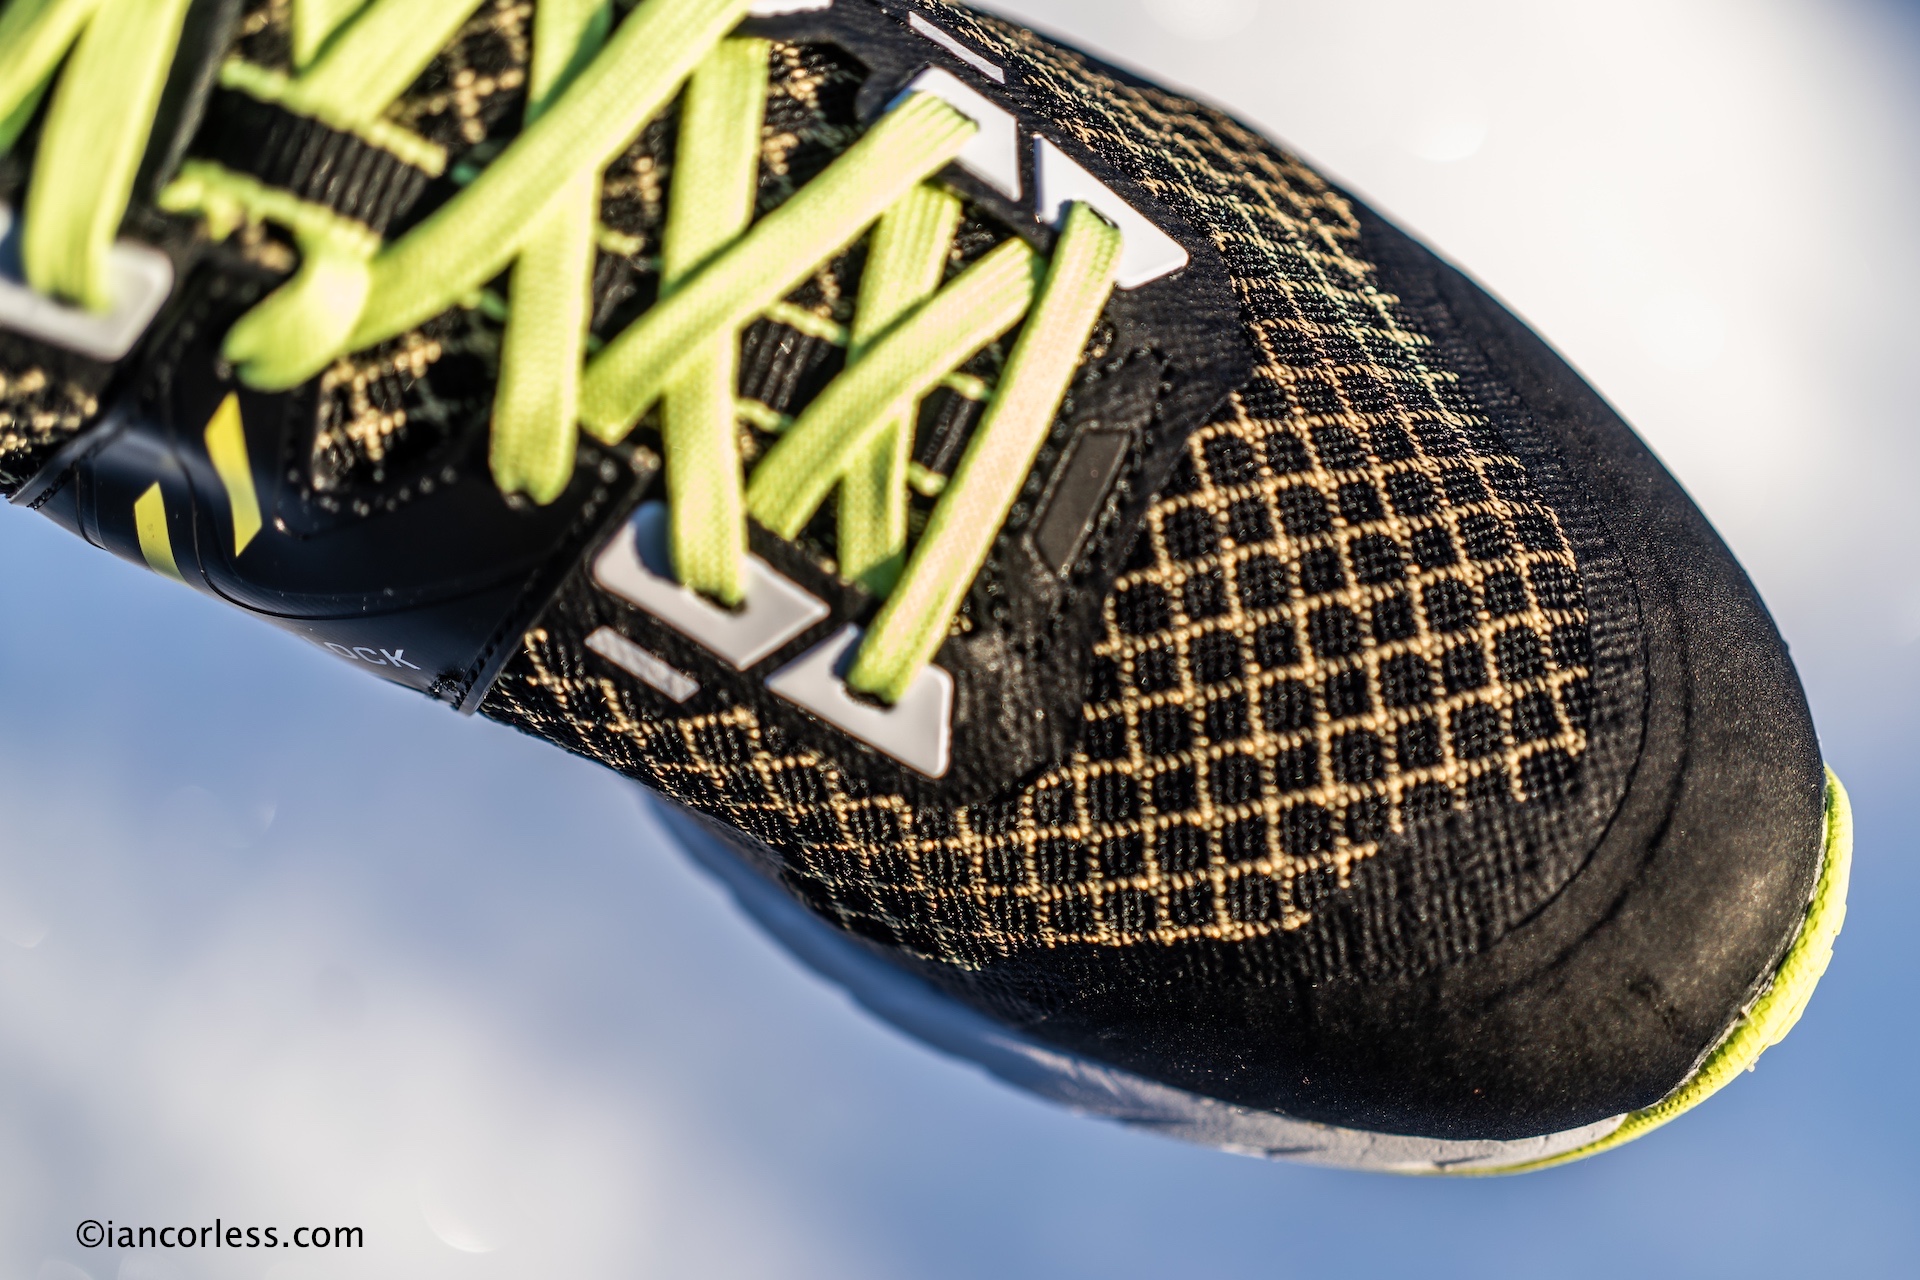
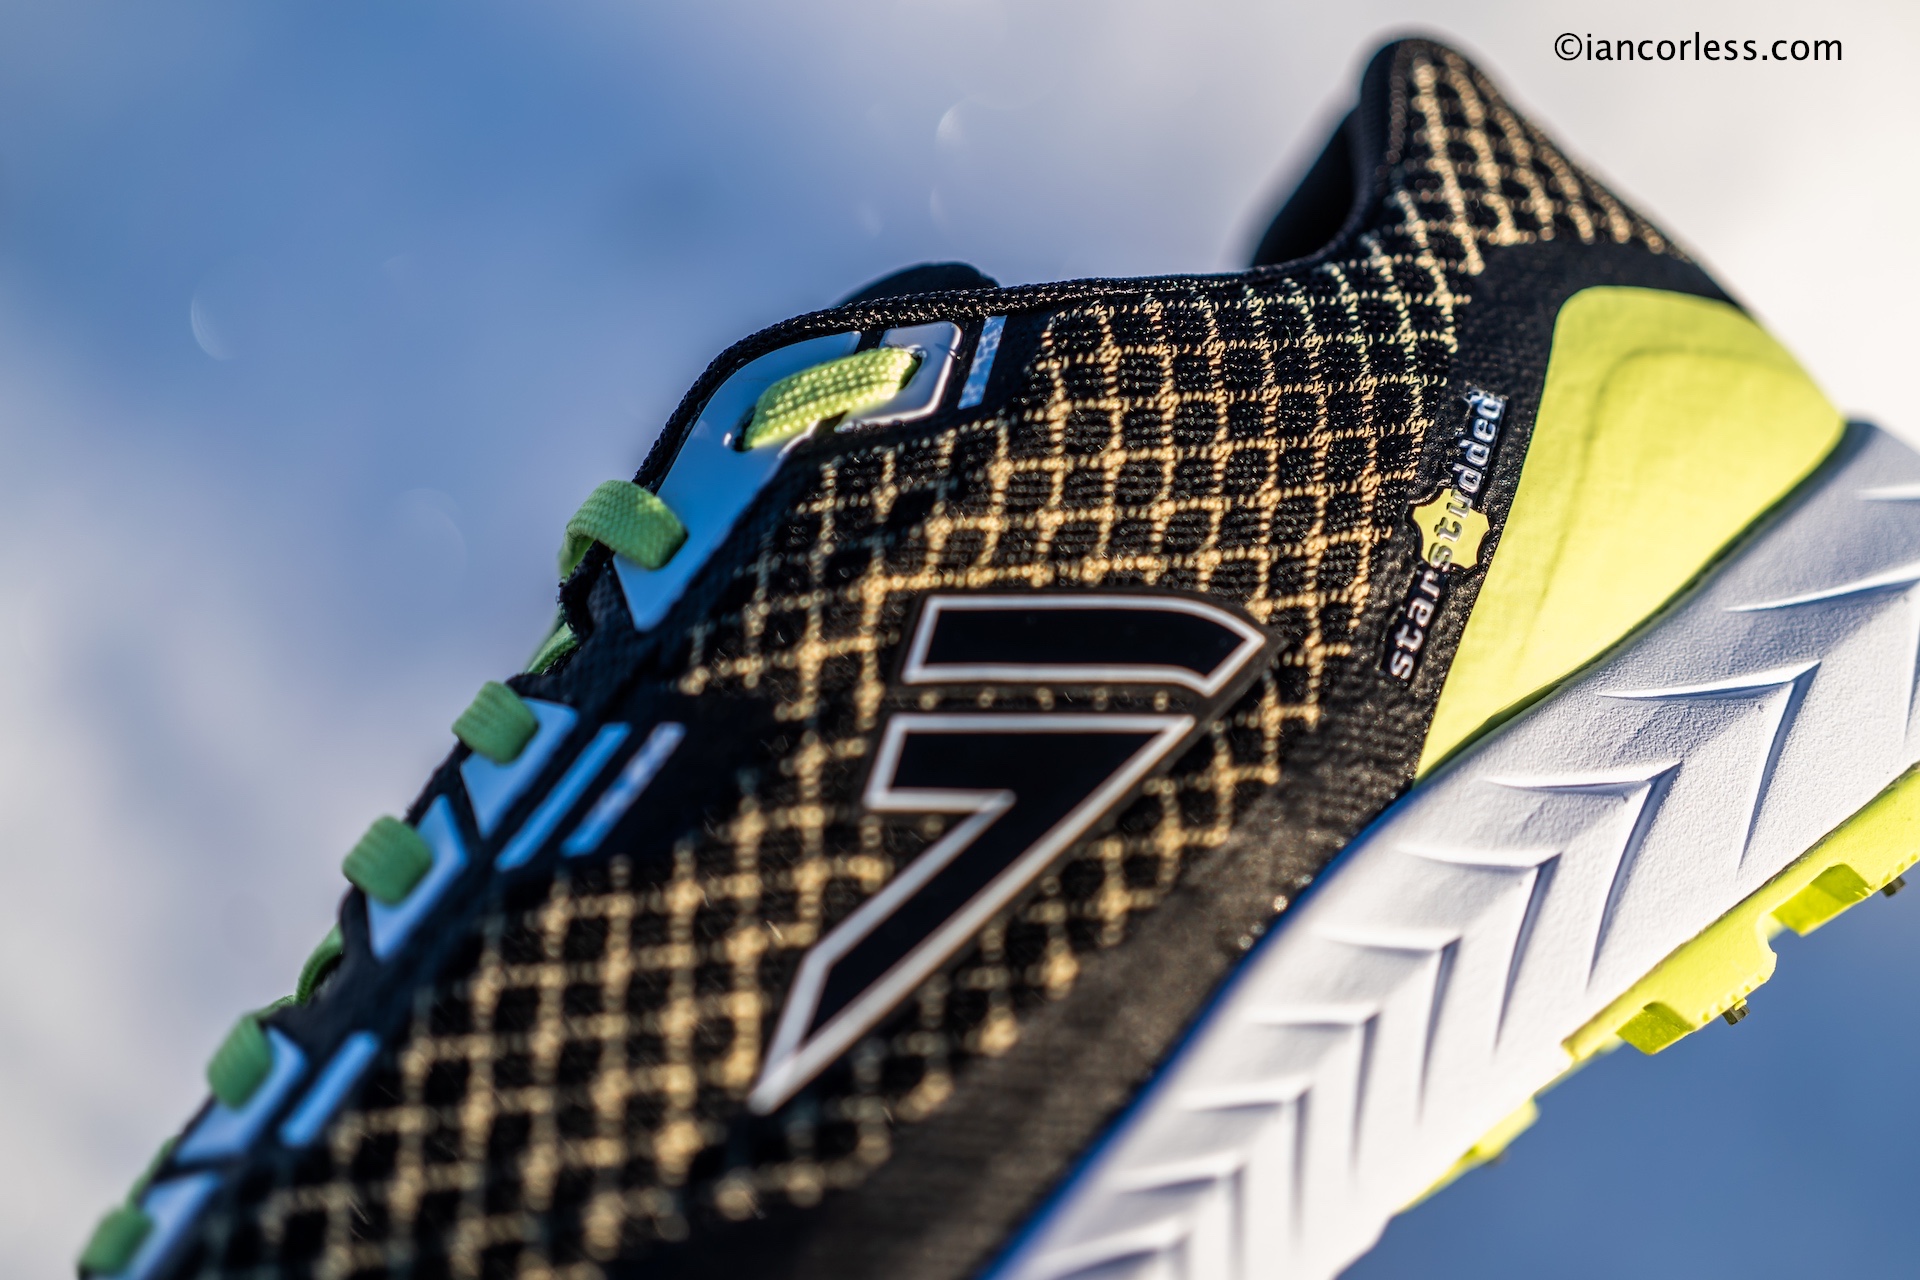
No shoes are perfect and, in the past, VJ uppers have shown some wear, particularly in the flex area behind the metatarsals (a common weak area in many shoes) which has torn. This has been addressed with a new upper made of Nylon and Aramid Fibers which VJ say will provide greater durability even in heavy use. A water repellent mesh finishes of the shoe.

IN USE

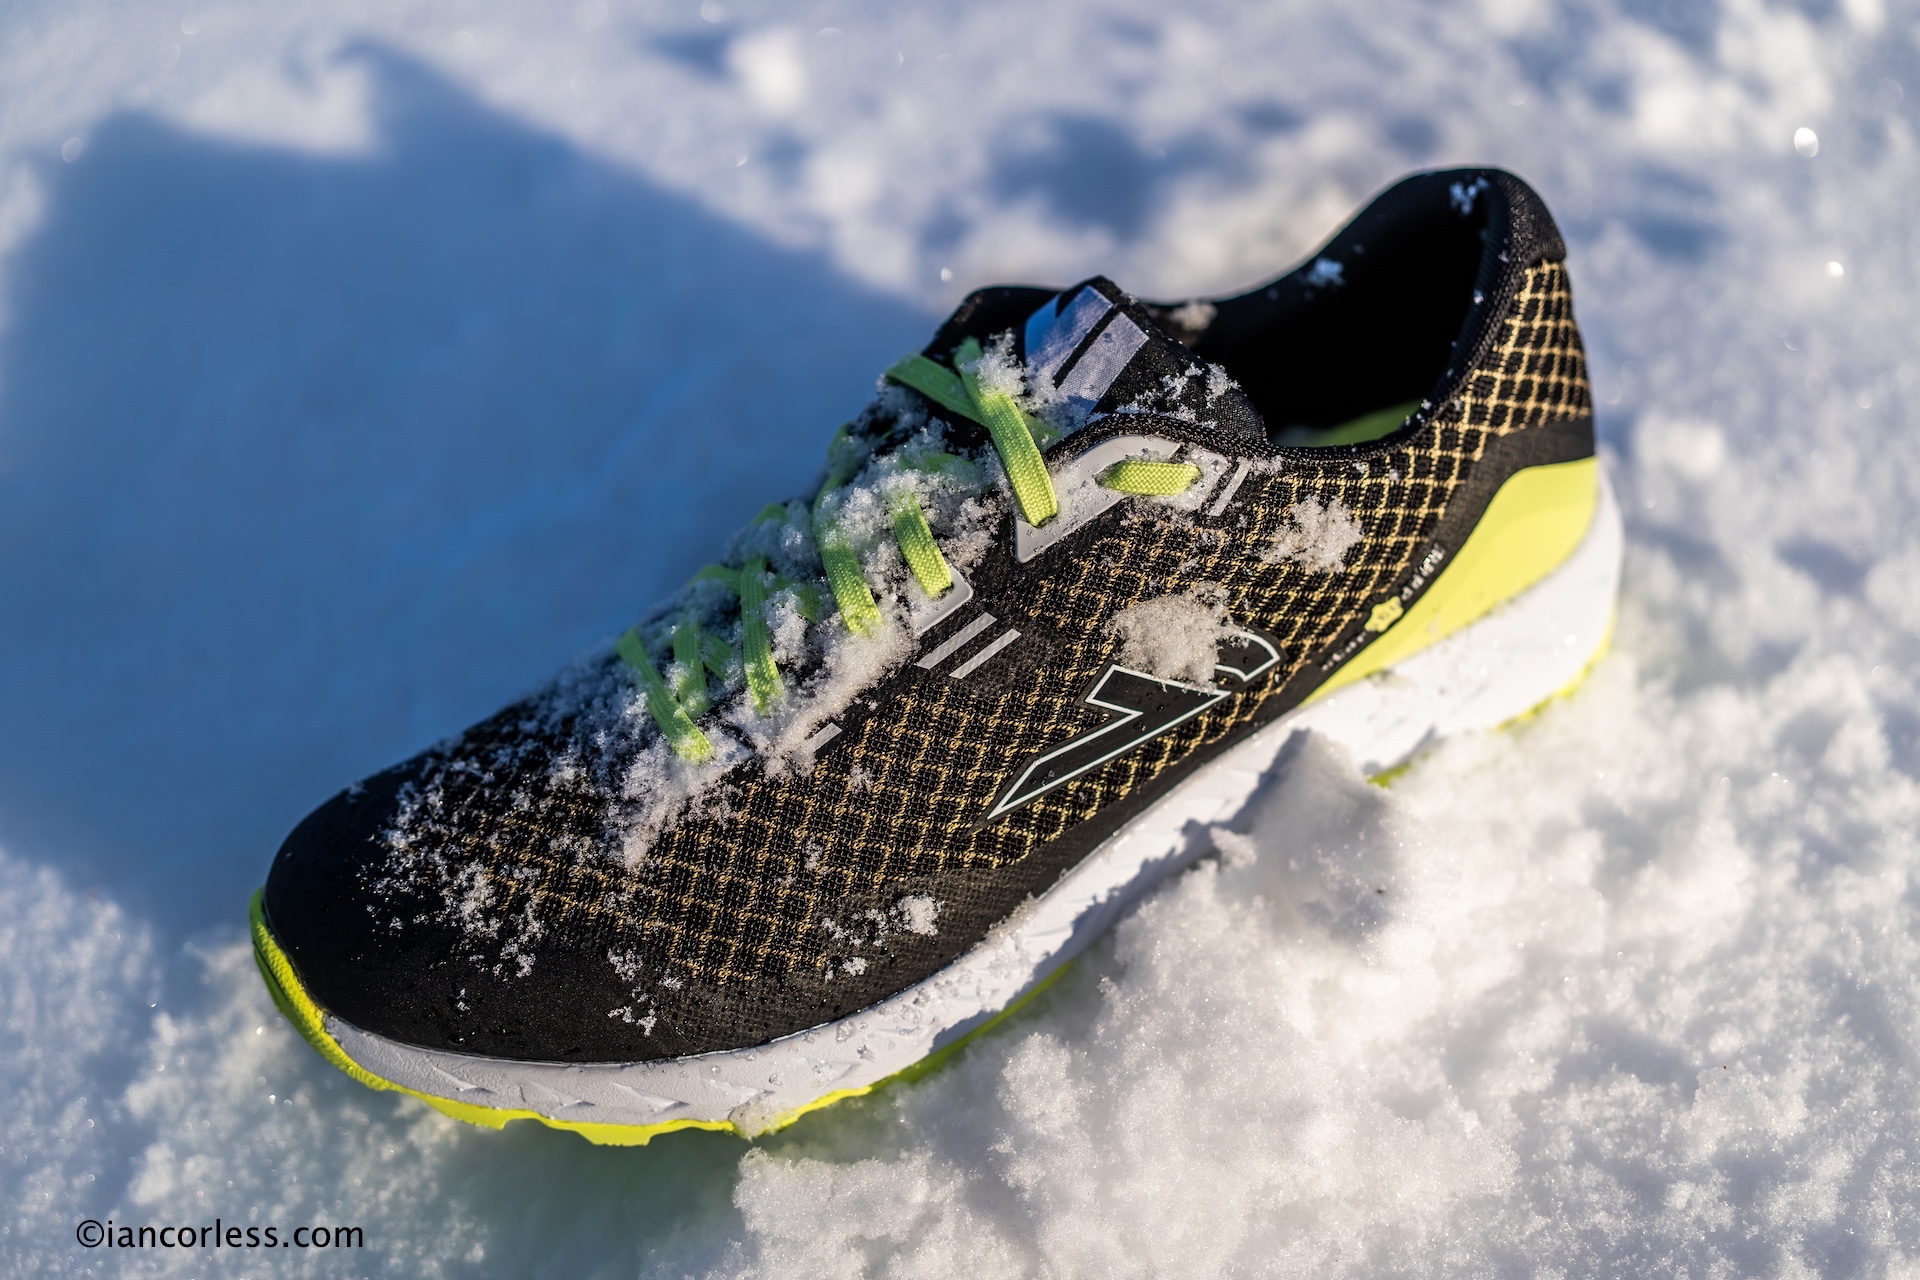
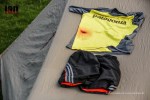
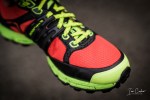
The colour way for men is classy Black/Yellow/White and the female version is an eye-catcher Pink/Purple.

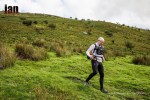
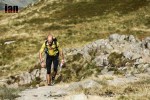
Slipping the shoes on you have the immediate VJ comfort and then very quickly you notice the wider toe box. They feel great out of the box and are true to size. In comparison to my Xero and Xante the length is the same but the 4 fit almost makes the shoe feel a half-size larger. Exactly what I was hoping for and wanted!

The cushioning is notable as is the low weight.

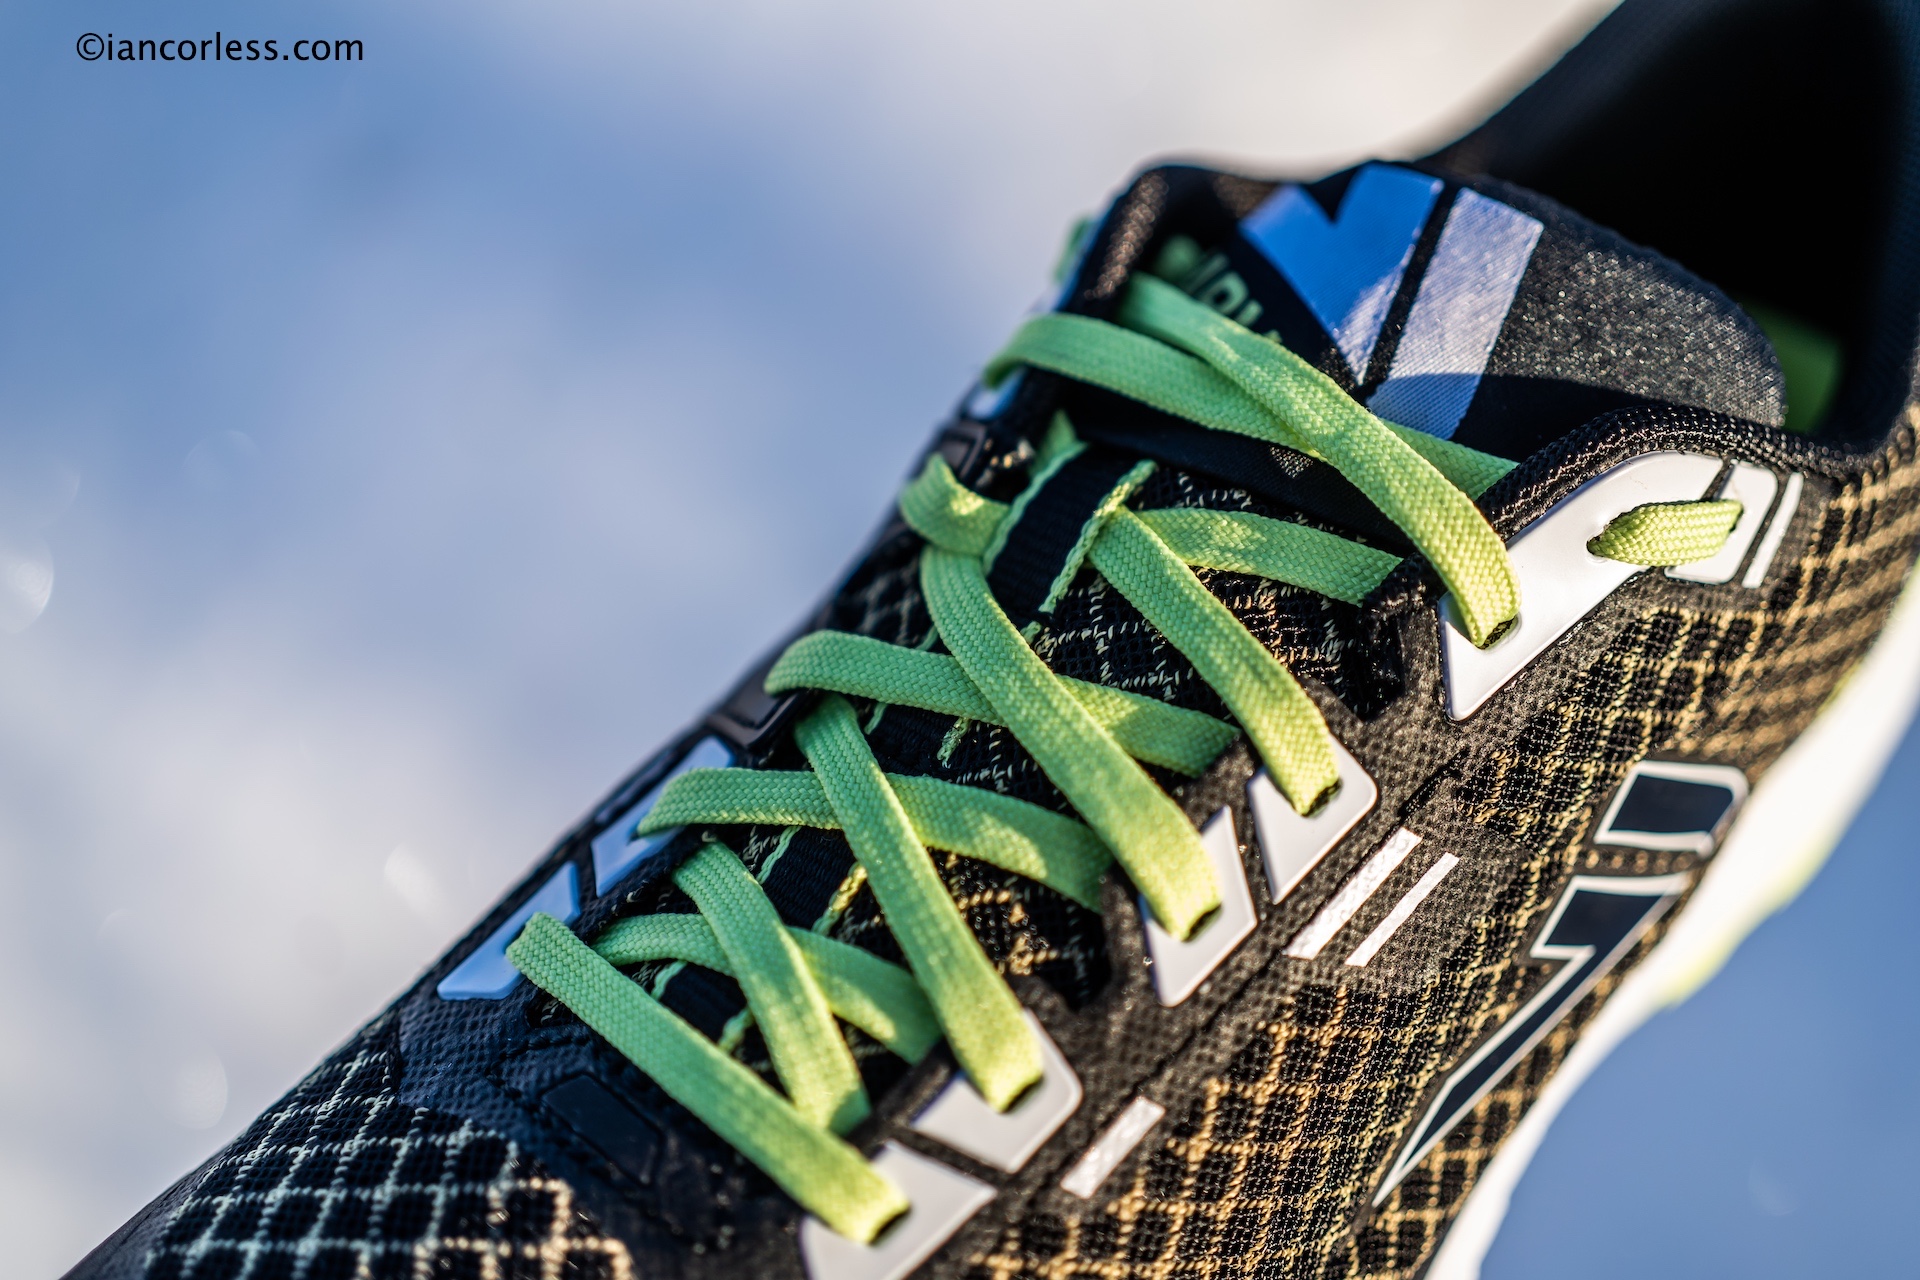
Lacing up, the Fitlock takes hold, and they quite simply just encapsulate your foot giving the most secure feeling. The option to lock-lace is welcome with the additional eyelets at the top. Lacing is personal, but I find in a winter shoe, I want the laces tight and really holding the foot. The laces gladly stop early allowing great flex at the front and not inhibiting the important propulsive phase.

There is a good toe bumper offering adequate protection.

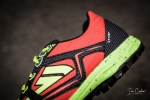
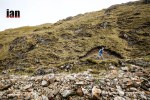
The heal box as with nearly all VJ’s is minimal put offers great hold and no slipping, especially when climbing.

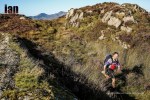
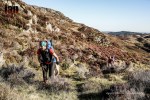
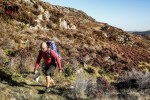
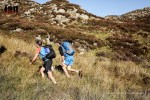
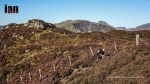
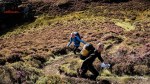
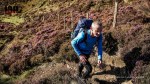
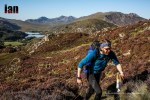
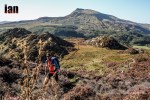
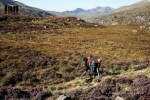
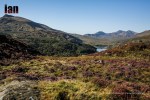
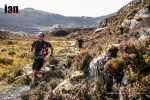
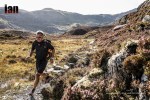
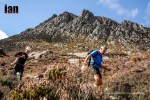
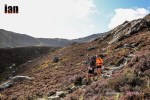
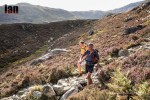
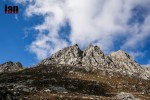
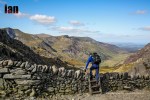
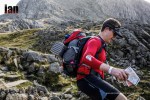
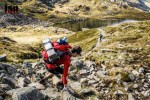
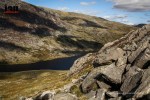
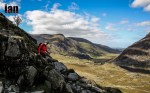
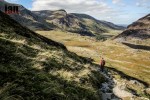
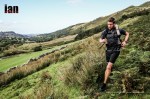
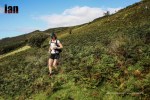
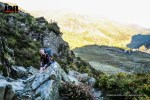
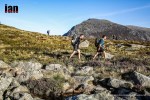
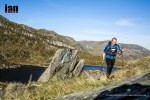
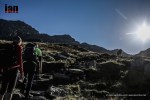
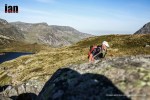
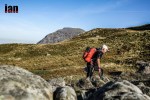
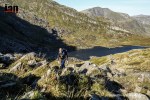
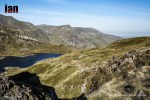
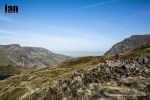
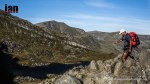
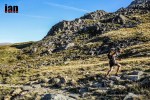
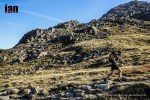
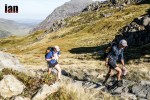
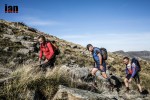
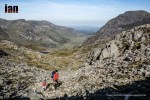
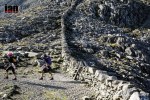
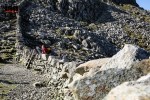
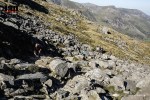
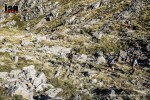
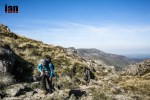
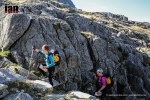
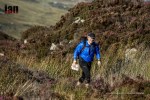
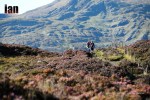
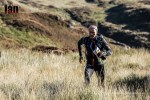
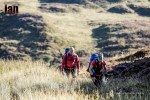
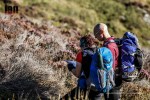
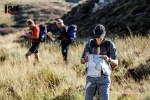
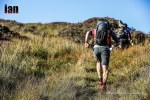
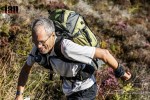
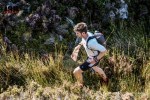
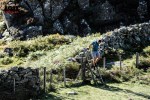
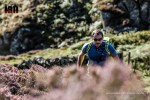
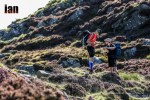
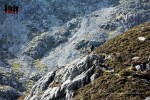
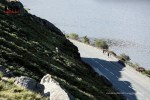
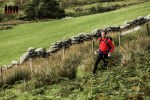
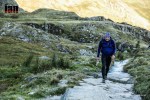
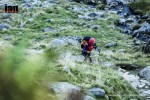
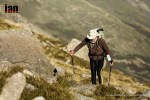
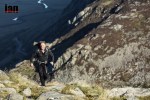
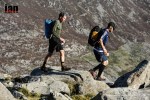
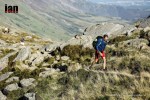
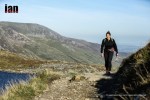
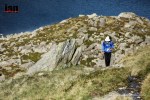
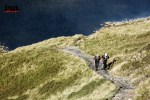
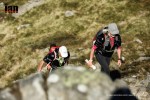
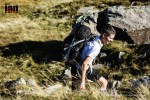
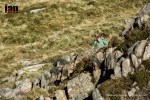
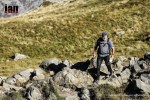
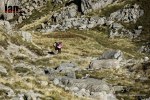
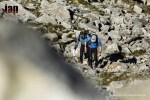
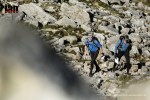
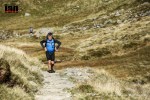
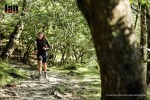
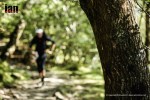
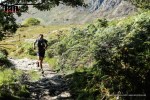
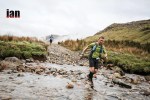
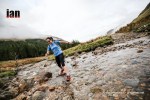
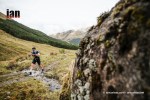
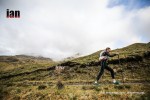
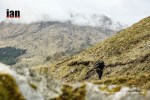
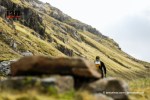
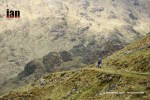
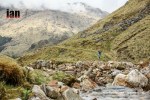
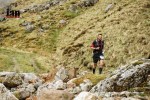
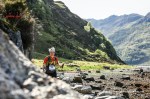
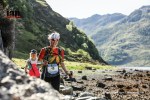
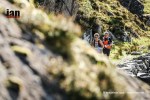
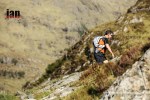
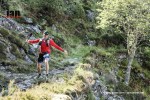
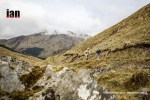
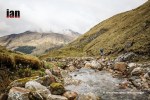
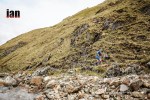
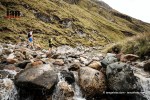
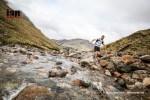
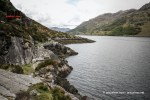
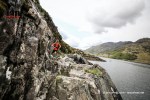
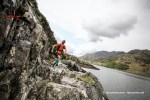
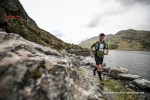
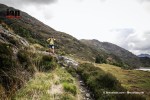
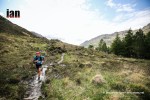
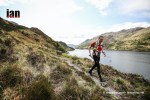
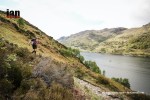
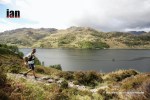
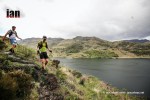
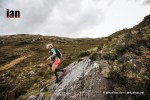
Out on the trails running in soft snow, ice and a plethora of mixed terrain, the ICEHERO does exactly what you’d expect – they grip everything! When required, the Superior Contact rubber takes over when the studs have done their required job providing the best of both worlds.

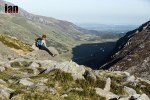
The added cushioning makes them ideal for longer outings, particularly when running on harder trails or continuous ice. The comfort level is high… Not something that is usual for winter shoes.

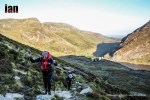
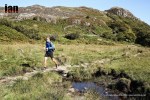
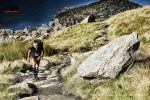
While not waterproof, the upper does keep some water out but I quickly found (as per normal) that Merino socks and/or a Sealskinz waterproof sock offers the best combination especially when running in deep snow. Nothing worse than cold feet.

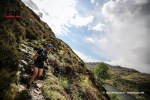
You need to trust studded shoes and once you do, you will just love running in winter conditions. Don’t be shy, make sure you plant your foot firmly and let the studs with the addition of applied body weight allow the shoe to grip.

SUMMARY

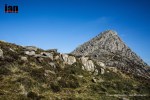
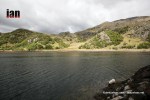
Winter shoes for many are a luxury, it all depends on how much snow or ice you get. If you do get regular ice, a specific bespoke shoe for winter running is so much better than any ‘add-on’ micro spikes.

The ICEHERO has taken what was a great shoe, the Xero, and added more cushioning, a wider toe box and made a lighter shoe. It’s a winner!

Few brands offer specific winter shoes and the VJ SARVA ICEHERO are leading the way for grip and comfort and without doubt, they have become one of two pairs of my ‘go-to’ winter shoes. Highly recommended.

What are the others?

The ASICS Gel Fujisetsu 3 G-TX is a heavier shoe, has less studs, has 10mm drop and more cushioning, 28mm/ 18mm and it’s a great winter shoe. It’s worth a look.

Please support this website. I believe everyone deserves to read quality, independent and factual articles – that’s why this website is open to all. Free press has never been so vital. I hope I can keep providing independent articles with your help. Any contribution, however big or small, is so valuable to help finance regular content. Please support me on Patreon HERE.

Follow on:

Instagram – @iancorlessphotography

Twitter – @talkultra

facebook.com/iancorlessphotography

Web – www.iancorless.com

Web – www.iancorlessphotography.com

Image sales –www.iancorless.photoshelter.com

VJ XTRM Shoe Review – VJ Sport

Last year I finally got my hands on a pair of VJ Sport IRock 2 (HERE). I was blown away by pretty much everything about the shoes. The upper, the way they held one’s foot, the durability of the materials used, and the outsole was just incredible – the most amazing grip. The only reservation that I had, was how long I could run in these shoes… They are pretty minimal and although cushioned, the cushioning for me would probably only take me to 3-4 hours of running.

OCR World Champion and Skyrunner World Series Champion, Jonathan Albon, agreed. In some of the longer races, Trofeo Kima for example where the terrain is hard, rocky, muddy, has snow, maybe the odd glacier thrown in and when the male winning time is over 6-hours, although the IRock 2 was perfect on grip, the cushioning made a really long run like this tiring for the feet.

With Jon’s feedback, VJ Sport went back to the drawing board, took all the best elements of the IRock 2 and created a new shoe:

VJ XTRM.

The king is dead, long live the king!

Let me just say in simple terms everything that was brilliant in the IRock 2 has been transferred to the new VJ XTRM and what VJ Sport have done, in my opinion, they have created the most perfect mountain running shoe for when the trails are demanding, rocky and throwing all sorts of variables at the runner.

So, what is new in the VJ XTRM.

  • Two new cushioning units have been added to the front and rear.
  • A full-length RockPlate.
  • A medium last.
  • A little extra room in the toe box.
  • New Fitlock.

As I mentioned, much of the IRock 2 crosses over. For example, the outsole is the amazing Butyl Rubber which for me offers the best grip I have encountered on any mountain shoe. The outsole studs are 6mm which offers a good compromise between grip on muddy/ wet trails and excellent grip on smooth and easy single-track.

At 250g for a standard UK8, the shoe is light and 4mm drop sits in a comfortable middle ground for the zero drop fanatics and those who like a more comfortable and relaxed 8mm drop.

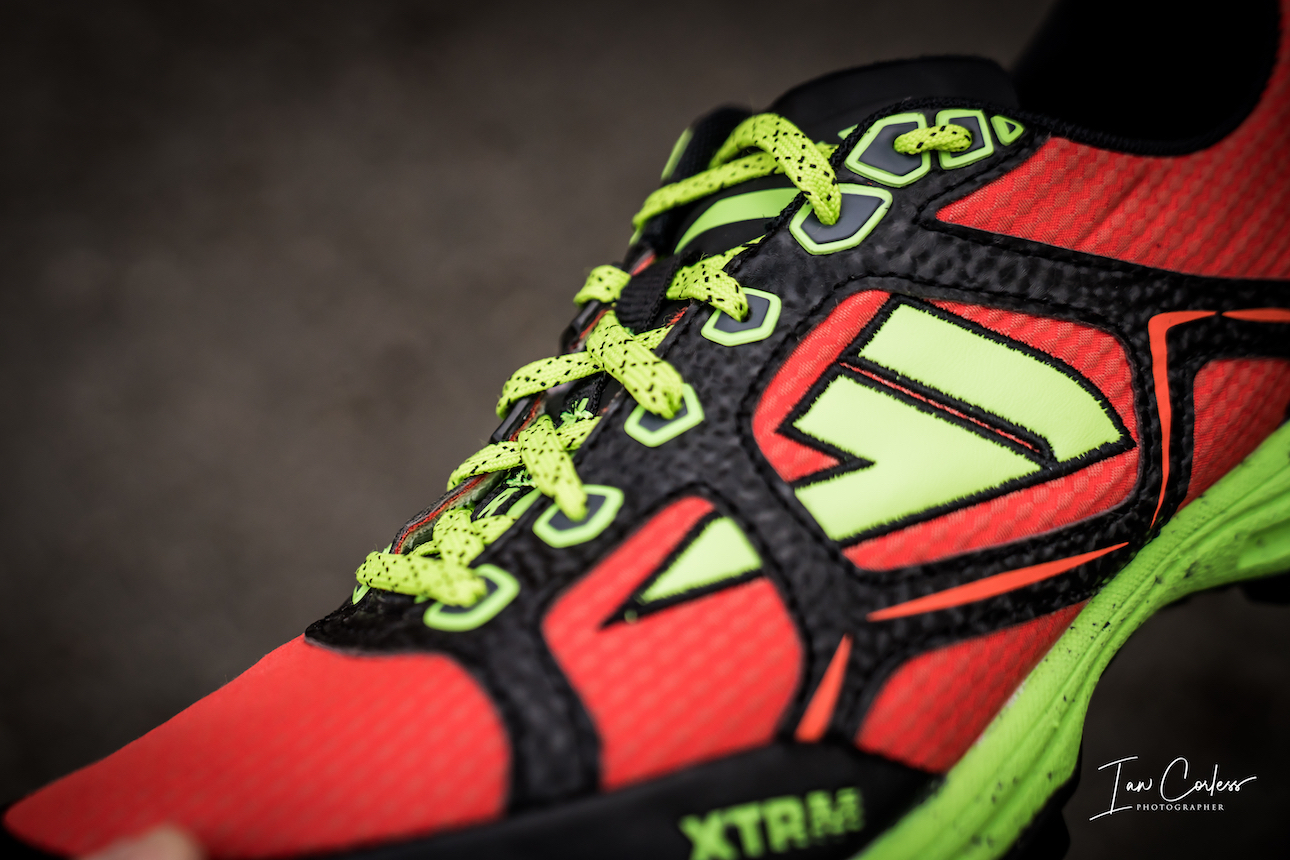
Kevlar and Polyester make the upper and the IRock 2 has been the most durable shoe I have ever used, so, I don’t anticipate the VJ XTRM to be any different. There is also Fiberclass stability control.

THE SHOE

Slipping one’s foot into the VJ XTRM one immediately feels the snug and precision fit. However, the slightly wider toe box is noticeable. Don’t get me wrong here, this is not a wide and spacious toe box, so, if that is what you personally need, this may well be not the shoe for you. Please remember though that this is a specific mountain/ skyrunning shoe that will be used on technical mountainous terrain, so, a shoe for this type of running should be precision.

Pulling the laces tight, the FITLOCK takes hold and provides the most secure and comfortable hold of my foot. It is the best I have tried, no question. The laces are excellent, they pull tight and stay tight.

The upper is a mix of materials and is extremely durable. Although it is too early to comment on longevity of the VJ XTRM upper, the materials and comparisons with the IRock 2 are very close. My IRock 2 have been through everything and are still going strong. The heel box has minimal padding but holds the foot secure and is extremely comfortable. The toe box is well protected and ideal for mountain terrain.

The colours of the upper are a little bright. They wouldn’t be my choice, I certainly loved the red & black combo of the IRock 2, but colours are just colours and after a good muddy run, the colours soon become muted.

Like the IRock 2, the VJ XTRM looks heavy, pick them up and you realise they are not, they are super-light!

The bottom of the shoe is what helps VJ Sport stand out amongst the competition and why they have such a following. The Butyl Rubber they use is the best outsole I have ever tested and on rock terrain, dry or wet, they are the most reassuring footwear ever! The 6mm studs are the same as on the IRock 2 and this is significant, the IRock 2 provided the best grip ever, so, to see this transferred over to the XTRM is superb.

IN USE

The IRock 2 last-year was the best mountain shoe I have ever used. This has now been replaced by the VJ XTRM and for me, moving forward, I would always purchase the VJ XTRM and not the IRock 2. For me, VJ Sport may well have killed the IRock 2 because the VJ XTRM is so good.

 sport

WHY?

To all intents and purposes, the IRock 2 and VJ XTRM are very similar shoes. One difference is 6mm drop for the IRock 2 and 4mm drop for the VJ XTRM, this may be a decision maker for some? However, the new additions to the VJ XTRM just make it a much more versatile shoe without compromising what made the IRock 2 great, no, superb!

  1. The added cushioning doesn’t compromise feel for the ground, control, stability for faster shorter mountain running but what it does allow is more cushioning and comfort for longer runs.
  2. The RockPlate is a no brainier, it is added protection and added comfort for little to no additional weight.
  3. The new Fitlock holds the foot as well, if not better than the Fitlock on the IRock 2.
  4. The toe box has been widened to allow for a little more room and toe splay when running longer but not at the compromise of precision and feel.
  5. The upper is as the IRock 2 with Kevlar and outstanding durability.
  6. The outsole is the same, 6mm studs in the amazing Butyl Rubber.

The additions make the VJ XTRM the perfect all-round mountain shoe be that for short or long outings. Whereas, the IRock 2 was a shoe that I personally would not want to be out in for much longer than 4-hours.

SUMMARY

This is the best mountain running shoe I have ever used. For skyrunning, it is THE perfect shoe and for me, all other shoes that I test for that intended use will be compared to the VJ XTRM. Jonathan Albon’s influence can be felt in this shoe and I am sure his feedback with VJ Sport has been paramount in retaining all that was brilliant in the IRock 2 and then tweaking it to add what Jonathan and many other runners wanted; more cushioning, a RockPlate and a slightly wider toe box.

I personally am unable to find any negatives.

Obviously, the Butyl Rubber outsole works so well because it is soft and grippy, so, if you start running on roads and pavements, be aware, the outsole won’t last.

But the VJ XTRM is a formula 1 shoe and not a Ford Escort or similar. Maybe the VJ XTRM should make an appearance for those special runs or races?

However, if you are like me, I think the shoes are so awesome that if I am going to run anything technical, wet or dry, I want these shoes on my feet.

VJ SPORT website

Follow on:

Instagram – @iancorlessphotography

Twitter – @talkultra

facebook.com/iancorlessphotography

Web – www.iancorless.com

Web – www.iancorlessphotography.com

Image sales –www.iancorless.photoshelter.com

The Cape Wrath Ultra™ 2016 – Day 2

©iancorless.com_CapeWrath2016-8524

Day of the 2016 Cape Wrath Ultra lived up to expectations – beautiful and brutal!

On a course that is remote and isolated, the 95 participants battled the terrain in what was, for most of the day, dry weather, with amazing sunshine outbursts that improved throughout the day culminating in blanket sunshine.

The day 2 camp, located at Kinloch Hourn (the longest cul-de-sac in the UK) made for an amazing location nestled amongst the mountains at the end of Loch Beag.

At the time of writing, it’s 15-hours since the first runner departed camp 1 and 3 runners are still on course with approximately 3km to go, so they will hopefully make the 11pm cut-of time.

Only one runner has withdrawn from the race so far, impressive considering the tough conditions of day 2.

Marcus Scotney lead the day again finishing the 57km (1800m+) in 6:22:49. Thomas Adams and Pavel Paloncy repeated their day 2 performances finishing 2nd and 3rd, however, both lost time to Scotney finishing in 6:38:50 and 7:27:00.

In the ladies race, Ita Emanuela Marzotto once again had a good day finishing in 9:34:48. Laura Watson finished 2nd in 9:45:59 and Louise Staples placed 3rd in 9:59:13.

Post race, general consensus amongst the runners was amazement at the course, some were heard saying, I thought I knew Scotland – I obviously didn’t.

Tomorrow’s stage offers easier terrain underfoot but a longer distance of 68km with 2400m+ which will be a  real challenger for many of the competitors. It will be imperative to start at the 0700 slot.

CapeWrathLogo


The 95! – The 2016Cape Wrath Ultra™ Starts

CapeWrathUltralogo
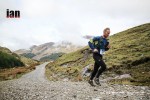
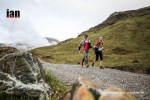
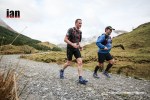
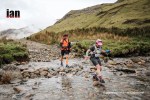
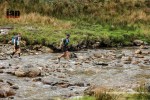
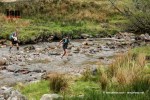
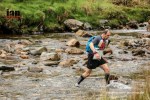
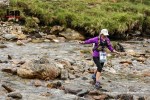
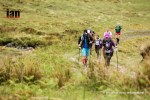
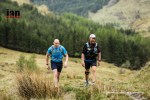
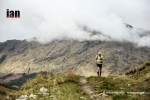
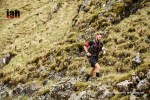
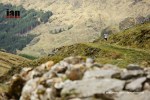
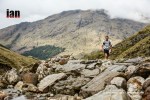
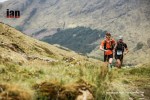
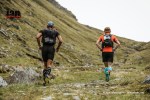
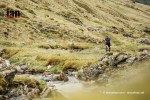
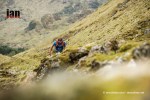
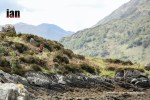
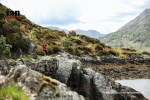
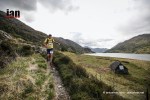
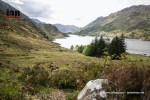
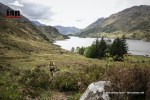
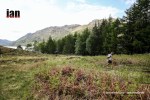
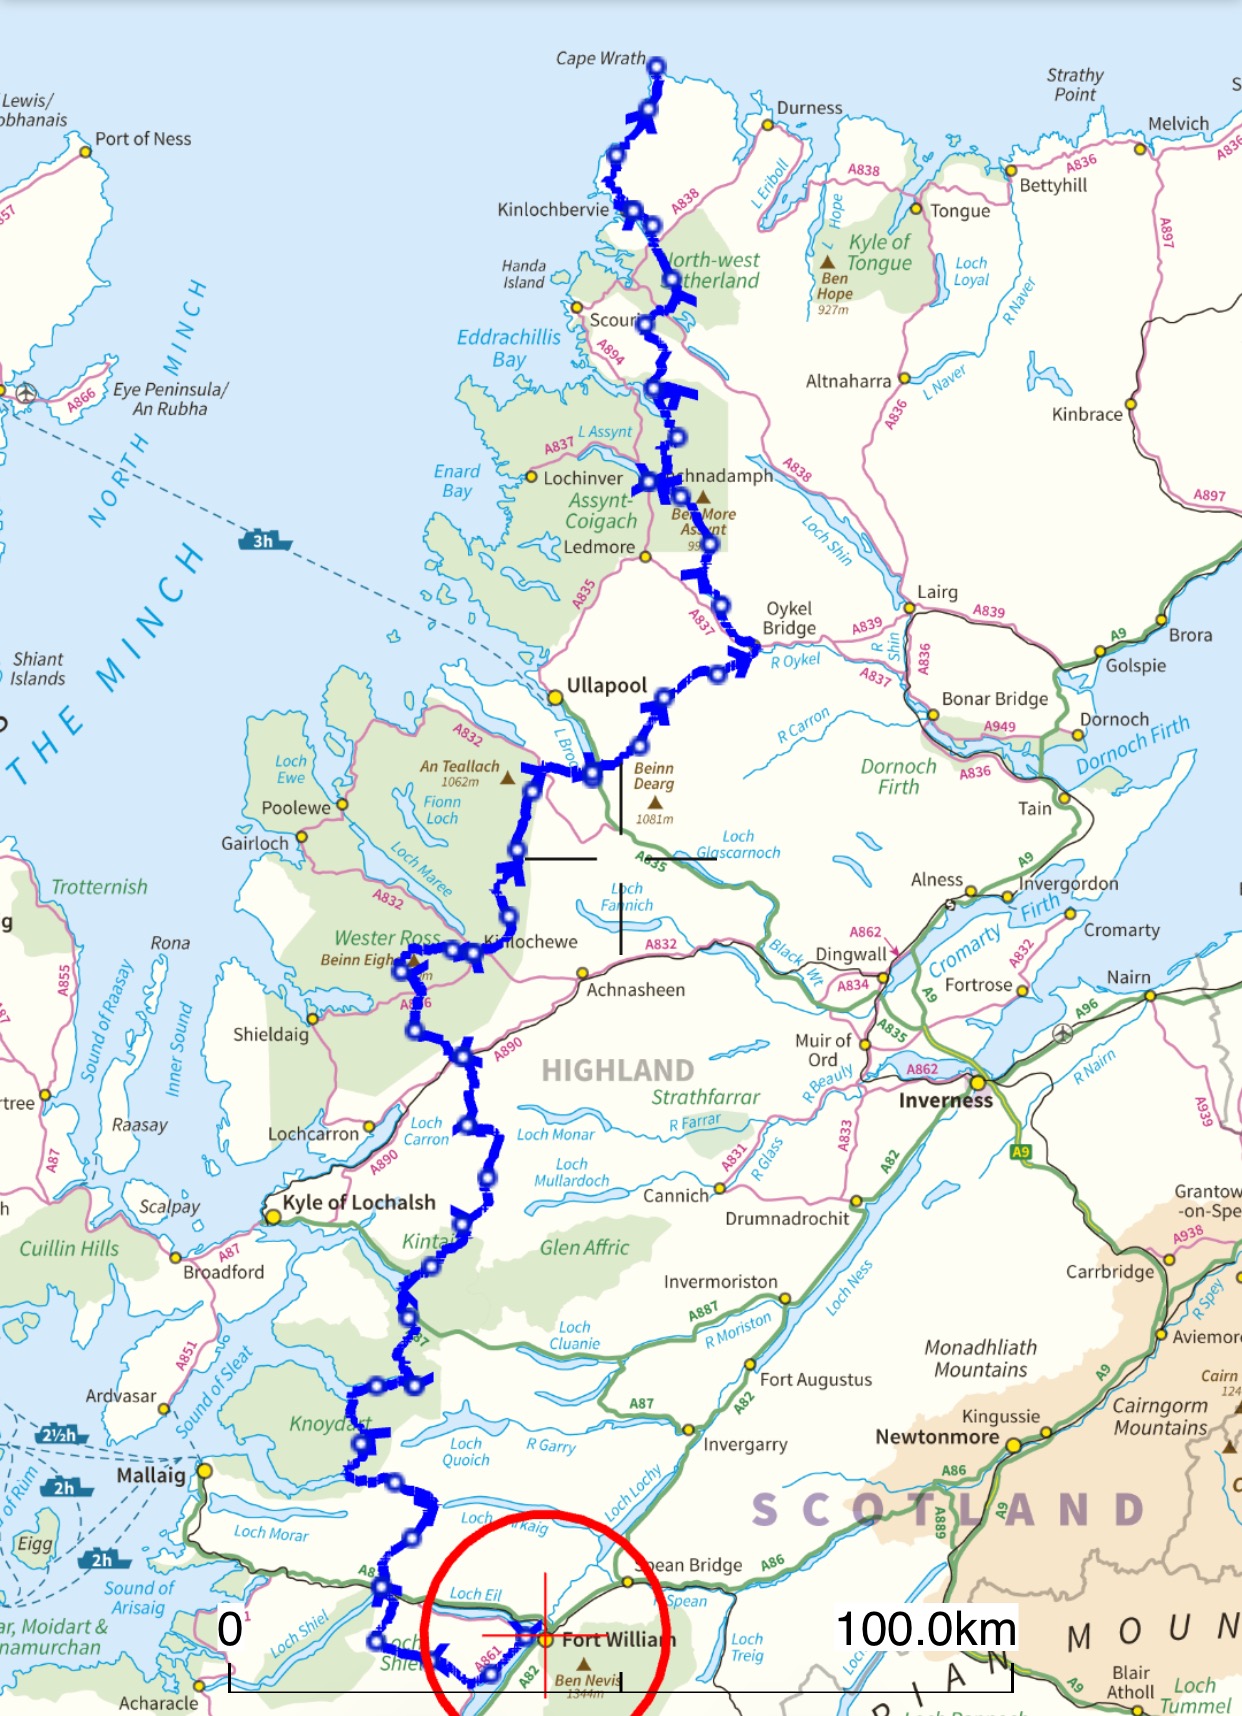
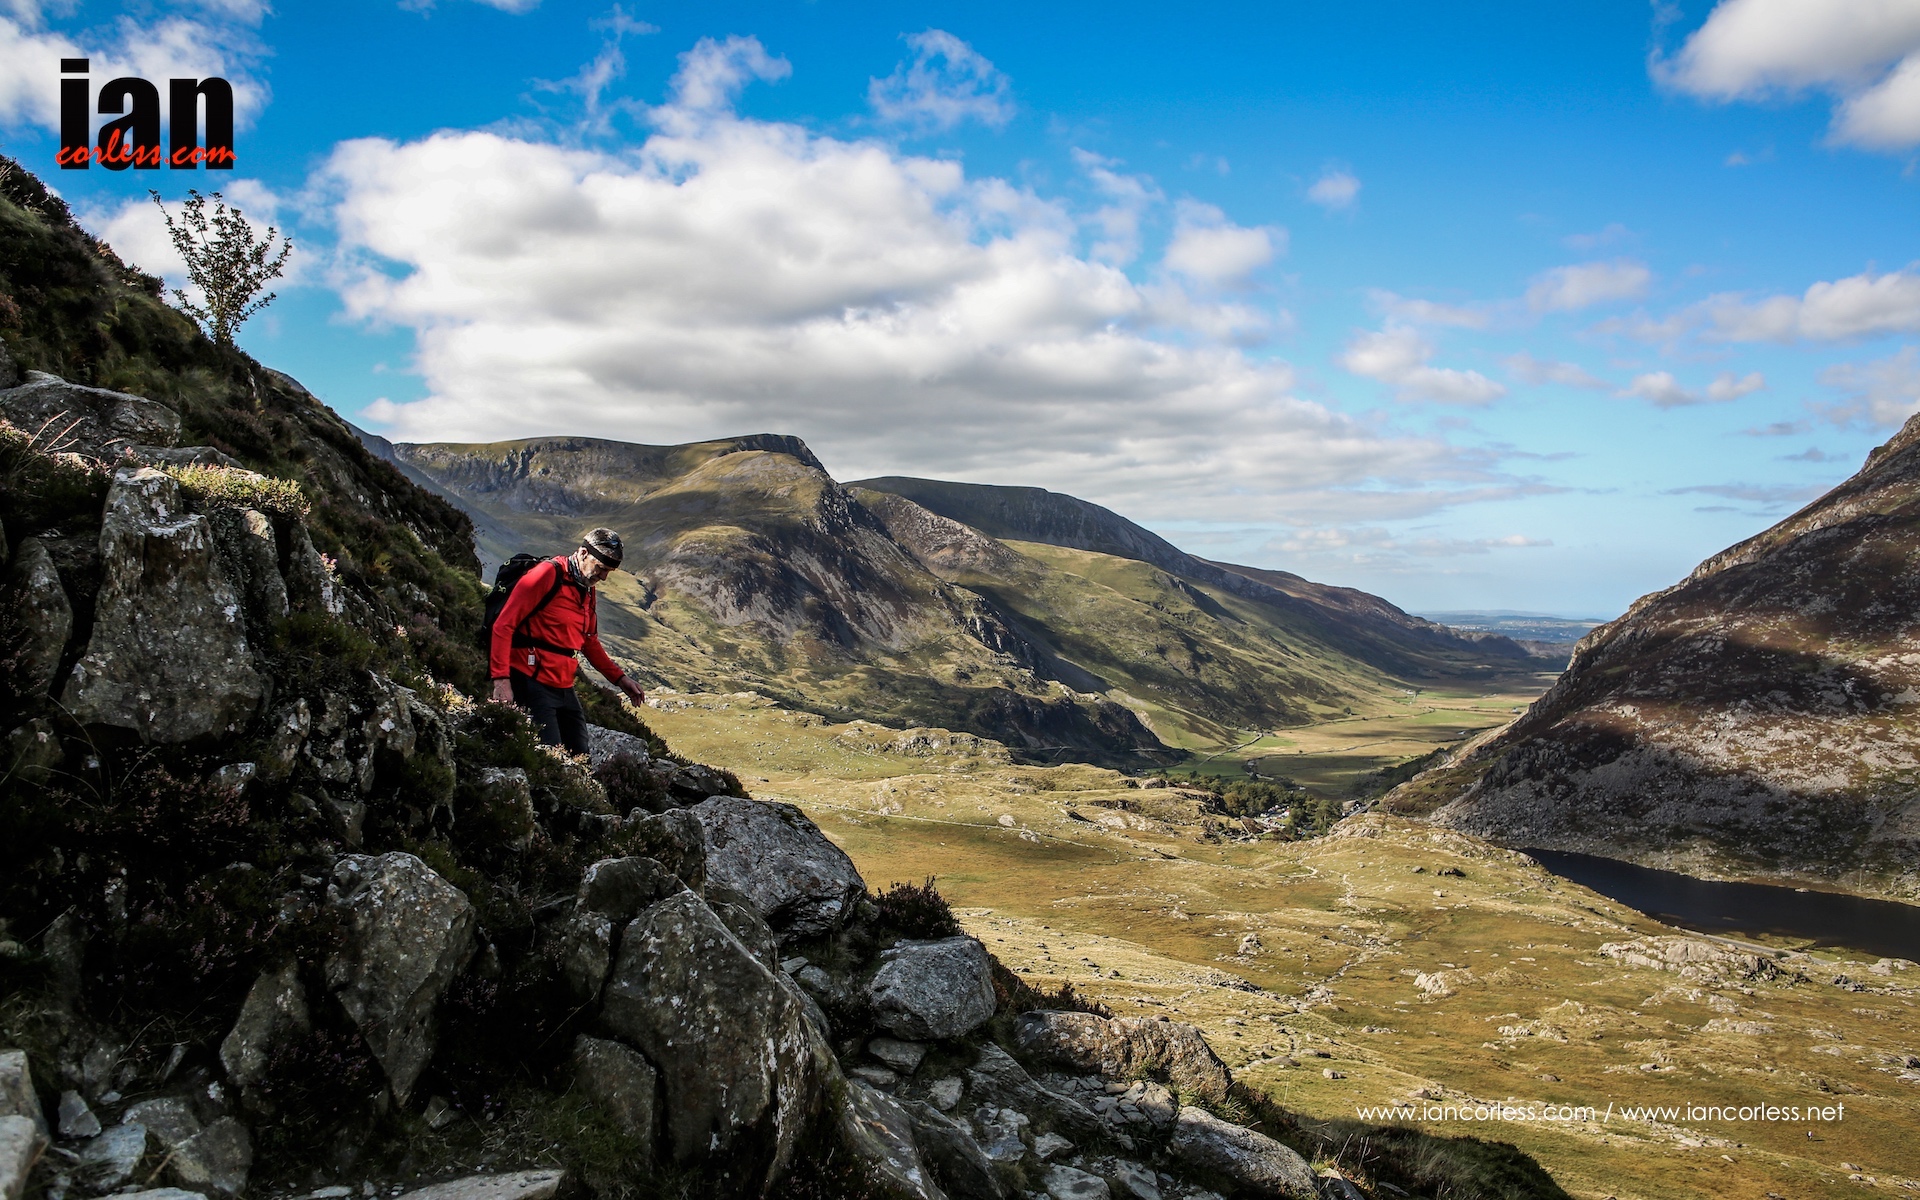
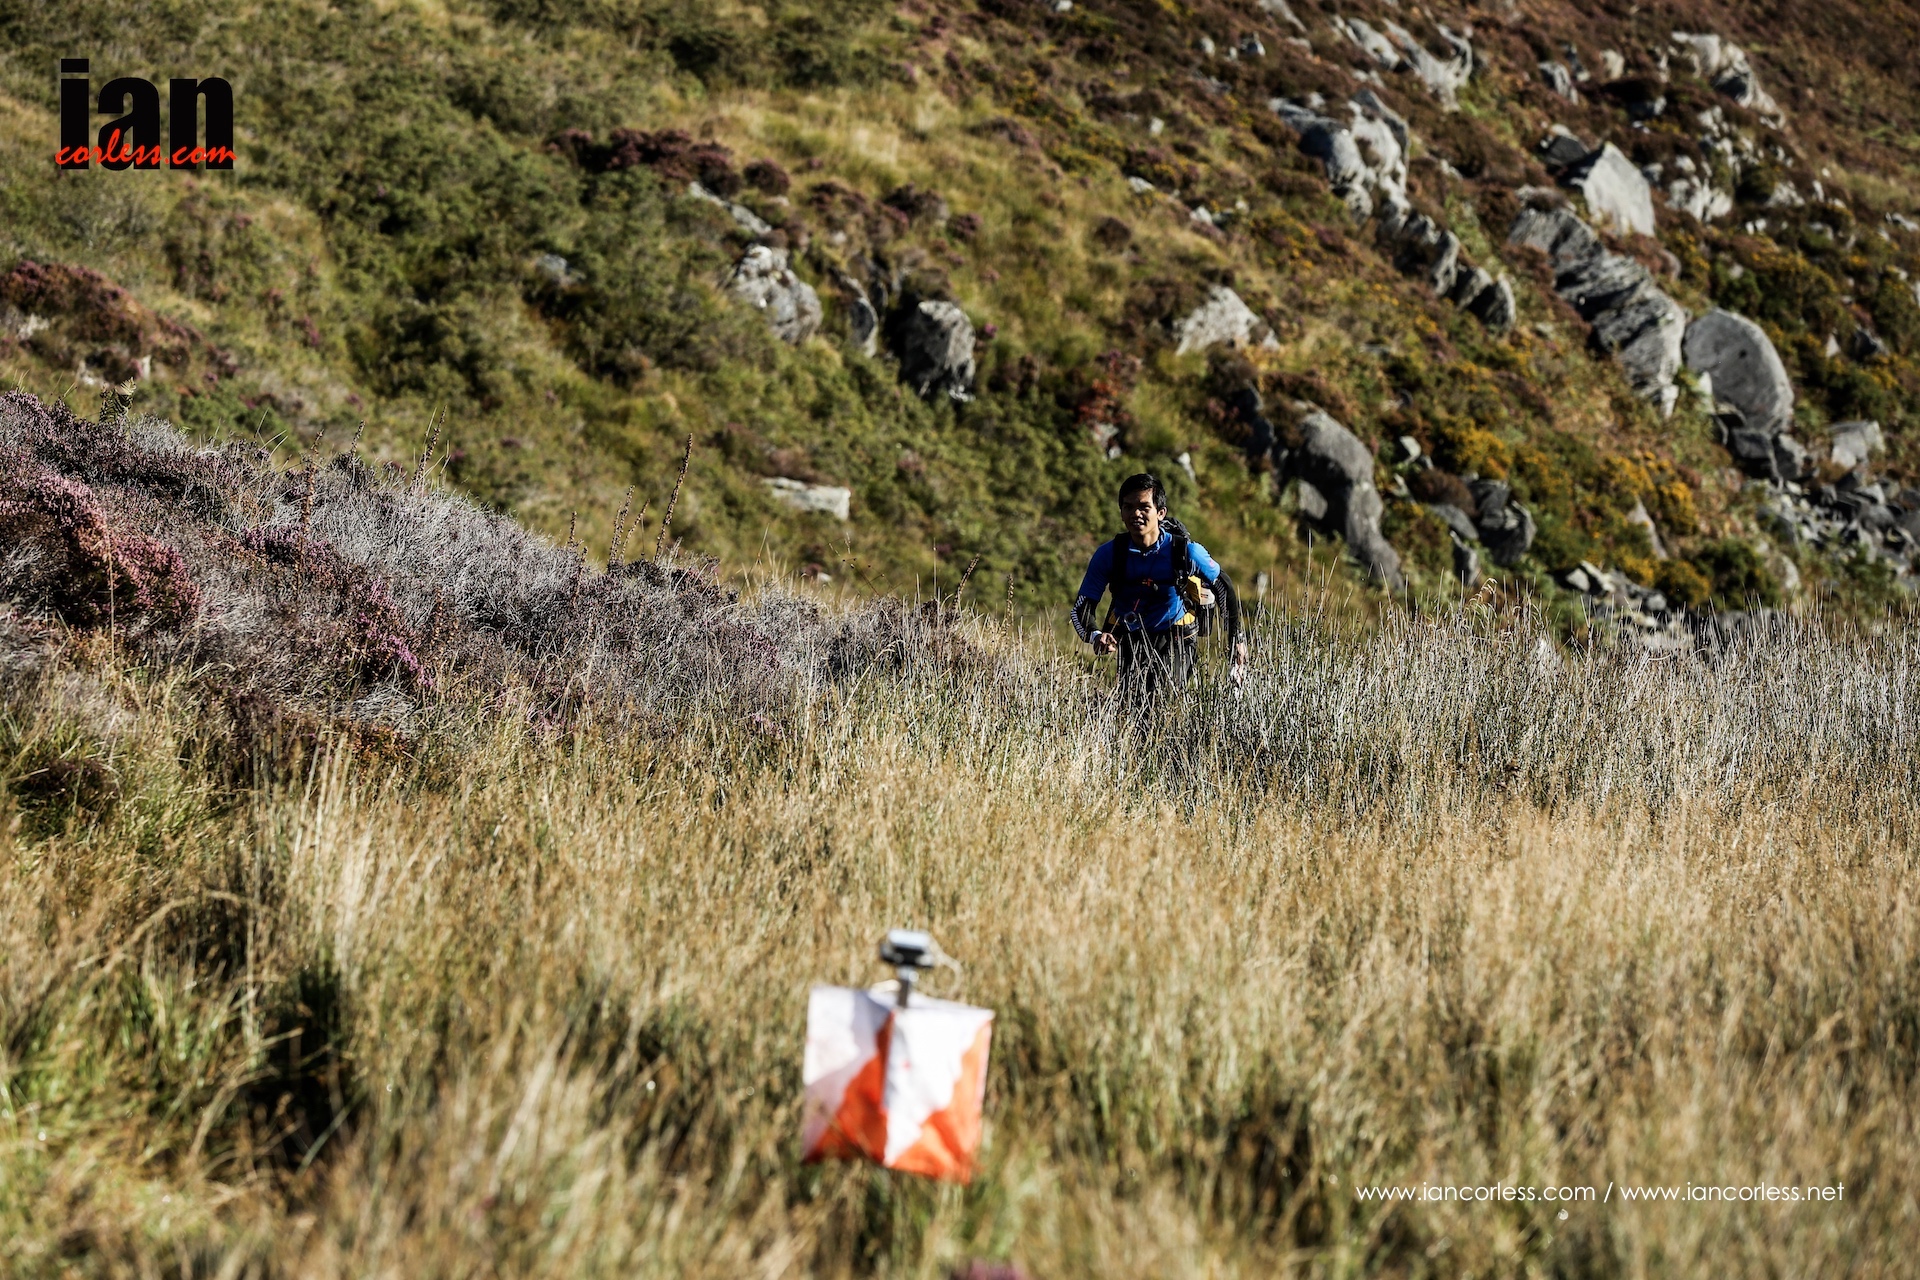
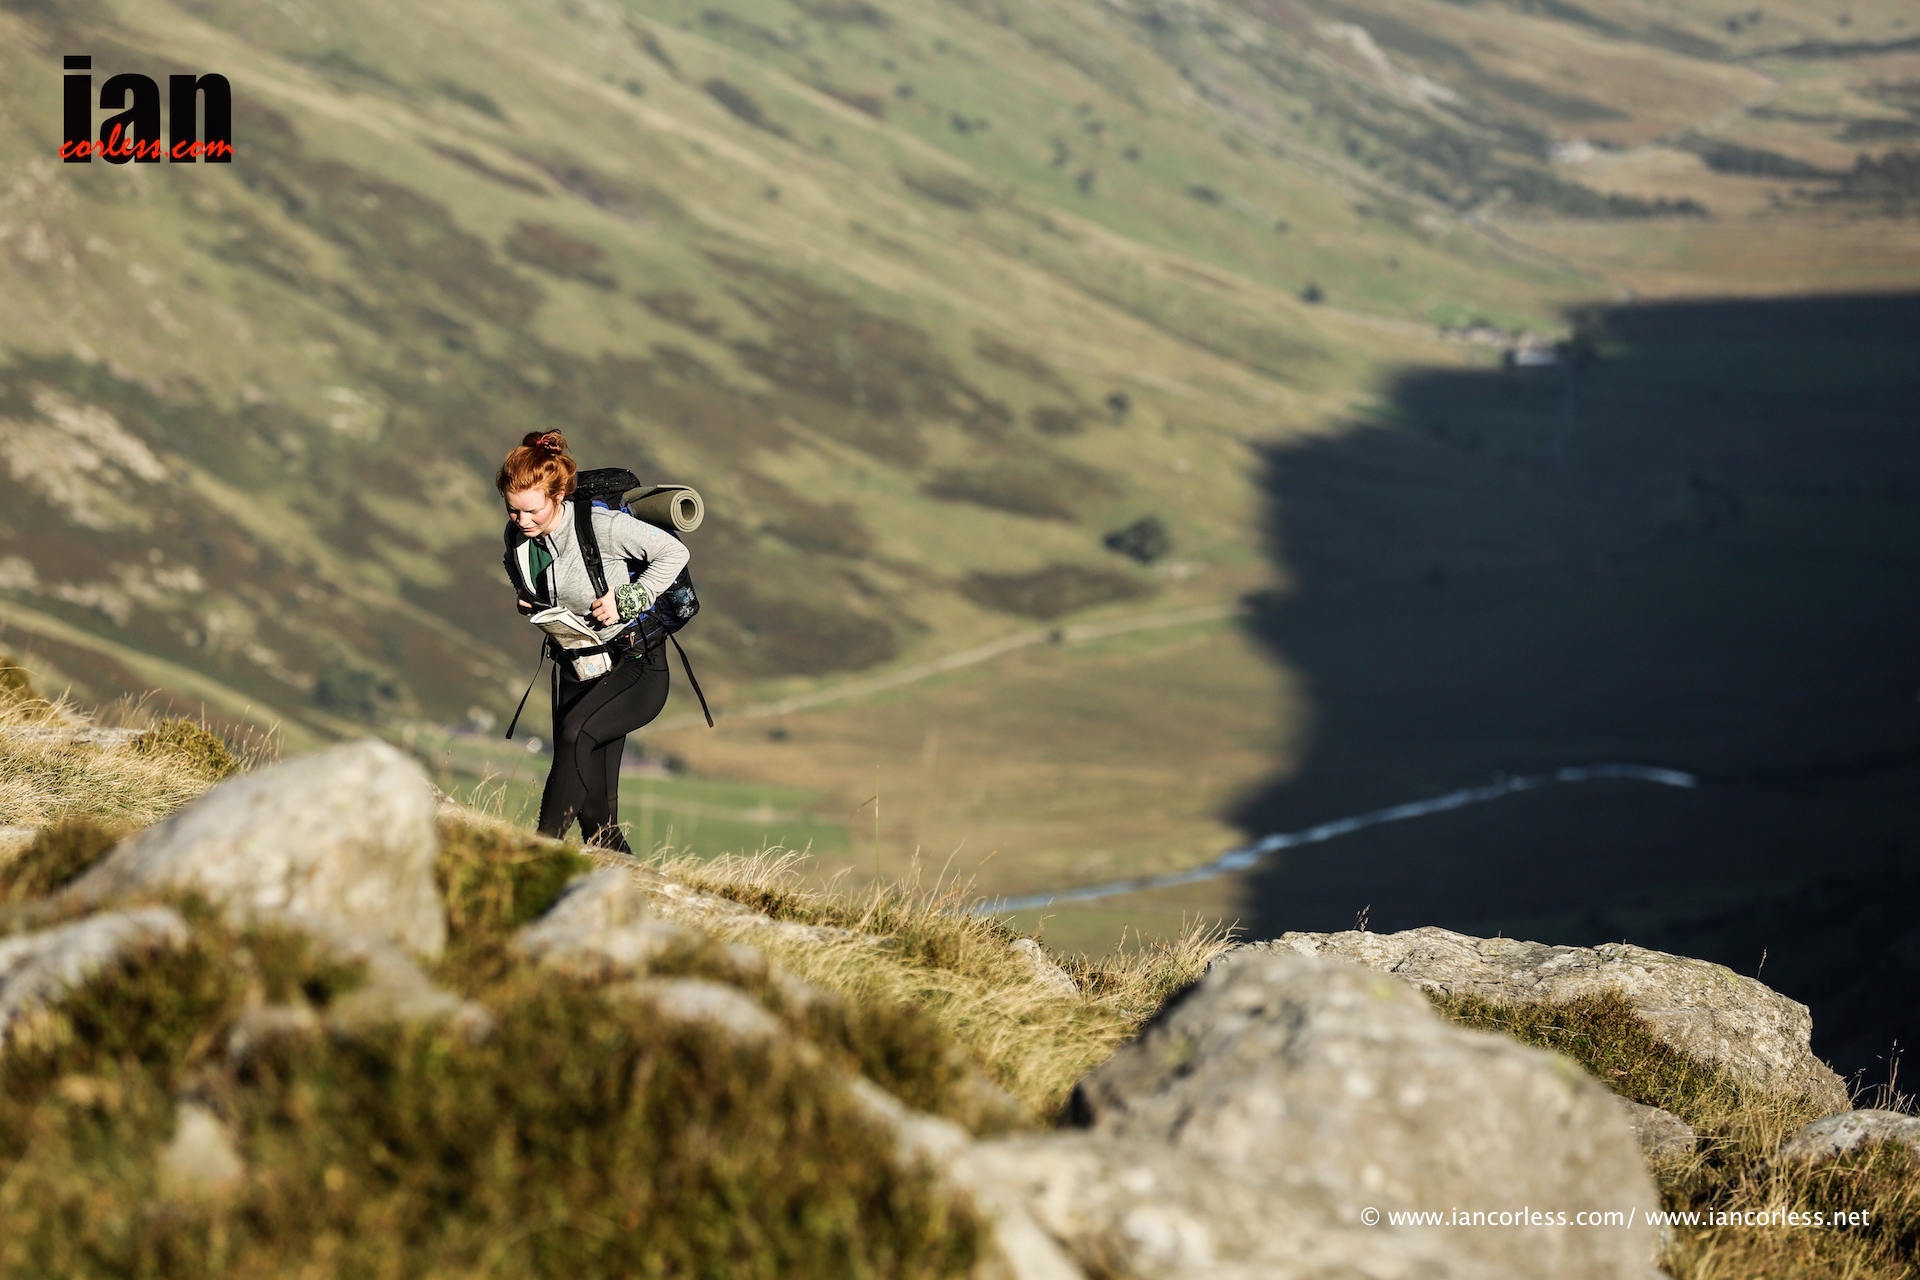
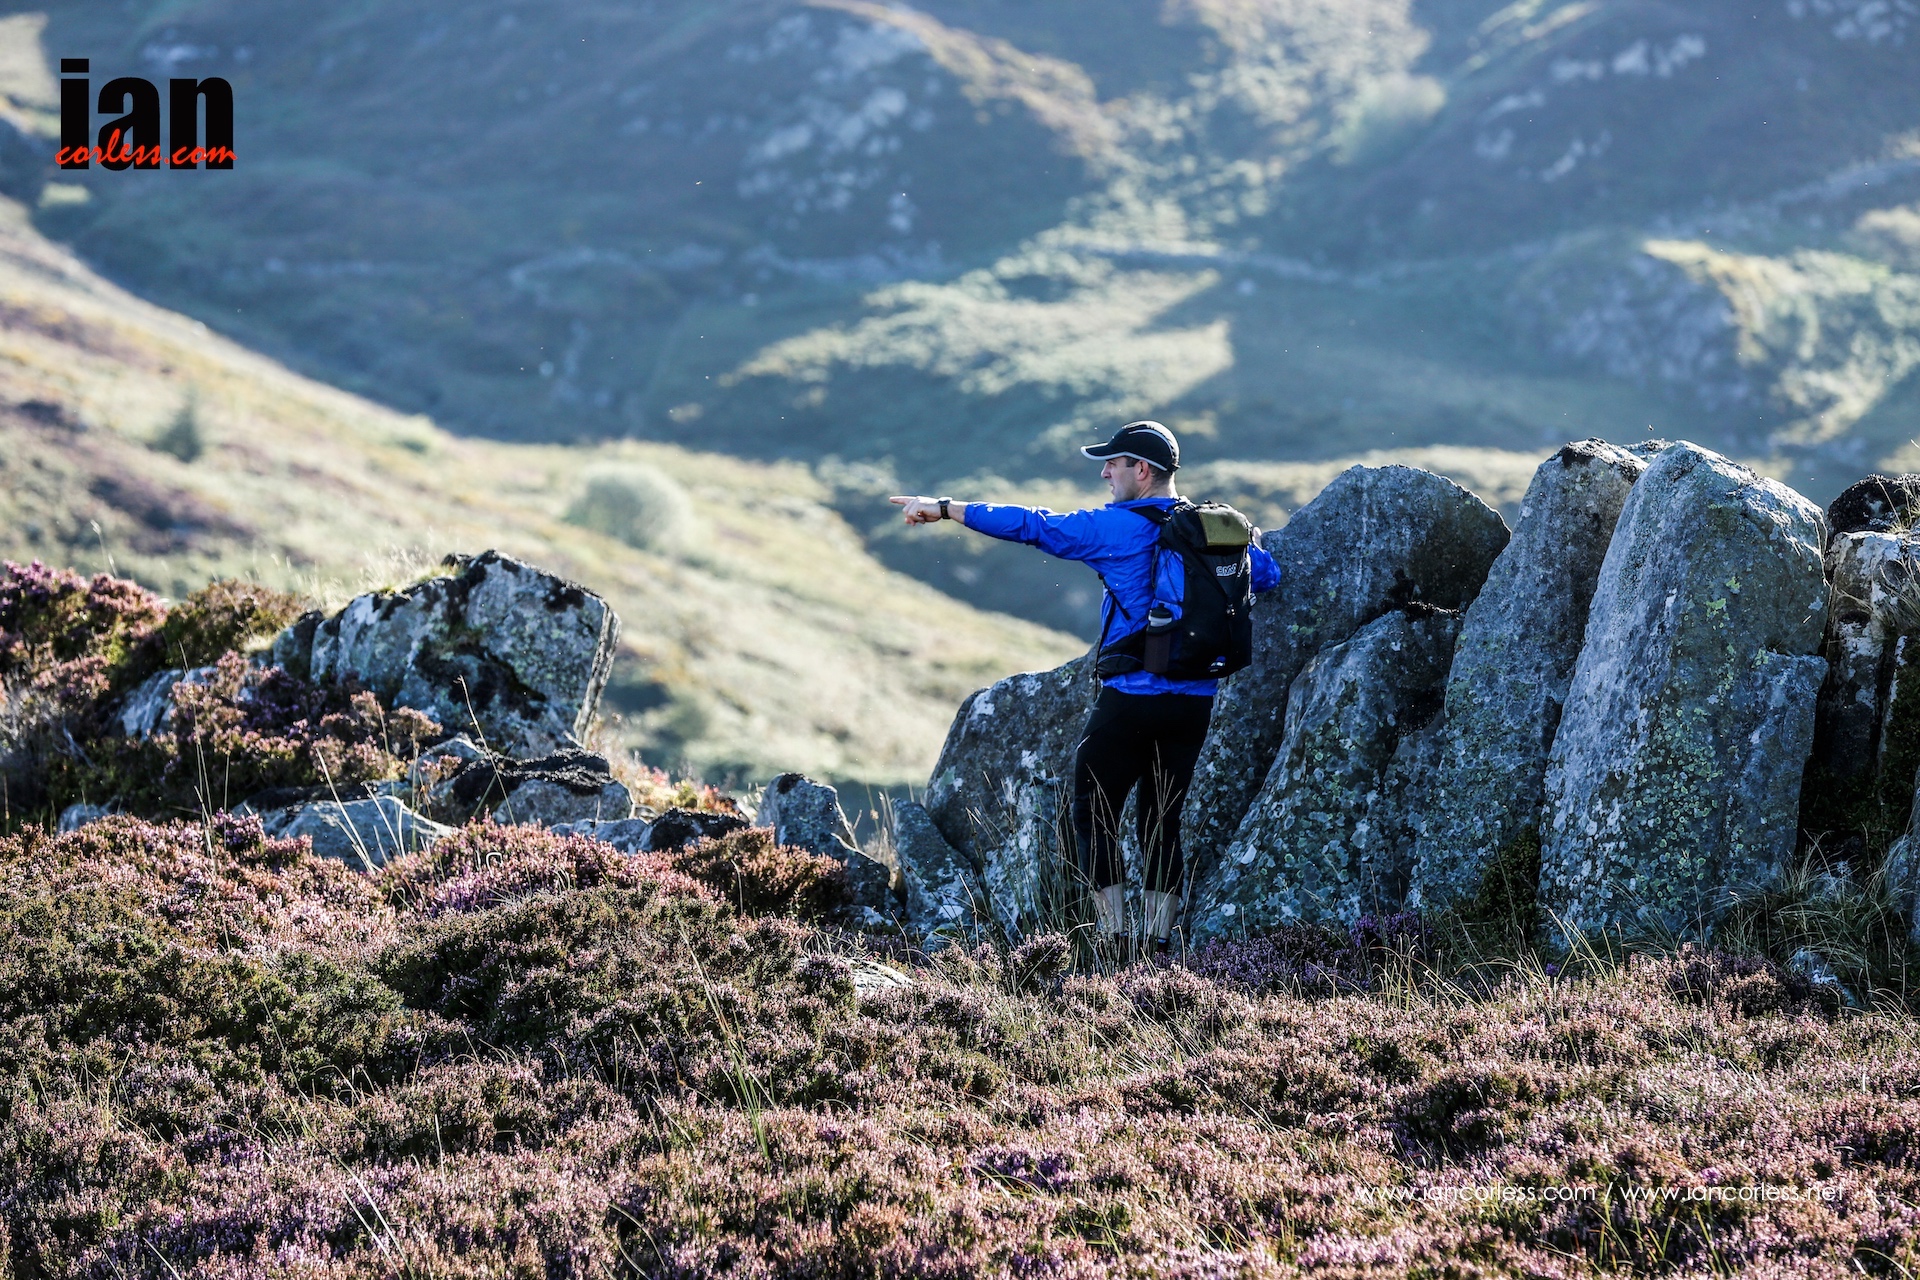
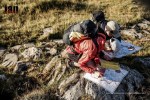
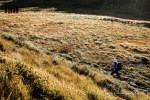
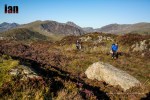
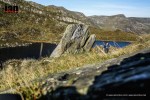
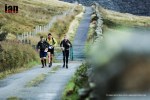
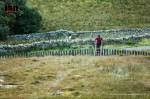
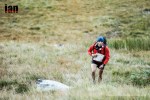
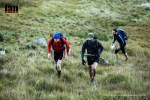
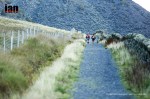
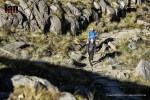
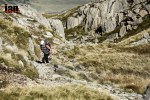
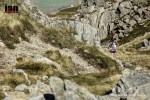
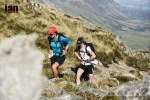
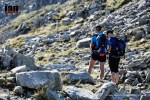
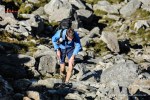
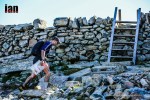
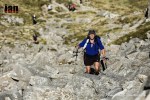
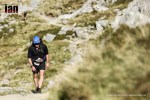
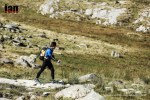
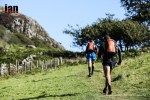
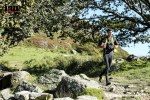
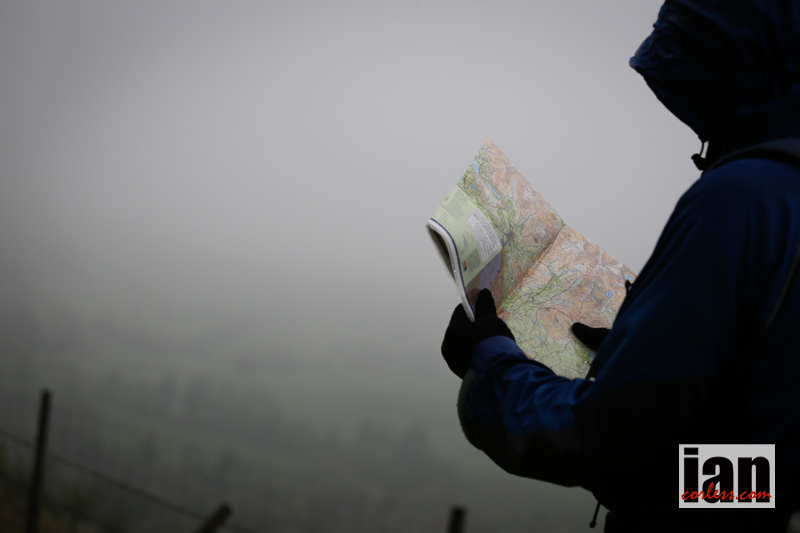
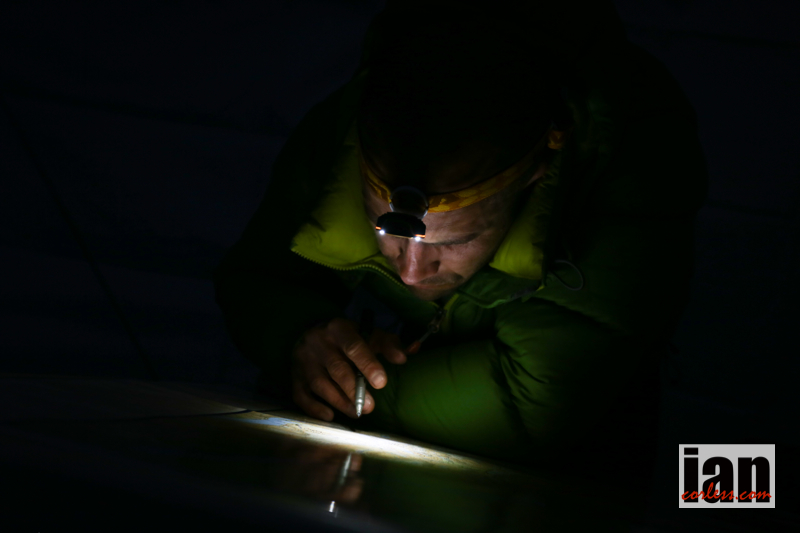
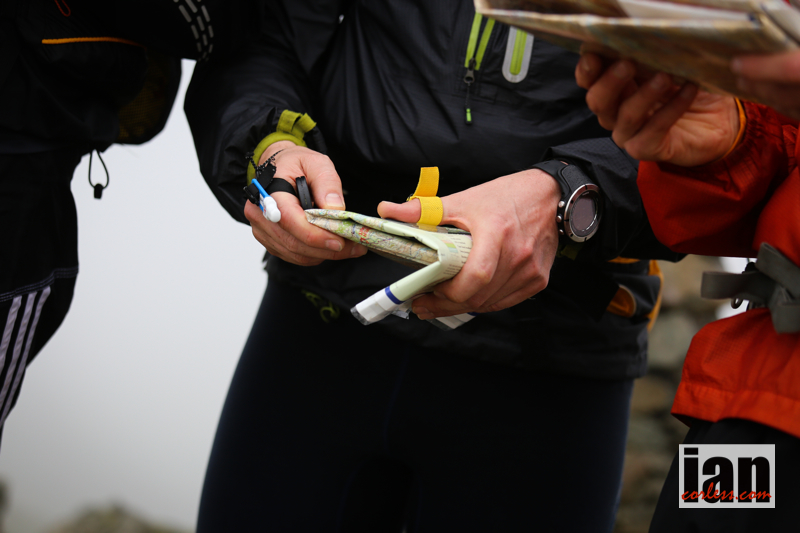
The Cape Wrath Ultra™ brought to you by Ourea Events, the team who revived the Dragon’s Back Race are in the countdown days to a once in a lifetime multi-day journey that will test mind and body over 8-days weaving a 400km journey through the Highlands of Scotland.

Starting at Fort William on May 22nd, the race will take runners on an incredible journey in a magnificent and remote part of the world that will culminate in the most northwesterly point of the British Isles, Cape Wrath on May 29th.

Cape Wrath Ultra website HERE

Map-Route-31-12-15-Version3

Stunning scenery, remote wilderness, beautiful lochs, glens, towering mountains and the crashing ocean, the Cape Wrath Ultra™ is arguably one of the most stunning multi-day journeys in the world.

A supported expedition, equipment for the competitor’s will be transported day-by-day, tented accommodation and meals will be provided.

In a nutshell, 400km (250-miles) over and through the Scottish Highlands will be the ultimate test for the runners as they navigate via map and compass (GPS are allowed with GPX routes provided by Ourea Events) over 8-days over multiple distances with a variety of terrain and elevation gain.

Today, 95 runners arrived in Fort William to register, collect numbers and leave drop bags in preparation of the race to start tomorrow, Sunday 22nd May at 1000 hours.

Over the coming days, you will be able to follow these 95 runners via live tracking as they weave their way north. We thought it only appropriate that you can put a face to the name. Here are the 95!

Cape Wrath Ultra Website HERECapeWrathUltralogo

CapeWrathRoute

Rab Mountain Marathon 2015 Images and Summary

©iancorless.com_RabMM2015-2655

The Lake District, the Howgills and the Cheviots have all been previous locations for the Rab Mountain Marathon™. In 2015 it would be Snowdonia, Capel Curig provided the start and finish with the event using both the Carneddau and Glyderau.

What a weekend!

©iancorless.com_RabMM2015-5008

Wales, Snowdonia National Park and the challenging Carneddau and Glyderau were bathed in incredible sunlight, blue skies and warm temperatures. It was definitely one of those weekends when one is thankful that our sport requires amazing locations and terrain. Wales has never looked so good!

Many runners arrived in Capel Curig on Friday night as temperatures dropped. Clear skies, an amazing bright moon and a chill provided a great appetizer to a stunning weekend as beer and food were provided in the marquee and ‘Trails in Motion’ was screened in a makeshift cinema.

©iancorless.com_RabMM2015-2123

Tackling some very challenging mountain terrain, runners needed to be competent and confident when moving across the steep, rough and mountain terrain that Carneddau and Glyderau provided. Like all previous Rab Mountain Marathons™ the event was a score format. On Saturday a start window of 0830-1030 would ensure that runners avoided snakes as they moved from point to point. After all the race wants to test competitor’s navigation skills, yes? SPORTident electronic timing was used to ensure that accurate timings and logging of points were recorded and runners participated in one of the following categories: solo and teams of two. In addition to a variety of different runner’s class options there was also a walker’s class for those who want an easier, non-competitive weekend.

©iancorless.com_RabMM2015-2528

In any serious mountain event, competitors should always be prepared for the worst possible conditions as the competition area can be isolated and the hills are often exposed to serious weather. For once, this weekend the weather could not have been better. Temperatures during the day were warm, visibility was amazing and the only possible downside came when the sun disappeared and temperatures dropped at night.

©iancorless.com_RabMM2015-2737

Much of the discussion pre race was based around the decision to go north or south? The Carneddau and Glyderau are split by a main road and although closely connected they offer two very different running terrains. The south without doubt provided a smaller area with controls much closer together but the terrain is much rockier and demanding.

©iancorless.com_RabMM2015-4439

Controls and points were split equally between north and south and any ‘visited’ control could not be re-visited the following day! Two main categories on long and short course made route planning and decision making a key element of the challenge and as one would expect, many got the decision process wrong by arriving after time and loosing points.

©iancorless.com_RabMM2015-5986

Ultimately though Wales was the hero of the day. The terrain, mountains and scenery was resplendent in the September light and as runners traversed and made their way around the course, one common thread was heard:

‘It’s just an amazing weekend to be in the mountains, irrespective of how many controls we visit.’

©iancorless.com_RabMM2015-4372

In the Long Score race, Adam Stirk and Andrew Higgins once again set the bar in the team race scoring 300 points (a maximum!) on day 1 and 215 points on day 2 to win with 515-points. Ian Bellamy won the solo Long Score race with 515-points too, he scored 280 on day 1 and 235 on day 2. First solo lady was Kirsty Hewitson, an ever-present at this type of event and her 215 and 200 (total 415) was 55 points clear of the next lady, Kate Worthington. Full Long Score results are HERE.

The Short Score race was won by male duo Alistair Macdonald and Richard Wren with 395 points (230/165) and Louise Beetlestone was 2nd overall, 1st lady and 1st solo competitor with 392 points, scored 220 and 172 respectively. Tom Woolley was the first male solo with 388 points. Full Short Score results HERE.

Shane Ohly, Ourea Events and all the volunteers once again provided a great event that was slick from beginning to end.

“Thanks for a great event, it was definitely a learning curve. Lovely smiley marshalls were brilliant. Met some great competitors on the course too.” – Adrianne Bolton

“It was my first and my sons first Mountain marathon it was one of my best experience. Massive learning curve as we got lost for three hours on the first day . Great organisers great staff will be coming back definitely.” – Phillip Bampton

“Epic” – Brookfield GM

Race website HERE

2015 results HERE

Ourea_Events_Logo(600)

All images are copyright protected – all rights reserved ©iancorless.com

Images with logos can be used on social media (do not crop or adjust) but if you do this, please consider a donation HERE

donate-button

You can purchase images without logo’s at iancorless.photoshelter.com

Navigation 101 – A basic introduction

©iancorless.com.IMG_4906GL3D_Day1

Navigation with a compass is not something that is difficult to grasp. In reality, it is as simple as 1,2,3.

In a new series of Navigation 101 tutorials, we are teaming up with Charlie Sproson from Mountain Run to provide a simple series of articles in conjunction with audio interviews to help guide you to safe navigation.

©iancorless.com.IMG_6014GL3D_Day1

If you are heading to any trails, mountains or if you are in a new area looking to explore, a detailed map of the area (1:25.000) and a compass should be part of your all important mandatory kit. More importantly, the knowledge of how to use a map with a compass is essential.

©iancorless.com.IMG_5125GL3D_Day1

A compass is a magnetic needle floating in liquid that responds to the Earth’s magnetic field. It’s amazingly simple but equally amazing. Several options are available when purchasing a compass, for running (or hiking), an orienteering compass is ideal.

 Expedition54_35861-9011

I personally recommend a compass with a magnifying glass; it’s not essential but can certainly help when fine detail is required.

Your compass will have:

  • A base plate, depending on your make and model, it may have one ruler or several.
  • A rotating bevel marked with N, W, S, E and 360 degrees around the circle.
  • A magnetic needle. This will usually be red.
  • Cardinal lines.
  • A direction of travel arrow.

©iancorless.com_Compass

North (N), West (W), South (S) and East (E) are your key elements of a compass making up 360 degrees and as one would expect, they are 90 degrees apart (4×90 = 360).

Taking these four key navigation points one step farther, these degrees are also split into finer tuning such:

North East (NE) – 45 degrees

South East (SE) – 135 degrees

South West (SW) – 225 degrees

And North West (NW) – 315 degrees

These principal points add to the 4-main directional points and thus provide 8-pricipal points that we are able to use in basic navigation.

Making oneself familiar with the compass and these 8-key directions points is a great way to start.

Compass Face

We can take the compass one step on and break it down into 16-points such as North North East (NNE) or East South East (ESE), however, that will come in a later post when we progress from basic navigation to intermediate navigation.

Taking a Bearing

©iancorless.com_IMG_5329Marmot24_2014_

First and foremost, ensure you have the appropriate map for your area in a suitable scale: usually 1:25.000 is ideal.

Remember, North is the top of the map. It’s imperative you orientate the map correctly.

To take a bearing you need to know where you currently are, point A and where you would like to go, point B.

It’s as easy as 1, 2, 3.

screenshot_396


1: On the map align the left or the right edge of the compass base through landmarks. In this scenario we will use A and B. Make sure the direction of travel arrow is pointing toward B.

screenshot_397


2: Turn the compass dial until NORTH on the compass lines up with NORTH on the map. As a tip and help, the meridian lines on your compass should line up with the maps North/ South grid lines (if available).

screenshot_399

3: Now rotate your body, compass in hand and align the direction arrow with the red compass needle. Read the bearing* and follow the direction of travel arrow to your destination, in this scenario, point-B.

Now…?

GO


Easy isn’t it?

*Map bearings and field bearings can differ. For example, in the USA this can be 30 degrees and in the west 20 degrees. This is called ‘DECLINATION’ and will be discussed in our next post when we look at intermediate navigation.

Hints n Tips

  1. Understand maps and spend time in the comfort of your home looking at and analysing maps of areas that you know well. It will make things easier to understand.
  2. Know and understand scale. For example, 1:25.000 means 1 unit in the map is the equivalent to 25.000 units.
  3. Maps have LATITUDE (East to West) and LONGITUDE (North to South).
  4. An Altimeter (many modern GPS sports watched contain this but you must calibrate it) is extremely useful in conjunction with your map and compass, particularly in any orienteering event. However, this is beyond basic navigation.
  5. A GPS (Garmin or similar) and/ or an IPhone with ‘apps’ such as OS Locate are great back ups that can offer security to a basic navigator. However, never rely on such tools as batteries can die, gps signals fade and of course, you may just possibly break or loose such a device. In the early days of navigation, these tools may just help provide you with a much-needed security blanket.

©iancorless.com_IMG_6434BerghausTrailChase_2014_

Common Sense

  1. Check weather forecasts and only adventure out when you are sure of clear weather. Once you have progressed and feel comfortable with your navigation, you can experiment in less favourable conditions.
  2. Don’t venture out alone. Safety comes with numbers.
  3. Inform family, friends or neighbours your intended plans and provide a timescale.
  4. Make sure you have clothing, food and liquid for the worst case scenario and be prepared.
  5. It’s good to test yourself but understand your limits and don’t overreach.


READ THE FOLLOW ON ARTICLE HERE

More information:

Charlie Sproson has provided the advice and experience in creating this post. You can hear a full interview in episode 68 of Talk Ultra podcast ‘free’ on iTunes HERE (published Friday 22nd Aug 2014).

Charlie is the creator of Mountain Run based in the UK

Mountain Run


In conjunction with our series of podcasts and informative documents, Charlie and iancorless.com plan to arrange a basic navigation day (weekend) in the English Lakes. Dates tbc. If you are interested, please use the form below to express your interest.

Go back

Your message has been sent

Warning
Warning
Warning
Warning

Warning.

Credits – Map images 1,2,3 go are copyright ©SILVA

Disclaimer – this post is geared at a novice runner or hiker looking to venture into navigation. It is purposely written to offer a simple and basic introduction to a compass and how to use it. Please be sensible and understand the dangers that can arise from a lack of preparation.