PHD v YETI v OMM – Sleeping Bag Review

©iancorless.com_MDS2015Day5-9765

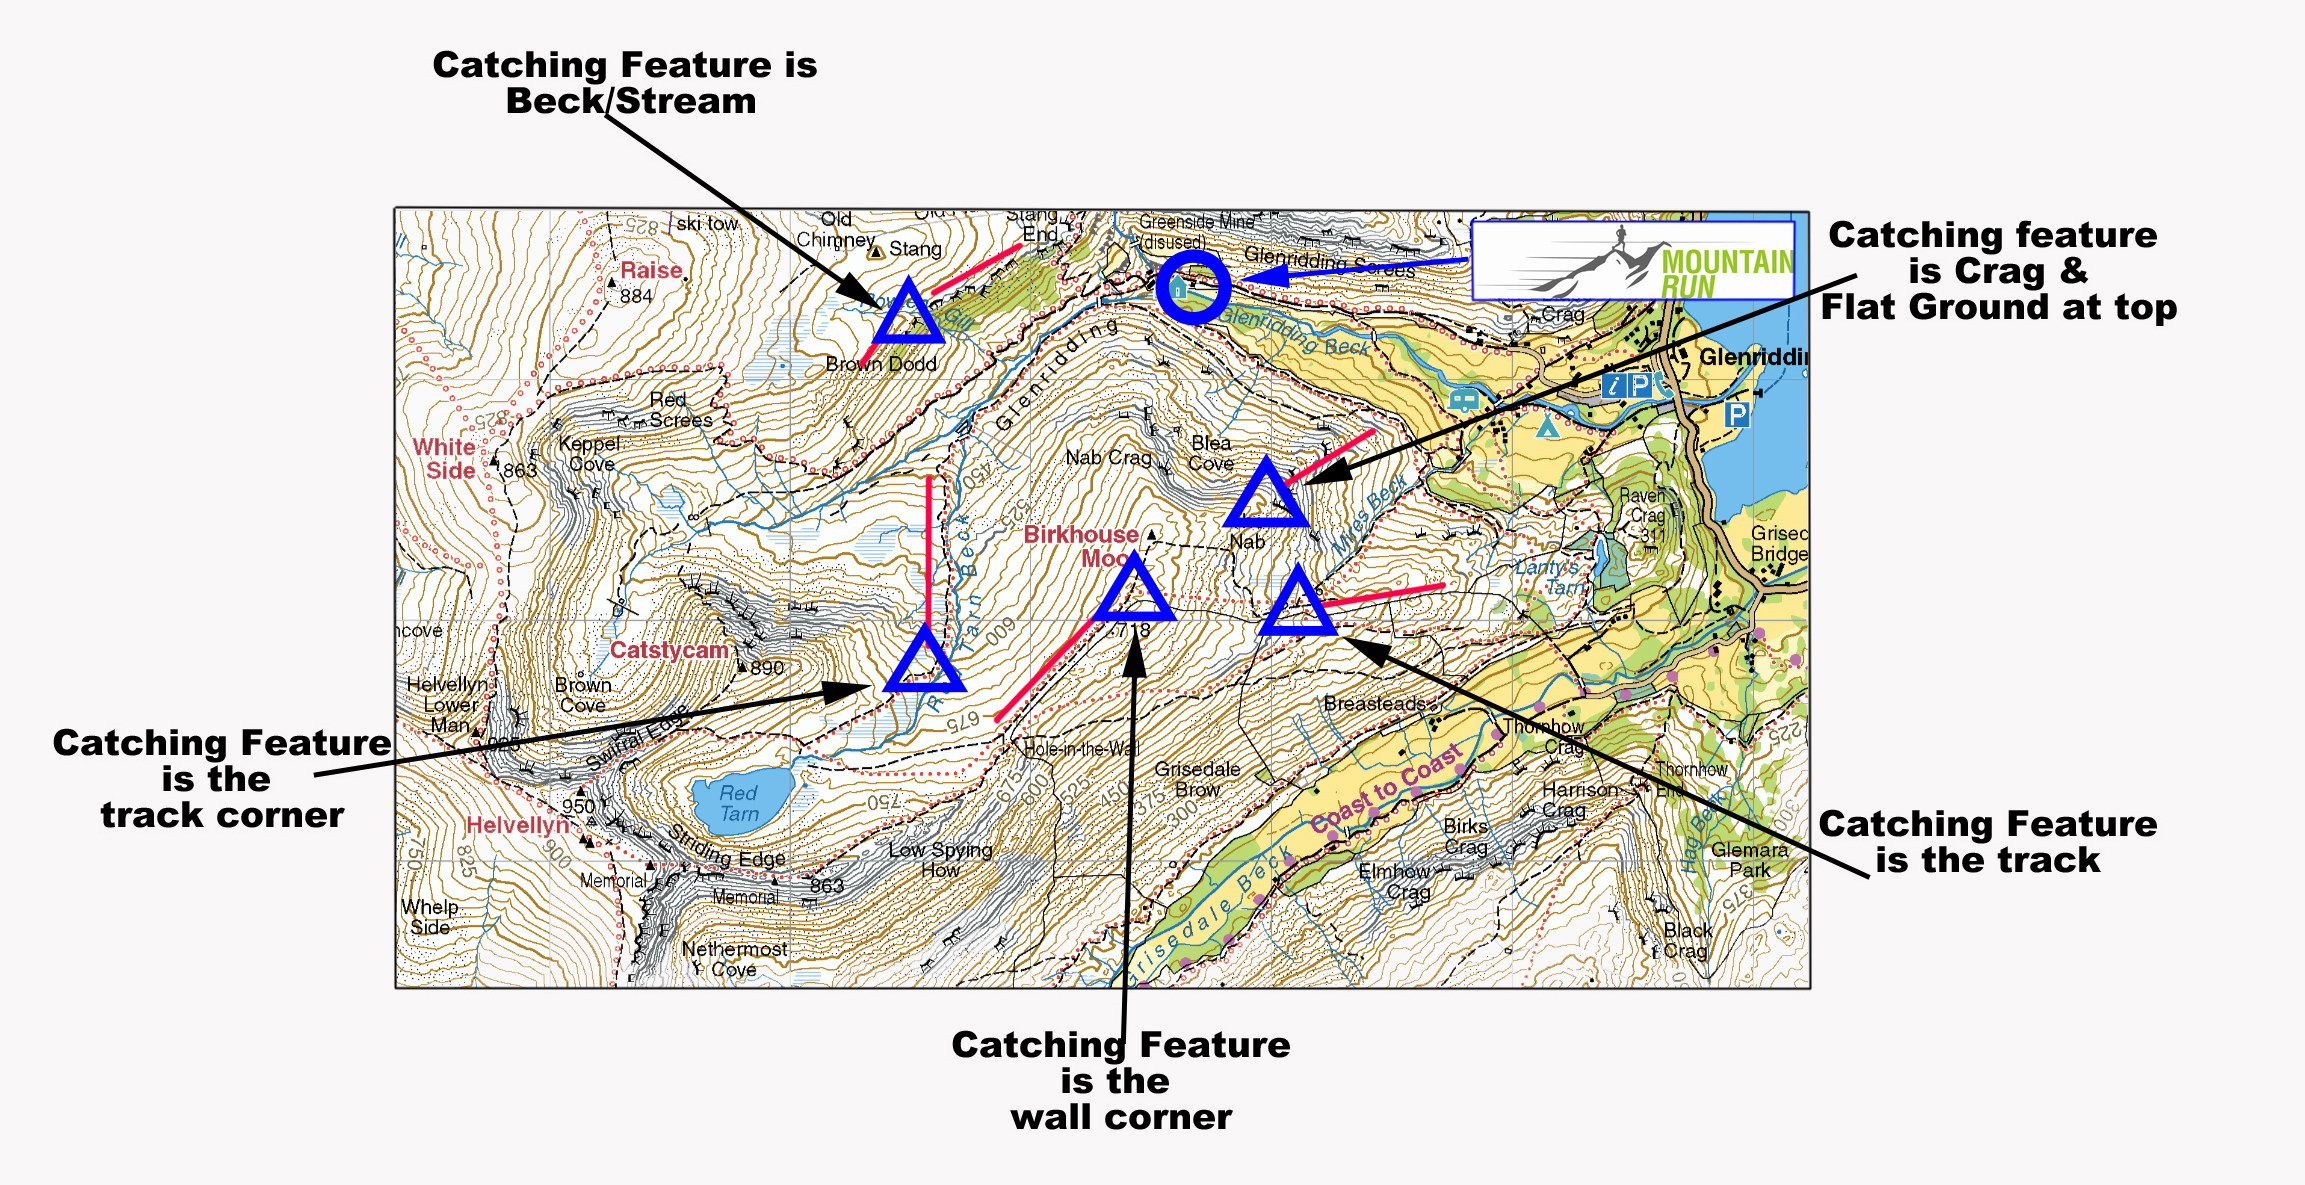
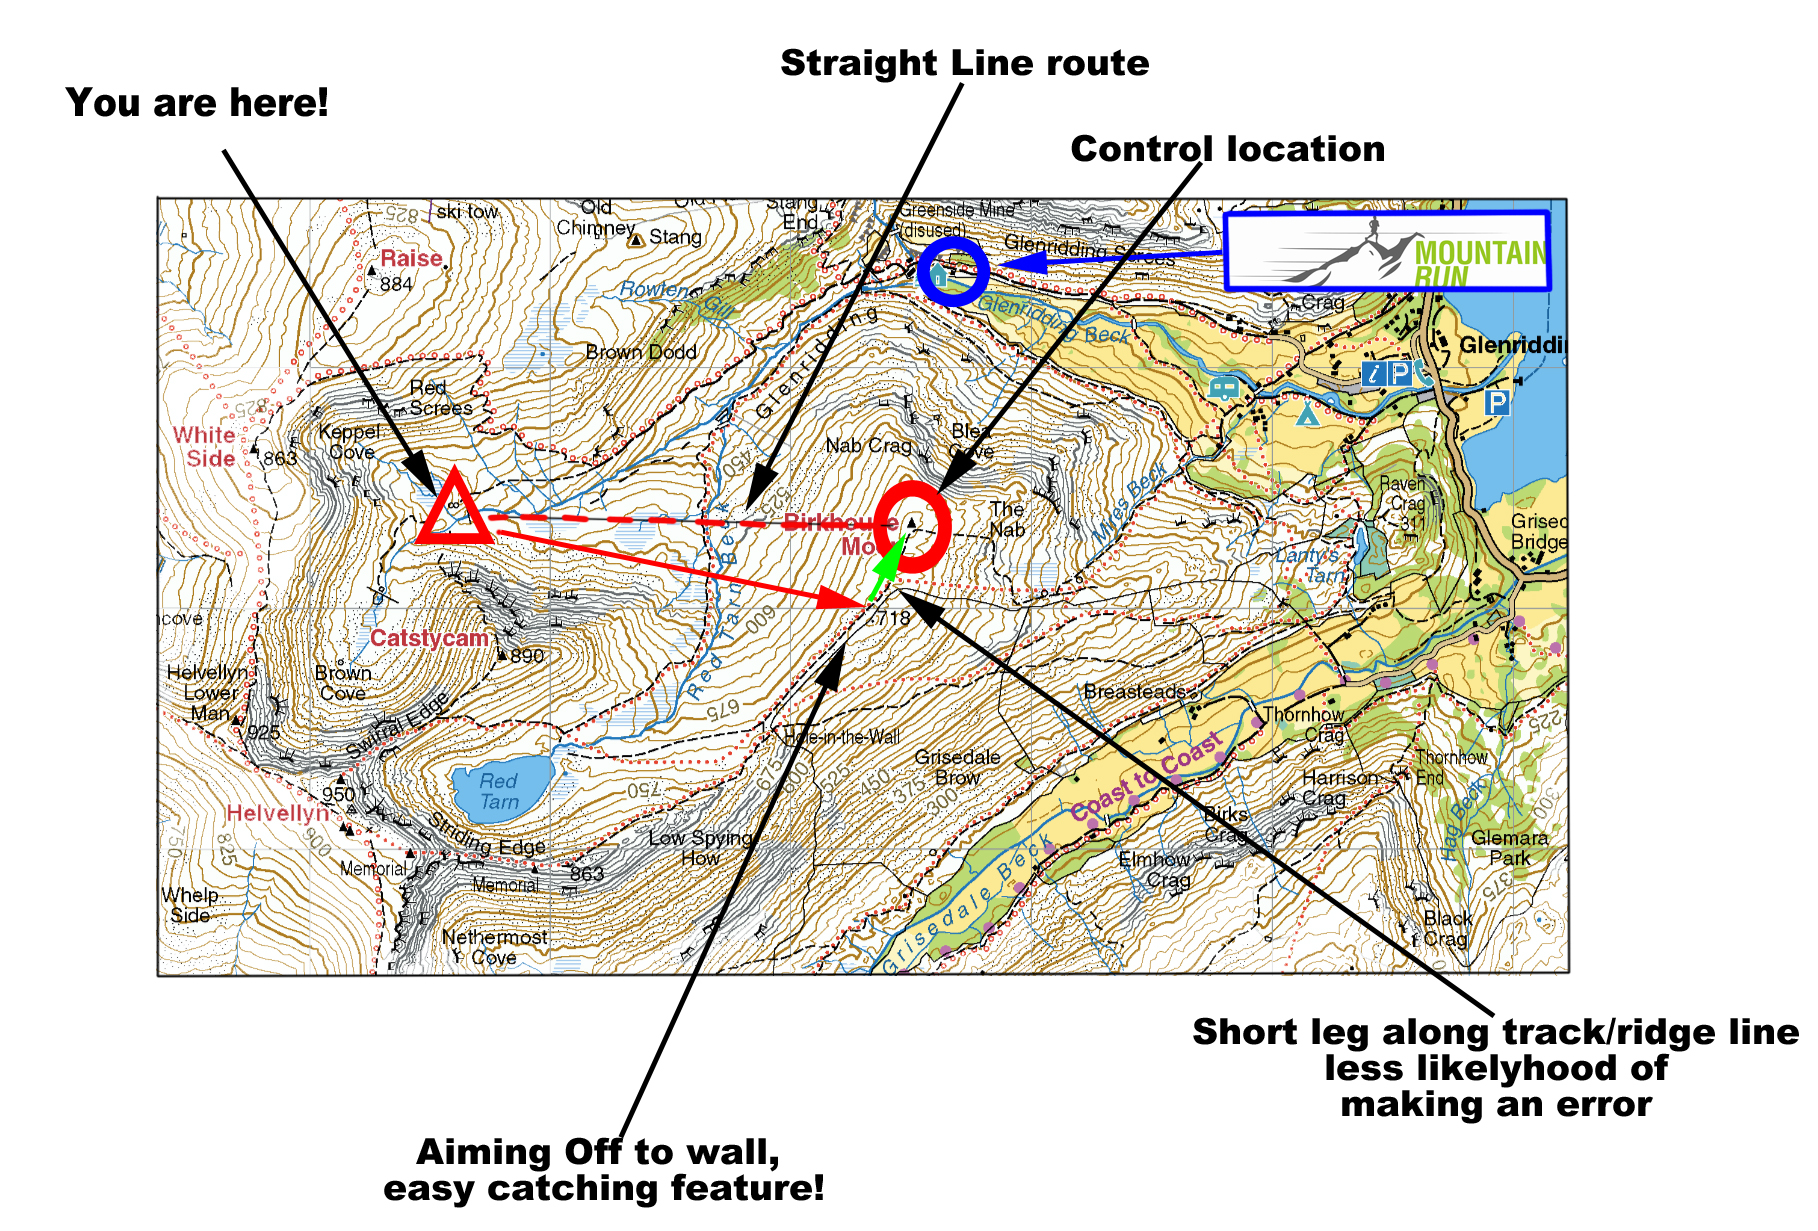
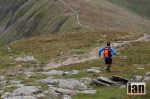
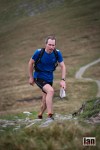
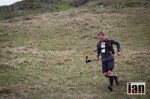
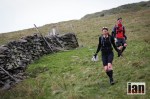
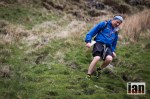
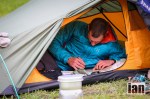
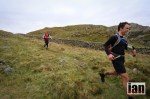
If you are running a self-sufficient race or if you are going fast packing, a sleeping bag is going to be an essential item. The need to carry all your supplies in your pack quite simply means that you are constantly having a battle against weight and functionality.

It’s fair to say, that for most people a 20 ltr pack has now become the ‘norm’ for multi-day adventures and they vary considerably. But hey, we are not here to talk about packs, we are here to discuss the sleeping bag that will go in the pack and importantly provide you with warmth and comfort during the night so you feel fresh for the following day.

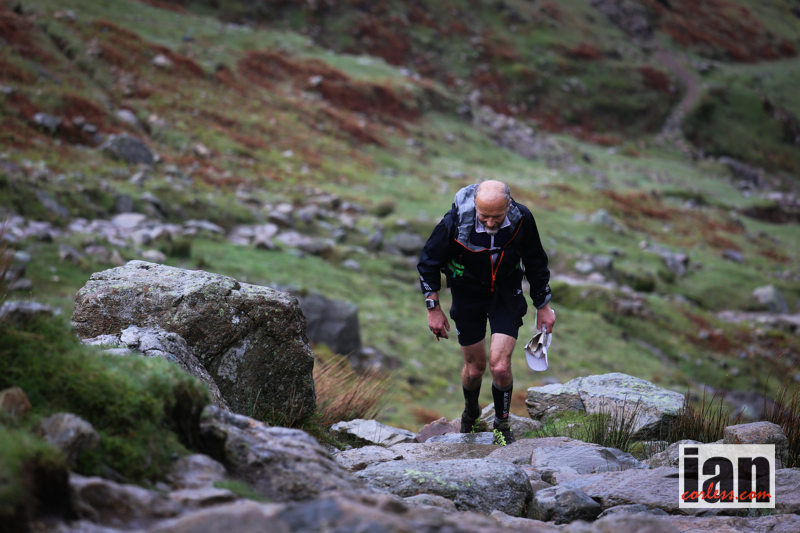
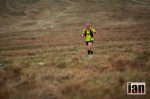
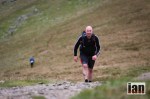
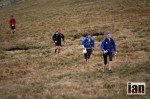
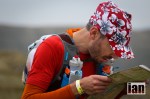
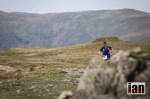
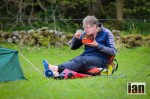
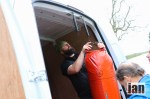
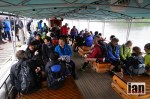
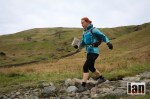
I have just returned from working (3rd consecutive year) at the Marathon des Sables. Arguably, MDS as it is affectionately known is the daddy of multi-day racing. To draw a comparison, it holds the same allure and respect that Western States holds for the 100-mile distance.

Now in it’s 30th year the race has seen it all. Today, the British contingent are the most represented nation at the race, closely followed by the French. Following online forums as the 30th edition came close, one question was repeatedly asked, ‘What sleeping bag are you taking?’

It was a good question and on the face of it, a question that could easily be answered by each person clearly writing the name of their chosen product. However, nothing is ever that simple and sleeping bags (along with which pack) may very well have been the most argued and discussed topic prior to the race.

One thing was apparent from a British perspective. Three names repeatedly cropped up – OMM, PHD and YETI. Armed with this information, I decided to take all three to the MDS and test them, ‘in situ’ and feedback my thoughts.

Are you running a multi-day race? Join our Lanzarote Training Camp which takes place in January every year with two-time Marathon des Sables champion, Elisabet Barnes. Along with Sondre Amdahl and Shane Benzie.

Check it out HERE

Firstly a little background history.

OMM 1.6

OMM – (website HERE) OMM stands for Original Mountain Marathon and they have pioneered apparel, packs and products to enable runners to move fast and light in challenging terrain for multiple days.

Minimus

PHD – (website HERE) PHD stands for Peter Hutchinson Designs is a UK based company who provide a range of functional and technical apparel for adventures all over the world. They offer a range of ‘off the shelf’ designs but they are renowned for their bespoke services. You can read a profile here.

Yeti Passion One

YETI – (website HERE) YETI are a small German based company who specialise in down sleeping bags. They also making clothing and accessories.

THE TEST

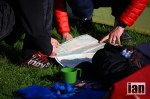
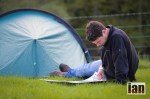
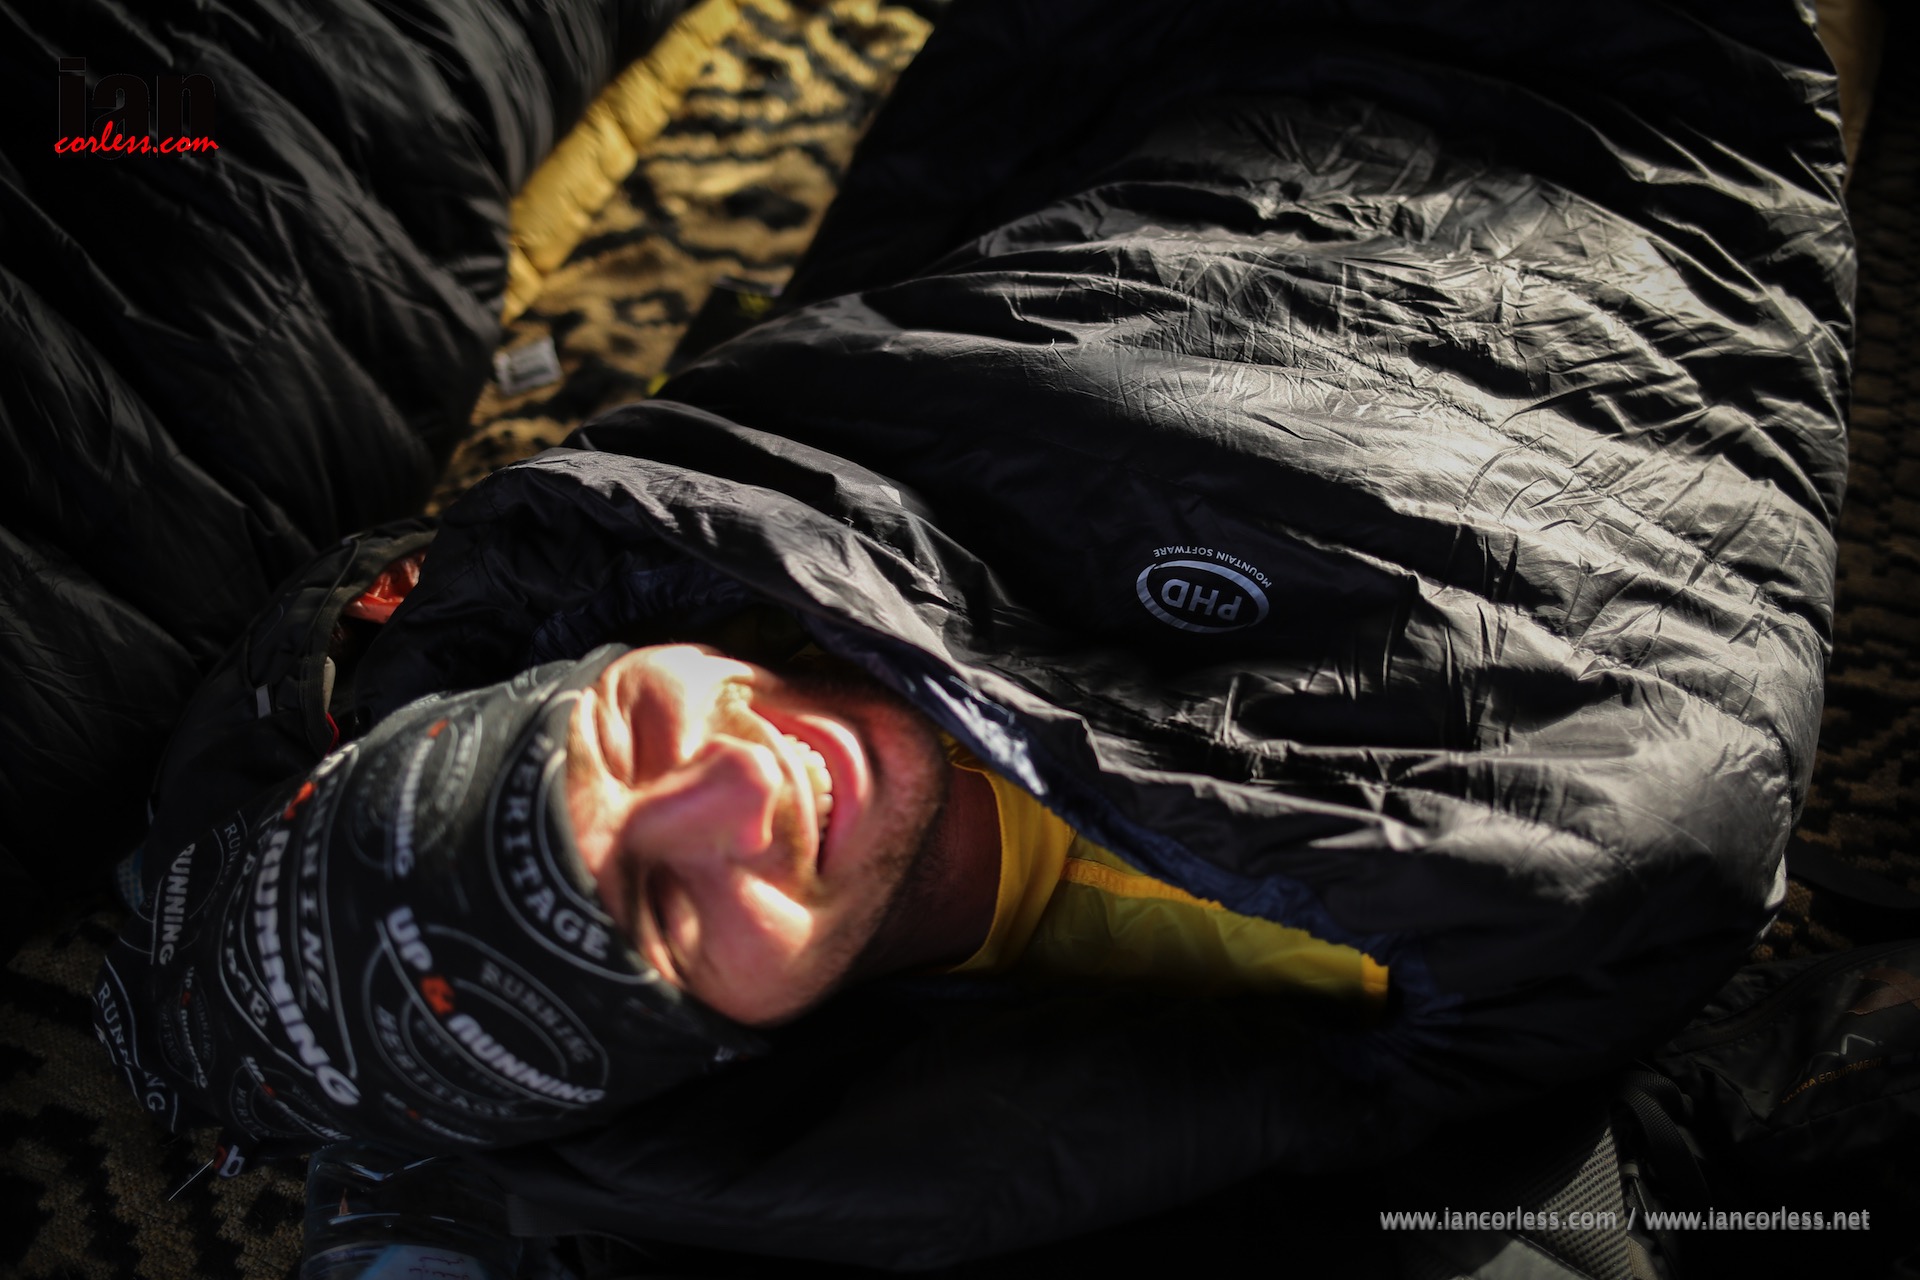
Before I get down to the nitty gritty, I must clarify certain things. Firstly, the weather at MDS in 2015 was quite variable, we had warm days, plenty of variable wind (including sand storms) and at night temperatures dropped considerably towards the end of the week.

I alternated between bags and in particular on the first night (particularly warm) I slept in all three bags for approximately 90-120 minutes each. Also, I did this on the coolest night which coincided with the longest day.

So that you can draw comparisons, here are my personal body stats:

  • Height : 5ft 9in.
  • Weight : 73 (ish) Kg.
  • Waist : 32″ inch.
  • Shoulders : 40″ chest.

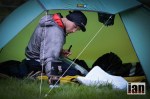
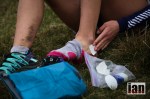
It will soon become apparent why the above stats are important. Each night I used a sleeping matt and a small travel pillow. I also had a TNF down jacket that weighed 250g as an optional ‘warmth’ layer if required. For consistency I used a ‘Exped’ dry bag for all my sleeping bags. It does add extra weight (36g) but I like the security of a bag like this protecting my sleeping bag from the elements.

©iancorless.com_OMM-7649

©iancorless.com_OMM-7642

Lets look at the sleeping bags in detail

OMM

©iancorless.com_MDS2015Day7-2379

OMM provide two sleeping bag options, the 1.0 and the 1.6 (as tested). As you would imagine, OMM want to make a bag or bags that are light, functional and pack small. I like two key things about the OMM bags: they are cheap in comparison to the competition and the filling is not down. By using Primaloft the OMM is functional in varied weather and as such, this bag can get wet and it will still remain warm. This does not happen with down! Of course, rain in the Sahara may well be far from your mind but remember, MDS is just one race… I am sure you will use your bag for may adventures.

OMM say:

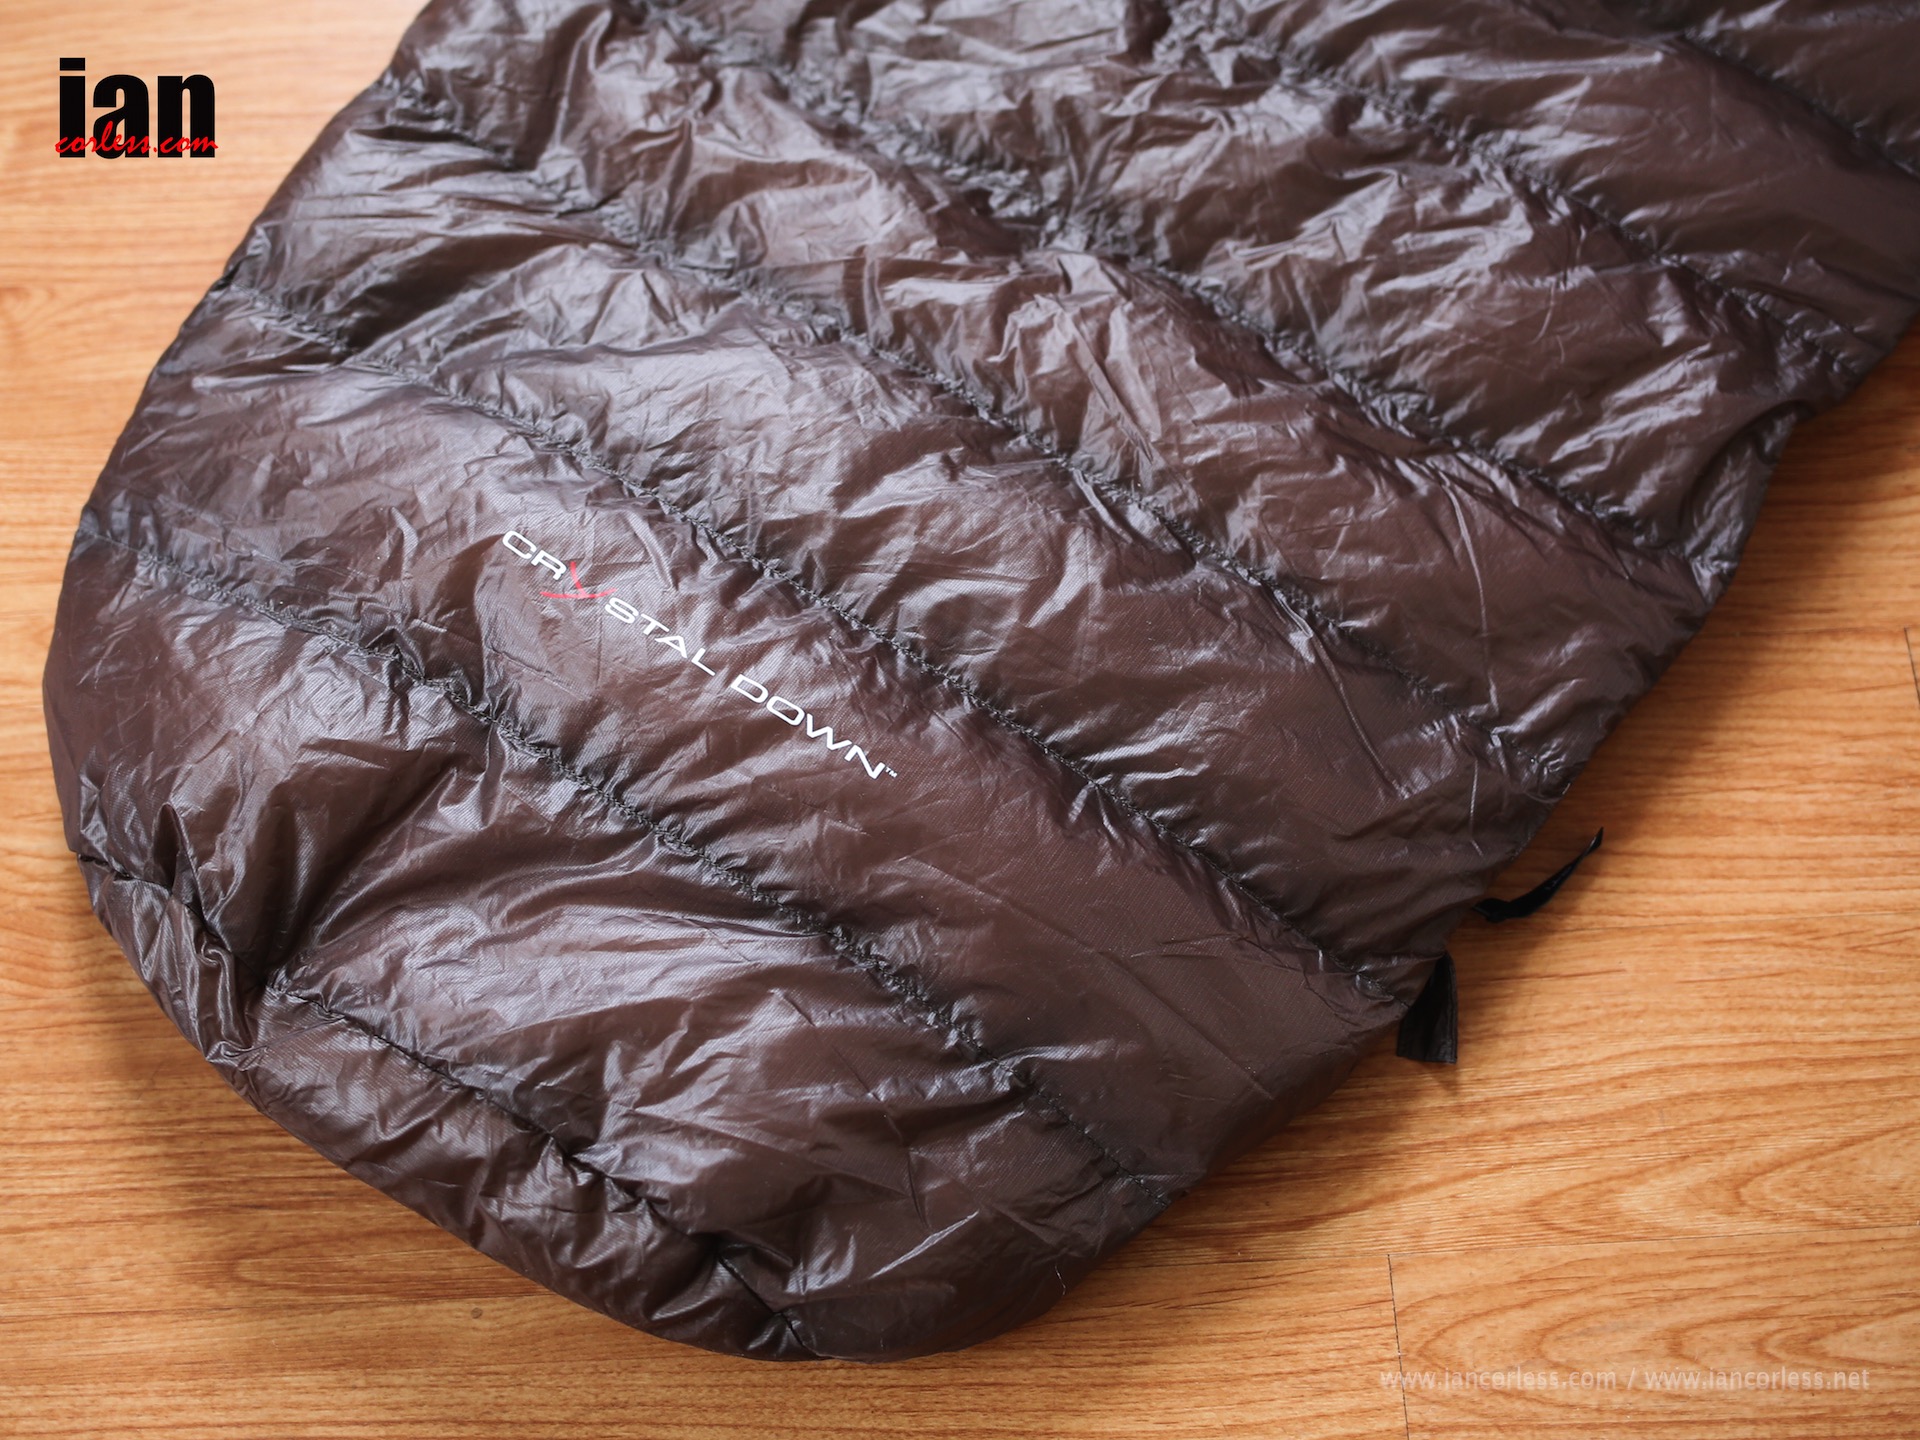
The bag is made from a combination of materials to ensure maximum performance. The Purist bag for the Minimalist, The shell is made from PointZero, It has a DWR treatment to the fabrics face to give it a degree of water repellency and also extra stain resistance. The synthetic insulation is Primaloft Gold to give the best warmth to weight ratio available on the market, we have used different weights per panel to ensure the best technical usage of the fill. The base sheet is filled with Primaloft Gold 60g, we then put the Primaloft Gold 100g on the top sheet. The footbox is also shaped and filled with Primaloft Gold 100g to keep the feet warm. The construction is also considered as we have a loose laid outer shell and the inner stitched through to the insulation again this is to maximise insulative value and eliminate cold spots.

©iancorless.com_OMM-7630

OMM do not provide a rating for their bags and this does cause some issues for many people. I can understand why, no rating does leave a question mark on how warm the sleeping bag will be. The bag is mummy shaped with a short zip that sits in the middle of the bag and not at the side. It has a drawstring hood and is silky soft to touch. As mentioned this bag is fast drying and has an element water repellency.

©iancorless.com_OMM-7636

The bag only comes in one size, so, if you are taller than 6ft it’s not the bag for you. In addition, as with all the bags in this test, they are designed to be minimalist and therefore some compromises must be made. When zipped up I personally had little room to move around in the bag, this was not a problem for me. However, if you have a big chest and shoulders you may want to make sure that it’s comfortable. At £170 this bag is a bargain and I would really recommend it. On the warm nights at MDS, particularly the first night, I was able to open the zipper which allowed me to get air to my torso and cool down. On the coldest night, I zipped up, put my head inside the hood and I used the draw string to keep out any drafts. I took a TNF lightweight down jacket but did not need it, however, the addition of a sleeping bag liner or lightweight thermal top and pants would be recommended for the coldest MDS nights

©iancorless.com_OMM-7623 ©iancorless.com_OMM-7626

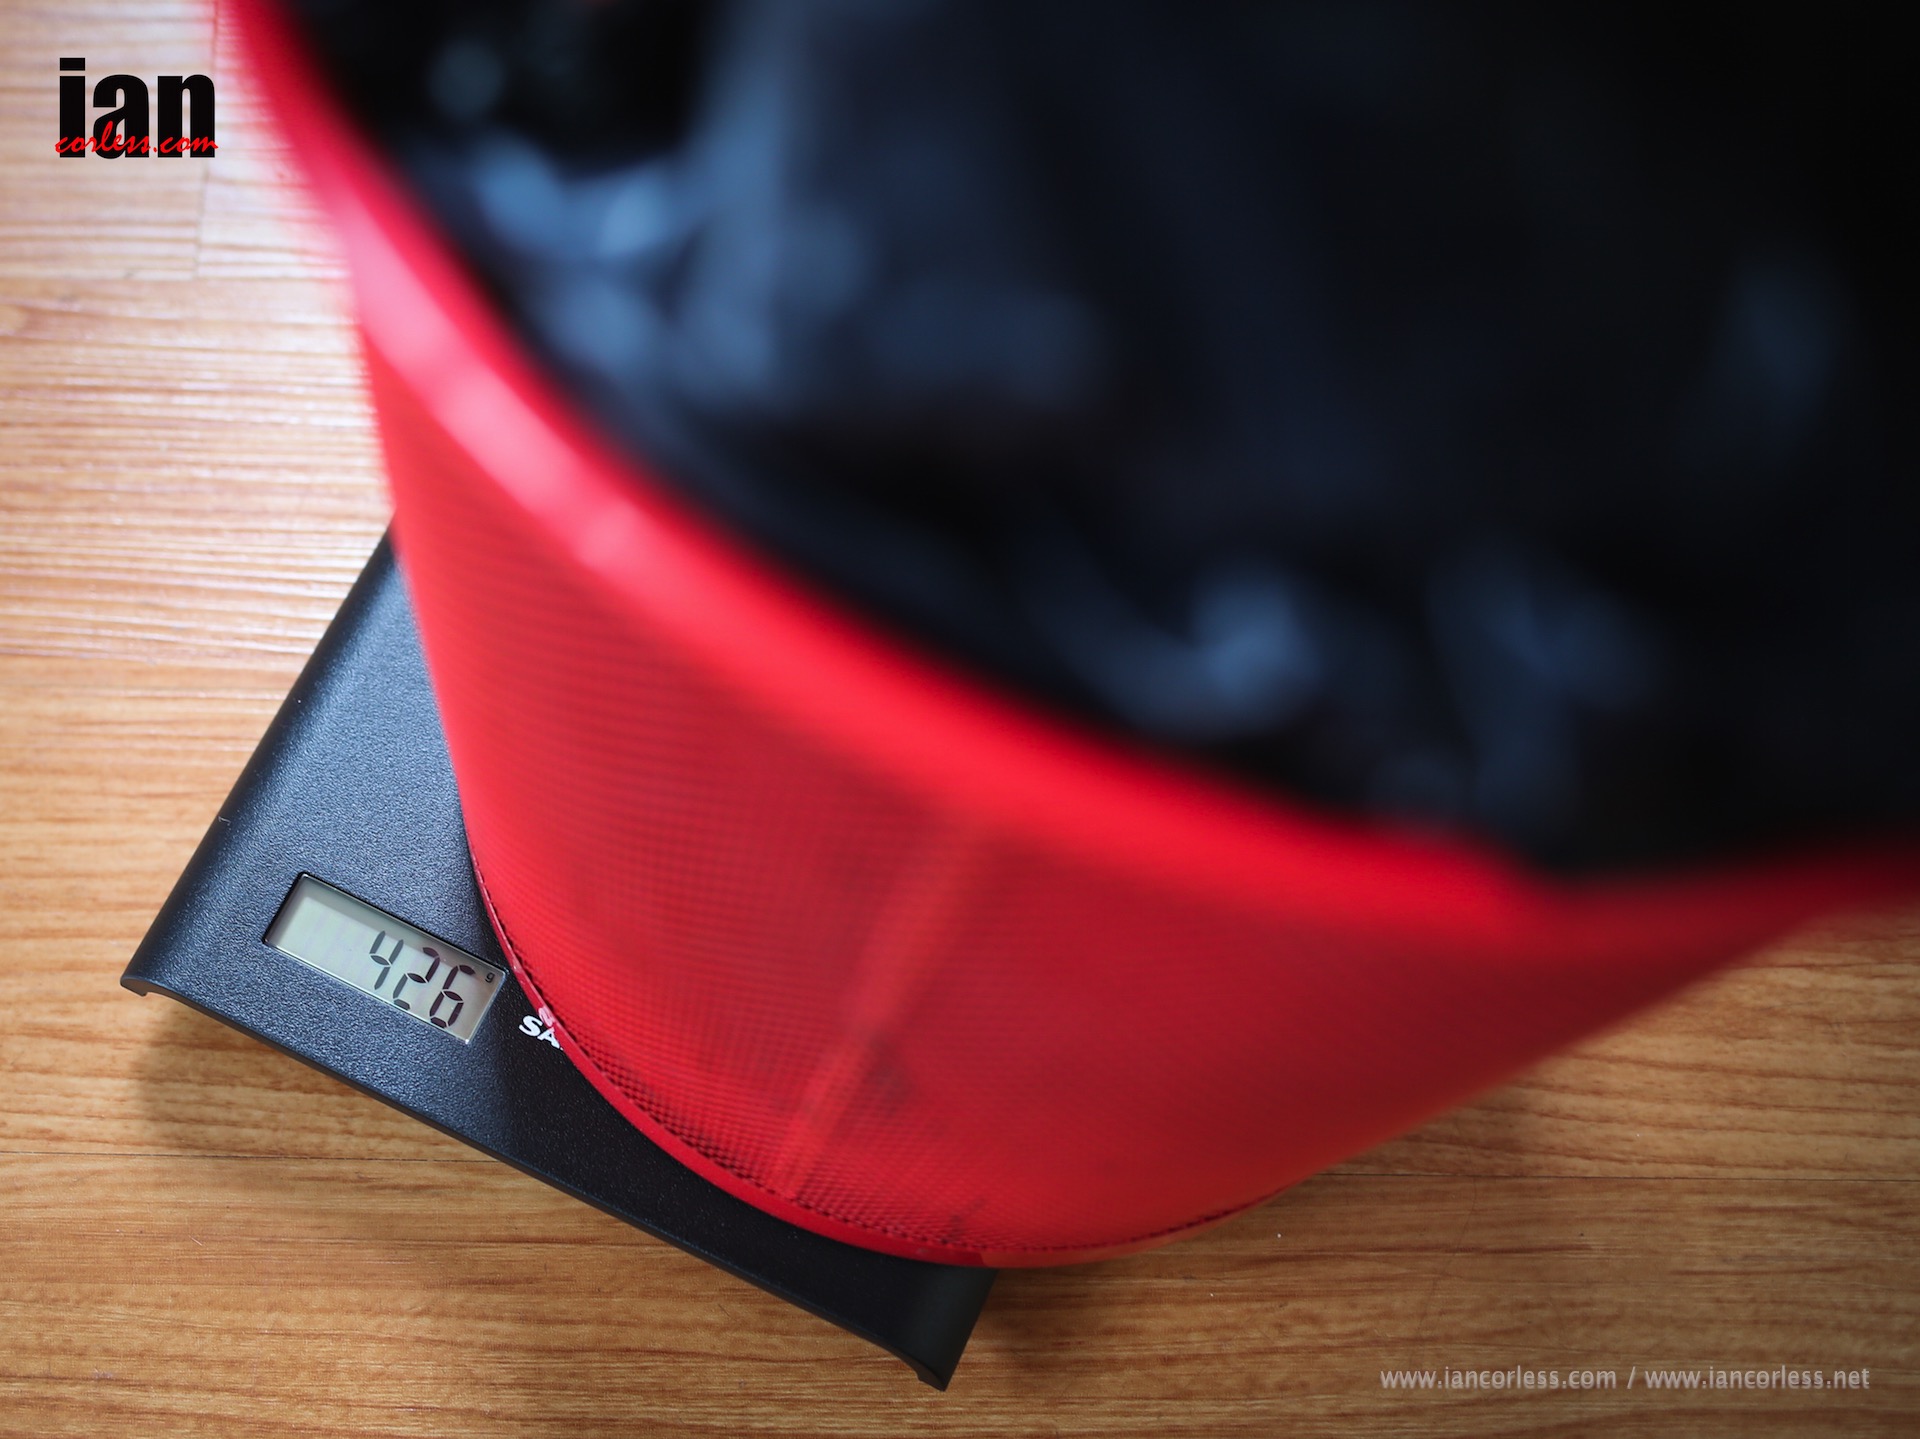
Weight is good (426g) but it’s the heaviest bag here and the bag packs down really small.

PROS:

  • Primaloft fabric is extremely versatile.
  • 1/2 zip keeps weight lower and does offer ventialtion.
  • Soft feel and comfortable.
  • Price.

Price

CONS:

  • Not the lightest bag
  • You need to be under 6ft tall
  • Not warm enough on the coldest night.
  • Need a liner or base layer clothing for colder nights

What 2015 MDS participants said:

Henry Potter Had the omm, was cold after about 2 am every night. I’m usually a petty hot person so thought I would get away with it. Also being 6,1ft it was a little on the small side!

Mark Gibson Used the OMM. Felt cool in the night but not uncomfortably, I like to spread out so the narrow end took some getting used to. Would use it again.

Ben Daly Omm1.6 cold between 3 and 5am every night and I’m quite brave when it comes to the cold

PHD

©iancorless.com_MDS2015Day7-2366

PHD make several sleeping bags and the Minimus K has become a regular at MDS. As mentioned, PHD make custom products for the entire range, however, it is possible to purchase the Minim Ultra K (330g from stock) at a cost of £263 in ‘standard’ fit. The big plus of PHD over other sleeping bags is how it is possible to customise a bag specific to your needs:

  • Length – short, standard, long and extra long
  • Width – slim, standard, wide, extra wide
  • Outer fabric – MX or ultra shell
  • Zip – no zip or short zip

Adjusting all of the above obviously alters the price, but if you are tall, wide, get cold feet, require no zip or require a half zip, PHD can give you exactly what you want! I recommend you allow time for this… don’t try to order a bag in March when you have a race in April…

For example, lets say you are small, slim build and require a half zip – Cost is £335 and the weight is 372g.

By contrast, lets say you are very tall, have huge shoulders and require a half zip – Cost is £458.28 and the weight is 588g.

A standard ‘off the peg’ Minim Ultra K with no zip in standard length and width weighs 330g and cost £263.

PHD say:

This K Series product has been created for one single reason, to take warmth-for-weight performance to the limit of what’s possible. Unique 1000 down, super-light materials, and specific design features mean that the word Ultralight now applies to this wide range of gear that will take you to the Poles as well as on a Sahara Marathon.

To those who like to shave every gm of weight off their load, the Ultra K sleeping bag is designed for you. The 10X inner brings a new soft comfort as well as reduced weight, while the unique 1000 down ensures max warmth per gram. An ultralight dream at 330gm (11.5oz).

Minim Ultra K.   330grm  (Mostly selected for weight saving).
Minimus K.         380grm  (designed for 5c nights – for a good nights sleep and recovery. This is the most popular choice)
Minim 400 K.     585grm  (mostly selected by those that do feel the cold)

Zip options are interesting. We find for MdS we’re sometimes putting in a short zip and occasionally just a foot zip. The Design Your Own Sleeping Bag site allows foot zips:  http://www.design-your-own-sleeping-bag.com/

©iancorless.com_PHD-4544

The PHD was actually too warm for me on the warm nights and was perfect on the colder nights without any base layer or liner. It’s a real plush bag and very comfortable. The lack of a zip means temperature regulation is cumbersome. My only option was to pull the bag below my arm pits or push down around my waist. I personally would order a custom bag with a half zip given the choice. The fill is 1000 European goose down (hence the warmth).

©iancorless.com_PHD-4547

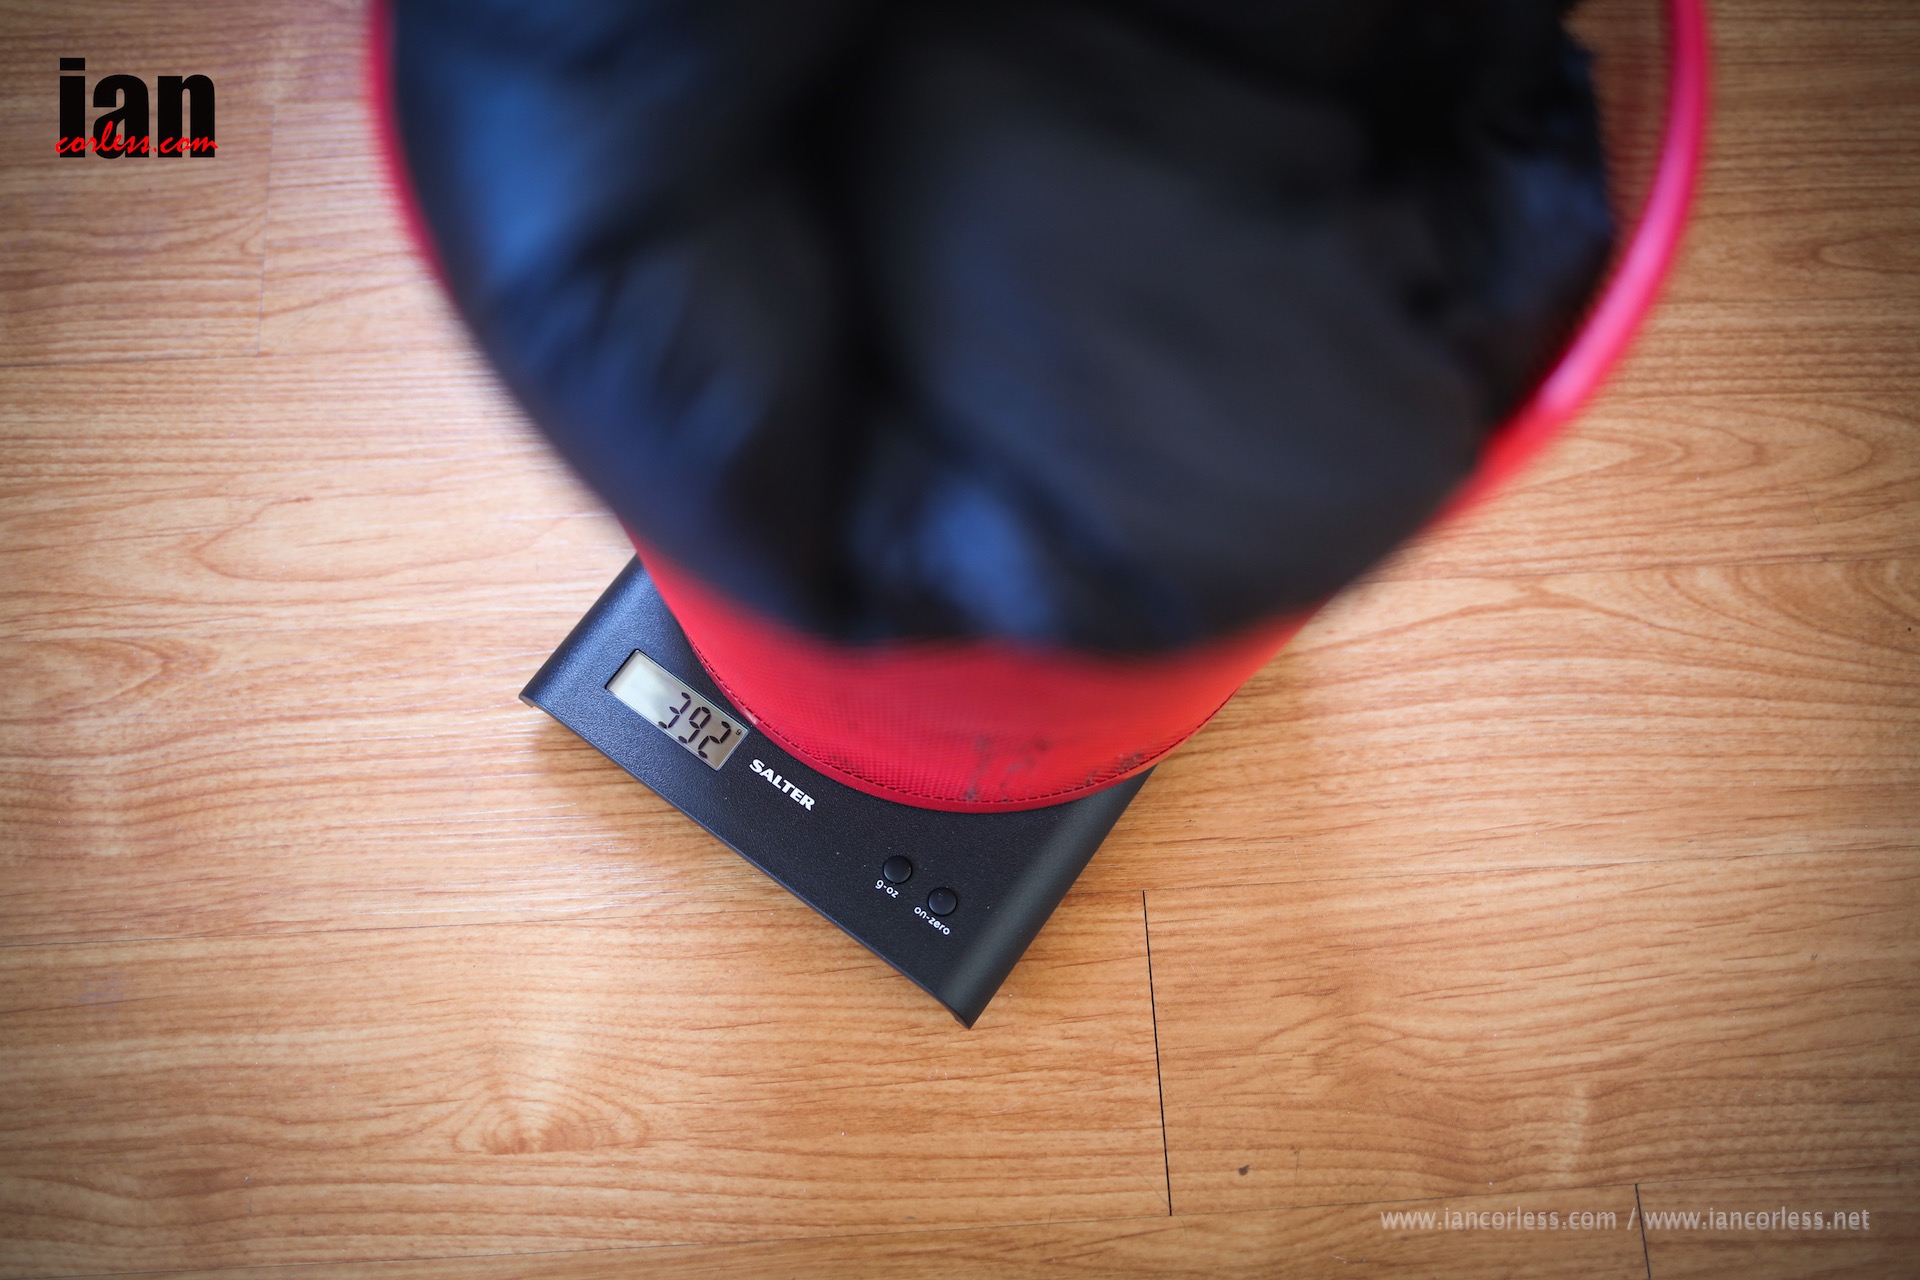
The bag tapers nicely and doesn’t restrict in any way. The construction of the bag guarantees a great spread of down and it packs small and weighs a very competitive 380g.My bag actually weighed 392g.

©iancorless.com_PHD-4550

PROS:

  • Warm
  • Packs small
  • Comfortable
  • Customiseable

CONS:

  • Off the shelf it has no zip
  • Maybe too warm for some (without zip)
  • Lighter than OMM but not as light as Yeti
  • You don’t want to get the bag wet.

What 2015 MDS participants said:

Leigh Michelmore Used the PHD Minimus during MdS and found it to be perfect for what I needed. Compact, lightweight and very comfortable. It may have actually been a little too warm as I had one or two nights where it did too good a job. Overall very happy with it and will use it again!

Mat Needham I used the minimus Ian.

Super warm and I had to sleep partly out of the bag due to how well it performed, there were a couple of nights where I had to fully get in but that was more to do with the wind and sand blowing in the tent. Fitted in my small pack perfectly and very light. I would definately recommend it to others.

Dafydd Lewis I used the PhD minimus. Brilliant bag, really warm and light enough. Would definately take again……if I go again!!

Rich Torley Had issue with the zip on the PHD Minimus: would jam frequently and mostly during the night when I needed to escape for a pee. Wondered if it was to do with sand but never proved conclusively. Grew quite jealous of the Combi being doubled up as a jacket, especially on the colder mornings.

YETI

©iancorless.com_MDS2015Day7-2459

YETI (new bag, Fever Zero above) are specialist sleeping bag makers. They offer a range of products so that you can decide on the exact bag for your needs and requirement. However, unlike PHD, they only offer ‘off the shelf’ products. The Passion One bag was extremely popular at the 2015 MDS for two reasons: small pack size and low weight. Weighing just 320g this bag has a full zipper, a real bonus for hot nights and it has Goose Down class 1 filling. It’s worth noting that if you require more warmth, a Passion Three (465g) and a Passion Five (690g) is available.

The Passion One is silky smooth, soft on the skin and on the first night in camp it was a real pleasure to have a full length zip to allow air to get around my body and regulate temperature. However, on the coldest night, I found the Passion One on the cold side and found the need for an additional layer.

YETI say:

Perfect for people who experience adventures while others sleep; who enjoy a trip with good companions; who consider flirting an adventure as well; who believe life is too short for bad design; who do not consider fashion and nature to be inconsistent with one another; who dream about flying; who believe their eyes travel as well; who consider the lightness of being absolutely bearable.

©iancorless.com_Yeti-7604

In comparison to the PHD and OMM products, the Passion One felt ‘too light’ which I guess is a good thing.

©iancorless.com_Yeti-7621

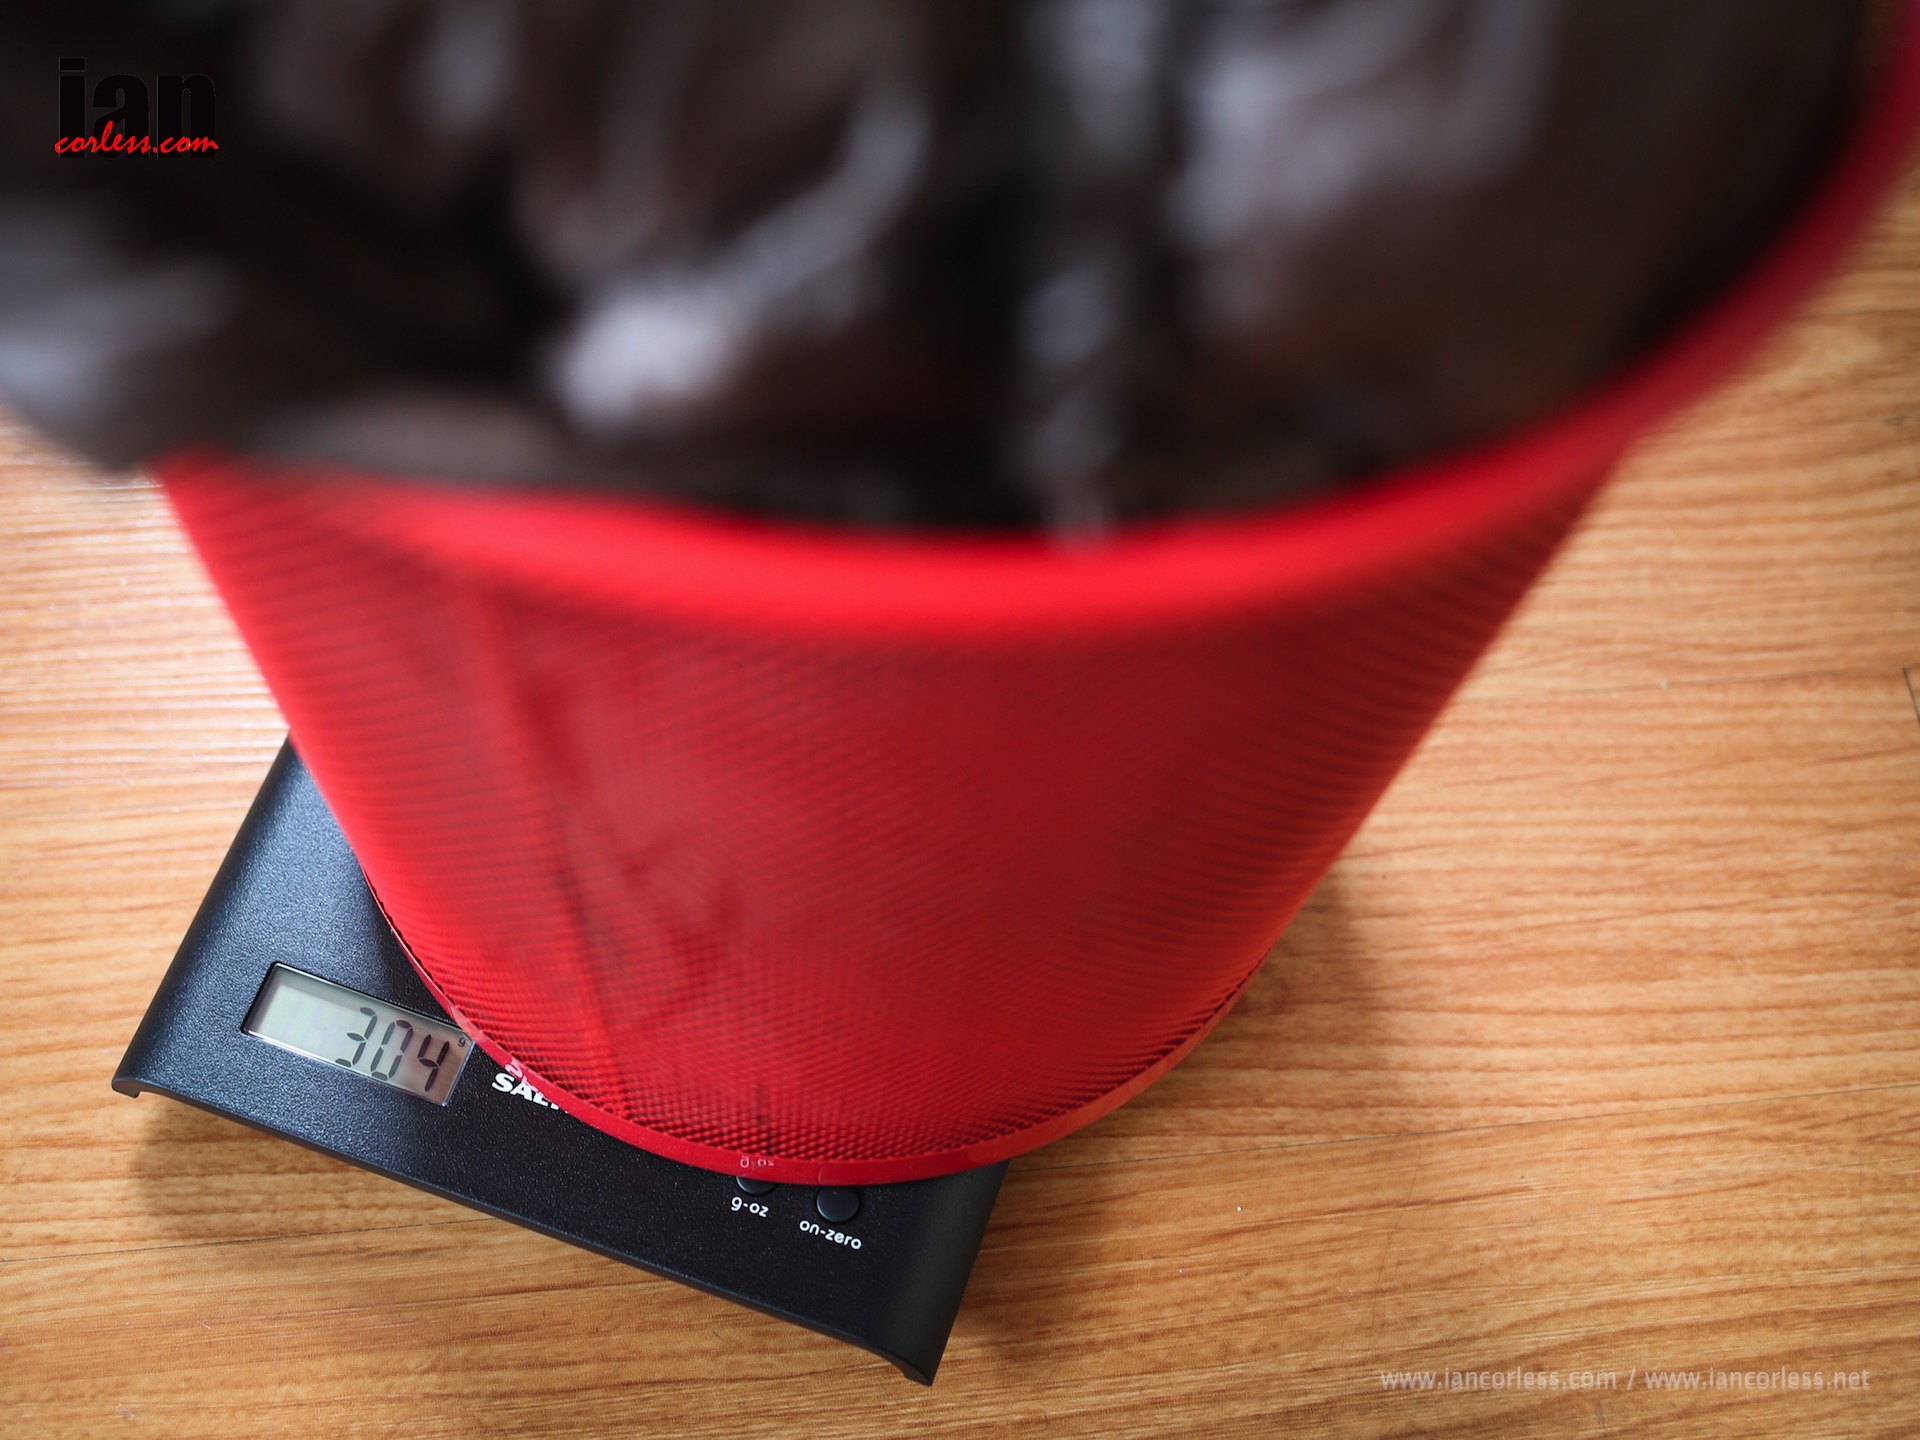
The scales confirmed that my bag was 304g, so, a good 100g lighter the the PHD Minim Ultra K and 122g lighter than the OMM 1.6. However, weight isn’t always everything… like the PHD, the Passion One comes in a choice of sizes: M, L or XL. The M is Ideal for me as I guess I am pretty much ‘standard’ size, however, big shoulders, extra height and you may struggle so rest assured that Large (6′ 3″) and Extra Large (6′ 9″) are available – obviously weight increases. The cost of the Passion One is £300

©iancorless.com_Yeti-7605

As with all the bags in this test, space is at a premium. It’s the nature of travelling light, however, I did find the Passion One offered a little more room in the toe box.

PROS:

  • Lightest bag in the test.
  • Full length zip.
  • Draw string hood.
  • Small size.

CONS:

  • Not warm enough on the coldest night.

What 2015 MDS participants said:

John Evans Took the Yeti Passion One without liner, cover or mat. Found that stuffing it into my bag nearest my back provided good cushioning and saved 40g on carrying the cover  The bag itself was fine, a little too warm on the first few days but the full length zip was fine for temperature adjustment; got cool on the later stages when the wind was up (i was sleeping in the centre of the tent with most airflow) and body reserves were low, but manageable. Stuck it in the washing machine when i came back which seems to have screwed up the lining.

Melissa Venables Yeti – freezing cold with silk liner most nights except the warmer night where I did hang a leg out. Stage 4 I got in it with the space banker they had also given me and did that for a few nights (sorry tent 183 for rustling like a crisp packet)
The last three days it started shedding down everywhere as the material is so thin it split (inside)
I am a cold person hence taking liner – chose it because it was small and at one point I was going with a 14 l pack. Wouldn’t take again I would go for something warmer even if it meant a little more bulk and weight!

Rob Shaw I used the Yeti one. Very light and packed up small. Decided at the last minute not to pack the silk liner and regretted it. Very cold on the later days of the race mainly due to wind blowing. It’s a warm bag but if you are in a draught the wind blows right through it. If you can drop a side of your tent to block the wind it certainly helps.

Dave Benison Yeti Passion One with no liner. Perfect choice for me. Full length zip allowed for legs to pop out on the warmer nights, and during the sandstorms the drawcord around the top meant I could really batten down the hatches & keep sand free inside. On the cooler nights I would say it was ‘just about’ warm enough, and only had to reach for my Ghost Whisperer jacket once (at about 4am after the long stage.)

For what it’s worth…

©iancorless.com_MDS2015Day5-6780

Another popular bag/ combination at MDS is the Raidlight Combi Down Sleeping Bag / Jacket. At £170 it represents real value for money as it combines a jacket and sleeping bag in one package. This obviously sounds like a great idea… However, the weight of the Raidlight is 700g. I personally prefer the flexibility of a sleeping bag and separate lightweight down jacket as this not only provides extra flexibility but reduced weight.

Raidlight say:

Raidlight’s ‘Combi Duvet’ dual purpose Sleeping Bag and Jacket. It is down-filled for great warmth to weight ratio. Perfect for use on multi-day races such as MdS or any event where duel purpose is key. At night, a warm sleeping bag and by day just unzip the arm holes, fold the bag up inside the back section, and it’s a really warm jacket.

CONCLUSION

As you can see, purchasing a sleeping bag is not as easy as you think, particularly when you are trying to pack this in a pack with all your food and other equipment for a multi-day adventure. You need to ask some very specific questions to ensure that you get a bag that works for you and fulfils your needs:

  • Are you tall?
  • Are you wide
  • Do you sleep cold or hot?
  • What is your budget?
  • Do you want to use your sleeping bag for other trips?
  • How important is weight?
  • How important is pack size?
  • Will you carry an additional base layer and/ or down/ thermal jacket?

One you have answered the above you can be very specific about what you need and it should, I hope become obvious which of the above bags is likely to be suitable for you.

I of course need to stick my neck on the line and say what my choice would be!

To be honest, it’s a relatively simple decision, I would go for a custom made PHD Minim Ultra K with zip so that I could regulate my temperature. With this bag, I would not need to carry an additional down jacket (weight saving 250g) and I could carry a small wind shell as a layer when not sleeping. Bag and wind shell £320.

But, the OMM 1.6 represents real value for money (if you are under 6ft). It provides a sleeping bag that can withstand the elements (rain) and the money saved on the bag would allow me or you to spend up to £200 on a real super lightweight down jacket that would offer great flexibility not only at a race such as MDS but at other events. Combined bag and Jacket price £370.

If I was an out-and-out racer looking for the lightest bag, the Yeti Passion One with full length zip and options of M, L or XL make this a tempting choice. But for me the money spent on making this bag small and light is potentially outweighed with the need for an additional warm layer that not only adds cost but weight. I would say that this bag and jacket may well come close to a combined cost of £500.

The curve ball comes with the Raidlight Combi Down Sleeping Bag / Jacket that provides great value for money. It’s certainly warm and the flexibility of the jacket option is attractive for some. However, it does weigh slightly more and packs larger. The cost at £170 is a bargain.

So what do you think…. what would you go with?

Please support this website. I believe everyone deserves to read quality, independent and factual articles – that’s why this website is open to all. Free press has never been so vital. I hope I can keep providing independent articles with your help. Any contribution, however big or small, is so valuable to help finance regular content. Please support me on Patreon HERE.

Follow on:

Instagram – @iancorlessphotography

Twitter – @talkultra

facebook.com/iancorlessphotography

Web – www.iancorless.com

Web – www.iancorlessphotography.com

Image sales –www.iancorless.photoshelter.com

inov-8 RACE ELITE 24 pack review

1-Race_Elite_24-845x1024inov-8 continue to push the boundaries and after the successful launch of the original Race Ultra Vest (3L) and the recent launch of two larger capacity and re-designed RACE ULTRA VESTS vets; 5L and 10L, the UK innovators have introduced the RACE ELITE 24.

Grounded in the fells of the UK, inov-8 has long provided mountain marathon runners with the perfect footwear to tackle mud, rock, bog and scree. The addition of very specific race apparel and packs have afforded the discerning runner with a one-stop shop for all that is required to race (not sleeping bags or tents). inov-8 packs have been popular in mountain marathon, fast packing and overnight adventures for some time. However, the introduction of the new RACE ELITE 24 is almost certainly going to turn a few heads.

FIRST LOOKS

If you look at the pack from the rear, it is at first glance a very simple design. Almost duffle bag like in shape, the pack is a long black tube with a two-way zip that splits the pack in two. Adorned with adjustable bungee that moves from the outer edge to the middle in a zigzag shape. The bungee passes at the bottom of the pack and mirrors the opposite side. The two elastics then meet in the middle of the pack at the top (above the zip) and here you pull the elastic tight to compress the pack and remove any excess space and/ or fabric. As you look at the pack from the rear, attachments are available on the left for running poles but most importantly, this pack is ice axe friendly! I can’t tell you how many times I have been asked when doing a pack review, ‘can it hold an ice axe?’ Ice axe compatibility may well make the RACE ELITE 24 the new ‘go to’ pack for those who like to travel fast and light in the mountains without compromising on carrying capacity.

2-Race_Elite_24_Rev-915x1024

The front of the pack is the revelation!

inov-8 have taken the ‘vest’ from the Race Ultra Vest and added it to the RACE ELITE 24 potentially making it one of the most form fitting and comfortable 20+L packs on the market. Pretty much all brands now incorporate a vest or vest like system when designing new packs. Why? Well, it works, pure and simple. The design is more comfortable, it distributes the weight of the packs contents and it adds additional storage.

IN USE

Joe Grant running with RACE ELITE 24 ©inov8

Joe Grant running with RACE ELITE 24 ©inov8

The main compartment of the pack is split down the middle with a zip that has two zipper pulls. When open, you have a wide-open space to add contents. The pack has no dividers, pockets or clutter. So, add your kit, zip it up and off you go. This design is particularly good as it provides immediate access to all contents. It’s possible to divide contents in waterproof dry bags or plastic bags and therefore ease of use is a real plus. If you are using the pack with less contents, then all the weight will go to the bottom of the pack. Excess fabric and space can be removed by tightening the adjustable bungee. The pack is long and for me, this may well be a stumbling block for some users. This has nothing to do with a person’s height but torso length. If you have a short torso, the RACE ELITE 24 may well be too long for you? I understand why inov-8 has made the pack the length it is. If you are doing a mountain marathon, you will be carrying a tent and therefore the tent poles will need to fit inside. I guess it may be possible to attach poles to the outer but in my opinion it wouldn’t be ideal.

The front of the pack as mentioned has the vest fitting system with an upper and lower chest strap to retain the pack in place. There are also upper and lower side straps that provide fine tune adjustment so that you can have the pack as tight or as loose as you require against your torso. This system is particularly useful, as it will allow you to wear additional layers and still have the pack fitting. A whistle is provided and the left side mirrors the right with an upper larger stretch pocket, a smaller stretch pocket and then a large zipped pocket. The large zipped pocket will take inov-8 500ml soft flasks with extended straws so that you can drink without having to remove the bottles. The straws fit through an upper and lower elastic loop on either side of the pack.

The multiple front packets provide immediate access to anything I needed whilst running. I had a phone, camera, bars, gels, keys, compass and money all at hand. Perfect. The front zipper pockets add extra security if not used for the soft flasks.

The soft flasks with extended straws are a revelation and make ‘on the go’ drinking a breeze. It also makes refilling very easy.

Fabrics are light and breathable as the original. Of course with any vest, you are going to get a hot spot on your back. You can’t avoid that with this style of product.

The front fastening system has also changed from the original. This pack no longer uses the small quick release system that some found fiddly on the previous vest. Now it has 2-fixed straps, upper and lower and both use the classic male/ female quick release fastening system that is much easier to open and close should you be wearing gloves.

You can attach poles to the rear. I tried but didn’t find this to be a good option for me. More often than not, the new folding poles such as Black Diamond or Leki are shorter in length. This makes fastening more awkward and problematic. To resolve this, I attached two adjustable bungees to the shoulder straps and I store my poles folded across my chest; works for me and makes storing and access to the poles easier. It’s a personal thing. However, you can hold an ice axe on the rear of the pack and as mentioned previously, this will be a huge plus for many!

I personally would like inov-8 to design a front pack that could be added as an optional extra. Front packs are a little like Marmite; some love them, some hate them! For me a front pack can often balance the weight of the rear and provide some equilibrium. It also means that you have additional on hand storage for essential items. Looking at the bigger picture, with some tweaks in the design, the RACE ELITE 24 may well be a great pack for multi-day self-sufficient races such as Marathon des Sables.

inov-8 athlete Joe Grant has been using the RACE ELITE 24 during the winter and recently said,

‘I started testing the Race Elite 24 pack last winter, mainly for running and some winter climbing. For these activities, I needed a pack that would be runnable, stable and light, but still able to hold a decent amount of gear.’


‘Again, the vest system worked really well at keeping the load stable and allowing me to run on sections of trail that I’d typically have to hike with a conventional style pack. I’d carry a camera, water and food up front for quick access.’

Conclusion

If you are racing long distances, heading to the mountains, fast packing or racing a mountain marathon, the RACE ELITE 24 is without doubt worth checking out. The pack really embraces fast and light with minimal clutter. If you are looking for bells, whistles and multiple pockets in the main compartment, then this pack is not for you. If you like a pack that can hold plenty of kit: clothes, jacket, waterproof trousers, sleeping bag, tent, cooking equipment and food in a space that is easy accessed. Then the RACE ELITE 24 is for you.

The vest fitting system is a revelation for a pack of this size. The multiple pockets provide storage and access for on the go items such as food, gels, camera, phone and the two 500ml soft flasks provide easy on the go hydration.

Recommended!

Pros:

  • Simple design.
  • Very light.
  • Vest fitting.
  • Adjustable bungee.
  • Easy access to main compartment.
  • Soft flasks with straws.
  • Ice axe compatible.

Cons:

  • May be too long for some?
  • Only capacity for 1L of water unless you add a bladder to main compartment.
  • Main compartment has no structure, which may be an issue for some?

Product weight 330g

Price TBC

Availability TBC

Check out inov-8 HERE

inov-8 logo

Navigation 101: Intermediate Navigation – Beyond the Basics by Mountain Run

Mountain Run

This is a second article in a trio of interviews with Ian Corless, about Navigation for Ultra Runners & more. Read article one HERE

all content ©mountainrun

In the first interview we covered the Basics of Navigation, this encompassed maps, compasses, setting your map & how to set a bearing.

The second interview was moving into intermediate navigation & it consisted of the following information & techniques:

  1. Declination/Magnetic Variation
  2. Grid Numbers/Plotting a Grid Reference
  3. Back Bearings
  4. Re-Orienting/Re-locating
  5. Thumbing the Map
  6. Hand-railing
  7. Catching Features
  8. Aiming Off

So lets start with:

1) Magnetic Declination or Magnetic Variation: 

There are 3 points at which north is seen. 1) True North, 2) Grid North & 3) Magnetic North. We are concerned with Grid North & Magnetic North.

Grid North is what is detailed on a map, its where the North/South grid lines show us the direction of north, according to the grid lines printed on the map. This is almost the same as True North, so we will group True North & Grid North the same. These are fixed points & do not move.

Magnetic North is what your compass needle points towards, being magnetised & this is not a fixed point, it moves over time. Magnetic North is explained as so:

“The North Magnetic Pole is the point on the surface of Earth‘s Northern Hemisphere at which the planet’s magnetic field points vertically downwards (in other words, if a magnetic compass needle is allowed to rotate about a horizontal axis, it will point straight down). There is only one location where this occurs, near (but distinct from) the Geographic North Pole and the Geomagnetic North Pole.

The North Magnetic Pole moves over time due to magnetic changes in the Earth’s core.[1] In 2001, it was determined by the Geological Survey of Canada to lie near Ellesmere Island in northern Canada at 81.3°N 110.8°W. It was situated at 83.1°N 117.8°W in 2005. In 2009, while still situated within the Canadian Arctic territorial claim at 84.9°N 131.0°W,[2] it was moving toward Russia at between 34 and 37 miles (55 and 60 km) per year.[3] As of 2012, the pole is projected to have moved beyond the Canadian Arctic territorial claim to 85.9°N 147.0°W.[2]

Because we have a variance between True North & Magnetic North, we therefore need to use something called the Magnetic Variation. This is described as follows: 

“Magnetic declination or variation is the angle on the horizontal plane between magnetic north (the direction the north end of a compass needle points, corresponding to the direction of the Earth’s magnetic field lines) and true north (the direction along a meridian towards the geographic North Pole). This angle varies depending on position on the Earth’s surface, and changes over time.”

It is also explained more formally, Bowditch defines variation as “the angle between the magnetic and geographic meridians at any place, expressed in degrees and minutes east or west to indicate the direction of magnetic north from true north. The angle between magnetic and grid meridians is called grid magnetic angle, grid variation.

Magnetic_North_Pole_Positions

Depending on which country you reside in will then depend on what the Magnetic Variation actually is. For example, if you live in the UK then the Magnetic North is 1.5 degree’s at the start of 2014 west of True North. The reason it is west is that we sit to the east of the Agonic Line or line of Zero Declination where Mag North & True North are the same. There are several points where this occurs around the world. Its a bit technical, but all you need to remember is that the Mag Variation is printed on all maps in the UK to advise what the Mag Variation is at what ever year the map was printed.

IGRF_2000_magnetic_declination

In order to correct your bearing to take into account the Mag Variation, you must adjust the compass 1.5 degrees east of the bearing you have taken, or more easily remembered, add 1.5 degrees on to your compass bearing you have just taken from the map. To make life even more confusing, the Mag Variation in 2015 is 0, therefore Mag Variation need not be corrected for that year, so it is almost not worth making this correction for the next year & certainly if your navigation is broken down into small legs. It really only comes into play right now, if you are travelling over large expanses of land, without any catching features, hand rails etc.

Transversely, if you are using the Mag Variation, remember when making a sighted bearing, whilst relocations, you might want to subtract 1.5 degree’s off your bearing in order to get an accurate bearing when you place the compass on the map. It all depends how accurate you need the bearing to be? Are you looking at a mountain summit? If so, is your bearing really that accurate anyway.

So Mag Variation in the UK is not really necessary right now.

If you are in Europe or other parts of the world like the US, then your Mag Declination/Variation will be different. It should be on the map you are using, if not consult a website like Wiki for more information.

North & South of the Equator. 

If you buy your compass in the northern hemisphere, then it is not set to work in the southern hemisphere & visa versa. Silva produce 3 types of compasses to work in 3 different magnetic zones. The best piece of advise is if you are traveling, then buy a compass for use in the zone which you are traveling. Best to contact a company like Silva to get the right compass.

Can I set the declination on a compass, so I can forget about the Mag Variation? 

Yes is the answer, but they don’t come at a small price. Most compasses, of reasonable value, like Silva 2NL-360 Explorer will have a Declination Scale on the bevel base plate, this can be used for quick adjustment. If you want to set the mag declination, then you need to purchase a compass capable of doing this, like the Silva 15T-360/6400 Green military compass. Its not really necessary for general use, especially in the UK right now.

Ok, so the confusing Mag Declination/Variation is done. Use at will, just remember to check on the country you are in as to what the variation is & apply it if necessary. Its list on the map you have in your hand, or at least the one you will be using.

2) Grid Numbers & Plotting a Grid Reference

Grid numbers are applied to the grid lines. These are a squared matrix applied to the whole country to divide it into different sections. They are laid out to make squares 100k by 100k, these squares are then broken down to have a further matrix applied giving squares of 1km by 1km. These are the lines/squares printed on your map. The lines running from east to west are numbered from south to north, these are the ‘northings’, the lines running from north to south are numbers west to east, these are called the ‘eastings’. A grid reference is made up of these printed numbers.

northings-eastings

So on the image pictured to the left, we have Eastings along the bottom & Northings running up the side. In order to find a certain grid we need 4 of these numbers. This a 4 figure GR.

We are always given the Eastings first & the Northings second.  A 4 figure GR would read as 17 45

Once we understand this we can move to a 6 figure GR. This is done by breaking down each of the squares into a further 10 divisions on either scale, making 100 squares inside the existing square and will allow us to pin point a location to within a 100m square on the ground. A 6 figure GR would be something like 175 454.

This can be taken into a further pin point of 10m squares by using the same logic & so on.

A roamer on your compass can be of great help here to pin point 6 figure GR’s.

Not following? Book on a course….

3) Back Bearings. 

Very useful in either re-locating yourself or using a feature to make sure you are looking at what you think your looking at. A back bearing is taken by using a sighting of an identifiable feature, be it a path, summit, building or  large reentrant & applying it to the map. This can help you do one of 2 things. 1 – re-locate yourself on a line feature (its hard to relocate with this technique exactly, but it can help your judgement or give you a rough location) or 2 – help you to make sure the feature you are looking at is the same one you are looking at on the map.

Remember that when taking a back bearing, you might need to subtract the Mag Variation to make sure its correct. 

compassatpeak

To take a back bearing, line the direction of travel arrow at the front of your compass with the feature, make it as exact as possible. Then swivel the rotating bevel so that you line the red end of the needle in the red house/shed, remember the Red in Shed. This is now your bearing set. Next put the compass on the map & line the front side up with the feature you think you are looking at, and move the compass until your orienting lines on the base plate match with the N/S Grid Lines on the map. You should now be able to locate yourself somewhere along the side of the compass.

A back bearing works best if you are already located on a line feature, as this bearing will then cross the line feature at some point, giving you a rough location of where you are on that line feature.

4) Re-Orienting/Re-Locating.

A very necessary skill, used to either make sure you are where you think you are, or as it sounds, to actually re-locate. Once you are adept at this skill, it should be used throughout the day, as you progress through your race or just through the mountains to keep a check on your position, but of course if you are thumbing the map, then it will be a whole lot quicker & easier. When you’re really good at it you will re-locate whilst on the move.

Clients on a recent OMM Mountain Skills Day relocating on Place Fell, Eastern Lakes

©iancorless.com.IMG_5128GL3D_Day1

How to do it: 

Use everything at your disposal. This means look for all the identifiable features you can see, summits, paths, streams, woods, walls, buildings, ruins, sheepfolds etc. Orientate your map, if it is not already! Now match the features on your map to the ground, or visa versa. If your still not sure, then use a back bearing by locating a summit or other feature & take a bearing from it by following what was discussed above.

If you are not on a line feature you will then need to start really assessing the contours & because you have studied your contours well at home, you have a good handle on how to interpret what you are looking at to the features/contours on the ground. Are you in a reentrant, or is there one close by. Is the valley in the right place in front of you in relation to the map.

Re-Location requires lots of practice, the more you do, the better you will get until you can re-orientate whilst on the move.

5) Thumbing the map. 

Thumbing the map with compass in hand.

©iancorless.com_IMG_5329Marmot24_2014_

A very simple, but very useful technique. Once you start to get a handle on navigation, map reading & compass work you will be able to fold your map smaller, so not needing so much of it in view. The smaller you can have your map folded, the easier it is to thumb the map. By doing this we mean, fold your map in half, half again and so on until you have a manageable size to hold in your hand. Obviously make sure you can see the area you are in. Now, knowing where you are on the map, put your thumb over this location. Having the map oriented correctly in your hand is very important. As you walk/run along your chosen courses/bearing, you simply move you thumb small increments to keep up to date with your progress.

Why is this useful? 

Because you need to be able to locate your rough position on the map at a split second or whilst on the move. When you want to check your surroundings against the map, just pull it up to have a look & your thumb will be placed near to where you are, you can then re-locate very quickly & keep a track of your progress from map to land or the other way round. This is how you will learn to re-locate whilst on the move!

6) Hand-railing. 

It is as it sounds, using a handrail to help you on your way as you travel across the land. So what is a handrail? It a feature on the map that allows you to use it as a hand-rail. It is always a line feature & can be as simple as a path, or as obscure as a blind ridge line (by blind I mean rounded & not obvious). Once you have established the handrail is going in the direction of travel you want you can walk/run along it until you need to make your next decision.

Examples of Hand Rails

Handrails

How do you know when to stop? Use the next technique, a catching feature….

7) Catching Features. 

A catching feature again is as it sounds, its a feature that catches you. It can be designed to wake the brain up to say your nearly at your destination, next direction change or just as a marker to what is coming next. You can have as many catching features as you like along your chosen course. Don’t pick too many though, as it will be hard to remember. Try to limit them as wake up calls, or direction changes, but you can still use them as markers to track your progress.

Plenty of Catching Features in the image below: 

Catching-Features_edited-2

A catching feature might be a wall corner, building, junction in a path or river or a crag that you are moving past. Used in conjunction with thumbing the map & hard rails, you can see that you can really track your progress as you move forwards.

8) Aiming Off. 

The last technique in our intermediate navigational skill set. We use aiming off to catch a line feature, that we may then use as our next bearing setter or as a handrail until we reach the next catching feature.

To aim off we use a bearing slightly off to the side of the line feature we are heading for. This can be either left or right, but it need to be obvious, otherwise you might miss it.

Aiming Of below so you don’t miss the control, best practice in foul weather!

Aiming-Off_edited_edited-1

Lets say your travelling across open ground south to north, there is a tarn in front of you running from west to east & you want to catch this feature, but keep moving past it. The weather is in and visibility isn’t what you want it to be. You want to pass the tarn to the east, so you need it to be on the western side of you. How will you know you have passed it, if you can’t see so well due to mist? The tarn might be 500 m long, west to east. By aiming off, rather than passing the tarn on a bearing and checking it off as you go, you are better aiming off your bearing slightly to the west & hitting the tarn, this then gives you an identifiable feature to break up your leg & confirm you are where you think you are. You can then take your next bearing to the location you want to reach, using the techniques of handrails, catching features & possibly aiming off again.

Get these skills dialled in good weather & you can now be ready to head out in to the open fell in inclement weather. Get them dialled in bad weather & your getting ready to head out at night.

Still not got it? 

Are you interested in an UltraTrail Nav Day or a Mountain Marathon Skills Day?

Send us your details here:

Go back

Your message has been sent

Warning
Warning
Warning
Warning

Warning.


Rab Mountain Marathon 2014 Preview

rab_logo_horizontal

The 8th Rab Mountain Marathon™ will be held on the 27th and 28th September 2014. The Rab Mountain Marathon™ is a two-day fell running and navigation challenge for solos and pairs with an overnight camp.

©iancorless.com.IMG_5949GL3D_Day1


The Rab Mountain Marathon kicks off this weekend at 0830. Two days of navigation and running will unfold in the English Lakes using the popular score format.

Now in it’s 8th year, the Rab Mountain Marathon has become an iconic race that has visited many stunning locations, the Cheviot Hills, Derwent Fells, Snowdonia, Howgills and this year it once again returns to the English Lakes.

©iancorless.com.IMG_5641GL3D_Day1

Taking on challenging mountain terrain, participants need to be competent and confident at moving fast over tough terrain. As usual, the is the UK and runners will need to be prepared for the worst despite a recent spell of really good weather in the UK.

As one would expect, the Rab Mountain Marathon will take place over rough, steep and technical mountain terrain. Many sections of the course will be isolated and if bad weather comes in, everyone needs to be prepared.

©iancorless.com.IMG_5731GL3D_Day1The race format is ‘score’ as this tests navigation skills and avoids snakes of runners going from point-to-point. A rolling start window of 2-hours will spread the runners out and electronic timing is used to track the runners. As normal, different class options are available (including walking) and it’s possible to participate as a solo or team of two.

It’s hard to highlight some standout competitors for 2014. If I were to place a bet on the top Long Score competitors it would be between Adam Stirk and Andrew Higgins (who are a pair) and Stewart Bellamy (solo). Adam and Andrew finished 3rd last year behind Steve Birkinshaw (1st in 2013) and Alex Pilkington (2nd in 2013) both of whom are not taking part this year. They were also 2nd at the Highlander in 2013.

Stewart Bellamy is a strong runner and whilst he may not have featured in the results of recent mountain marathons, he did win the GL3D in 2013.

©iancorless.com.IMG_5177GL3D_Day1

The Rab Mountain Marathon’s approach is designed to be relaxed and less formal and structured than that of the OMM, which will take place next month.

Shane Ohly, race director for Ourea Events says, ‘But hey the Rab isn’t really about the elite runners and there is some super generous support from Rab who are providing vouchers to the value of about £10,000 for 1st, 2nd and 3rd across a huge range of categories. Check them out here: HERE

At registration on the Friday evening or Saturday morning, competitors can view a Master Map of the competition area which will give a full overview of the event area being used plus provide details of any out of bounds areas, map corrections etcetera. The event Master Map will not be over-printed with any control points.

So there you have it… two days of navigational fun in the English Lakes. It’s possible to follow a live stream HERE and a free APP has been created. Details HERE

Apps can be downloaded here:

iOShttp://bit.ly/1wwcbDKAndroidhttp://bit.ly/1AUZNhj

Ourea_Events_Logo(600)

Race Website HERE

Rab Apparel HERE

Rab Twitter HERE

Great Lakeland 3 Day™ – Day 1

©iancorless.com.IMG_5954GL3D_Day1

Days on the mountains and fells don’t get any better… May Day bank holiday, 200 competitors embracing a relaxed and casual approach to racing and 3-days on the iconic Lakeland fells and mountains.


Shane Ohly, race director for the GL3D ™ provides a selection of courses to suit every runner’s ability or competitive edge – Elite, A, B or the newly introduced C class for walkers. In conjunction with great planning and organization, a friendly atmosphere and believe it or not, good weather, day-1 proved to be an incredible start for the 2014 edition.

In the best traditions of the Lowe Alpine Mountain Marathon, the competitors were promised a surprise on the first morning. Race Director, Shane Ohly explained, ‘The LAMM has a deserved reputation for surprising competitors on the first day with an unexpected change of venue or logistic and I wanted to embrace this idea for the GL3D™.’

The day kicked off with a steamer cruise across Ullswater from the race HQ at Pooley Bridge to Howtown and then a rolling start as runners ‘dibbed-in’ to commence the day.

Although very few glimpses of sun were sighted, the whole day remained dry and calm with constant cloud. Each and every participant stated, ‘Perfect running conditions.’

Despite the relaxed atmosphere the Great Lakeland 3Day™ remains a formidable challenge with the Elite runners covering 46.2km on day-1, the A class, 40km, B class, 31.3km and the new C course 24.1km.

It was grand tour of some of the best Lakeland ridges, summits and valleys with an optimal altitude gain of 1,183m for the C-class and 2,738m for the Elites. The A and B courses had 2,373 and 1,590m respectively.

A huge slice of cake, unlimited tea or coffee and of course the famous (or infamous) free beer or cider ensured that the aches and pains of a first tough day in the mountains would soon be forgotten.

Results:

Elite – 46.2km

Jim Mallin 5:19:56

Tim Laney 5:57:54

Chris Warner 5:58:12


1st lady – Kerstin Rosenqvist 6:44:44

A – 40k

Simon Harper 5:14:42

Jim Trueman 5:49:48

Adrian Chewter 5:50:50


1st lady – Sally Ann Spencer 6:27:18

B – 31.3k

Eddy Charlton-Weedy 3:31:20

Alexander Beaven 4:04:23

David Neill 4:21:05


1st lady – Christine Waller 4:44:49

C – 24.1k

Stephen Burt 4:03:42

Jaqueline Cooper 5:07:03

Martin & Nicola Kirkman 5:39:20

Ourea Events HERE

OureaEventsLogo(500x500-cropped) copy

Great Lakeland 3 Day™ HERE

all images ©iancorless.com – all rights reserved

OMM – new program 2013

OMM logo

 The originators of the two day mountain marathon have announced an expanded program of events for 2013 offering opportunities for adventure to rival any experience.

OMM began the discipline of mountain marathon as the KIMM way back in 1968. Over the years little has changed about the core event and the challenge it represents. Pairs pit their fitness and navigation skills against the course, other competitors and the elements to race across the wild areas of the UK over two days whilst being self sufficient.

The core event continues to be the largest of its type in existence and will again take place in the final weekend in October in Wales. Stu Hamilton, Events Director, said, “This time of year helps set the character of the event. No matter where we are you just don’t know what the conditions may bring. The teams therefore have to be ready for anything.”

In order to appeal to the rapidly growing community of up and coming adventurers and those who find road races, triathlons, ironmen etc yesterdays news OMM have launched a number of supporting events in the UK as well as a couple of truly inspirational international events.

  • OMM Iceland 25th – 26th May, The Blue Lagoon, Reyjavik. Entries open
  •  OMM France 17th – 18th August, Jura Mountains. Entries open
  • Extrem Maraton – Denmark. 25th – 26th May. Entries open.

2013 sees the arrival of OMM Lite and OMM Bike in the Peak District on the weekend 18th May,

In order to protect the environment and the experience for the competitors the places are unfortunately limited. Entries for all events  will be open by 31st Jan. If you are up for the challenge then go to the website www.theomm.com.