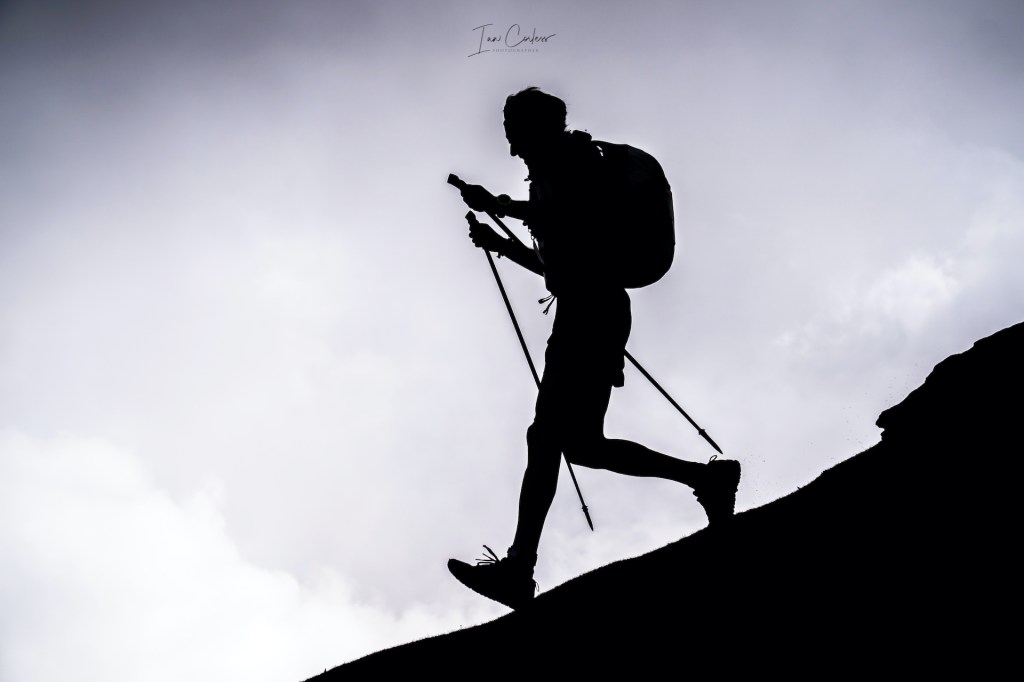
Embrace winter, mercury dropping in the thermometer is no excuse to put outdoor adventure on hold. On the contrary, the new season brings a whole new set of adventures that could not be entertained during the months of Spring and Summer – read an article HERE on ‘Embracing Winter for New Adventures.’
Fastpacking is often looked upon as a good weather activity and not something that can be entertained or planned for the winter months. I disagree! Winter brings multiple possibilities and although fast packing in spring/ summer has many carry overs to autumn/ winter, some distinct differences are notable and important.
I have produced two articles on Fastpacking, one HERE and the other HERE looks at going lighter. Quite simply, fast packing is about finding the perfect and optimal balance between equipment and weight. To move fast, one’s pack needs to be as light as possible. In spring and summer, that job is easier as one requires less equipment. For example, sleeping bag will be lighter, tent will be lighter, clothing will be reduced and so on. Winter brings added challenges of balance and if you get it wrong, not only can it mean a miserable time, it can also be extremely dangerous.
WHAT TYPE OF TRIP?
I like to think of winter fast packing adventures primarily falling in two categories:
1. Self-sufficient with tent.
2. Self-sufficient and staying lodges, cabins, tea houses or even hotels.
To clarify, when I say ‘self-sufficient’ I mean carrying everything one needs for the adventure you are undertaking. If one is travelling with a tent, you will almost certainly be carrying all your food too. However, if staying in lodges, cabins, tea houses or hotels, then access to food will be possible and therefore the need to carry such items will be reduced.
For the purposes of this article, I am going to look at point 1 as this requires more planning, more equipment and a great deal more thought. For point 2, the equipment list would be as point 1 with the ability to remove items.
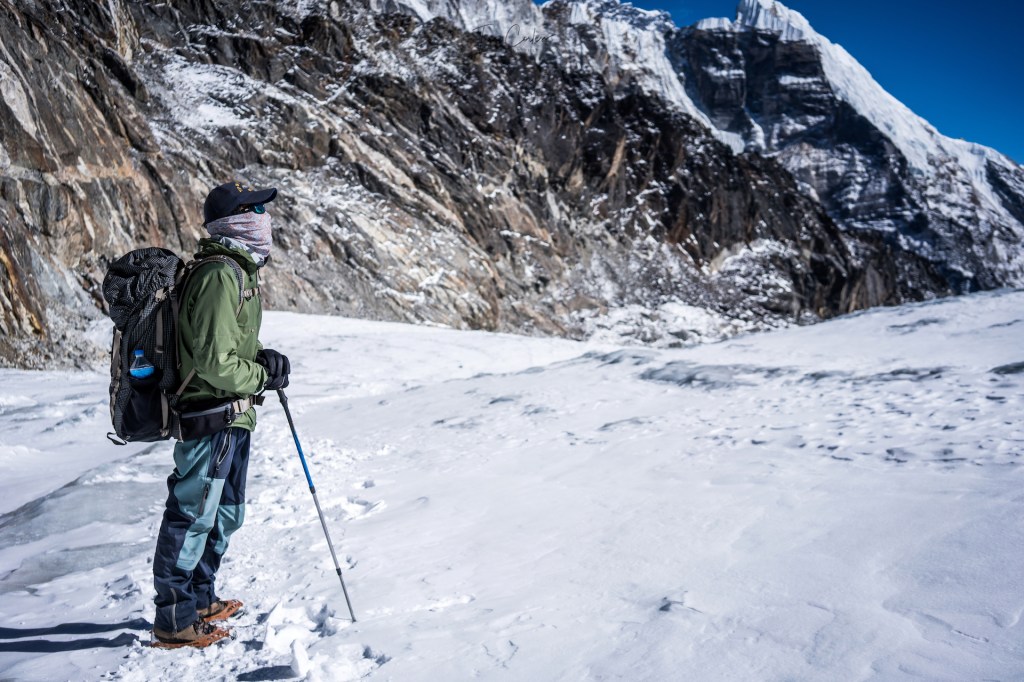
A fastpacking trip can be as simple as two days with one overnight stop or it can be a lengthy trip of multiple days or even weeks. As an example, in recent years I have taken myself to Nepal in December and fastpacked for ten days plus using tea houses for accommodation. Read an article on the ‘Three Passes Trek 2018: Ultimate Trek in the Everest Region’ HERE.
Any length of trip is valid and if new to winter adventures, it makes sense that maybe a first trip involves just one overnight so that you can fine tune what does and does not work for you.

Do you need a 12-week and/ or 24-week Multi-Day Training Plan perfect for a multi-day adventure or a race like Marathon des Sables? They are designed to provide you with a structured weekly plan culminating in a target event.
View a sample week HERE from the 12-week plan. Purchase HERE. (£14.50 pw)
View a sample week HERE from the 24-week plan. Purchase HERE. (£12 pw)
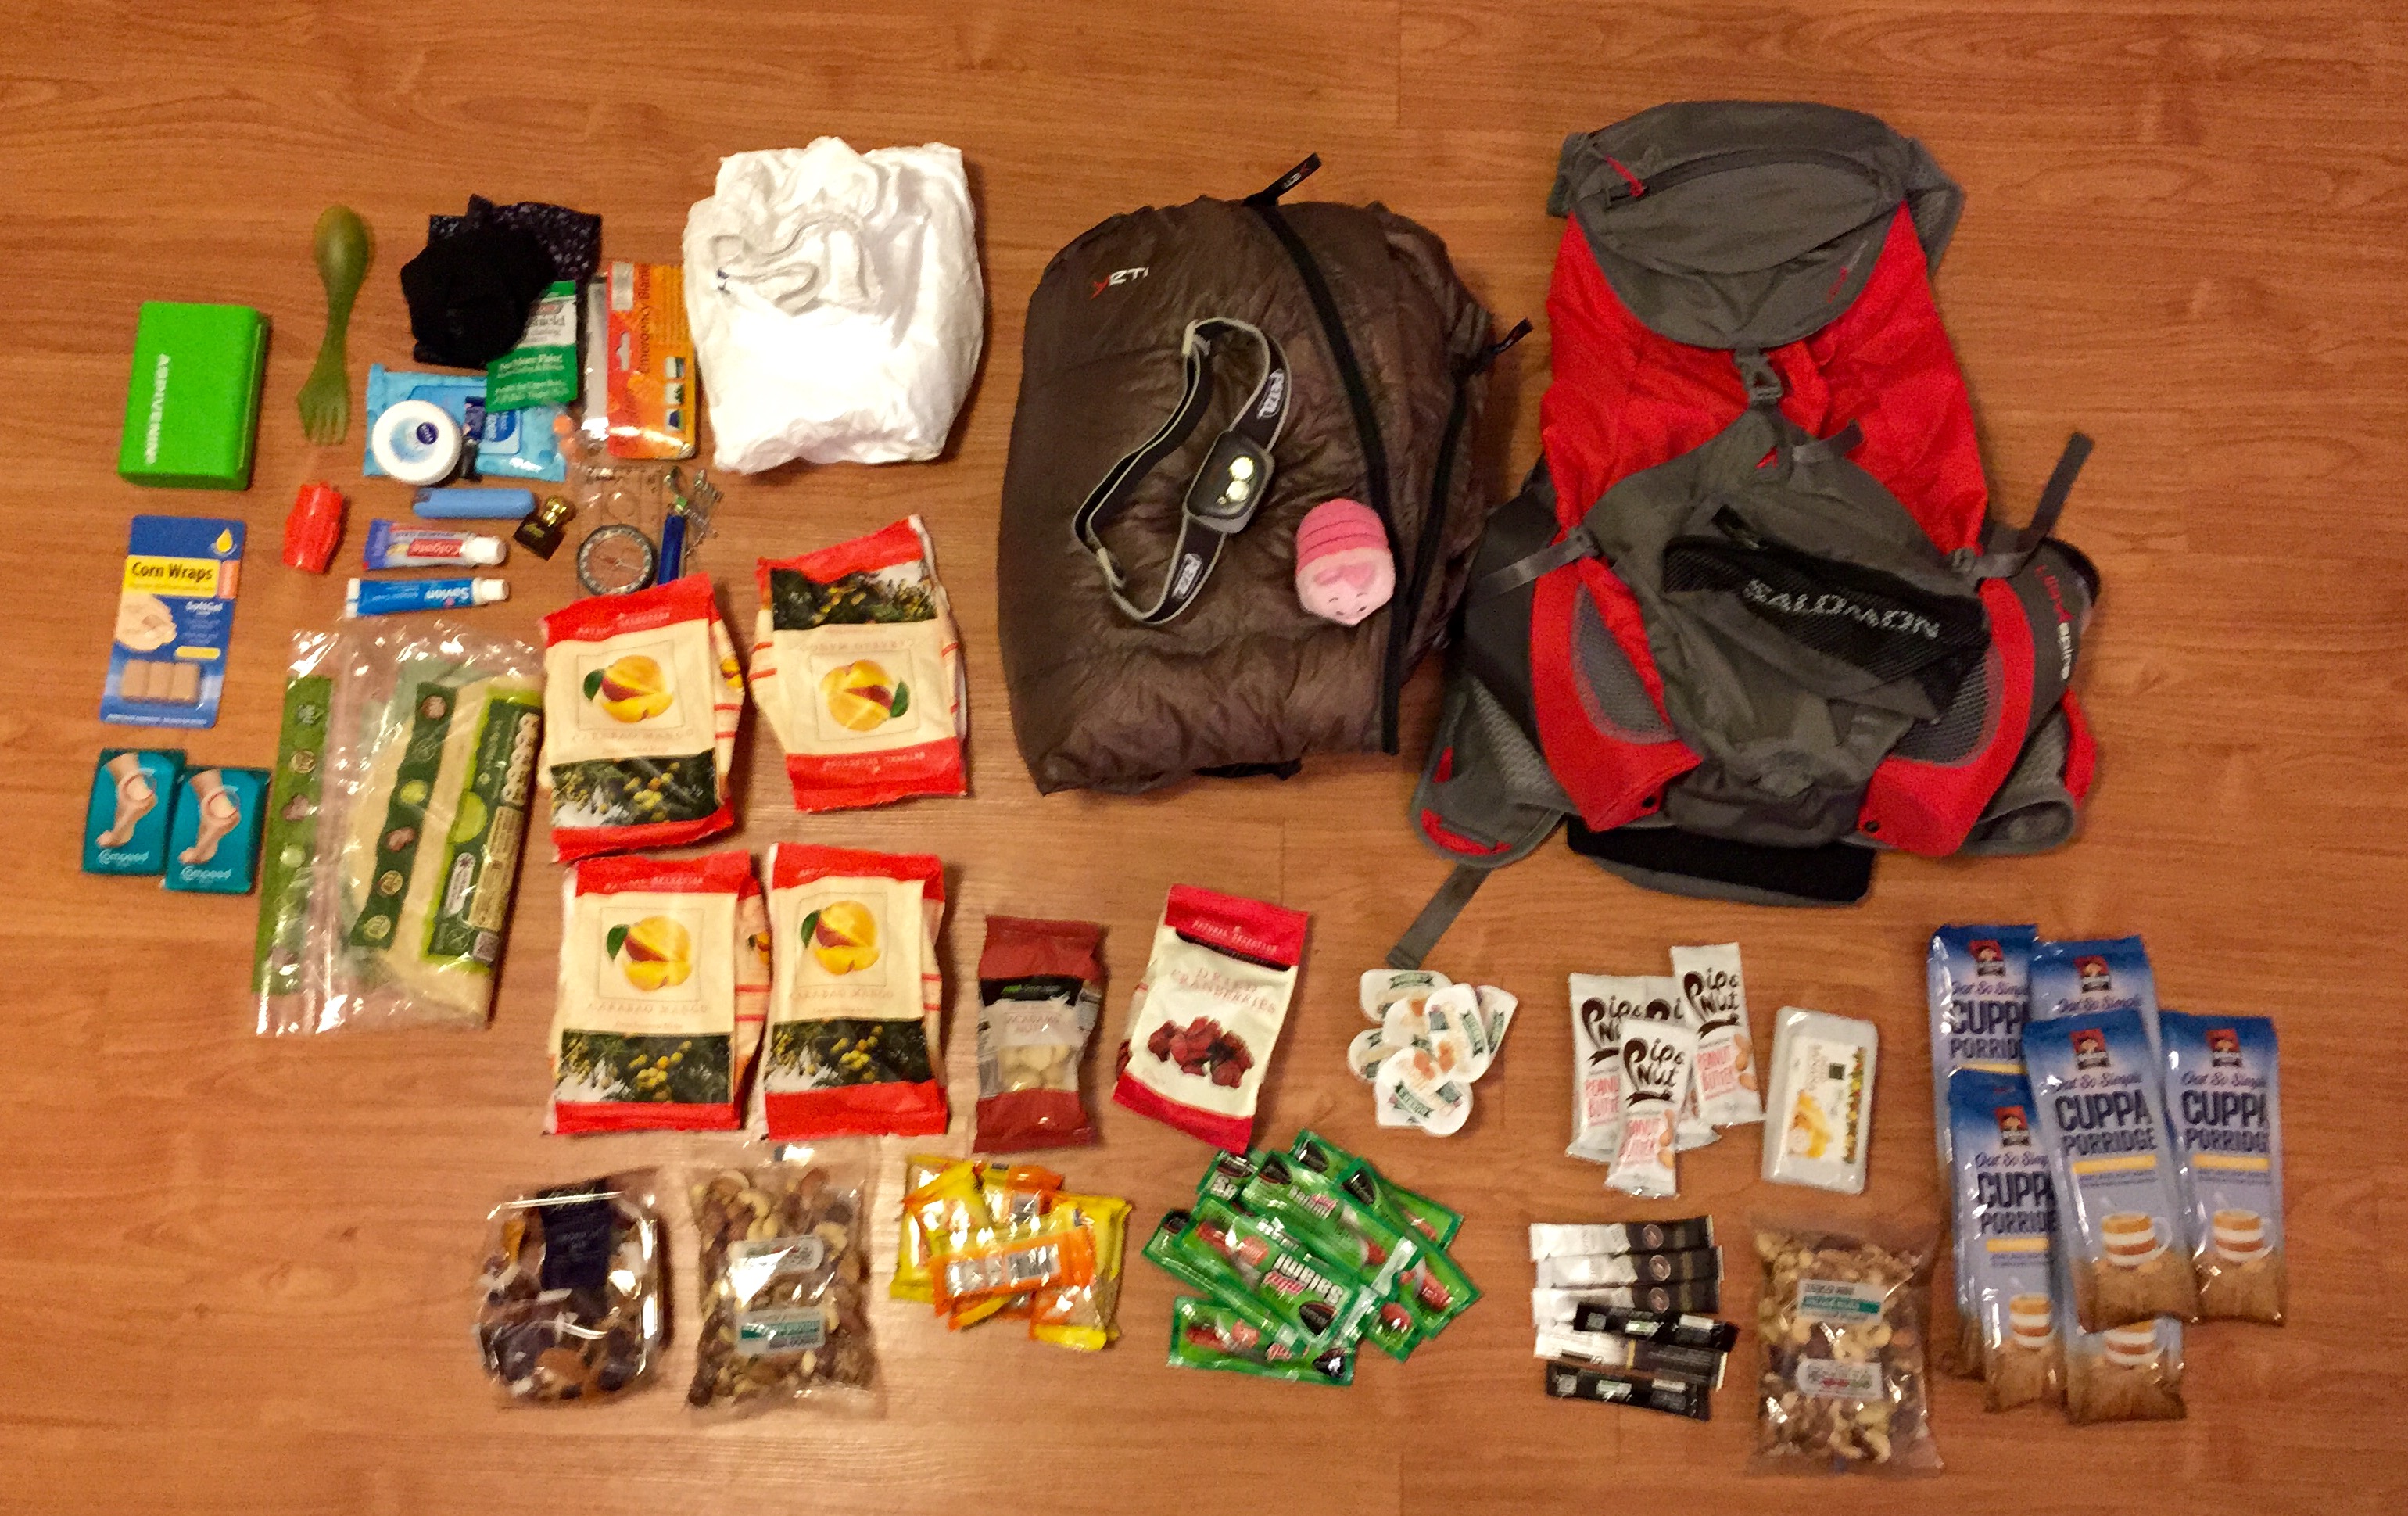
EQUIPMENT
Fastpacking in winter is the same as summer, but the need for more substantial equipment increases. Key is multi-purpose so that as mentioned previously, balancing minimal weight with equipment is optimal.
Planning is also essential so that one understands what equipment is needed and required. It goes without saying that winter conditions can bring anything, so, being prepared is an absolute no1 priority.
Ask questions:
Will I have rain?
Will I have snow?
Will I have ice?
Am I going to high altitude?
Is the terrain technical?
Will I be climbing?
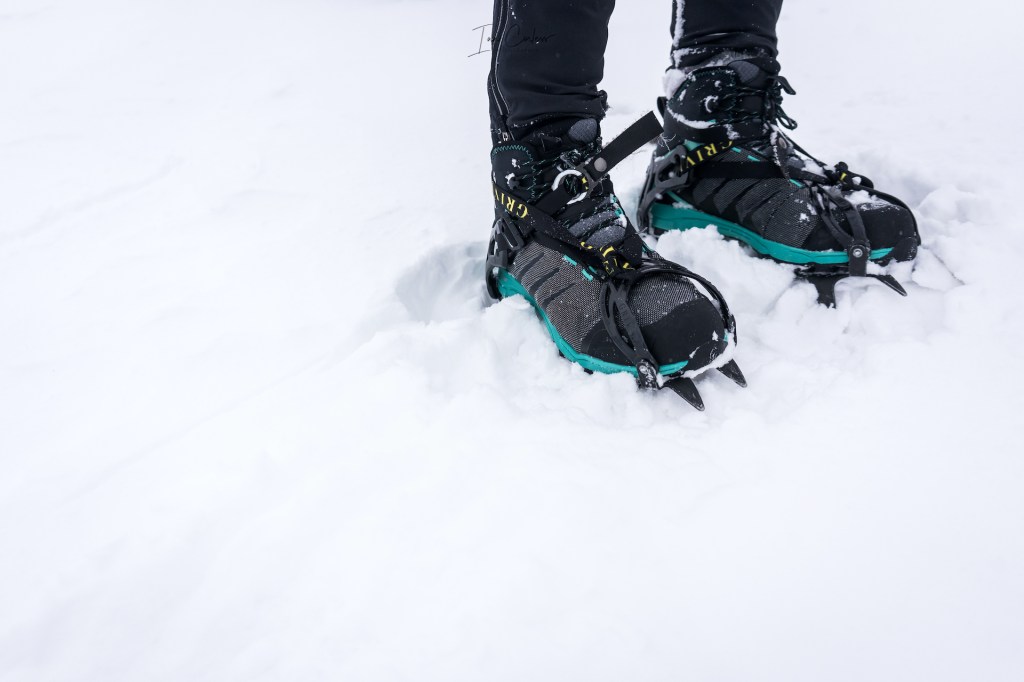
Questions as above are a starting point when deciding what to take. A prime example being that an ice axe, crampons and maybe even a harness will be required on a fastpack trip – If you don’t have them, that could be a BIG problem!
Do the research, understand the trip, understand the distance you will be covering and understand the amount of days the journey will take.
Once you have answers to the above, you can plan the equipment.
Top Tip: While solo adventuring is exciting and exhilarating, winter adventures with another person make a trip safer and, in my opinion, more enjoyable. It also means you can share the additional tent weight and supplies weight.
TENT
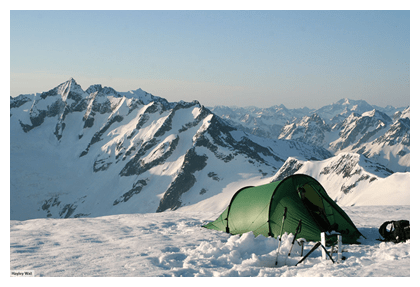
A winter tent will be heavier and more durable as the impact of the weather is greater and the need for protection is increased. The first question, is size? Many of us will not have the option or luxury to have several tent options that allow us to choose a solo, two or three-person tent. So, if purchasing for the first time, the best option would almost certainly go for a 2-person tent.
The tent needs to be 4-season unless you know in advance that your winter adventure will not have weather extremes. If the latter is the case, you may well get away with your 3-season tent.
Heavier fabrics, more substantial poles and less mesh make 4-season tent shopping a challenge. Budget is also a key consideration. A tunnel tent is optimal and if pitched correctly, it will withstand strong winds and harsh weather. Use a well-insulated, all-season tent designed to withstand strong winds and the weight of snow, as well as a full nylon inner to prevent as much heat loss as possible.
My favourite tent is the Hilleberg NALLO which comes in several sizes, 2,3 and 4 person and the ‘GT’ versions have greater storage which is not a consideration for me but could be a consideration if bike packing? The NALLO 3 is 2.6kg and one of the lightest all-season tents on the market.
2.6kg may sound heavy, especially when fastpacking but if you divide that weight between 2 (1300g each) or 3 (866g) it compares with lightweight solo tents such as the NEMO Hornet which would not stand winter conditions.
Ultimately invest in a tent as it will serve you well and last a great deal of time. Cutting costs early on will only come back later and bite you later.
Using a Tarp or Bivvy bag is not a consideration for me in winter unless in an emergency.
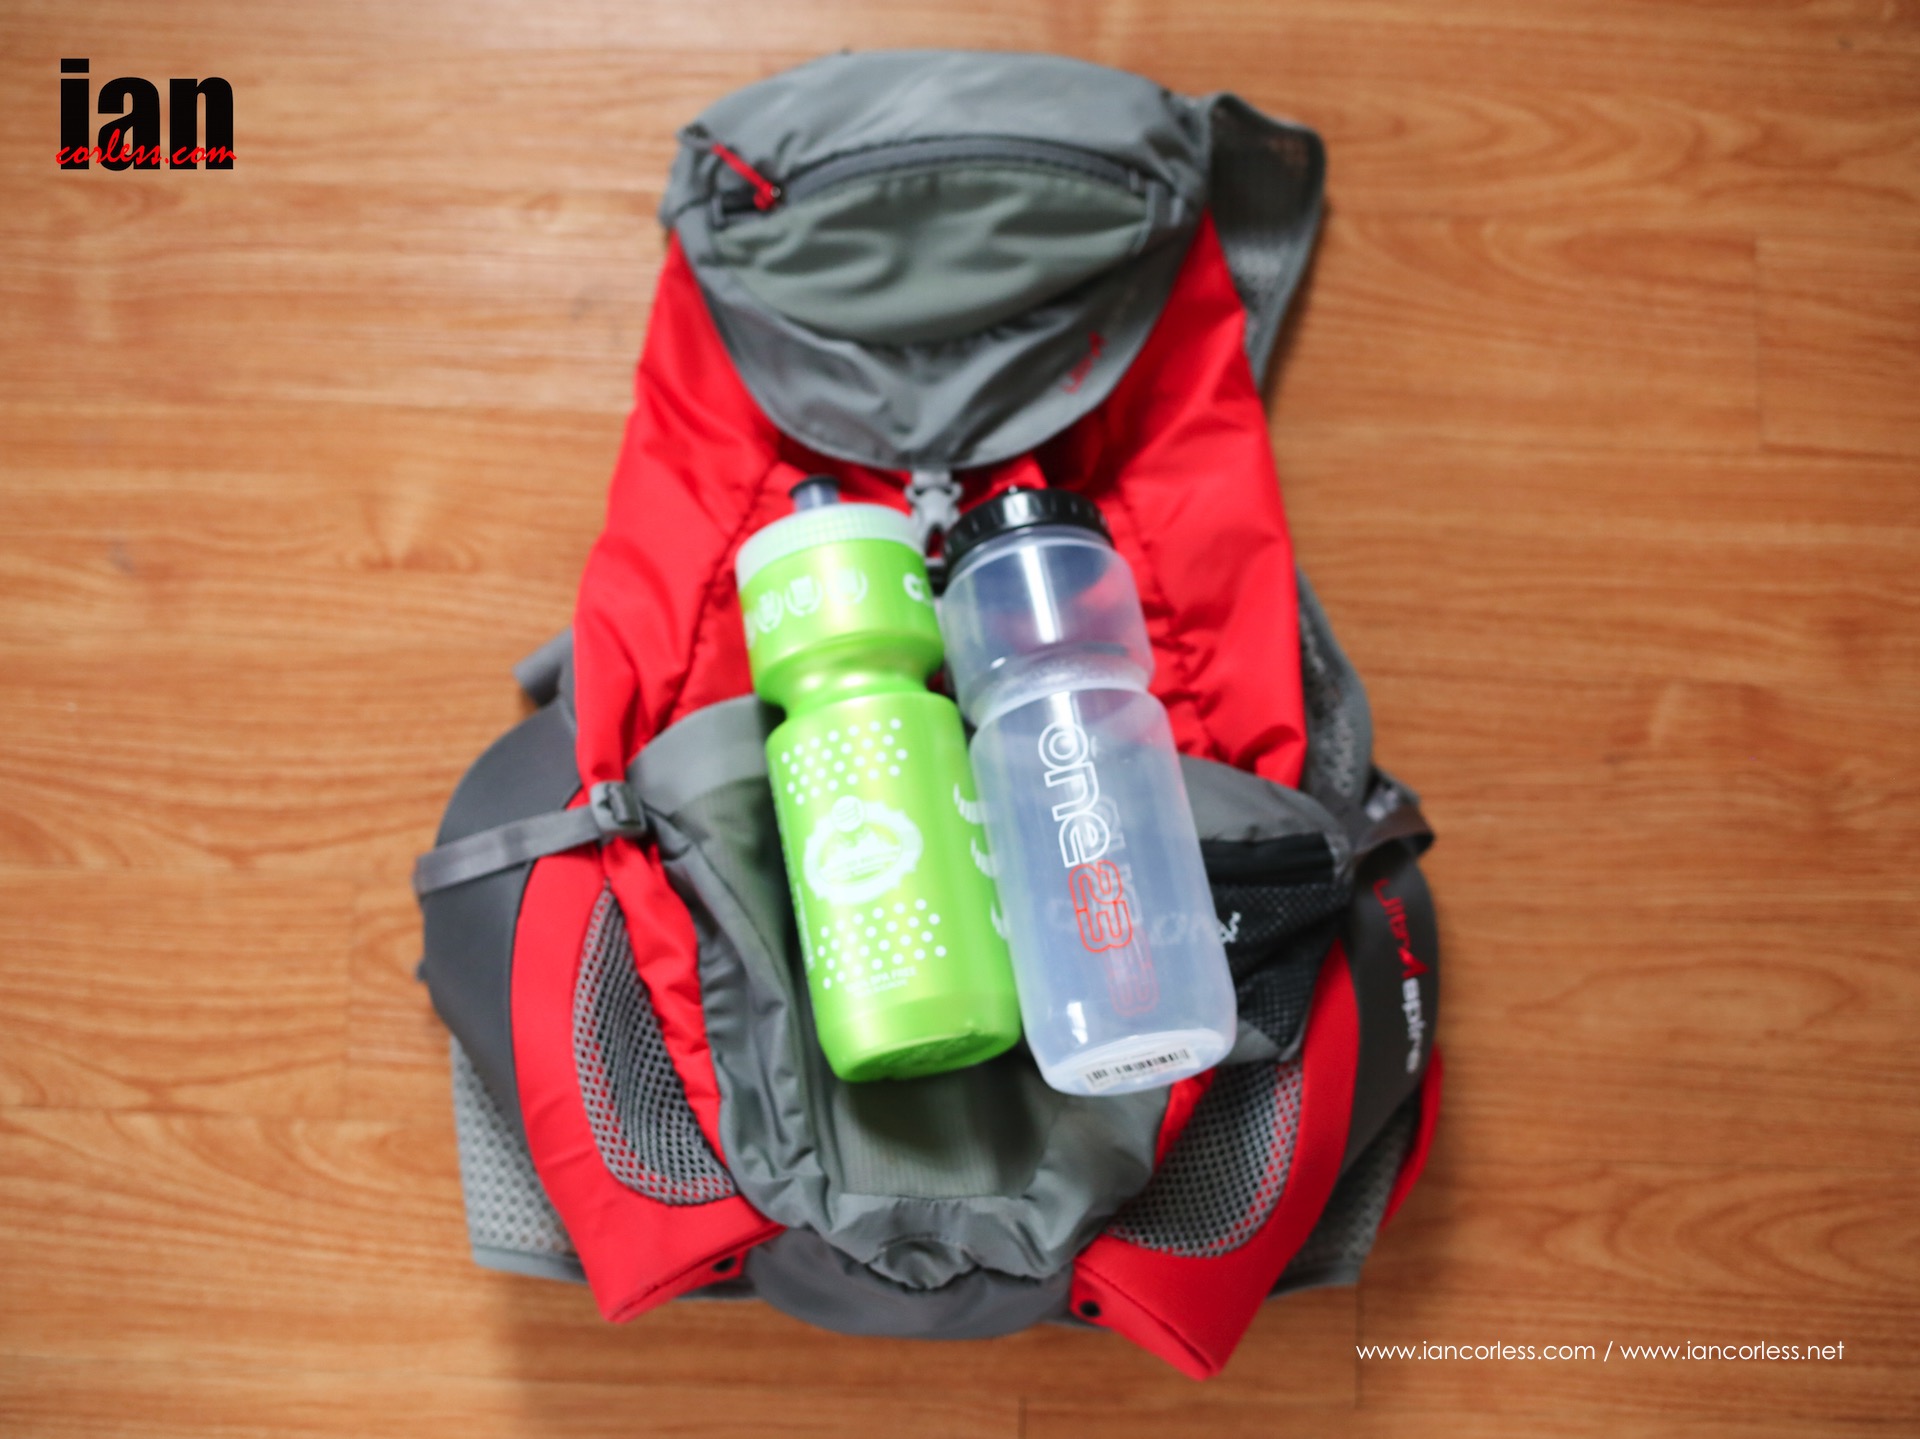
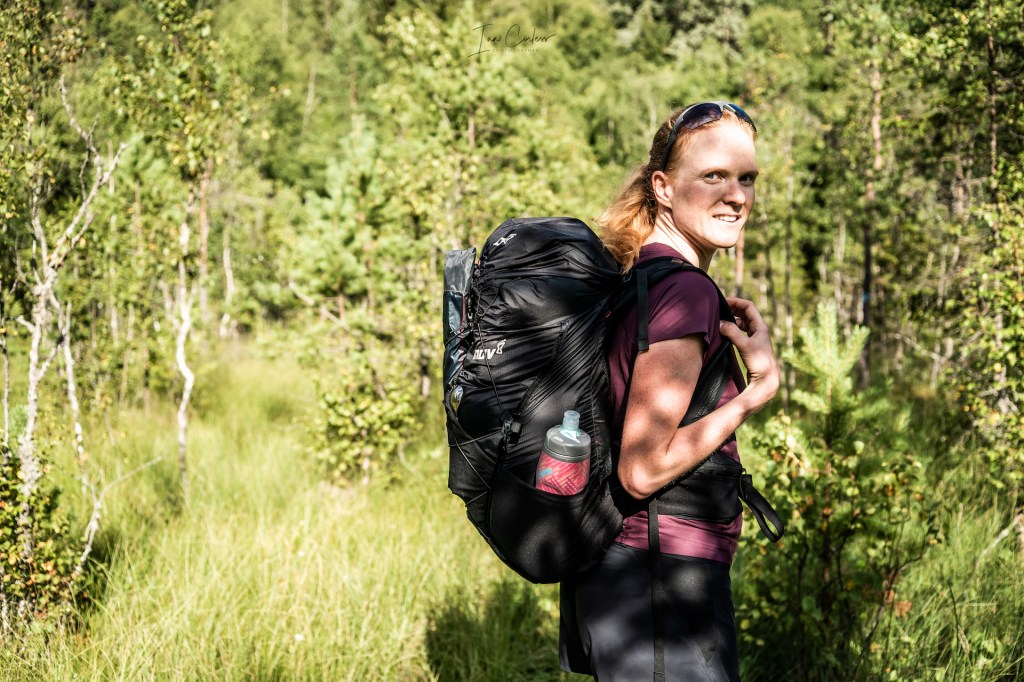
PACK
Packs are very personal and the correct one for you comes down to too many variables. I have said previously that I feel the ideal fastpack size to be 20-25 ltr. However, in winter, I usually go to 30 ltr and in Nepal I have gone to 40 ltr.
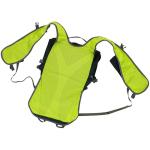
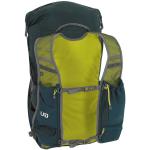
Montane Trailblazer 30 is a personal favourite as it fits like clothing with a vest-like fit and it has a waist belt.
Think about simple and effective storage space, minimum fuss, good fit and comfort.
Options:
Ultimate Direction Fastpack
Six Moon Designs
Inov-8
OMM
Terra Nova
SLEEPING BAG
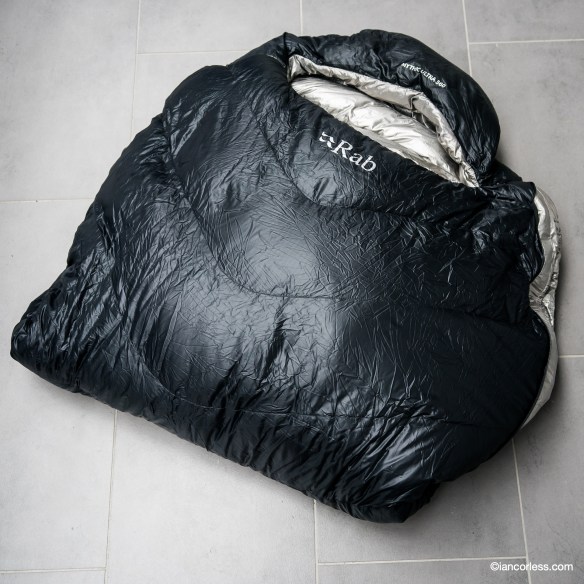
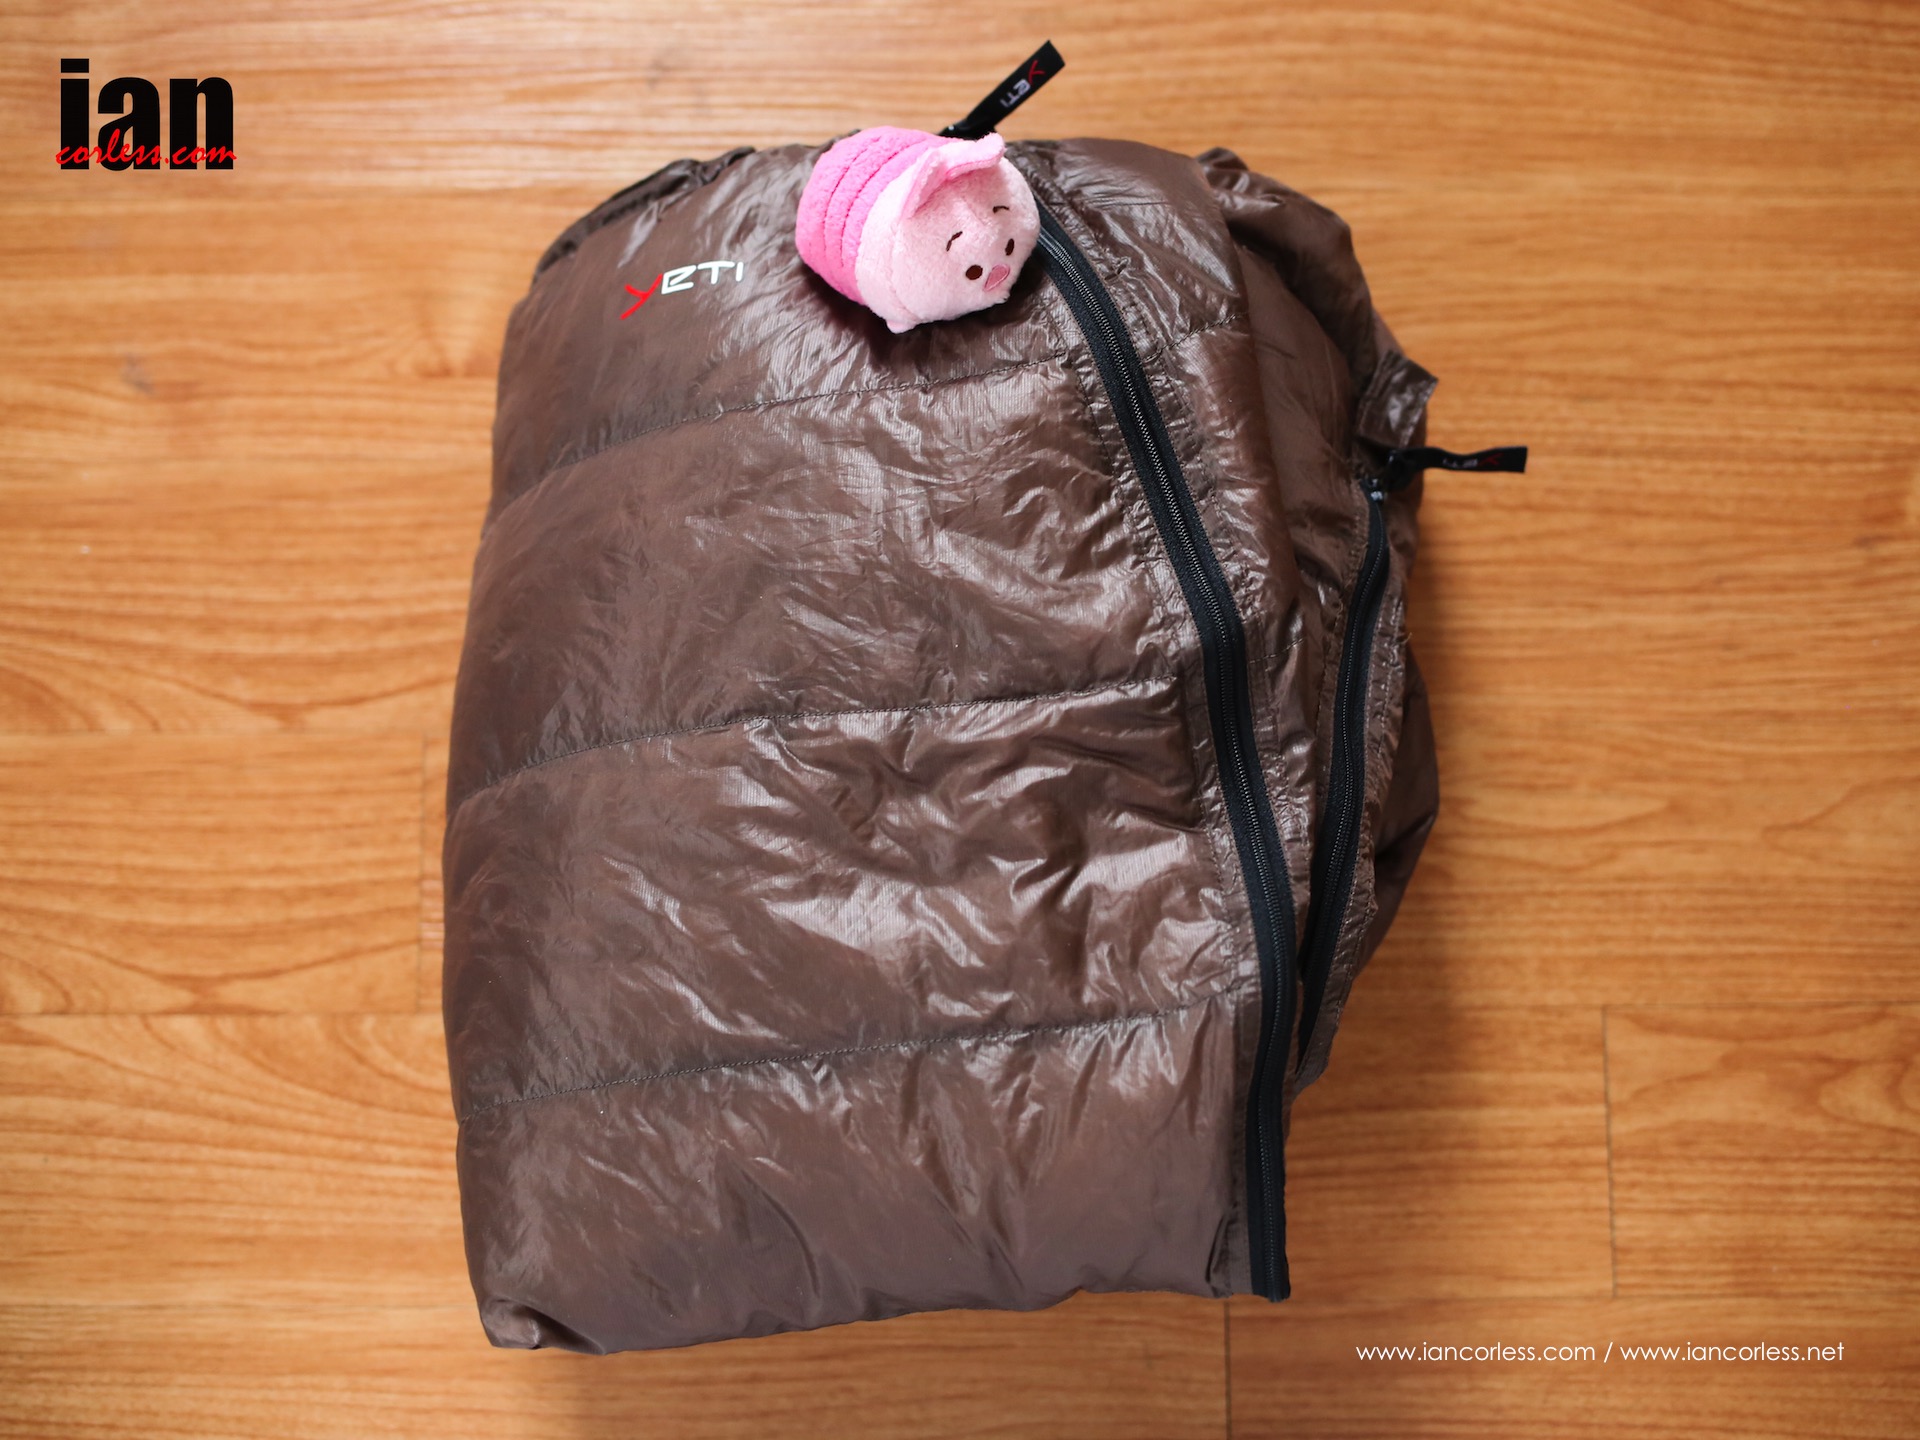
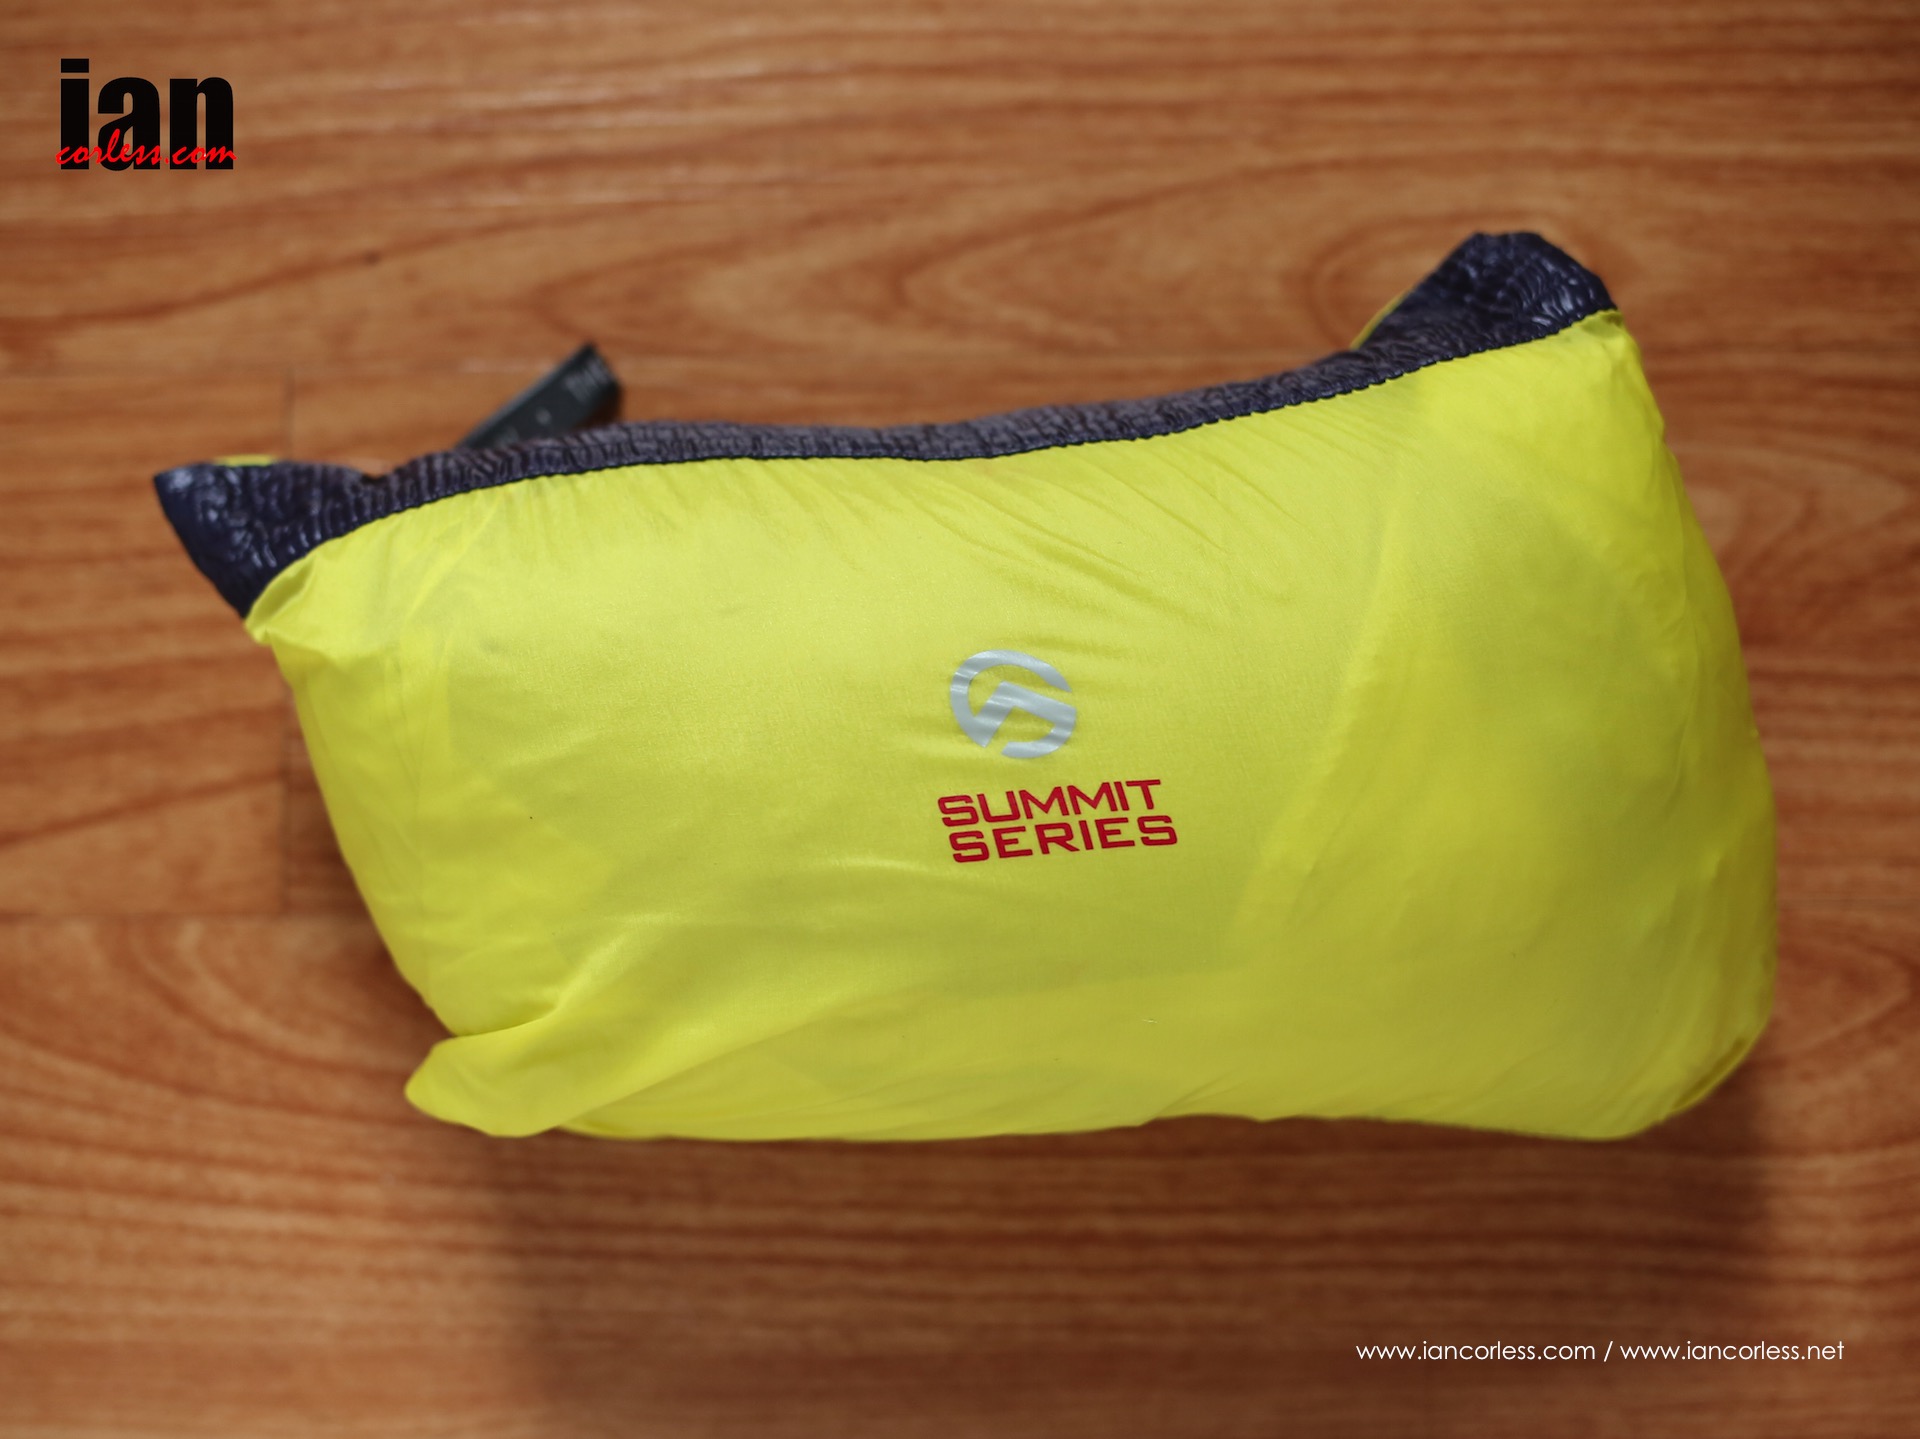
After the tent, the sleeping bag is going to be the next largest and heaviest item. However, think cleverly about sleeping bag and also consider the key phrase, multi-purpose.
Because you may experience -15 at night during a fastpack, this does not mean you require a -15 sleeping bag…. Personal favourite is the RAB Mythic Ultra 360.
“Smart lightweight campers have been using their clothes to boost the warmth of their sleeping bags for years and climbers do it when they have to. Yet most of us are still carrying bags much bulkier and heavier than we need.” – Peter Hutchinson Designs
Layering in a sleeping bag (just like in clothing) is key to regulating temperature and a perfect way to carry a lighter sleeping bag without compromising on warmth and comfort. Read an in-depth article HERE on ‘Choosing a Sleeping Bag for an Adventure.’
Key points to consider:
- Am I using the sleeping bag in a dry or wet climate?
- Is the weight of the bag really important? Normally the answer here is, if you are carrying it, yes, the weight is important.
- Do I need the sleeping bag to pack as small as possible?
- Do I need the bag to work in one or more situations? Another way of looking at this is, do I need to compromise on points 1-3 to get value for money.
Ask some personal questions:
- Do I sleep warm?
- Do I like to be warm and if not warm, am I miserable?
- Am I prepared to be a little cold to be as light as possible?
- Do I need a full-length zip, half-zip or am I happy to have no zip?
Consider other factors:
- If you are tall, wide, have big shoulders etcetera, etcetera then some sleeping bags will just not work for you as they will be too small.
- If you are small/ petite an off-the-shelf sleeping bag actually could be too big for you, this is not a huge problem, but if you wanted the bag to be as small and light as possible, you could go custom made.
Top Tip: Down is the lightest and packs the smallest. However, down cannot get wet. If it does it loses warmth and effectiveness. Some brands now offer ‘treated’ down that can withstand weather variables, so, consider this. If you are going to be in a wet/ damp climate, a synthetic filling may well be the best choice. Do not put your head inside the sleeping bag – make sure you breath out and not inside the bag as the moisture is not good.
SLEEPING MAT

If you are in a tent during the winter, you NEED insulation between you and the ground. Do not compromise here. No matt and you are guaranteed a cold, sleepless and restless night. There are many variables to look at and while weight is crucial, so is warmth. The weight of one’s body presses a sleeping bag flat when sleeping and therefore the warming properties are reduced. Cold comes up from the ground, which can be very dangerous.
It is possible to purchase insulated matts and they are obviously heavier. Ask questions about your personal needs and self-asses. Do you sleep warm?
Look at the ‘R’ number of a sleeping mat. The higher the R number, the more insulation it gives.
If you are going to be pitching a tent on snow or ice, the R needs to be 3 at a minimum and ideally 4 or higher.
Sea to Summit produce an Ultralight mat with an R of 3.1 at 480g in regular length. By contrast, the Comfort Plus XT with an R of 4.7 is over 1000g
COOKING SYSTEM
While your spring/ summer gas canister system will work in winter, many choose to use a liquid fuel system as the pressure in the bottle can be maintained by pumping. MSR do a product called WhisperLite that can use gas or liquid fuel.
I personally use a Jetboil Flash or my MSR WindBurner which both boil water very quickly and work exceptionally well in windy weather.
I simply need to boil water and/ or melt snow.
FOOD
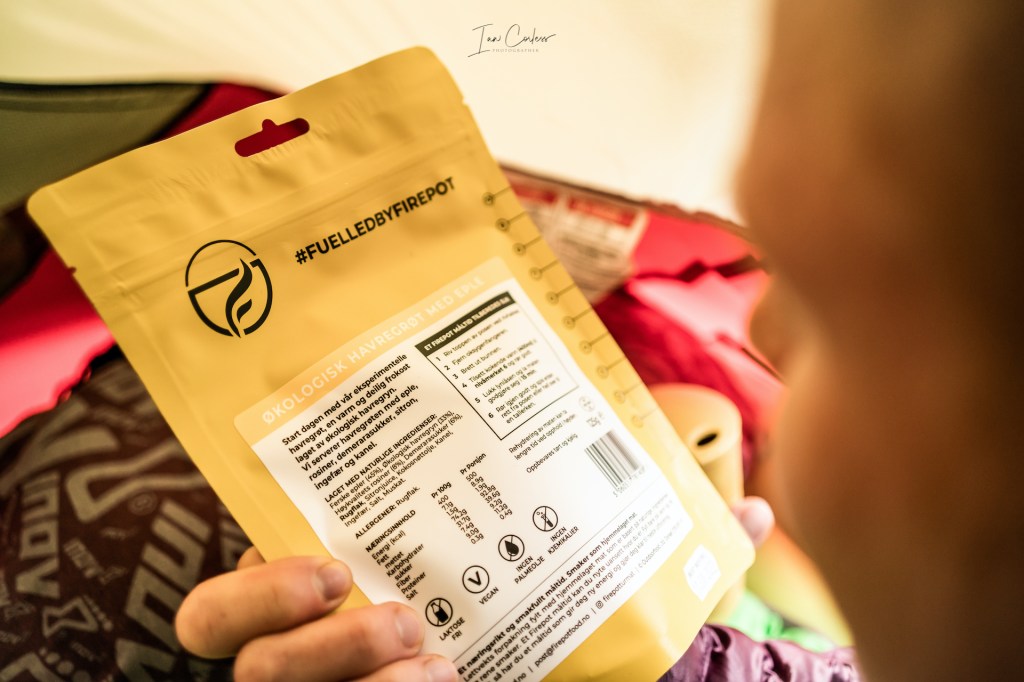
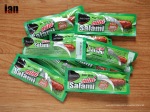
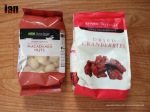
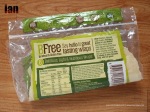
Food is a significant consideration for winter and personally the need for warm and nutritious food increases. Dehydrated food is a staple both for breakfast and dinner and while many brands are available, Firepot Food is my favourite. A *typical meal is around 125g in weight and offers upwards of 500 calories. Baked Apple Porridge is superb in the morning and Chili Con Carne has spice and great taste. Options are available for larger packs. Taking Chili Con Carne as an example: the 135g pack has 600 cals and they have a 200g pack with 890 cals.
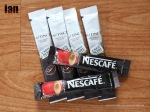
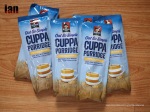
I take coffee for the morning and sachets of hot chocolate for the evening.
CLOTHING
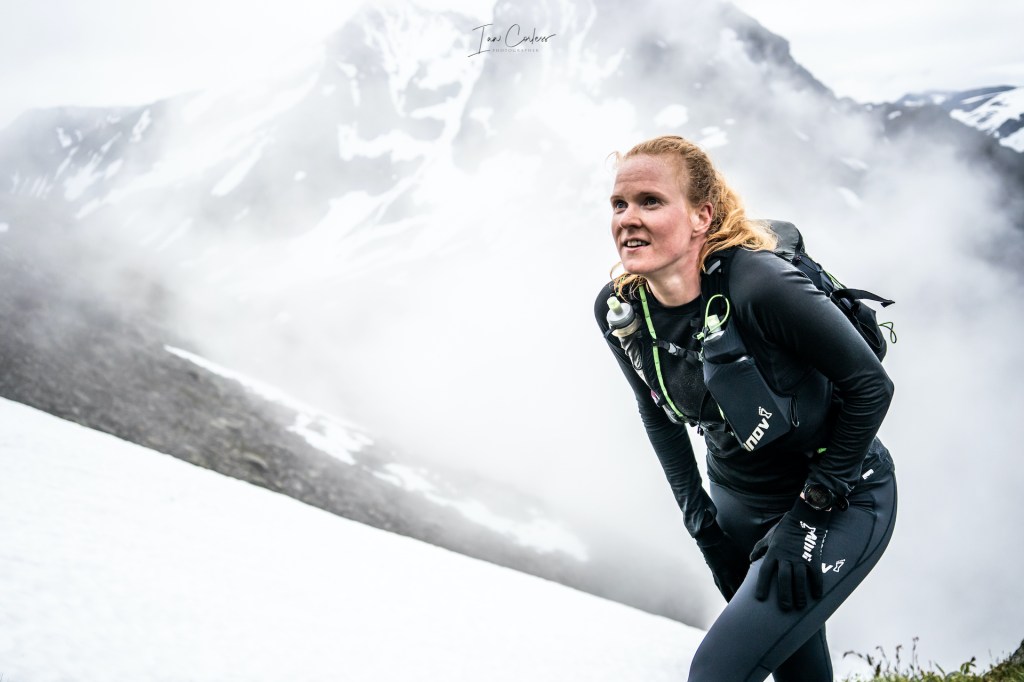
There is no one answer to clothing and many questions to ask. To start, I will assume for the purpose of this article that you are a runner who will be moving fast (er) than a hiker.
Key considerations re weather:
Will it be dry and cold?
Will it be wet and cold?
Will it be wet/ dry and cold?
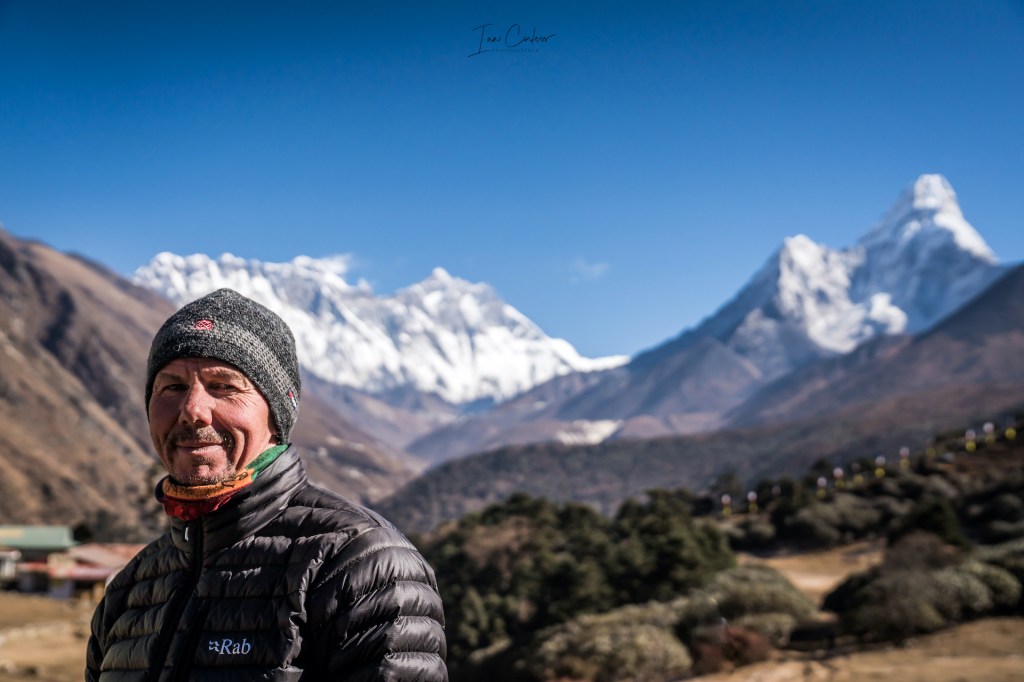
Understanding the answer to the above helps clarify clothing choice. For example, Nepal in December will be cold and dry (usually) therefore the need for wet weather clothing can be reduced. It also means that down will be the main insulating layer. By contrast, if exploring the mountains of northern Norway, you will potentially experience all weather variables and therefore the need for synthetic insulating layers may be preferable to down and the requirement for waterproof jacket and trousers almost essential.
I see apparel in three scenarios:
What I wear in the day.
What I wear when I have finished for the day.
What I wear to sleep.
Remember the key word, multi-purpose.
Layering is essential to regulate temperature and at all costs, you need to reduce sweating, especially in subzero conditions as the sweat can freeze against the skin. Accept that you will need to move slower and that you will need to be diligent in stop/ starting to add and remove layers. It’s easy to feel too warm or a little cold and not stop because it impacts on your rhythm, this can be a really bad decision. Make sure you add/ remove as required.
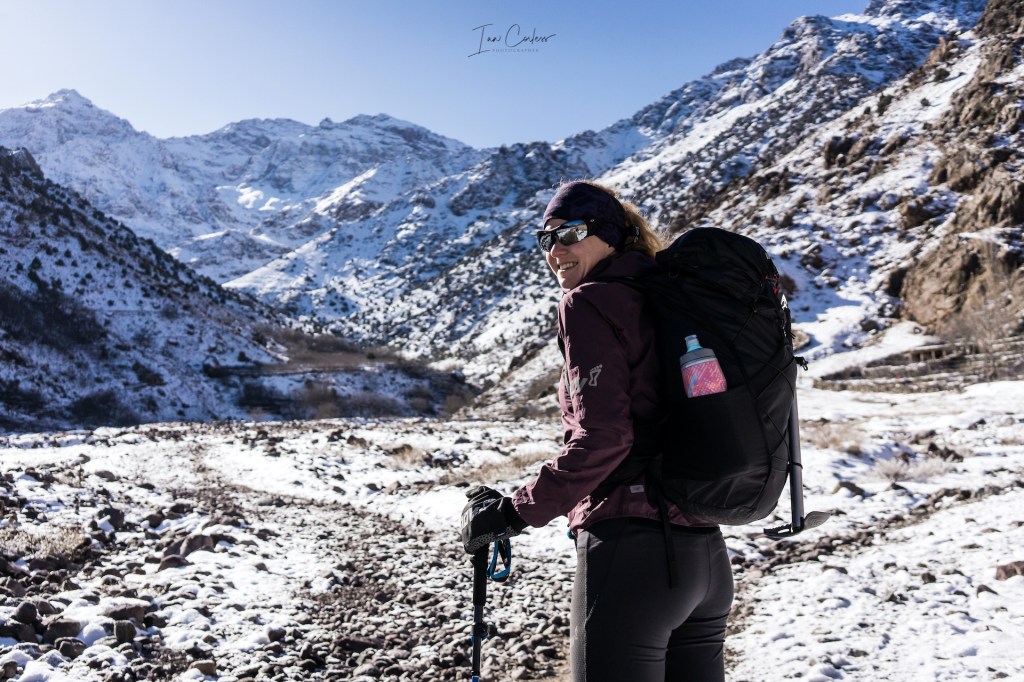
DAY
Head: Hat.
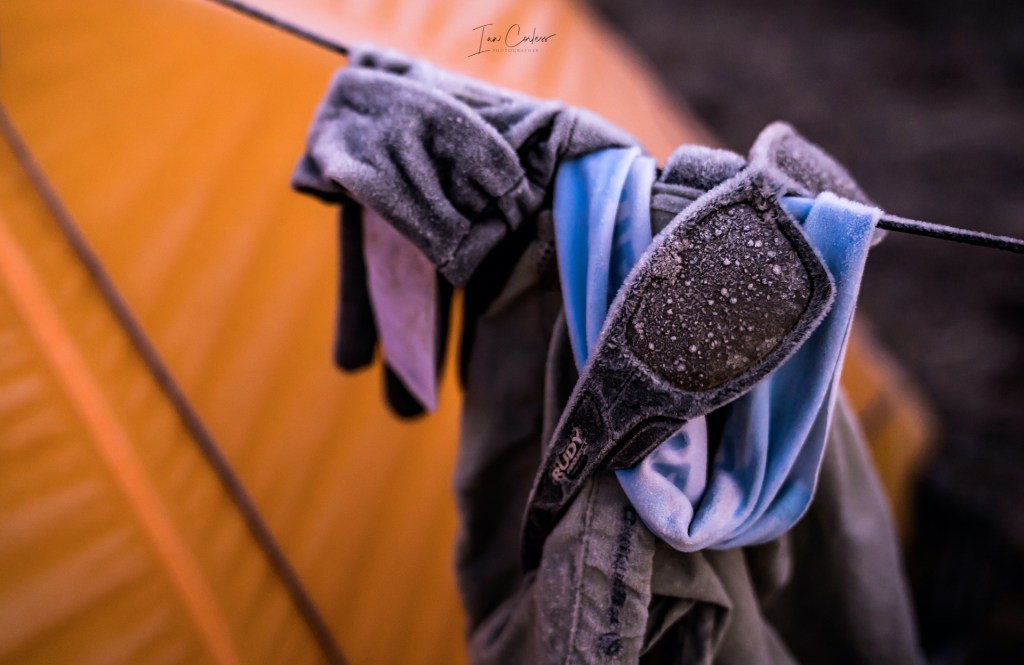
Eyes: Wear glasses, especially in snow.
Neck: Buff
Body: Long-sleeve merino base layer top.
Hands: Merino base layer gloves.
Legs: Winter run tights.
Feet: Merino socks.
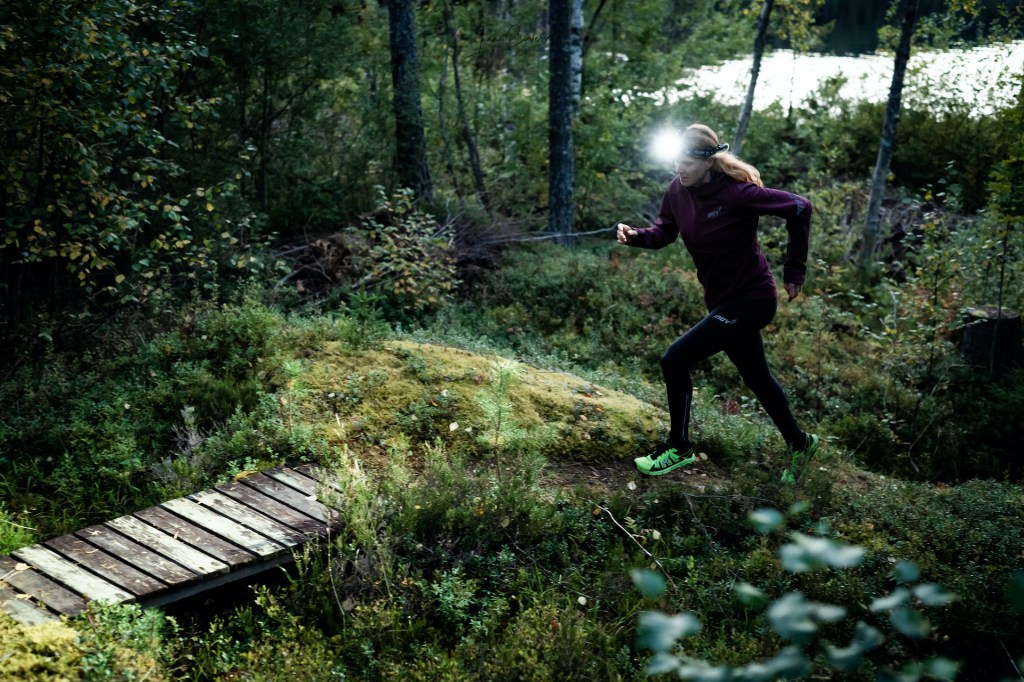
Shoes – These will be specific to the task and weather conditions. Obviously, I will not be carrying options (unless climbing,) so, my shoe choice will be based on the most demanding conditions. As a starting point, my standard trail running shoes with aggressive outsole would be ideal for mud and soft snow. If I was going to encounter ice I would either take micro-crampons to use on my trail shoe or use a specific shoe such as the Arctic Talon by inov-8. Extreme cold, challenging conditions and many variables and I would use a boot but a lighter option that is designed with a runner in mind, Roclite (370 or 400) by inov-8 works exceptionally well.
WARMTH and WATERPROOF
Using the above as a starting point, the need to add layers will depend on the conditions you are experiencing.
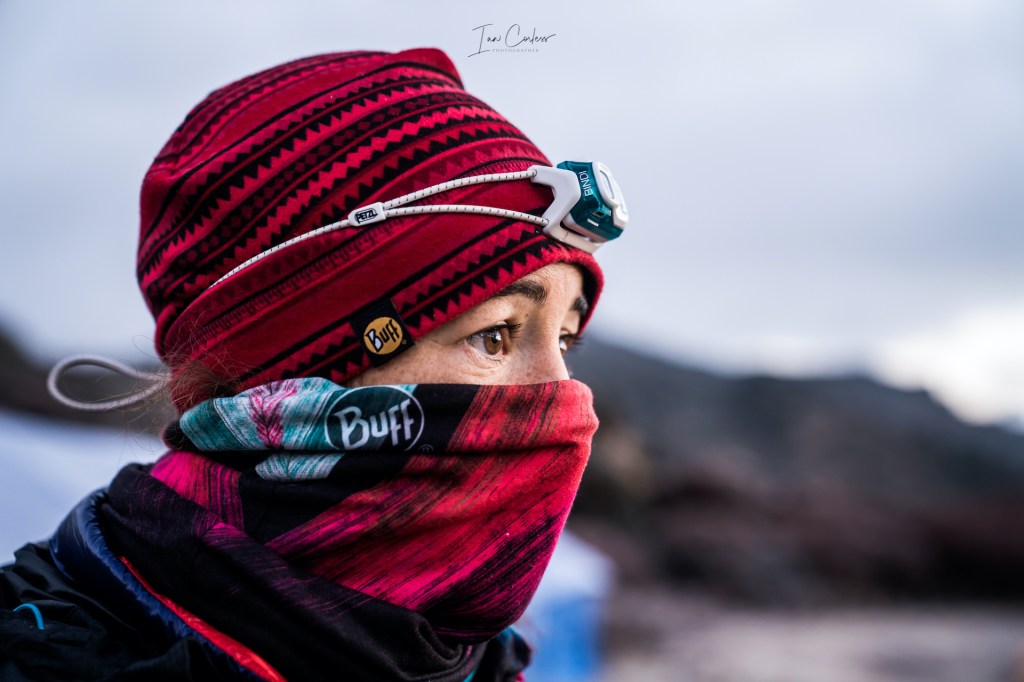
Head: You lose a great deal of heat through your head, so simply adding and removing a hat is a simple way to regulate temperature. There are many options here that typically fall in 3 categories:
Peaked hat
Beanie
Head band
I often like the head band option as it keeps my ears warm but still allows some heat to escape through the top of my head. If it is really cold, I will use a beanie.
Neck: In colder temperatures I like to have a Buff/ wrap around my neck. This is especially useful as the temperature drops as you can pull the item over your mouth and nose. They can also be used as a hat if required.
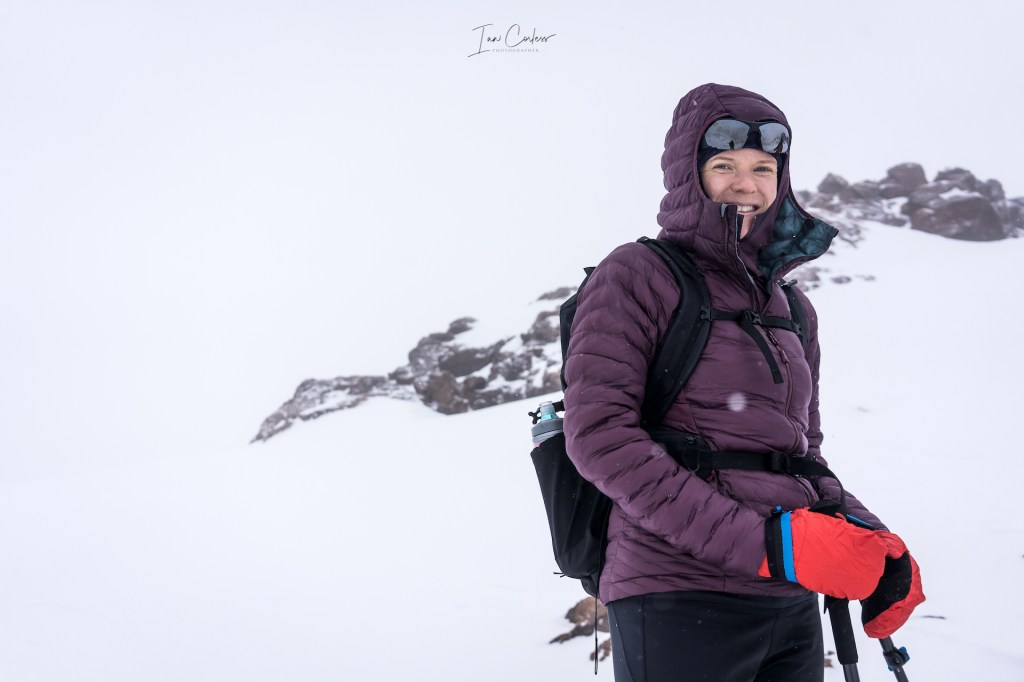
Body: A simple and extremely light windproof is great for adding and removing to regulate temperature. In colder conditions, the need to add insulation will be required and as mentioned, this can be down or synthetic. Ultimately, this layer, especially if still moving fast does not need to be too bulky or too warm. A Rab Kaon is a current favourite which has the best of both worlds by using treated down in a small and lightweight package. Rain, wet conditions and strong wind can make any trip miserable, so, a good and lightweight jacket with taped seams is essential. The Stormshell by inov-8 is perfect. Top Tip: Consider the size of the waterproof jacket, sometimes going one size bigger is better to allow for insulation underneath.
Hands: I struggle with my hands and particularly with my fingers, so, I do not compromise. I wear Merino wool base layers and then Mitts over the top by inov-8. If I need the use of my fingers, I will use a Gore-Tex glove by Rab. Importantly I carry a spare set of Merino base layer gloves and even a pair of more substantial mitts if conditions dictate. My hands are my weakness!
Legs: Winter run tights such as the inov-8 Winter Tight are ideal in all conditions and they are my ‘go-to’ for all runs. In rain I will use just the run tight. However, if the temperature drops to zero or below and the wind gets up, the need to add another layer becomes important and I use the Trailpant by inov-8 over the top.
Feet: Merino socks are essential as they work extremely well when wet. I often use an Injini 5-finger Merino as a base layer and then a Smartwool Merino sock over the top. On occasion I have used Neoprene socks as an extra warm layer.
Shoes: As discussed above but if going to extreme conditions and climbing I use La Sportiva boots, the G5 is perfect for snow conditions with crampons. Also consider that maybe you need snowshoes?
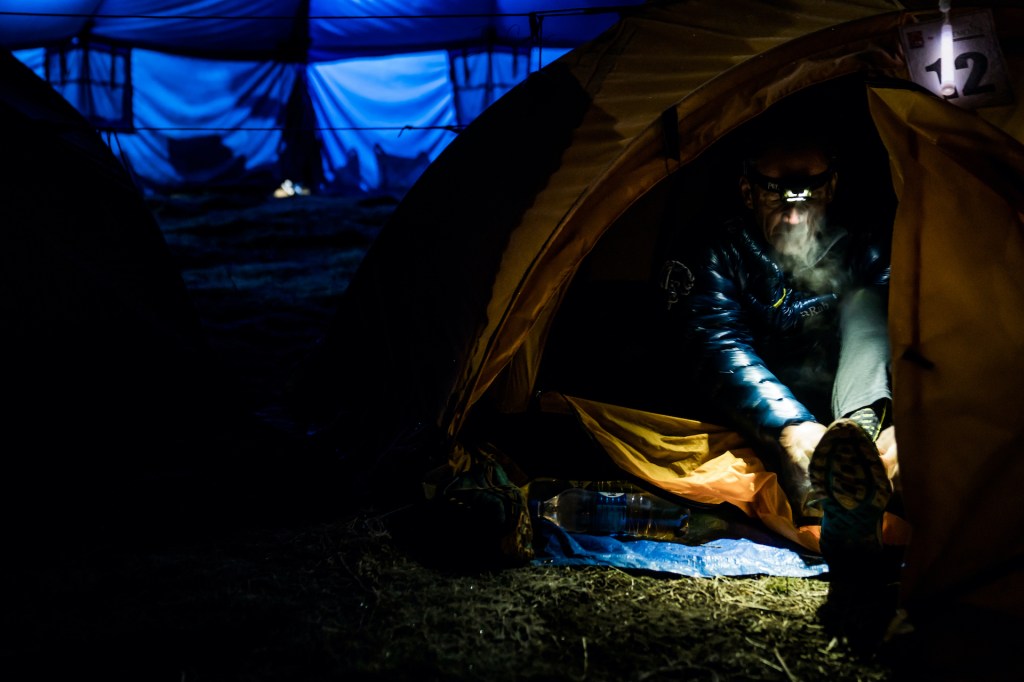
AT THE END OF THE DAY
You have finished fast packing for the day, you are warm, and the priority is pitching the tent. Before you do that, make sure you:
Add an insulated layer.
Add a windproof.
Wear a hat.
Put on gloves.
Once you have done the above, pitch the tent and get inside.
Priority is to remove layer and importantly remove base layers if they are damp or wet. Putting on a dry base layer is essential to keep warm
Replace run tights with Merino base layer tights.
Remove socks and put on dry socks.
Now add the insulated layers such as jacket, hat and gloves. If extremely cold, get inside your sleeping bag and retain the heat you already have.
Depending on the conditions and the environment, you may very well have additional warm layers that were not mentioned above. Three essentials for me in extreme conditions are:
Down/ Primaloft socks.
The above 3 items can pack small and the warmth to weight ratio can make a huge difference. Trekking in Nepal or a similar place in winter and they are essential items.
Hut/tent slippers are a great addition for warm feet and allow you to get out of run shoes/ boots. They are light and can roll up. They fall in the luxury category but if you have space and don´t mind a little extra weight, they can be very worthwhile.
Be specific with the choice of insulated layer. There are many options available that balance weight/ warmth delicately.
SLEEPING
First and foremost, make sure you are warm when going to sleep. If not, you will waste energy trying to get warm. If conditions allow, don’t hesitate to do some press ups, jog on the spot, do star jumps and so on before getting in a sleeping bag.
As a start point, I will wear:
Beanie.
Buff.
Long sleeve Merino base layer top.
Long leg Merino tights.
Merino socks.
Merino liner gloves.
The above provides me with a starting point. Of course, if conditions allow, I can remove some of the items above to regulate temperature.
If it is cold, I will wear a down jacket.
Extremely cold and I will wear my down pants and socks.
It all goes back to layering, multi-purpose and why I initially said that a lighter and less warm sleeping bag can often work providing you have the options to add warmth.
A good night’s sleep is essential.
Top Tips: Put clothes inside the sleeping bag to stop them getting cold and damp. Put all batteries/ phone etc inside the sleeping bag, they will last longer. Need a heat boost? Boil some water, add it to a very secure water bottle and put inside sleeping bag – the ultimate hot-water bottle! Have a bottle for taking a pee in or a FUD if you are a woman. Getting out of a tent in the middle of the night in wind, rain and/ or snow is not a good idea.
TOP TIPS FOR THE WINTER

Prepare and plan a trip meticulously understanding the weather conditions you will encounter.
Have the correct equipment for the trip.
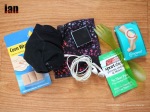
Make sure you have a phone, the ability to charge and re-charge it and have a tracking device such as a Garmin InReach.
Tent must be durable and correct for the conditions.
A tent can be made warmer by reducing ambient space – use packs etc around you and don’t be afraid to ‘spoon’ a tent-mate.
Prepare ground for camping, particularly important in snow/ ice conditions. If possible, clear snow to reveal the ground underneath.
Use a mat as insulation between you and the ground.
Layer and regulate temperature.
Add hot water to a drink bottle for the perfect sleeping bag warmer.
Put clothes inside sleeping bag.
Have ear plugs and blindfold.
Eat and drink warm food and snacking in the middle of the night is a great idea.
Have a pee bottle or suitable device if a woman. Holding a pee in is not a good idea as this will waste energy and heat,
Insulated bottles are essential to stop water freezing. Turn bottle upside down.
Use poles when conditions dictate.
Use dry bags to keep all clothing dry.
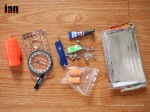
Have plastic zip-lock bags for emergencies.
Make sure you have a first aid kit.
Zip ties, Gorilla tape and a small tube of super glue can go a long way for ‘on-the-go’ repairs.
Carry a multi-tool knife.
Use a long-handled spoon for dehydrated meals.
Eye protection is crucial.
Take a pillow.
Decide on the correct fuel for the stove. Subzero, go with liquid fuel.
Melt snow for water.
Carry a water filtration system.
Have a method for removing toilet paper and waste.
Have wet wipes or similar.
Sunscreen in snow is essential along with lip balm.
If possible and allowed, make a fire.
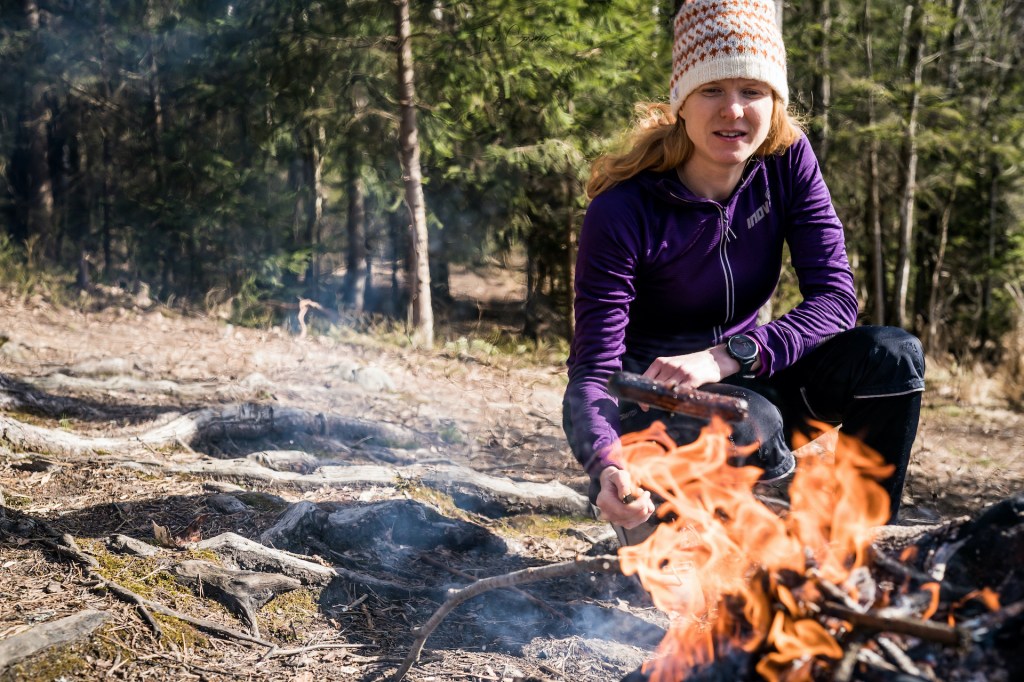
If possible and allowed, make a fire.
Take insoles out of shoes and put inside sleeping (providing they are not wet)
A second stove option and backup may be worthwhile. If using gas canister, the MSR pocket rocket burner is super small and light.
Ventilate your tent.
Keep hydrated.
Protect extremities. Hands and feet. Consider hut/tent slippers.
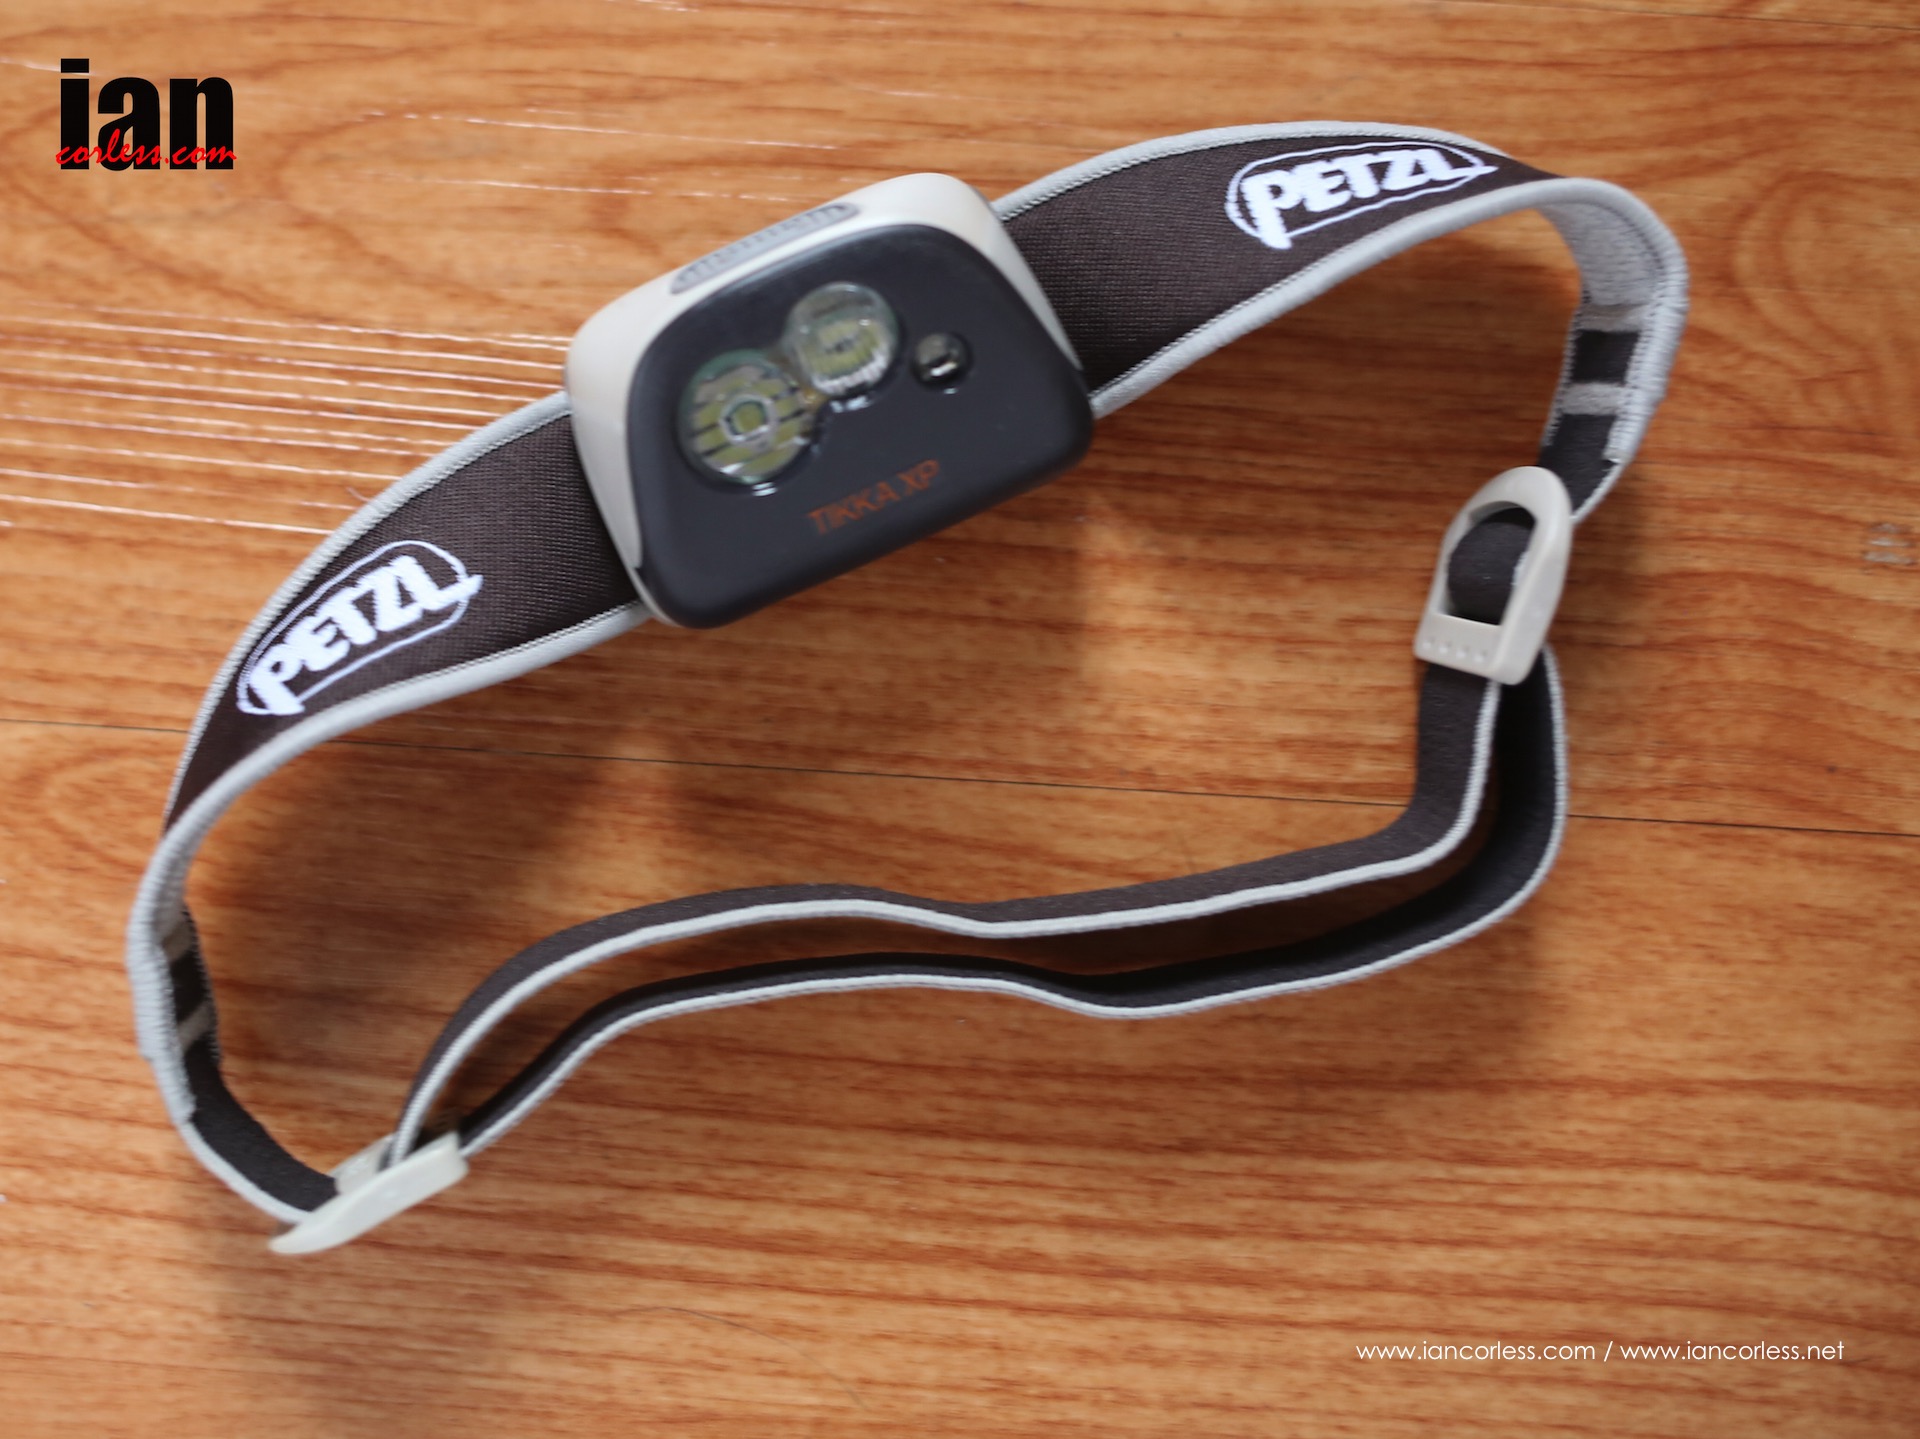
Headtorch and spare batteries.
LUXURIES
Depending on the length of the trip, luxuries are best kept at a minimum. However, on a lengthy trip in Nepal I did take an iPad mini as it allowed me to write, provided the option for movies and music and I could re-charge in tea houses. If I was self-sufficient camping, I would leave this at home.
Take a phone. Maybe use an old-style phone and not the latest smartphone. The latter is power hungry.
iPods and fancy earphones are great, but you cannot beat a pair of simple wired earphones as they do not need re-charging.
Take a notebook and pen (if not taking an iPad mini).
A battery for re-charging.
Remember, you need to carry any luxury so be ruthless.
AVOID
Hypothermia
Frostbite
Please support this website. I believe everyone deserves to read quality, independent and factual articles – that’s why this website is open to all. Free press has never been so vital. I hope I can keep providing independent articles with your help. Any contribution, however big or small, is so valuable to help finance regular content. Please support me on Patreon HERE.
Follow on:
Instagram – @iancorlessphotography
Twitter – @talkultra
facebook.com/iancorlessphotography
Web – www.iancorless.com
Web – www.iancorlessphotography.com
Image sales –www.iancorless.photoshelter.com