It shouldn’t be complicated, but it is. Go on any run forum and I will bet you that daily, someone will ask a question about run shoes.
I want a shoe that will allow me to run muddy trails and road?
Can anyone recommend a shoe for fell running?
I have Hobbit feet and I need cushioning and grip – what shoe?
I could go on and on. The thing is, while it may be okay to ask a couple of question like:
- How does a specific shoe perform in mud?
- How is the wear and tear of ‘x’ shoe?
Asking for a specific shoe recommendation can be a recipe for a disaster, the reason being, we are all individual and shoes are very personal based on a multitude of factors. Nobody on social media knows you, your needs, how you run and what type of running you do.
So, please do not ask for a shoe recommendation on social media unless you are specific. A good example being:
“I am male, aged 44. I have been running for 23-years and I have extensive history in cycling, triathlon, road running and now I am moving to trail running… I am 5ft 9. A little overweight. In regard to shoes? I am looking for a trail shoe that will provide great grip on muddy trails. I need support for my arch and cushioning but not something as cushioned as say a Hoka. In regard to foot width, I am in the middle, neither needing precision or wide fit. On a scale of 1-5 I would be a 3!’
With the above we have information from the runner and therefore suggestions and recommendations can be specific and targeted. Even then, the runner should go to a run store, albeit now he has a shortlist of options and then try on the shoes to find the one that best suits him, his feet and his needs.
IF THE SHOE FITS
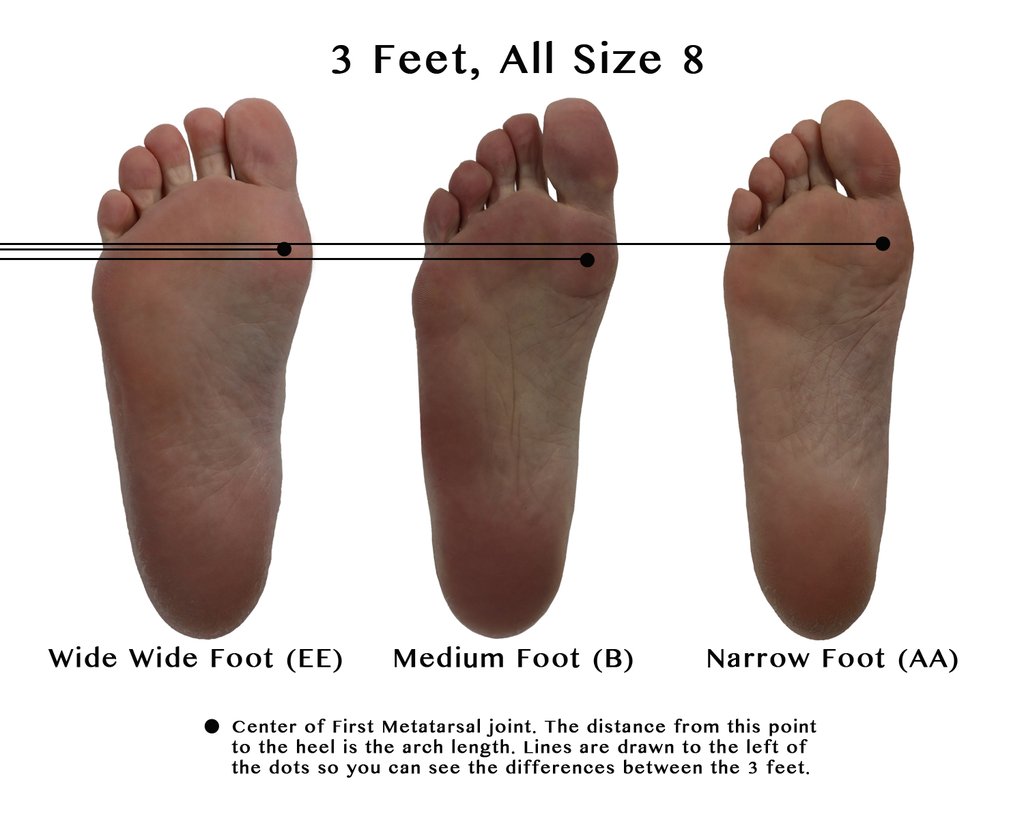
Firstly, and importantly, not all shoes are equal and not all feet are the same.
- Foot length.
- Foot width.
- Foot shape.
- Pronation.
- Supination.
- Neutral.
Quite simply, the better a shoe fits, the more specific to the type of running one will do in that shoe, the more likely you will feel better. The foot will be happier and the miles you run will be more comfortable.
Our bodies are supported by our feet; they are the first point of contact with the ground and therefore, they are incredibly important. Getting a correct fitting shoe that is specific for purpose is crucial.
When I say specific for purpose, let me provide some simple clarification now and then explain in-depth later. Shoes come in categories; I see the main list broken down as 6 main groups:
- Road
- Road to Trail
- Trail
- Ultra-Running (with sub heading of Ultra Road and Ultra Trail)
- Fell Running
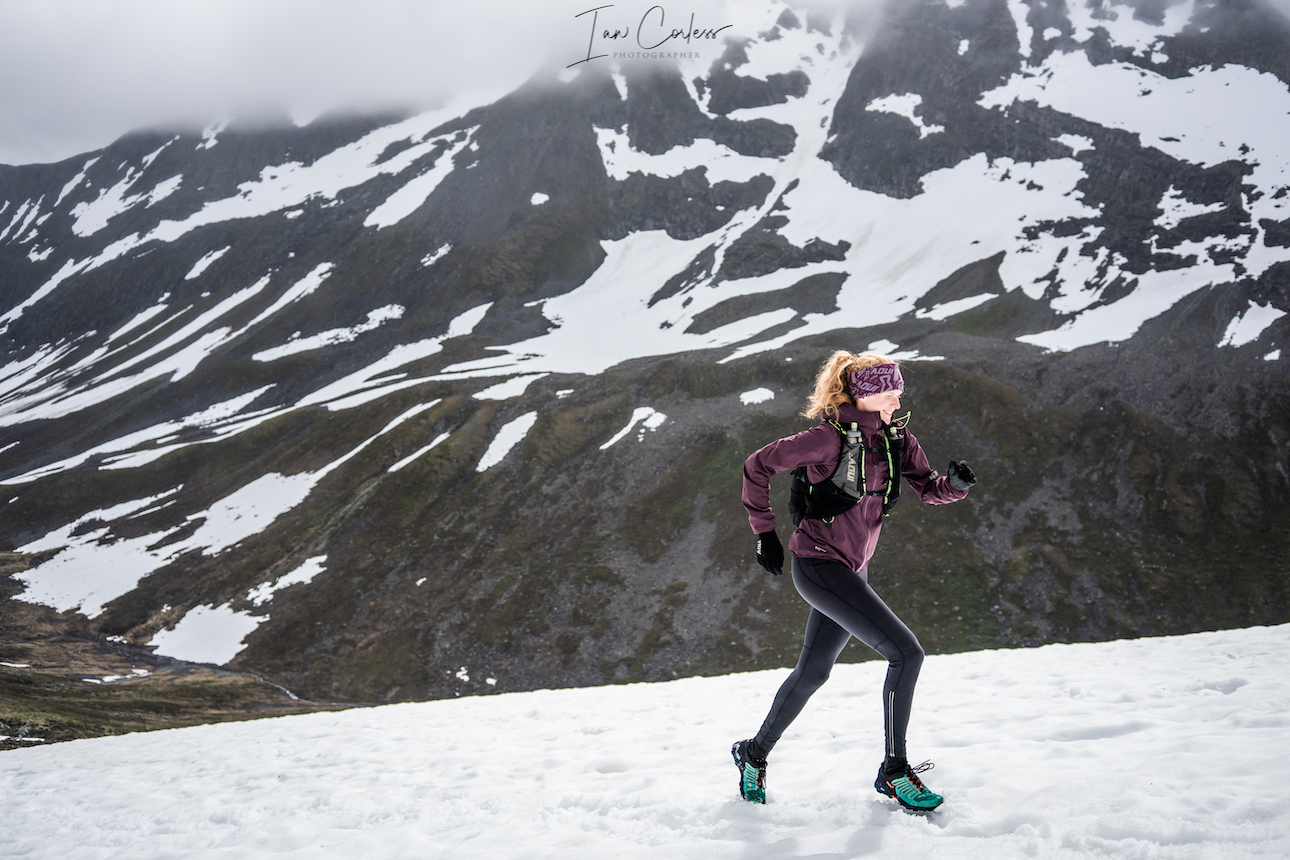
- Mountain Running
Now, one could break down the categories even more with very, very specific needs such as, “I need a mountain running shoe with an aggressive outsole with great grip in wet and dry conditions and superb traction in mud.”
But before we get into the discussion on the shoe for the job, getting a correct fitting shoe is vital.
HOW DO WE FIND A CORRECT FITTING SHOE?

Please don’t fall in with the generic advice that a run shoe should be one size bigger than say your every day casual shoe! For a start, this assumes you have the correct size casual shoe and trust me, from experience, very few people do. The recommendation for sizing up also comes from the assumption that a foot swells when running. From experience, feet rarely go longer but can go wider with repeated impact and stress; think of races like Marathon des Sables when a runner is in a hot/sandy environment. So, one may need a wider shoe but not a longer shoe. This comes down to getting the specific shoe for the job.
I wear the same size run shoe as my casual shoes (typically) but to clarify, I go for the ‘same fitting’ shoe.
Shoe sizing between brands is variable and inconsistent, an EU 44 in say Salomon is not necessarily the same as an EU 44 in inov-8. So, first and foremost, always try shoes on!
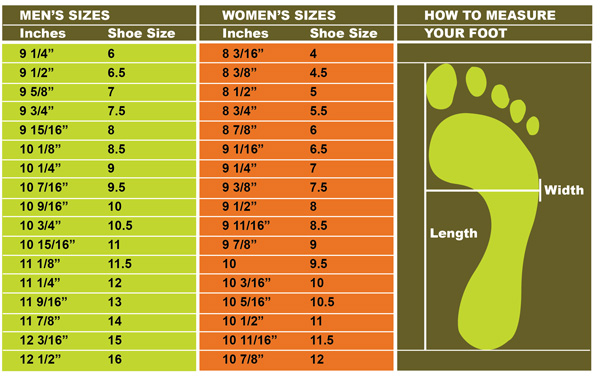
Length and foot width does change so it can be a good idea to have your feet measured if you are new to running with little experience. Some specialists suggest getting feet measured yearly, but for me, this still only gives a guideline to shoe size as comfort, feel and specificity come in to play.

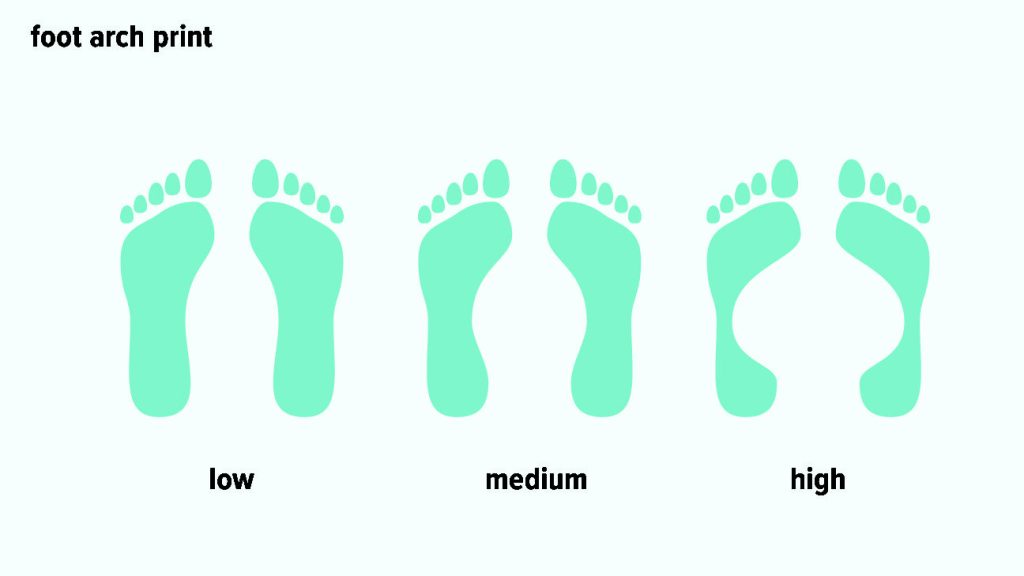
“As a rule of thumb,” I have consistently found that a thumb nail of space above one’s big toe is usually ideal for sizing. This is classic for an ‘Egyptian’ foot shape (D). I say usually because I have seen some feet where the second toe is longer than the big toe, known as ‘Greek’ foot shape (C), so, this would require an individual approach. There is also ‘Square’ foot shape and the thumb nail width above the big toe usually applies here, but, a wider toe box may be required.
Remember, both feet are usually not the same size, so, take this in consideration. Go for fit and feel with the bigger foot!
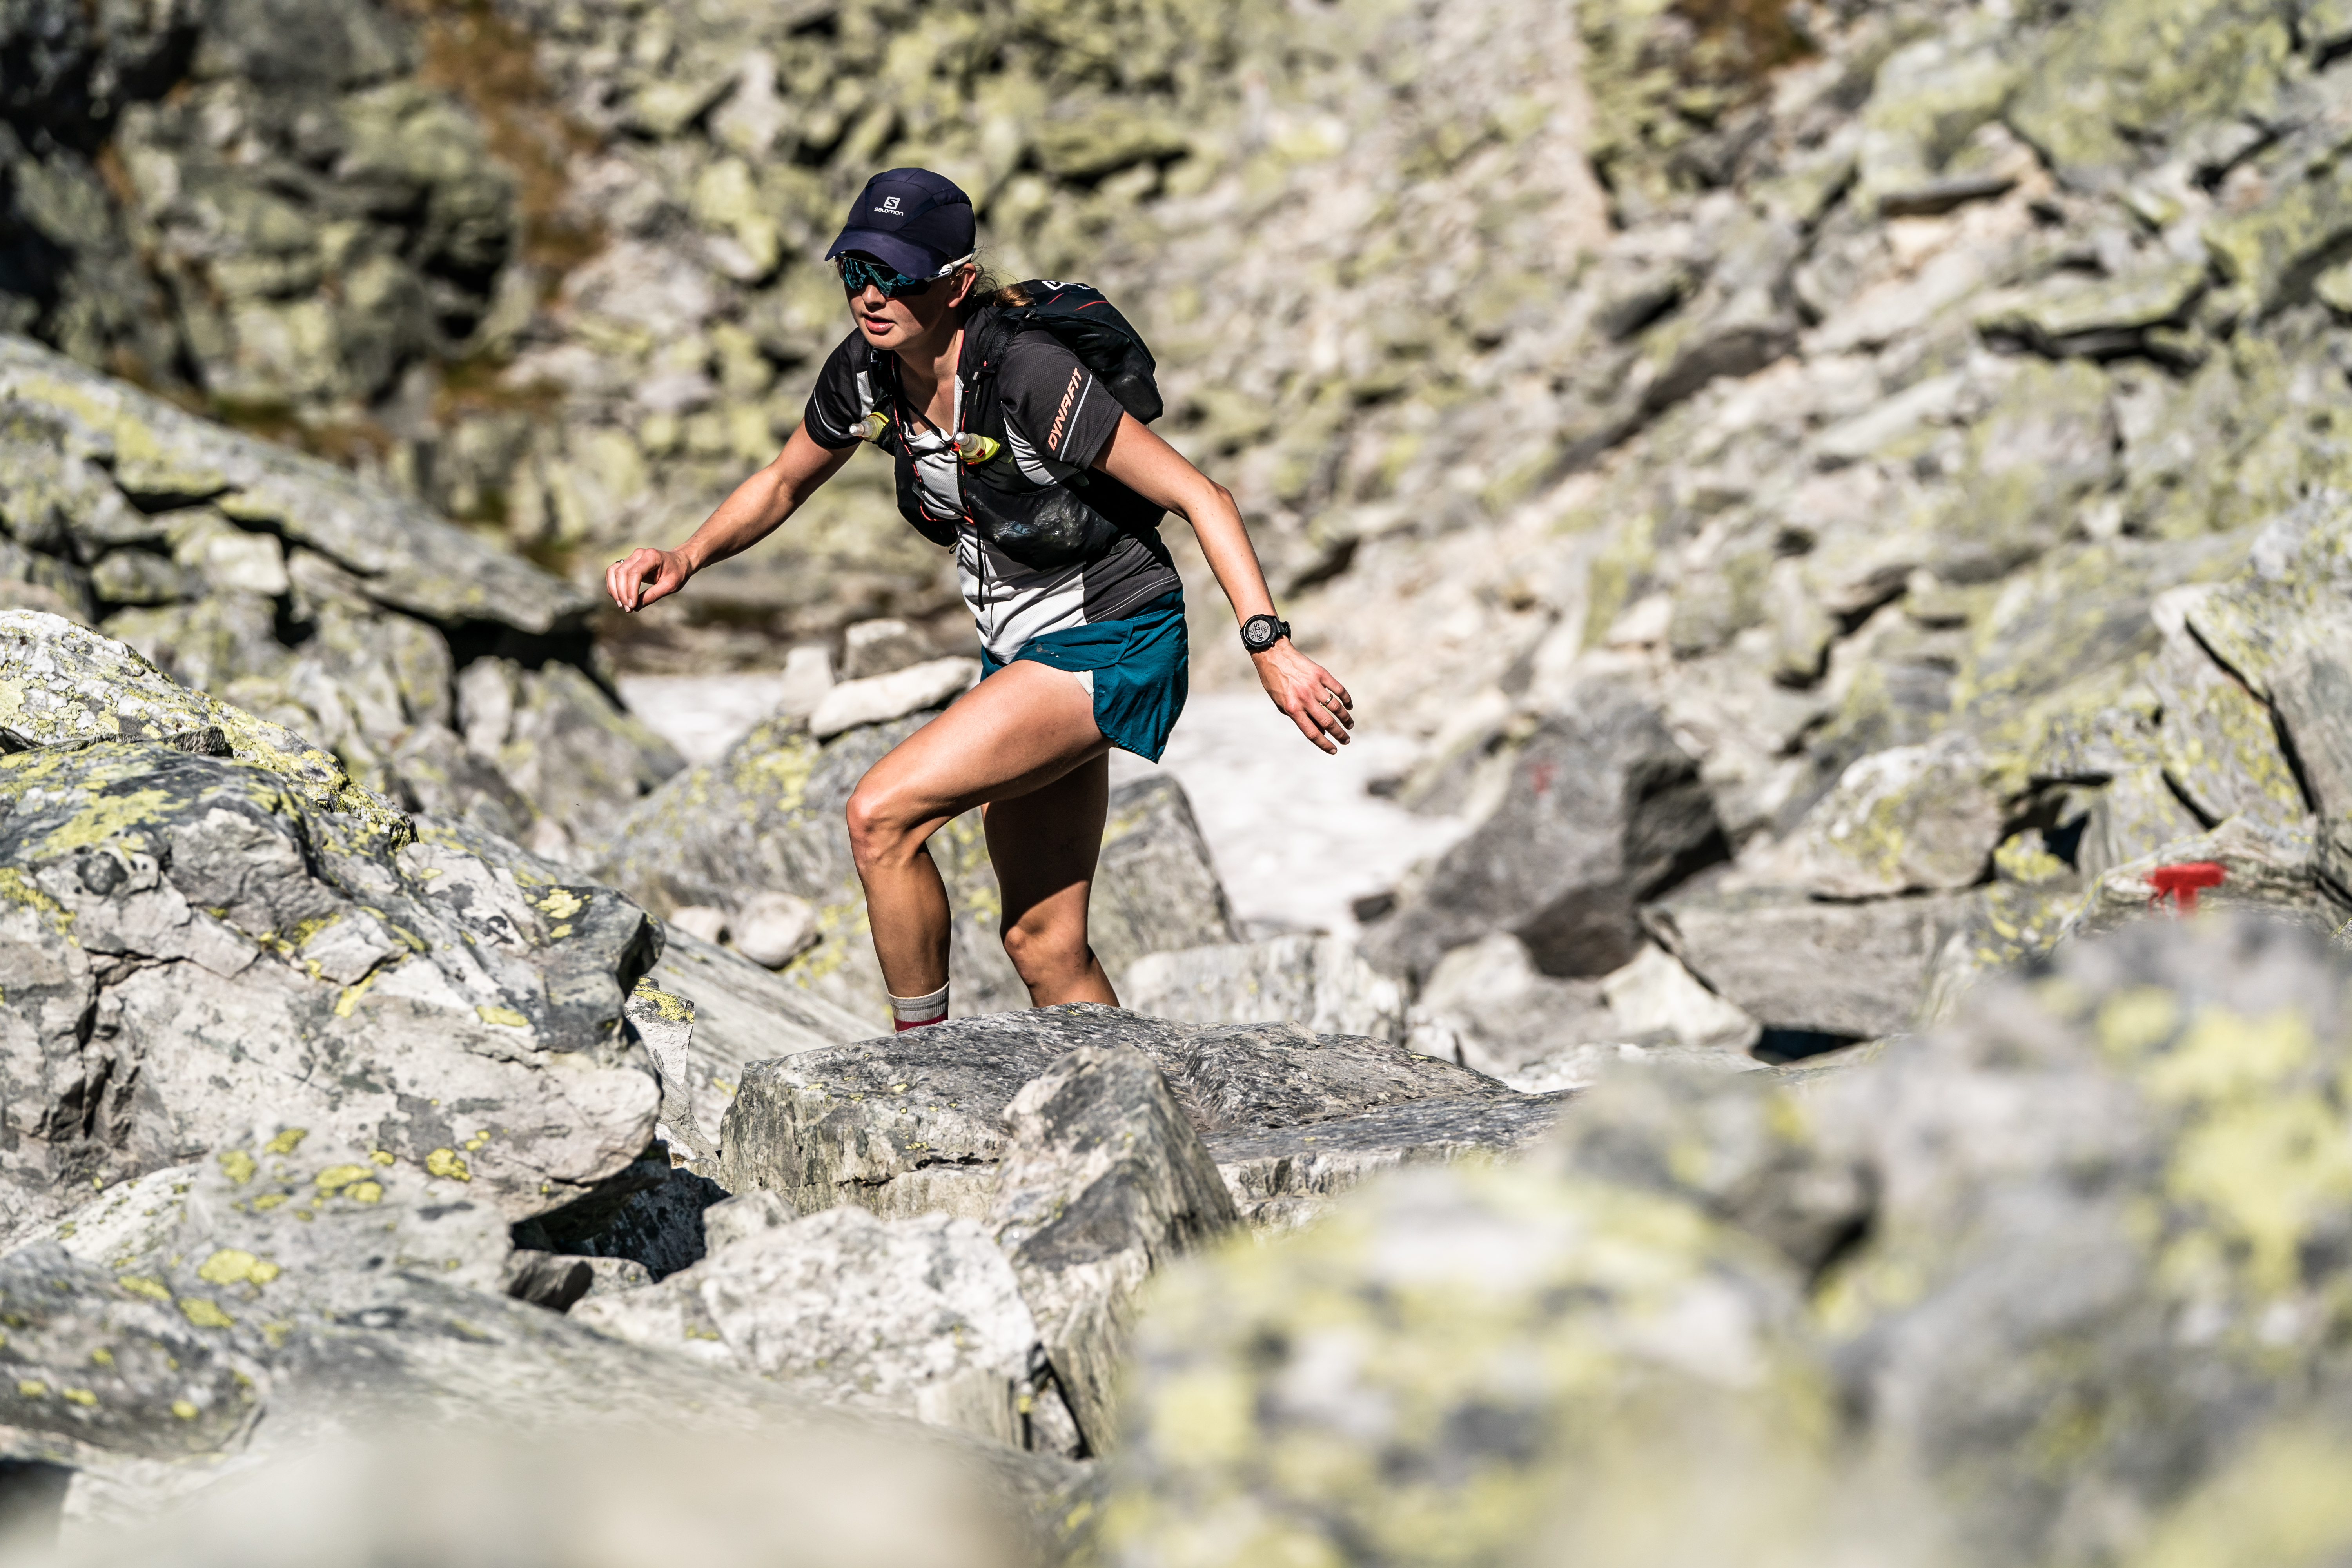
NOTE: Specifics come in to play such as foot width and specificity of the shoe. As an example, If you are running technical trail, you will need a more ‘precision’ fit. If running long/road ultras, you may well prefer a wider fit that will allow toe splay. More on this later.
Wear socks that you typically run in and if you normally wear two pairs of socks, then wear two pairs when testing and trying. Two pairs of socks may require you to go a half or full size larger depending on the sock thickness. Note:nYou may wear the same shoes for Summer and Winter, but in Summer you use light and thin socks but for Winter you use thick Merino socks. This may well mean you need a different size shoe for Summer in comparison to Winter.
Insoles can give a good indication of the shoe size and its width. As a guide, the insole should match the shape and size of your foot.
With the insole back in the shoe, place your foot inside and firstly check for the space at the front. If you have the required space, lace up and tighten. On the top of the foot you have the ‘Navicular Bone’ and the shoes should be tight here but not so tight to restrict blood flow.
Stand up and move around. Key checkpoints are: 1. Thumbnail width between longest toe and edge of shoe. 2. Check pressure on your little toe. 3. Check pressure and feel on your big toe.
Ideally, you want to be able to run in them and most good run shops have a treadmill to try out shoes. Key checkpoints: 1. No slippage in the heel area. 2. No pressure on toes. 3. Instep feels secure and pain free. 4. You have support or a lack of support as needed.
If you see material bulging because of tightness you may need a bigger shoe, or you have the wrong width. If you see an excess of fabric, you may have a shoe that is too large or too wide.
Check the fabric of the shoe and the seams. Will they be breathable for your needs? Will they protect you for your needs? Does the toe bumper have enough protection?
Remember shoes flex when you run. In the propulsive phase, the shoe will bend behind the metatarsals and this can be a troublesome area if the shoes are the wrong size. Often a sign of a shoe that fits incorrectly is this area will crease and often tear causing failure in the shoe upper. If running uphill, think mountain, fell and trail running, this area of a shoe gets a great deal of stress.
A good running store with professional staff will help you with shoe choices and they should discuss the pros and cons of the specific brands and models available. However, gut feeling and how you feel goes a long way. Always be careful of ‘sale’ shoes! Don’t be influenced in buying the wrong shoe just because it is a good price.
WHAT CAN GO WRONG?
Marathon des Sables has some foot horror stories and the general story is because of the heat, the sand and how brutal the race is. The truth is, the issues (usually) arise through runner’s choosing the wrong shoe and the wrong size.
Old advice has said size up, go bigger as your feet will swell.
However, a shoe that is too big allows the foot to move inside the shoe. A moving foot causes friction. Friction causes blisters. The rest is self-explanatory. In addition, with each sliding of the foot, the toes may impact with the front of the shoe and result in bruising. Think of running downhill with shoes that are too big, your toes will be crammed at the front with room behind the heel.
Having said this, feet can swell through impact and heat. So, using Marathon des Sables as an example, one consideration may be going for a shoe with a wider toe box but still that thumbnail of space at the front. What often happens is a runner has a favourite shoe and decides they need more room, so, they just buy a larger shoe (than needed) because it increases the width/ space. Actually, what they should do is change the shoe. It goes back to specificity.
Shoe that are too tight and/or too small will result in black toenails but more importantly can damage ligaments and possibly result in damage to the metatarsals. Stress fractures are a real risk. Also, you will have foot fatigue and pain. The foot is full of nerves and bones. As an example, the soles are extremely sensitive to touch due to a high concentration of nerve endings, with as many as 200,000 per sole. *The foot receives its nerve supply from the superficial peroneal (fibular) nerve, deep fibular nerve, tibial nerve (and its branches), sural nerve, and saphenous nerve. These nerves come from peripheral nerves that arise from the L4 to S3 nerve roots and contribute to the somatic motor function, general sensory information, and the cutaneous sensation of the foot. In regard to bones, each foot is made up of 26 bones, 30 joints and more than 100 muscles, tendons and ligaments, all of which work together to provide support, balance and mobility.
If you require stability shoes, the wrong size shoe may well put the support in the wrong place and instead of providing help, it will create onward issues and problems. Plantar Fasciitis is a risk.
Quite simply GET THE CORRECT FITTING SHOE!
IMPORTANT FACTORS TO CONSIDER
Okay, so we have given a guide to how you find the correct size of shoe. But now we need to be specific and address and look at some fundamental questions before going to any run store:
GAIT
Supinate – Your weight tends to be more on the outside of your foot.
Pronate – Your weight tends to be more on the inside of your foot.
Neutral – Your weight is distributed evenly.
You need to know which of the above you are, as all brands and manufacturers produce shoes to answer these three specific needs. If you do not know the answer to this question, look at the soles of shoes you have worn for some time – you will see how they have worn. In a proper stride, your foot should roll forward and pronation should be neutral. Shoes that are geared towards supination or pronation are designed to bring you back to neutral.
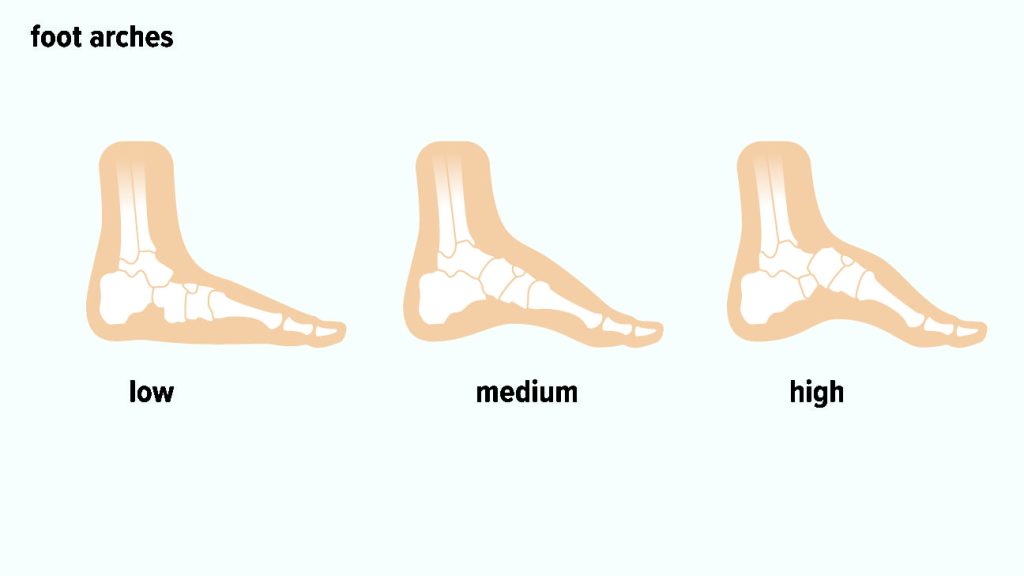
Many runners who need specific support often see a Podiatrist and have Orthotics made that are transferable to any shoe. In this scenario, you should purchase neutral shoes.
**If you supinate, it can cause excess strain on your ankles. It may lead to shin splints, calluses, or bunions on the outer side of your foot, and pain in your heels and balls of your feet. Excess over pronation, means that as you walk, your foot rolls toward the inside and your arch tends to flatten out. Your shoe will show uneven wear on the inside part of the sole.
CUSHIONING
From barefoot running to bouncy marshmallow shoes, there is a plethora of cushioning options available to choose from and what is best may just come down to personal taste…
However, I beg to differ. I feel cushioning or a lack of cushioning should be applied based on what type of running one is doing and what conditions.
Examples:
Fell running – Fell running often takes place in soft, boggy and wet ground. A feel for the ground is essential so that you can respond with ever-changing terrain. A shoe with too much cushioning will remove that feel, place you higher off the ground and may well increase the risk of injury. A sprained ankle being one of the most obvious.
Road running – Road is hard, it can jar the body, muscles and tendons and therefore a shoe with a little more cushioning may be preferable. For some, they require sofa like comfort. Others prefer some cushioning but not at the expense for the feel for the ground.
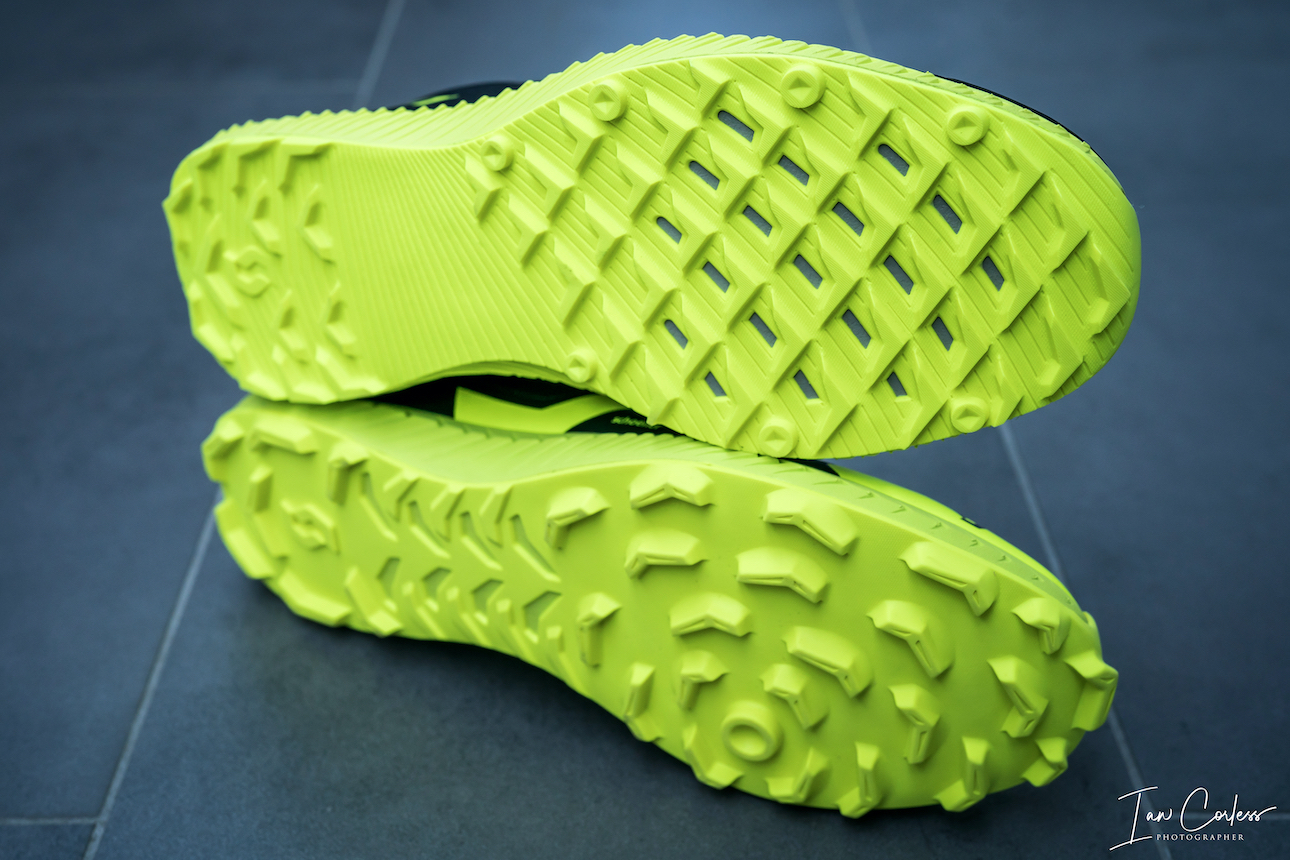
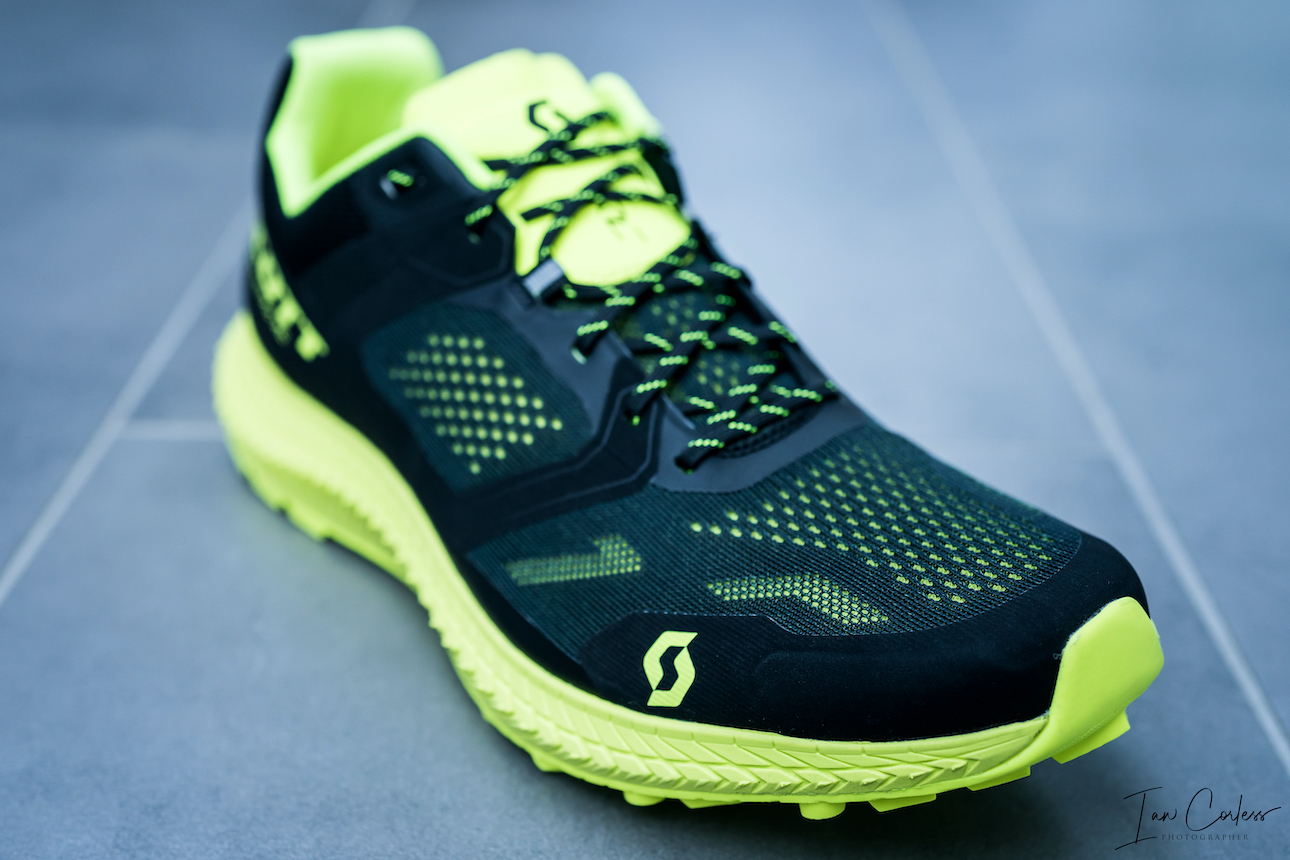
When purchasing shoes, look at the cushioning typically shown as, for example – Midsole Stack 8mm/ 14mm. This is 8mm cushioning at the front and 14mm at the rear. The higher the numbers, the greater the cushioning.
Some shoes include a rock plate which offers protection from sharp objects, useful when trail running.
DROP
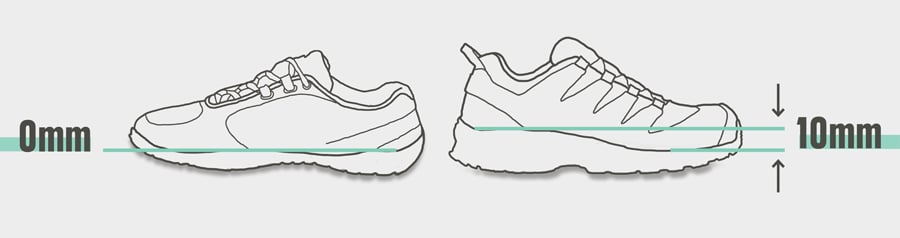
Shoe drop is essentially the difference between the height/ thickness of the midsole under the heel compared to the same measure under the ball of the foot. Years ago, drop was not a consideration. On a personal note, thinking back say 8-years, I never considered shoe drop. Now, it’s all important.
Importantly, do not be confused by cushioning here. You may well look at say a Hoka One One and think it has a high drop. On the contrary, they typically have a low drop of 4mm. ***Drop refers only to the difference in thickness between the front and back of the shoe and is not a narrative on the magnitude of the thickness.
From experience, I do not consider that any runner has an ideal drop. I see drop as something that can played around with based on the needs and requirements of the shoe and the conditions it will be used. But I must clarify that I have been testing shoes for 8+ years and switching drop on a daily basis has been no problem, on the contrary, I actually consider it to be beneficial.
As a way to explain, I use 0 drop shoes all the way through to typically 8mm. I do have one pair of shoes at 10mm, but they are an exception.
Zero drop or barefoot advocates will argue and argue that zero is the only way to go and if you are adapted and have no injury issues, that is awesome. However, most people have not experienced zero drop and suddenly to do all runs in zero will almost certainly result in some injury. Zero takes adaptation.
Pure Sports Medicine are clear, “What we do know is that human tissues can be sensitive to sudden changes in the way they are loaded, and that it is biologically coherent (and in keeping with the laws of physics) that differing shoe drops may load certain tissues differently. As such, if you are currently uninjured there is no justification for changing the drop of your shoe, but should you want to then be mindful of allowing the body time to adapt to such changes (although many runners may be able to interchange between shoes of different drops we would usually advise being over cautious if this is not something you have done before).
So, if you typically run in 8mm drop shoes without injury, it makes sense you purchase shoes with 8mm drop. Equally, if 4mm is your thing, purchase 4mm.
Specificity of drop.
I personally (and others like me) see drop in conjunction with cushioning, or, a lack of cushioning as a tool to get the most from my body and my runs. For example, if running a muddy fell run, I will use a lower drop, say 3 or 4mm with less cushioning. By contrast, if I was doing a long trail run, I would prefer 8mm drop and more cushioning.
A certain drop may be beneficial in reducing sensitivity and complementing your overall management strategy – so consider this. ****Changing the drop of your shoes (or using multiple shoes which have varying drops in a rotation system) is not to be discouraged or feared, but be sure your body’s tissues can tolerate this, and are given the necessary time to adapt and attain the capacity if needed.
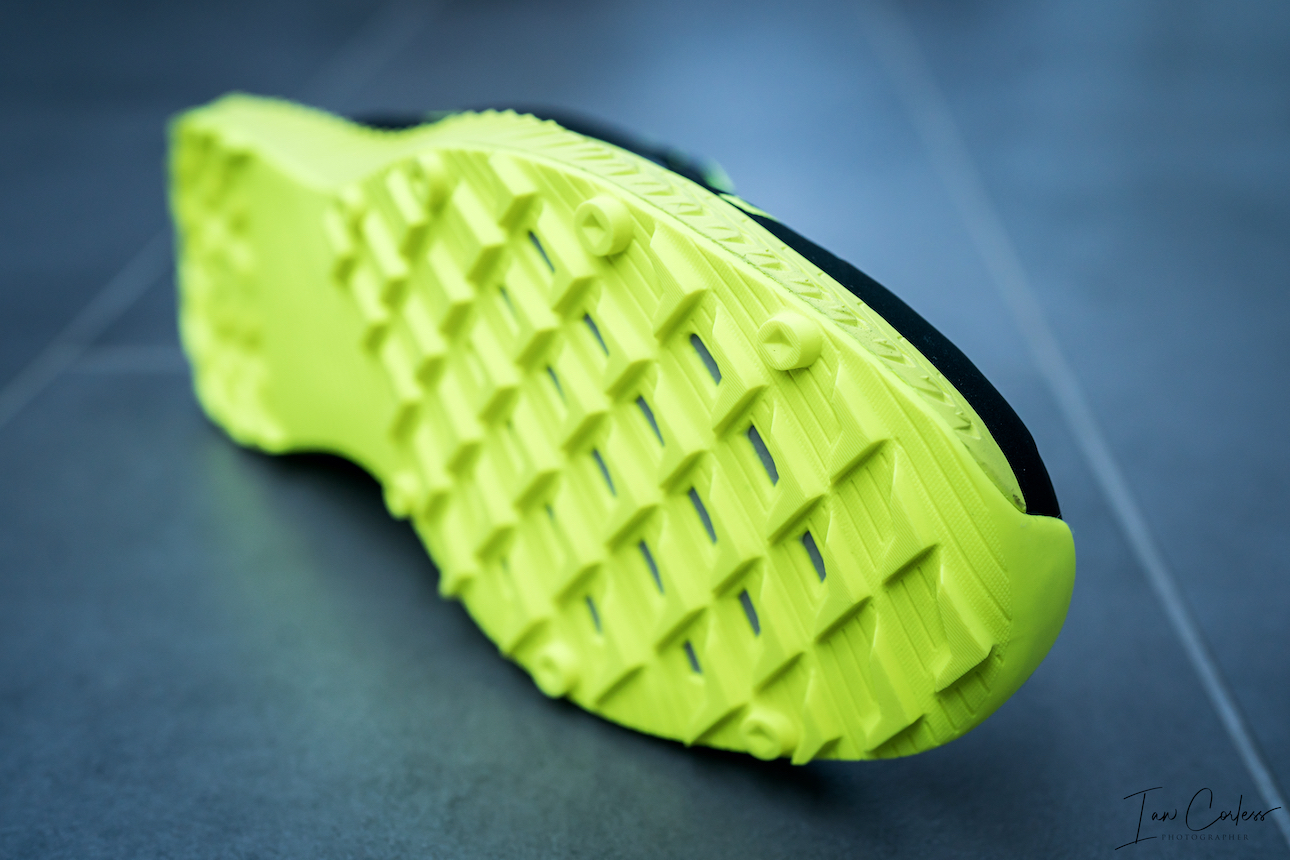
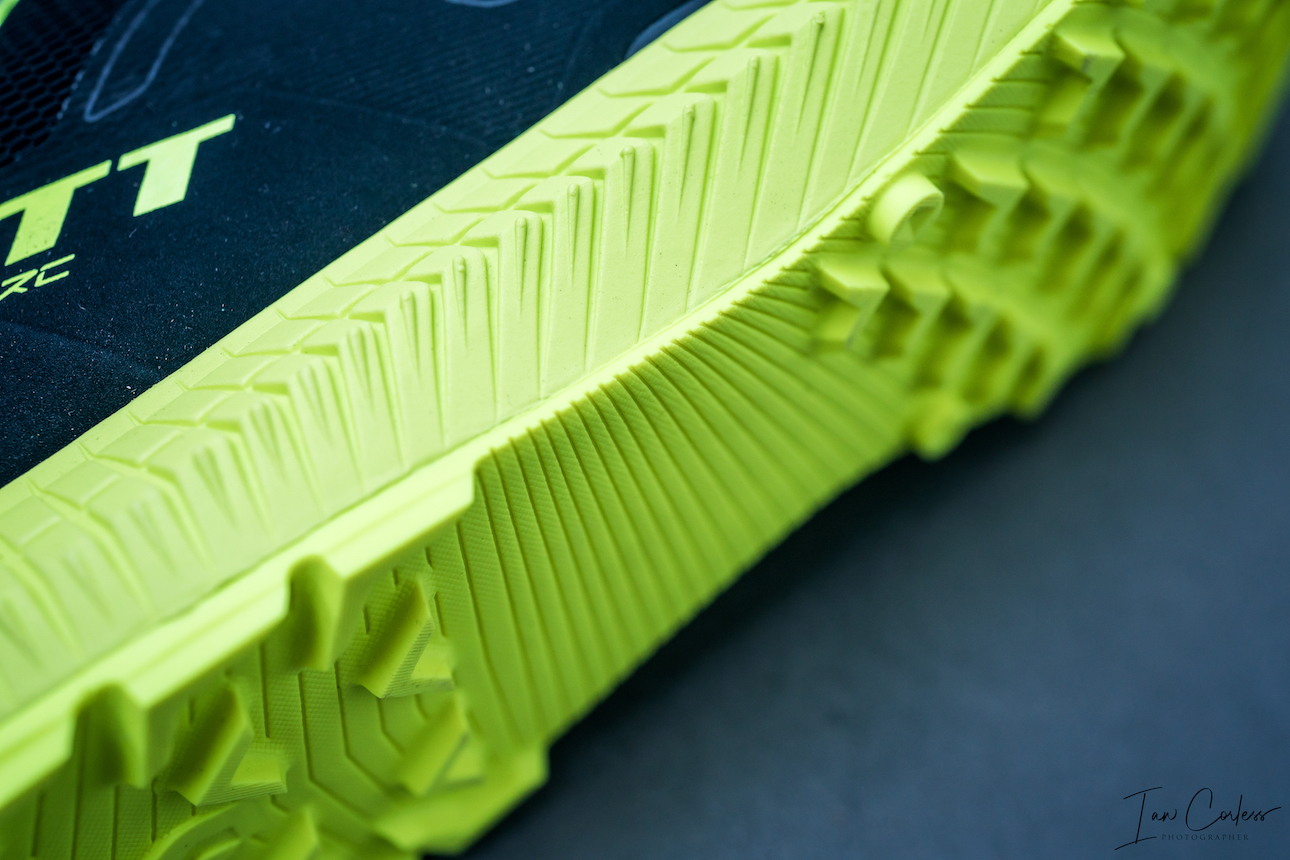
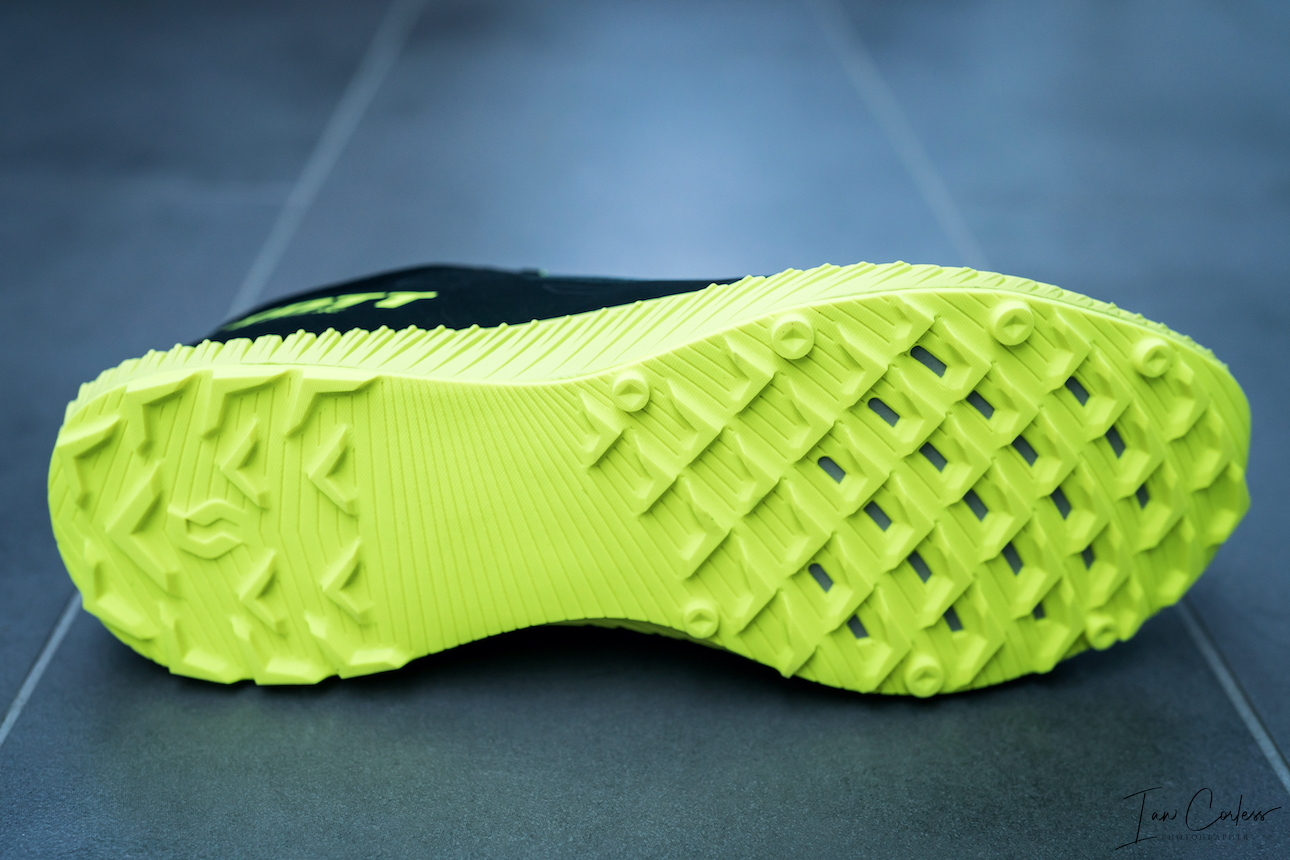
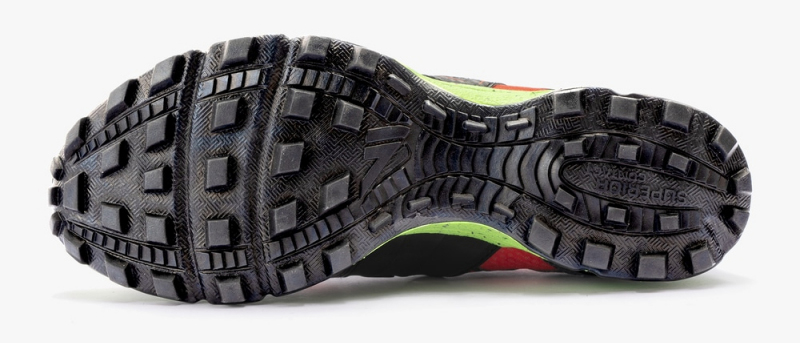
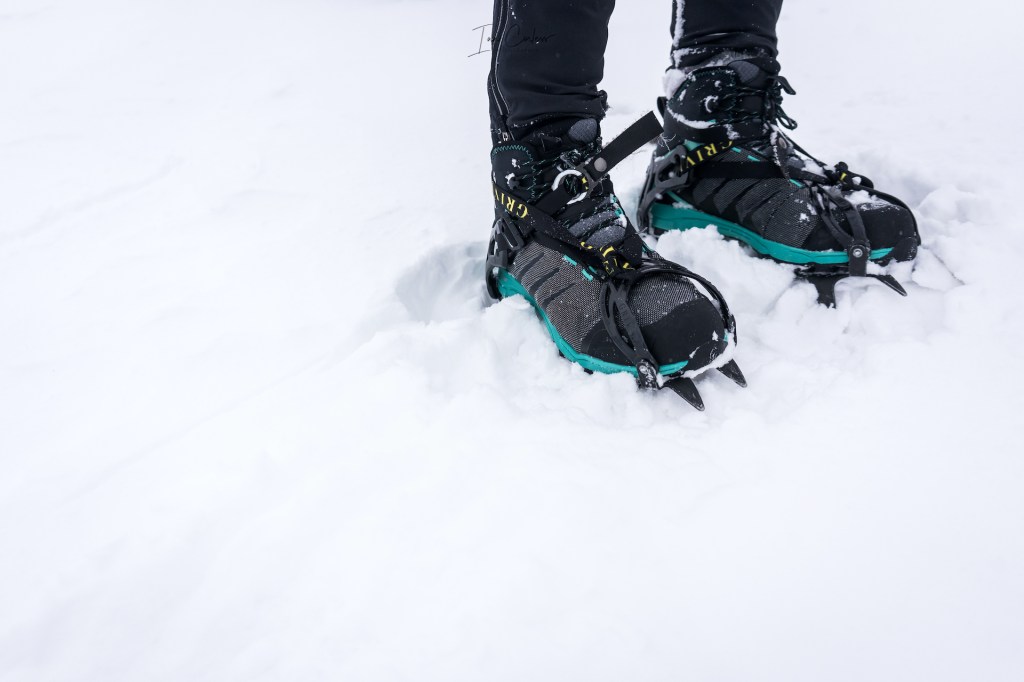
GRIP
The outsole of a shoe is key as this is the point of contact with the ground on which you are running. Again, specificity is key. There is no one outsole that will do all jobs well and therefore the need for multiple shoes with specific tasks is an essential armory to a runner’s shoe cupboard.
Road shoes – Typically need little grip, just a good rubber.
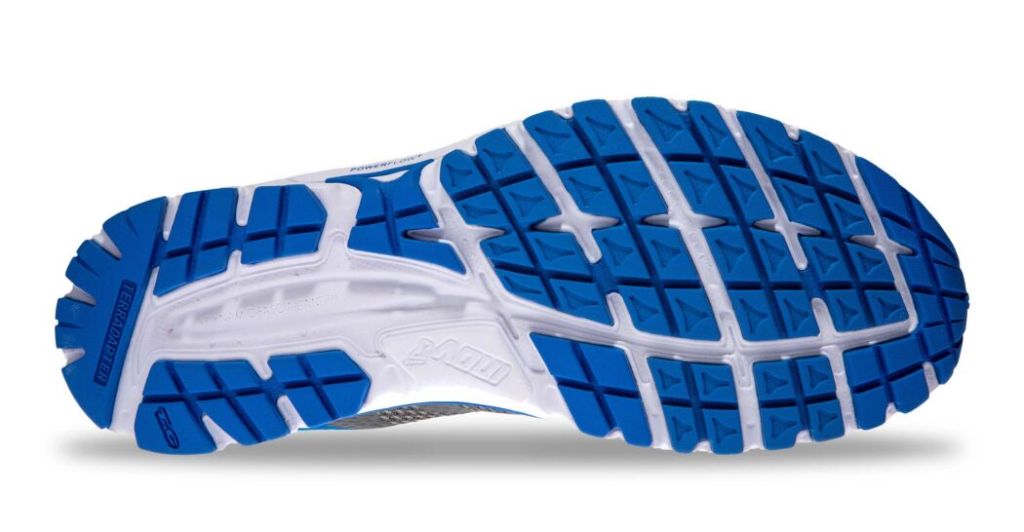
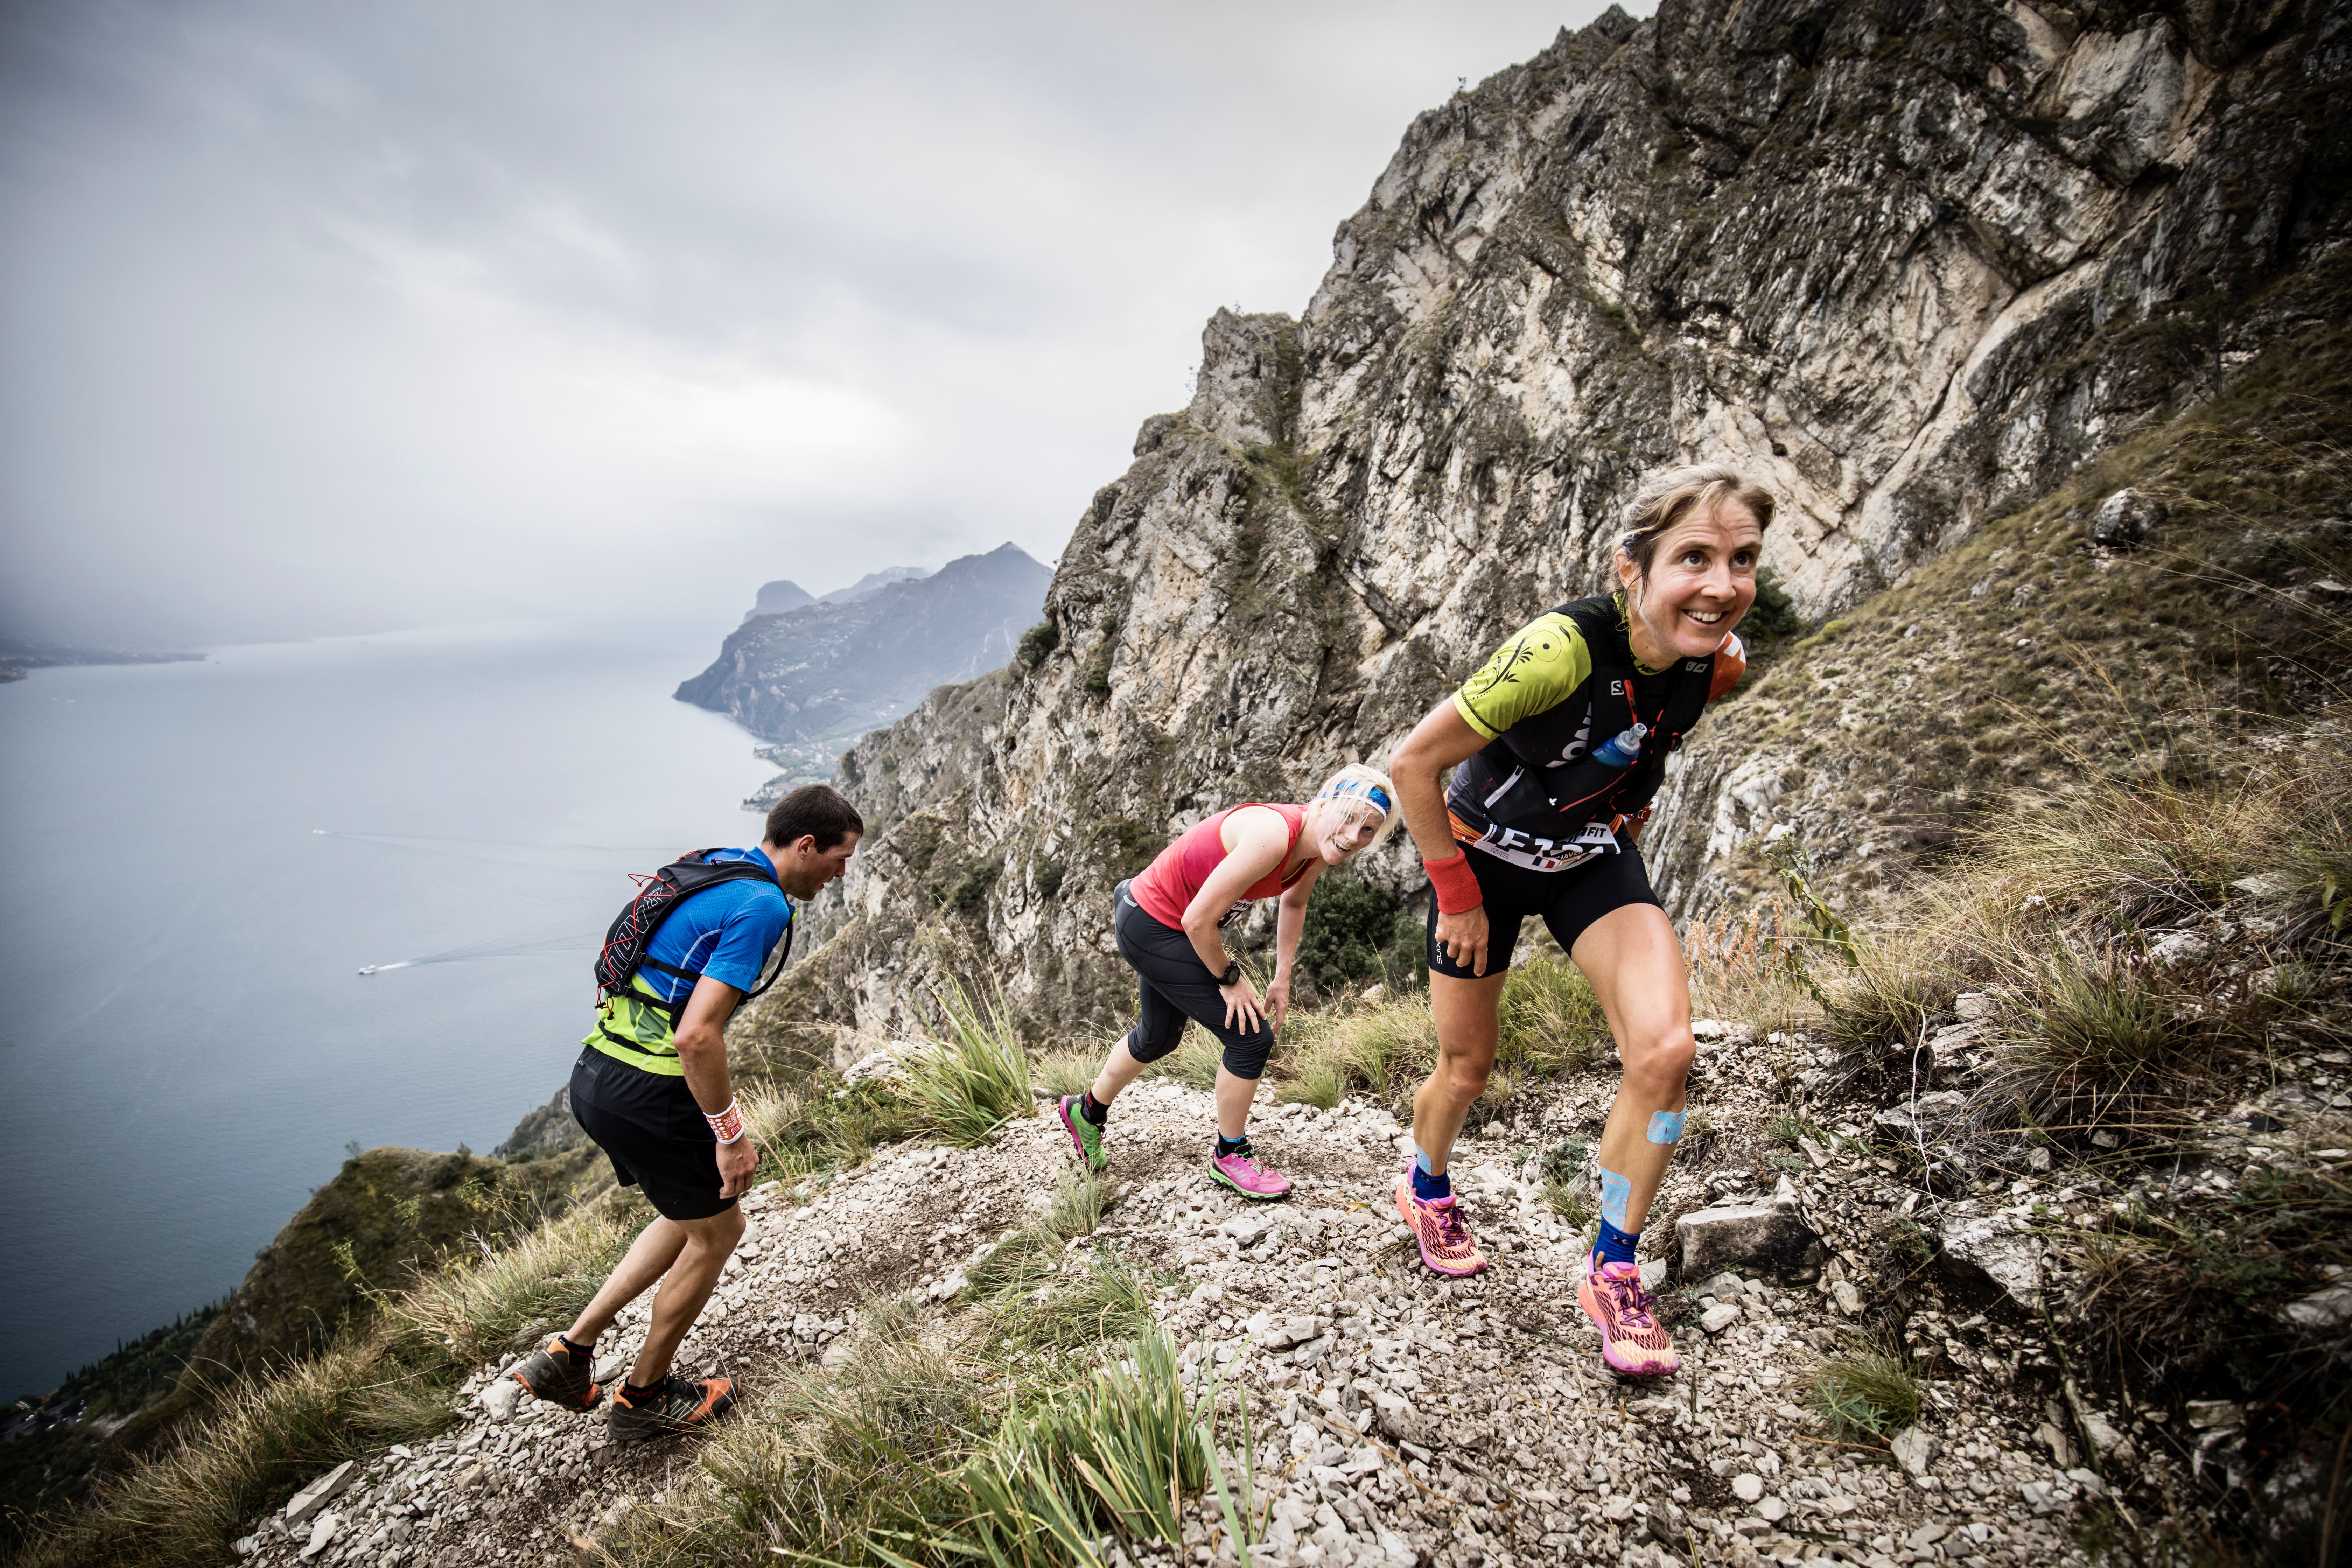
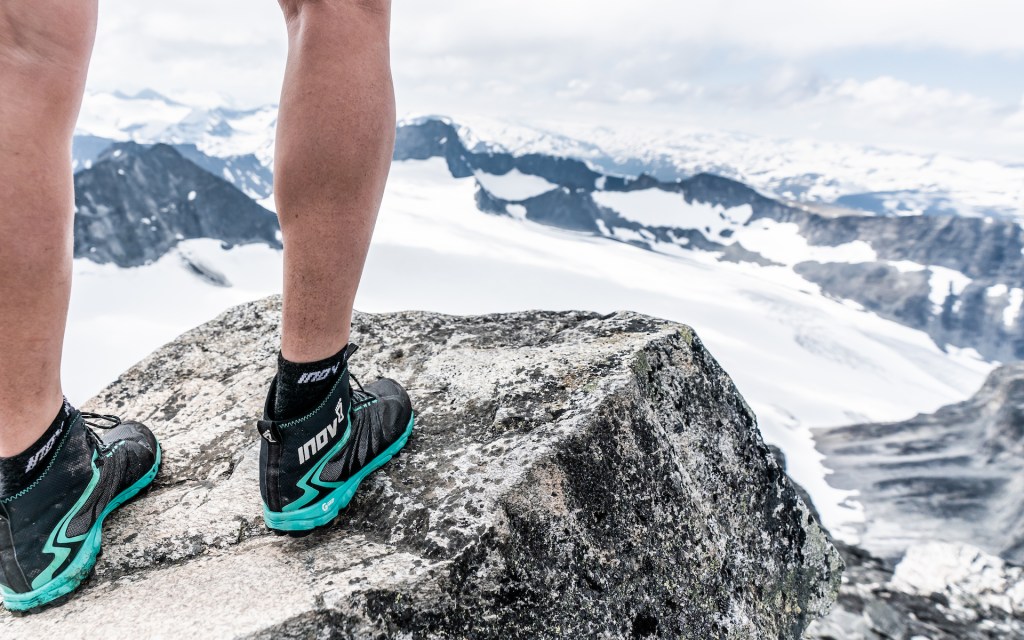
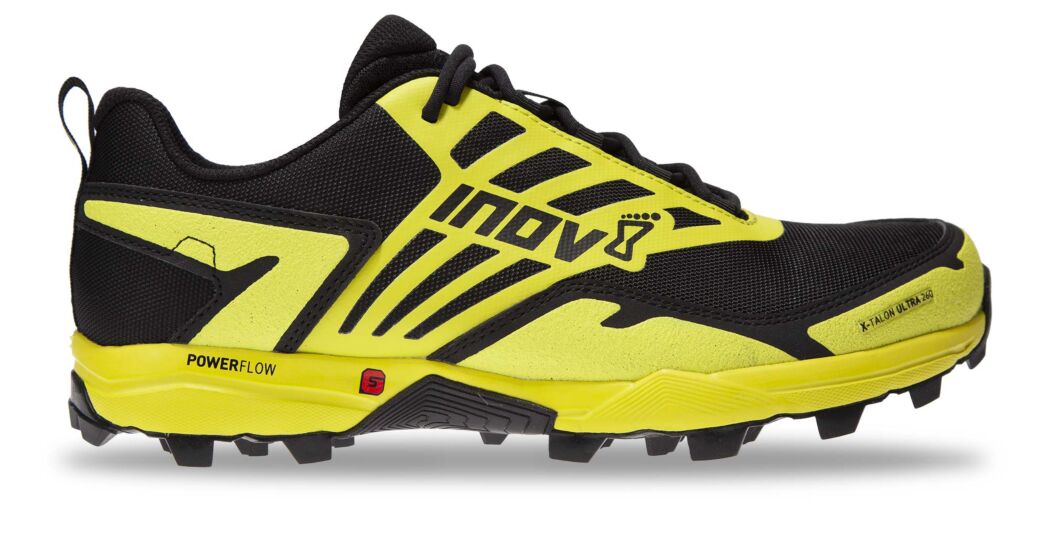
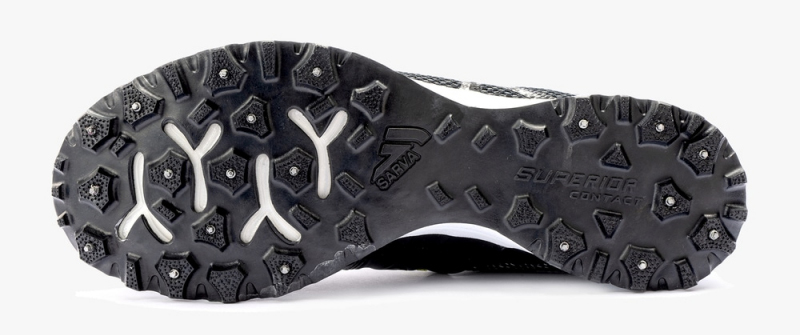
Trail shoes – Typically require a good outsole that is durable and has grip, say 4mm studs.
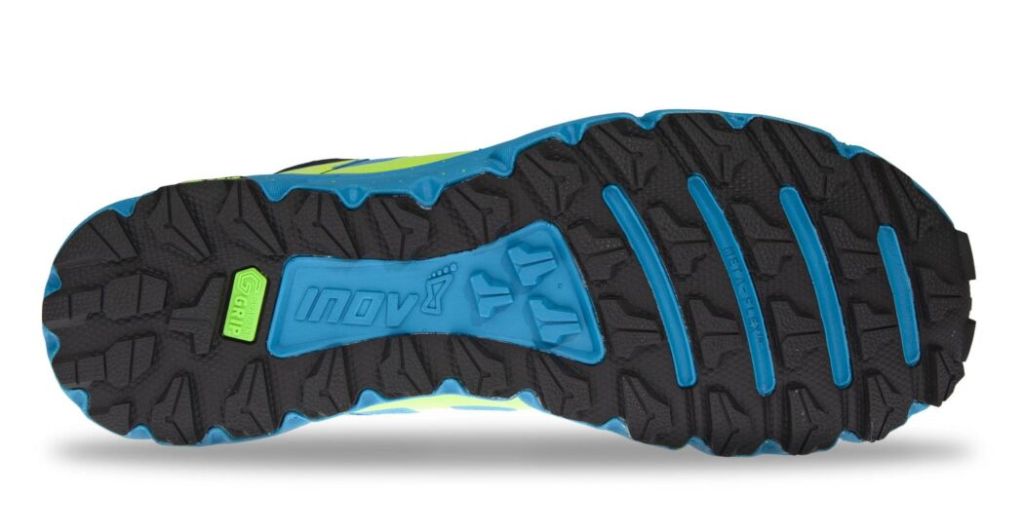
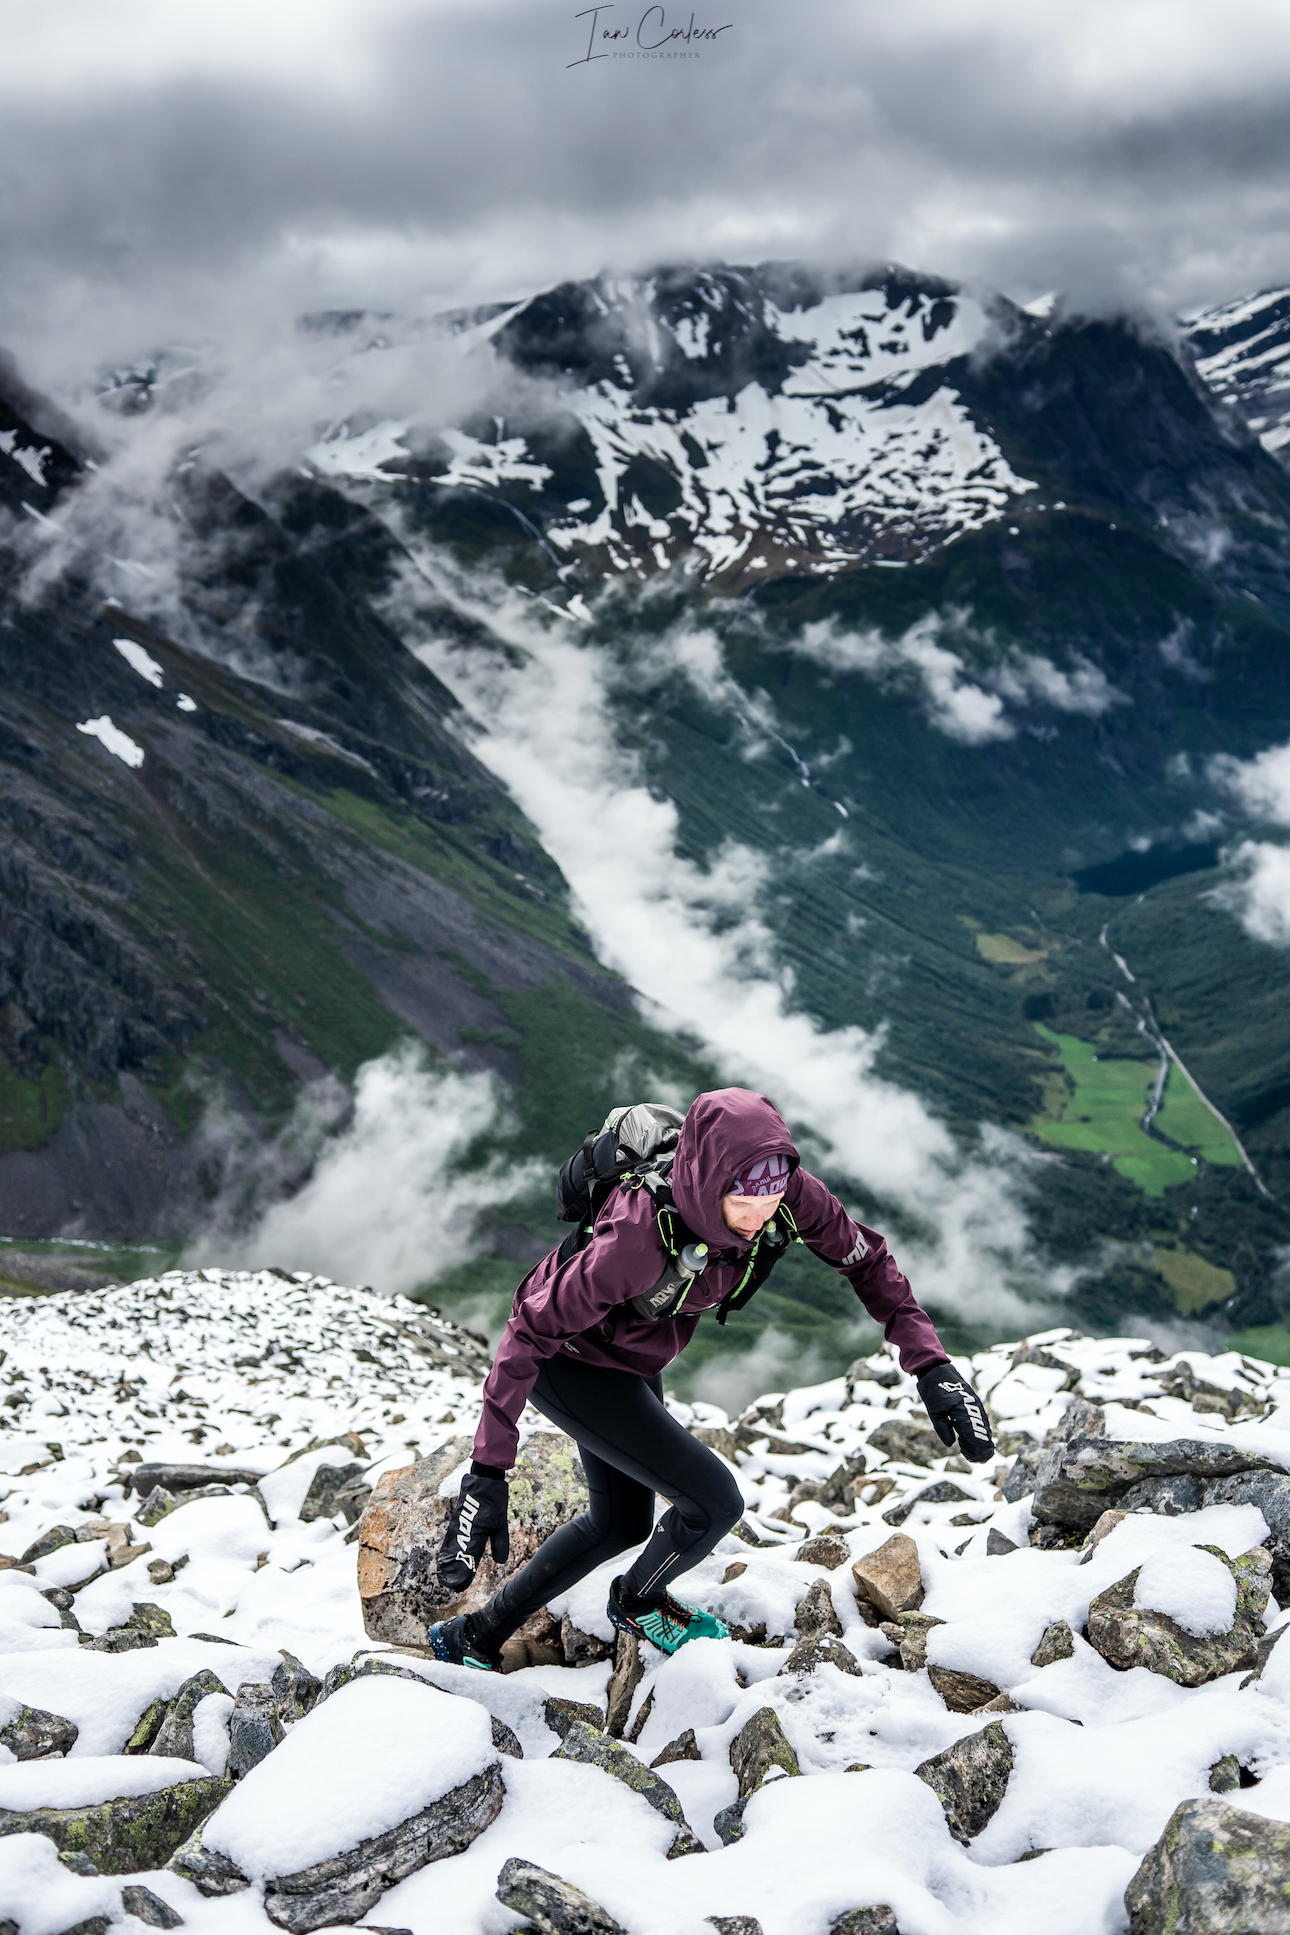
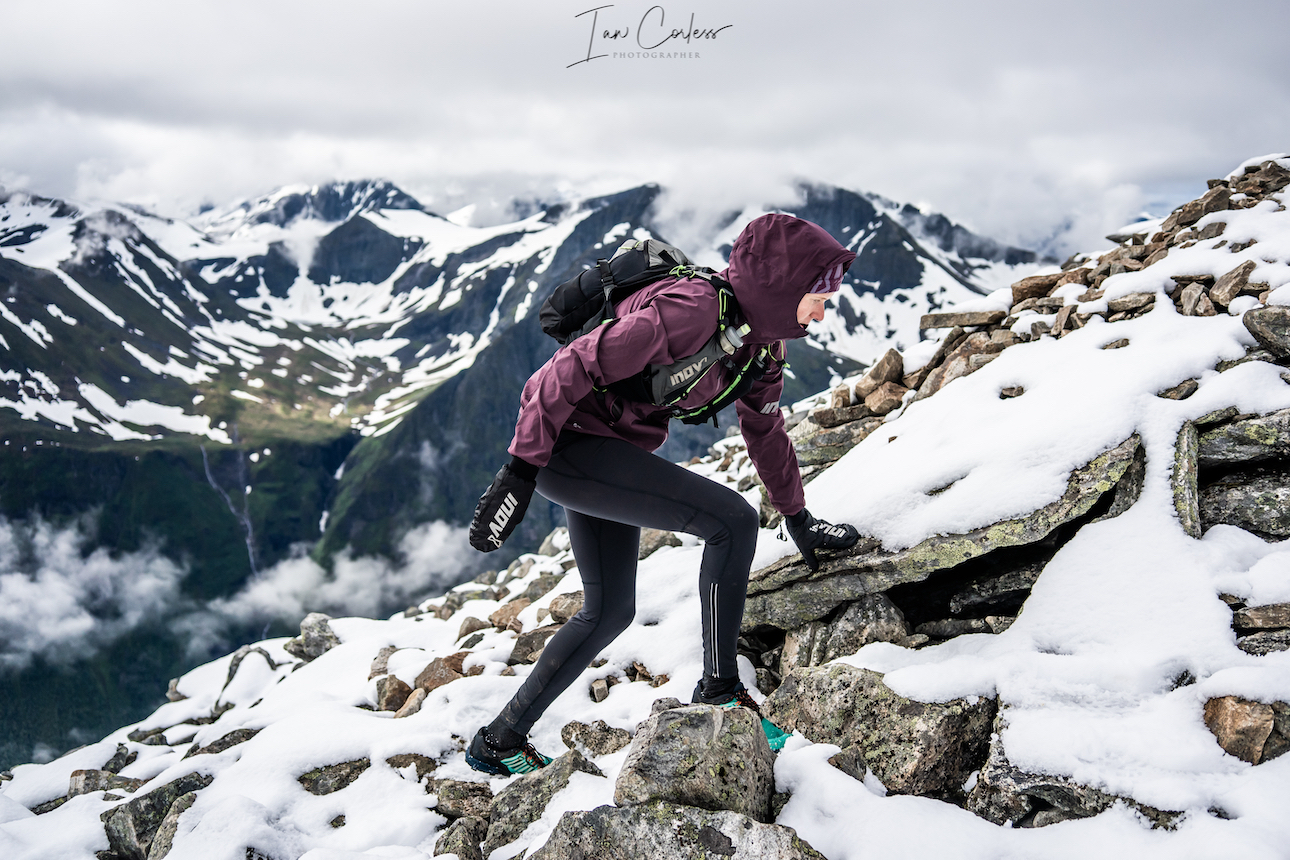
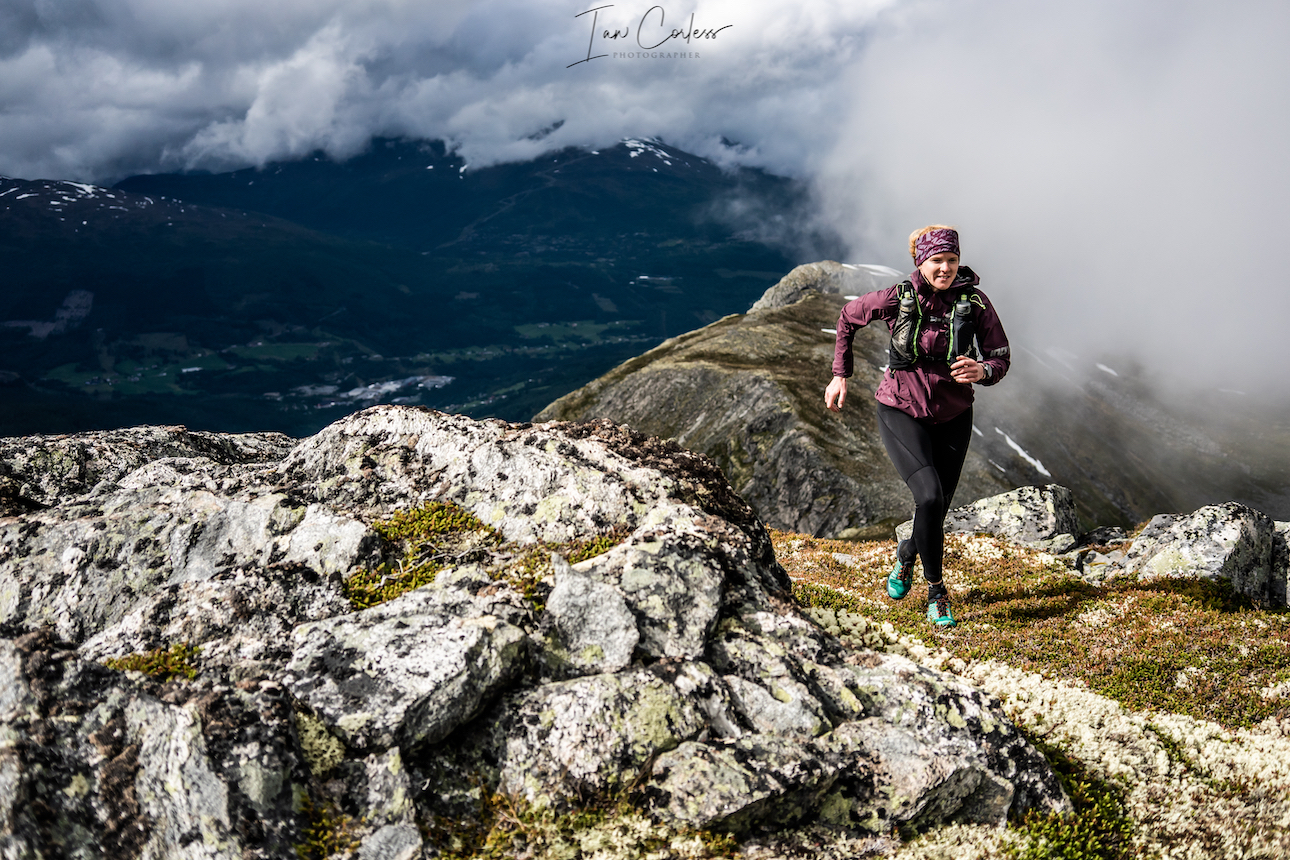
Fell shoes – Typically will be aggressive and on first looks may look like football boots with 6 or 8mm studs.

Mountain shoes – Typically will be a mixture of trail and fell shoes and the outsole will be sticky to provide good grip in wet and dry conditions.
In an ideal world, if you ran all of the above scenarios, you’d have a pair of shoes for each scenario. However, shoes are expensive and many runner’s need to make some compromises. Brands realised this and for example, some offer road to trail shoes that provide a best of both worlds’ scenario. The inov-8 Parkclaw is a great example. “the perfect shoe for runners wanting to run on paths and trails, or those looking to make a transition from road running to trail running.” – inov-8
If you need grip for mud, you need to be specific, there is no compromise.
WIDTH
Like drop, shoe width can create many an argument. Simply put, if you have a slimmer/ slender foot, you can probably wear any width shoe providing you have the correct size and they hold you securely.
But if you are a Hobbit, shoe choice may well be compromised as you will need to look for a wider fitting shoe.
Shoe width is also a consideration based on other factors: 1. What terrain are your running on? 2. How long will you be running?
On a personal note, if I am running on technical and challenging terrain, I want a shoe that fits and holds my foot. I am not worried about toe splay – precision is a priority. By contrast, if I was running on groomed trail for multiple hours, a shoe with more width may will be preferable to allow my toes to splay and relax.
Like drop and cushioning, I mix the width of my shoes based on my needs.
Some companies, inov-8 for example provide a width guide to steer runner’s to shoes that will specifically answer their personal needs. This a great system that takes some guess work away. The system is simply rated 1-5; 1 being a tight/ precision fit, 5 being wide and spacious.
Brands such as Altra only offer one foot shape and believe that a wide toe box is essential, in conjunction with 0 drop. It is a toe shape foot box that allows toes to relax and splay. The big toe has space and in principal, this foot box helps reduce overpronation and increases stability. On a personal note, Altra has a place for long road, ultra or trail runs, but when the terrain gets challenging, they feel way to sloppy for me – but this is a personal thought. Altra fans or wide toe box fans will disagree.
WEIGHT AND FABRICS
Shoe weight can be an important consideration. Certainly, when racing, a runner may well prefer a lighter shoe so that they feel faster. However, if running an ultra, added cushioning and a little more weight will be worthwhile for comfort.
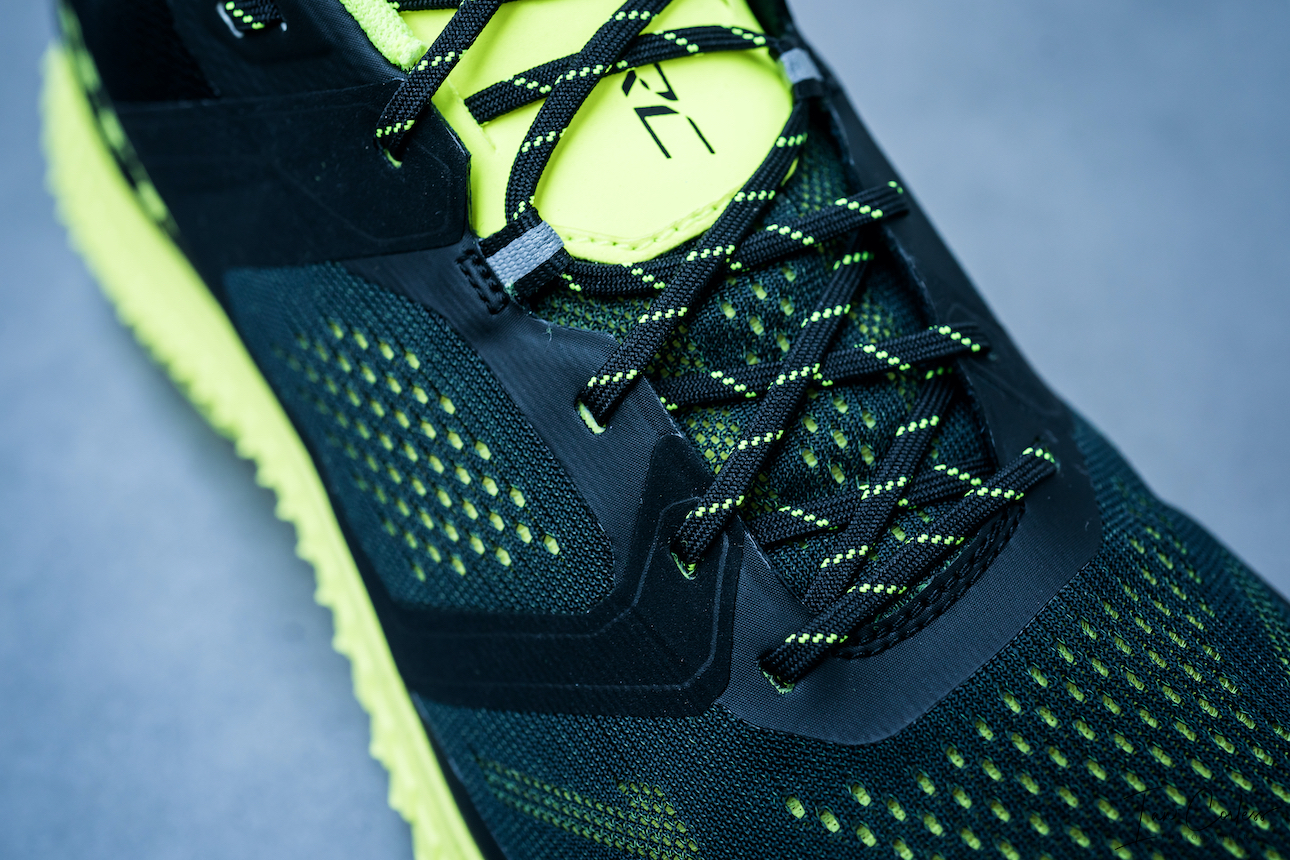
Shoe fabrics, seamless uppers, sock-like fits, Gore-Tex and other considerations may influence a shoe choice. Make a decision based on specificity.
A lighter shoe will typically not last as long – this may be an important consideration too.
CONCLUSIONS AND SUMMARY
Is choosing a run shoe really THIS complicated?
I suppose, yes! But once you understand the basics purchasing new shoes should not be too complicated. Below is a summary and process to follow:
- Measure your foot.
- Use a conversion chart to get your shoe size.
- Understand gait and what you need. If using orthotics, you need neural shoes.
- Ask yourself what terrain the shoes will be used on – This refers to what outsole.
- Ask yourself how long typically you will run in these shoes – This refers to cushioning.
- Do you need the shoes to be more precision fit or wider?
- Look at brands/ options and based on the above make a shortlist.
- Use socks.
- Try the shoes on using the size provided from points 1 and 2 but then size up or down based on the thumb nail space rule.
- Check the heel for slipping.
- Check the instep and confirm a good foot hold.
- If possible, try the shoes running.
- Reduce the choices down to 3, then 2 shoes and then make an informed and educated decision.
- Do not be influenced by the colour or the price.
Lacing can make a huge difference to how a shoe holds the foot. Lock lacing for example is very popular for off-road and challenging terrain as the shoe holds the foot more securely.
FINALLY
Compromise is a killer when it comes to run shoes. The more specific you can be, the better the shoe will be. But, if you have correct fitting shoes with appropriate cushioning, correct width and a good outsole, you will be able to head out the door and enjoy the process.
And yes, there are exceptions to the rule and somebody will use shoes that are too big and get away with it. Just as someone will run in sandals and get away with it. These are exceptions to the rule and not the norm.
Reference – https://www.ncbi.nlm.nih.gov/books/NBK537292/
** Reference – https://www.healthline.com/health/bone-health/whats-the-difference-between-supination-and-pronation#the-foot
*** Reference – https://puresportsmed.com/blog/posts/what-is-shoe-drop-and-why-is-it-important#:~:text=The%20%E2%80%8B’drop’%20of%20a,the%20ball%20of%20the%20foot.
**** Reference – https://puresportsmed.com/blog/posts/what-is-shoe-drop-and-why-is-it-important#:~:text=The%20%E2%80%8B’drop’%20of%20a,the%20ball%20of%20the%20foot.
Please support this website. I believe everyone deserves to read quality, independent and factual articles – that’s why this website is open to all. Free press has never been so vital. I hope I can keep providing independent articles with your help. Any contribution, however big or small, is so valuable to help finance regular content. Please support me on Patreon HERE

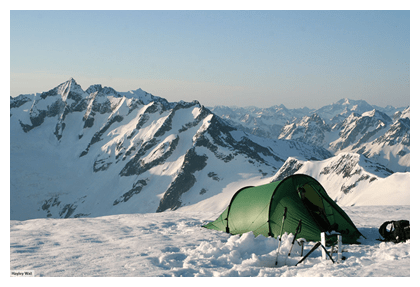


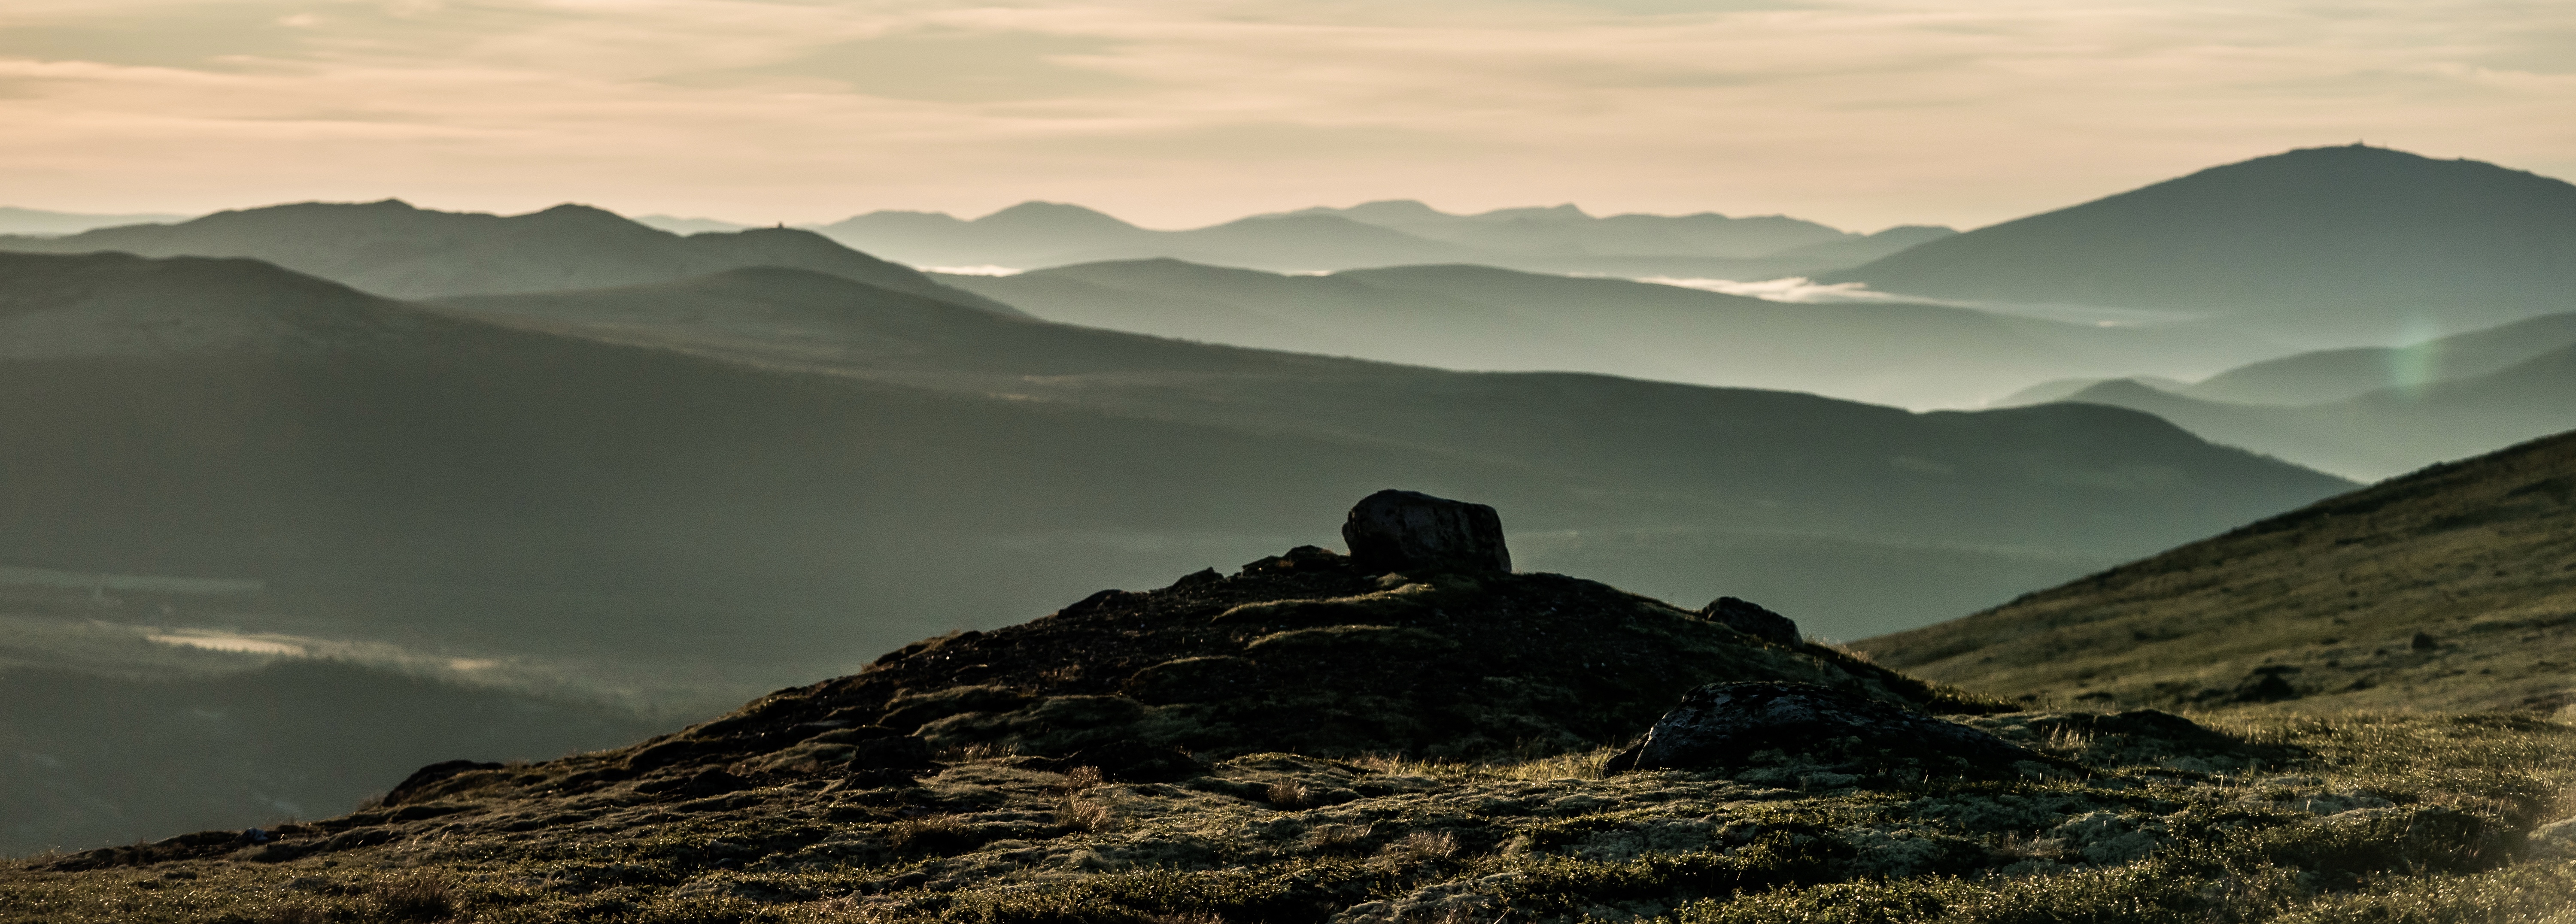
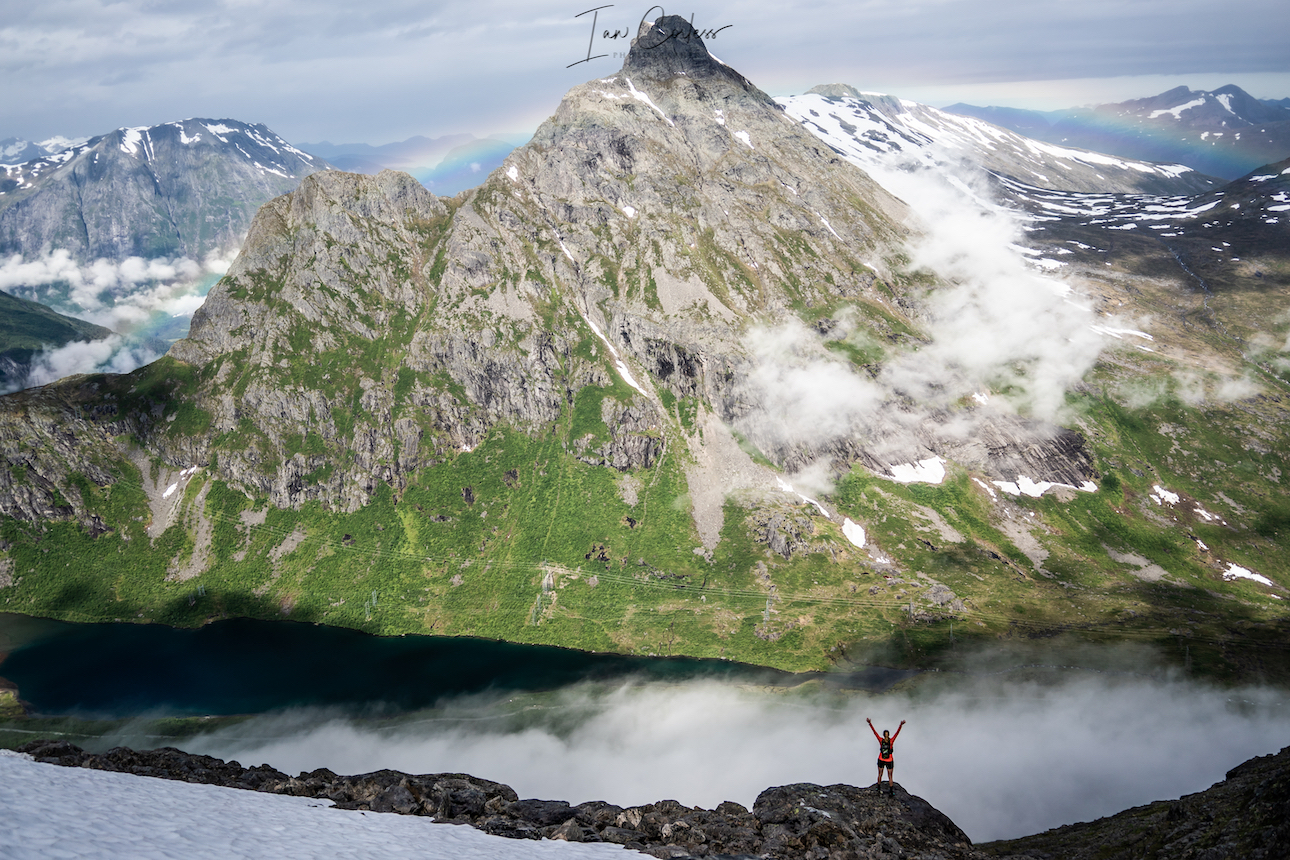 Wild camp close to Vengjedalssetra, we suggest you go near Venjesdalsvatnet lake, there are some great camp spots at the top closer to Romsdalshornet and you have access to water.
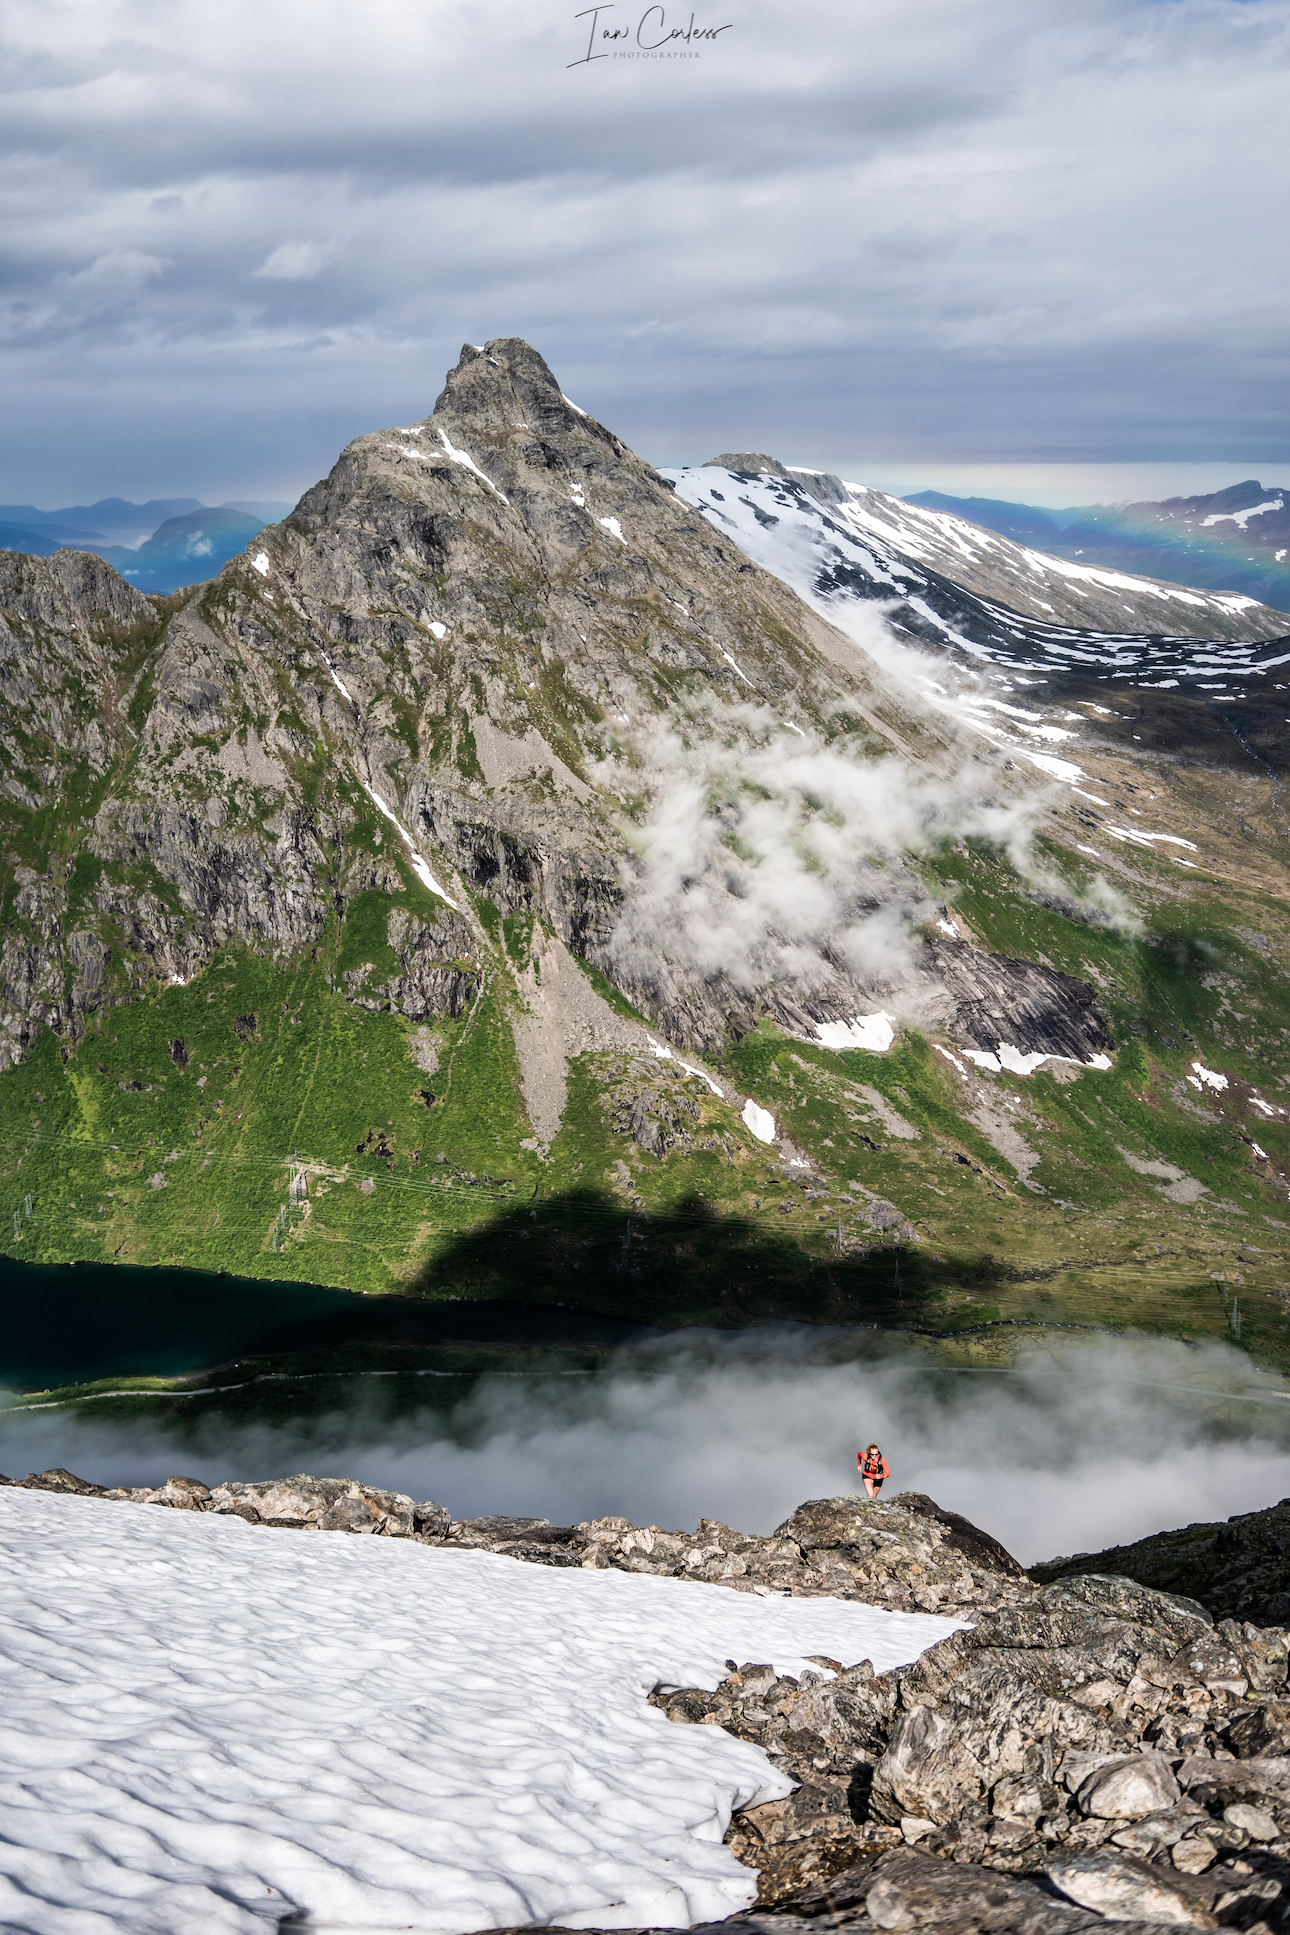
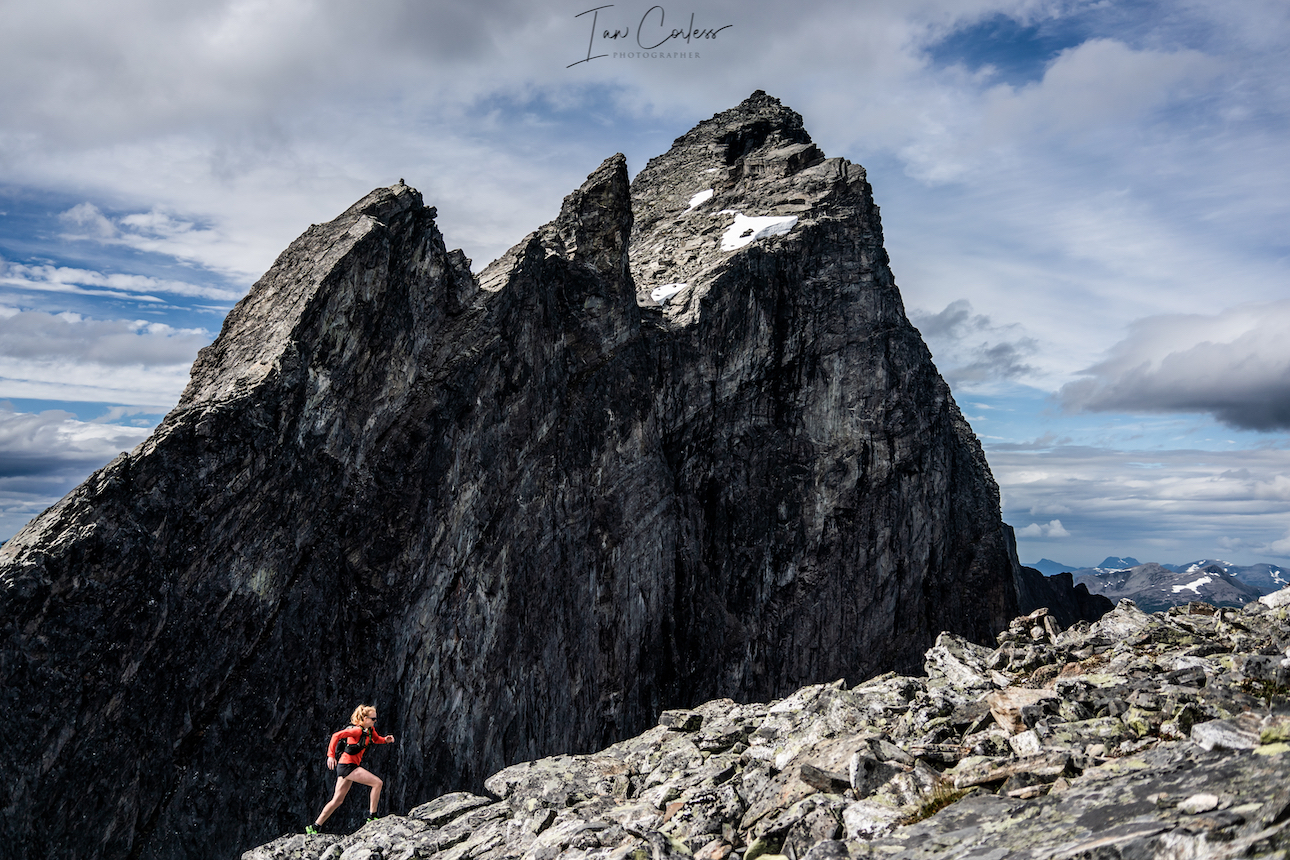
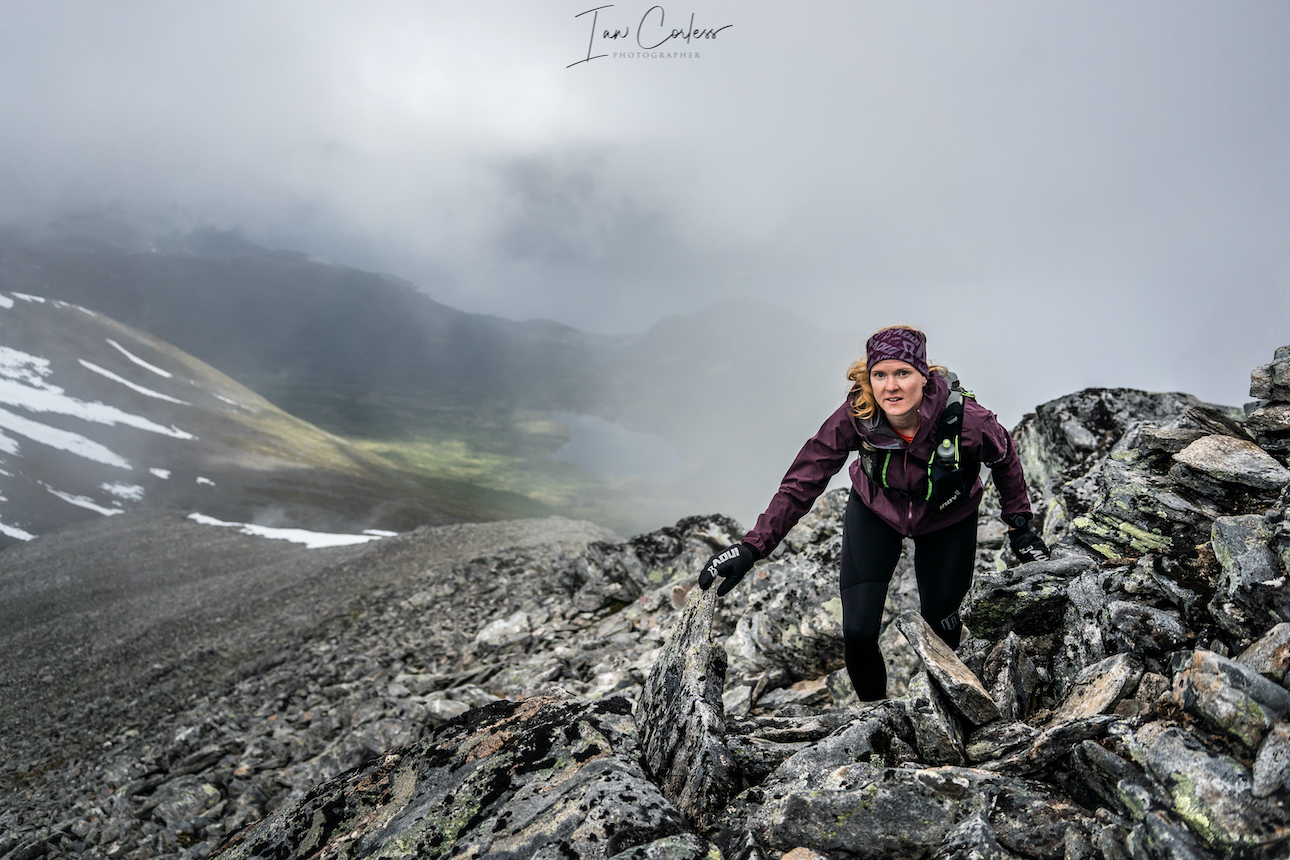
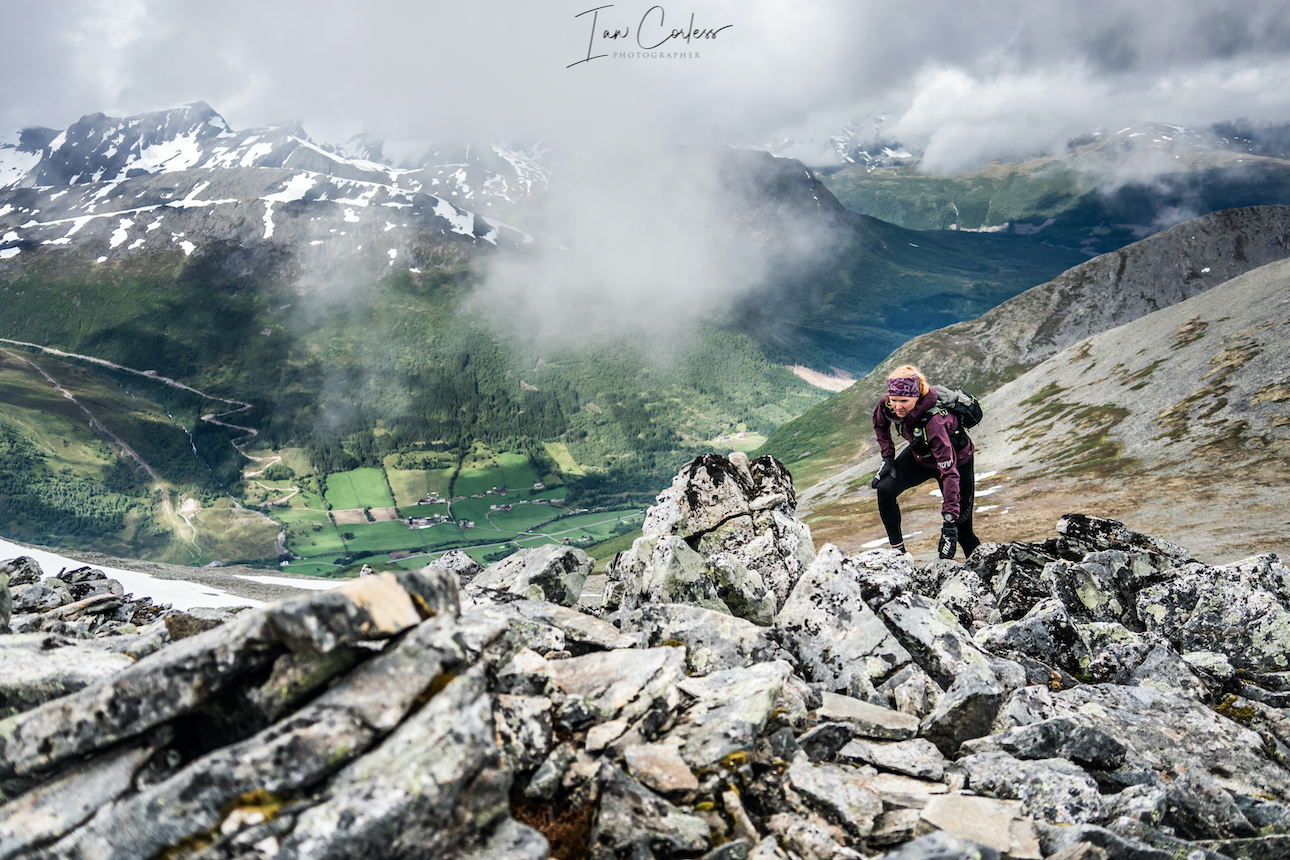
 You can access Romsdalshornet route from the same wild camping place next to the Venjesdalsvatnet lake. However, if you are going to have a clear and calm night, we strongly recommend that you start the climb to Romsdalshornet and wild camp close to Litlefjellet. There are a couple of small pools here and stunning views of the ‘Troll Wall.’ Amazing at sunset and sunrise.
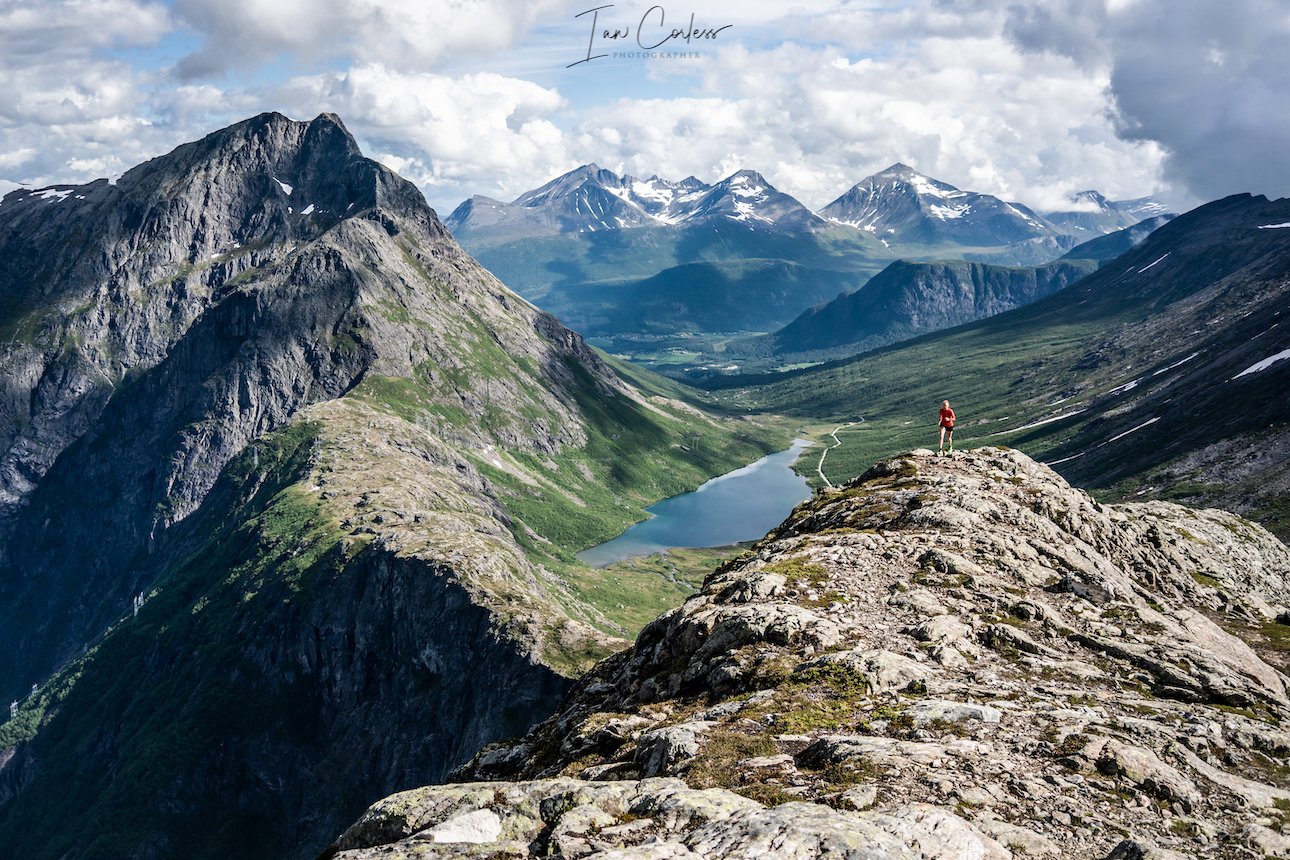
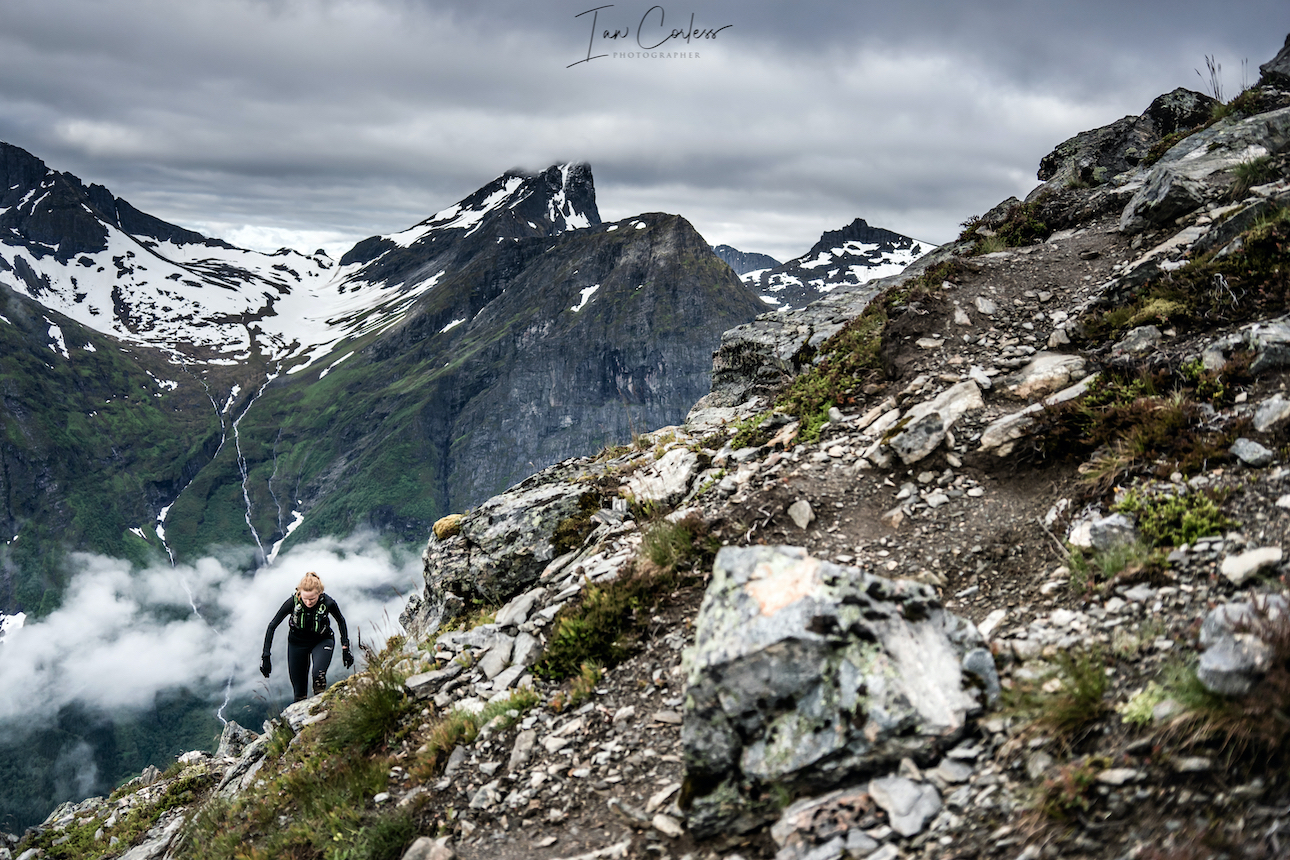
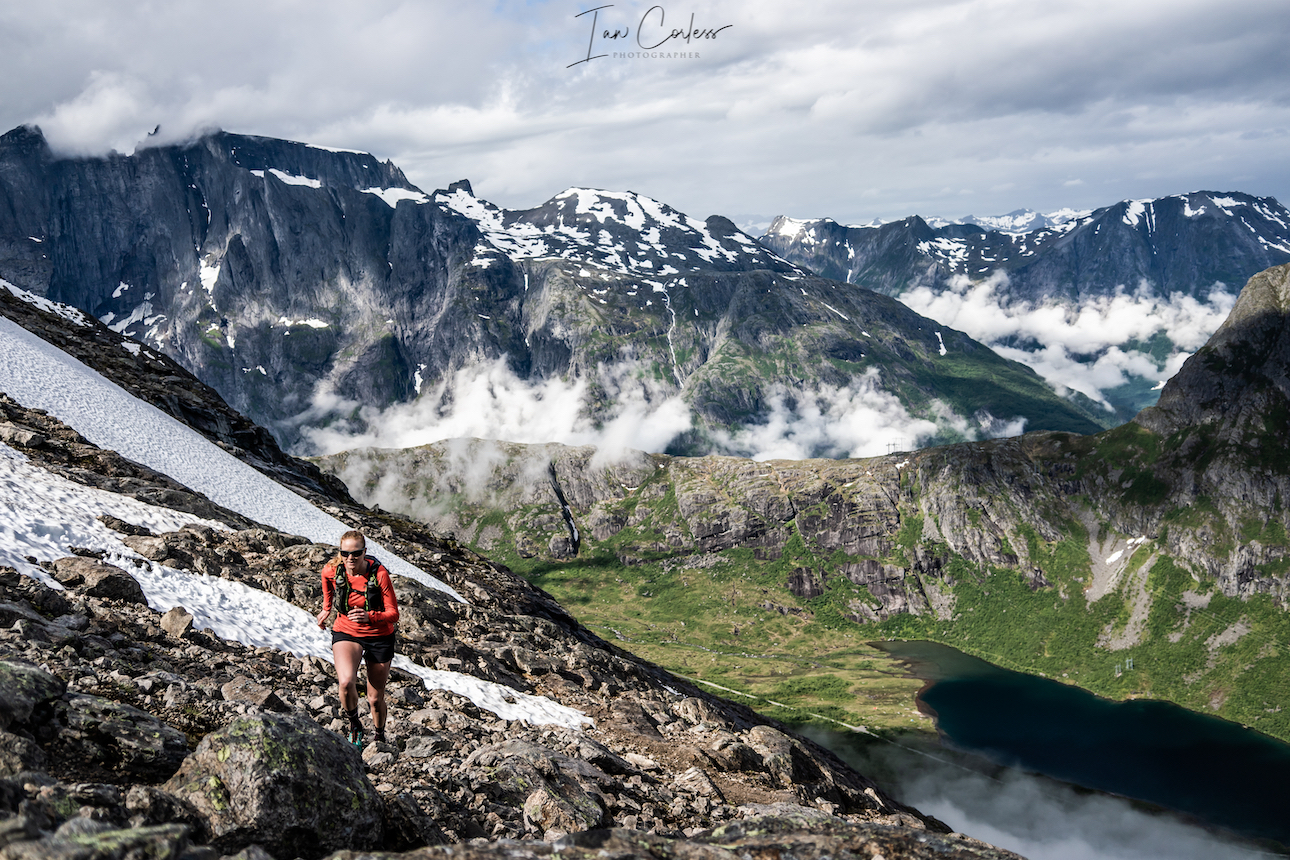
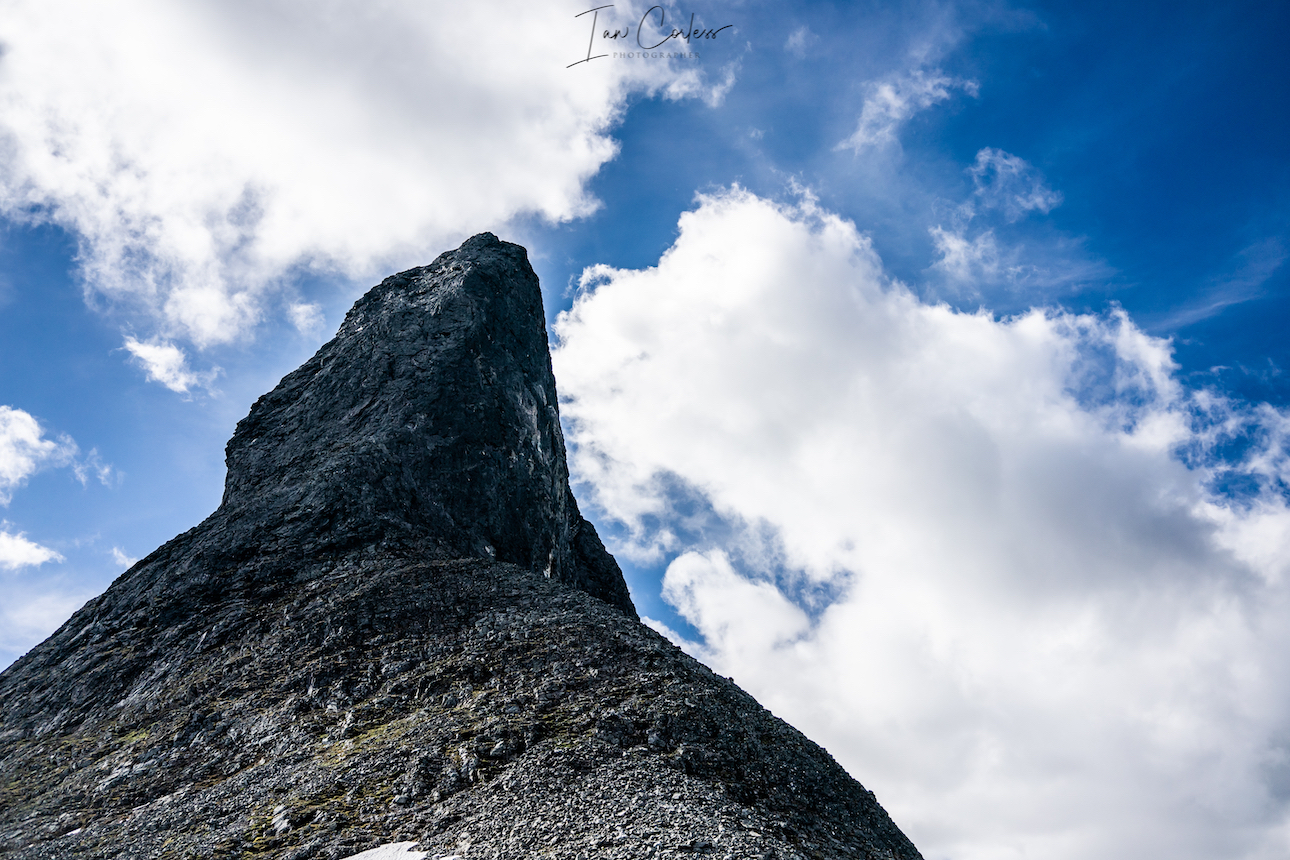
 The Troll Wall is the tallest vertical rock face in Europe, about 1,100 meters (3,600
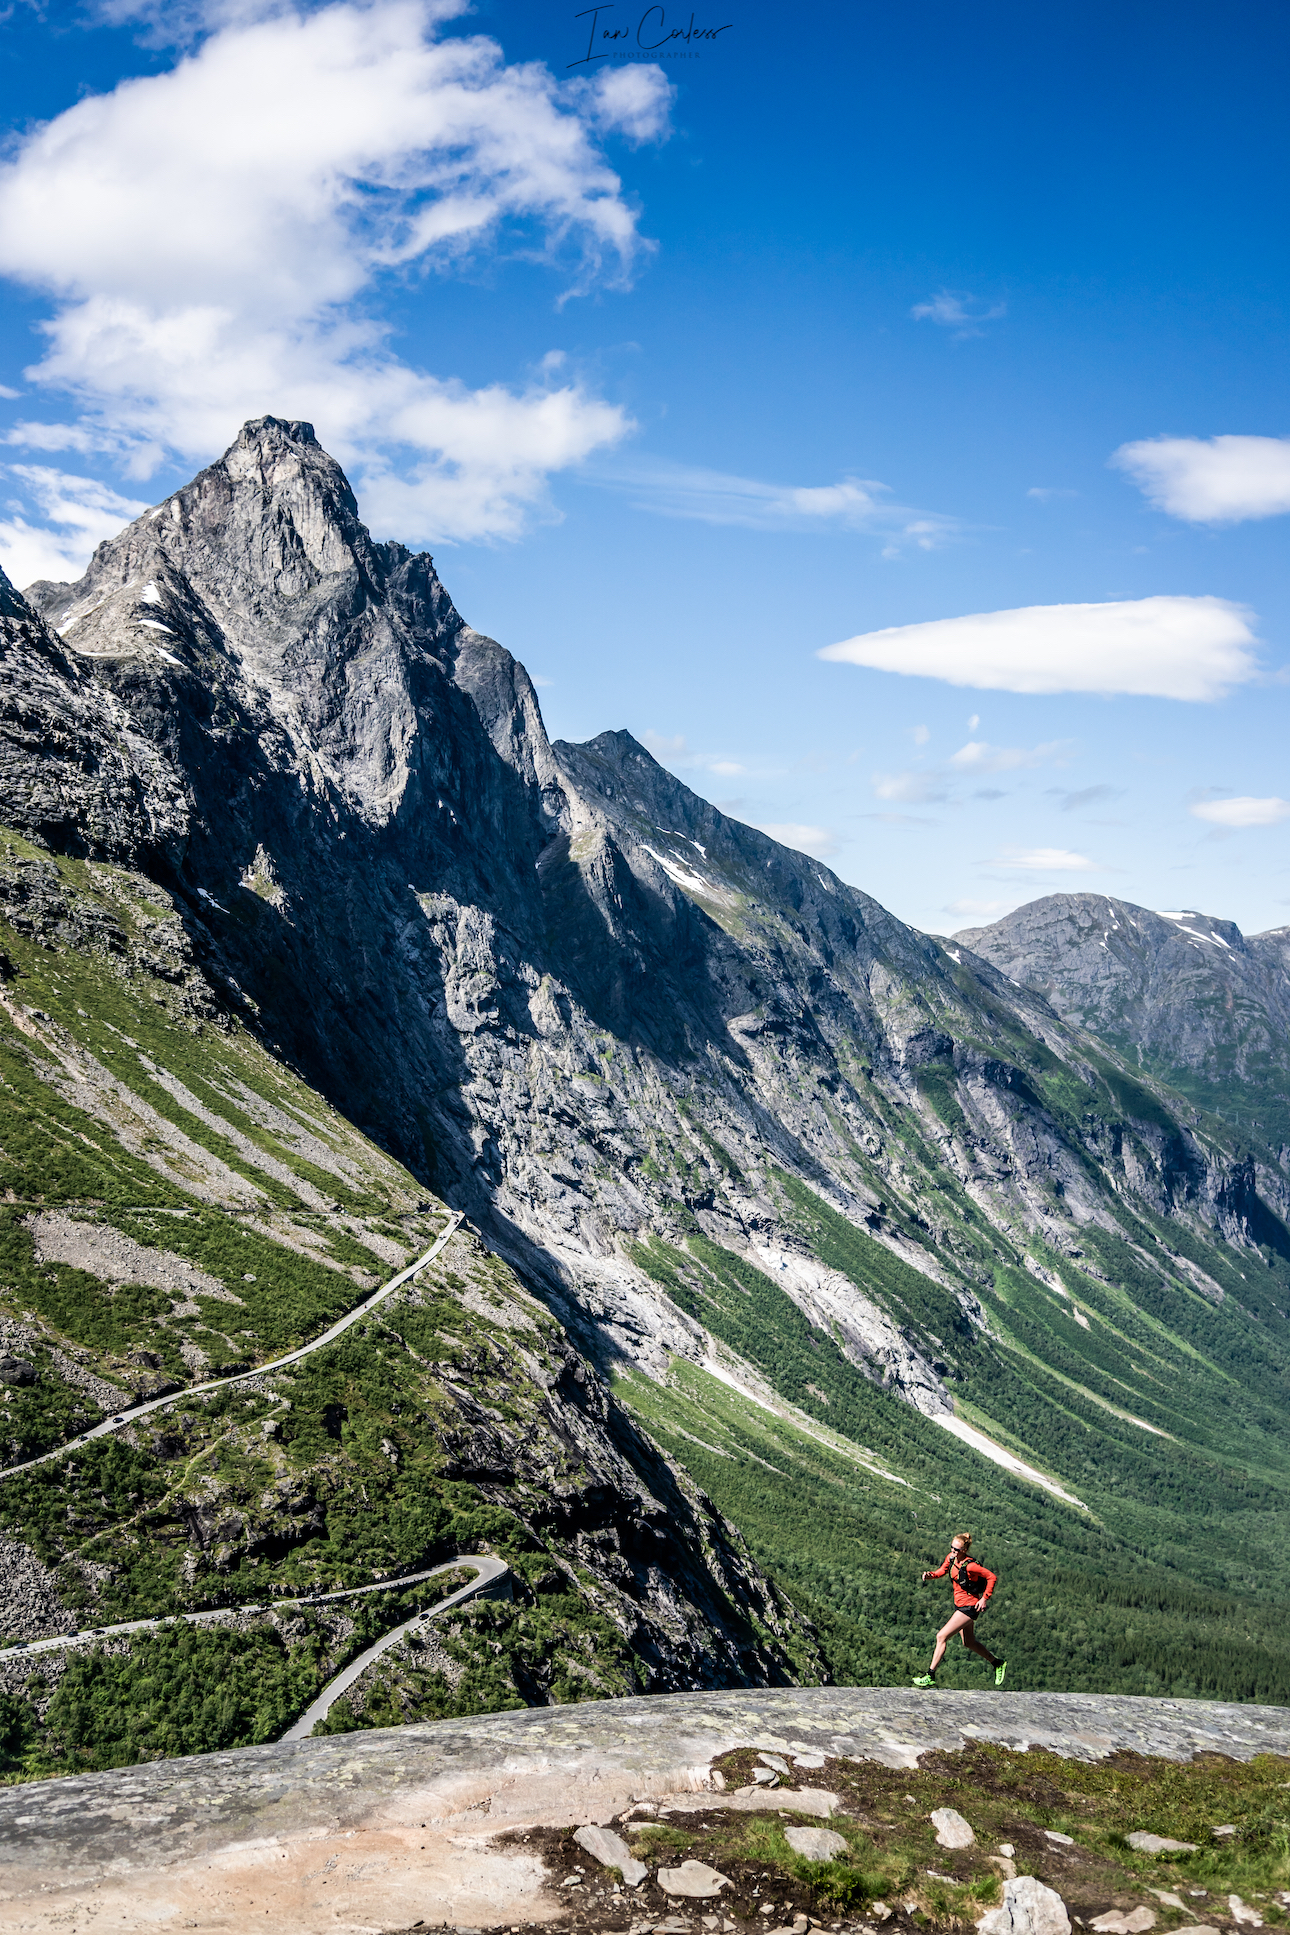
 The journey to Stranda should not take to look from Trollstigen, expect 90-minutes, however, you will need to take a ferry on the final leg. After many day’s camping and the mountains, now is a good time to spend a night in a hotel.

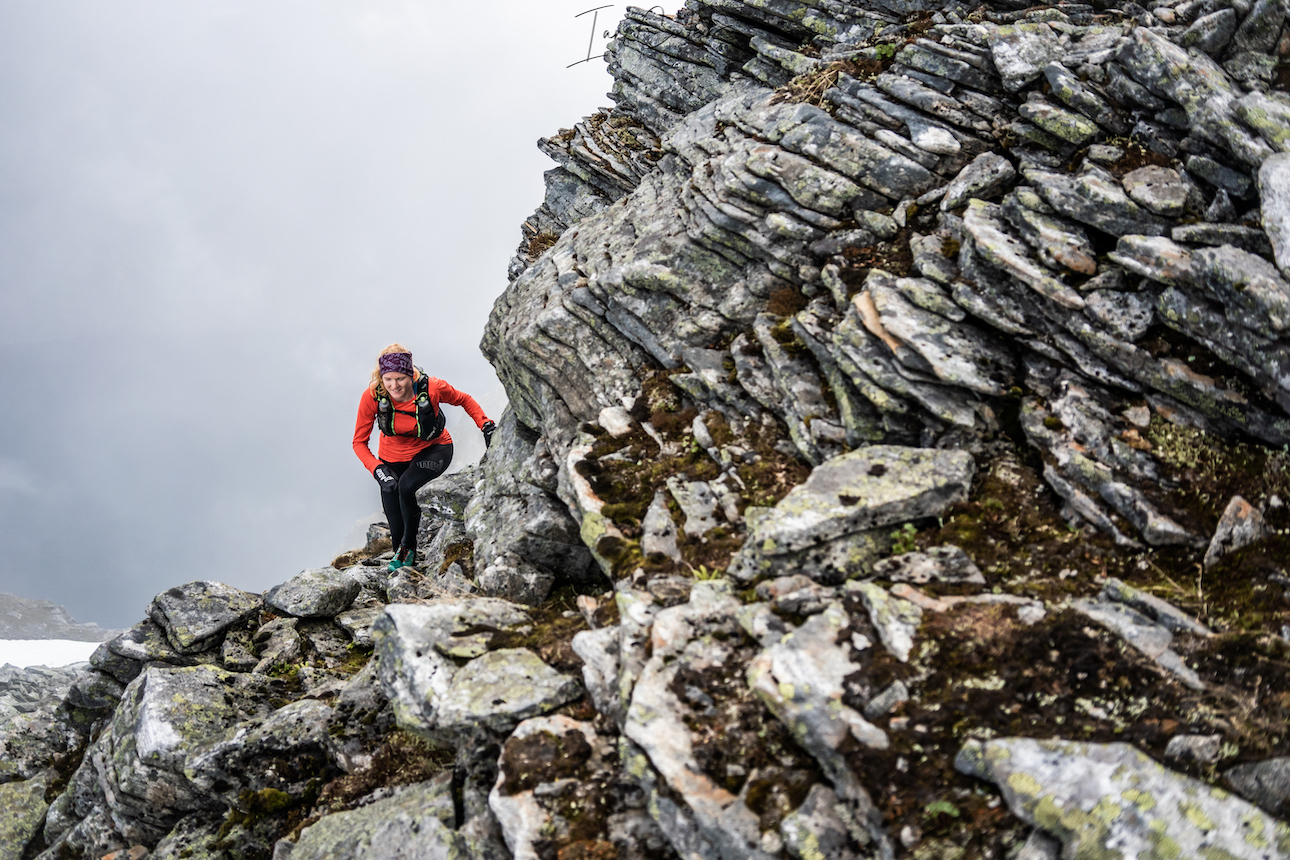
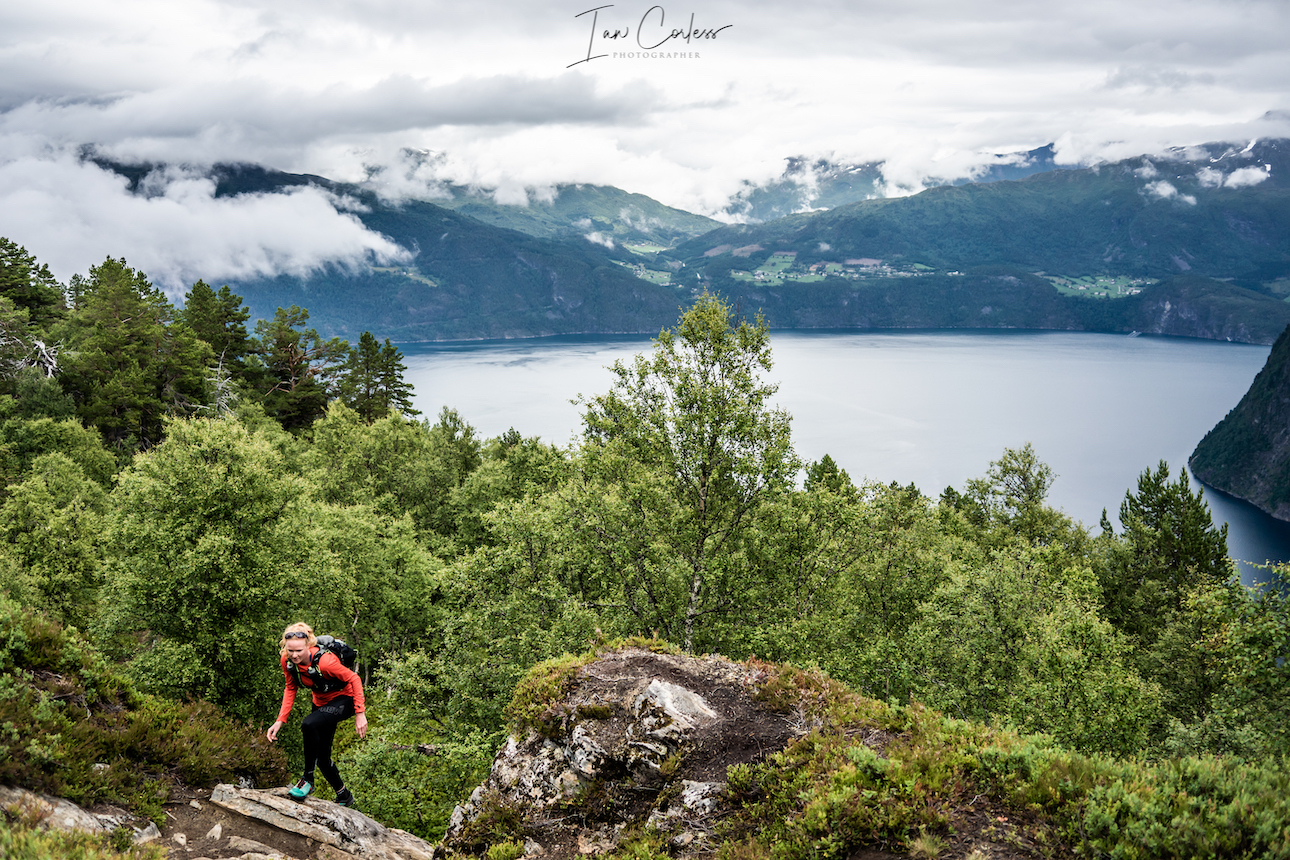
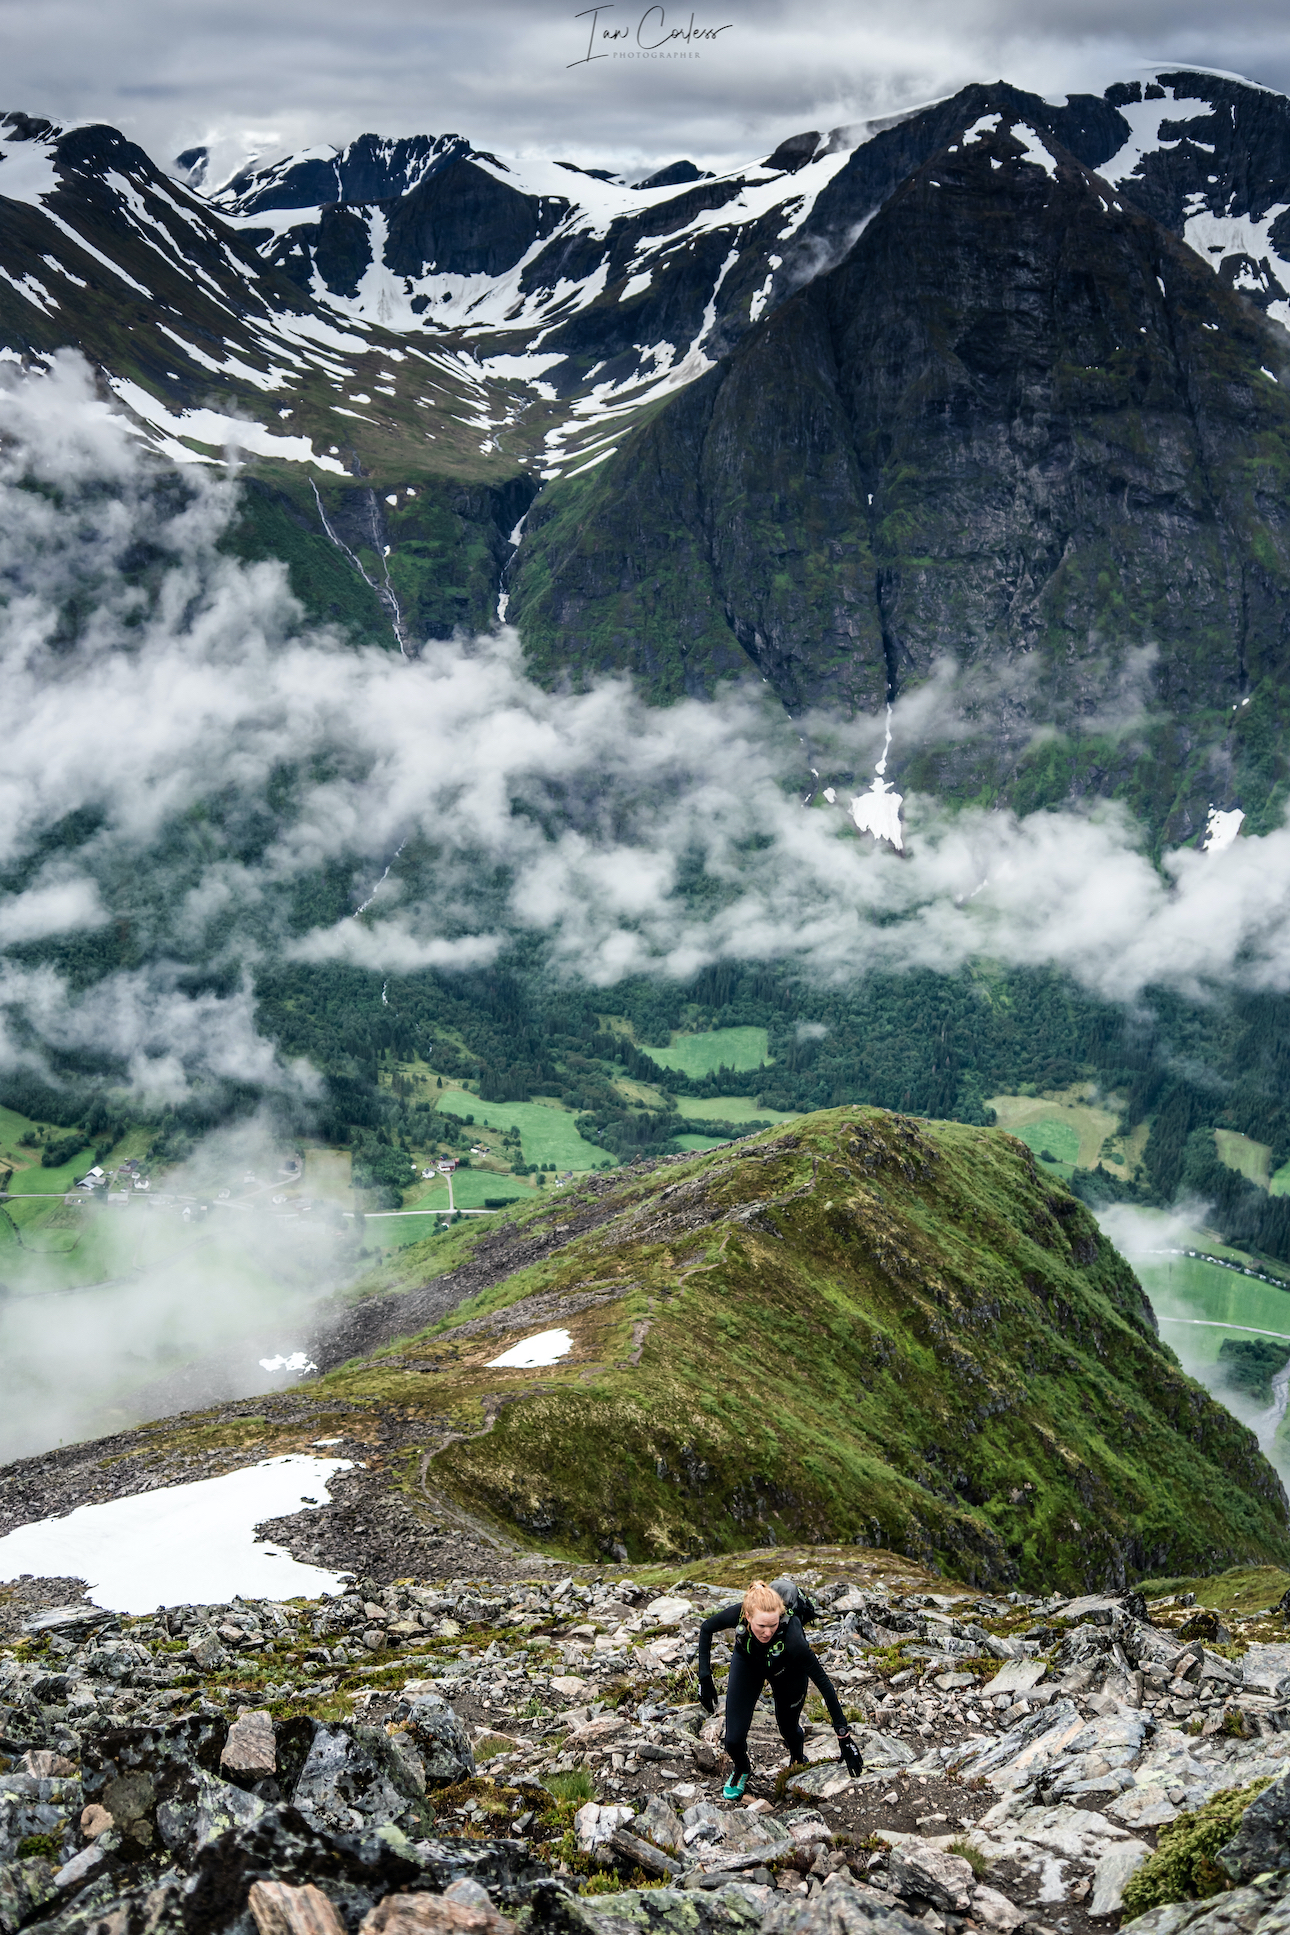
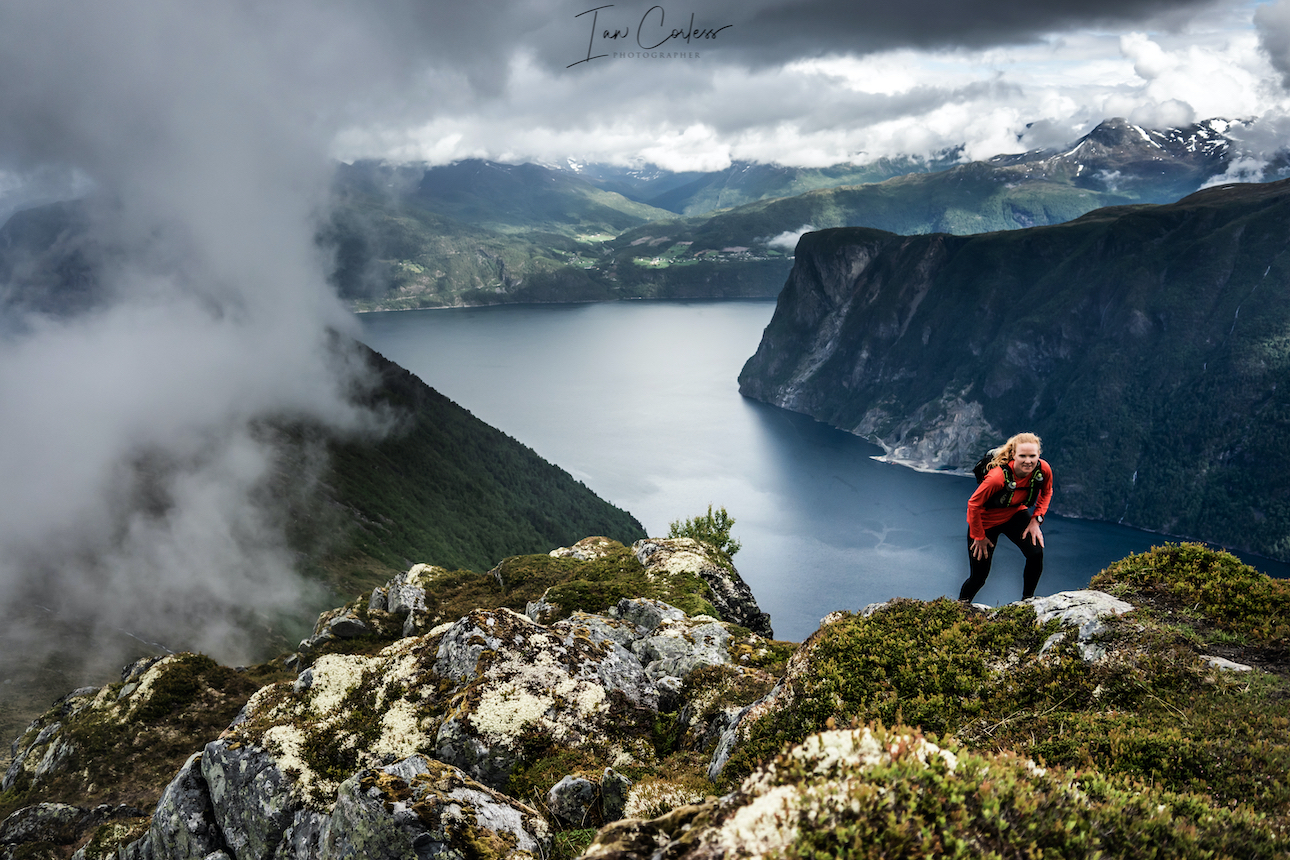
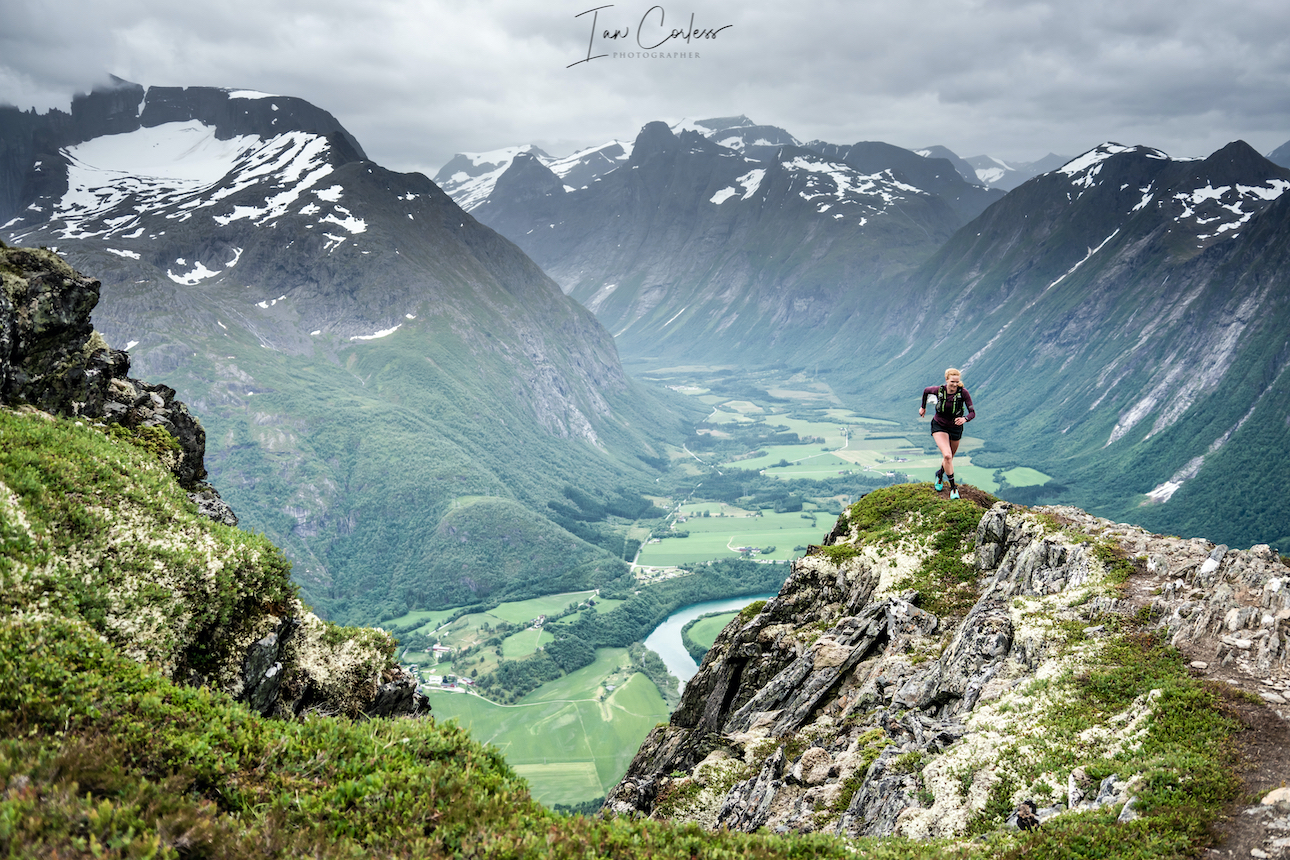
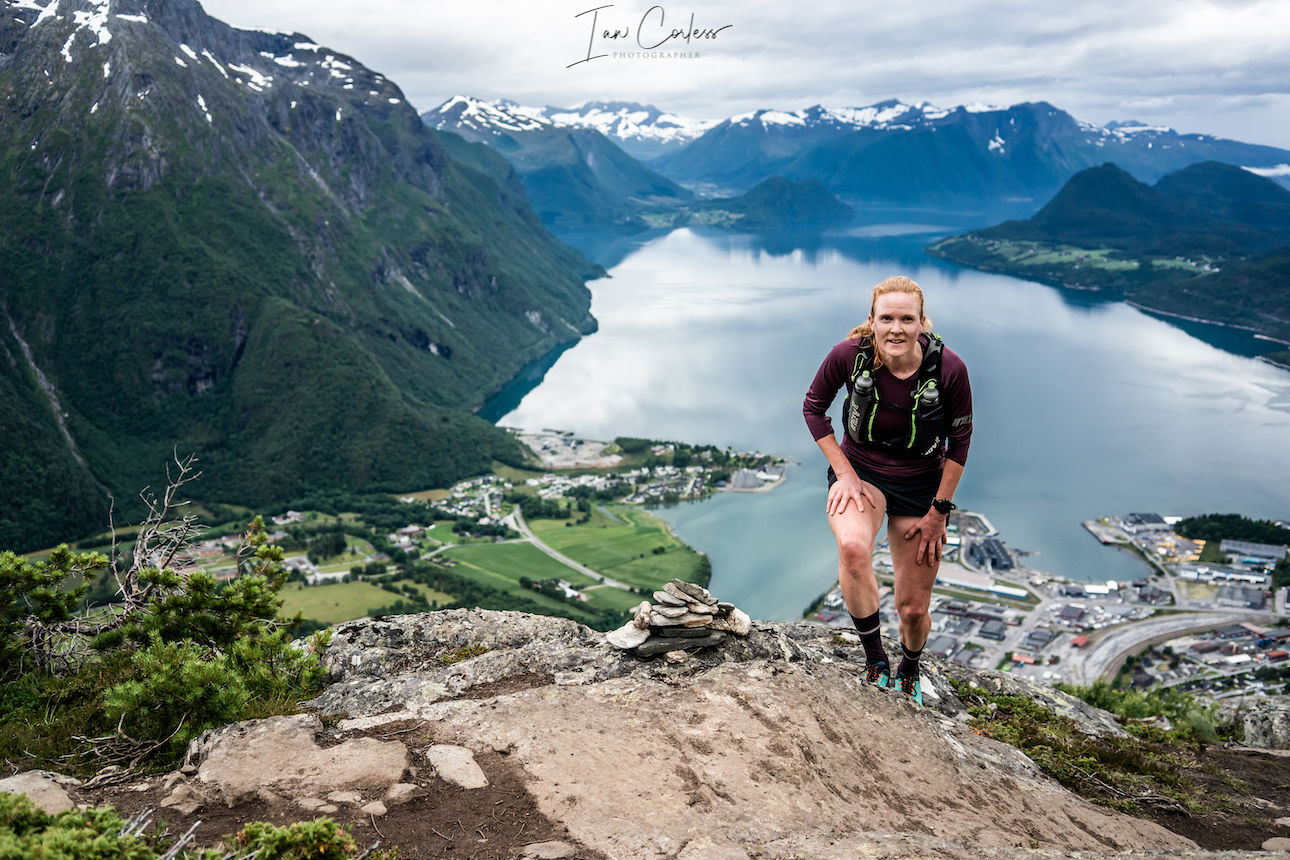
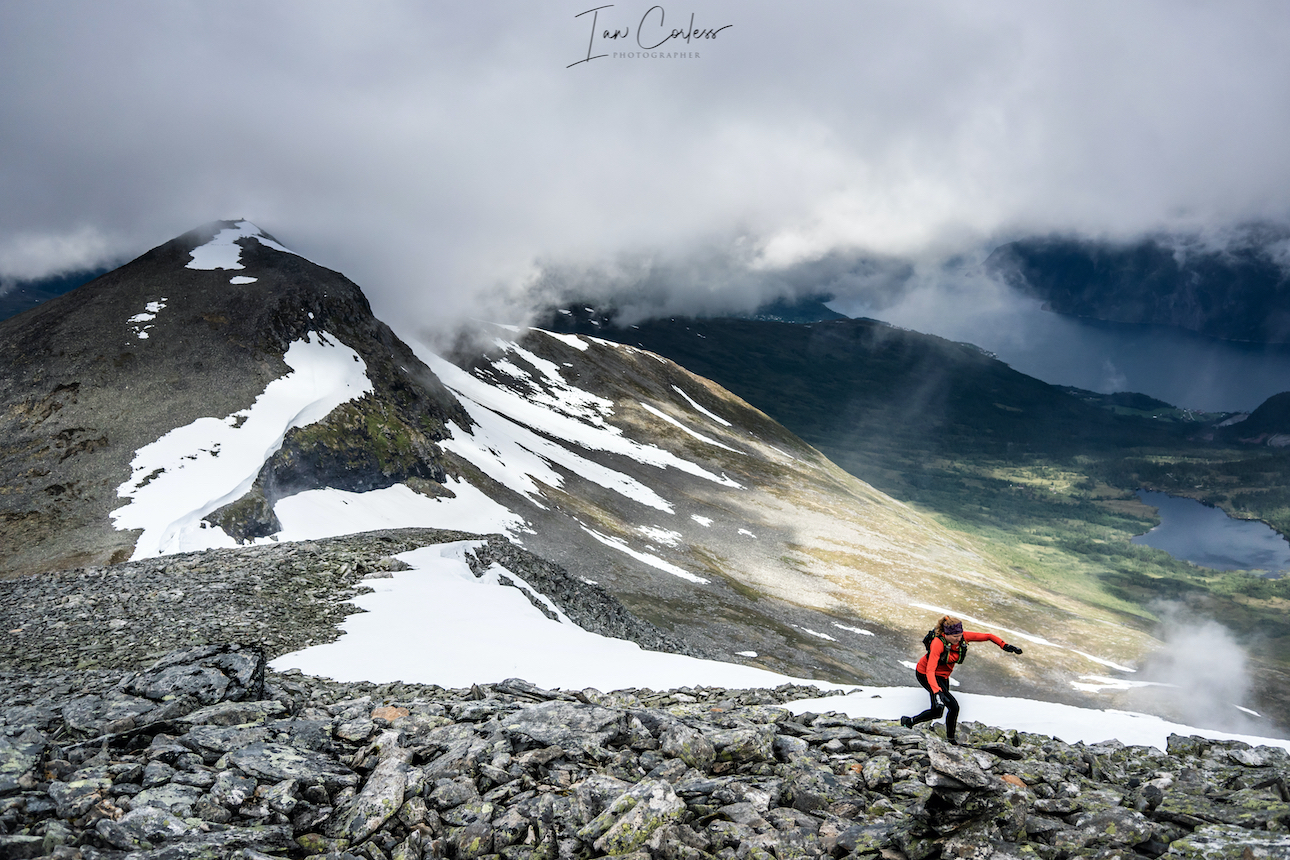
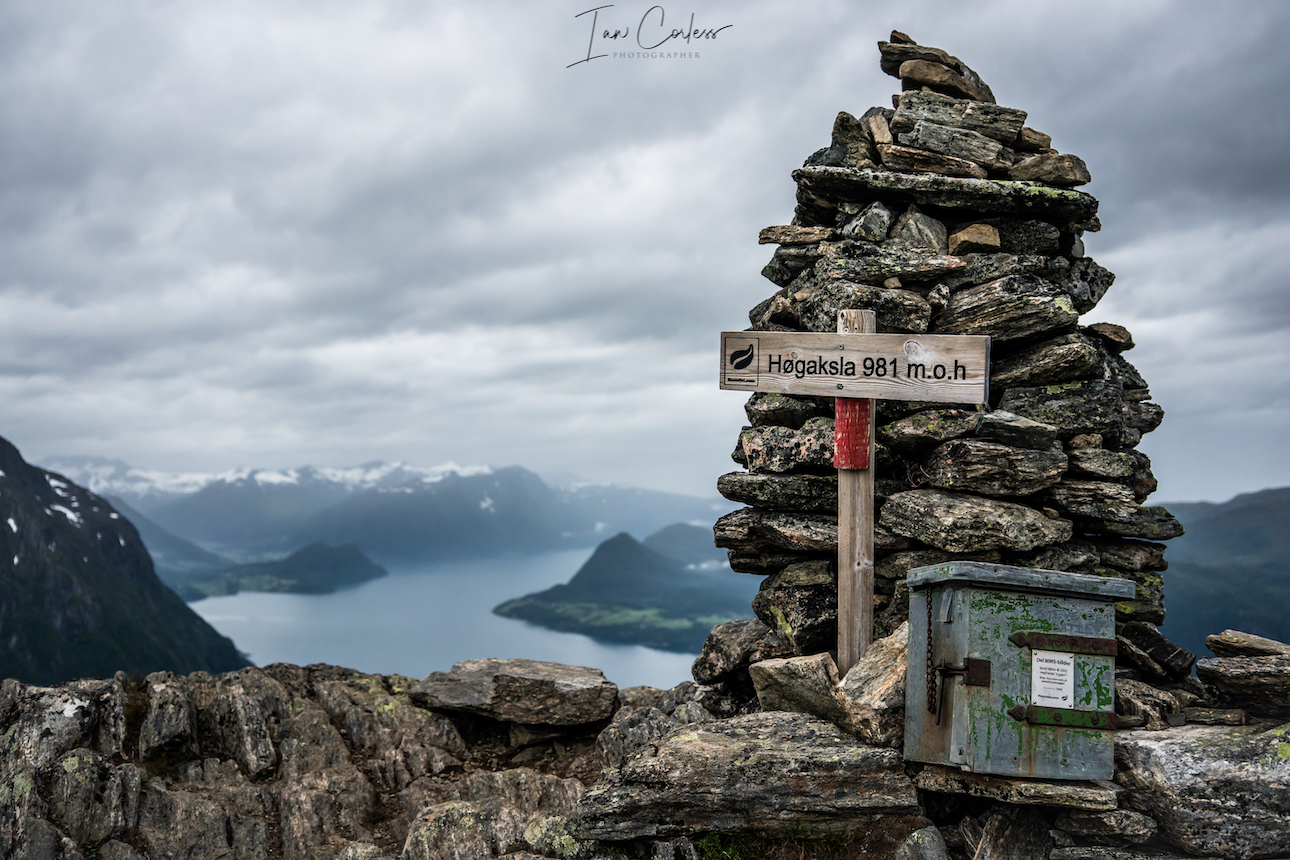
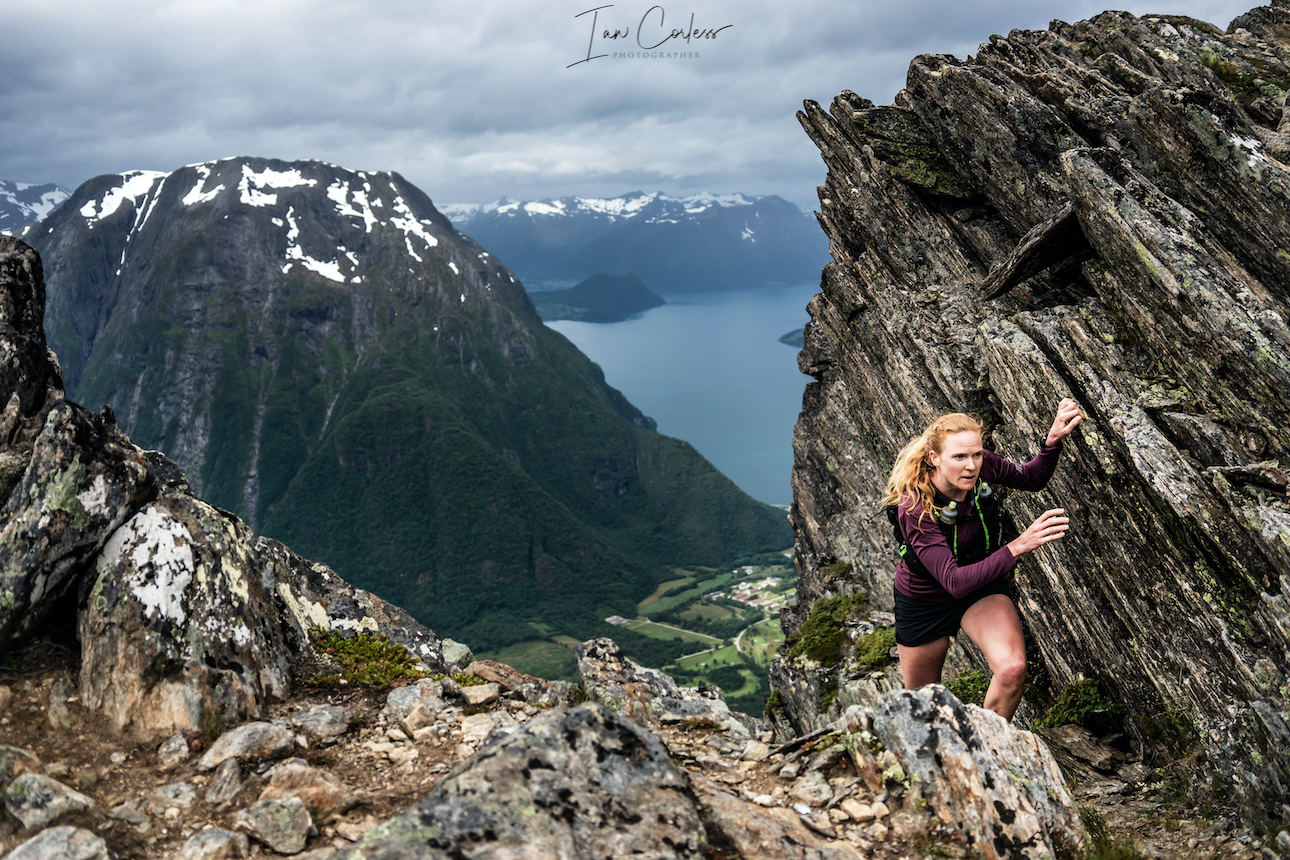
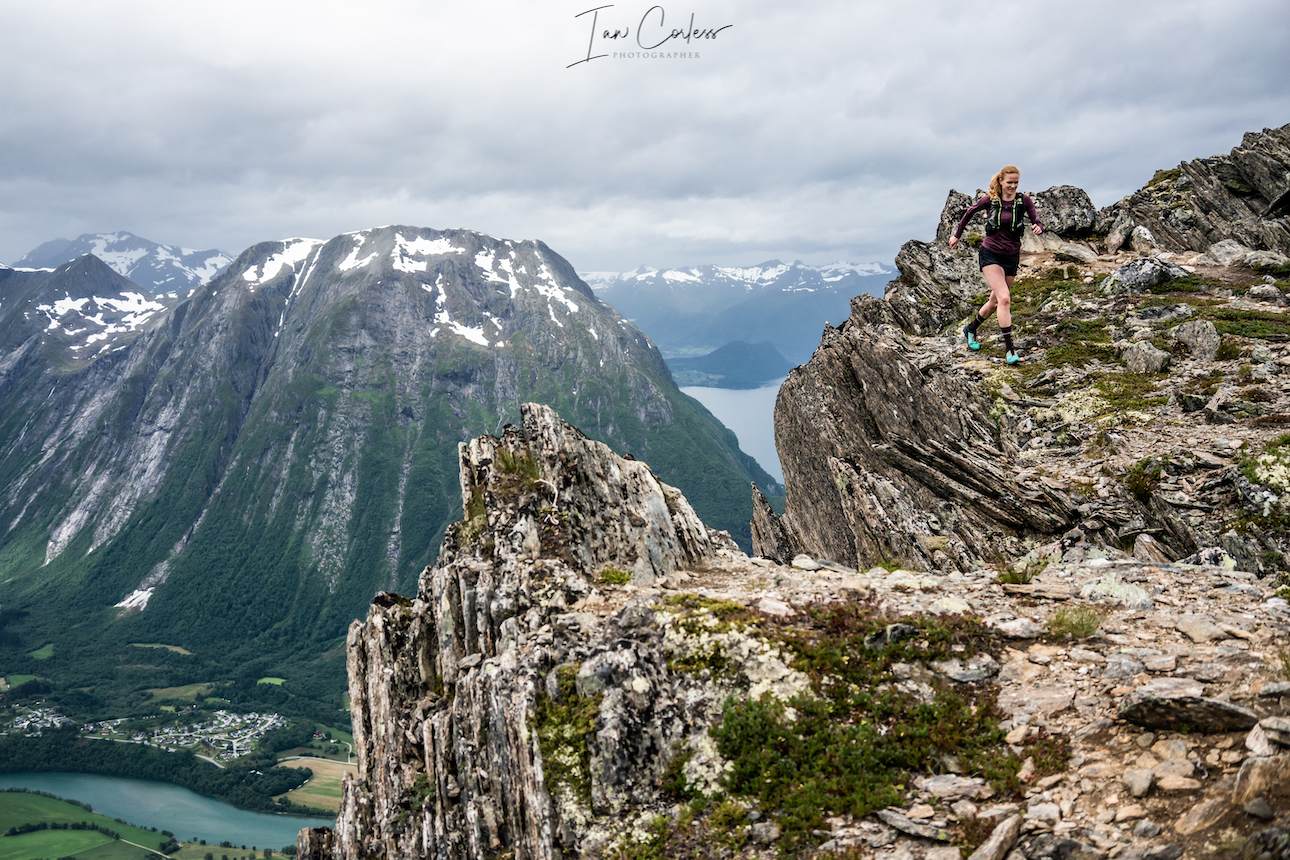
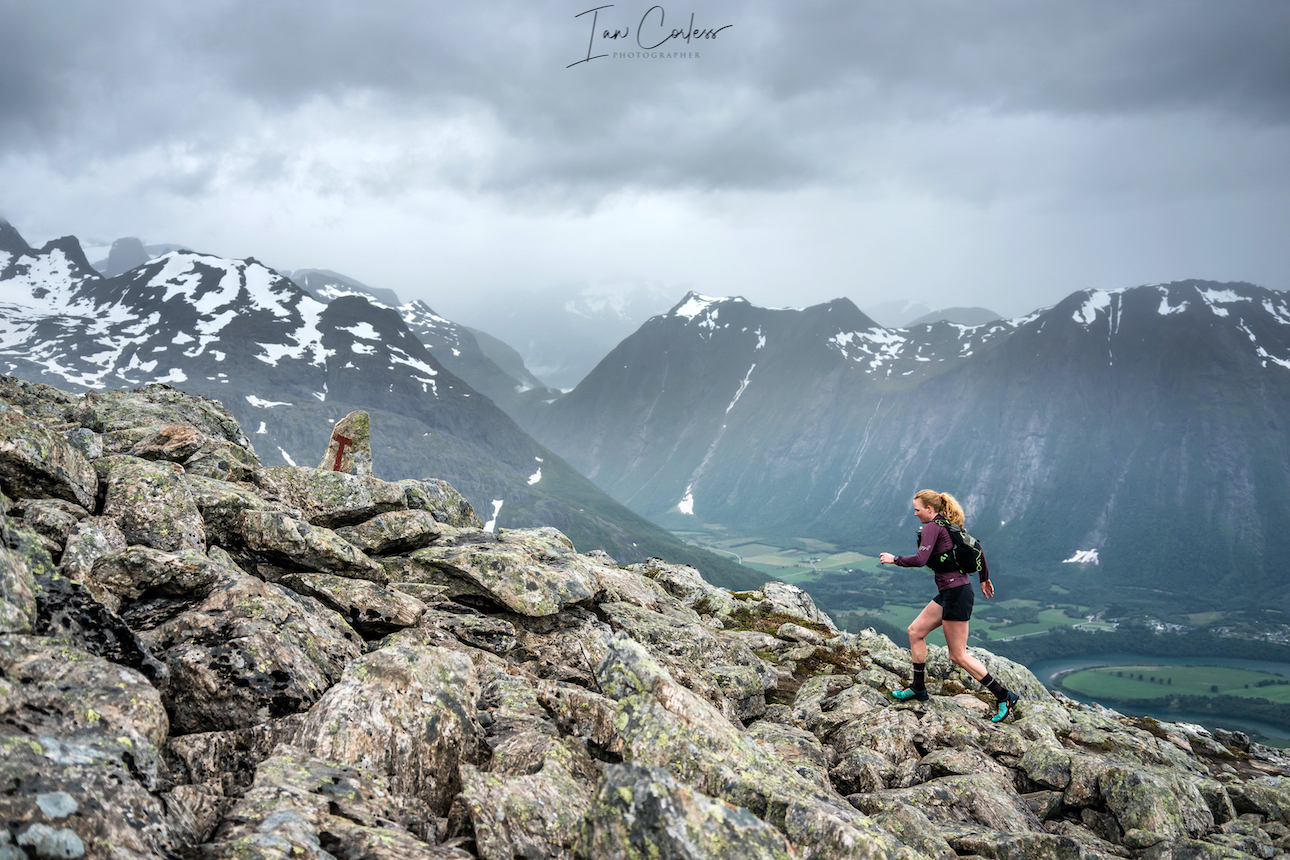
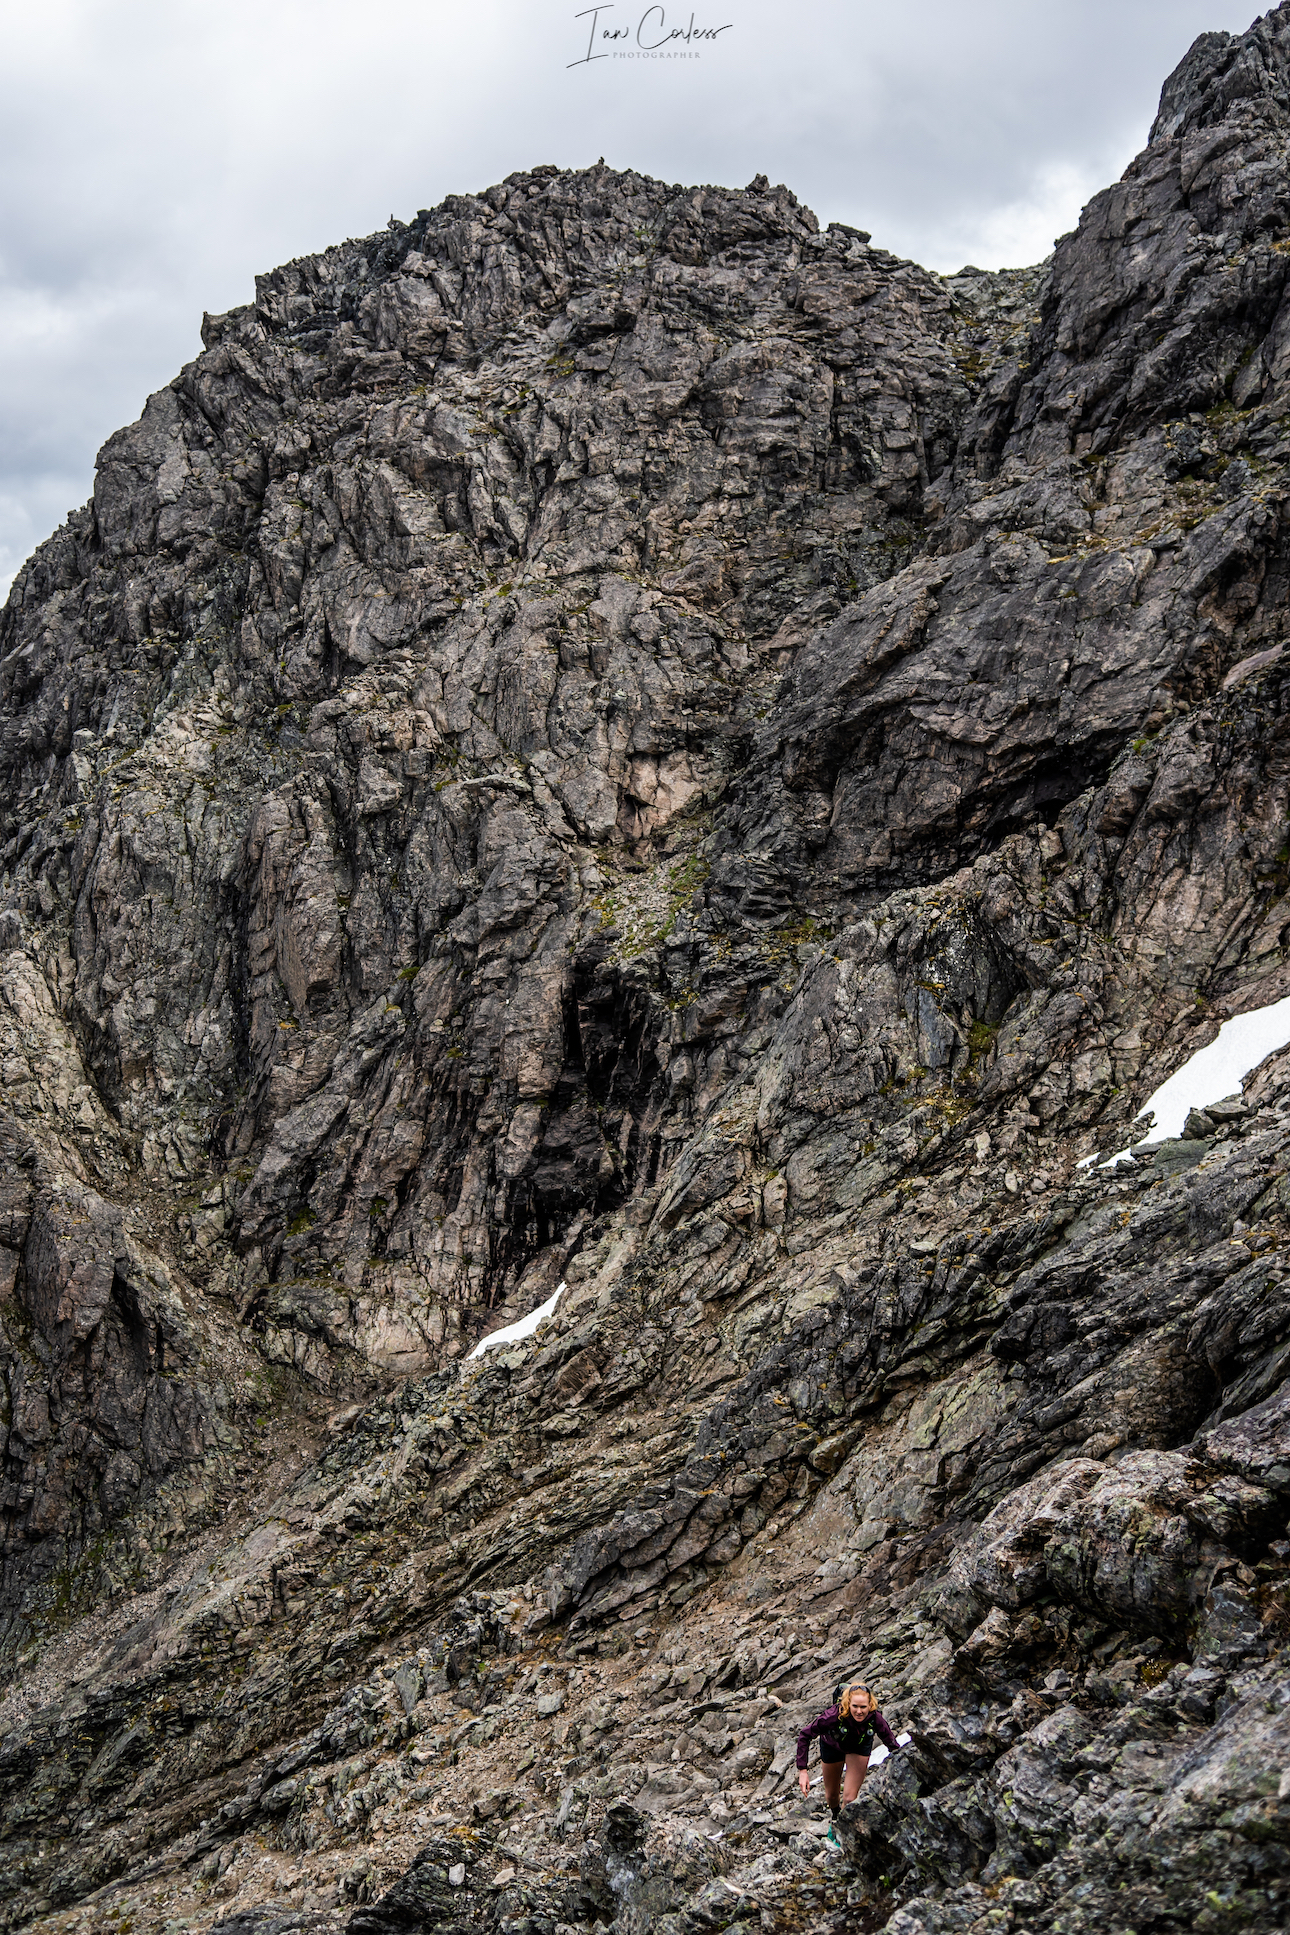
 At 1564m, Slogen is a straight up climb from sea level and as such, this route brings its own challenges. You can break the climb up by staying at Patchellhytta Cabin, however, our choice was up and down in the same day.